


New Era III from RCM Plans
 07-23-2018, 12:26 AM
#51

Thread Starter
Some progress over the last couple of days.
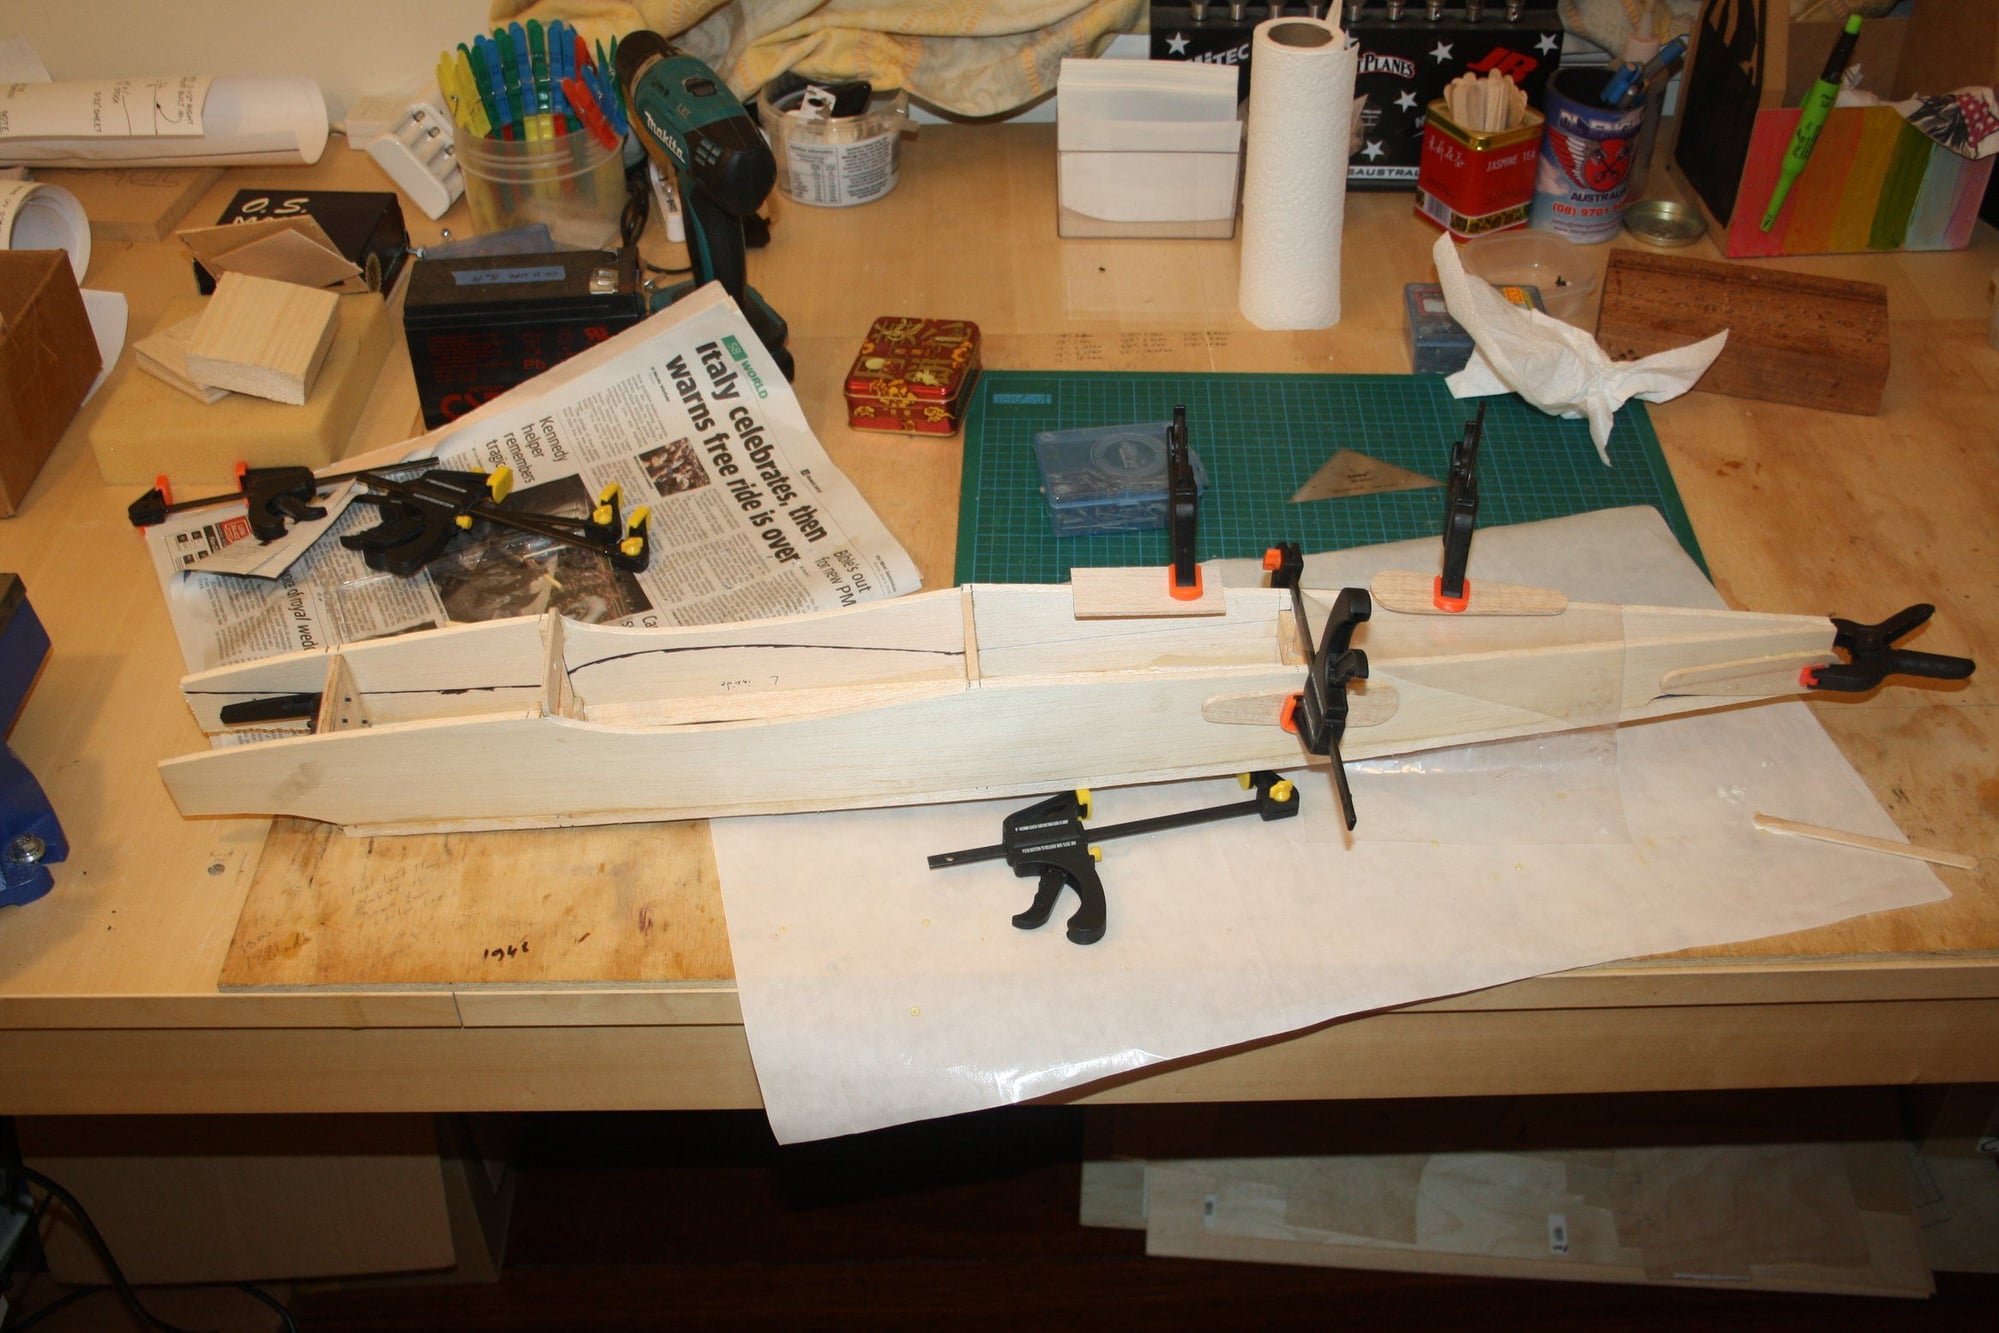
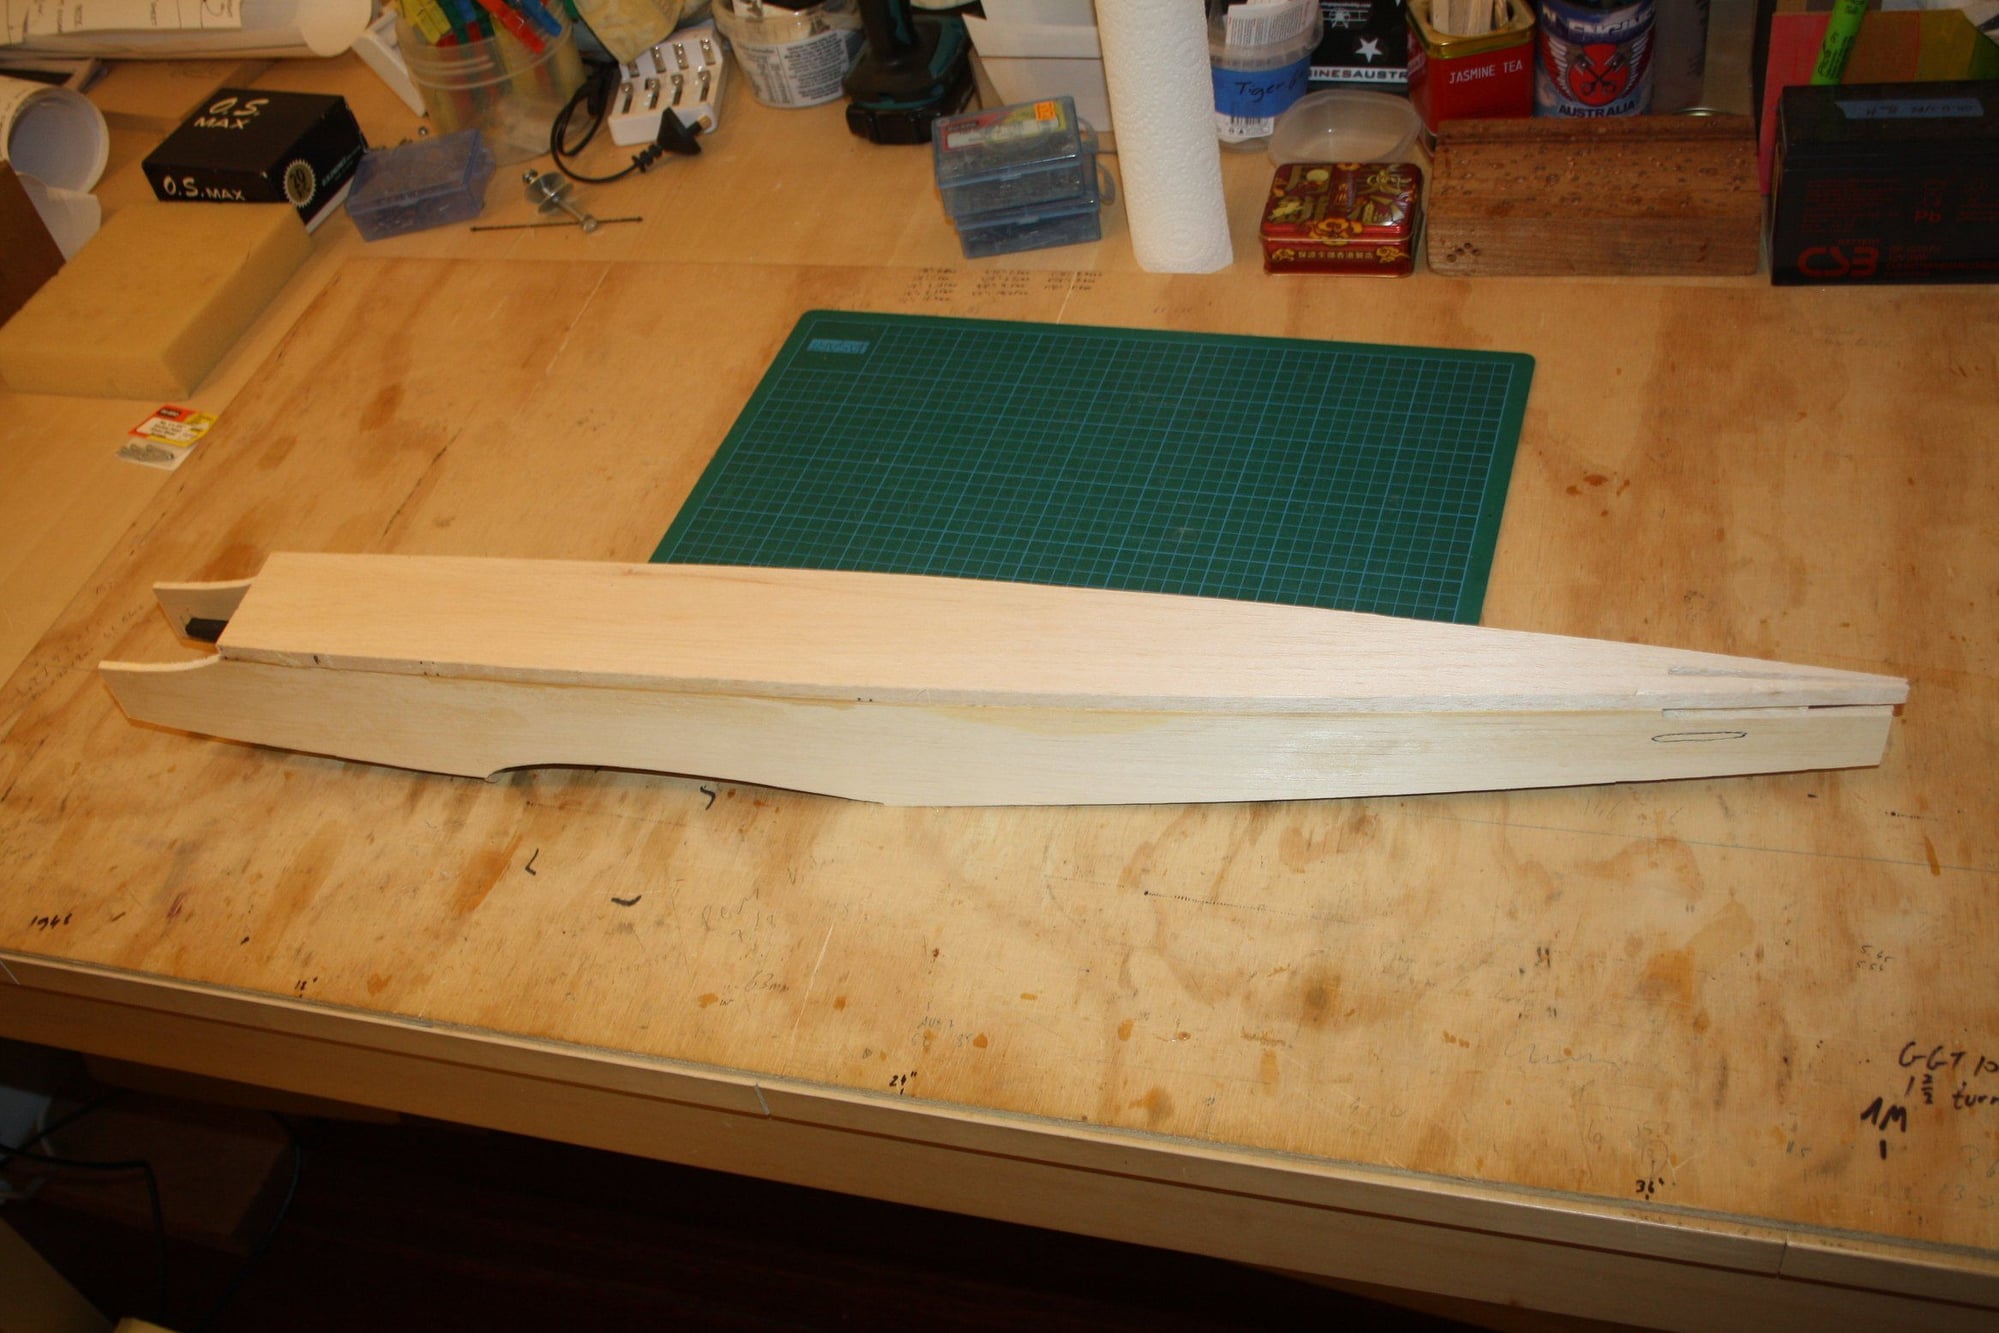
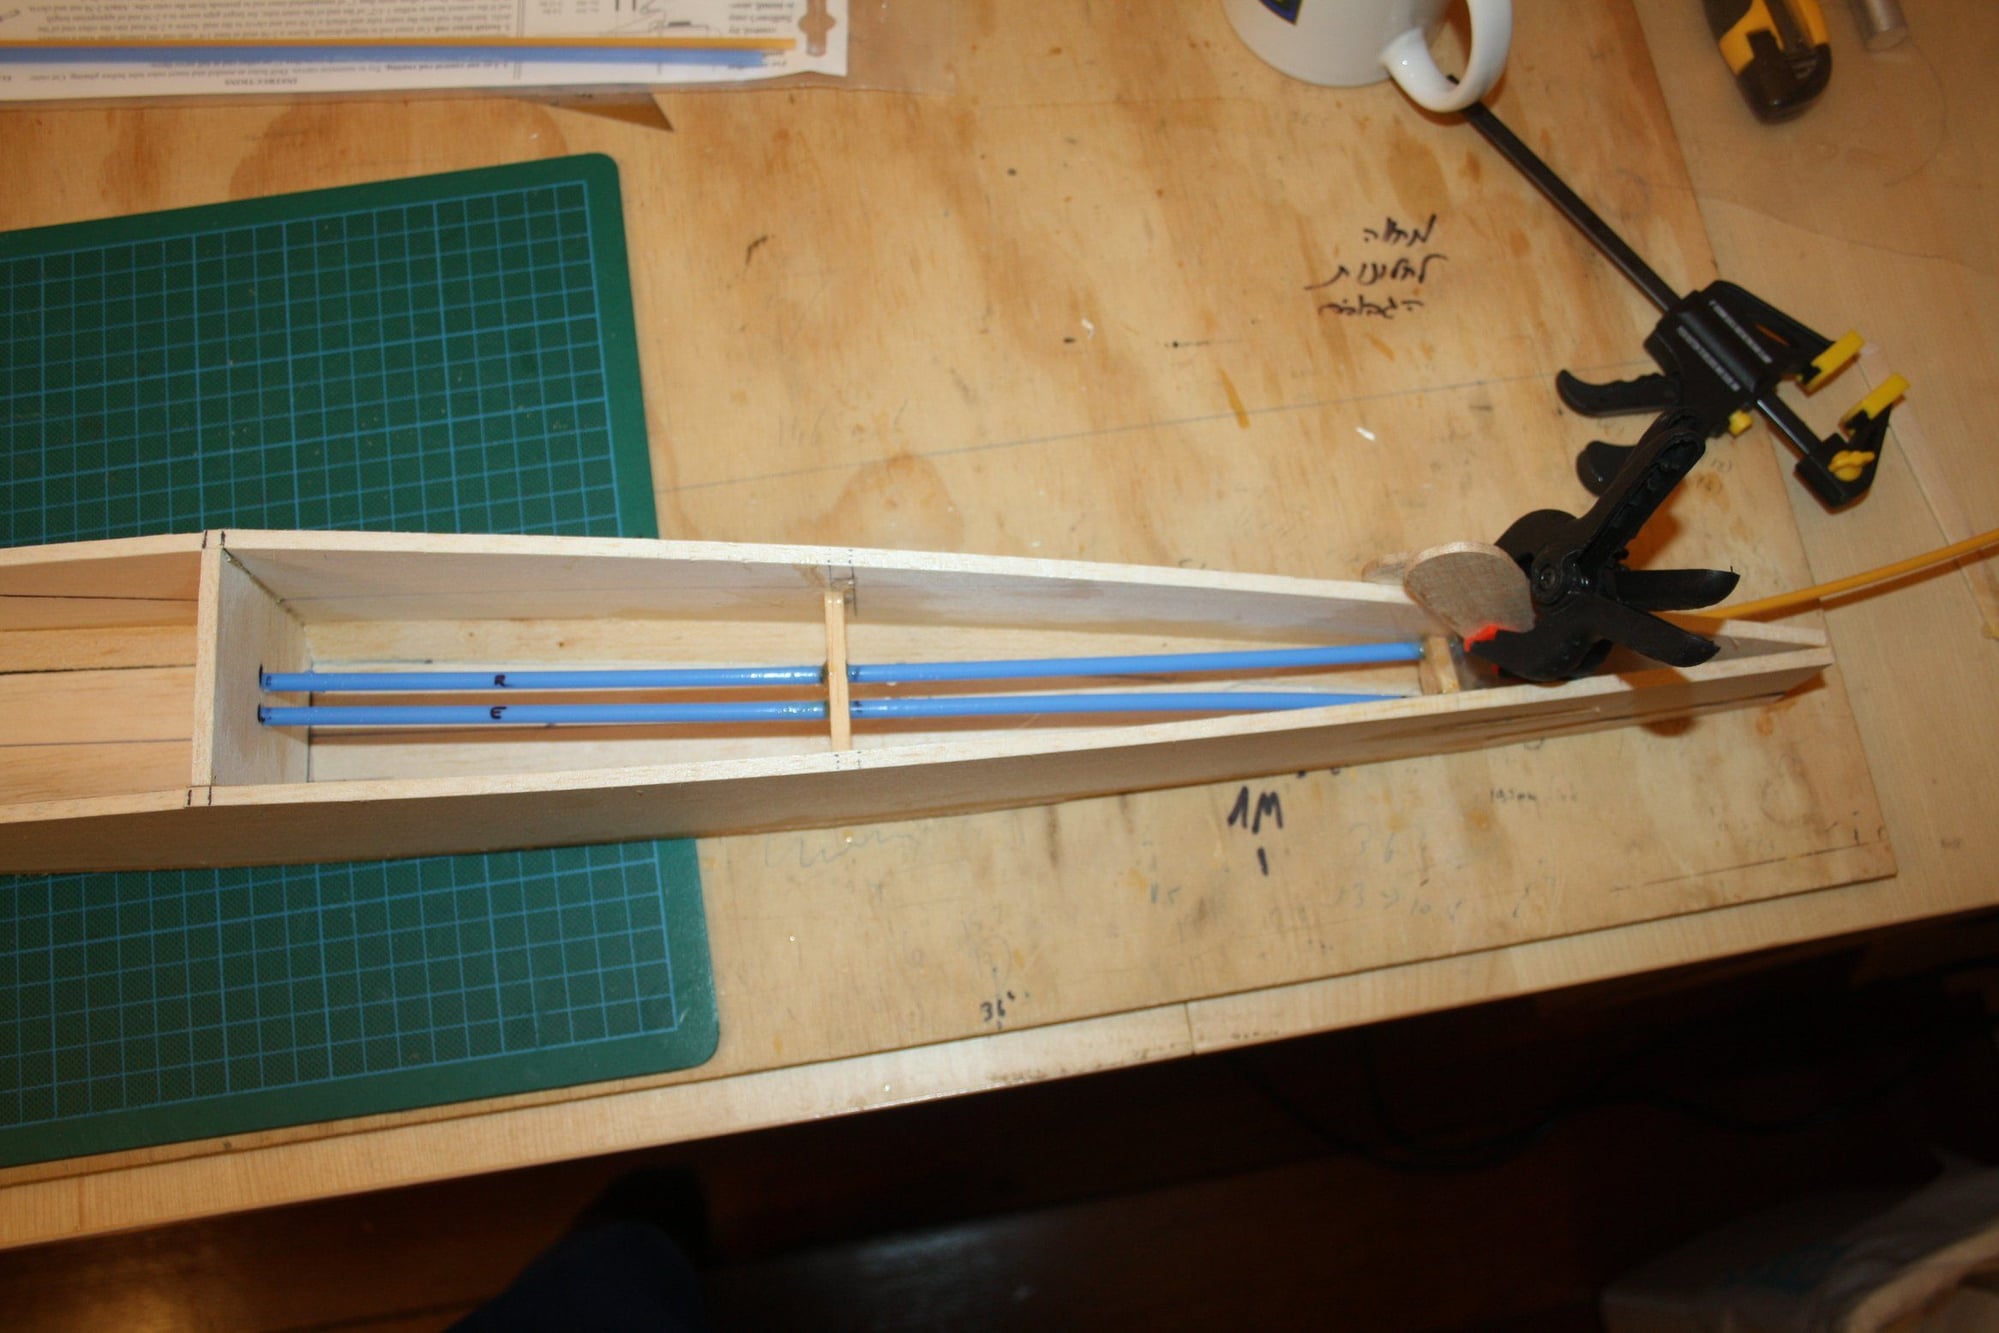
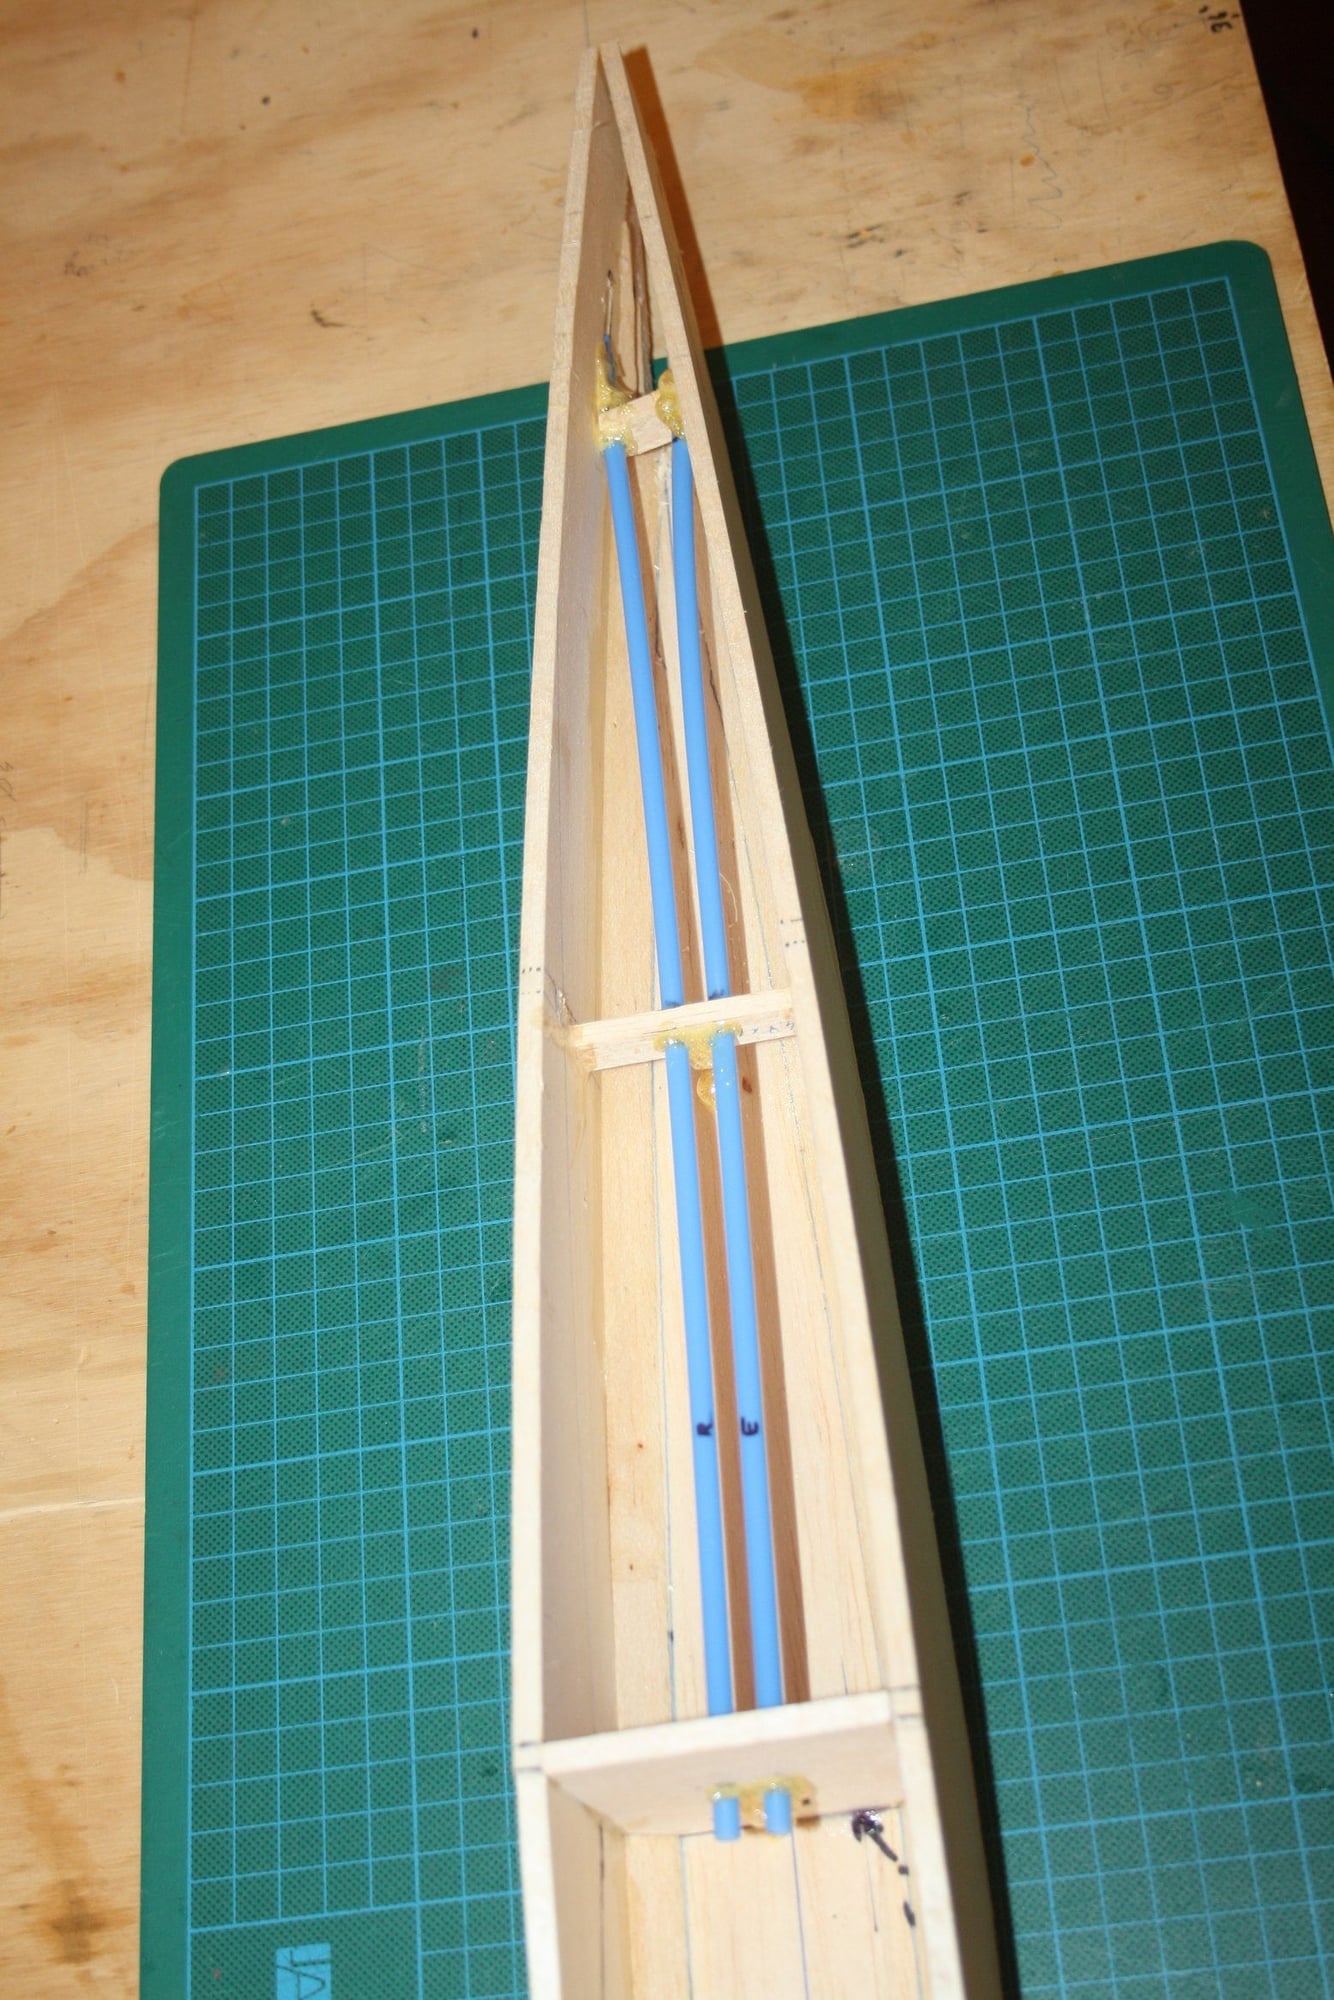
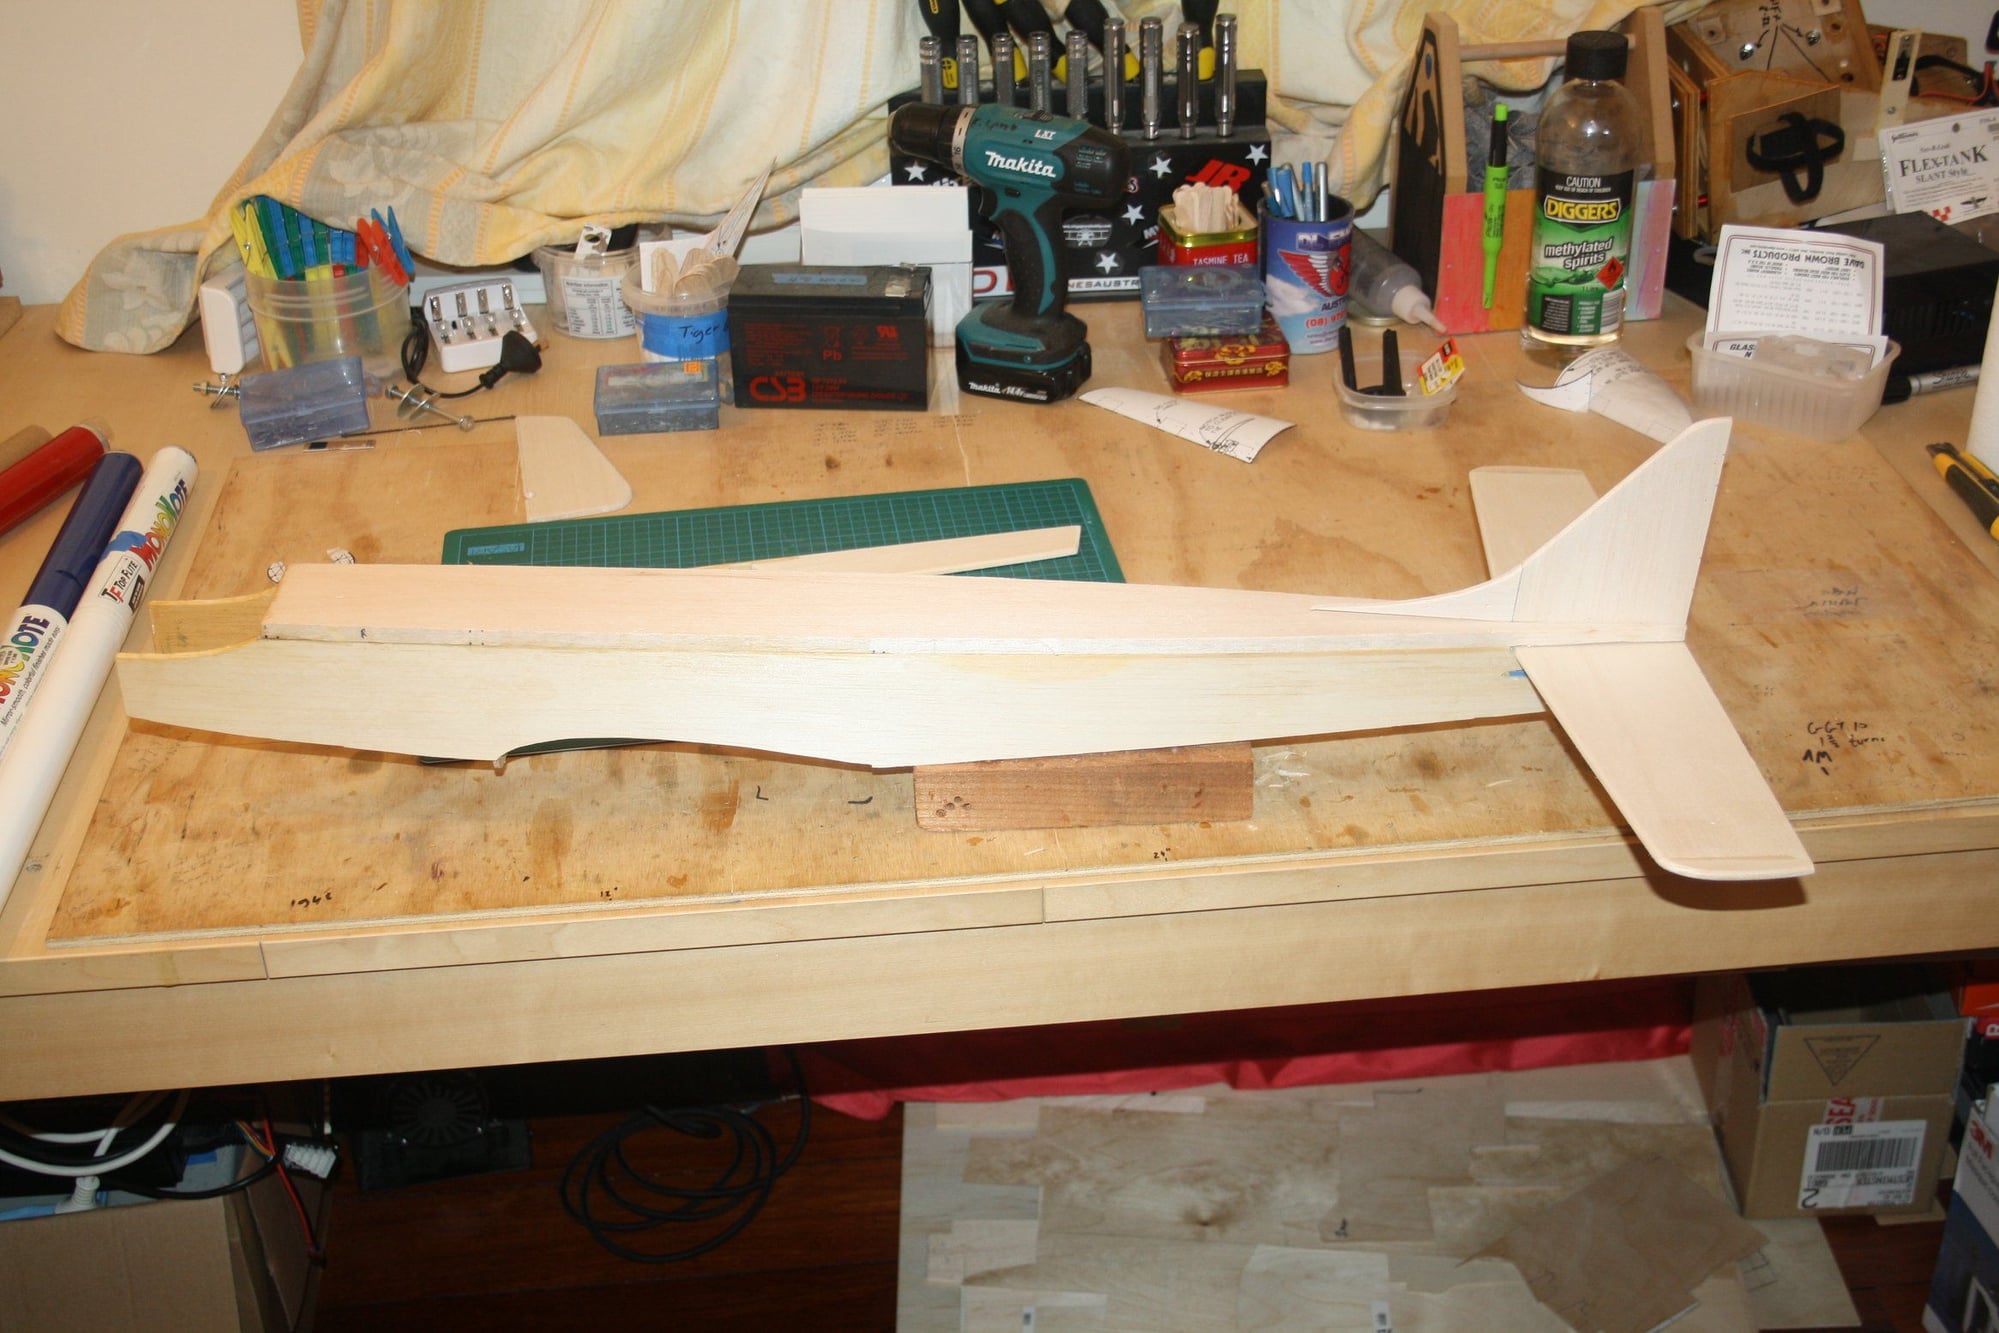
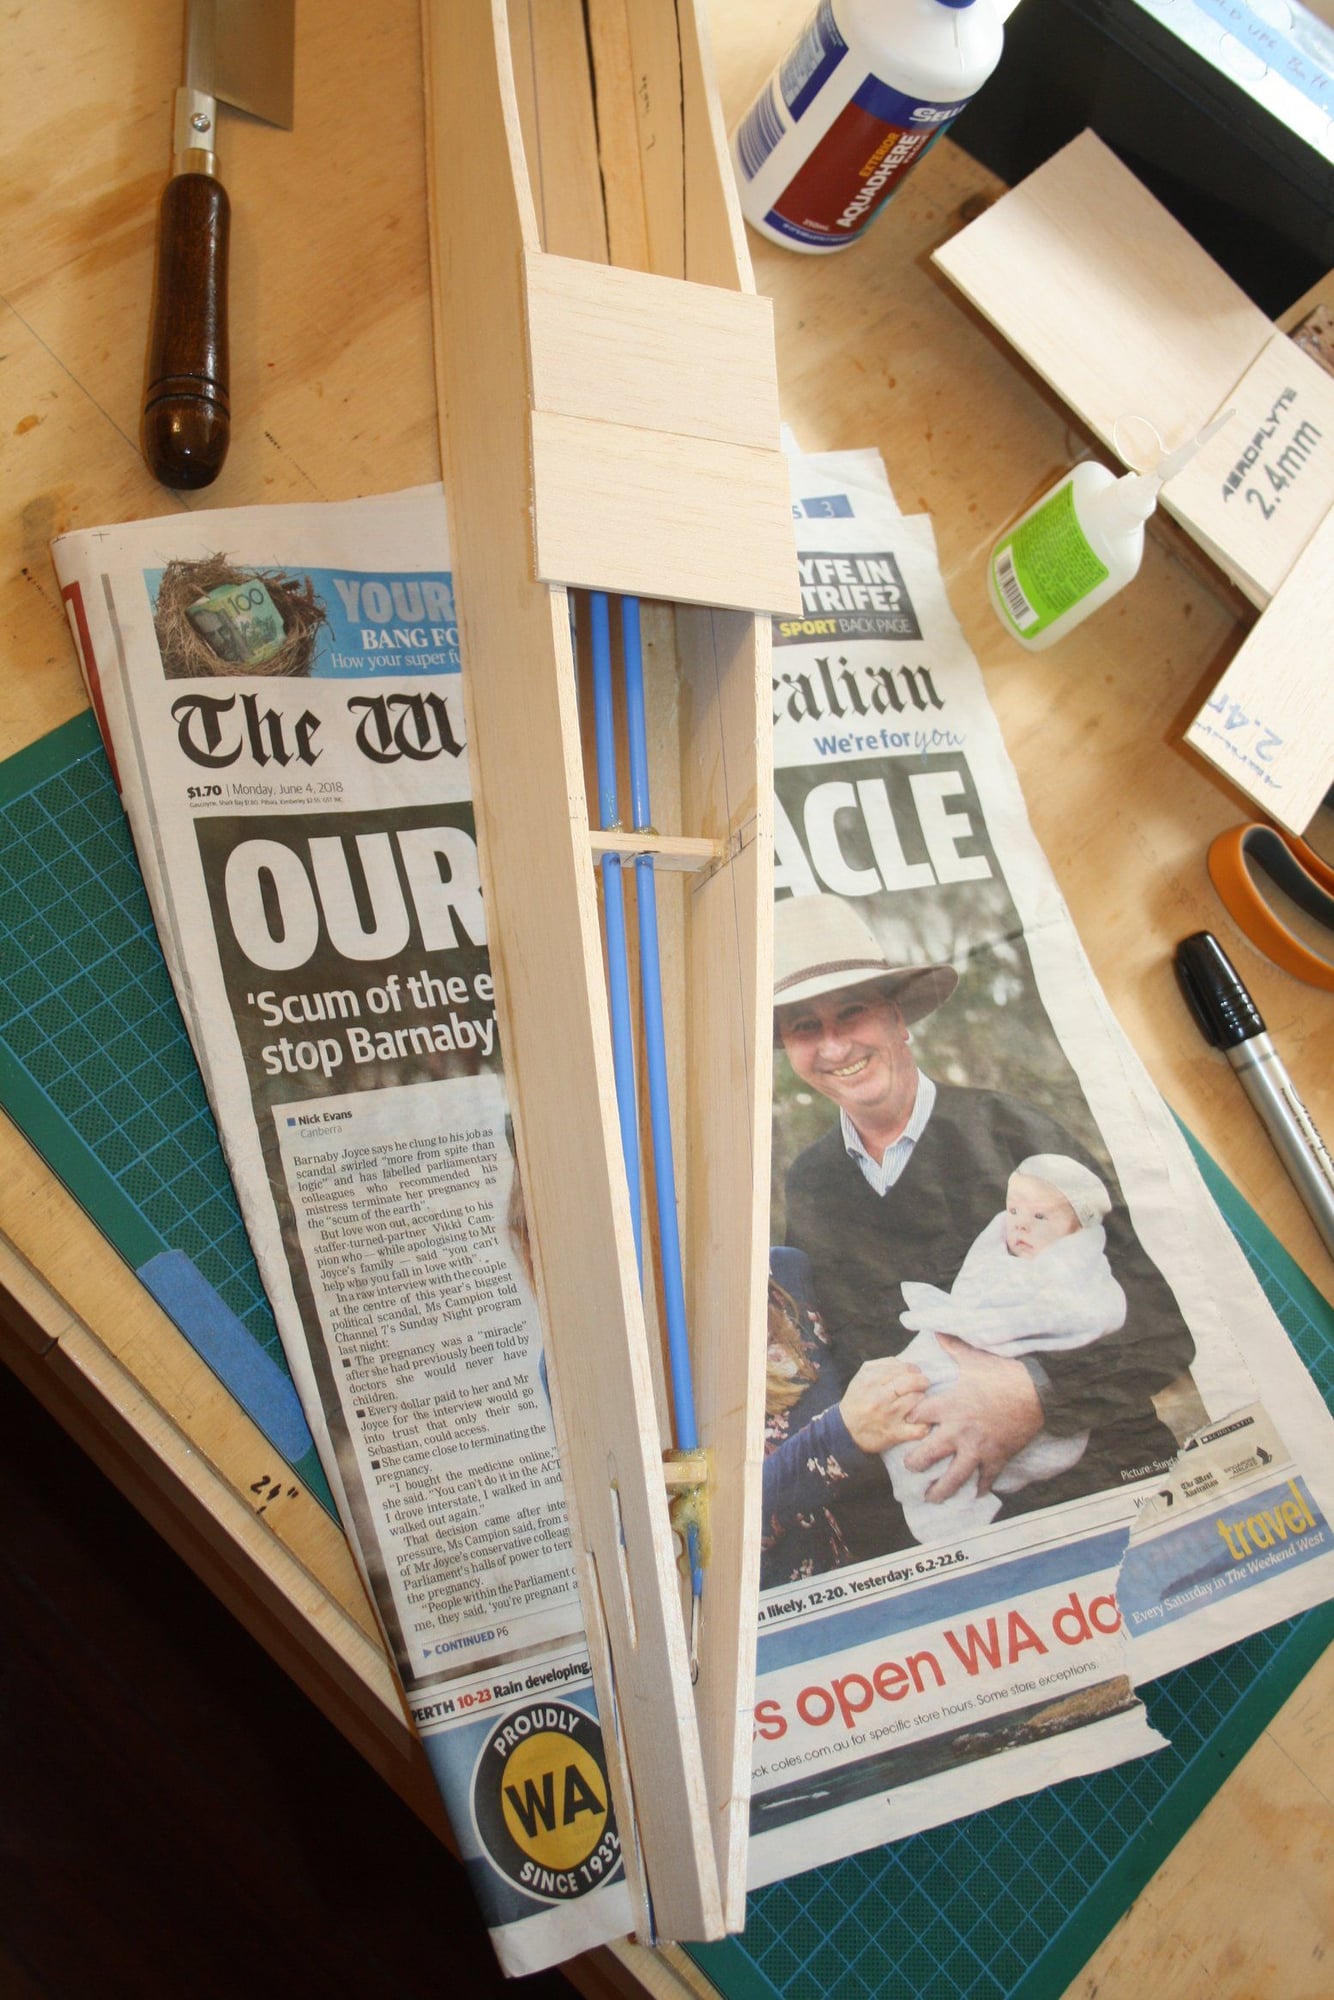
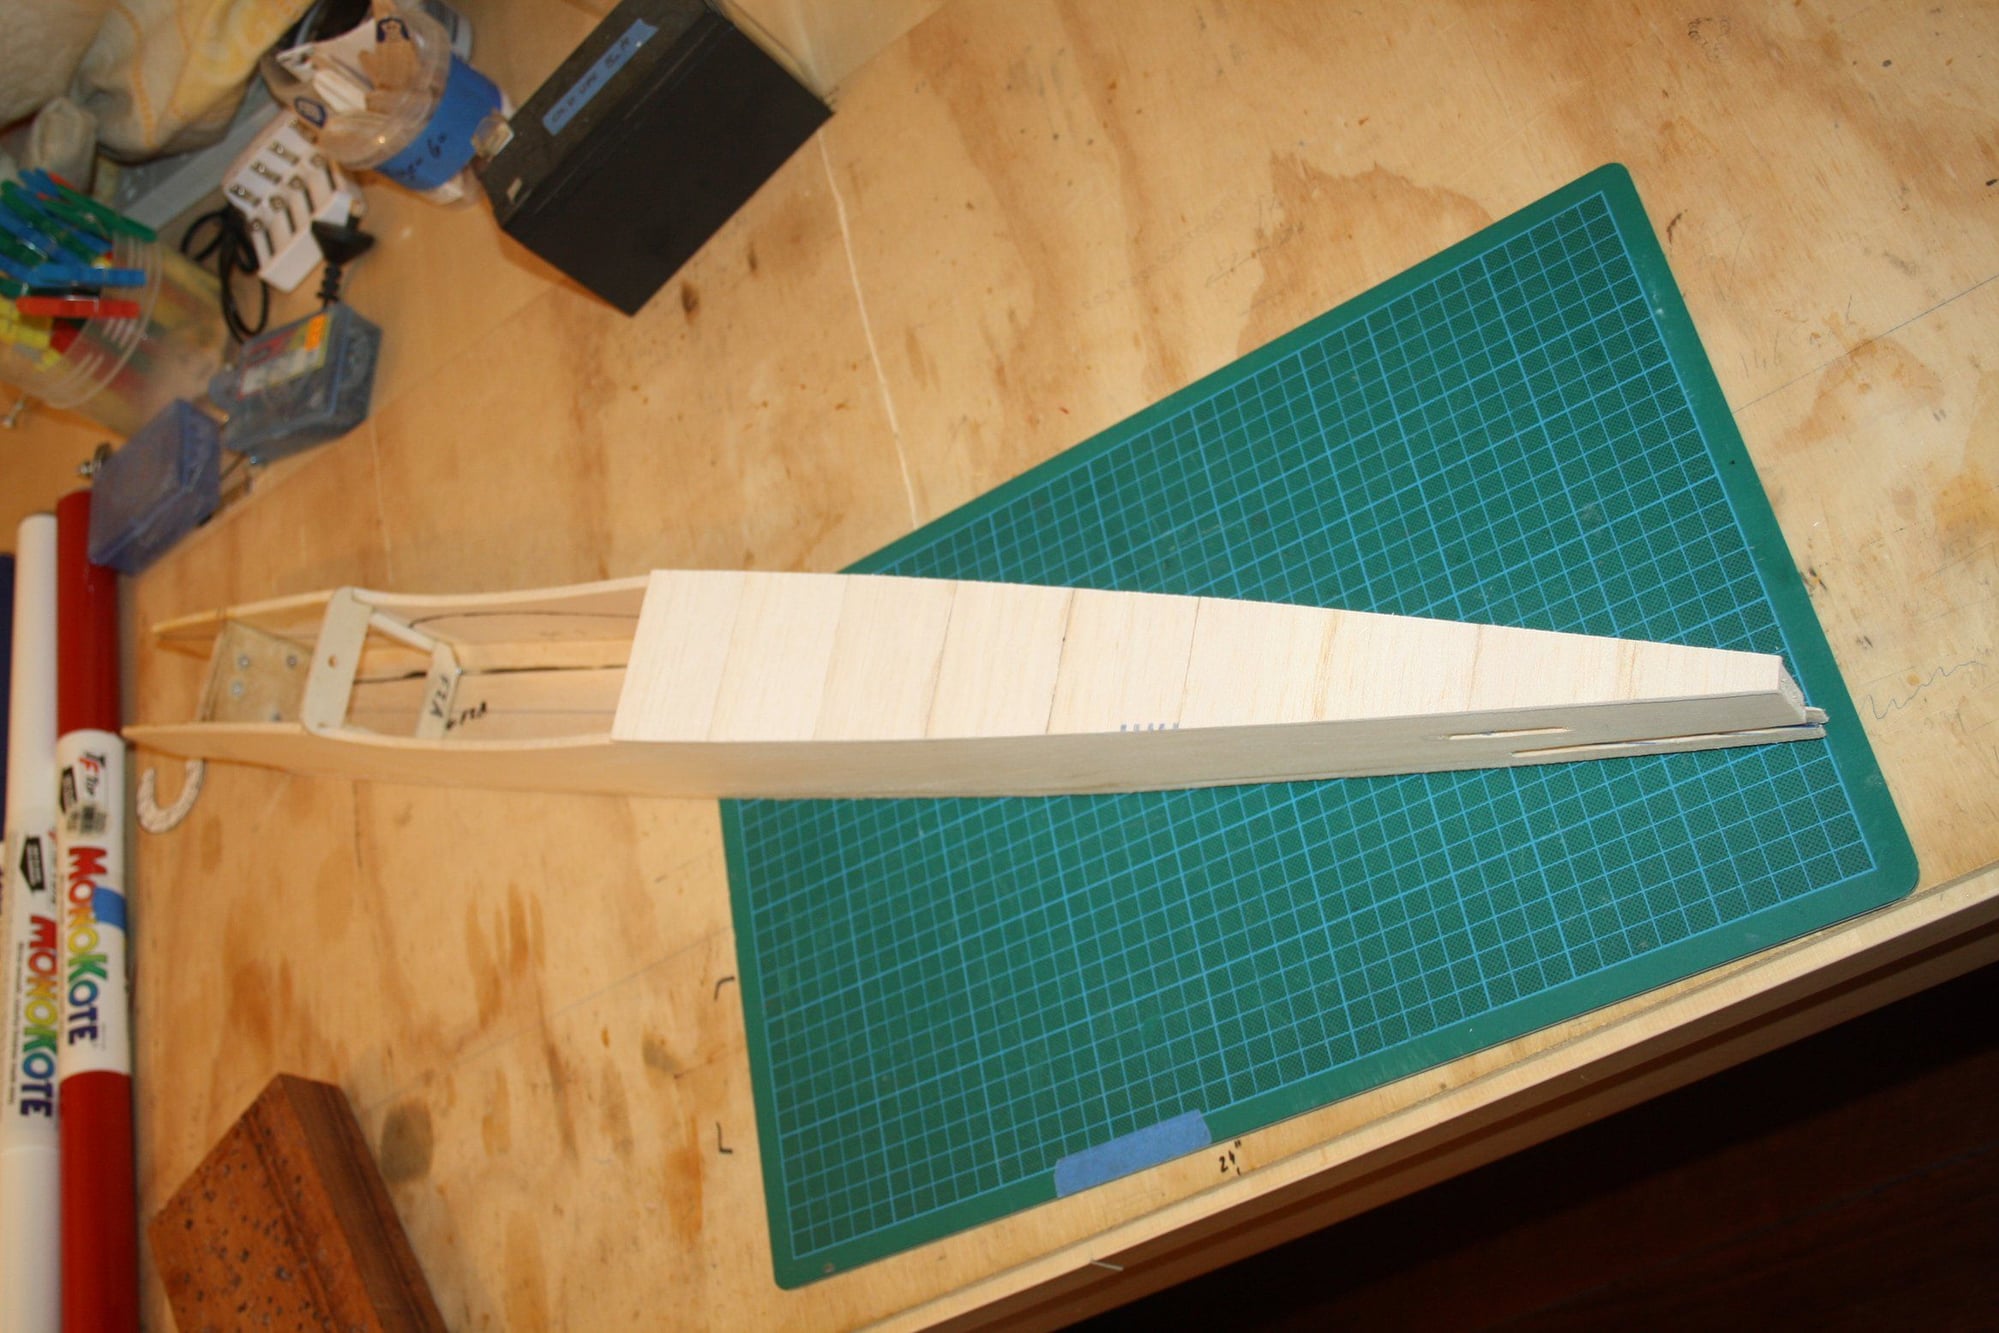
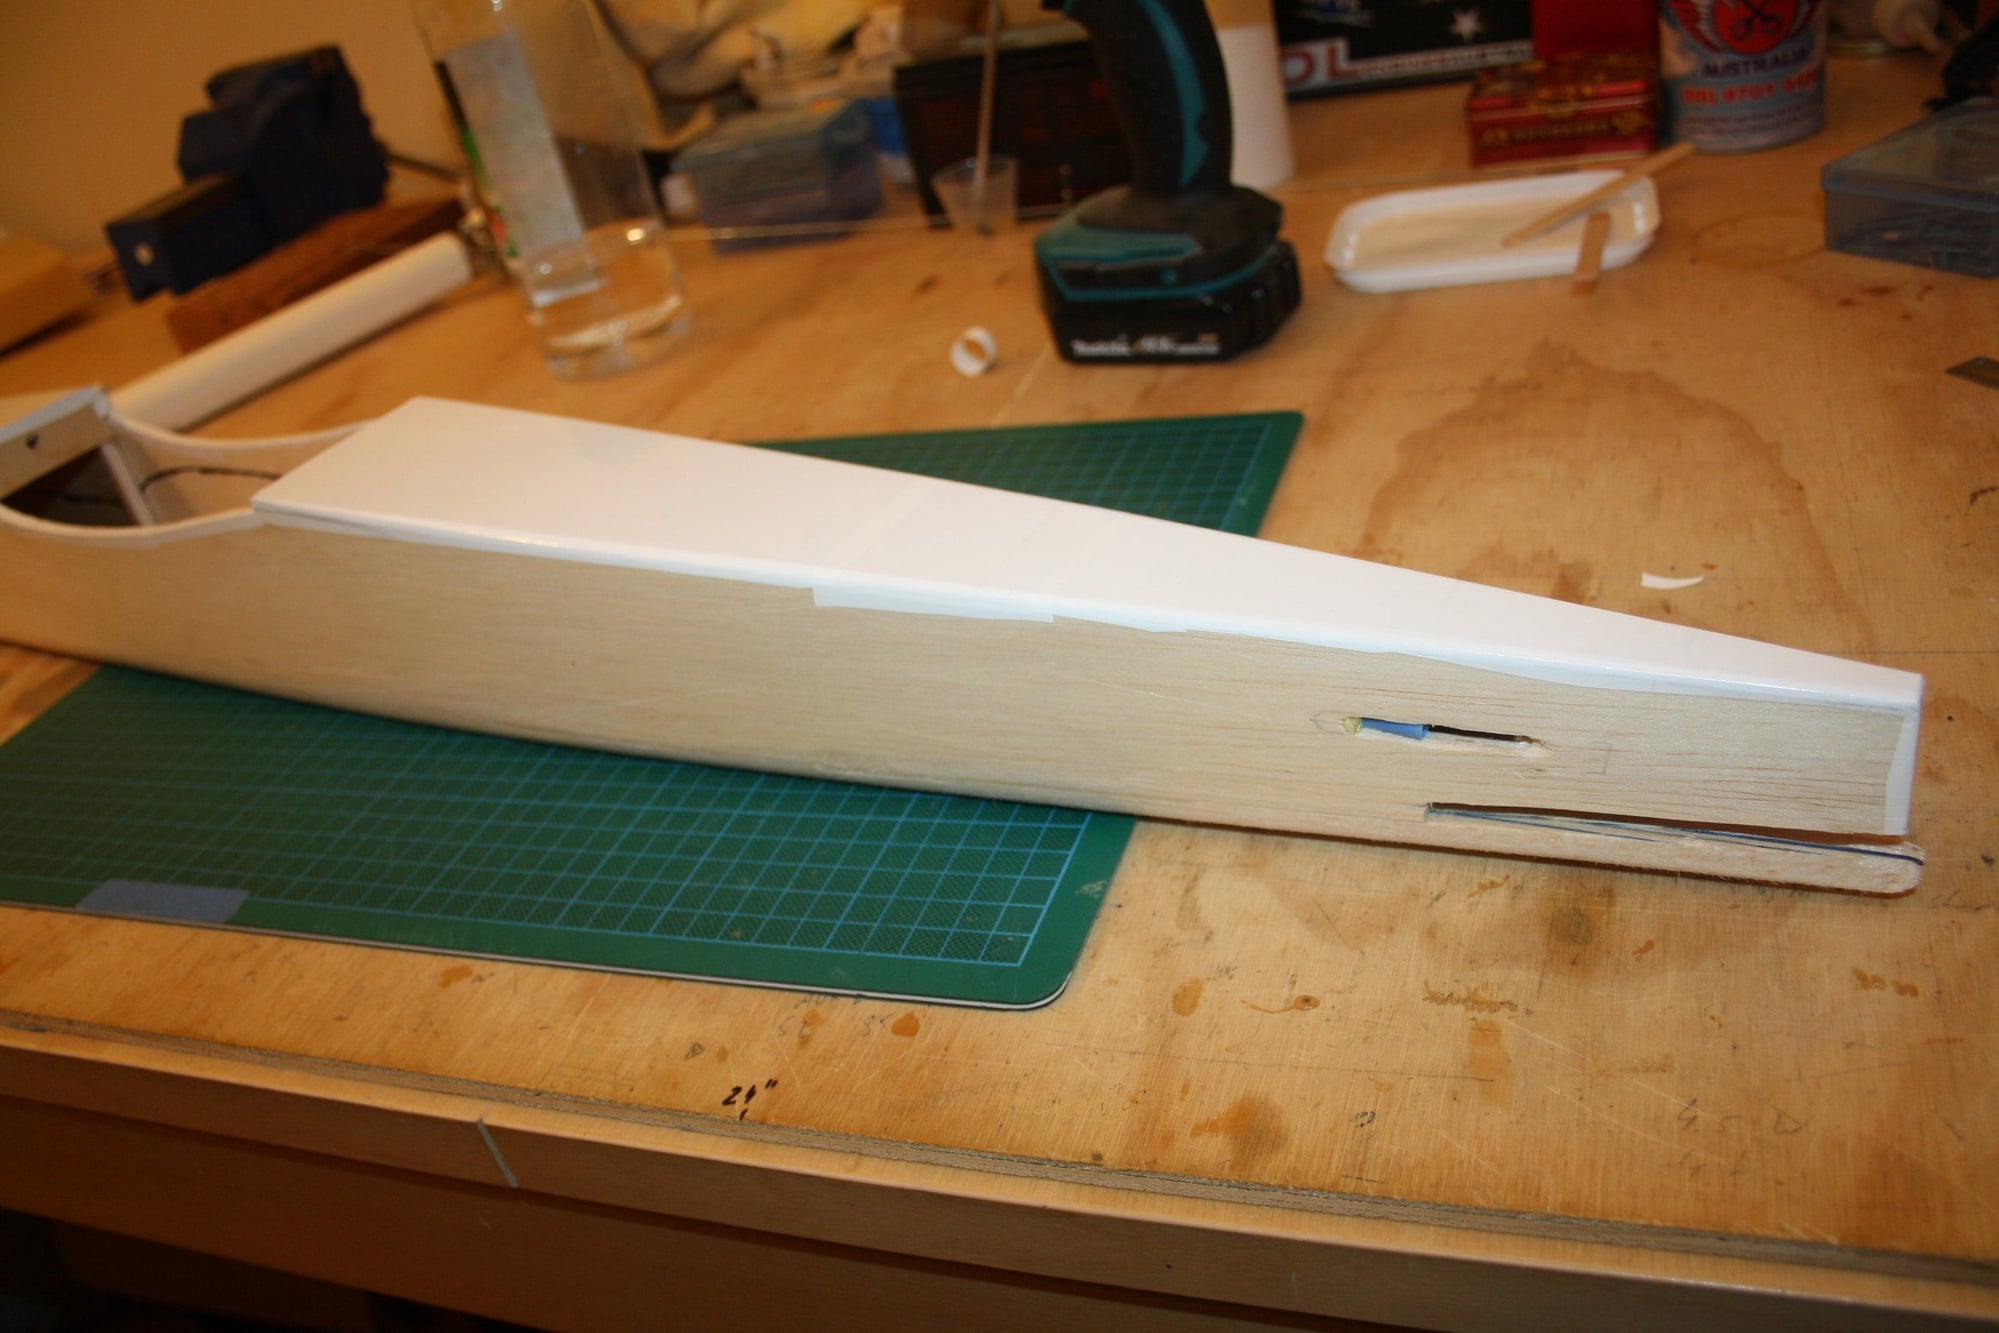
I got the fuselage sides glued all the way to the tail, and glued into place the Gold-N-Rod sleeves.While the Gorilla glue was drying, I coated the wing bottom centre section with a second Epoxy Resin coat.
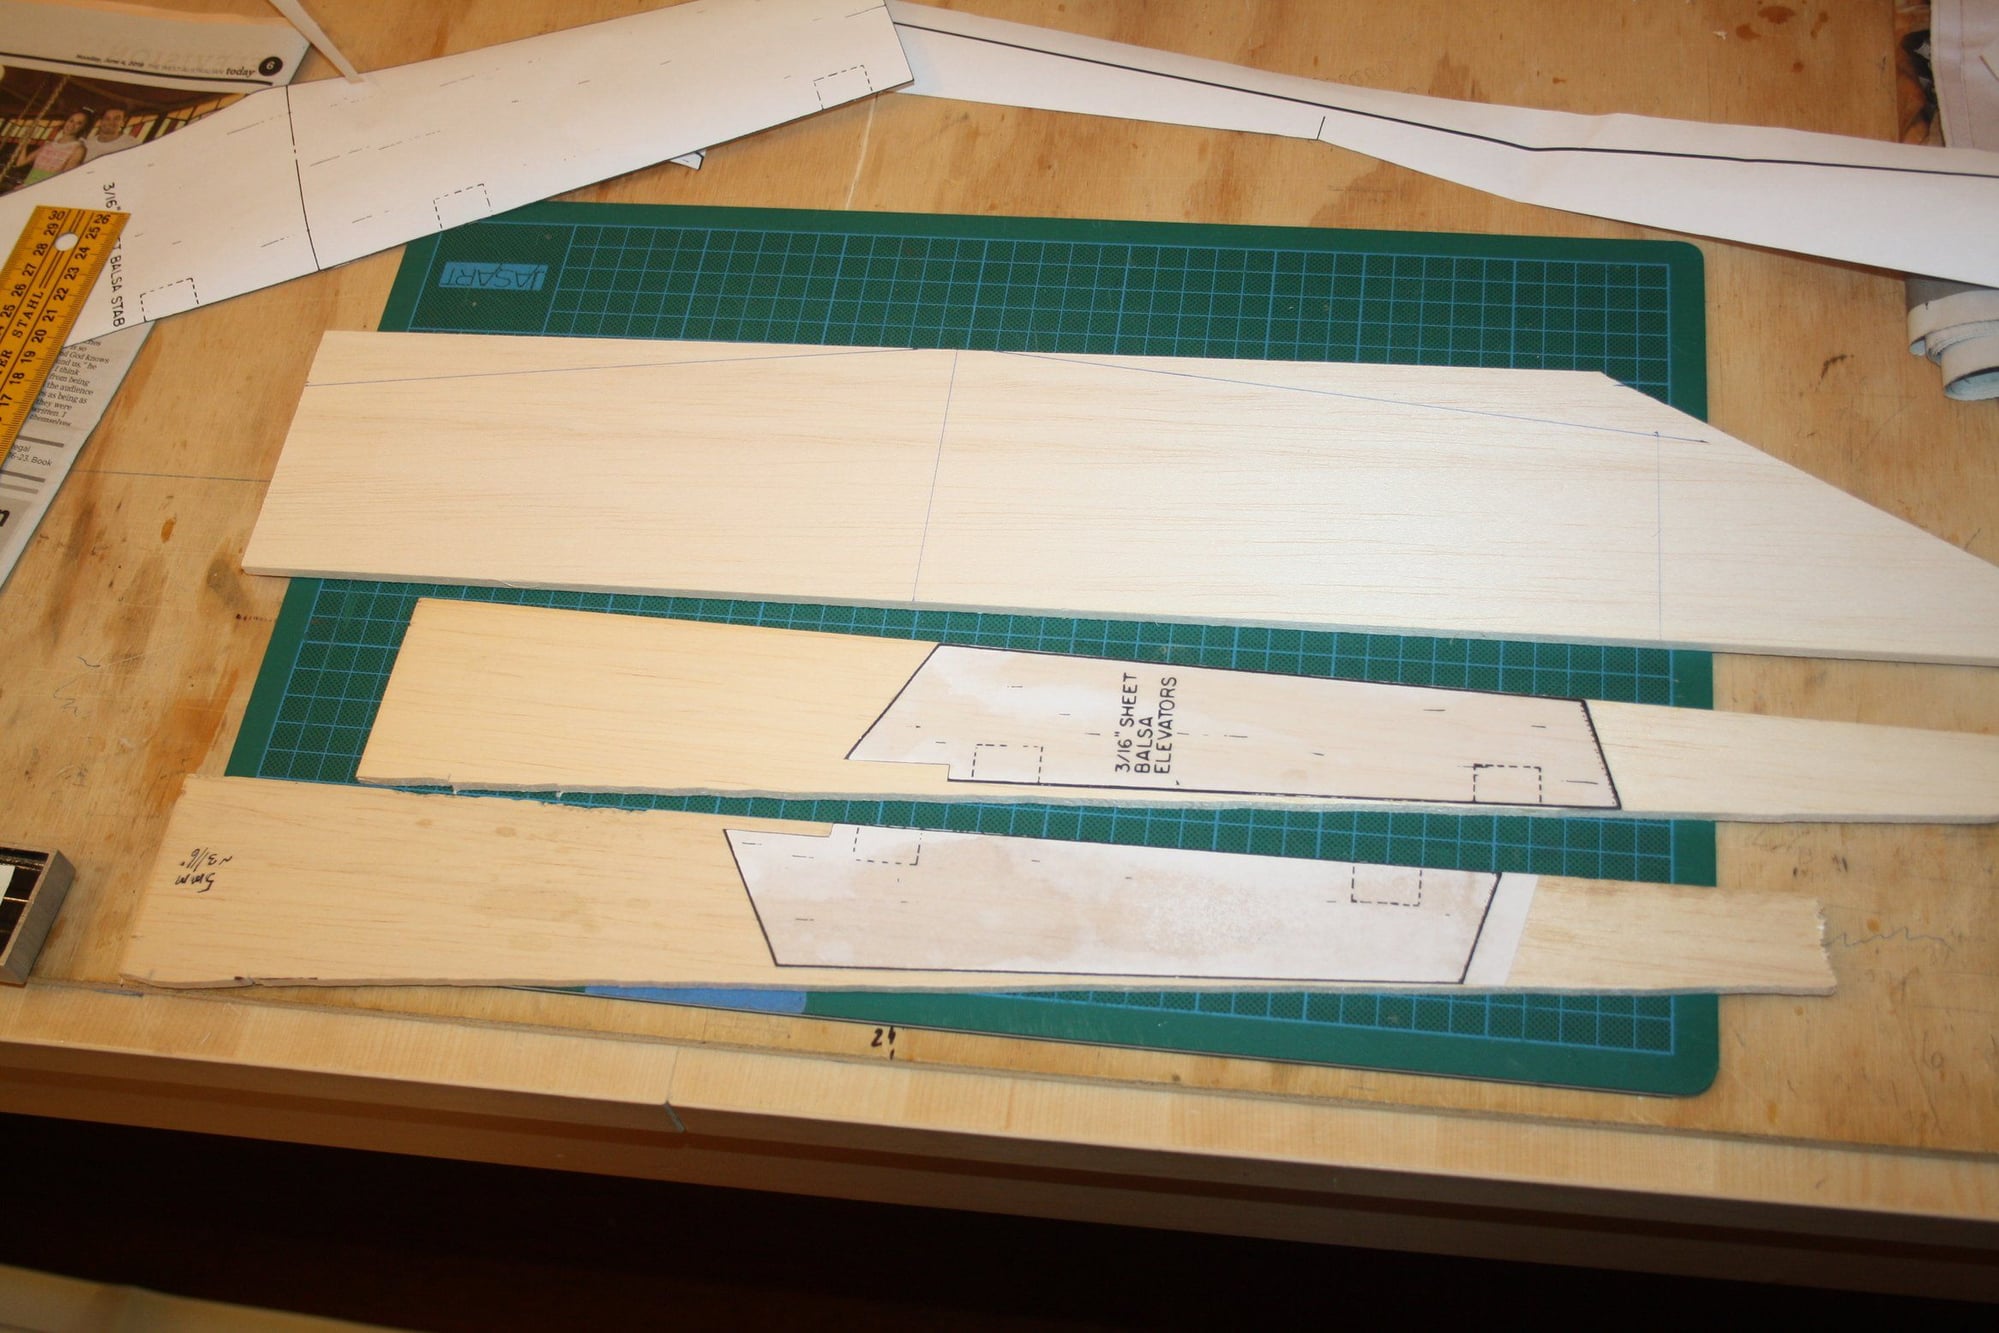
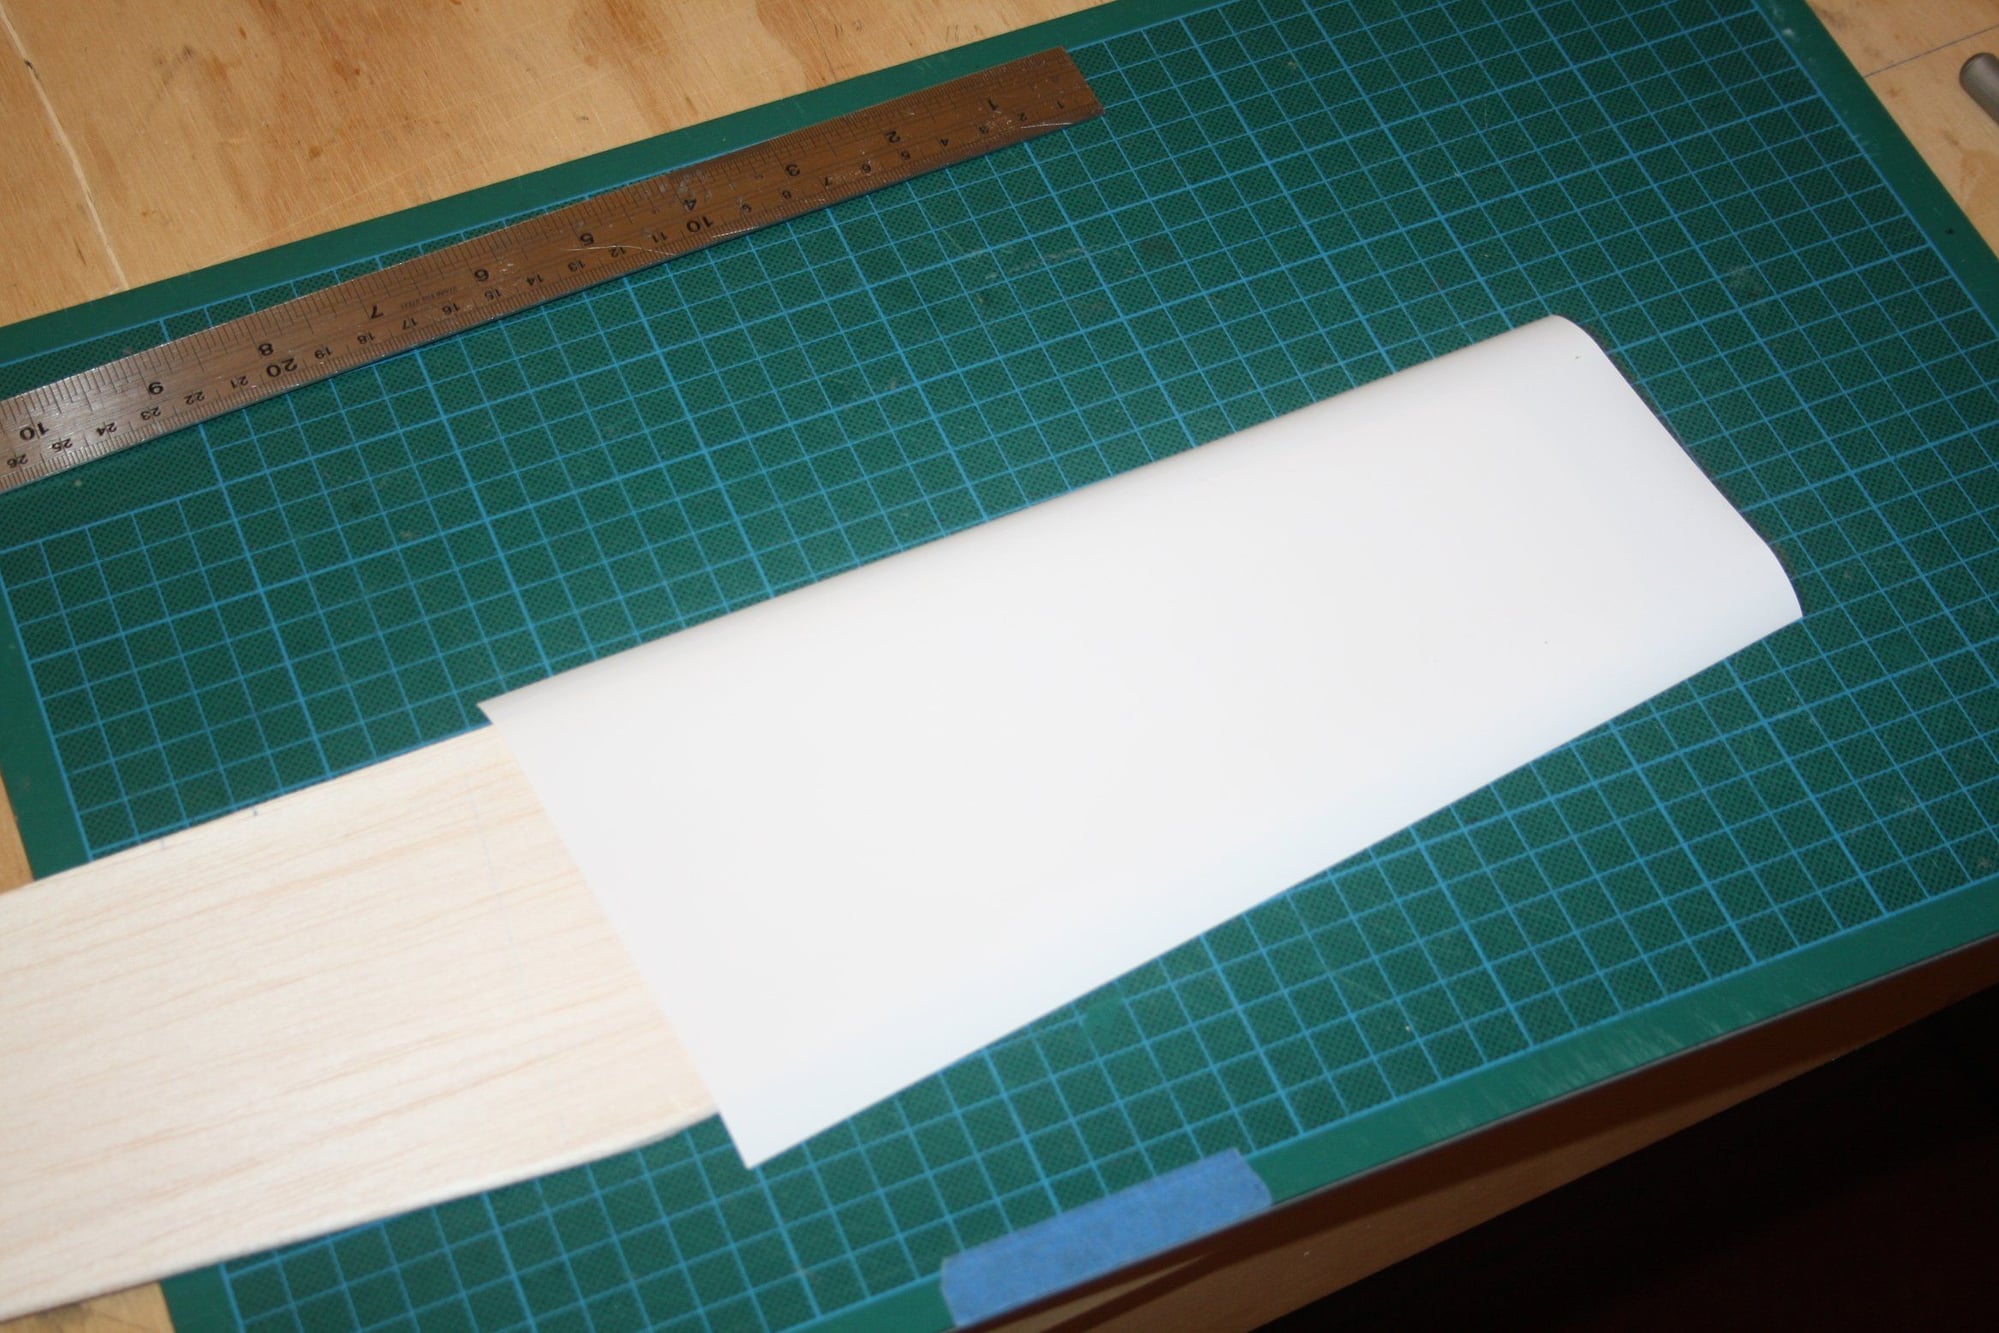
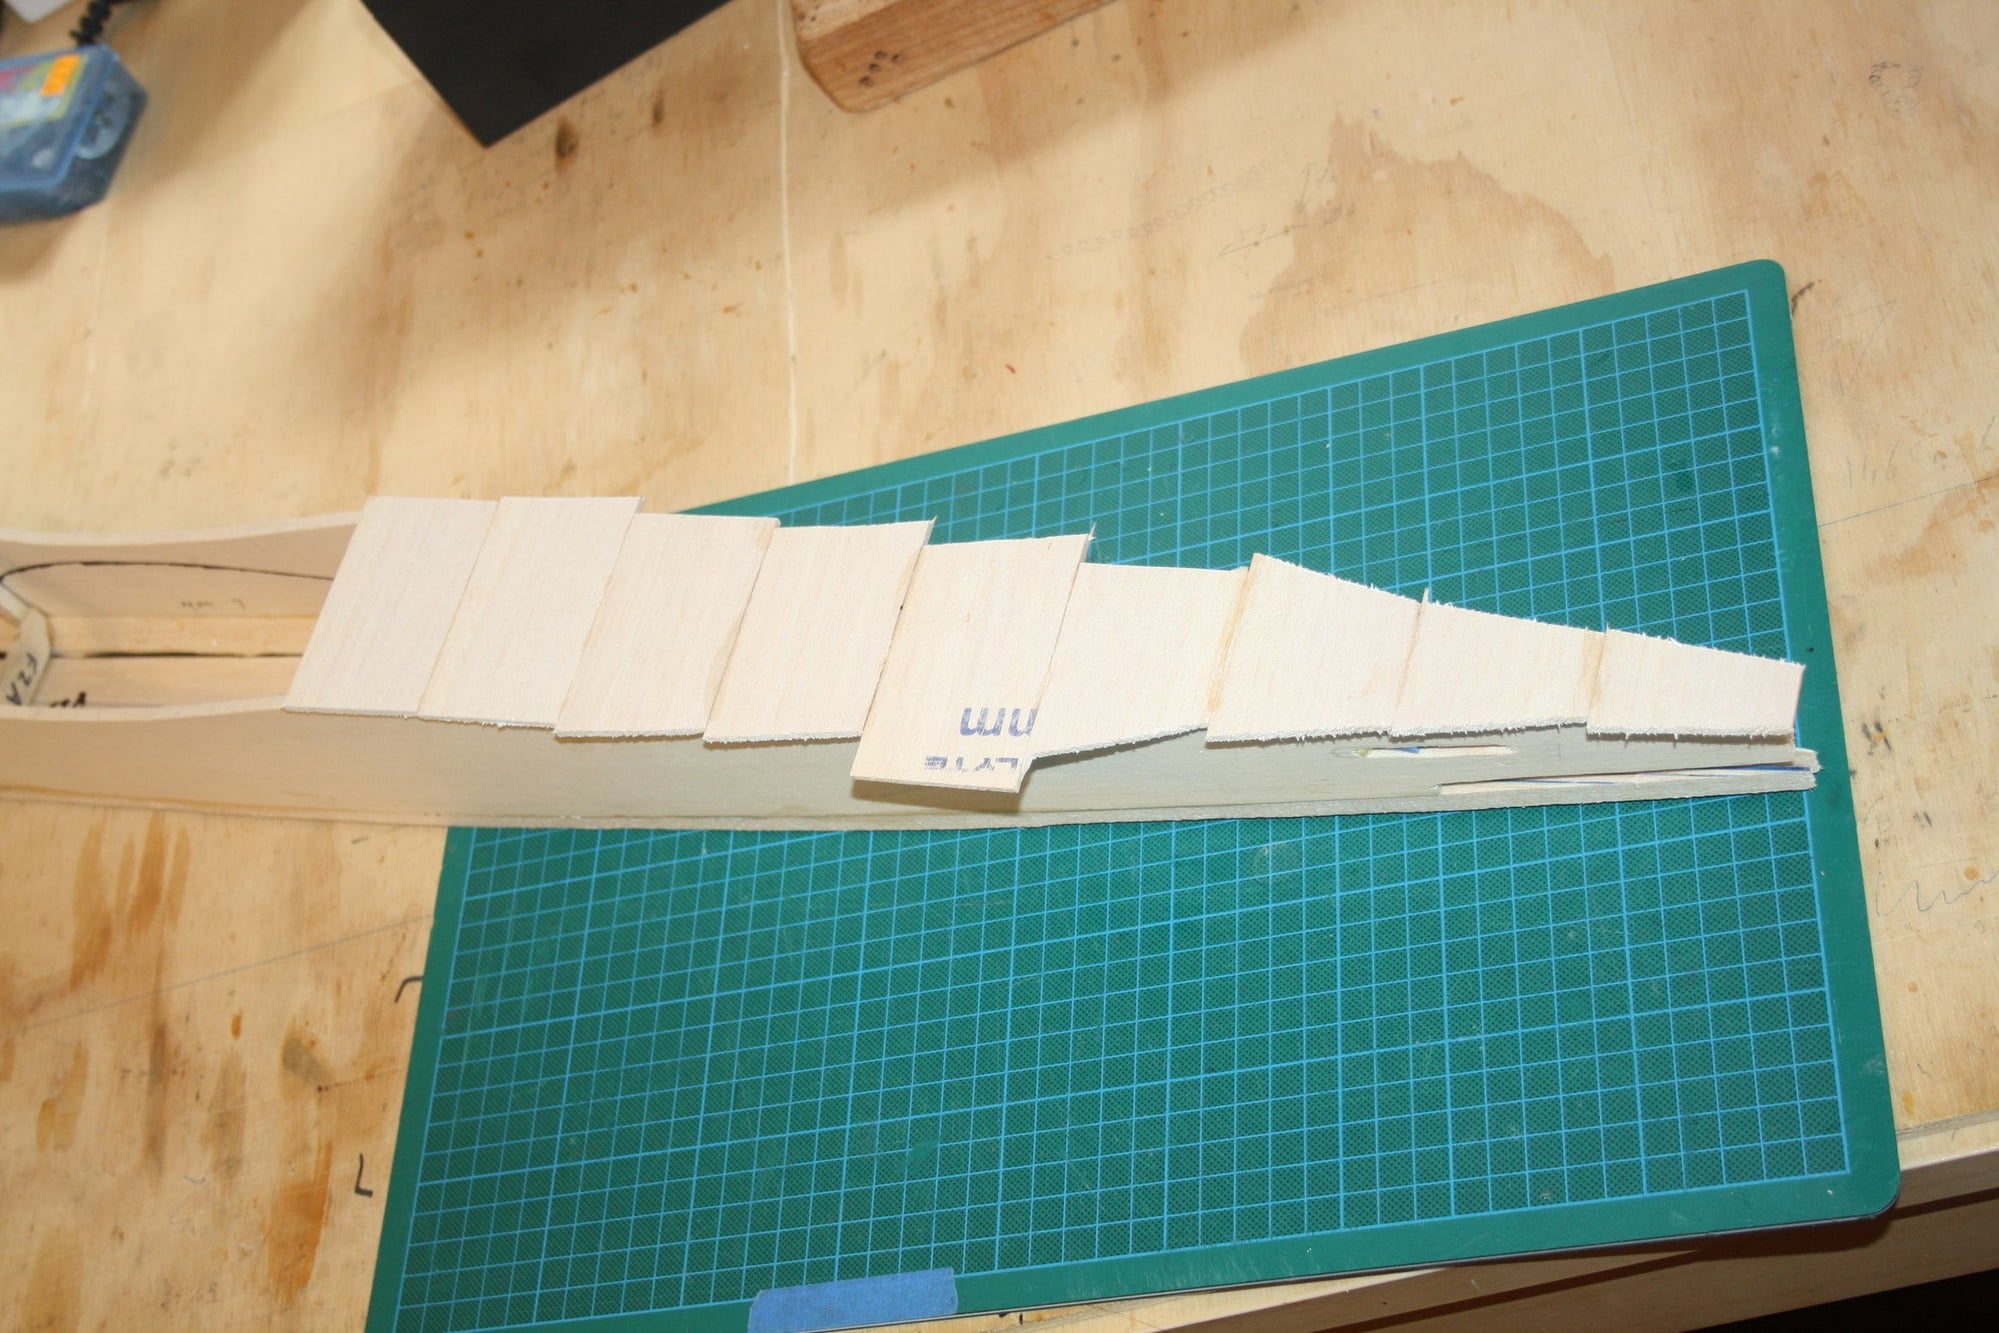
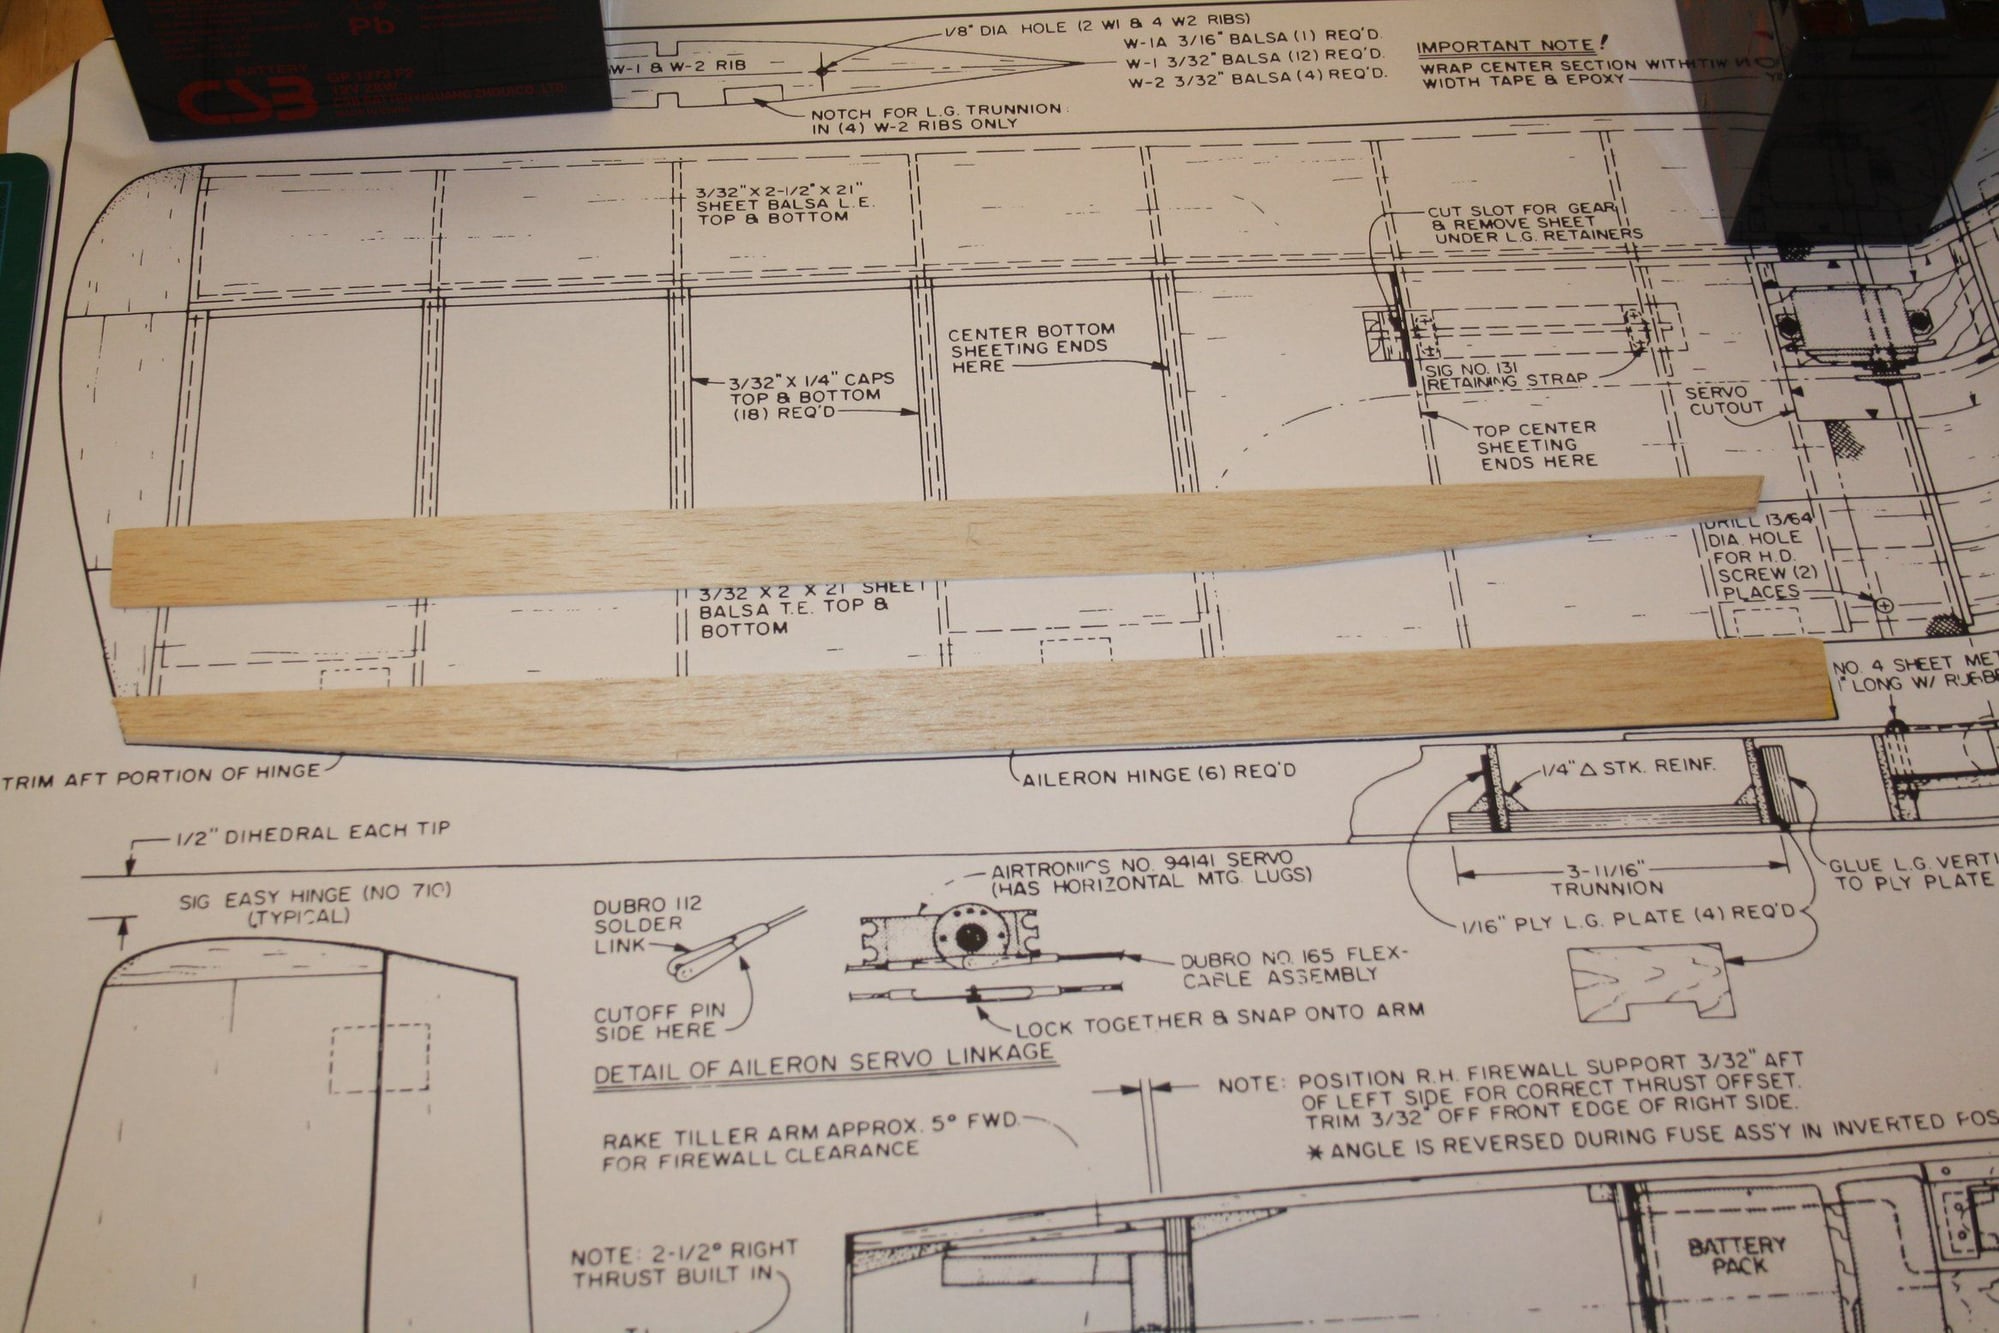
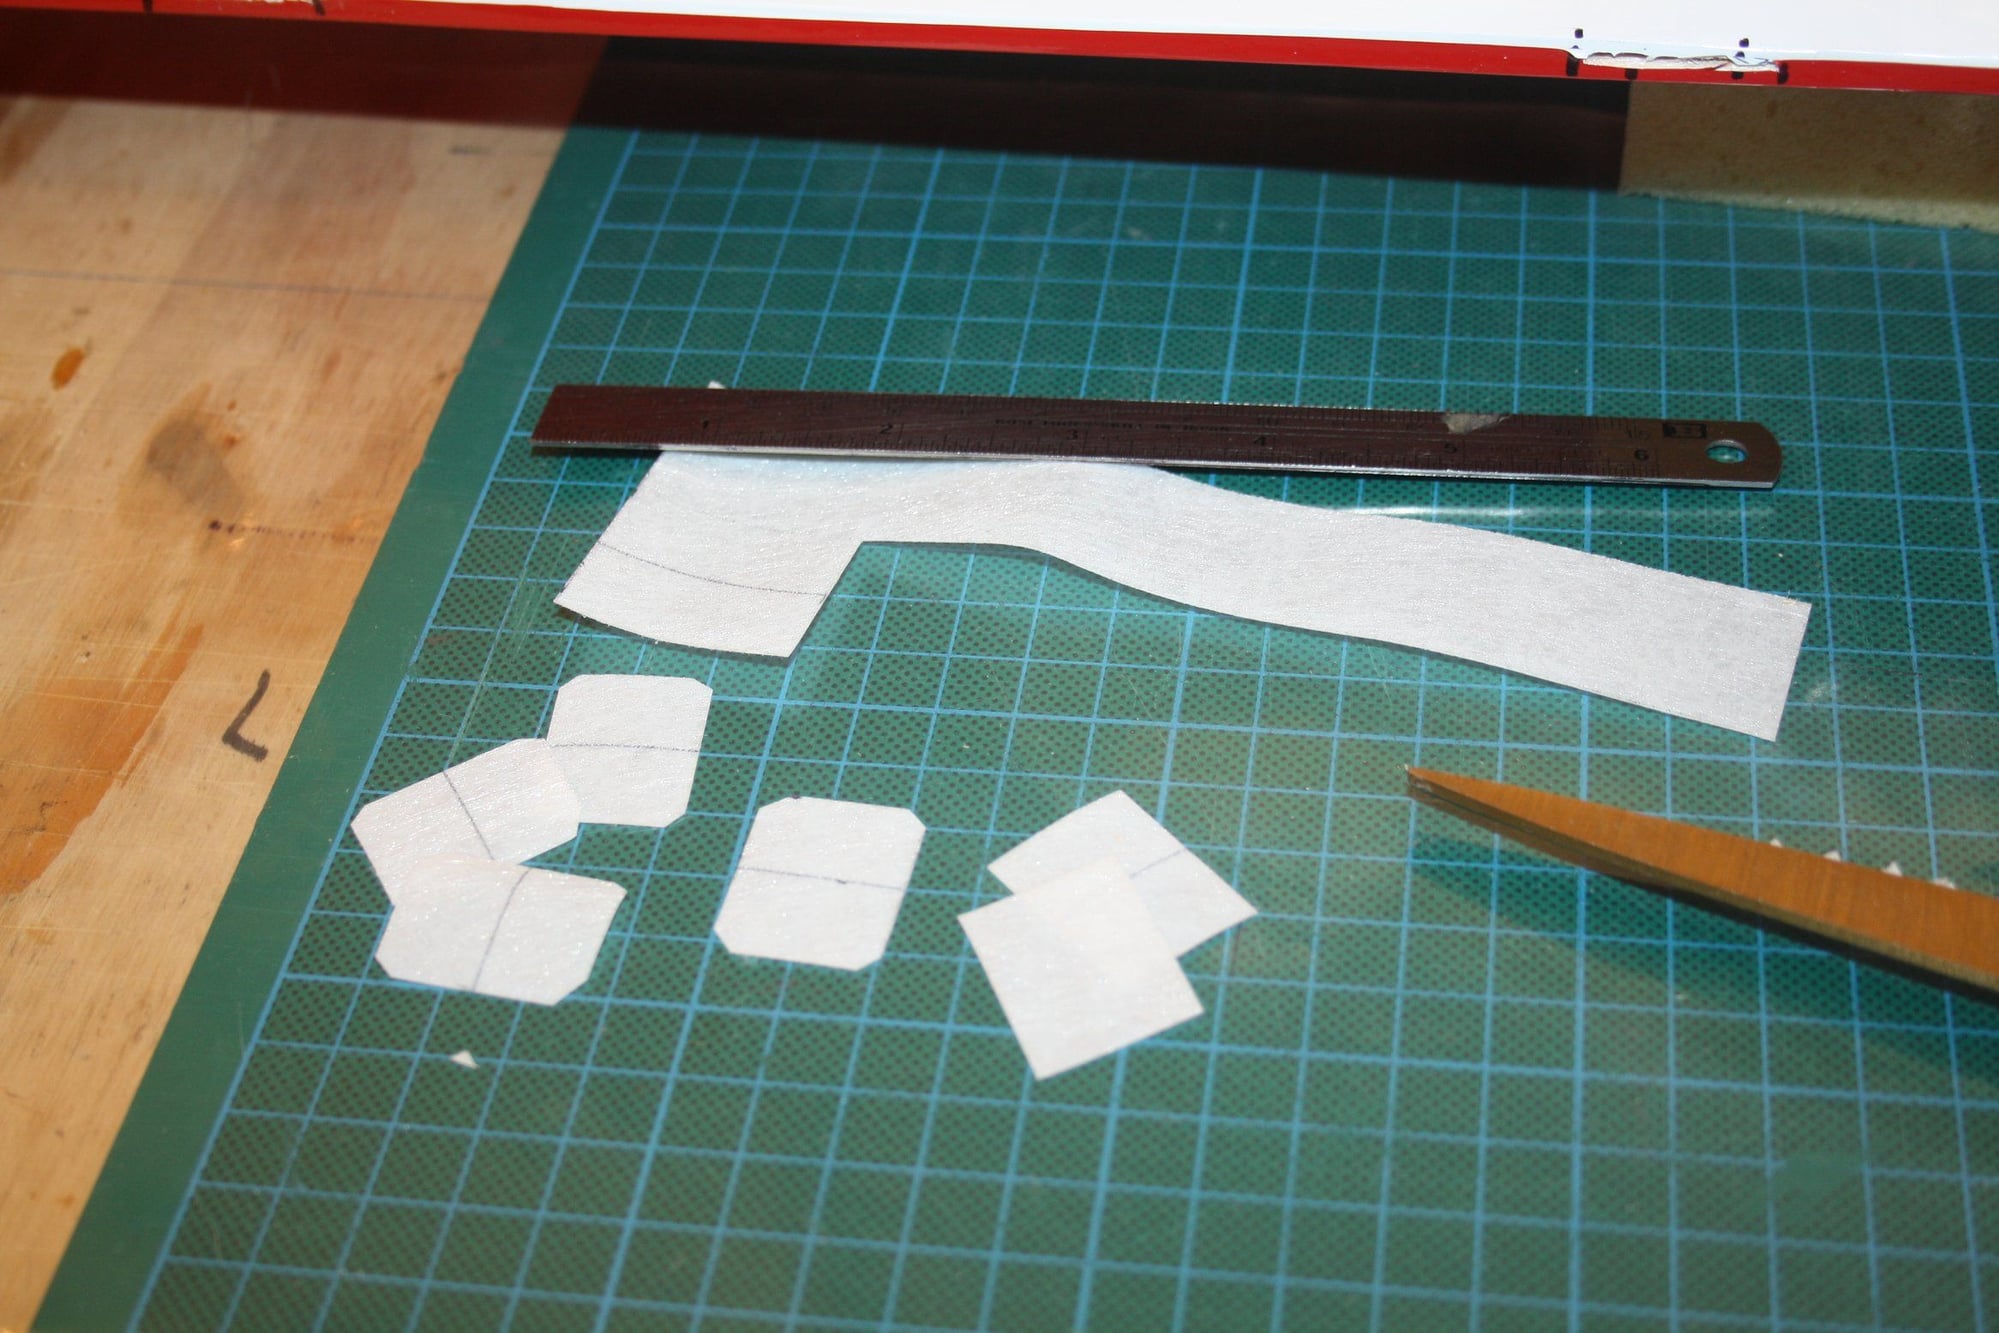
Then I cut a kit for the tail.
Cheers,
Eran

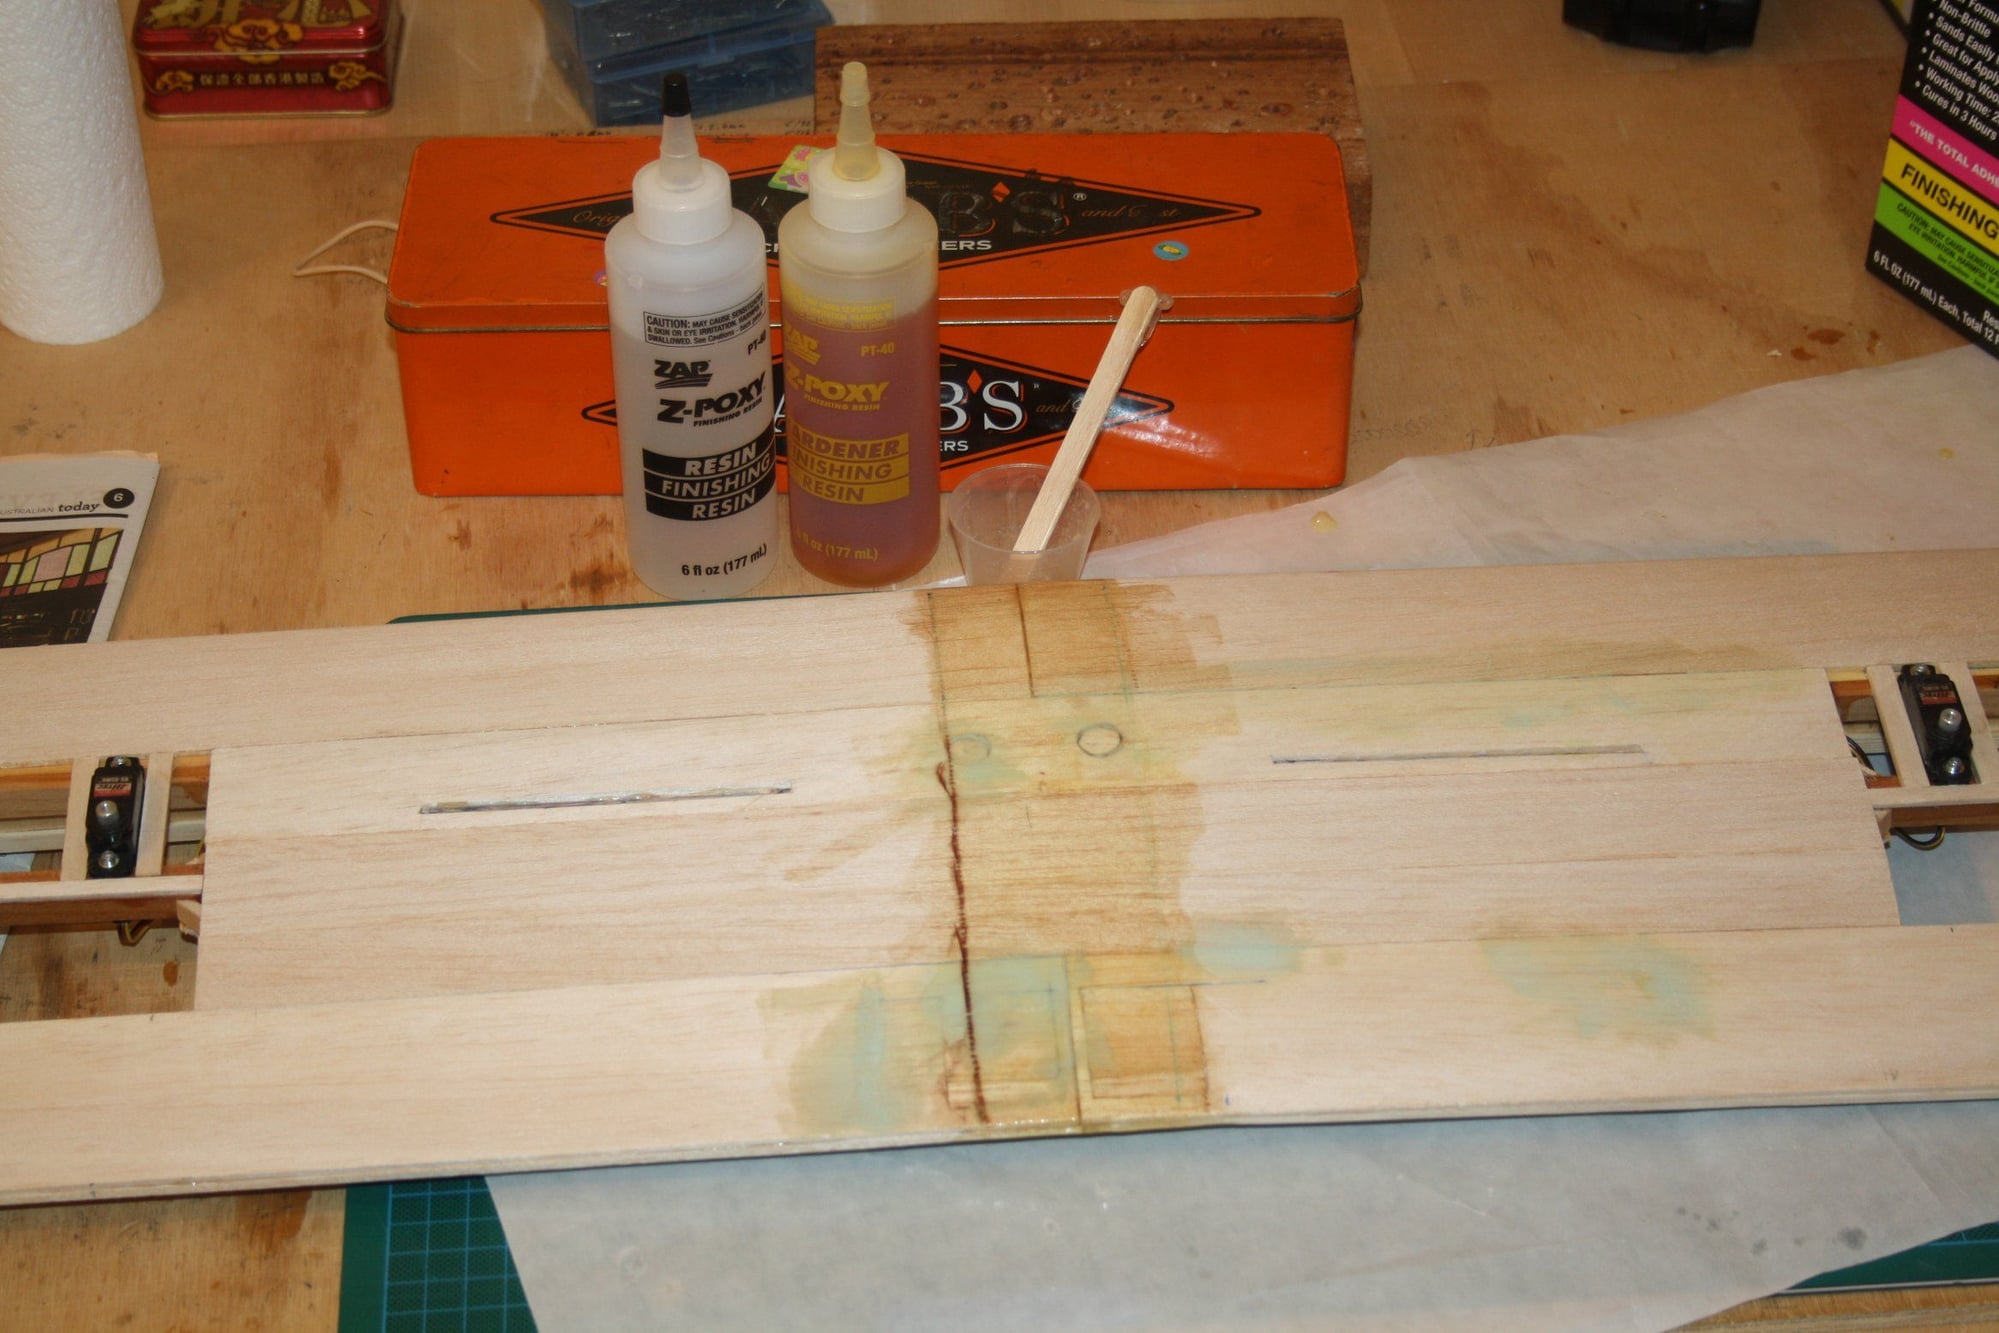
I got the fuselage sides glued all the way to the tail, and glued into place the Gold-N-Rod sleeves.While the Gorilla glue was drying, I coated the wing bottom centre section with a second Epoxy Resin coat.
Then I cut a kit for the tail.
Cheers,
Eran
 07-25-2018, 02:40 AM
#52
Thread Starter
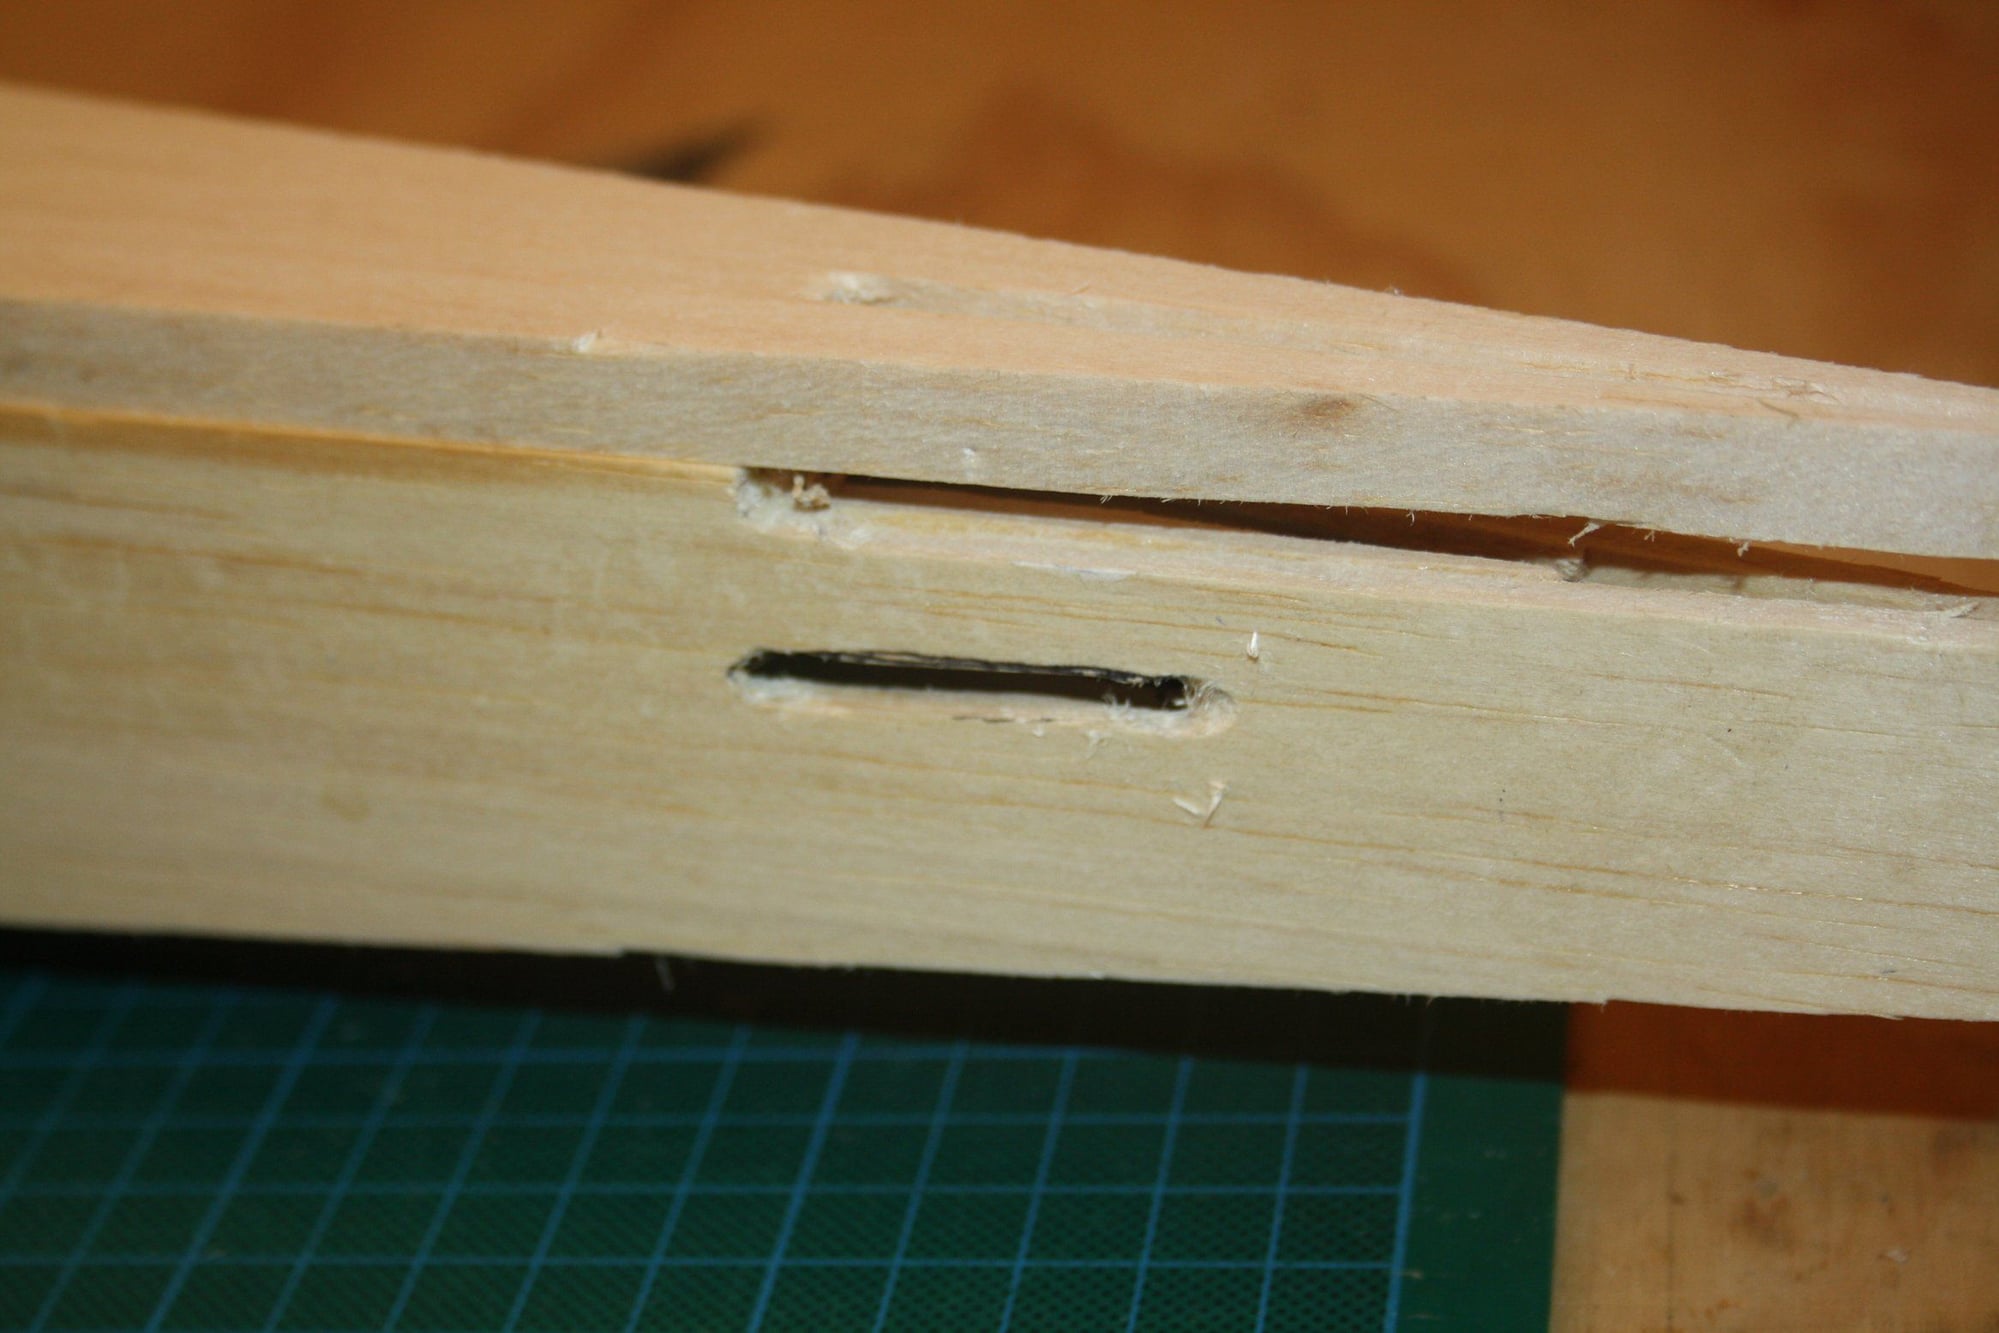
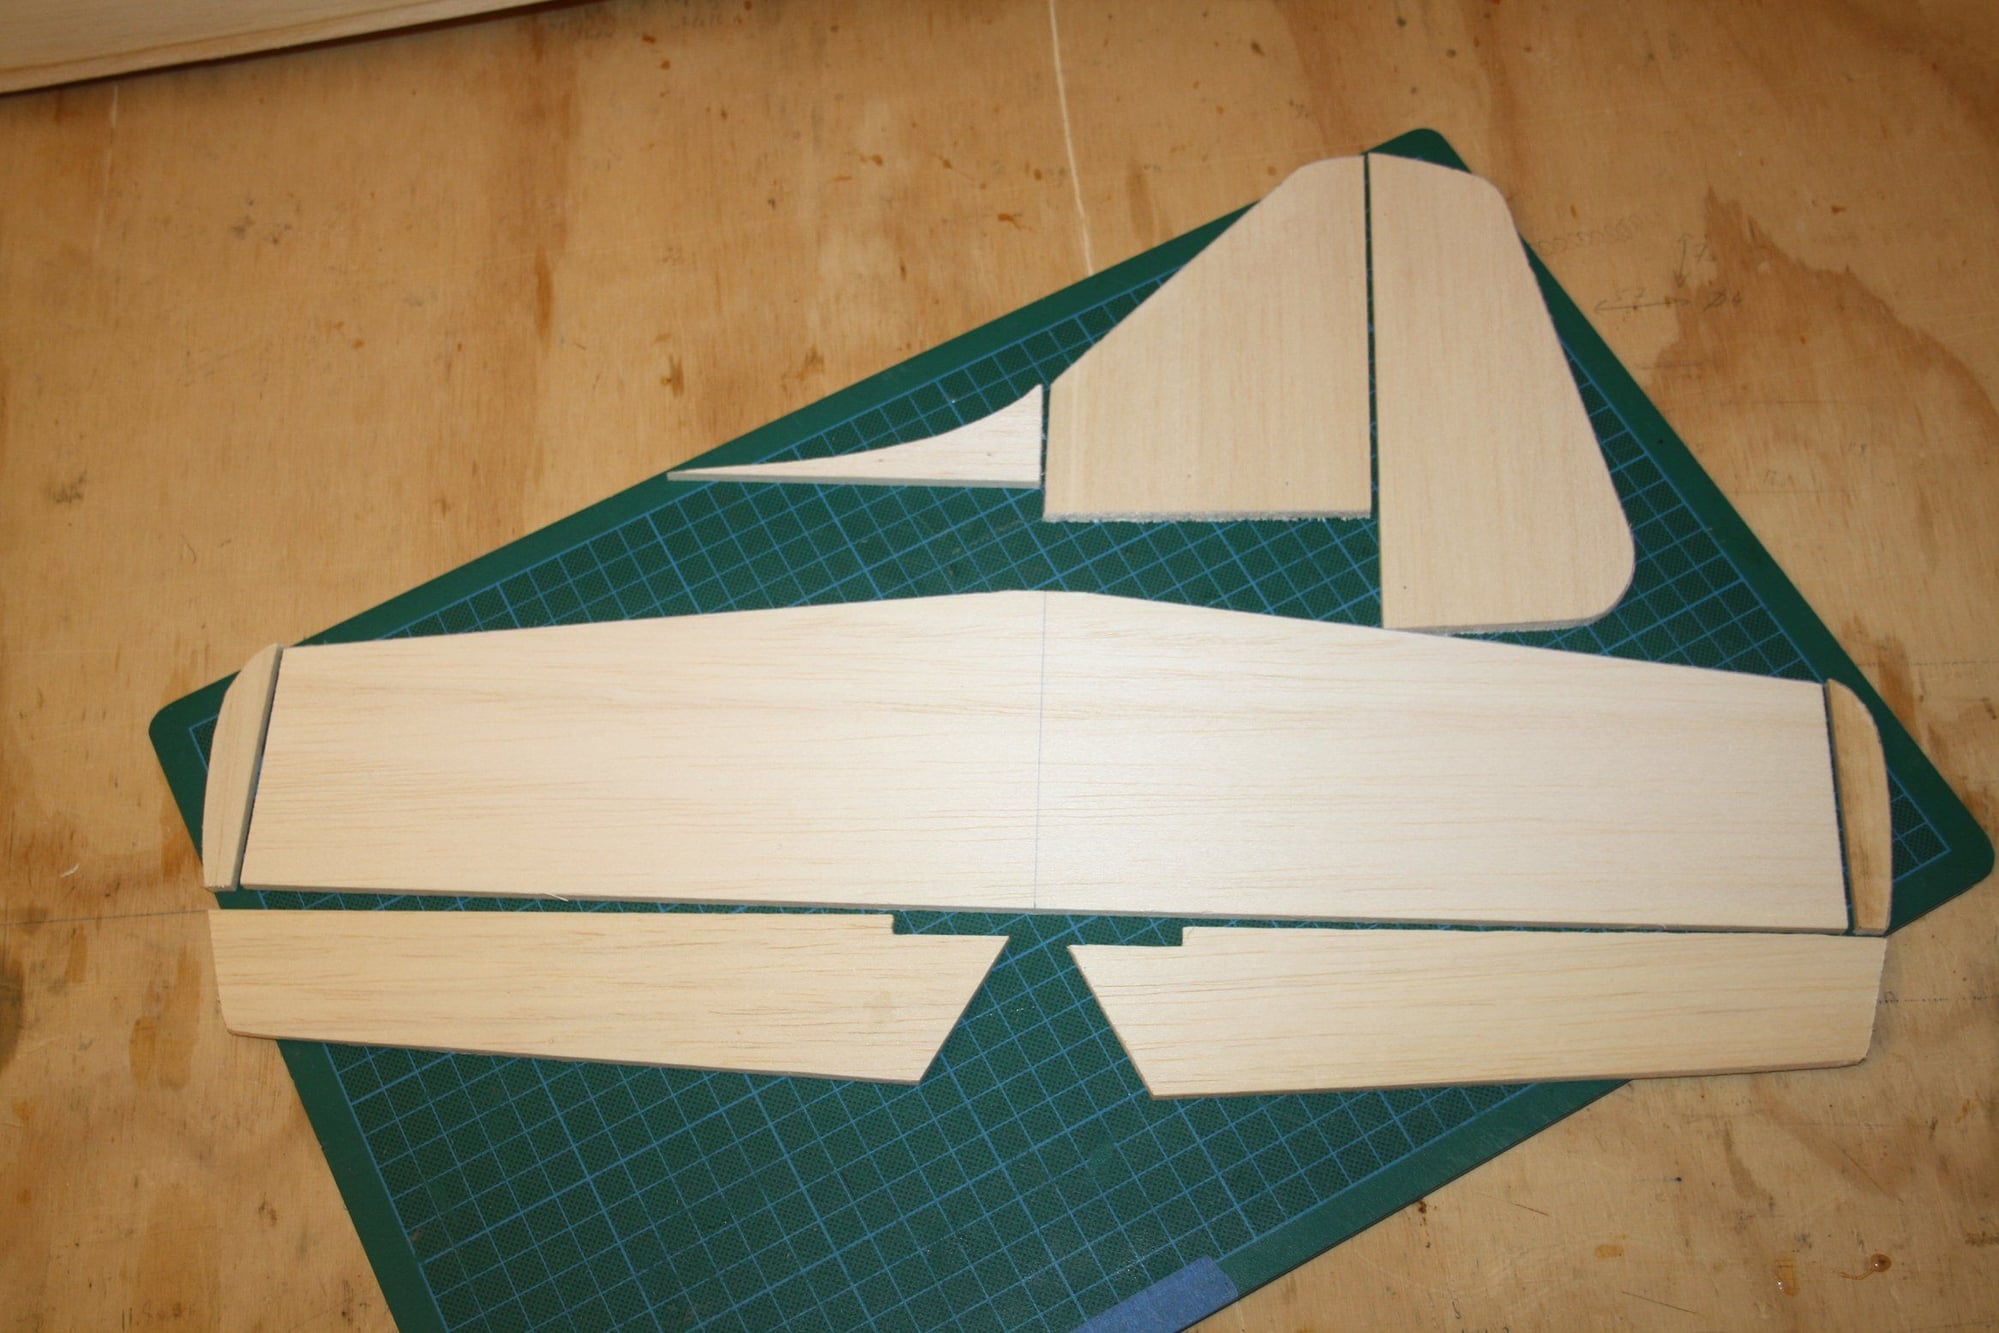
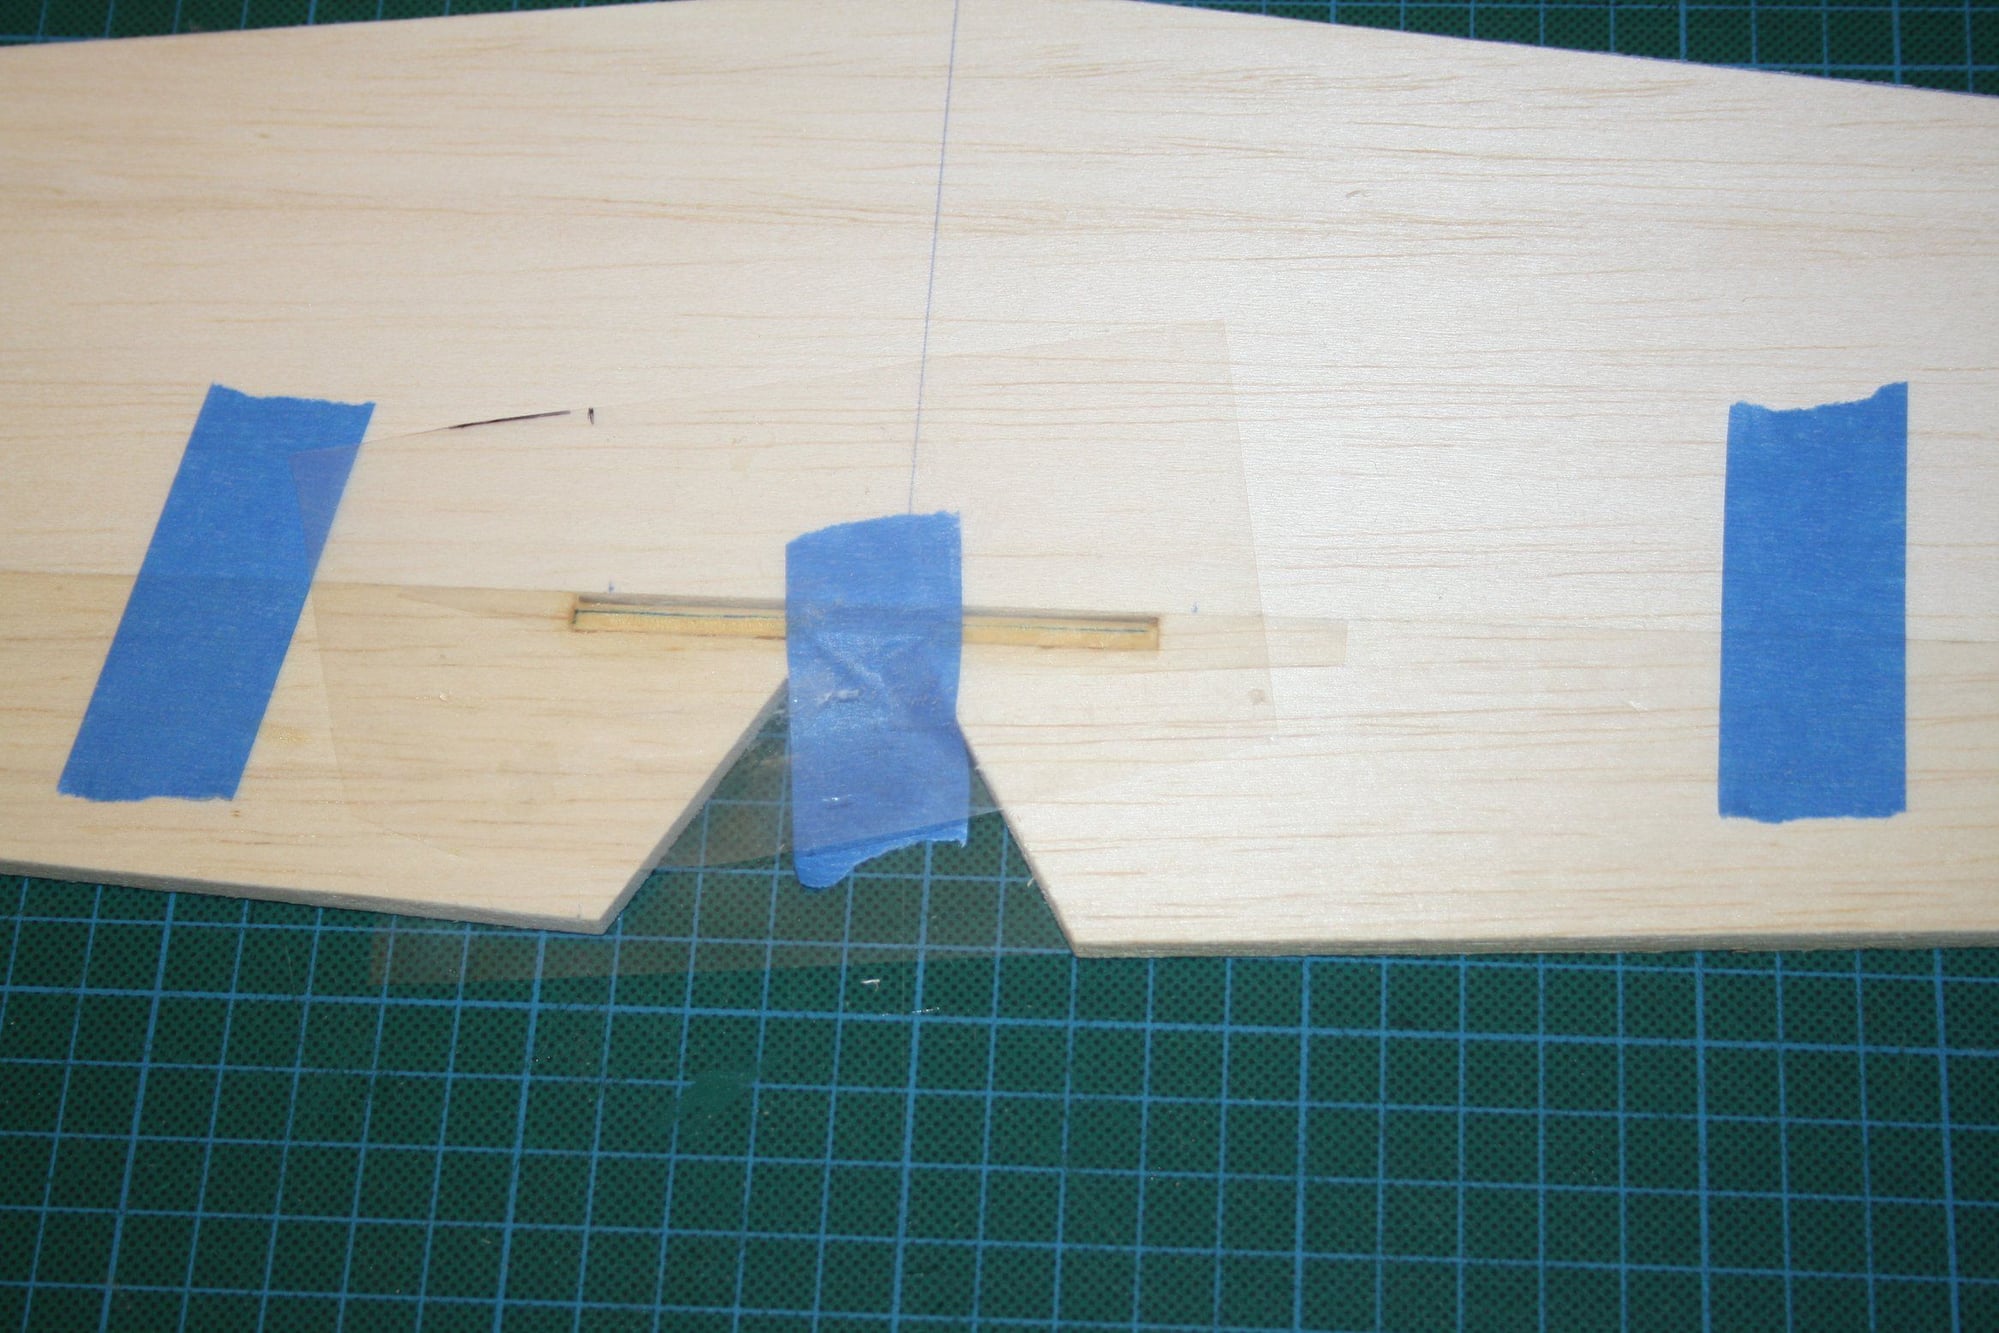
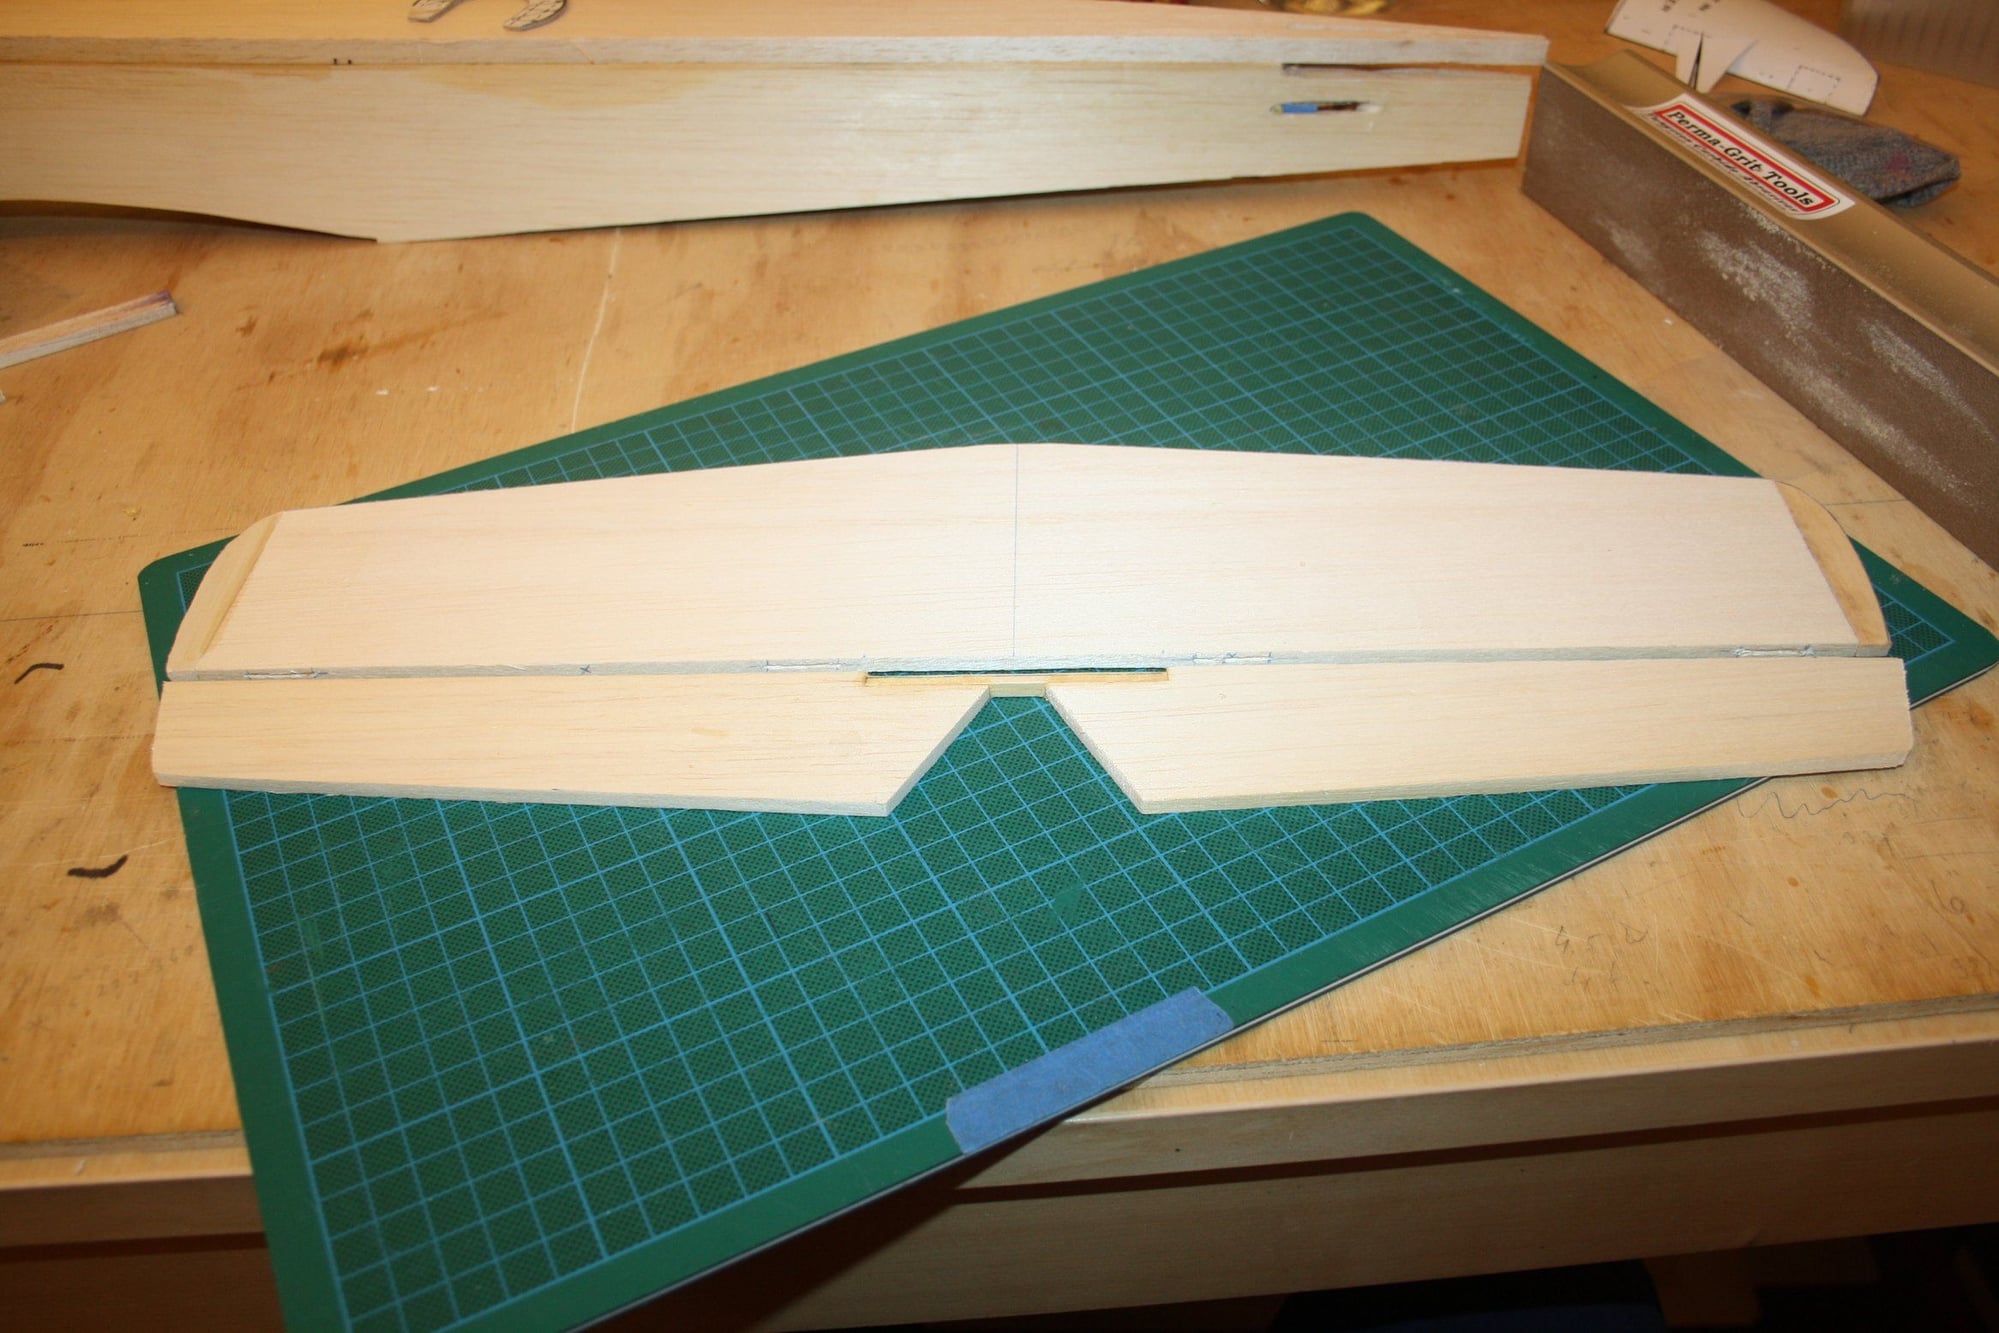
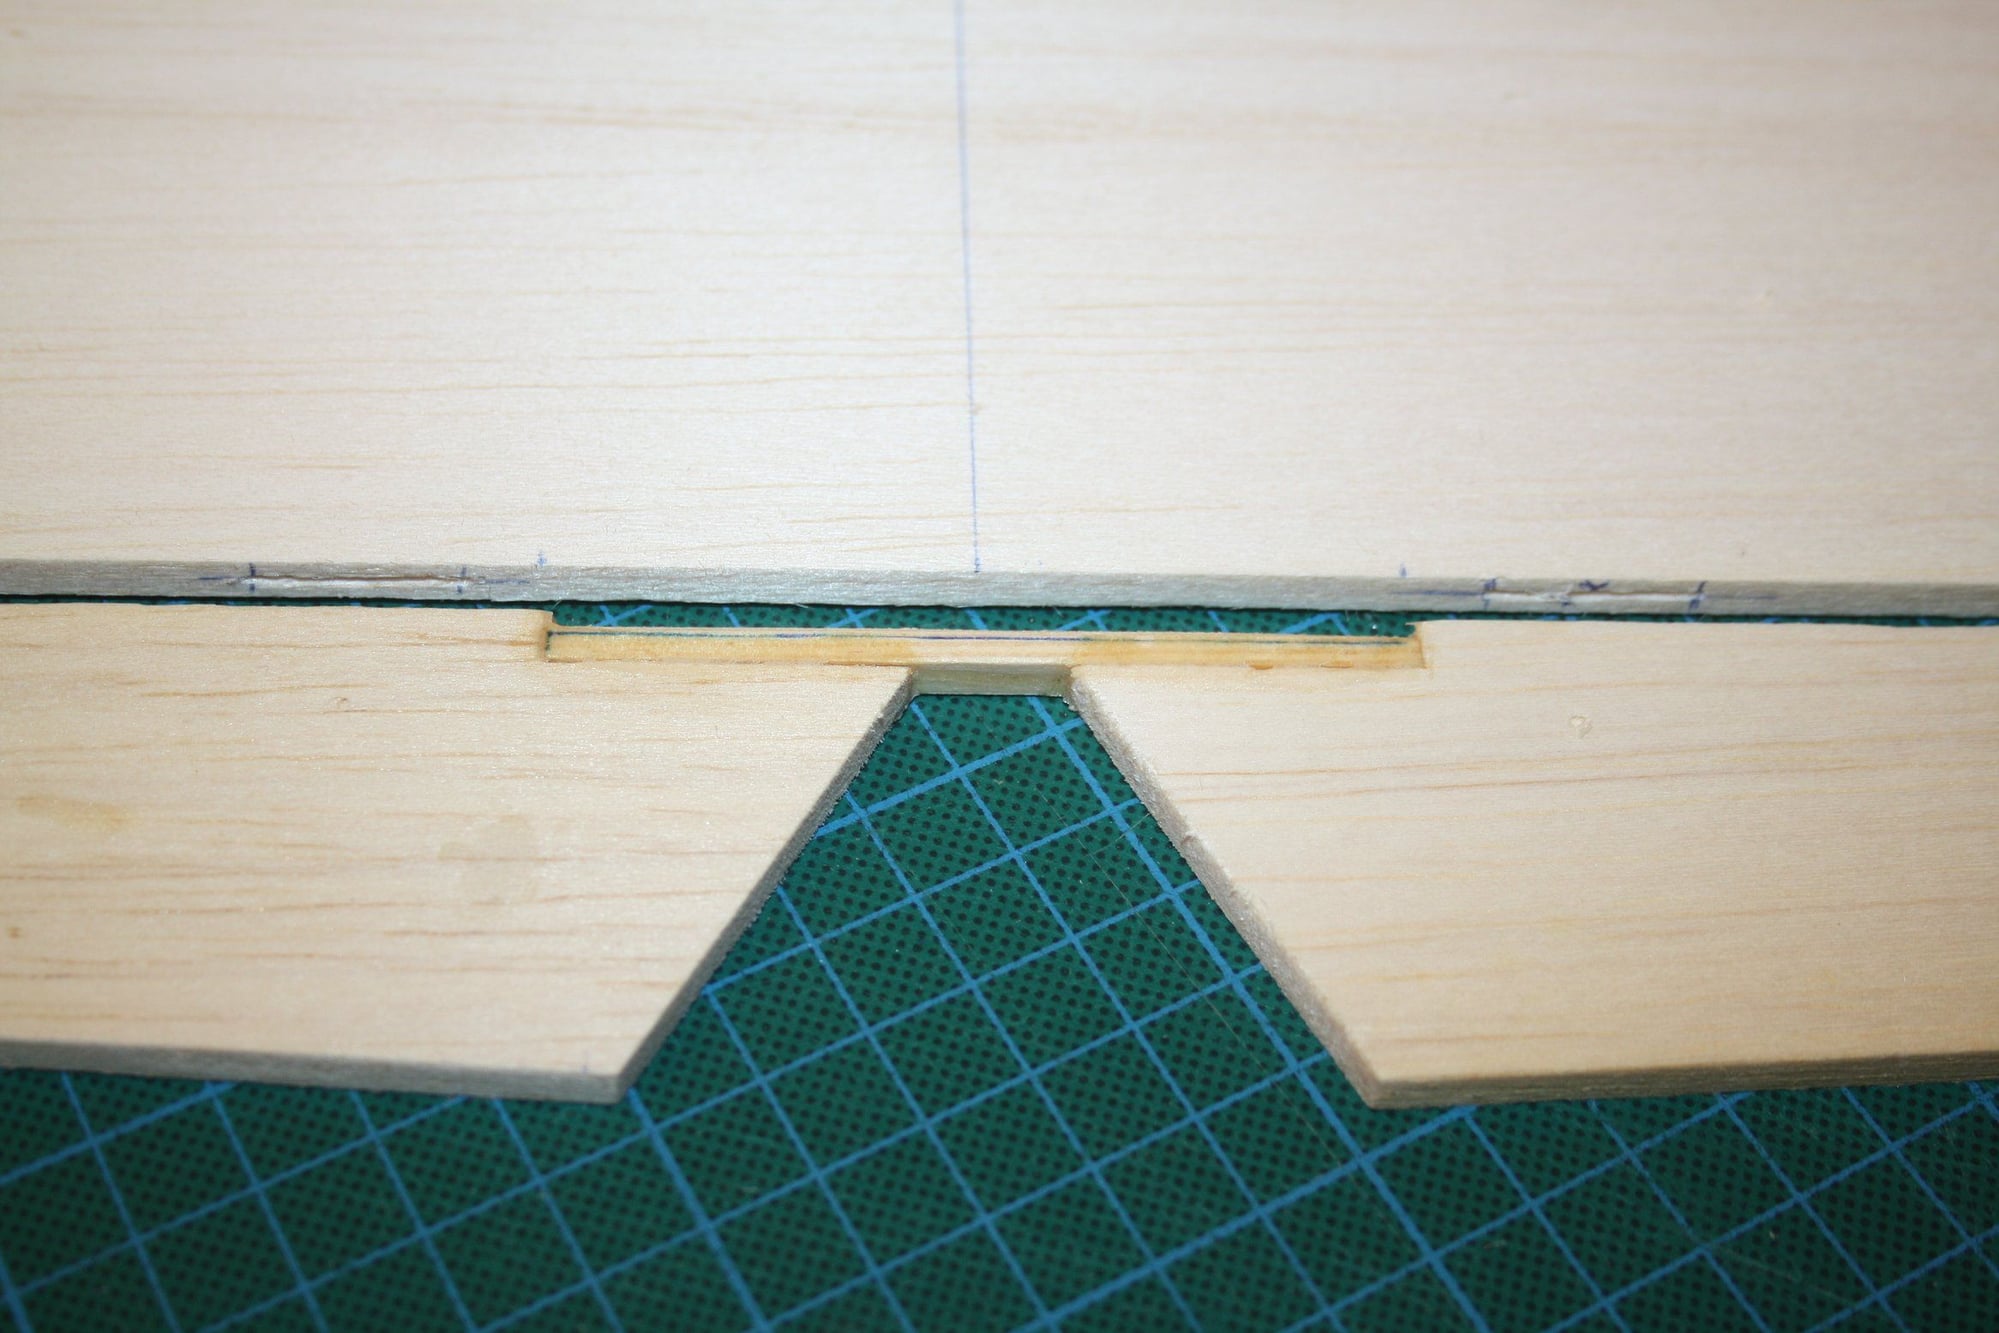
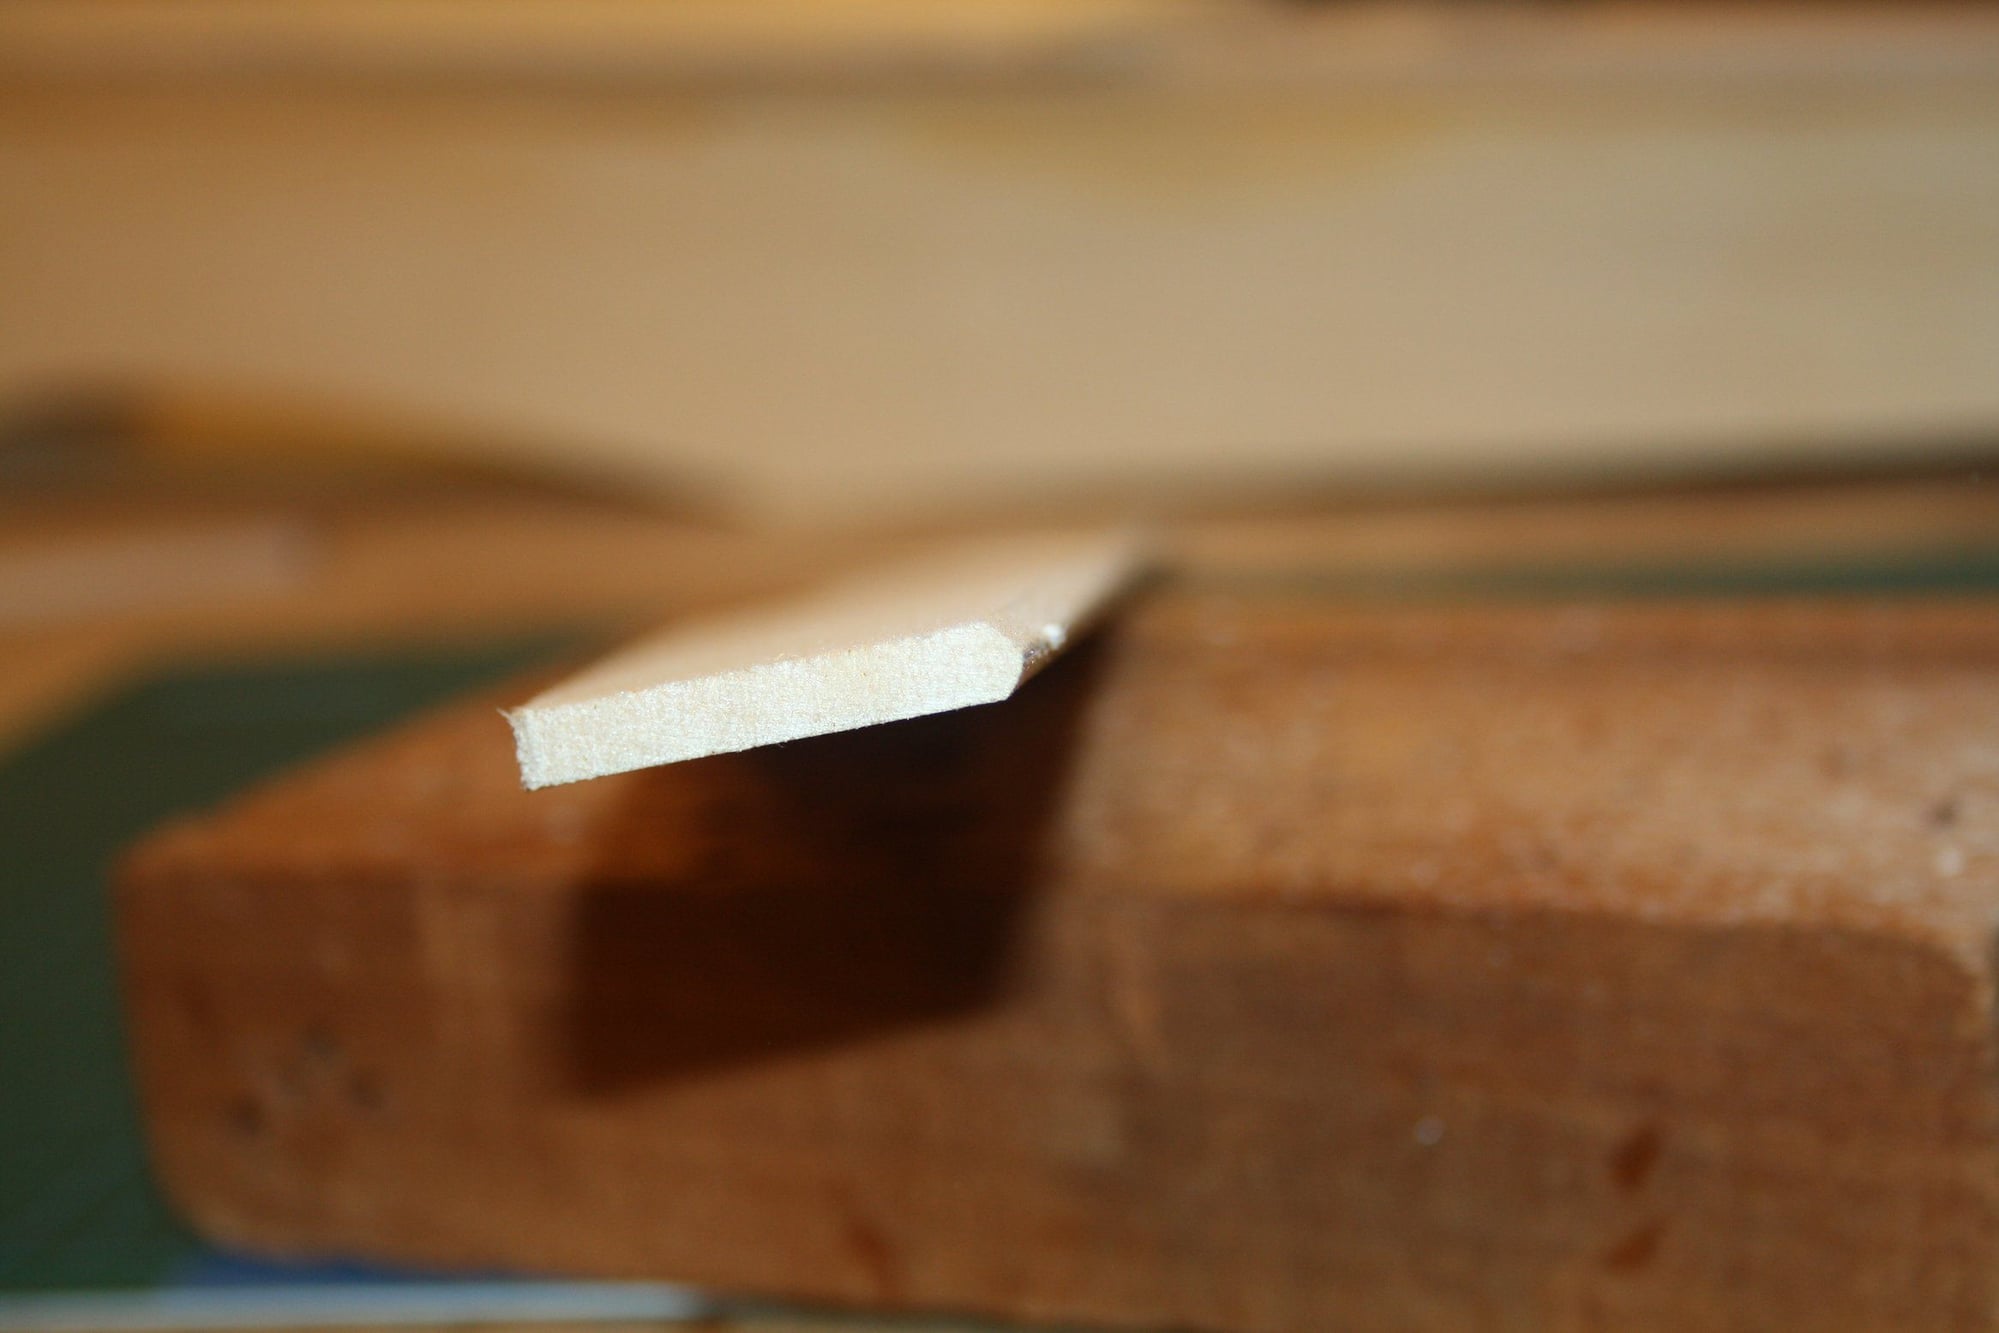
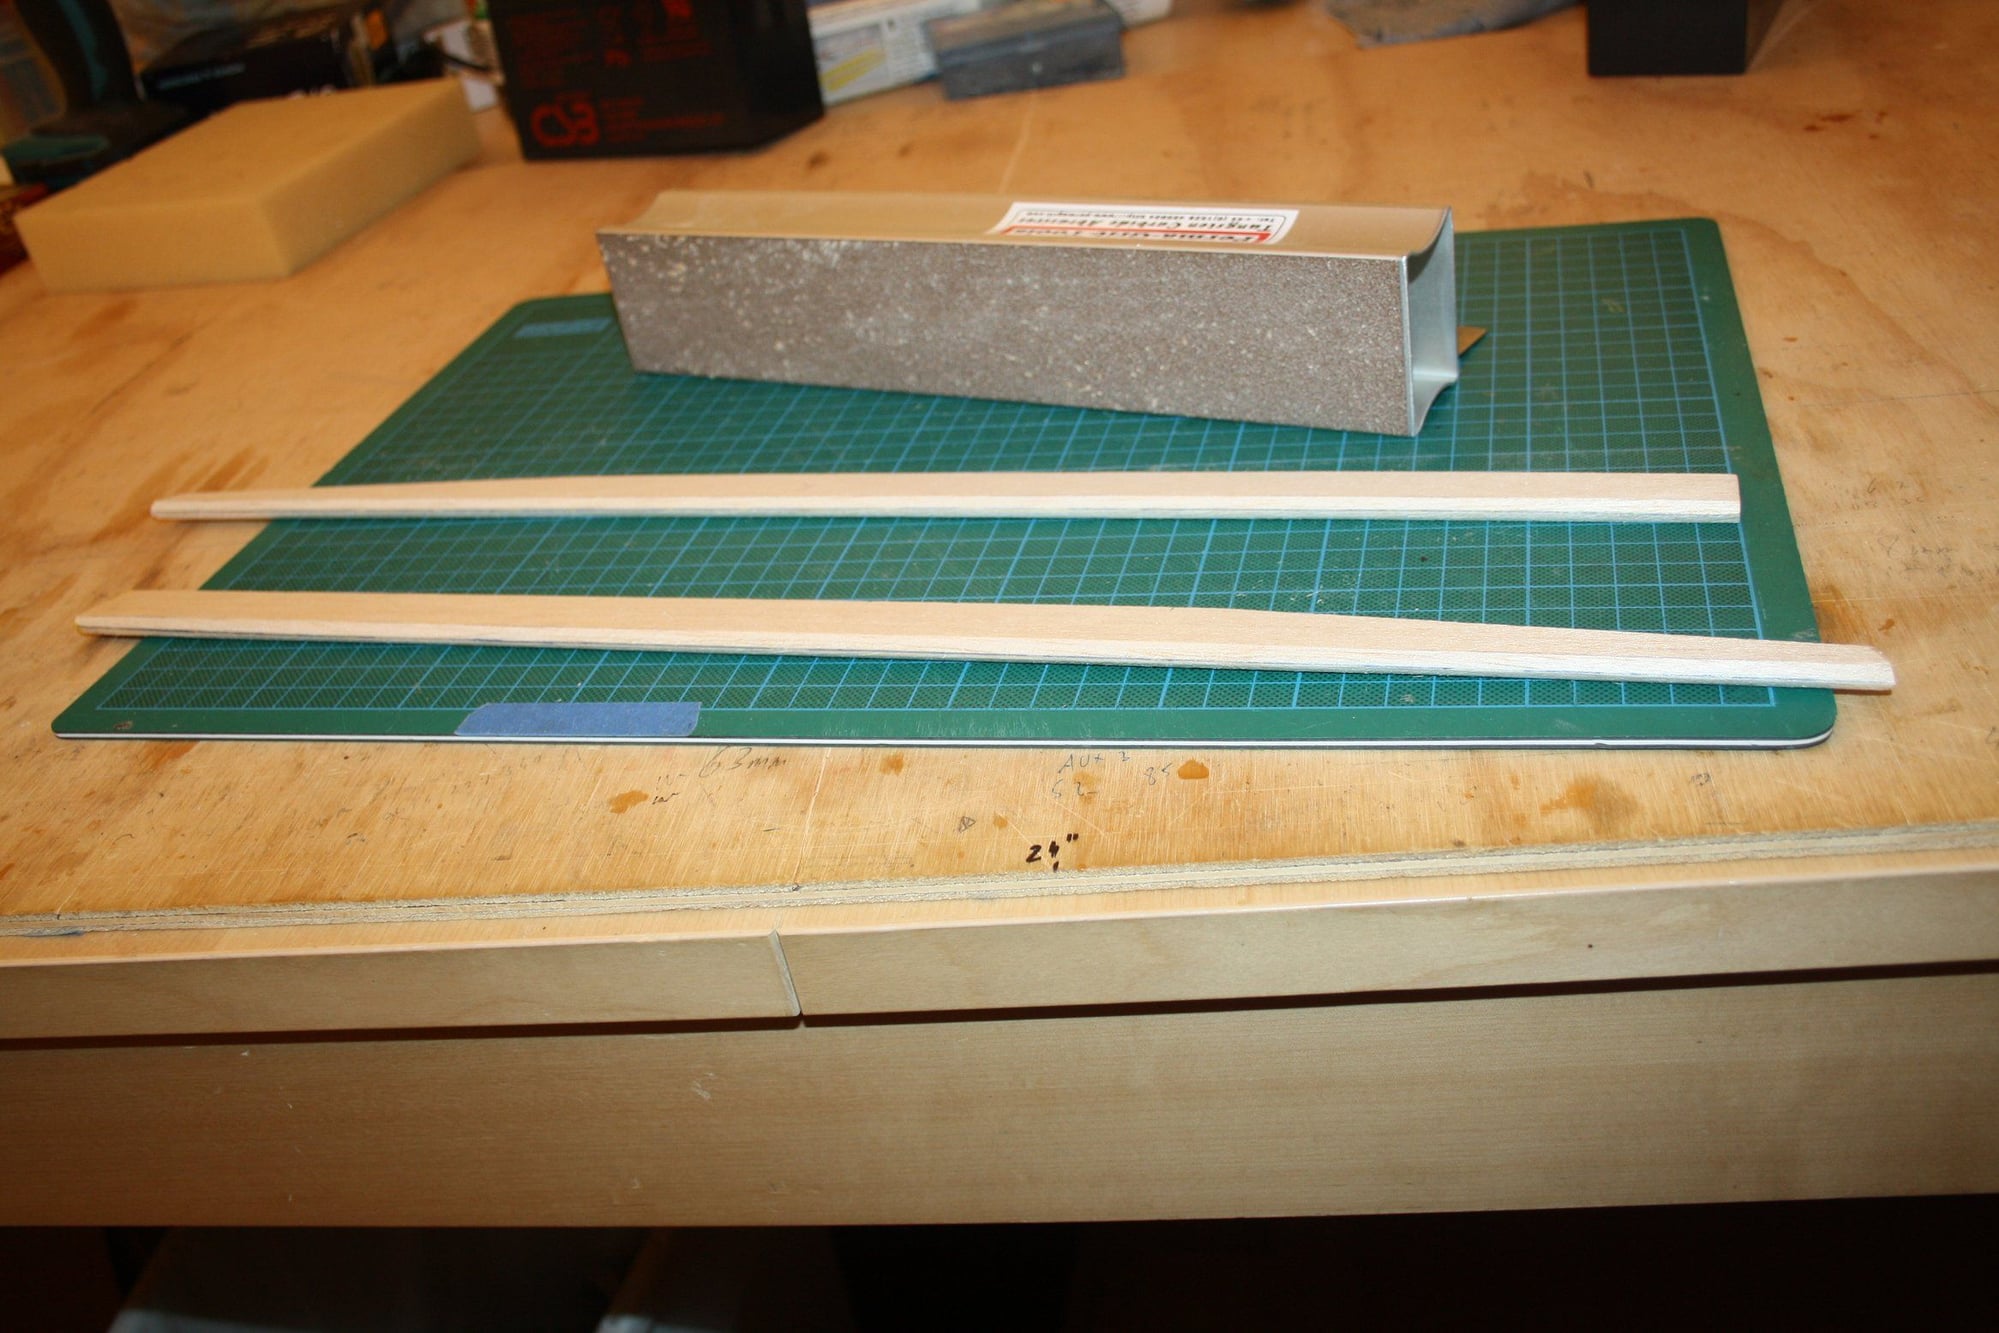
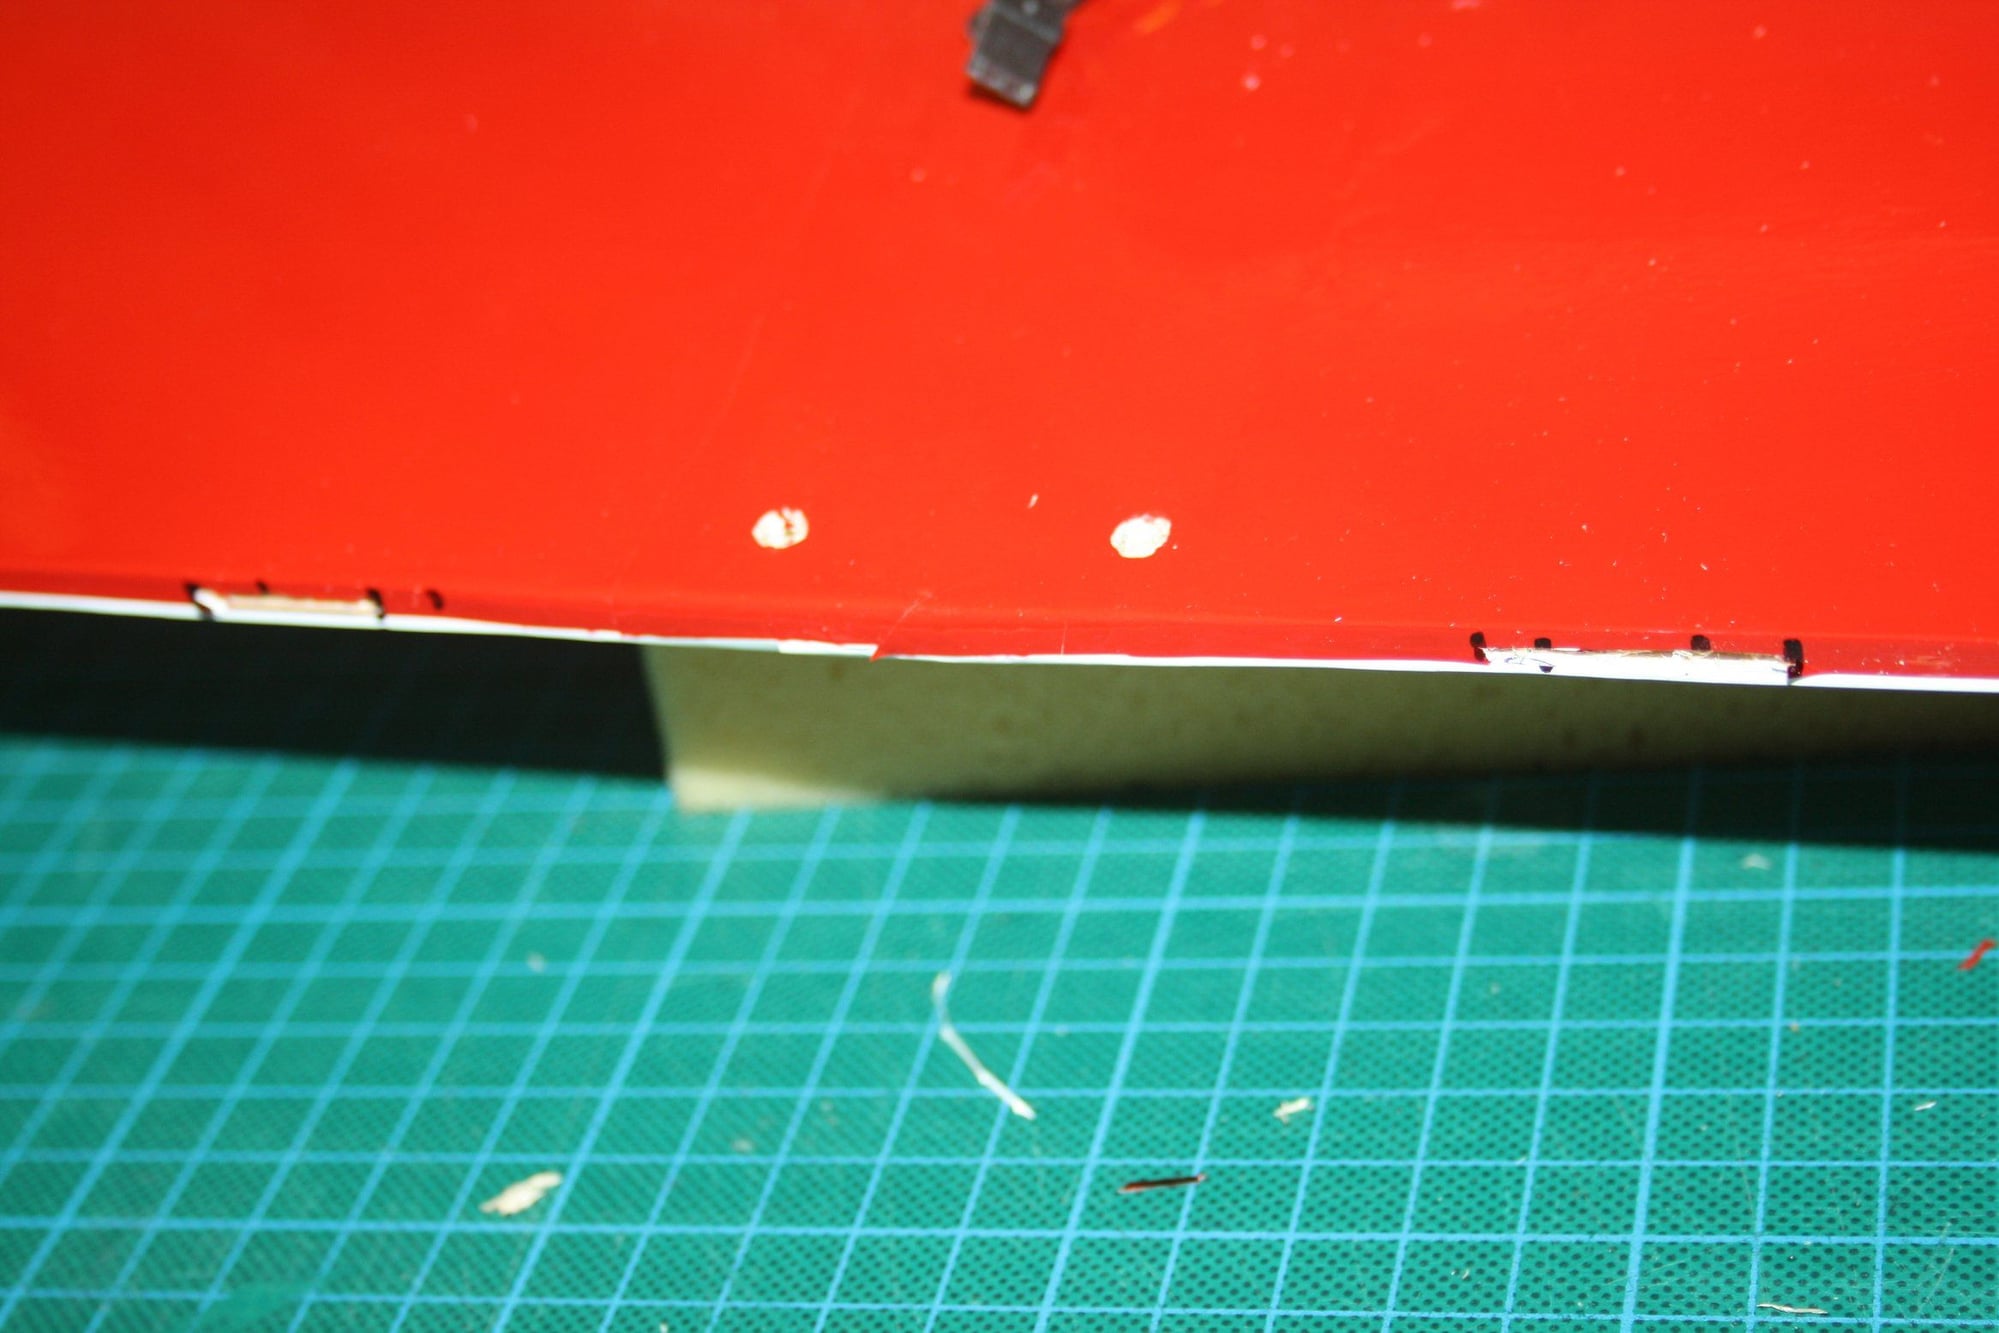
While I am at it working on the tail, I cut the hinges slots. I also glued together the two elevator halves and bevelled the leading edge for both elevator and rudder.
Cheers,
Eran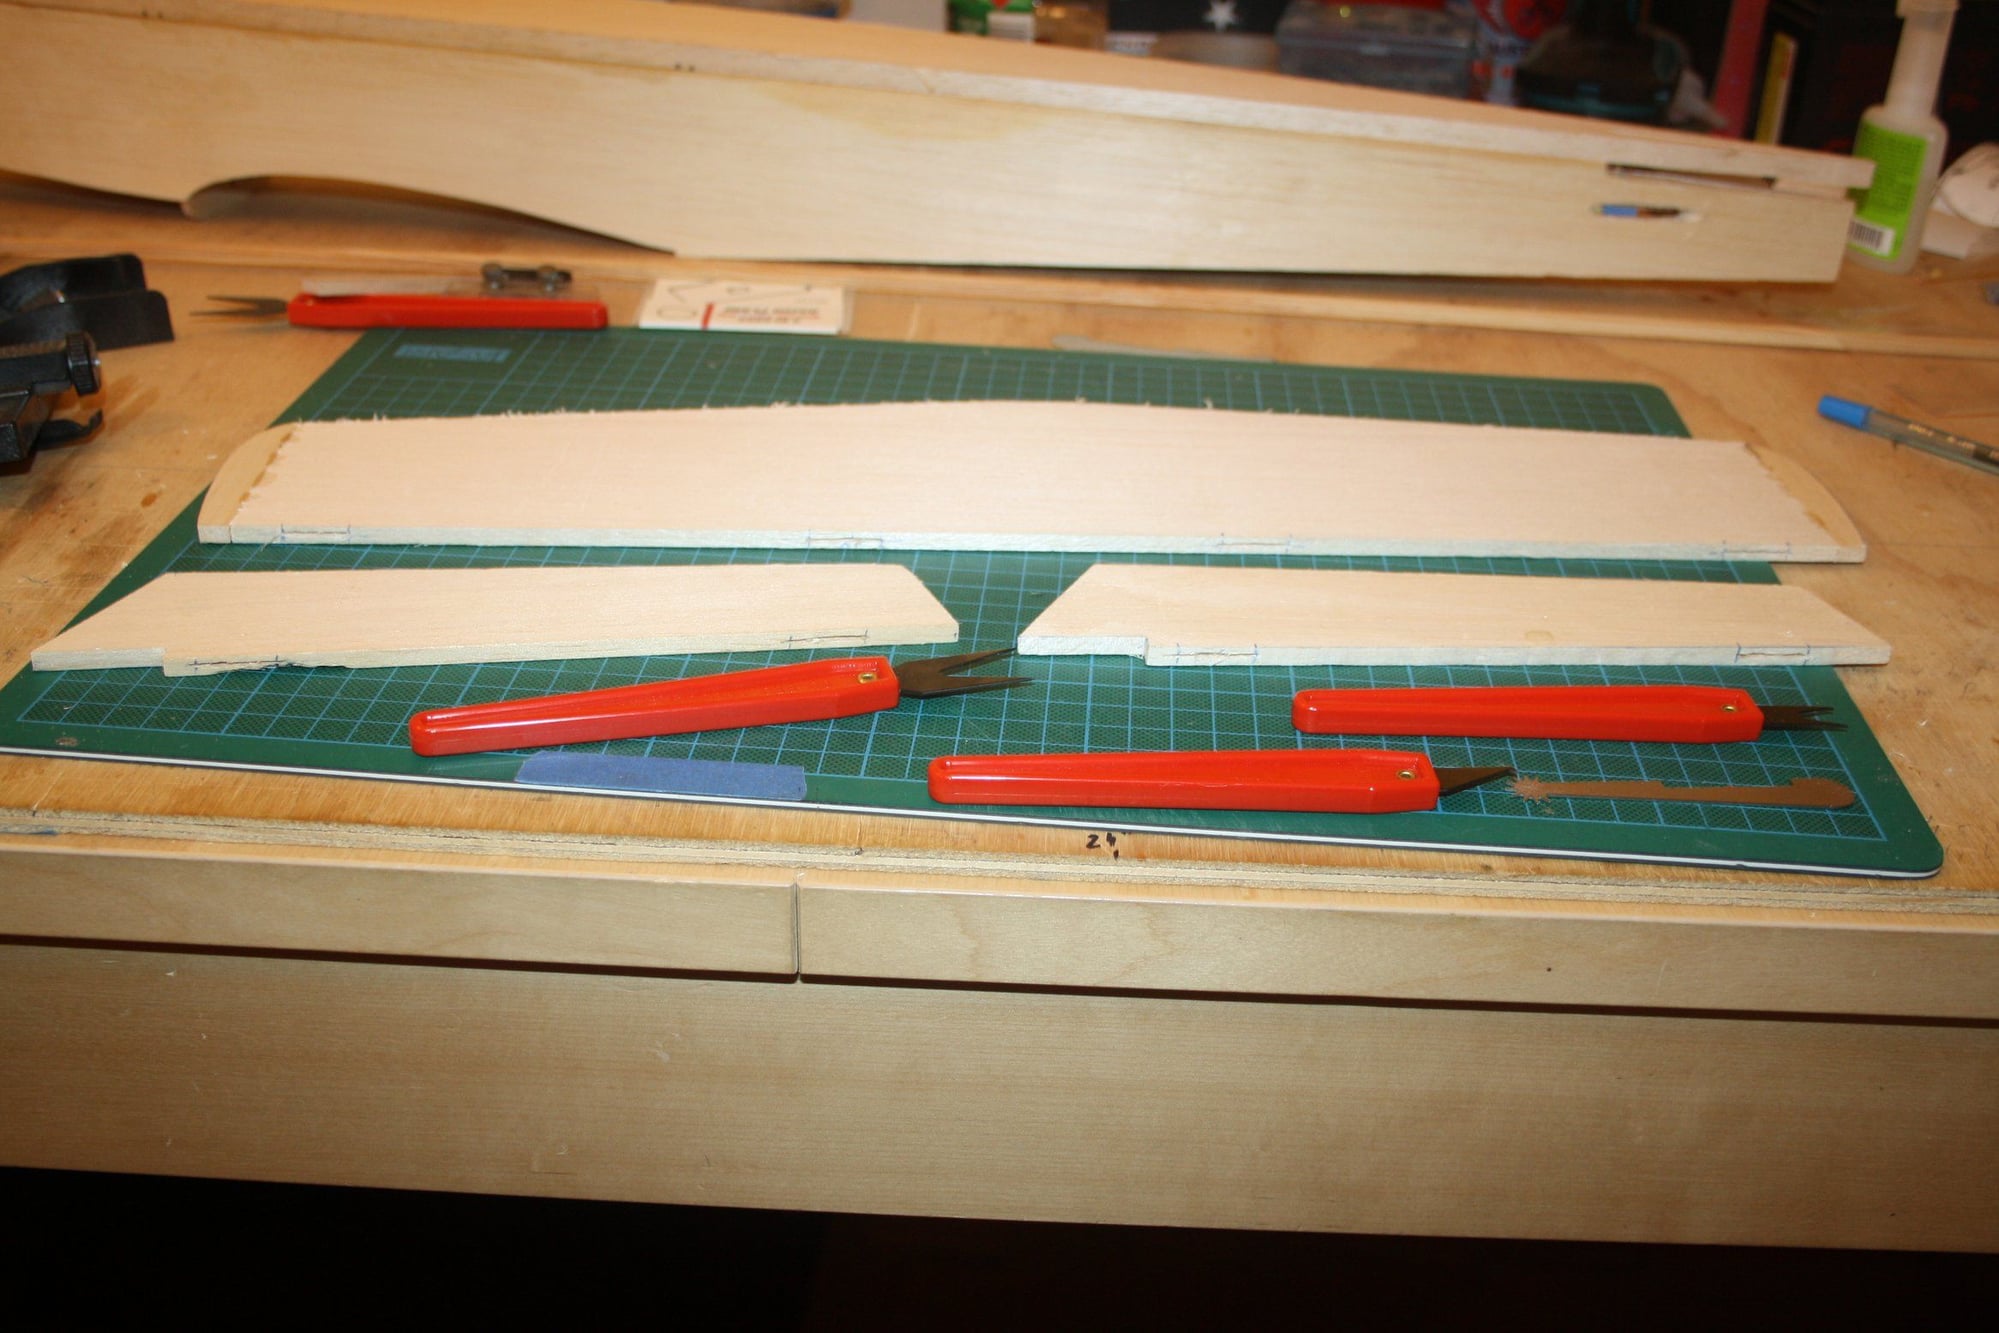

Cheers,
Eran
07-26-2018, 02:49 AM
#53
Thread Starter
I made very little progress today, but every progress is better then none.
I coated the firewall with Epoxy Resin. I also completed the last Epoxy Resin coat of the wing centre section.I then did the final touches on the tail.
I may do some covering next just to do something different...
Cheers,
Eran

I coated the firewall with Epoxy Resin. I also completed the last Epoxy Resin coat of the wing centre section.I then did the final touches on the tail.
I may do some covering next just to do something different...
Cheers,
Eran
07-29-2018, 08:46 PM
#54
Thread Starter
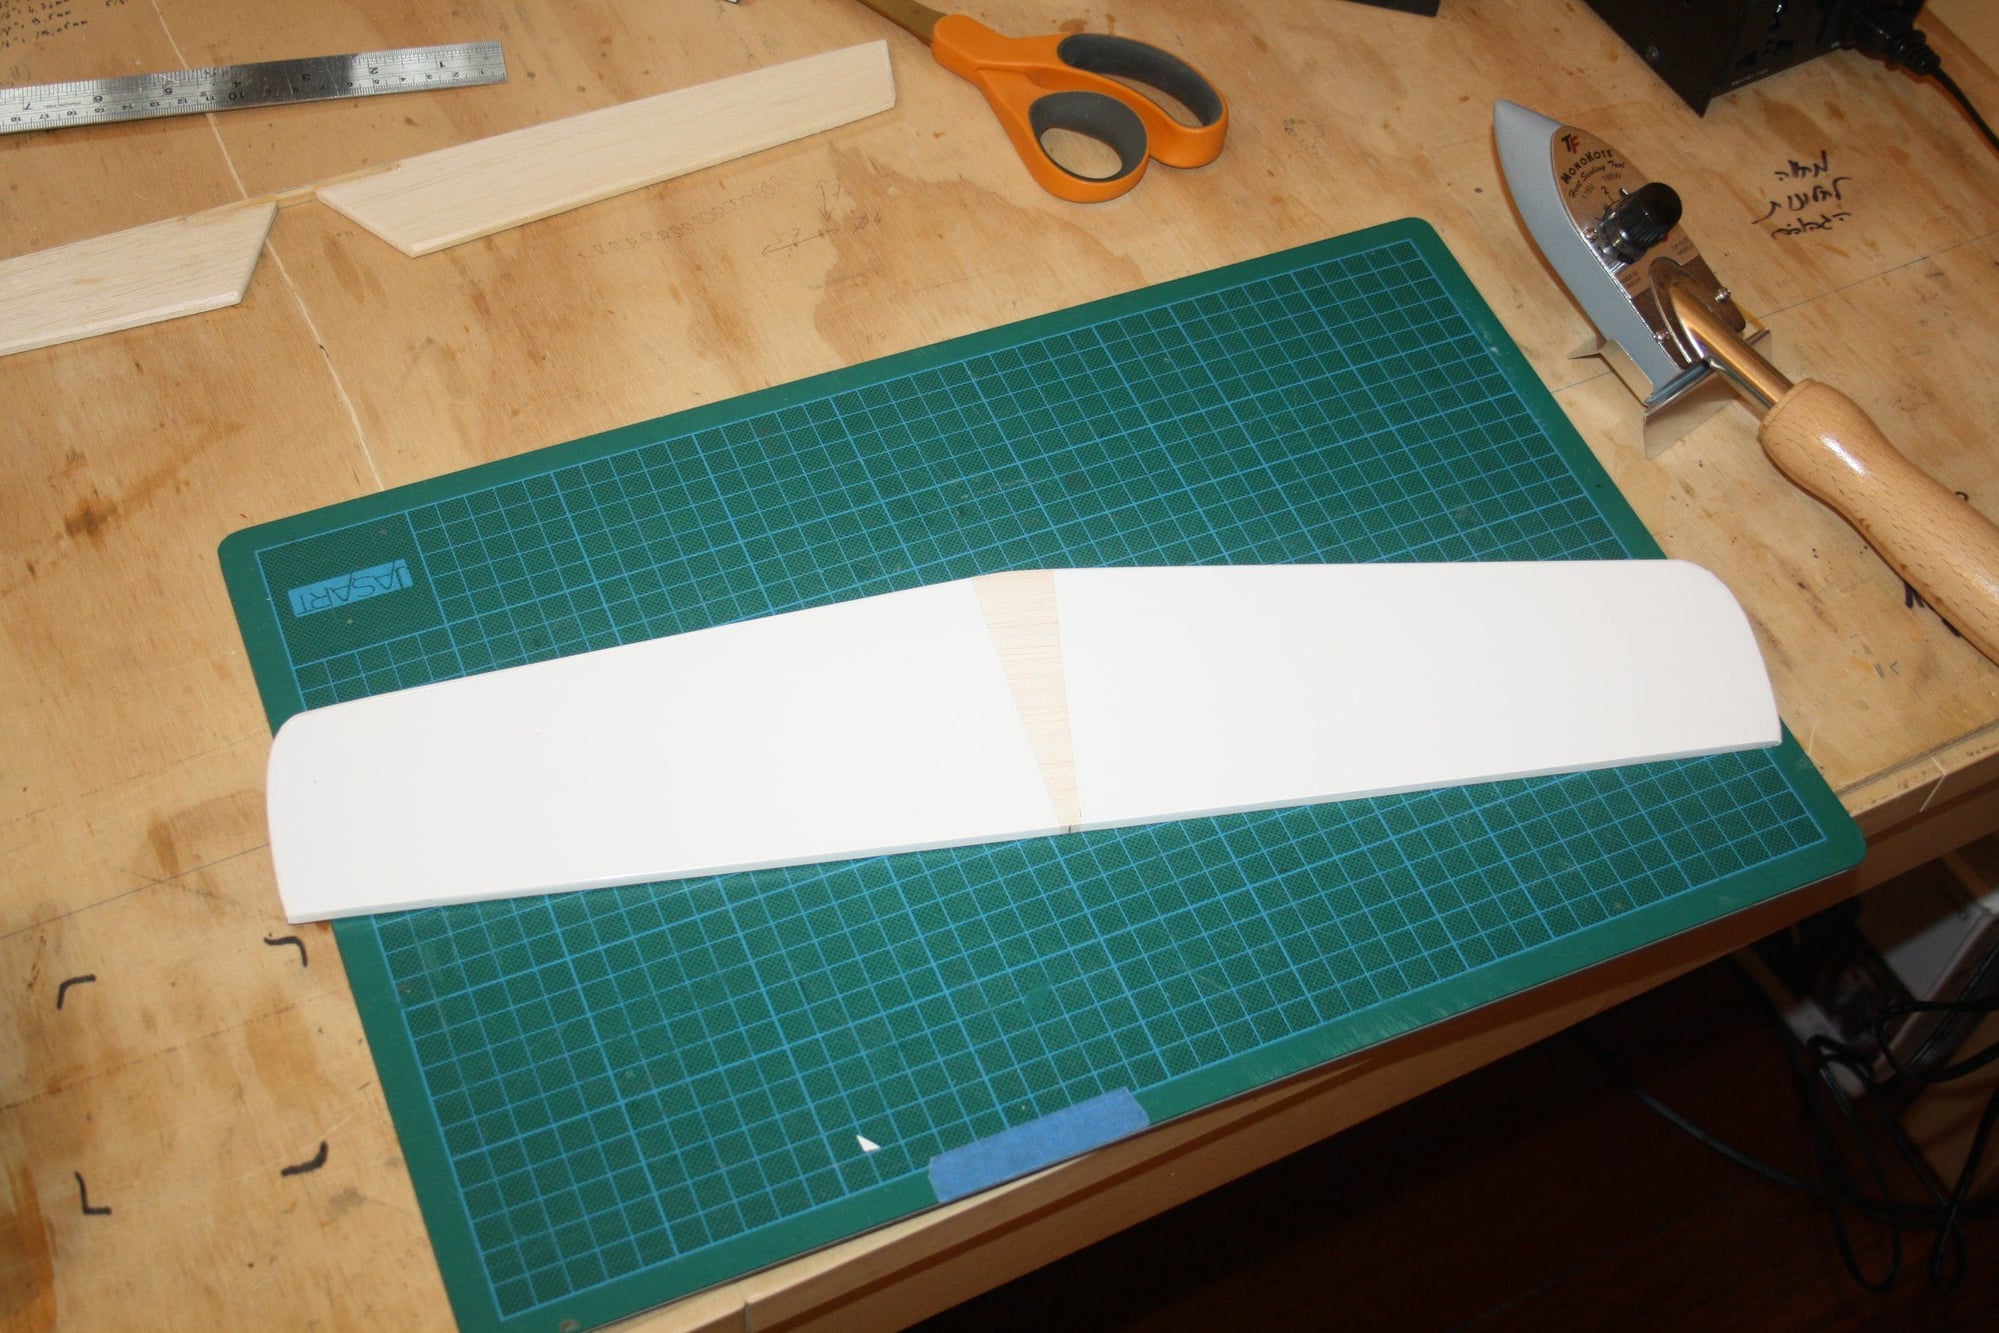
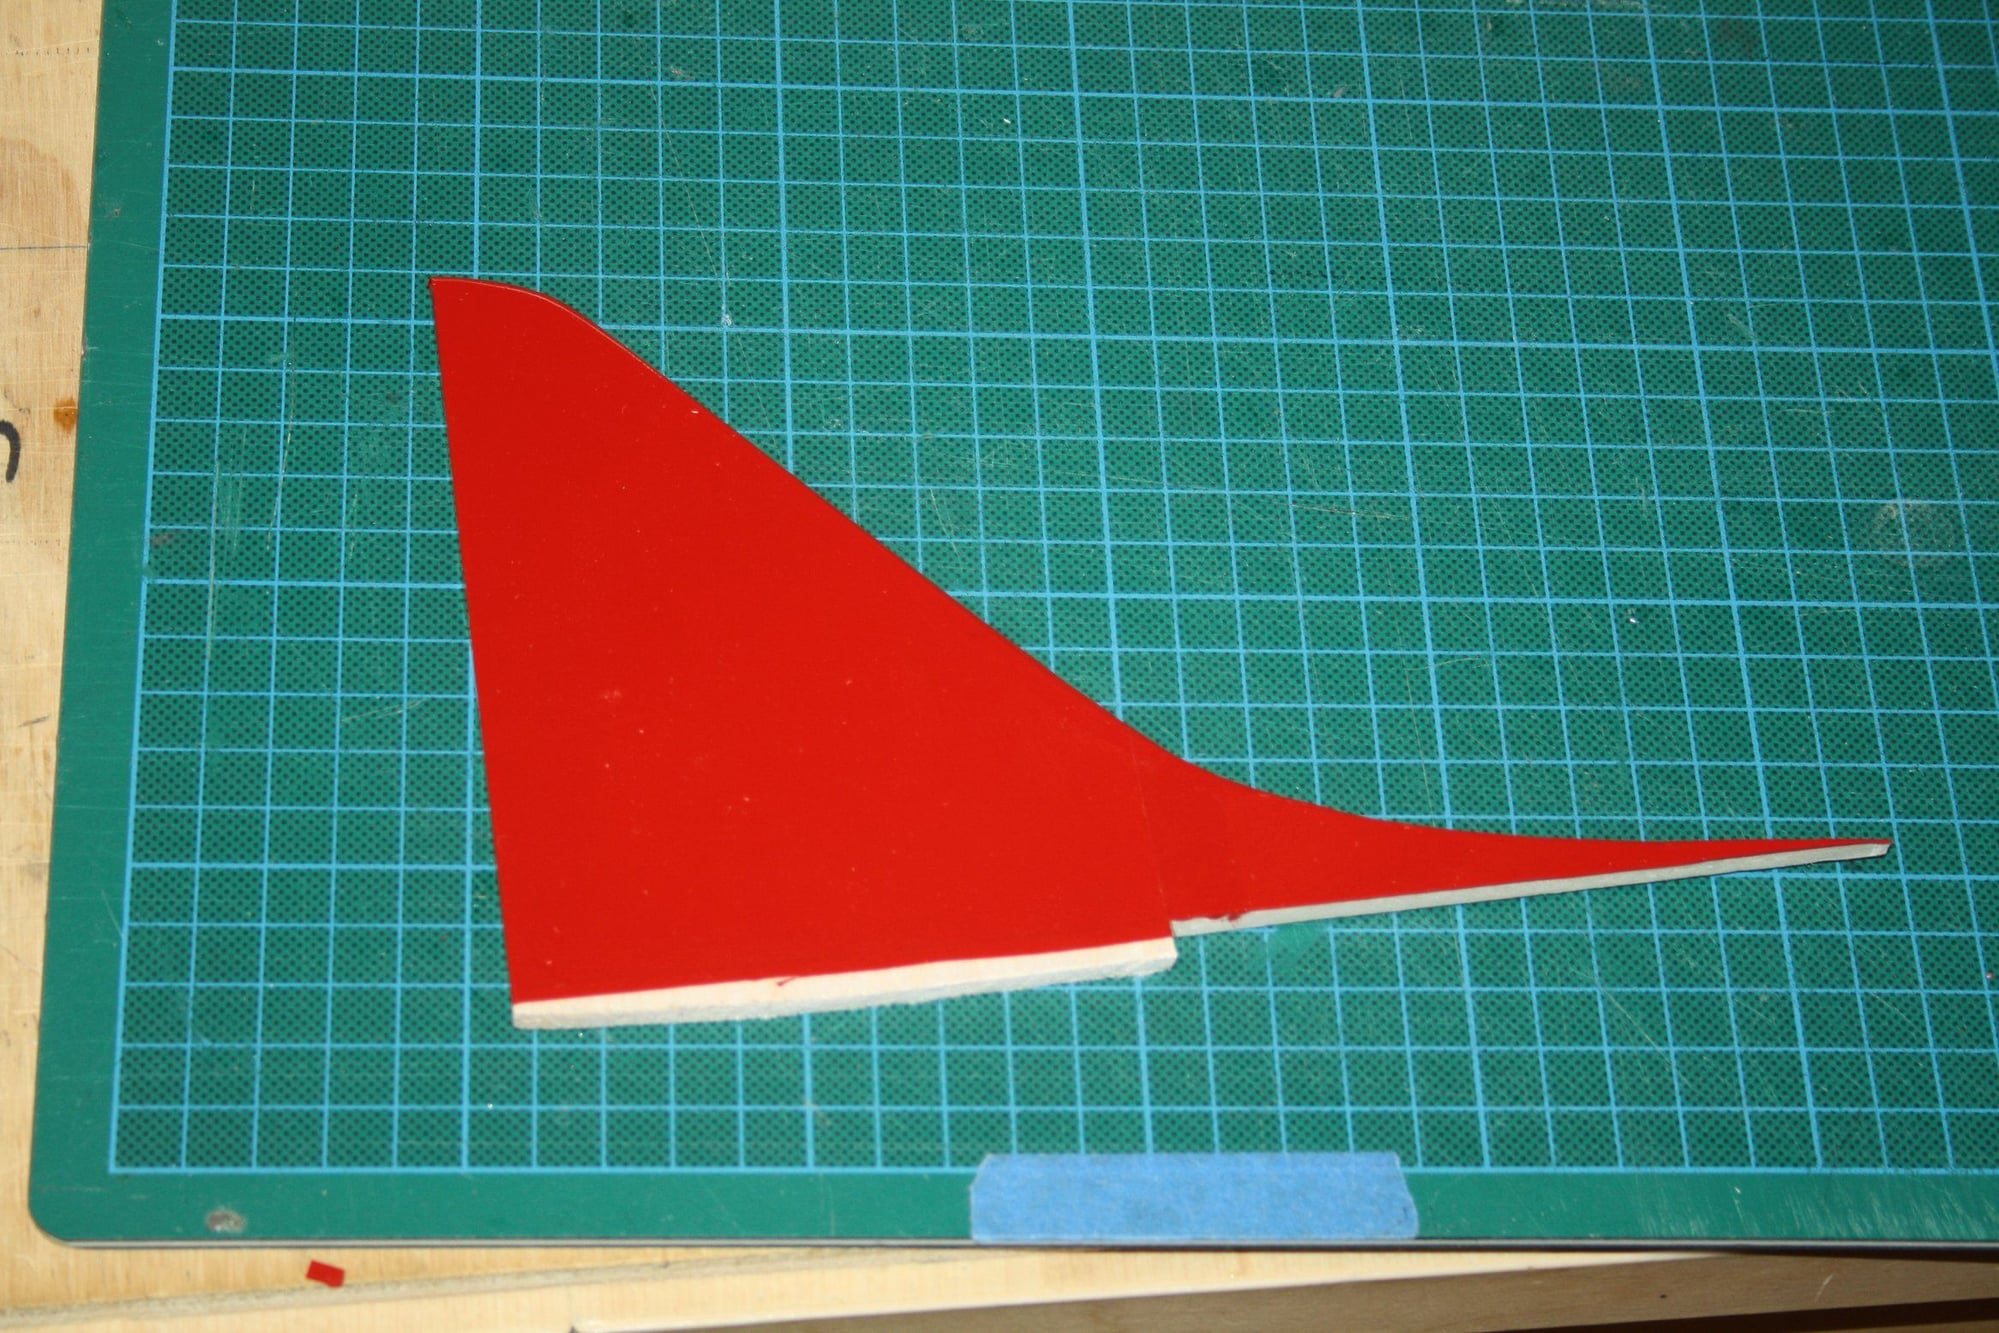
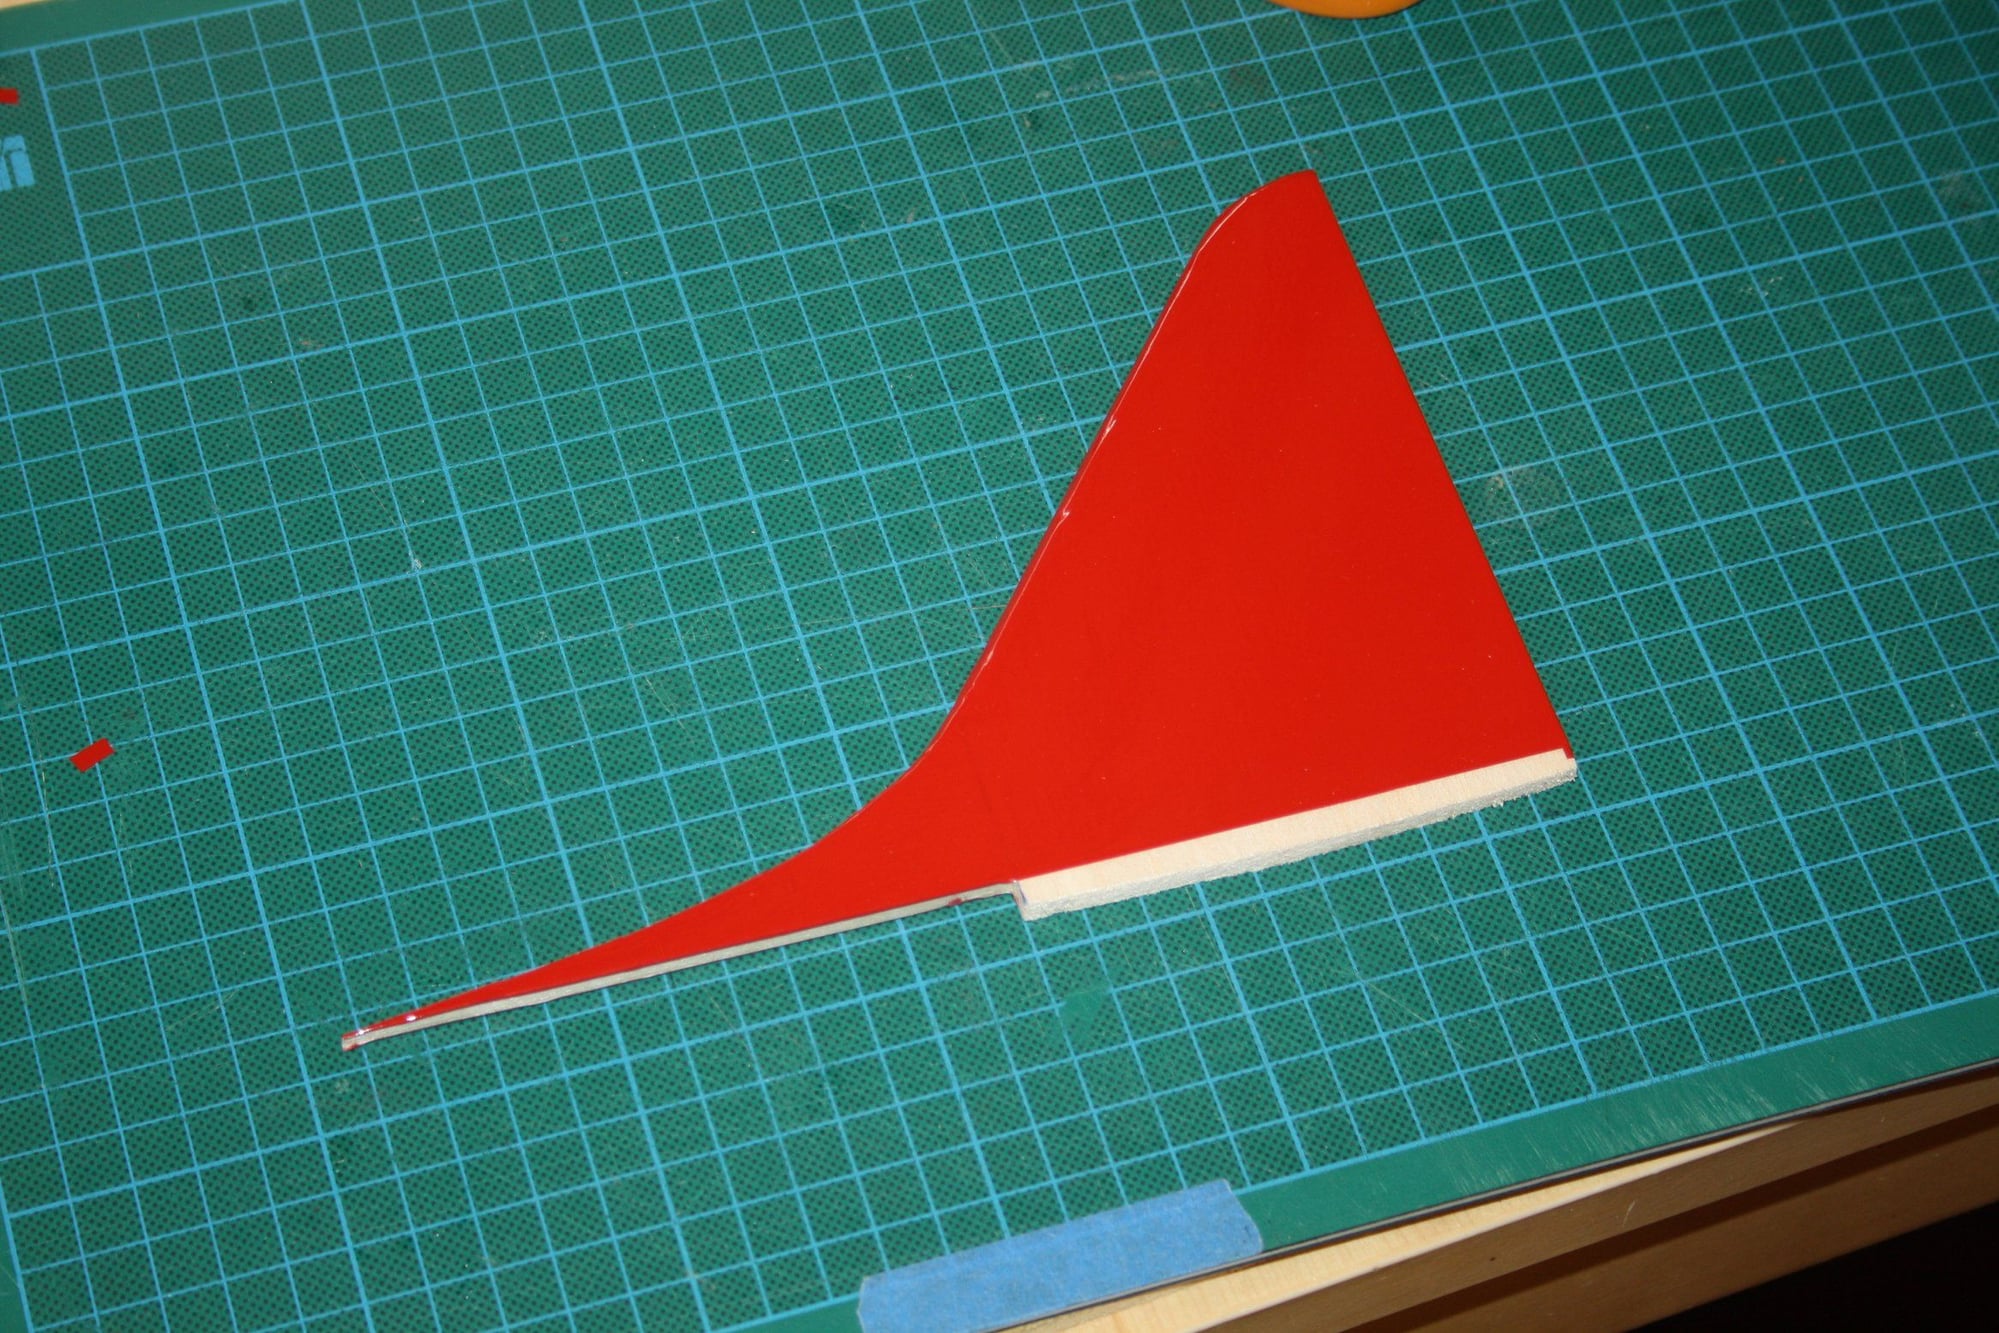
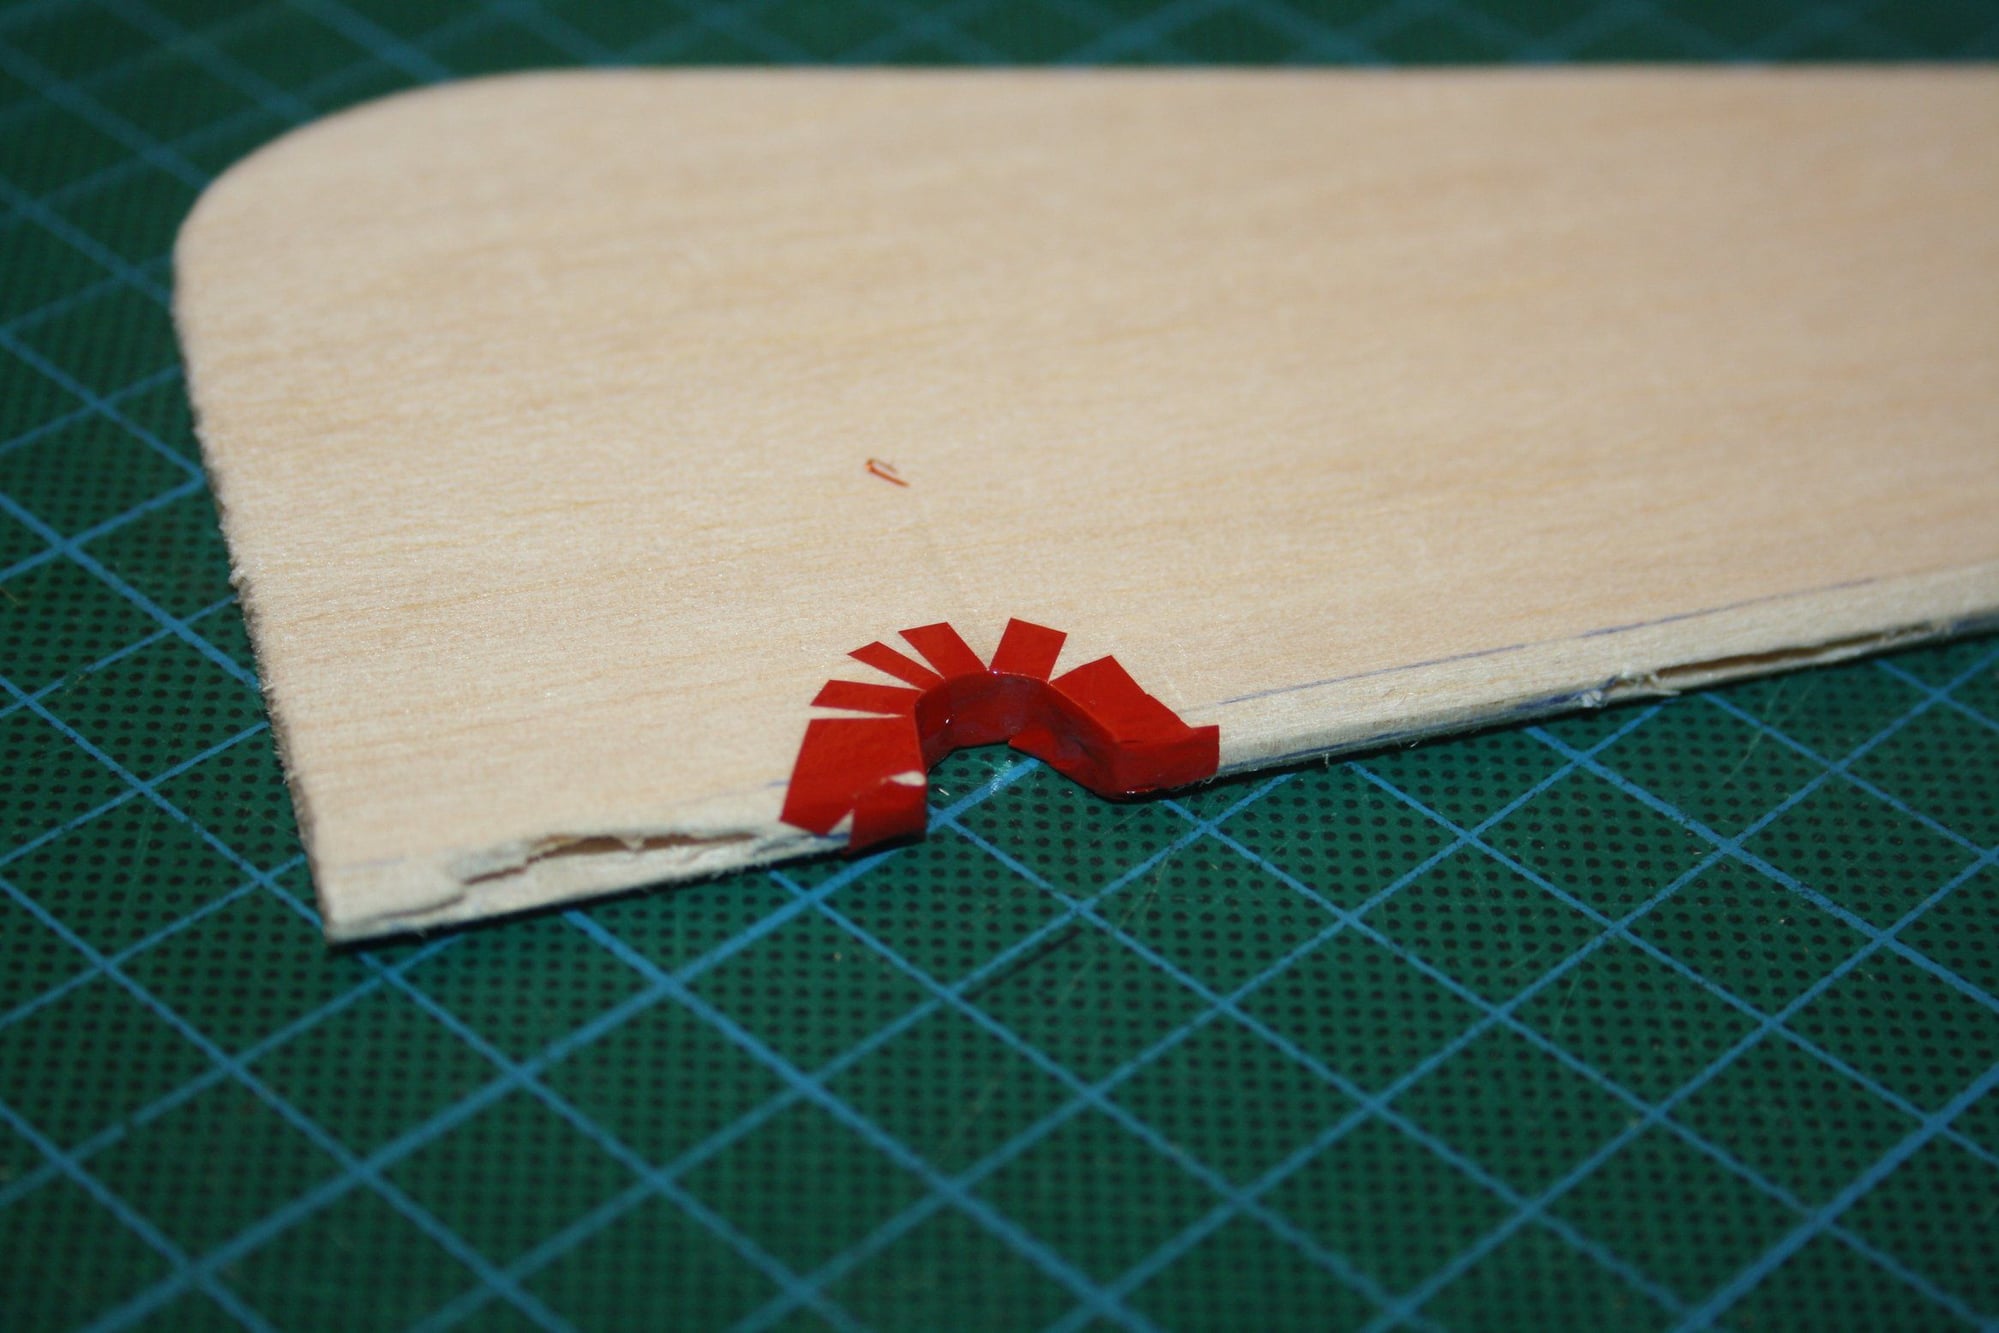
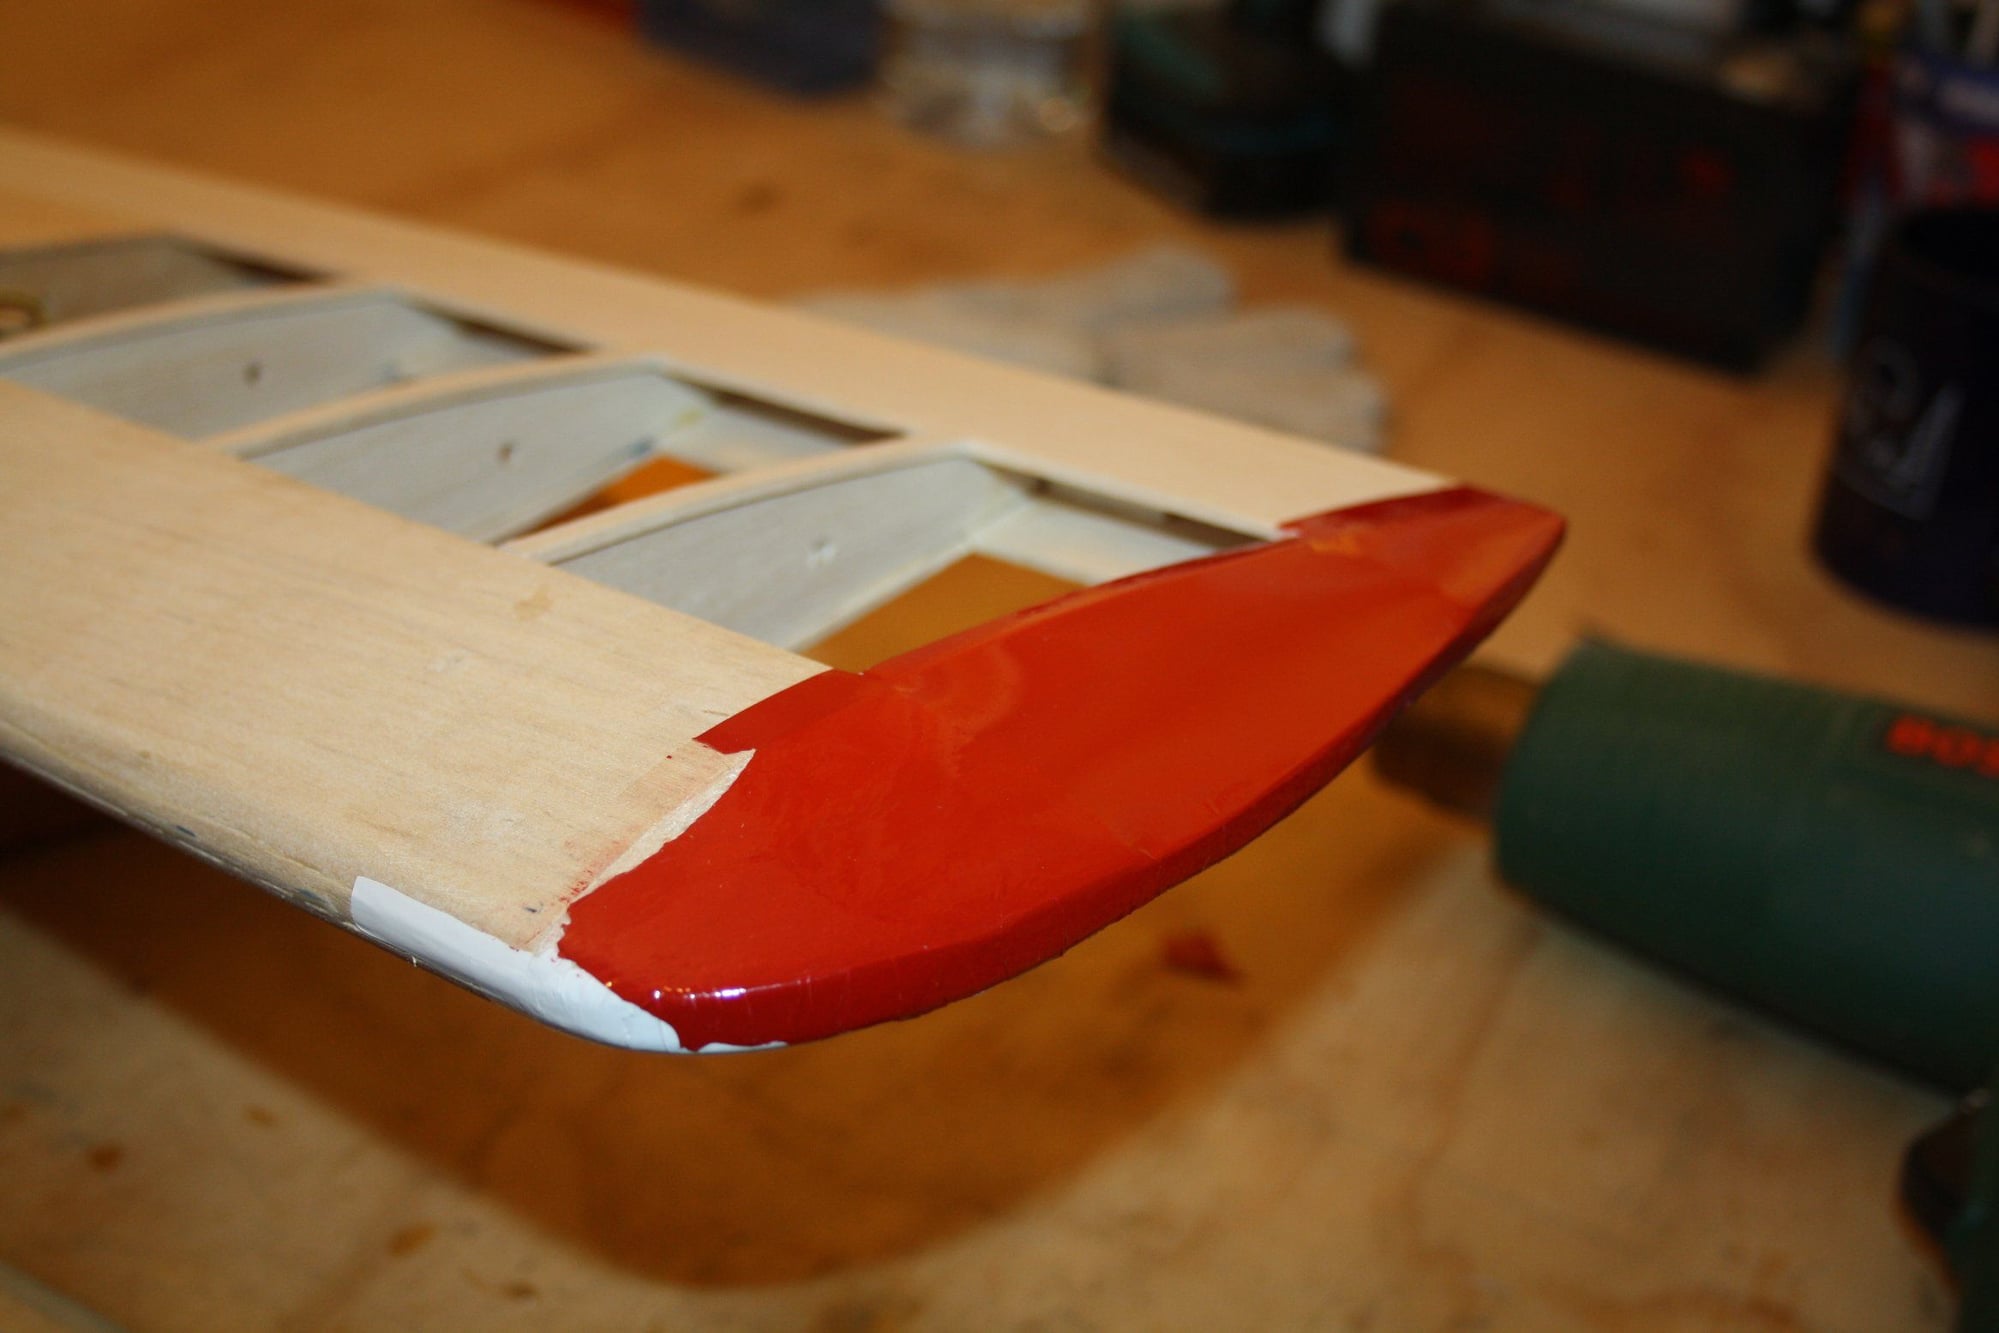
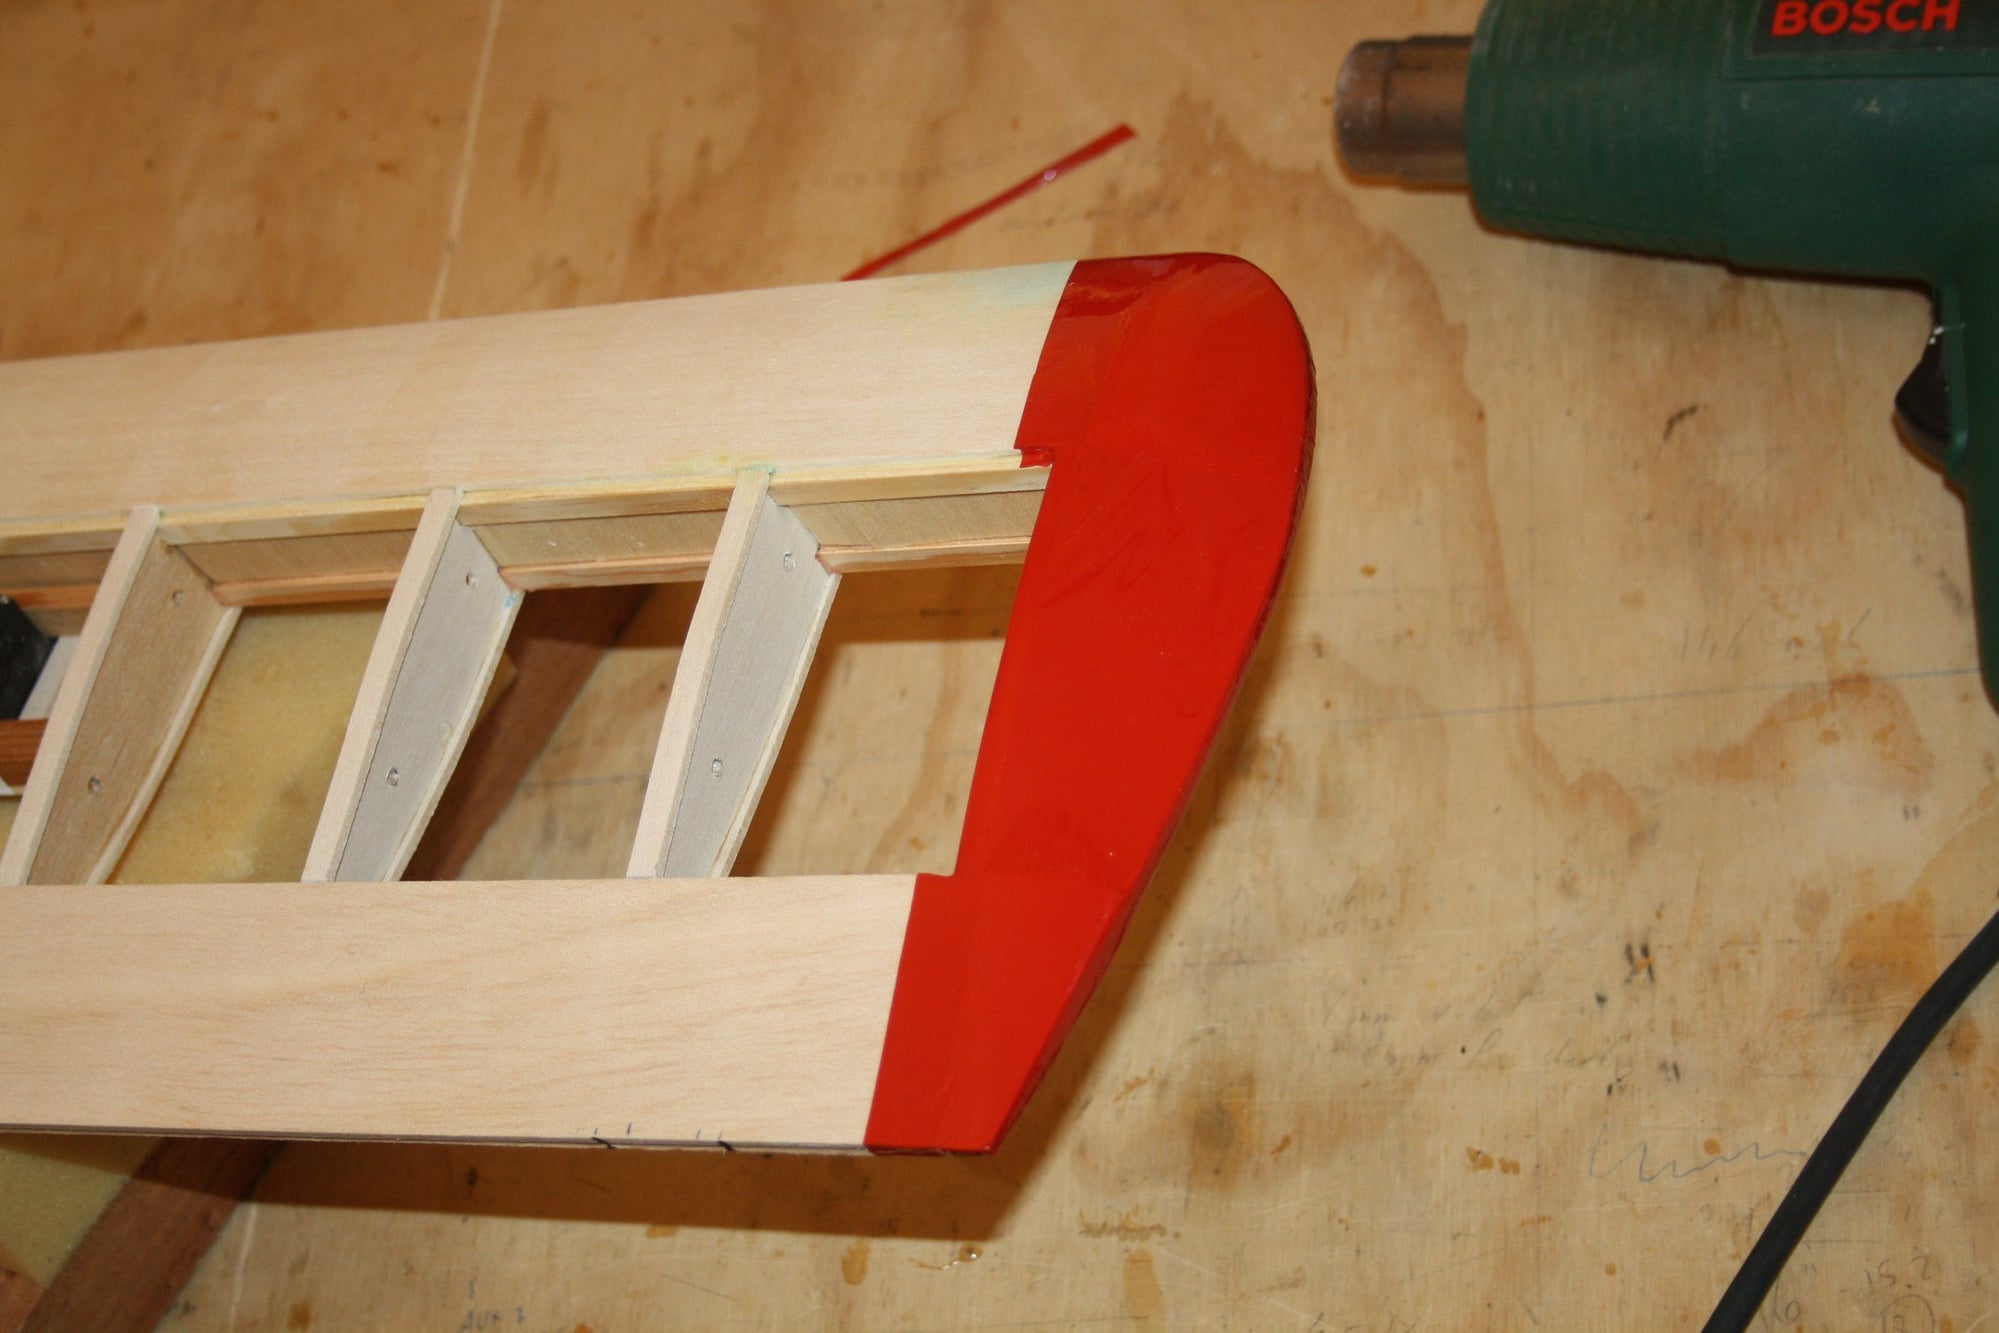
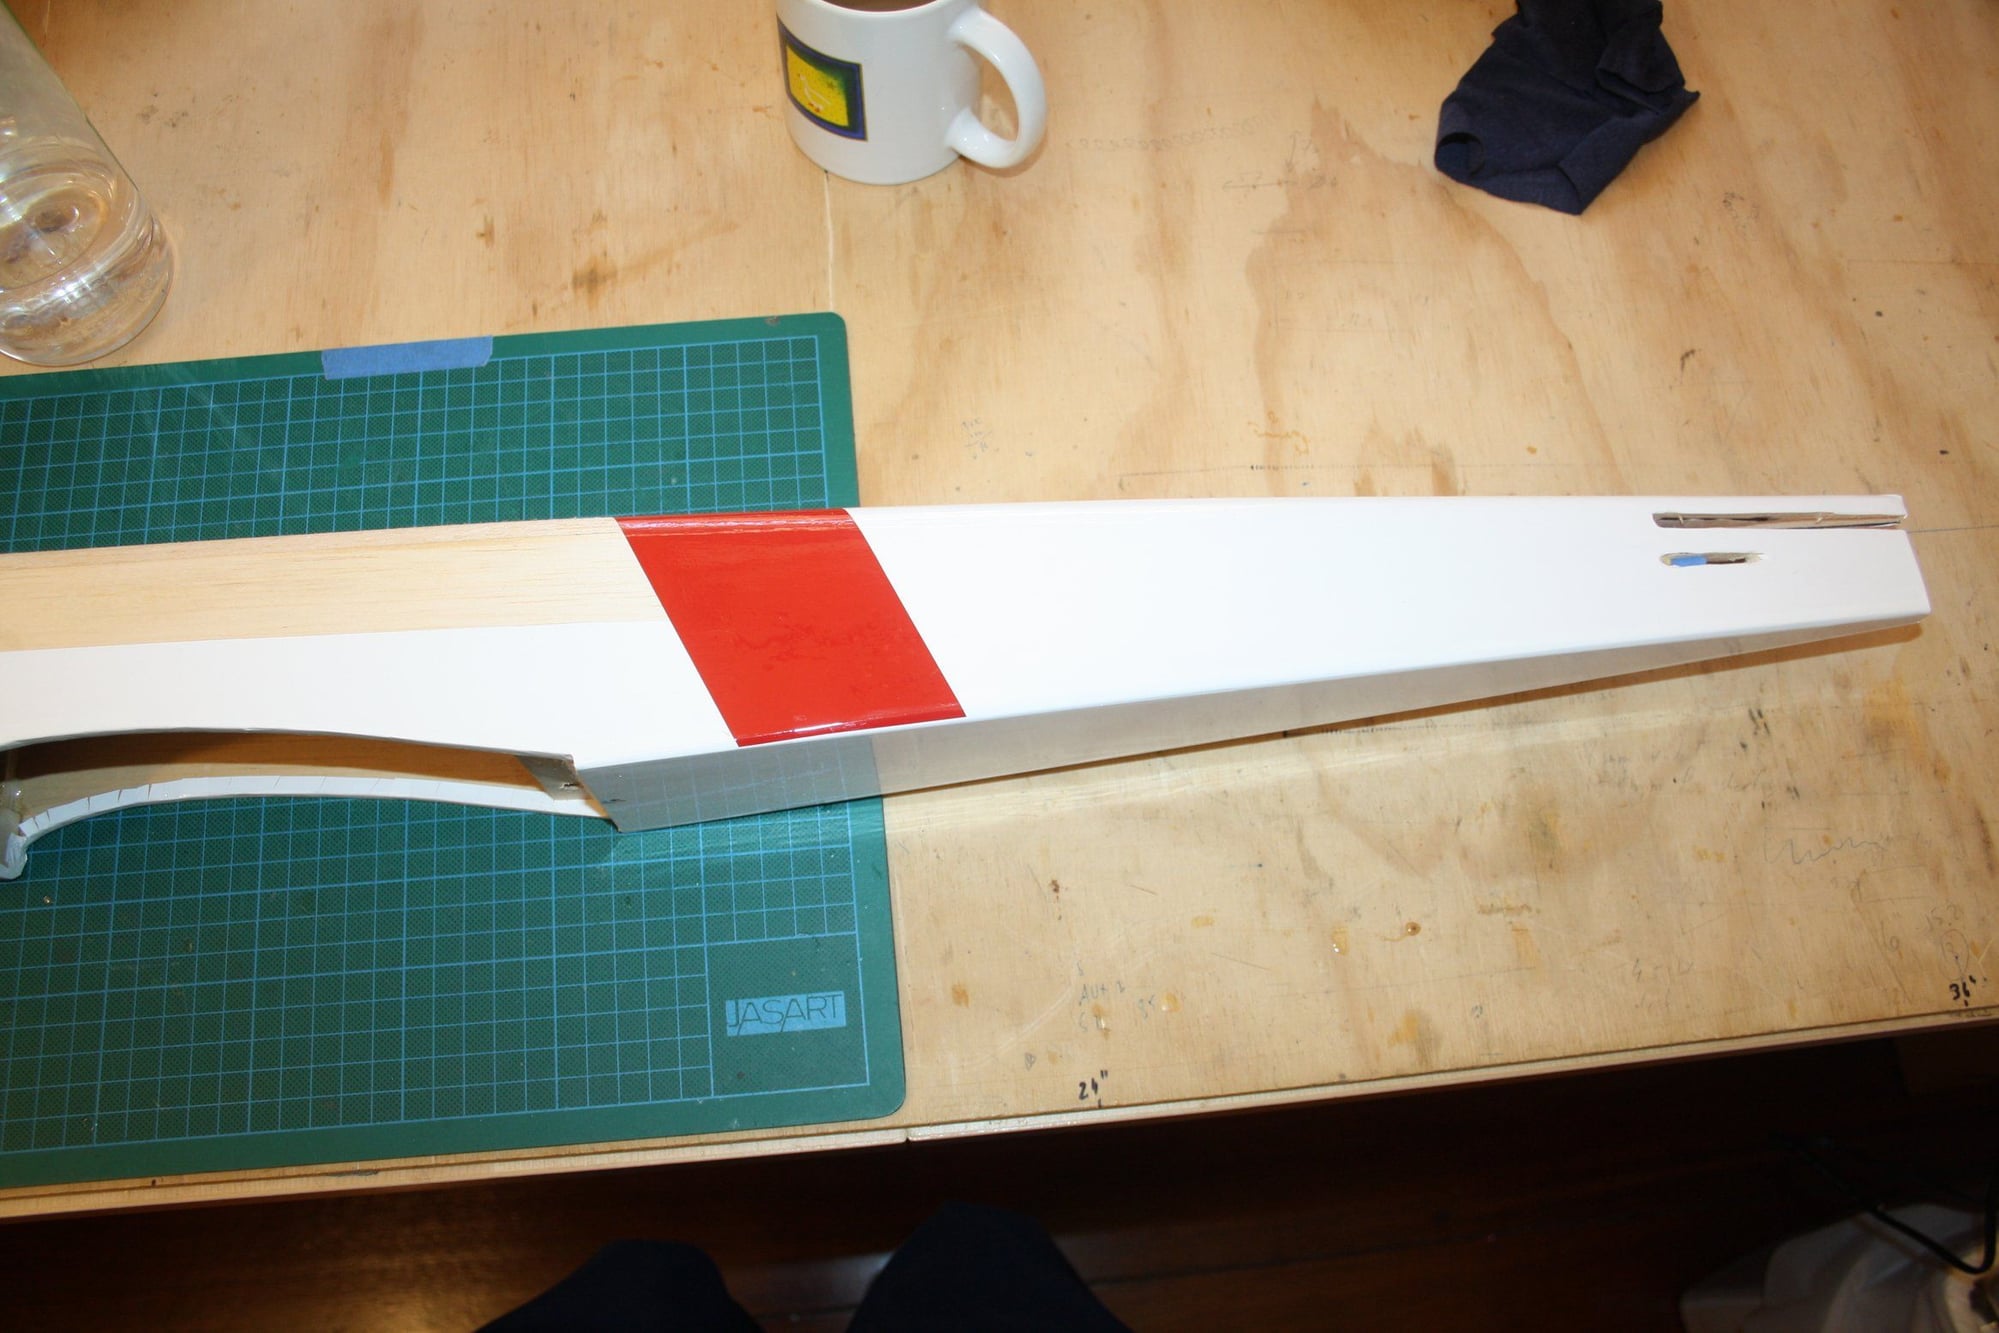
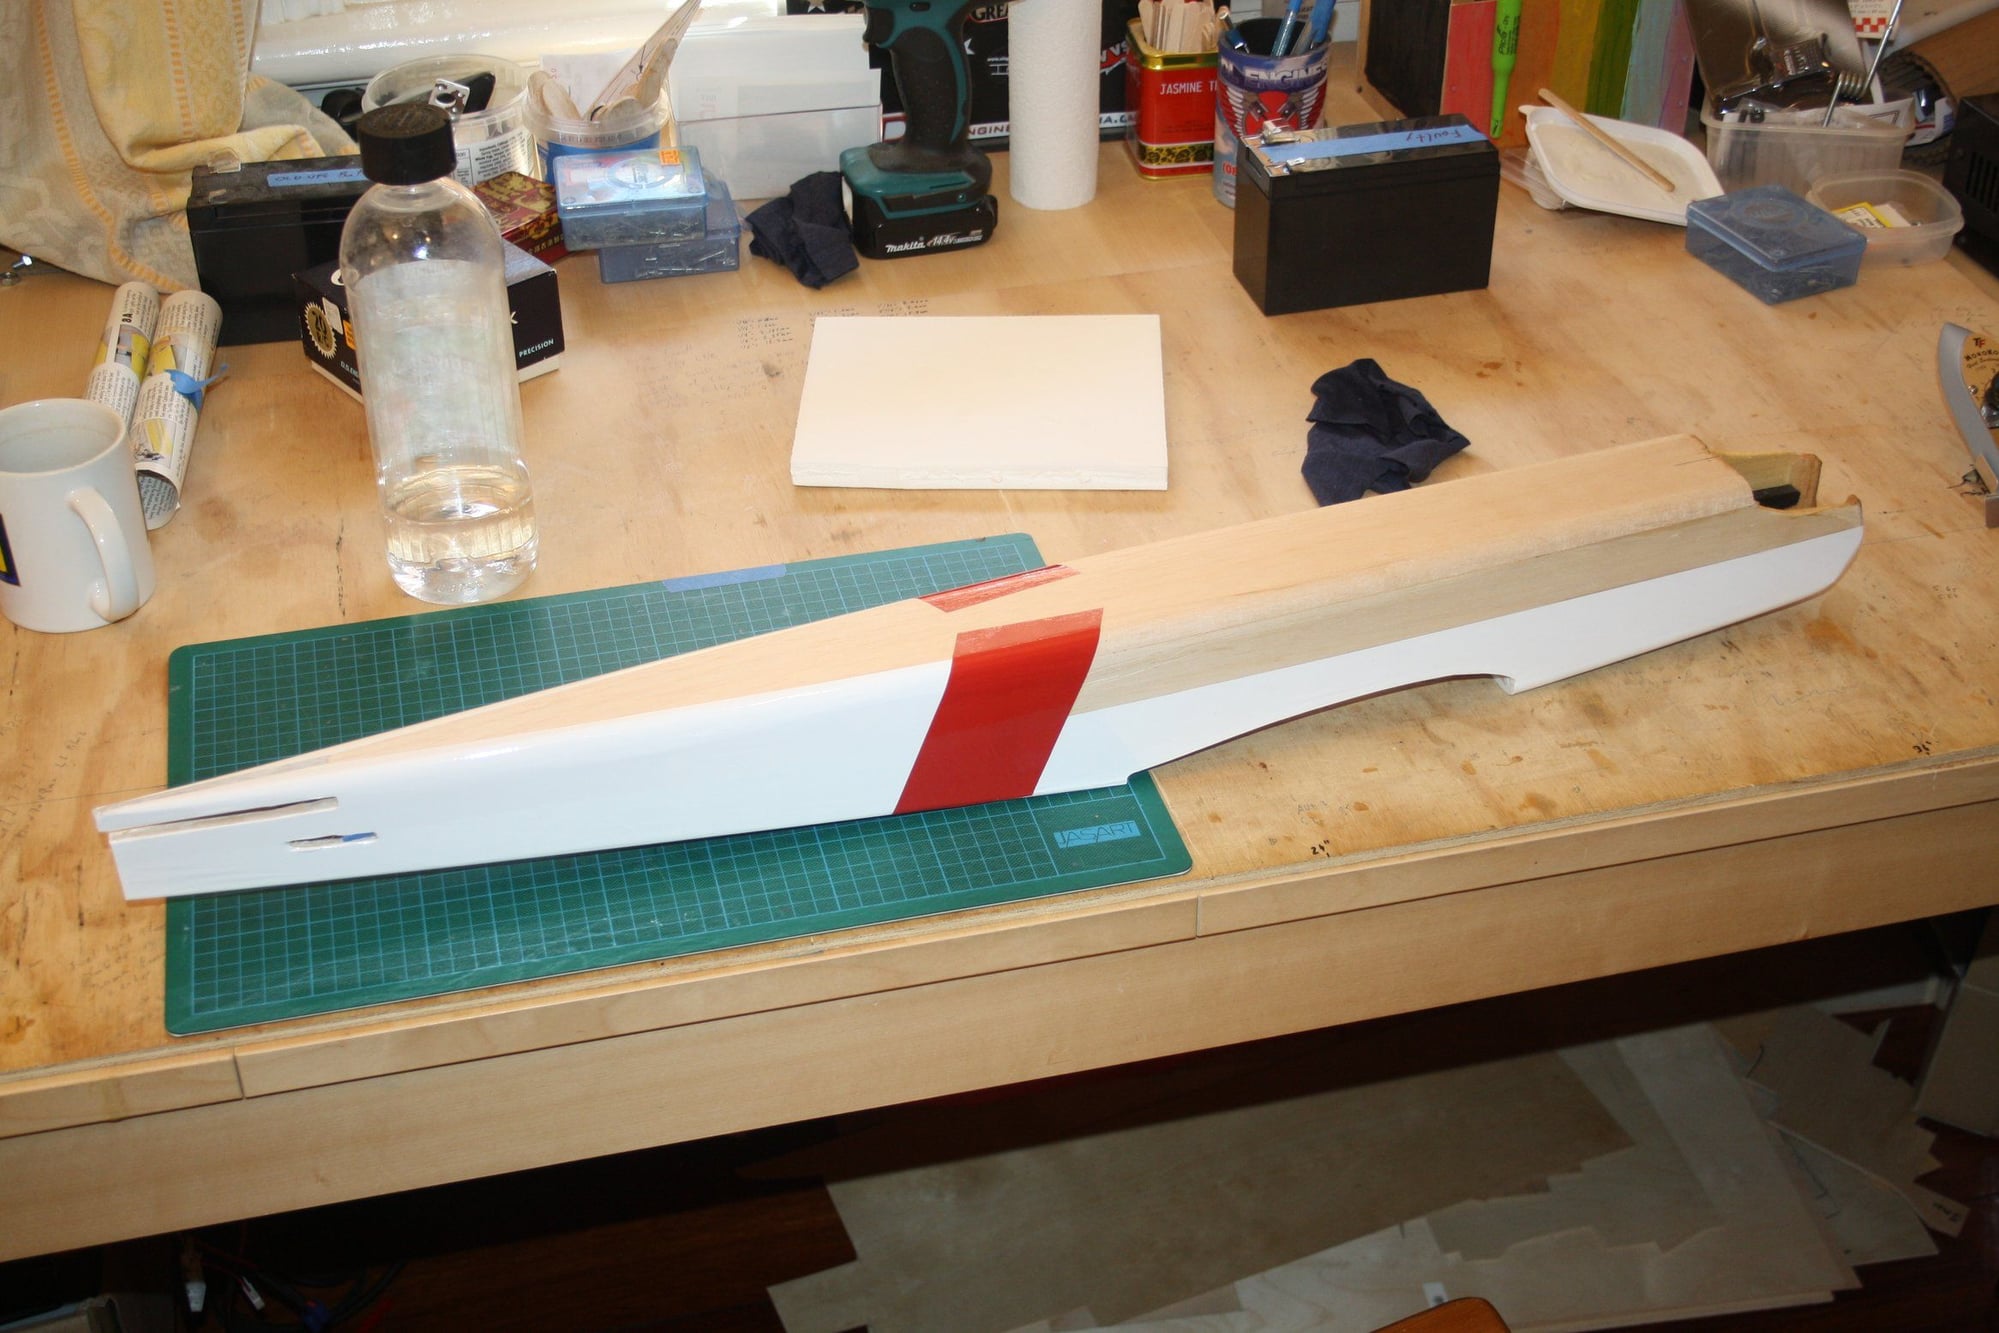
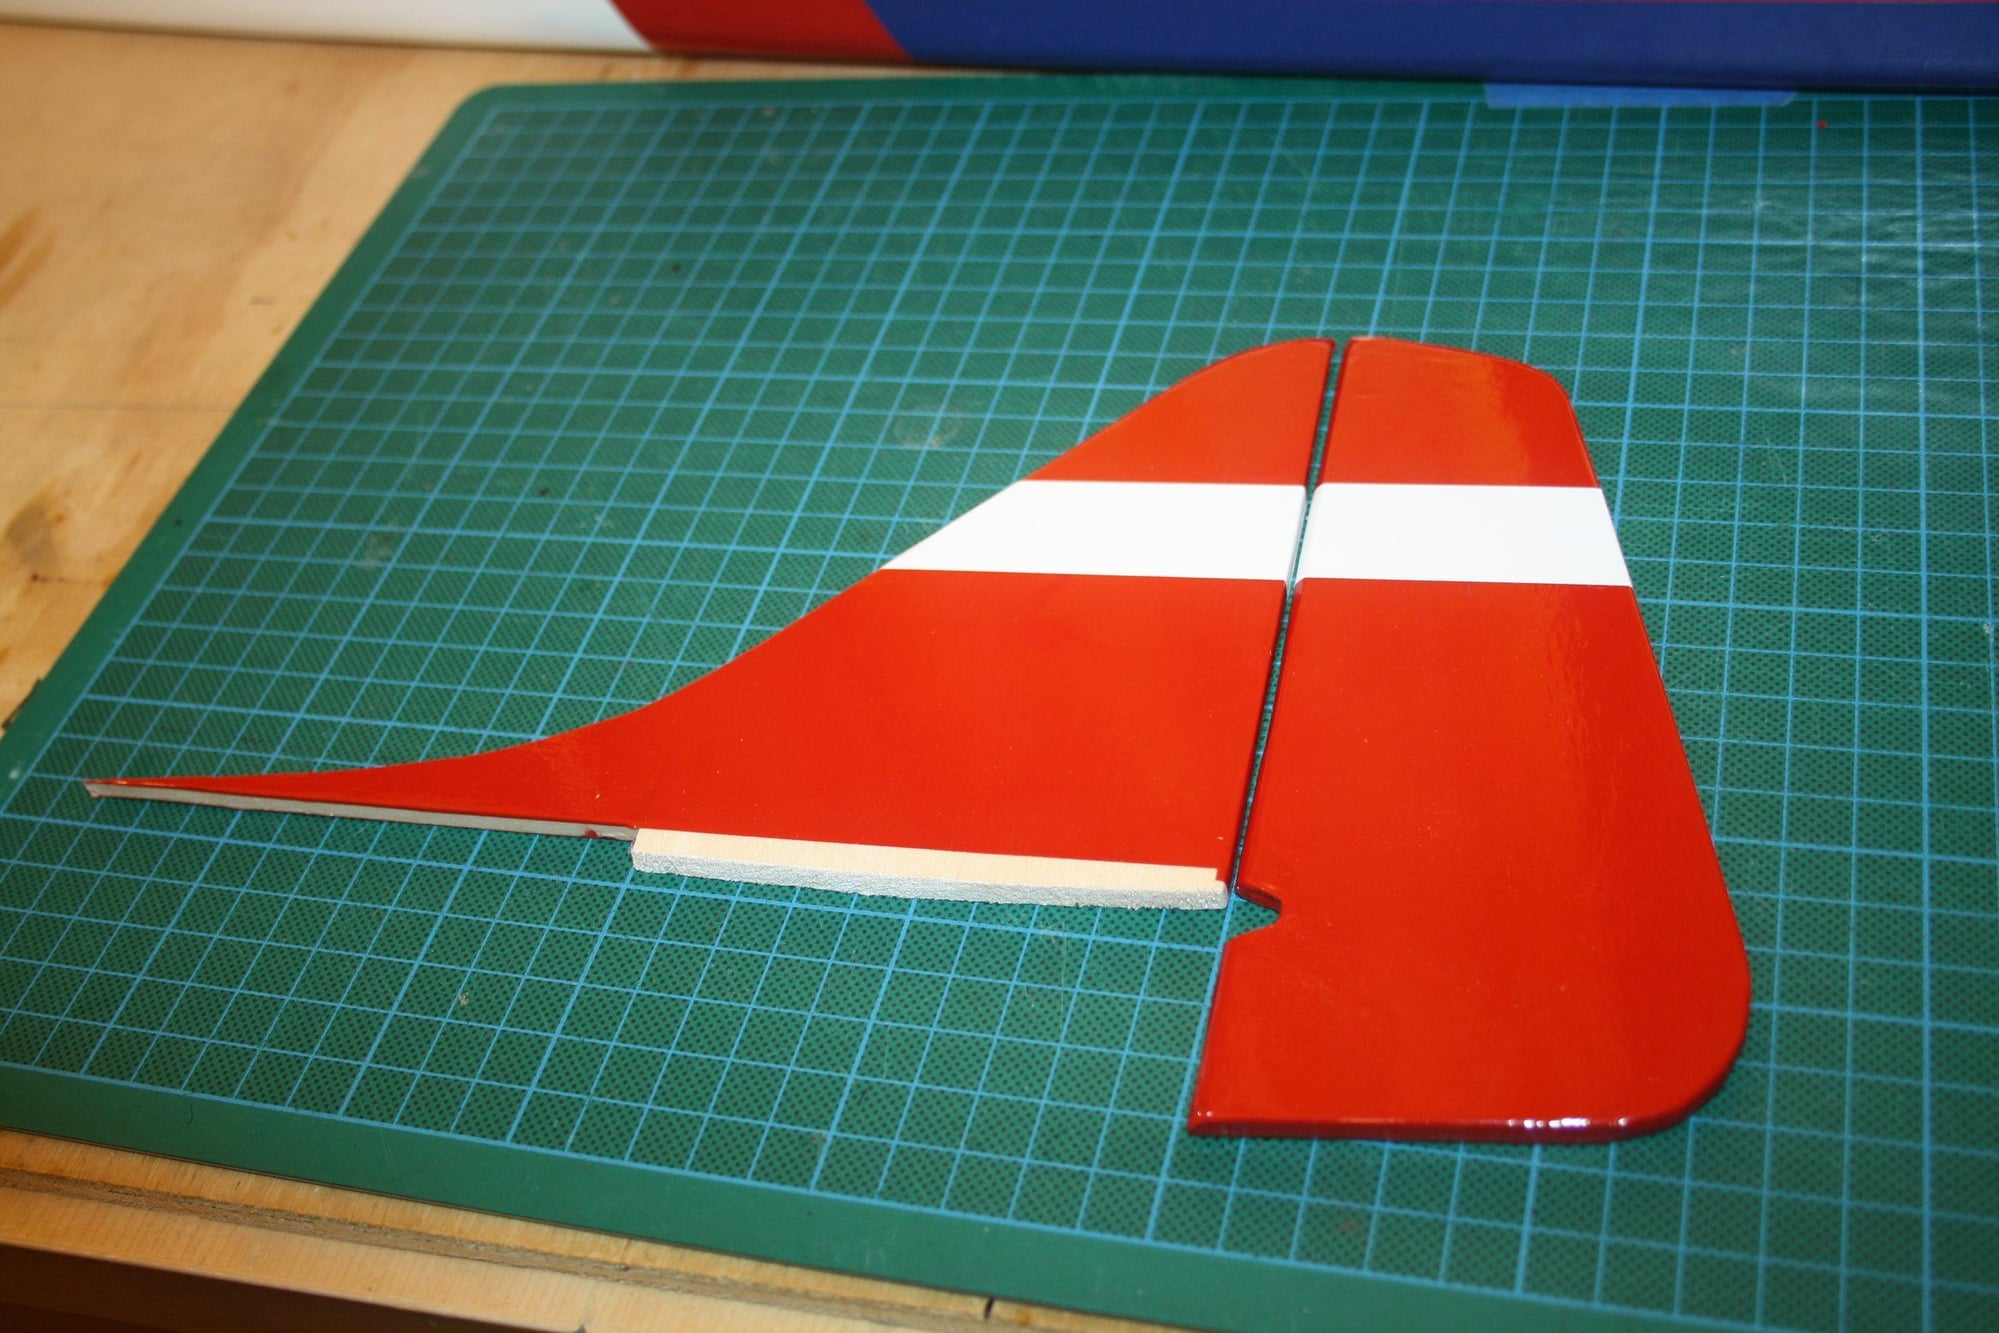
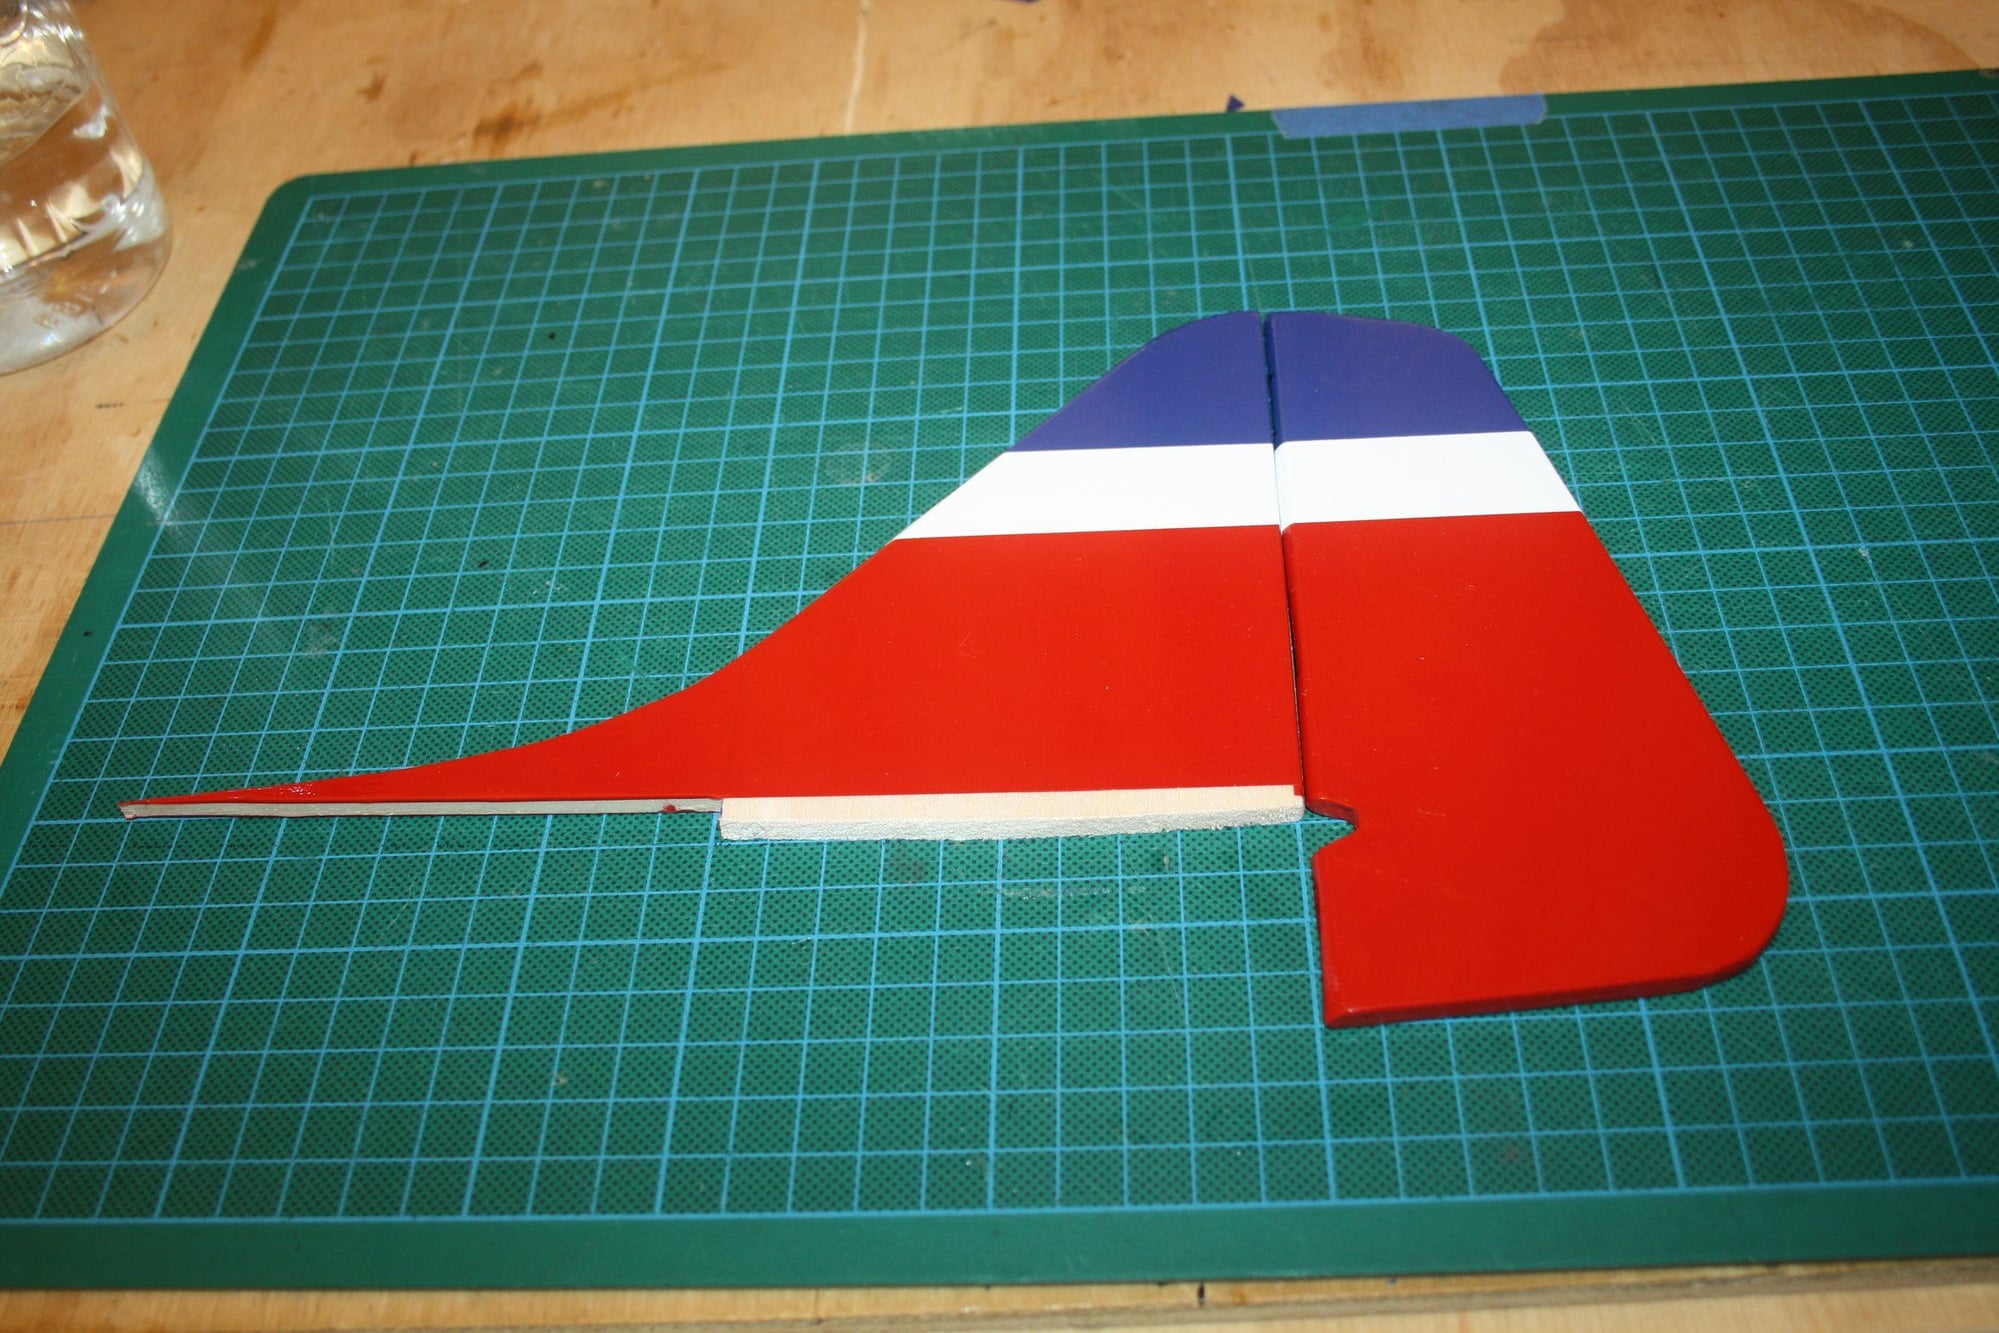
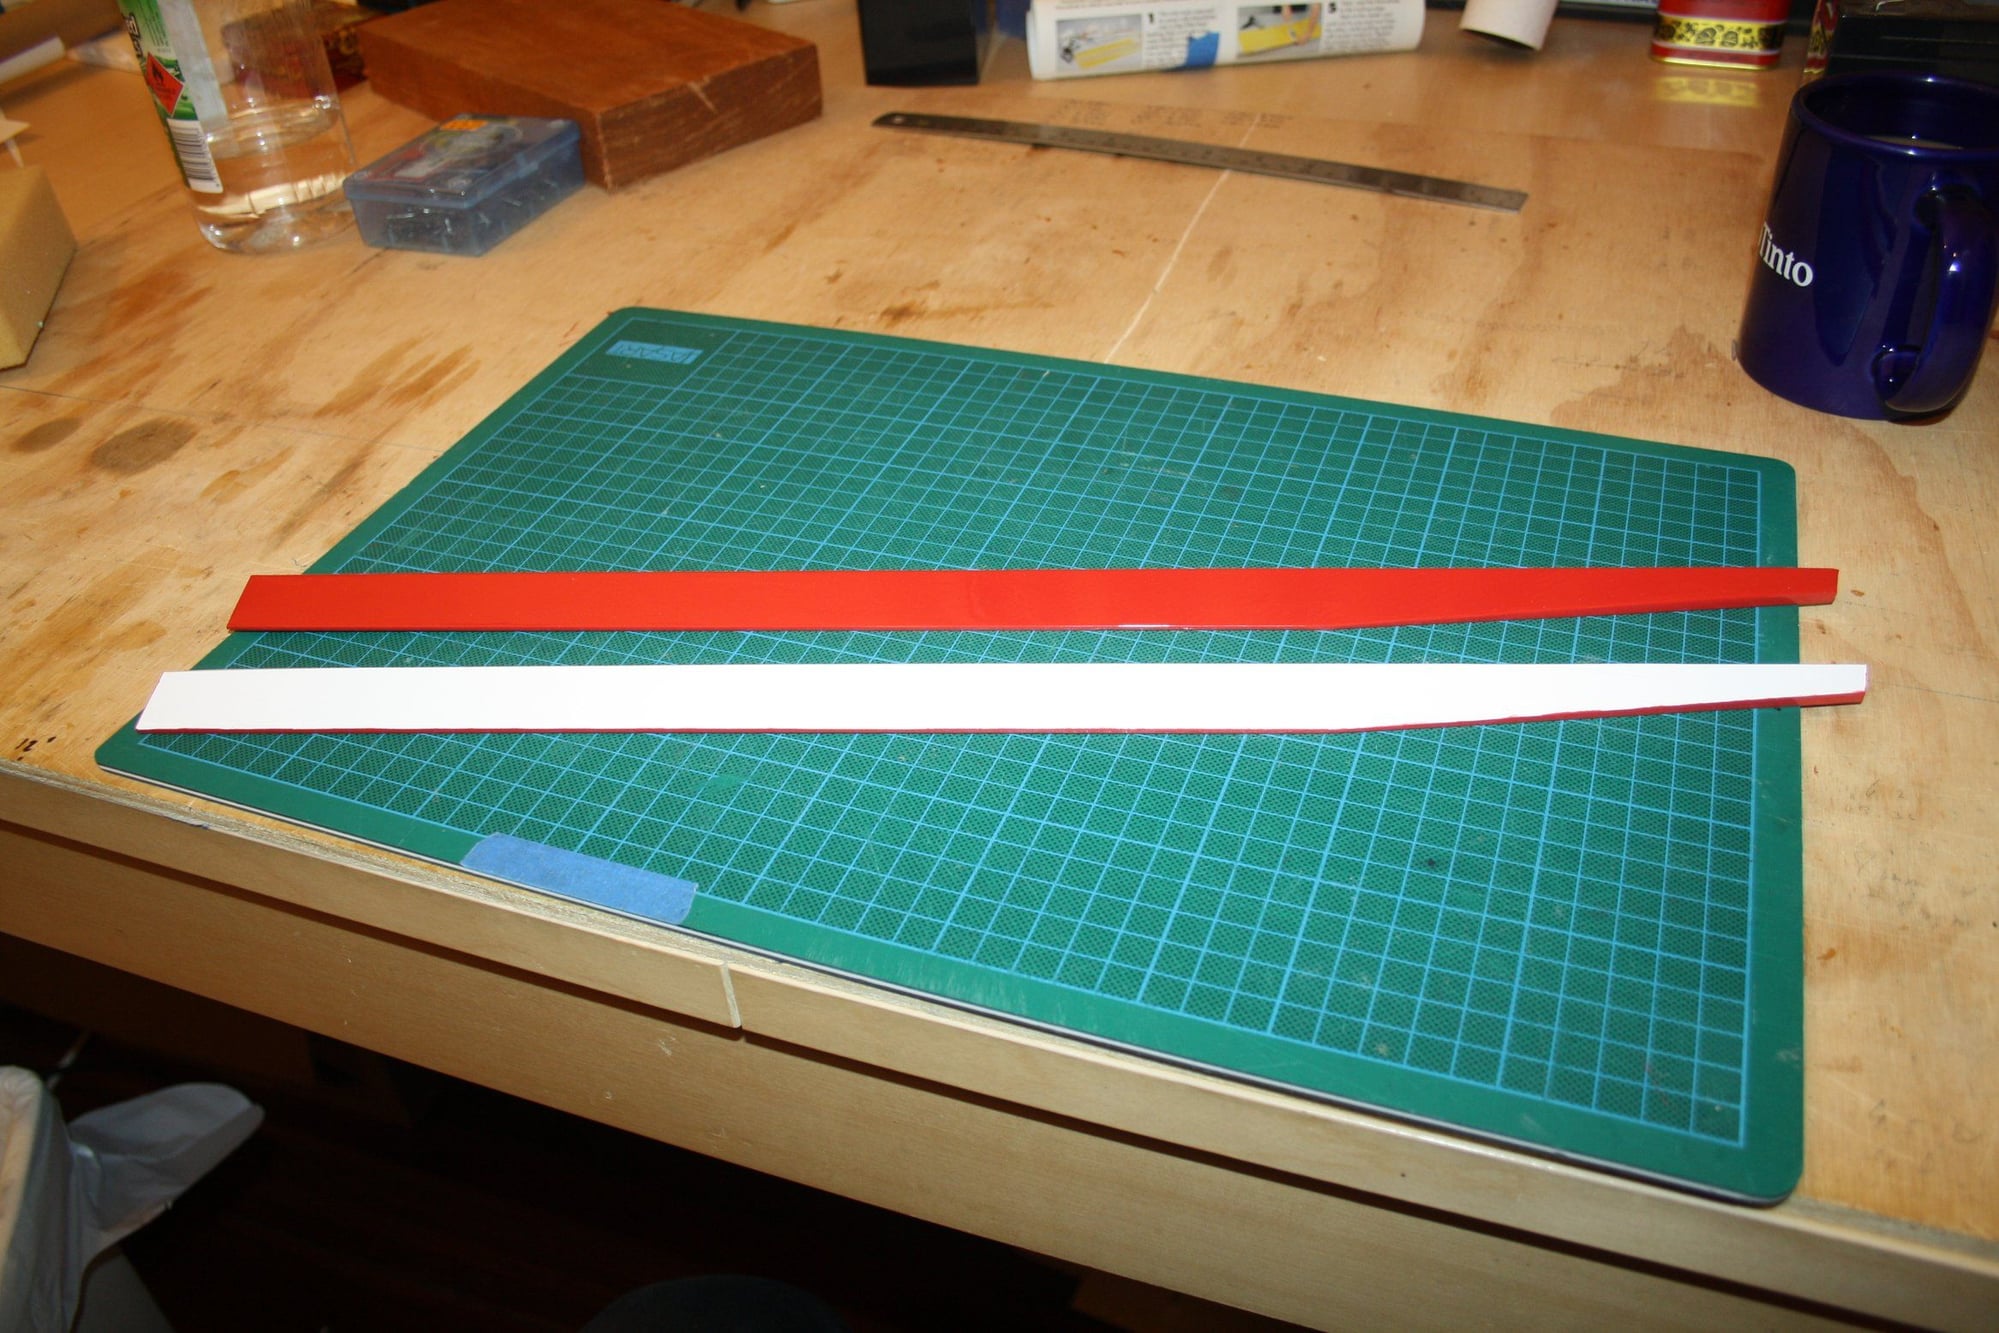
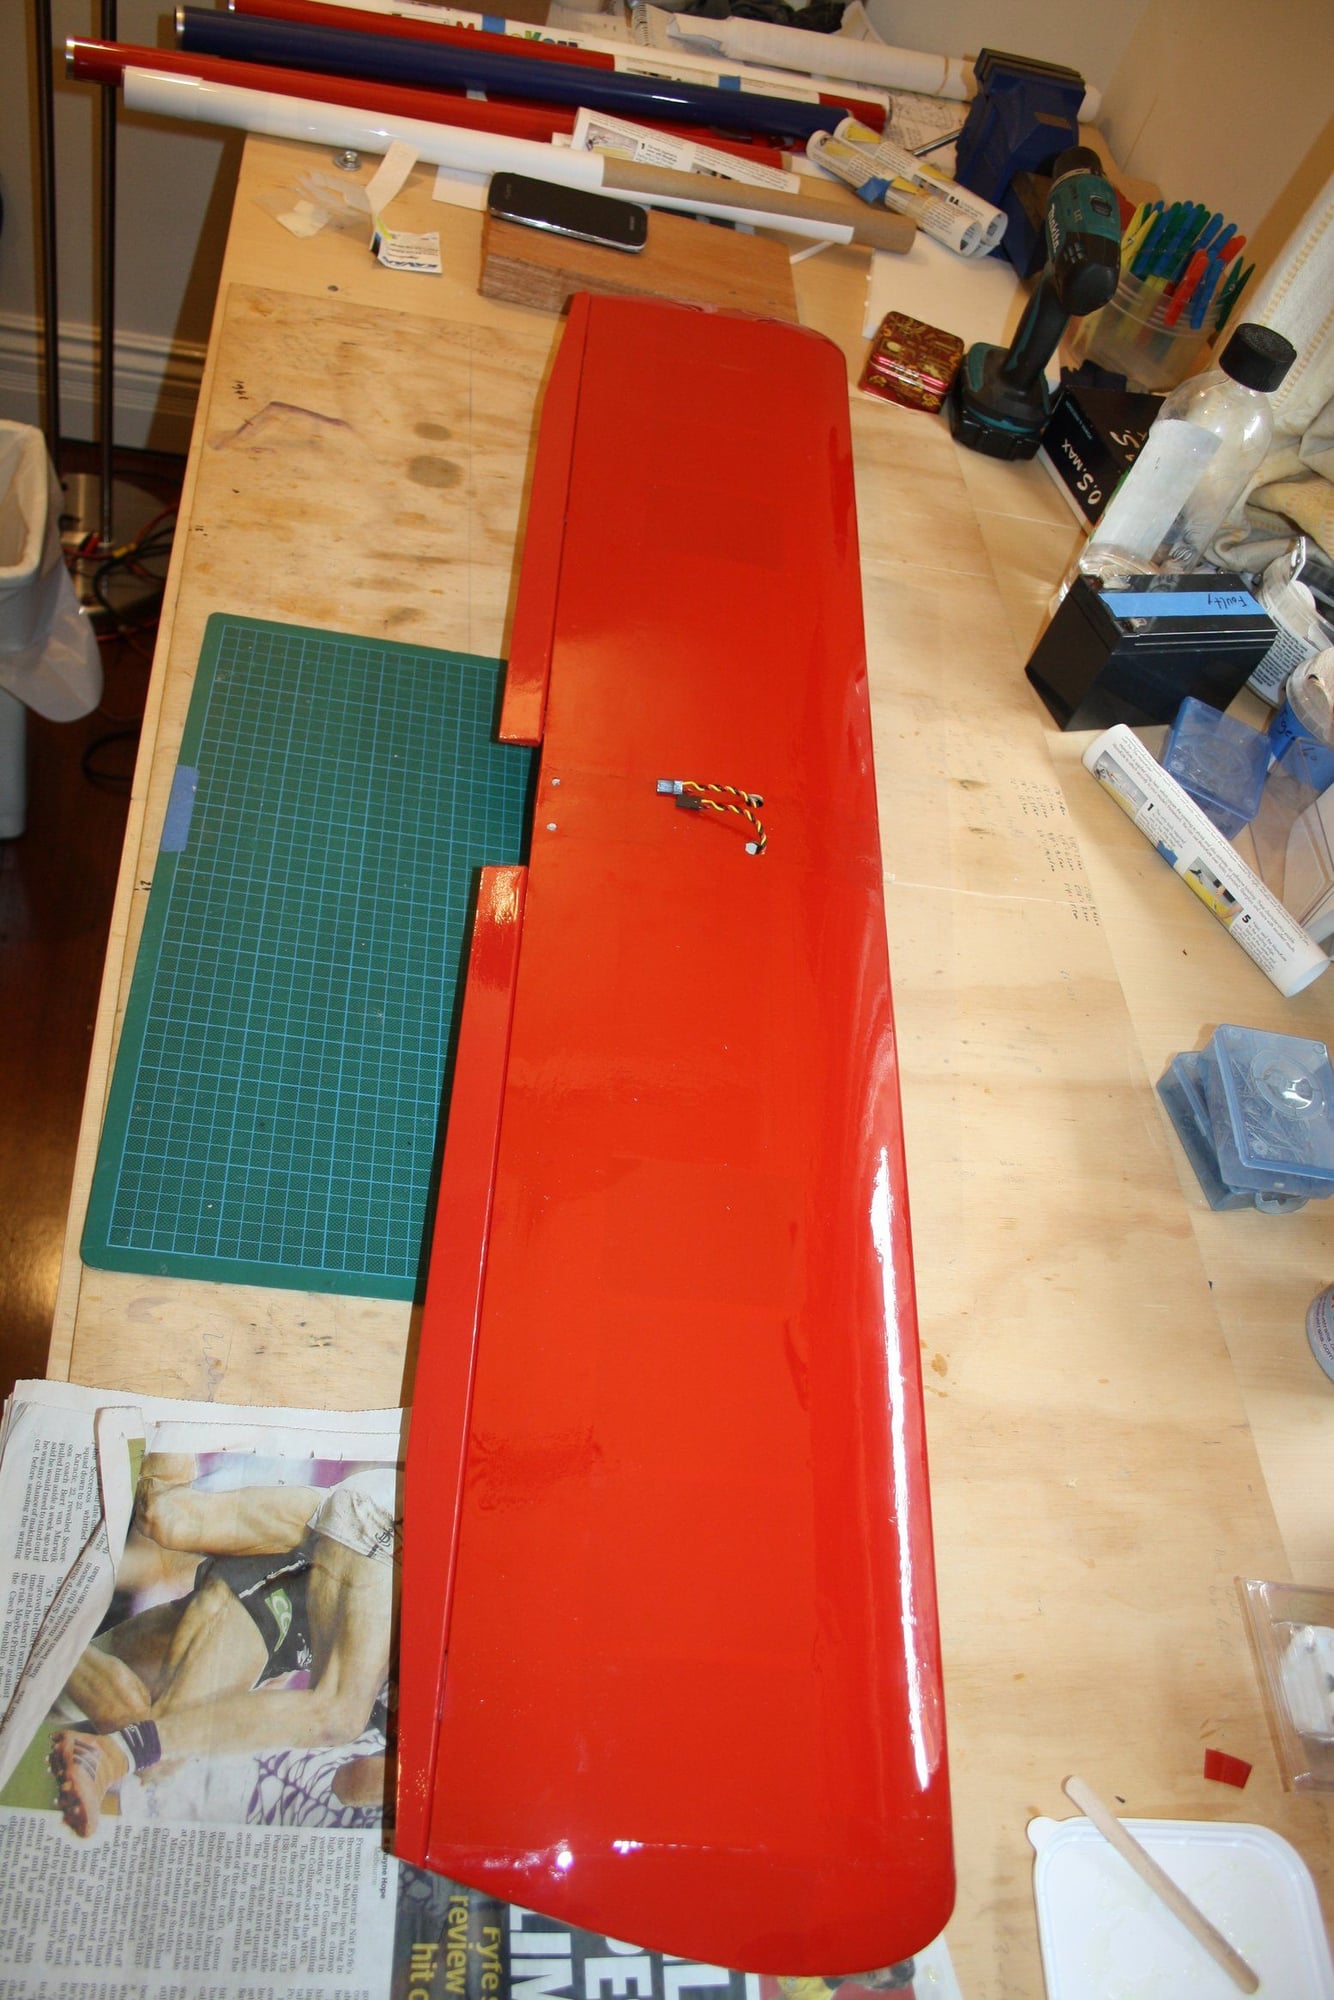
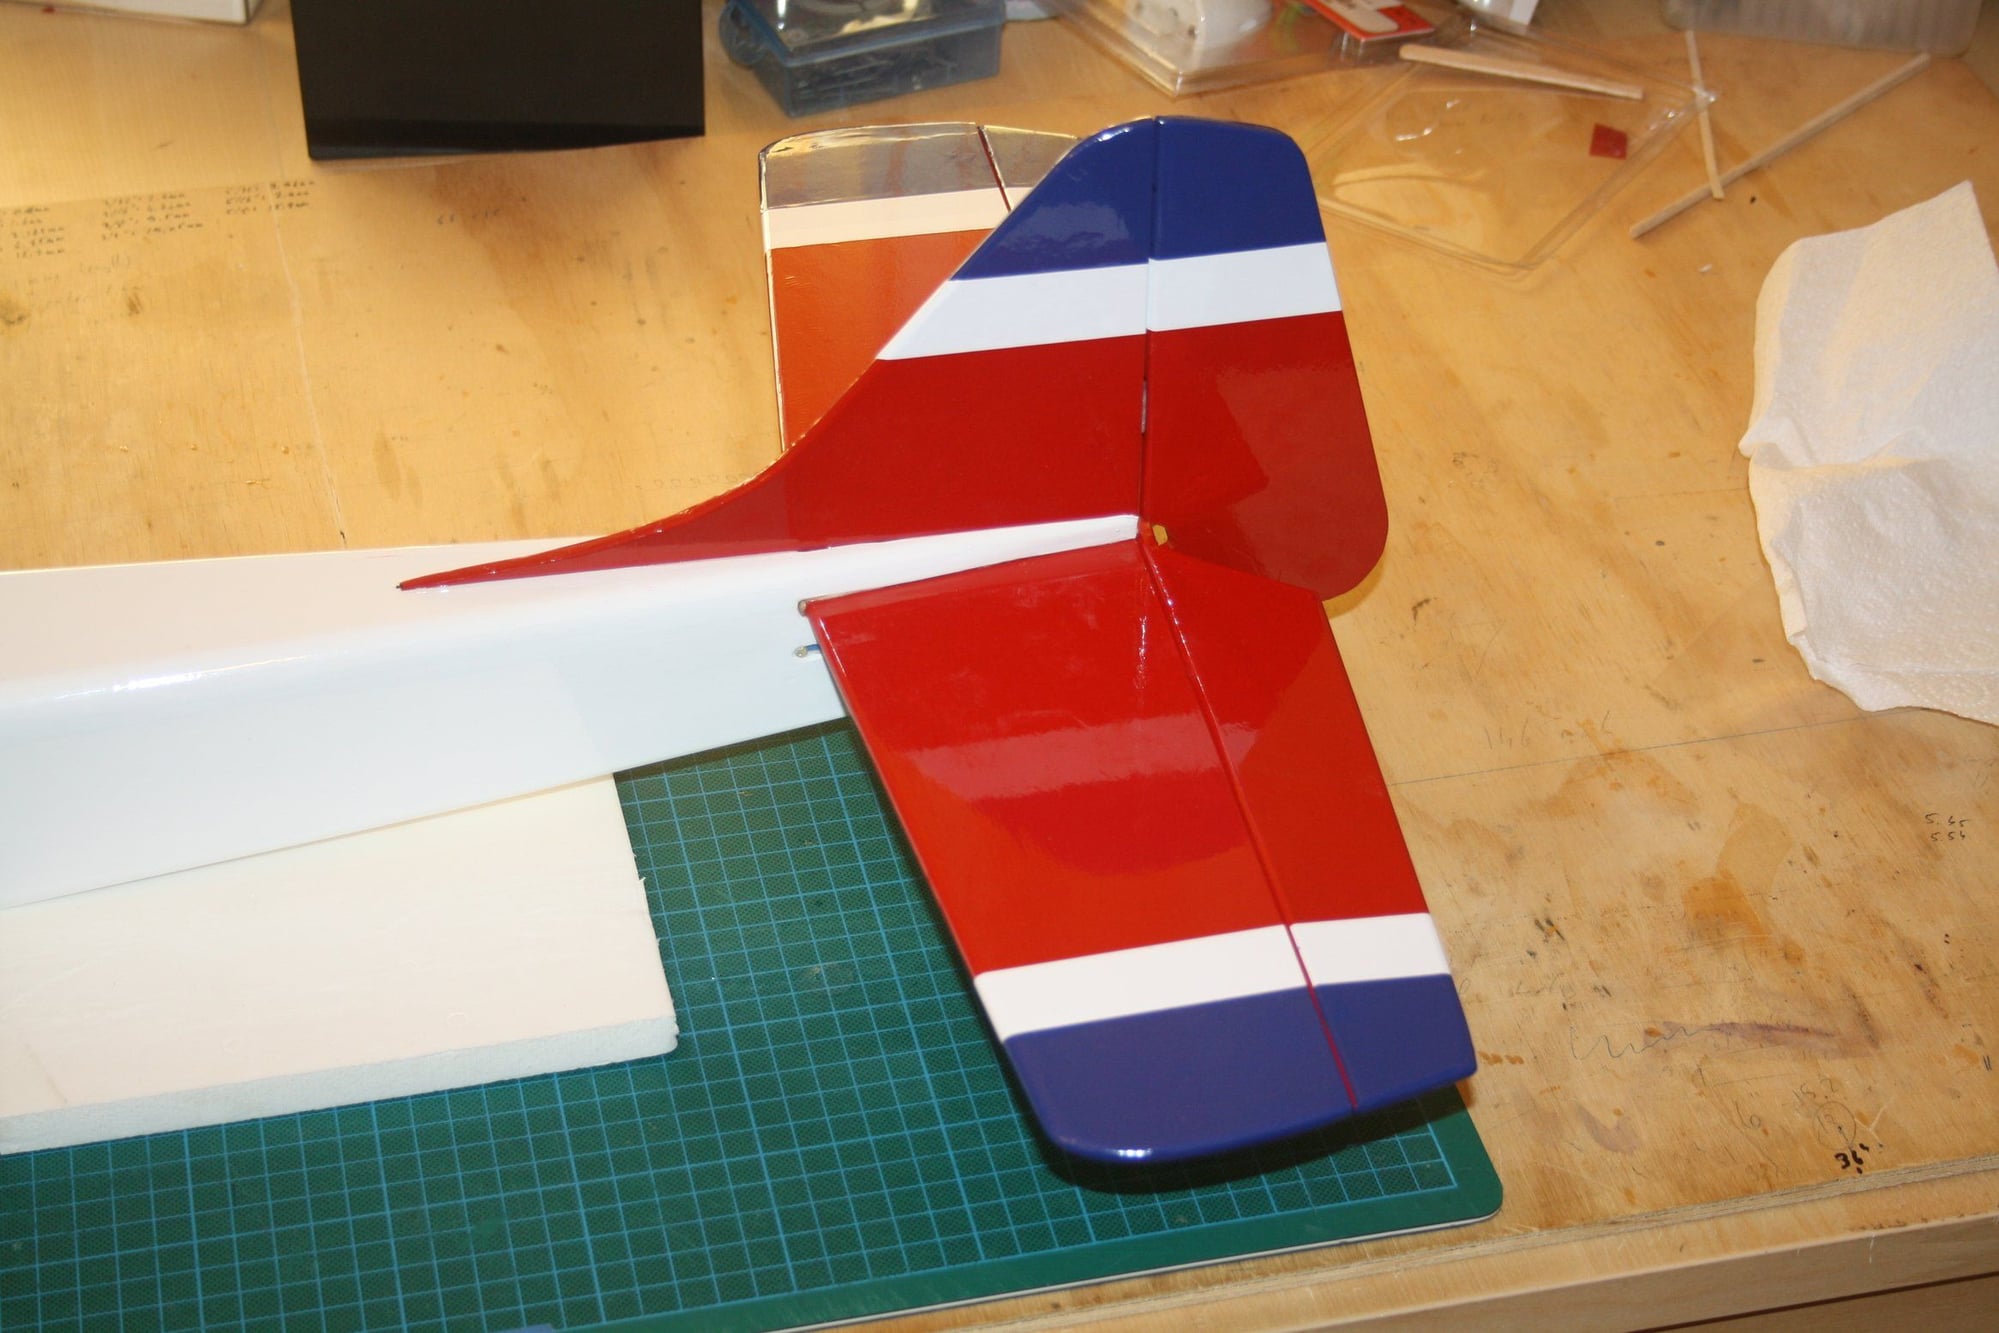
I decided to have a break from gluing / sanding and do some covering. Starting with the tail, I covered with my "main colours" of white at the bottom and red for the top.
Cheers,
Eran


Cheers,
Eran
07-29-2018, 08:54 PM
#55
Thread Starter
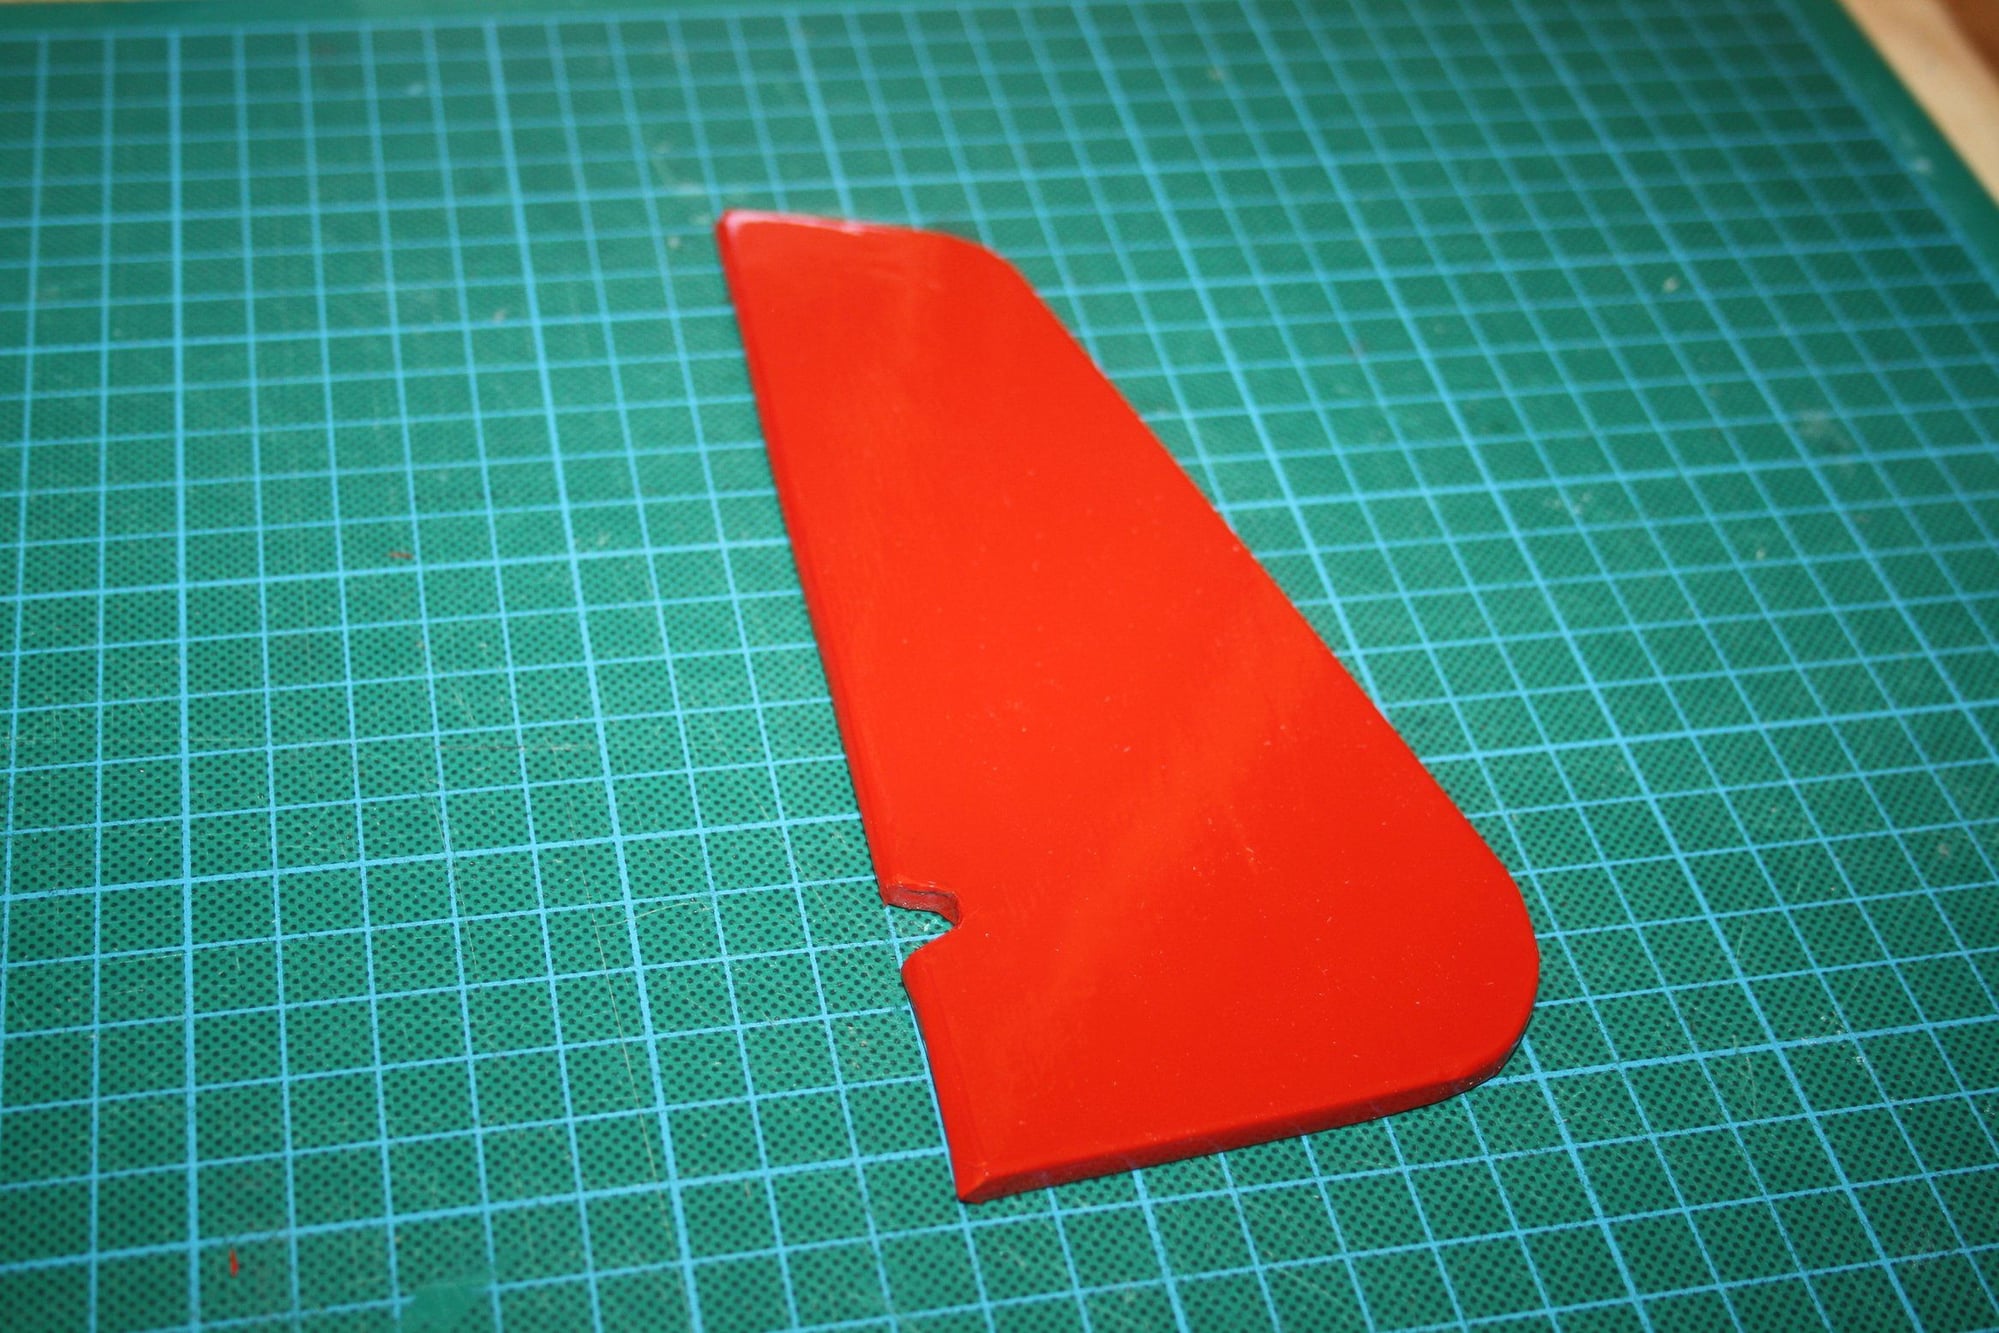
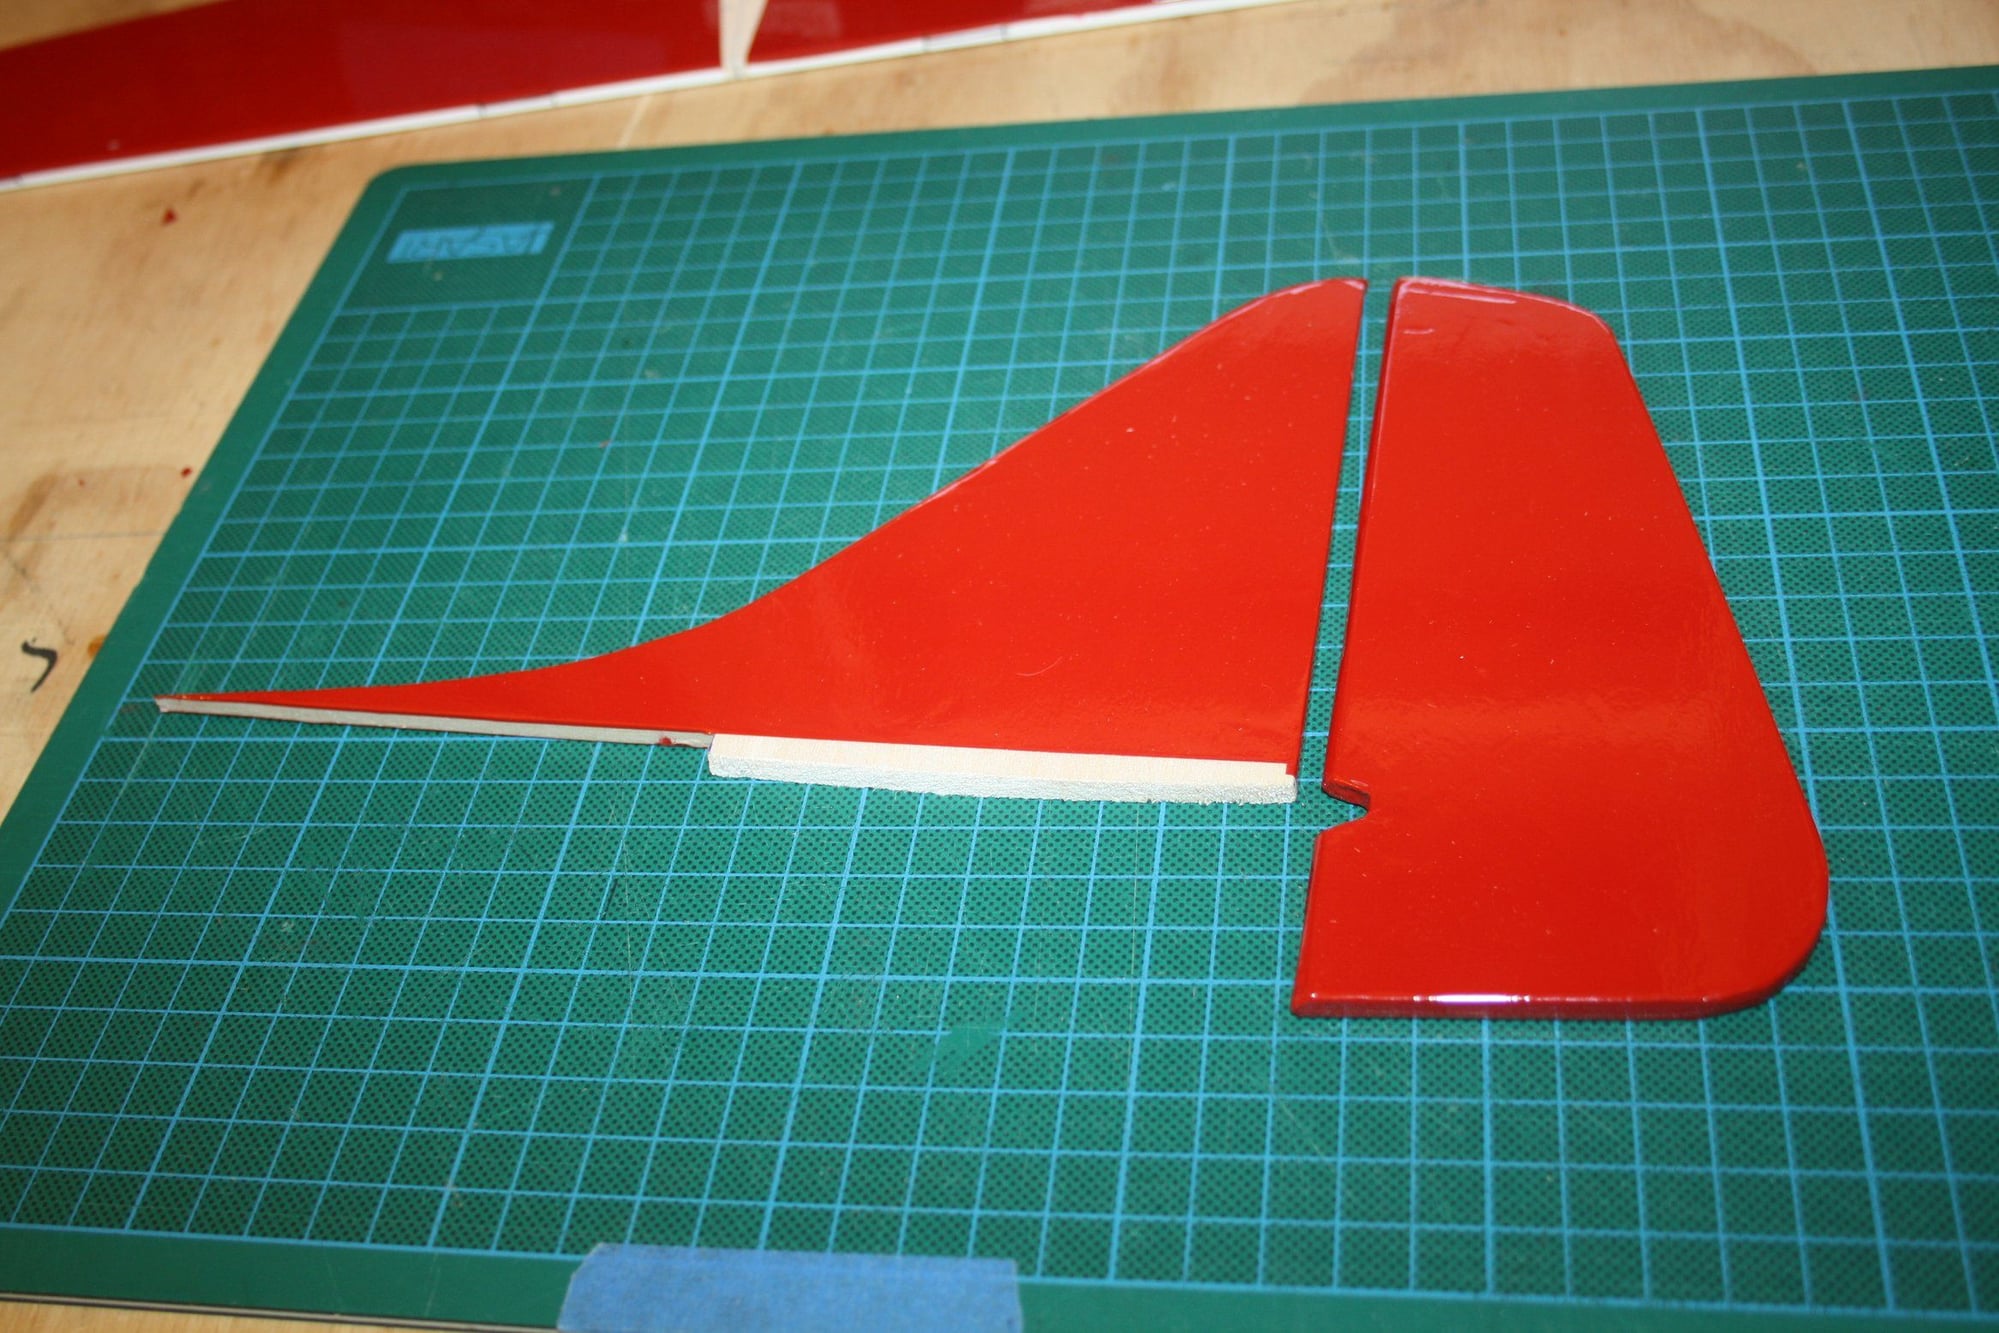
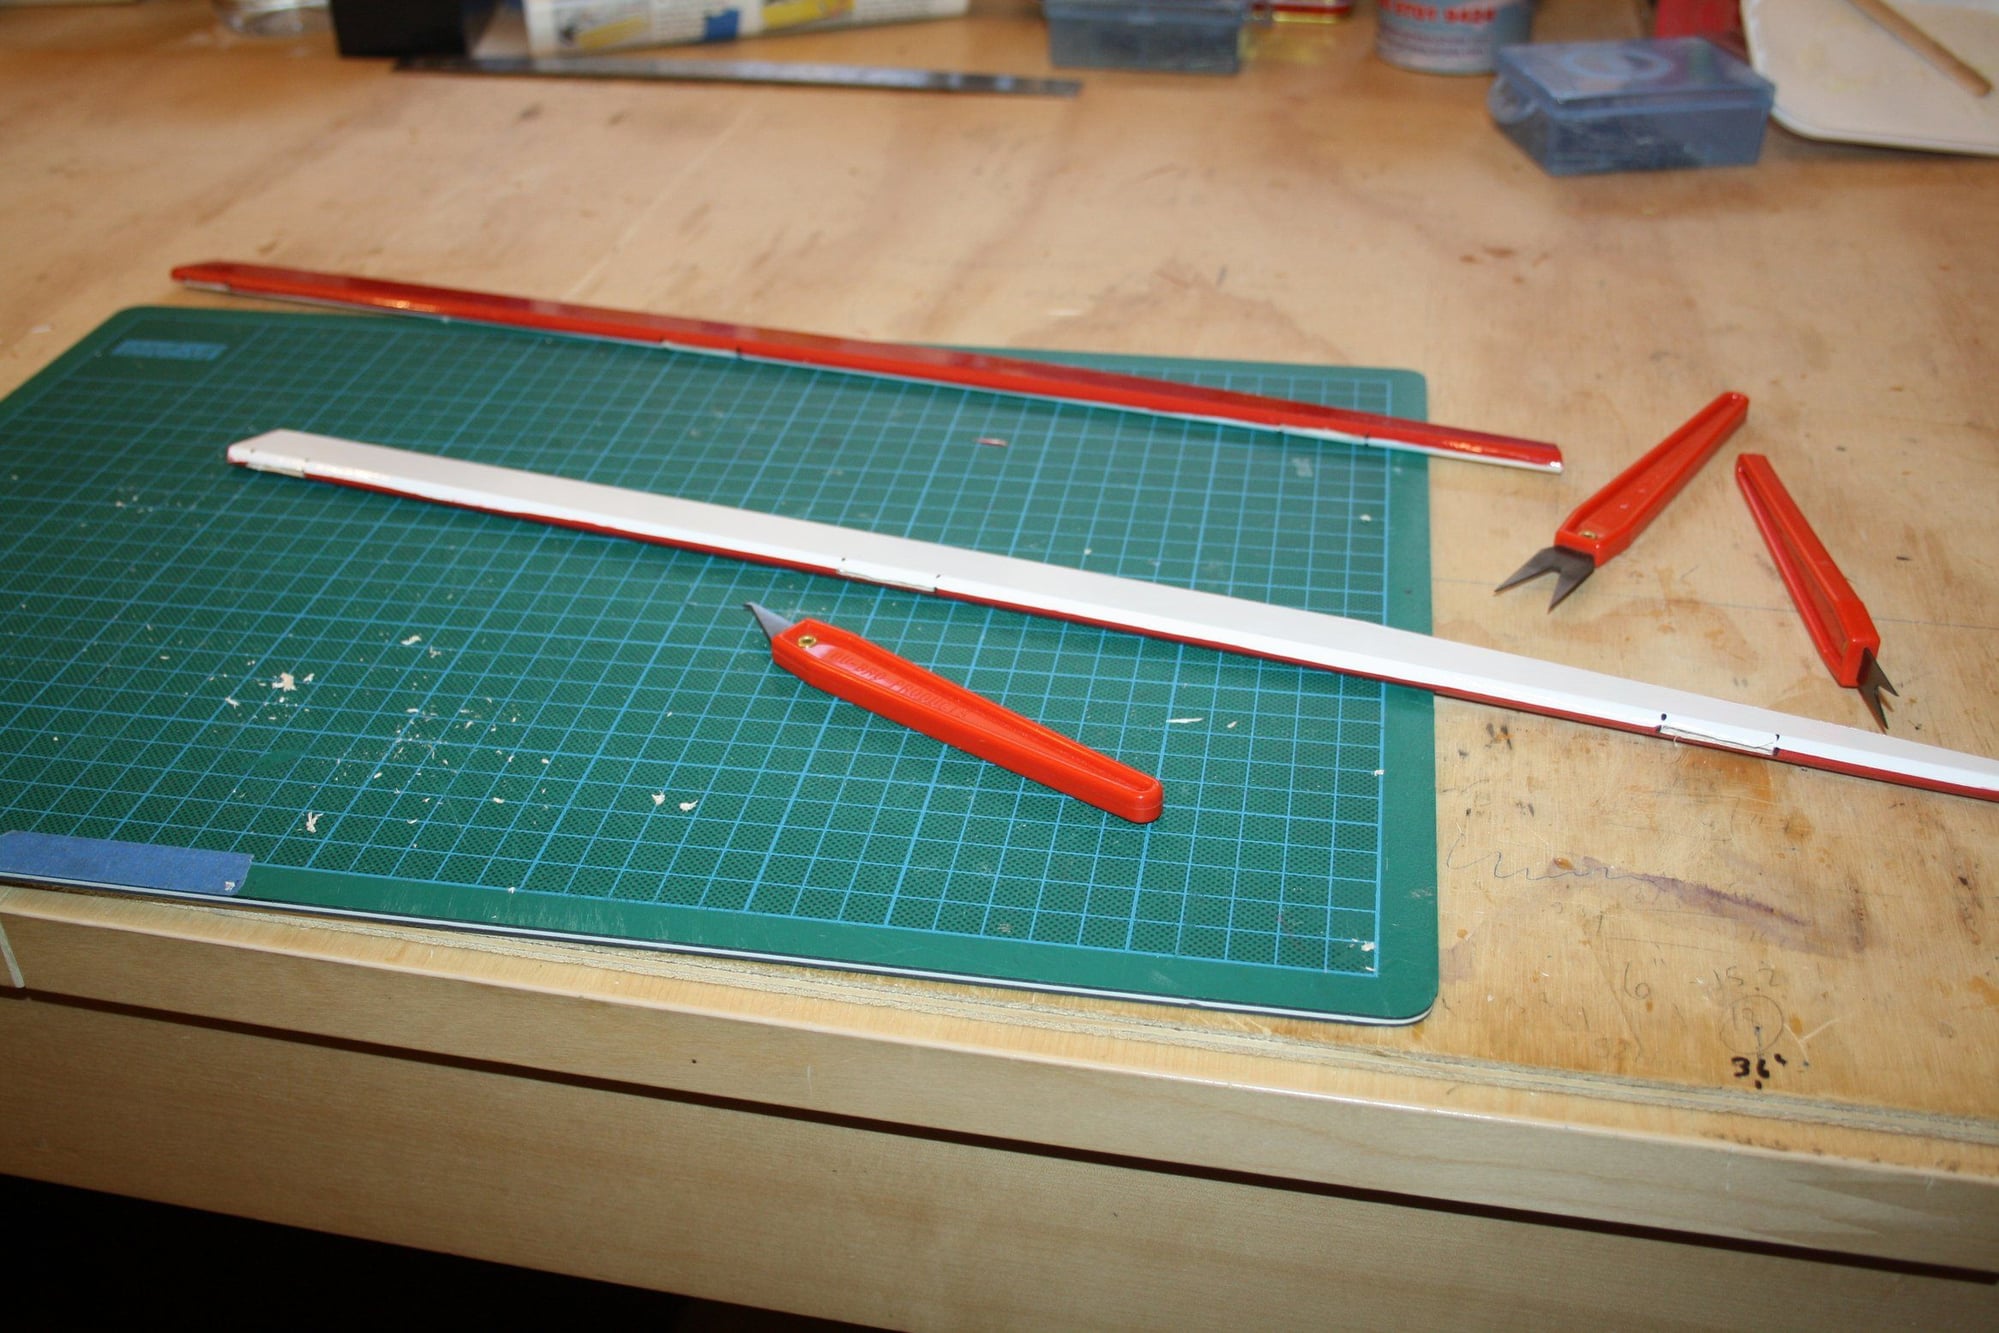
I Completed this covering session by covering the rudder and elevator.
I then returned to the fuselage and glued the bottom 3/32" sheets between the wing saddle and the tail.
Cheers,
Eran


I then returned to the fuselage and glued the bottom 3/32" sheets between the wing saddle and the tail.
Cheers,
Eran
08-02-2018, 03:44 AM
#56
Thread Starter
Slow progress over the last few days.
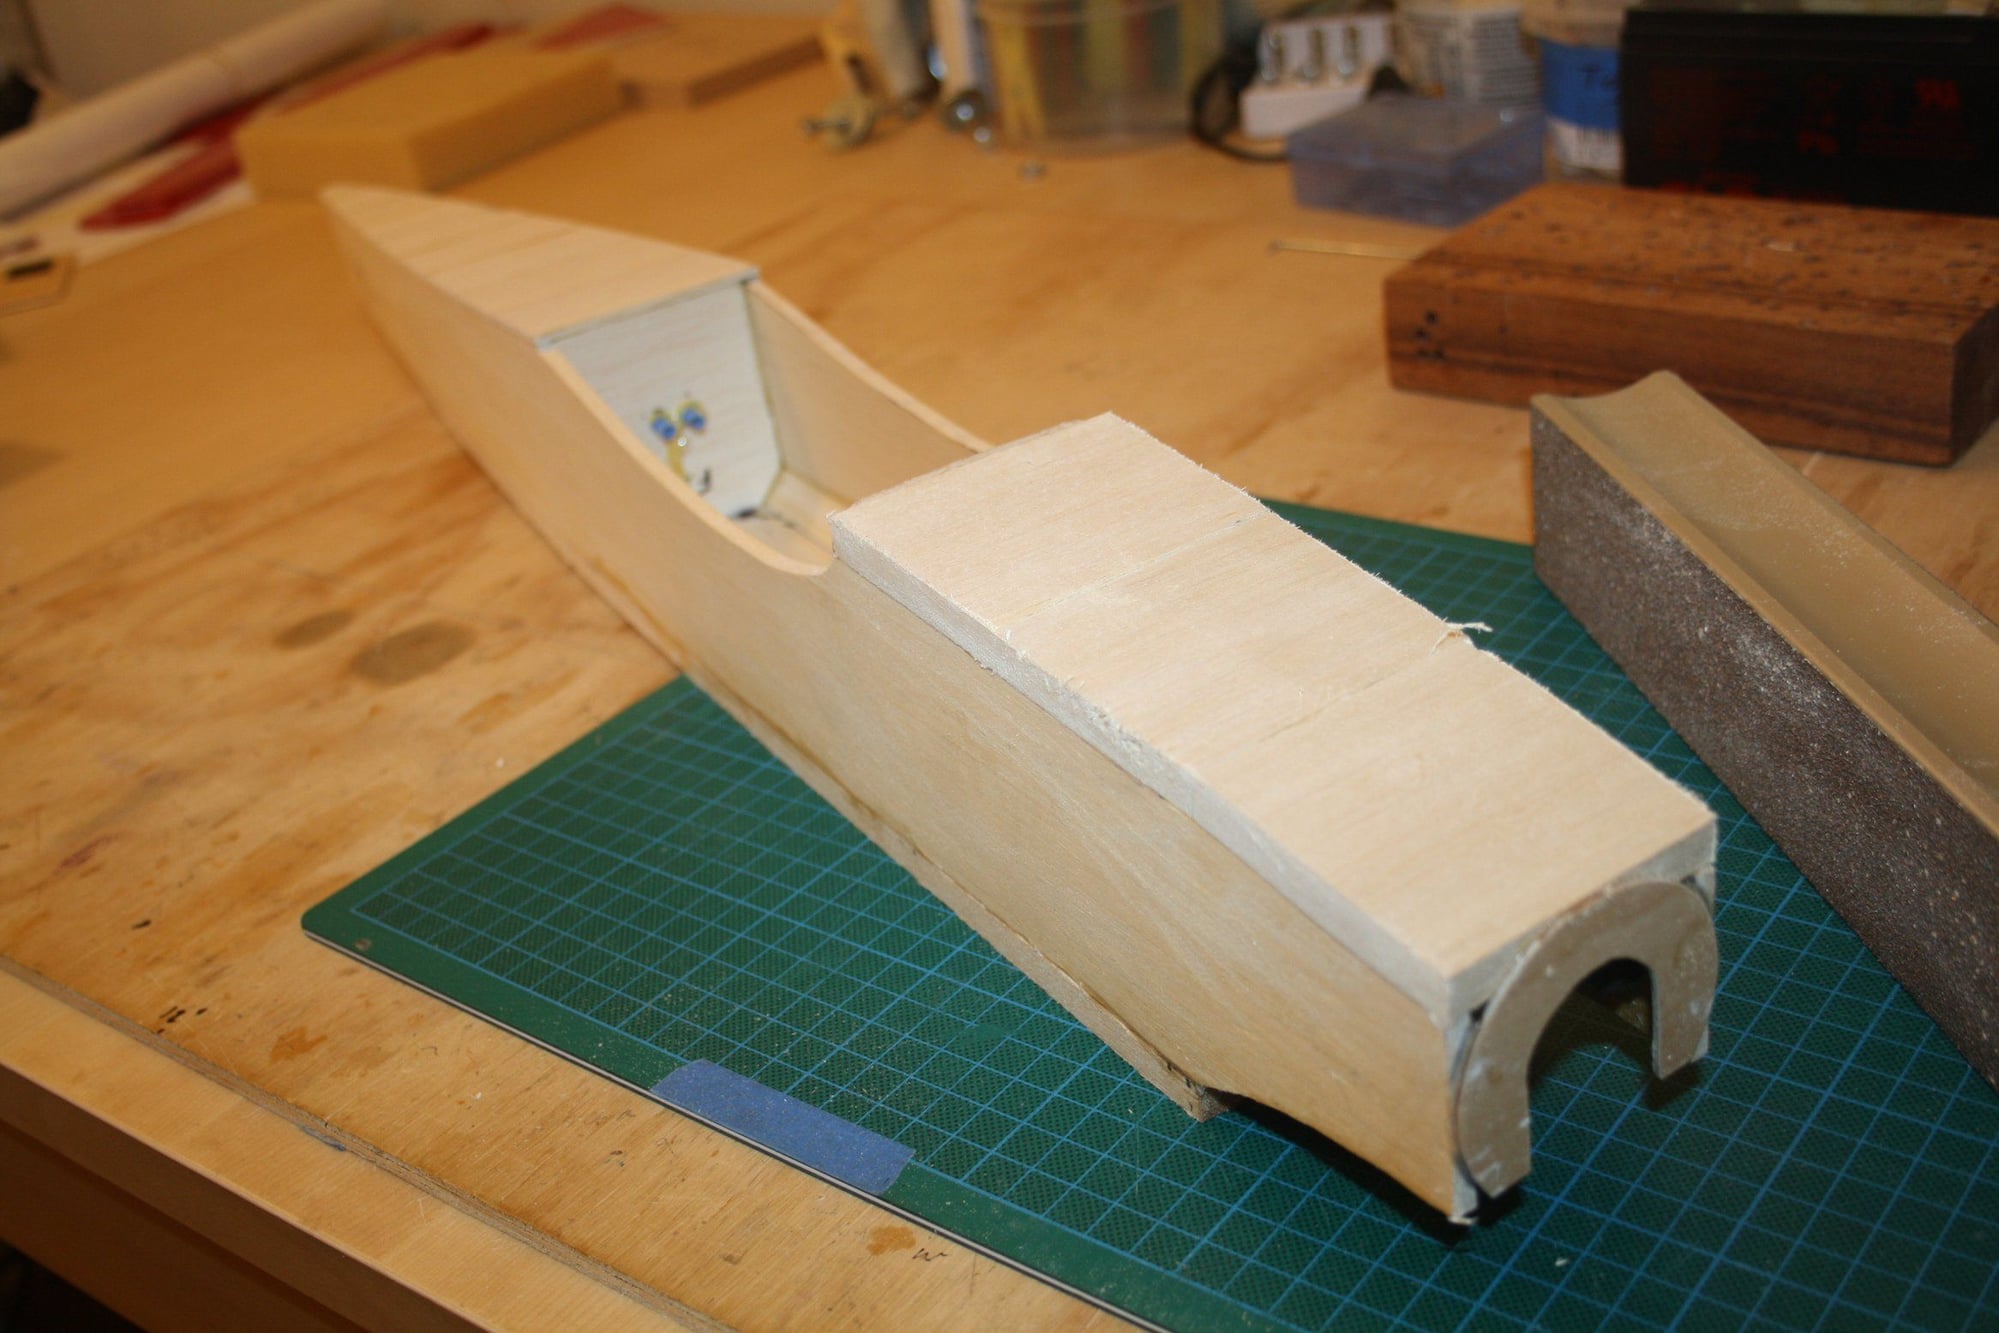
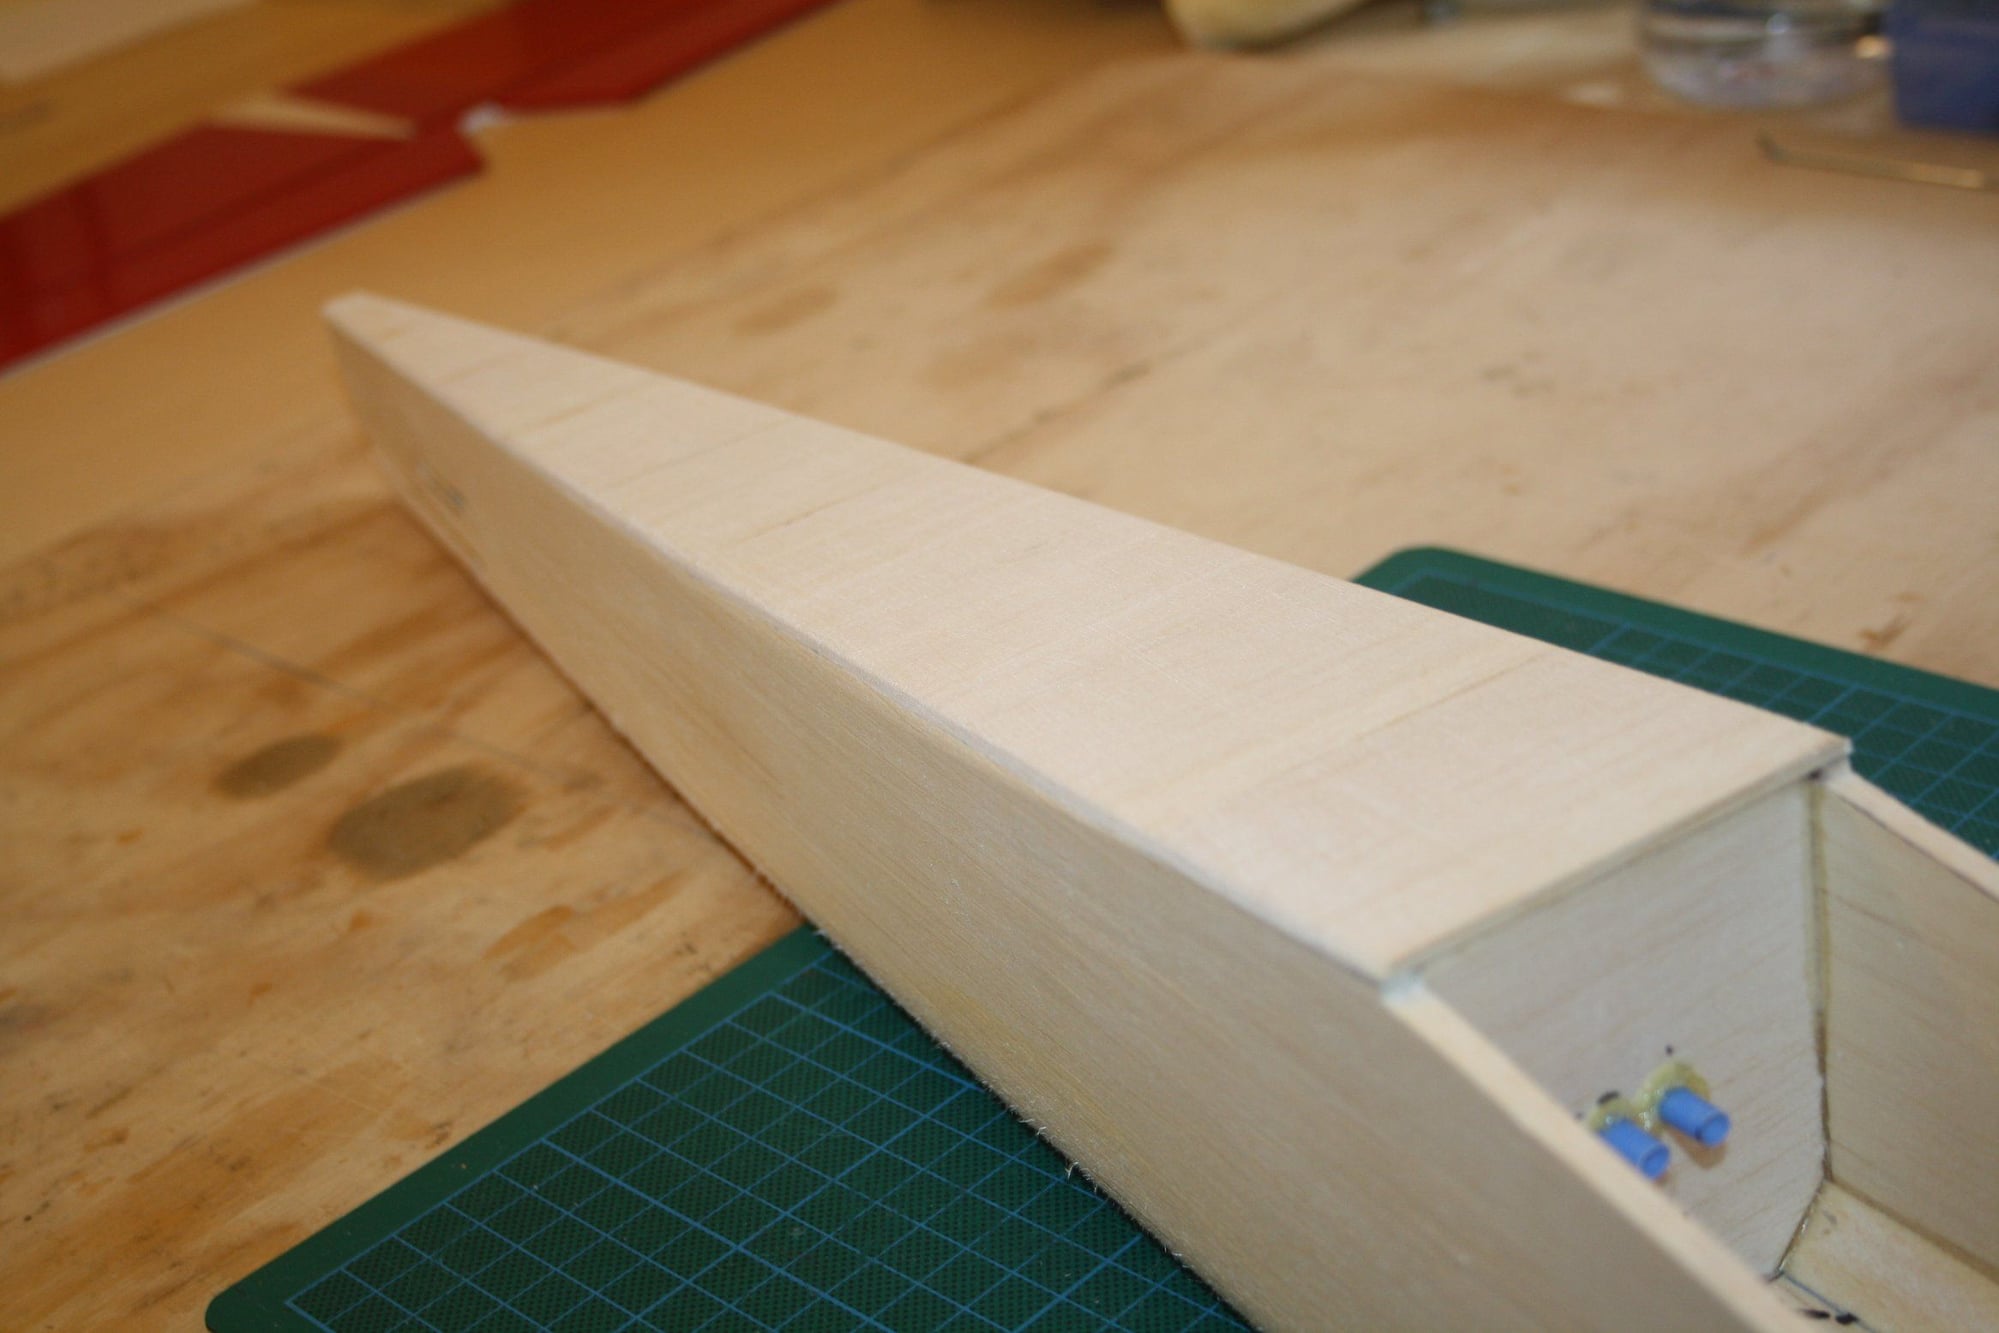
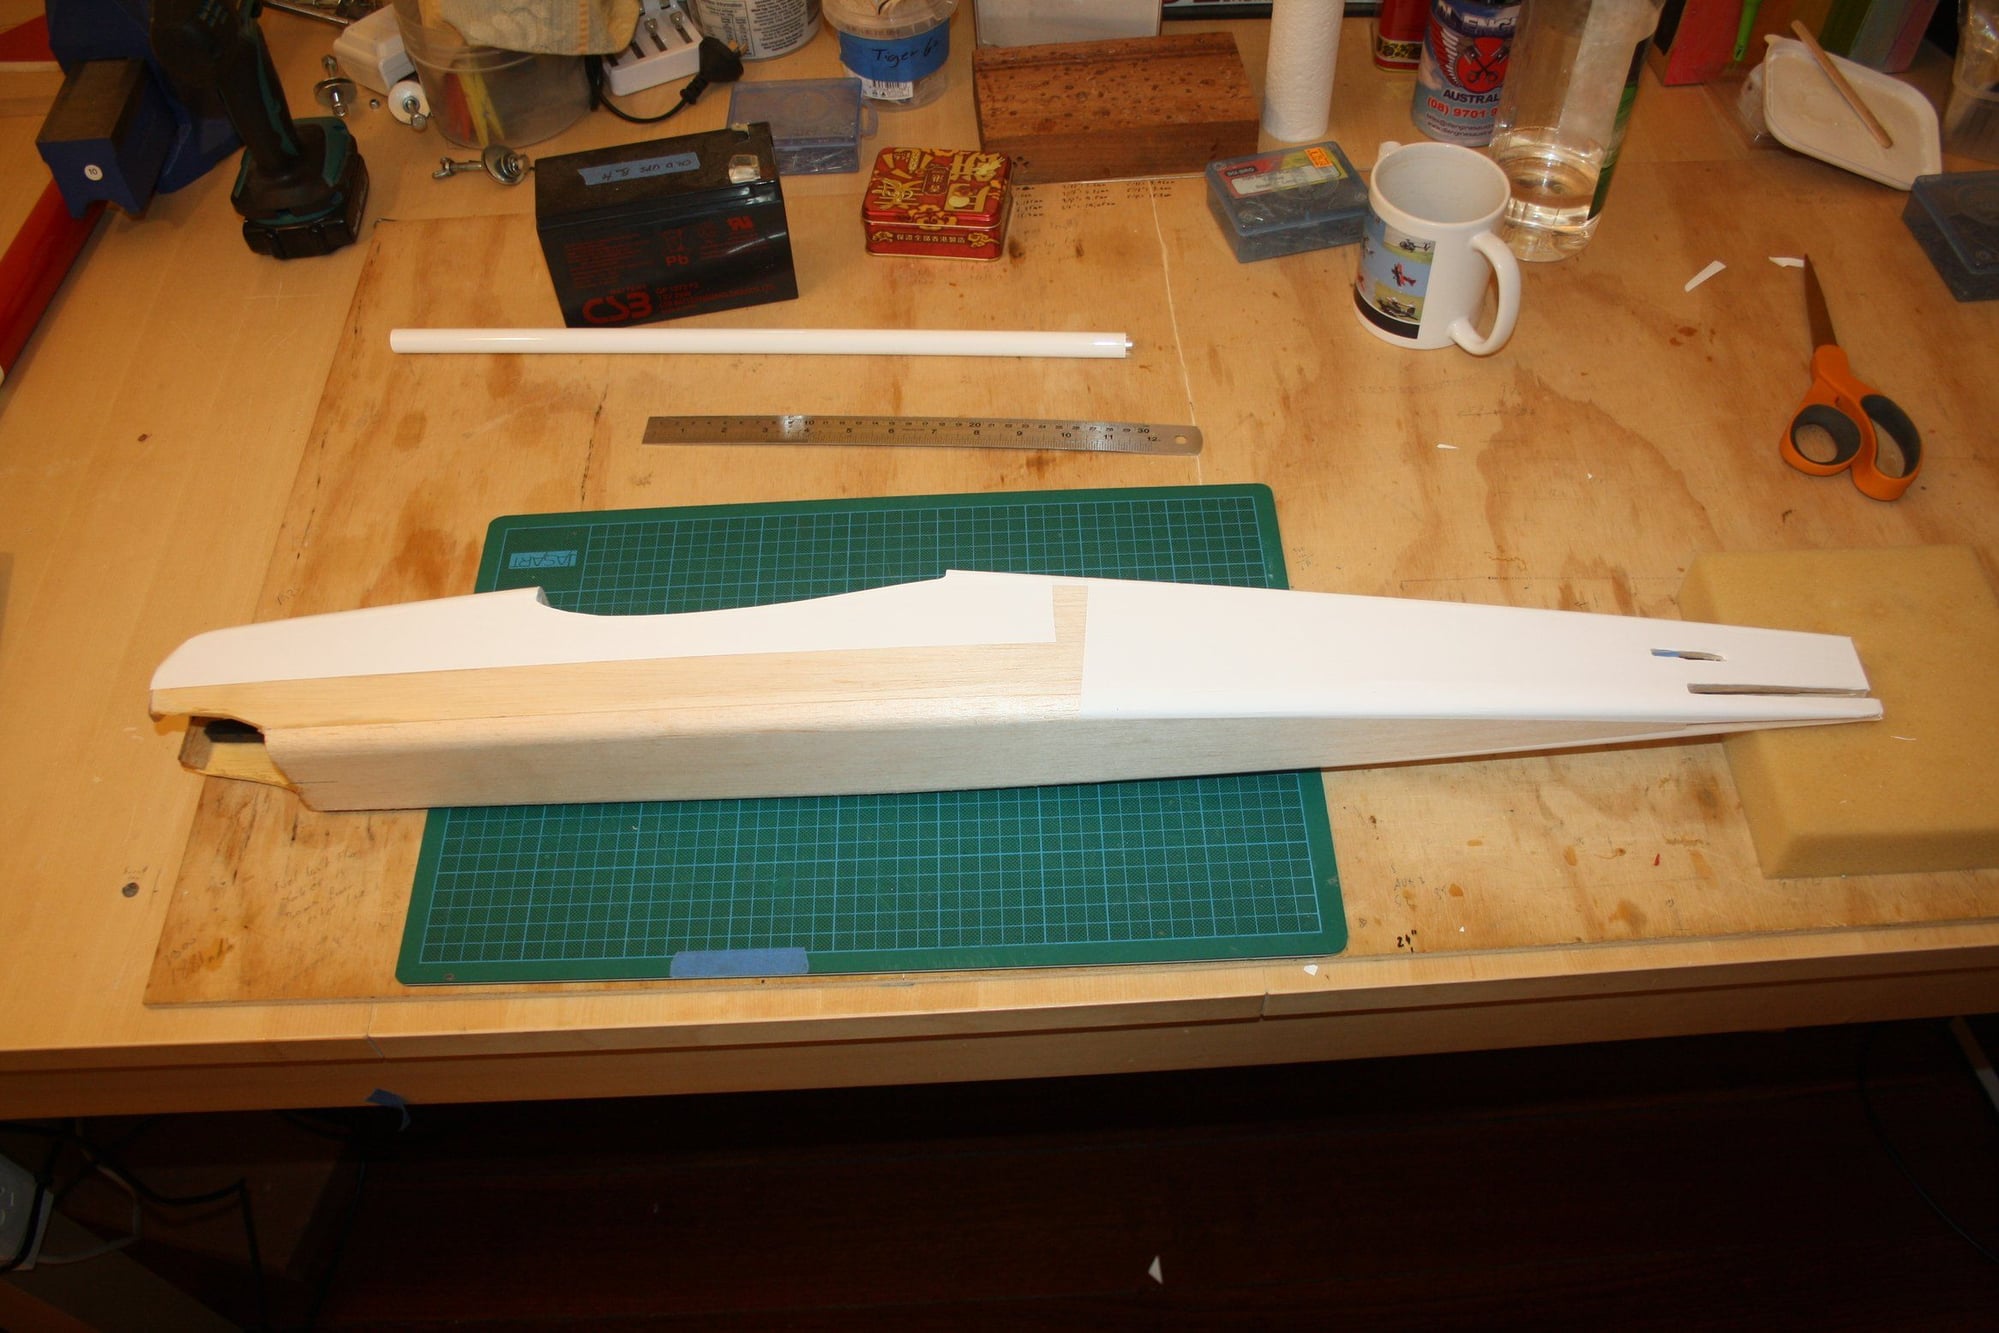
I started with trimmed the sheeting at the back section of the fuselage. I then glued a triangle to the bottom of the firewall which will be glued to the floor of the fuel tank compartment.
Cheers,
Eran
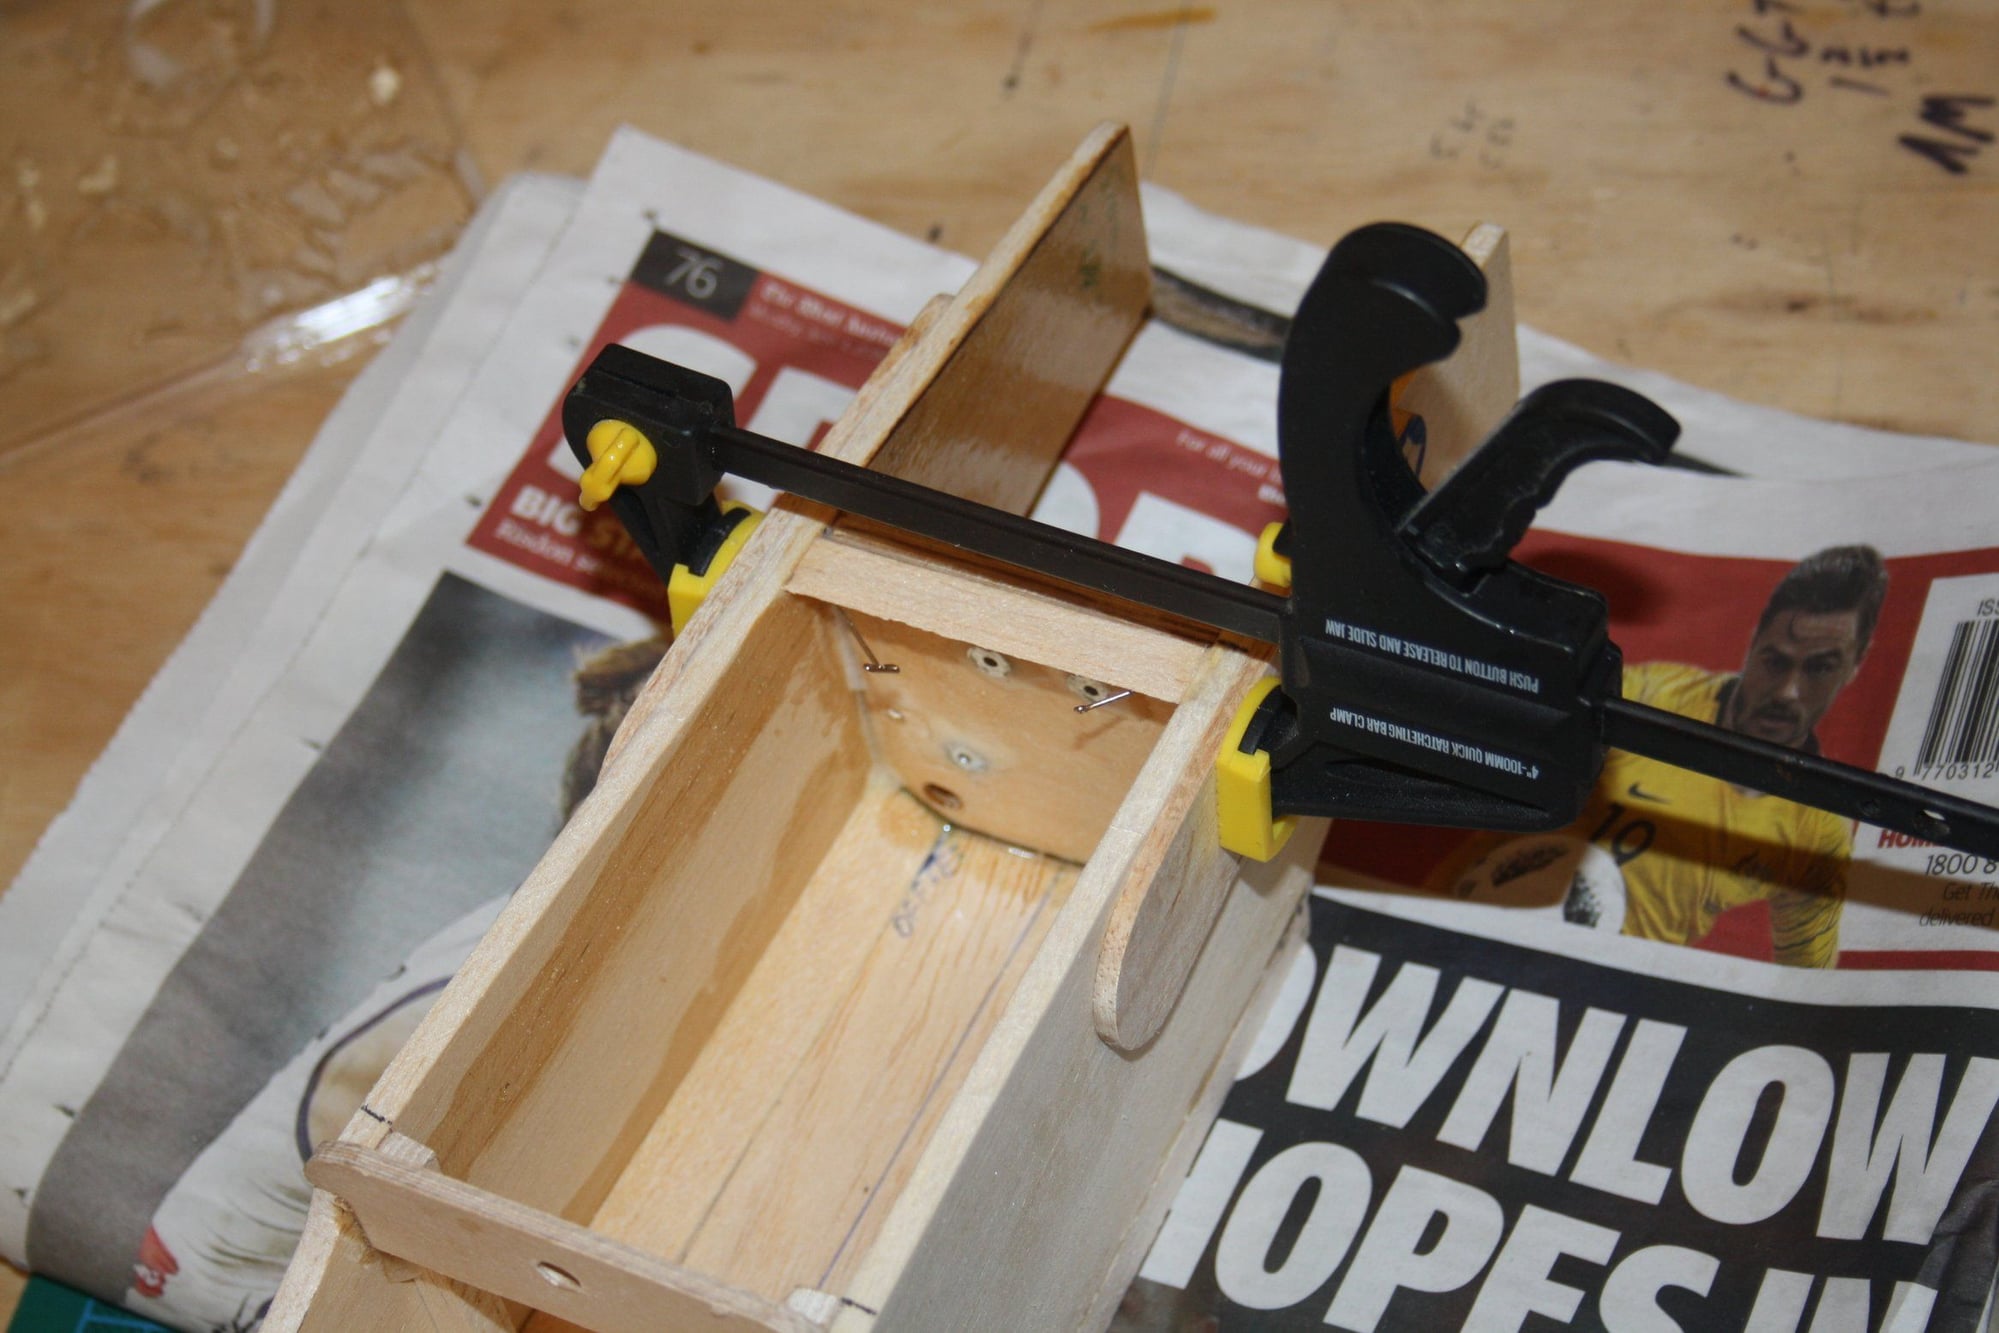

I started with trimmed the sheeting at the back section of the fuselage. I then glued a triangle to the bottom of the firewall which will be glued to the floor of the fuel tank compartment.
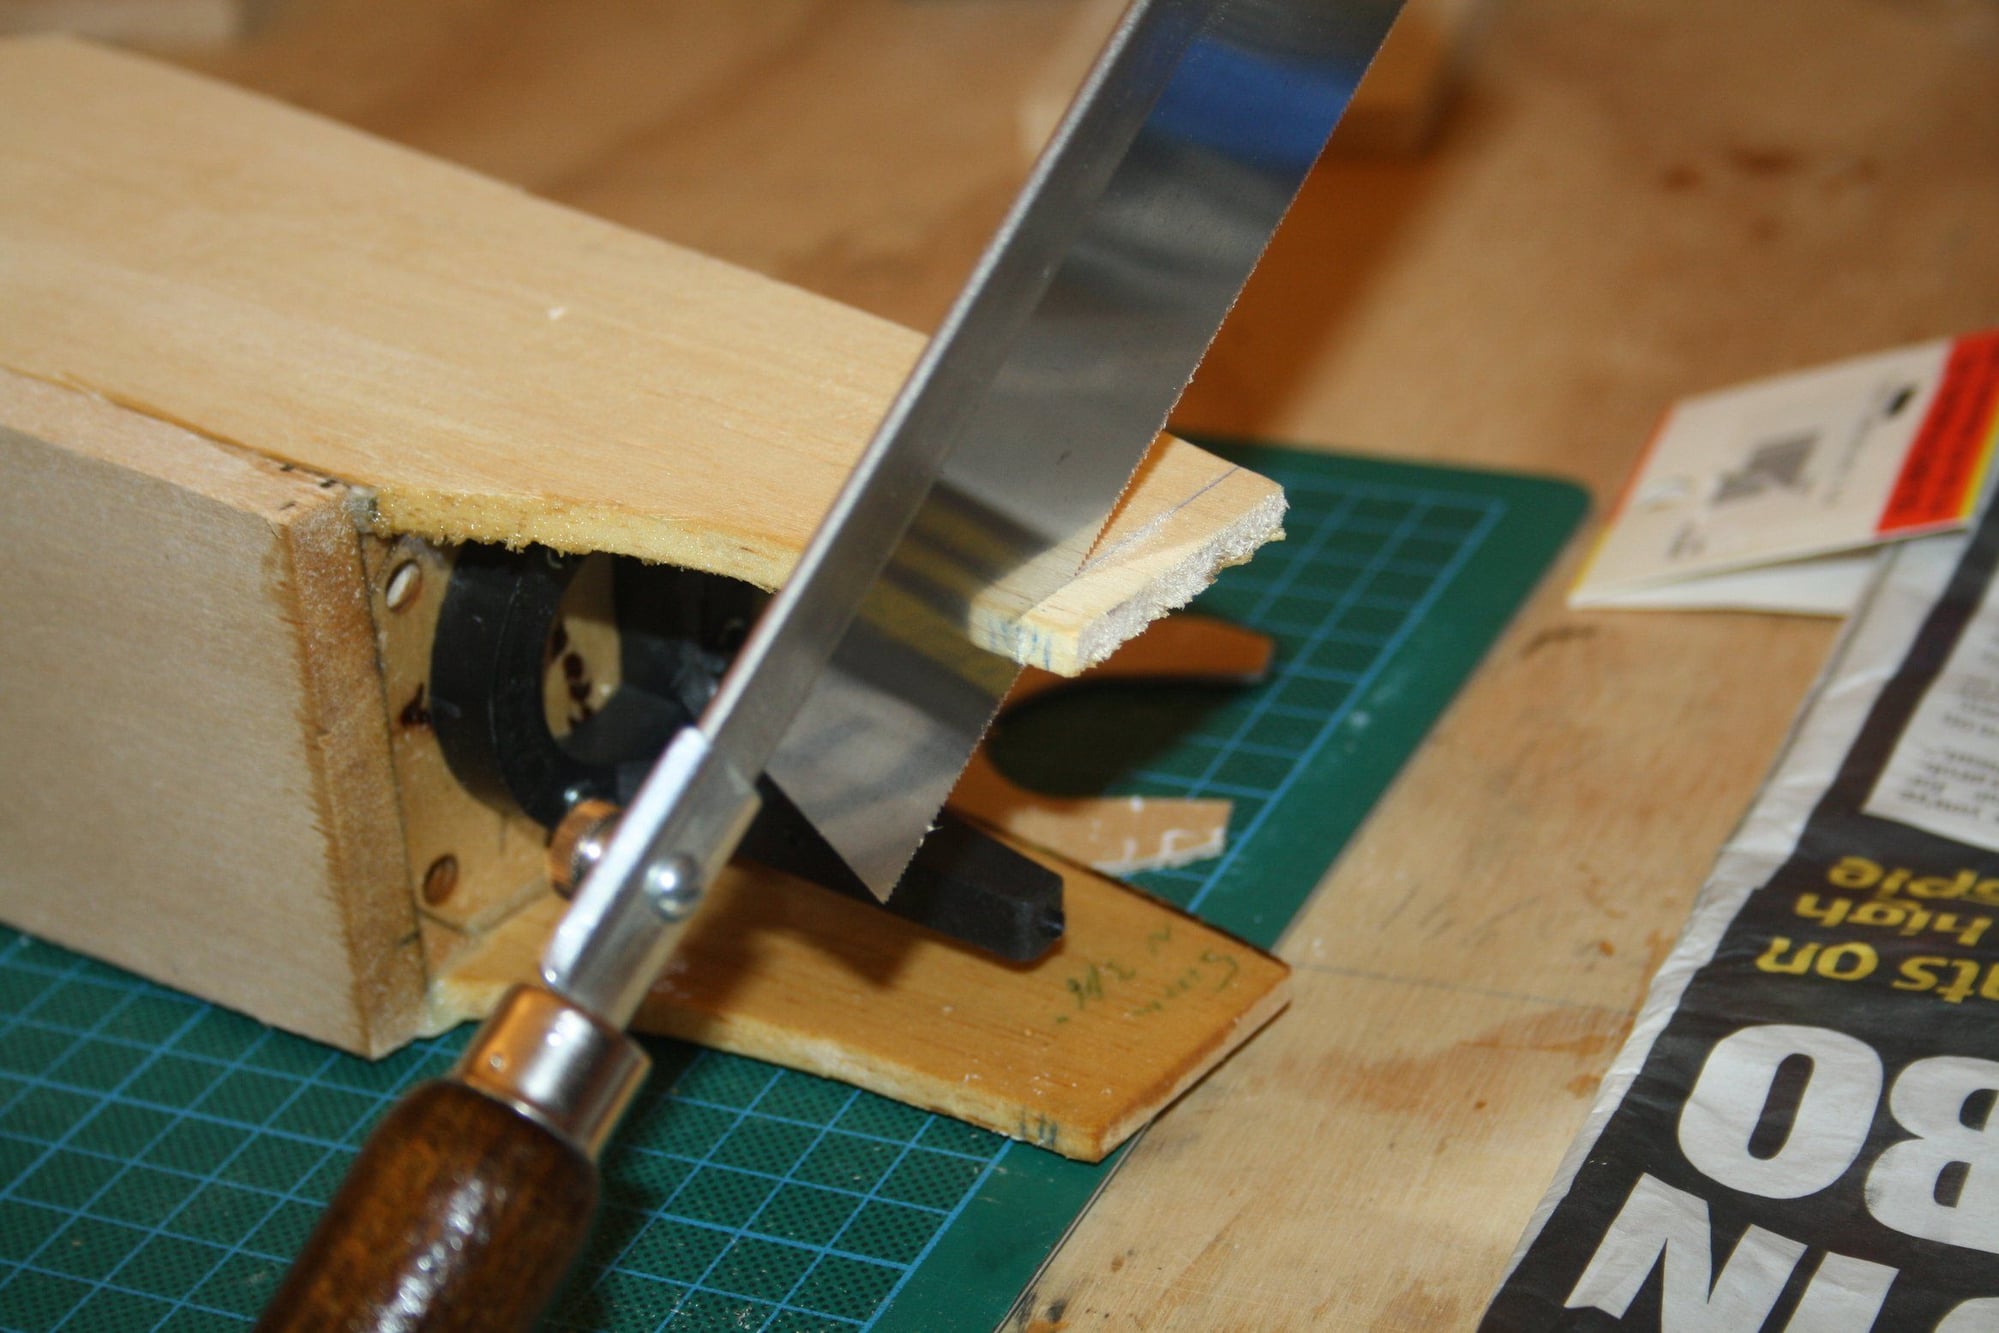
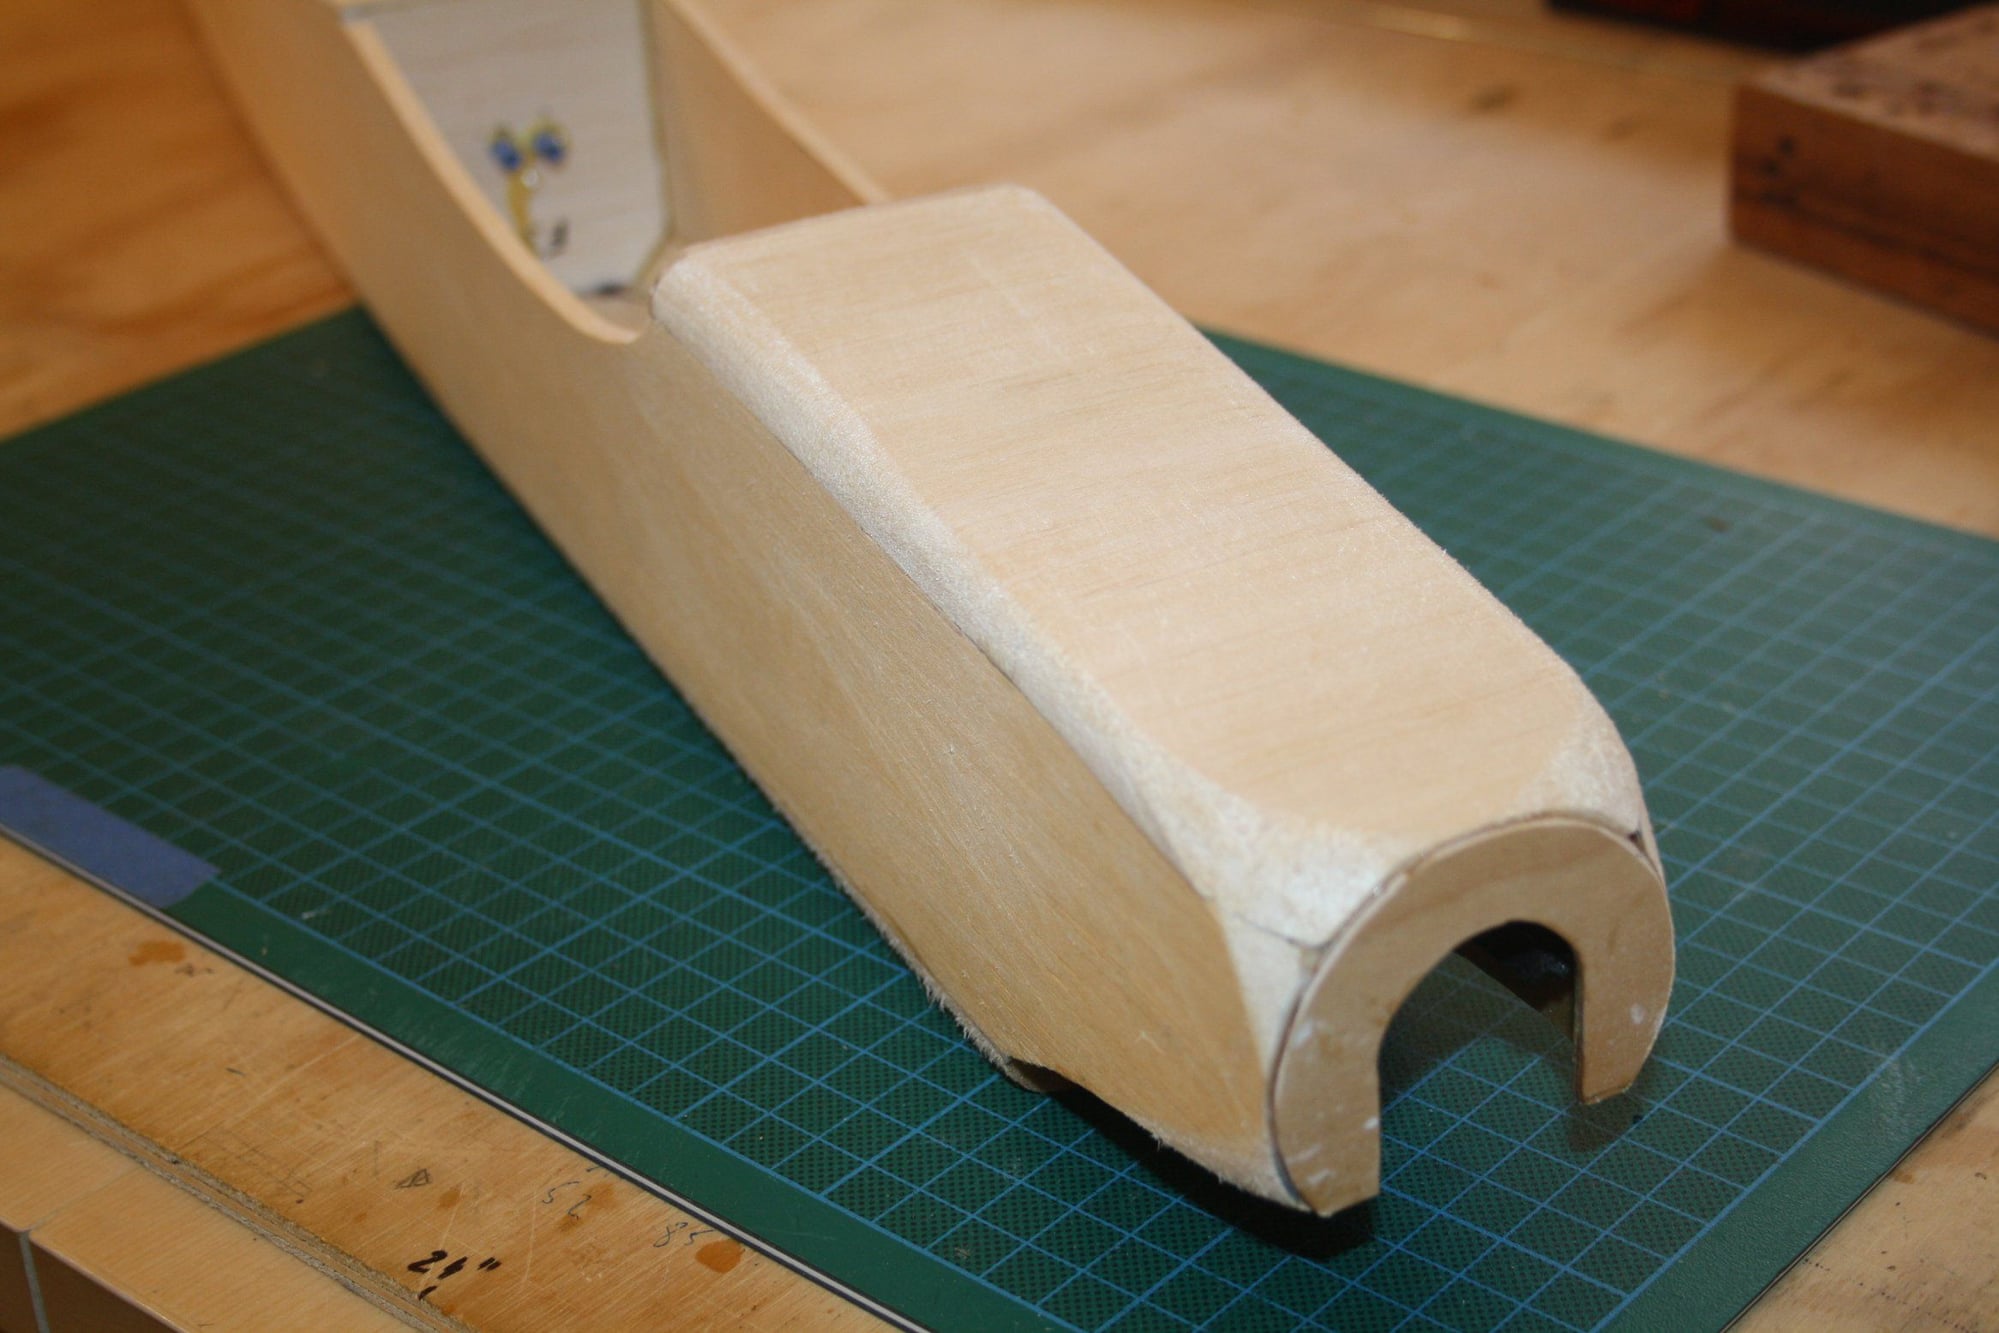
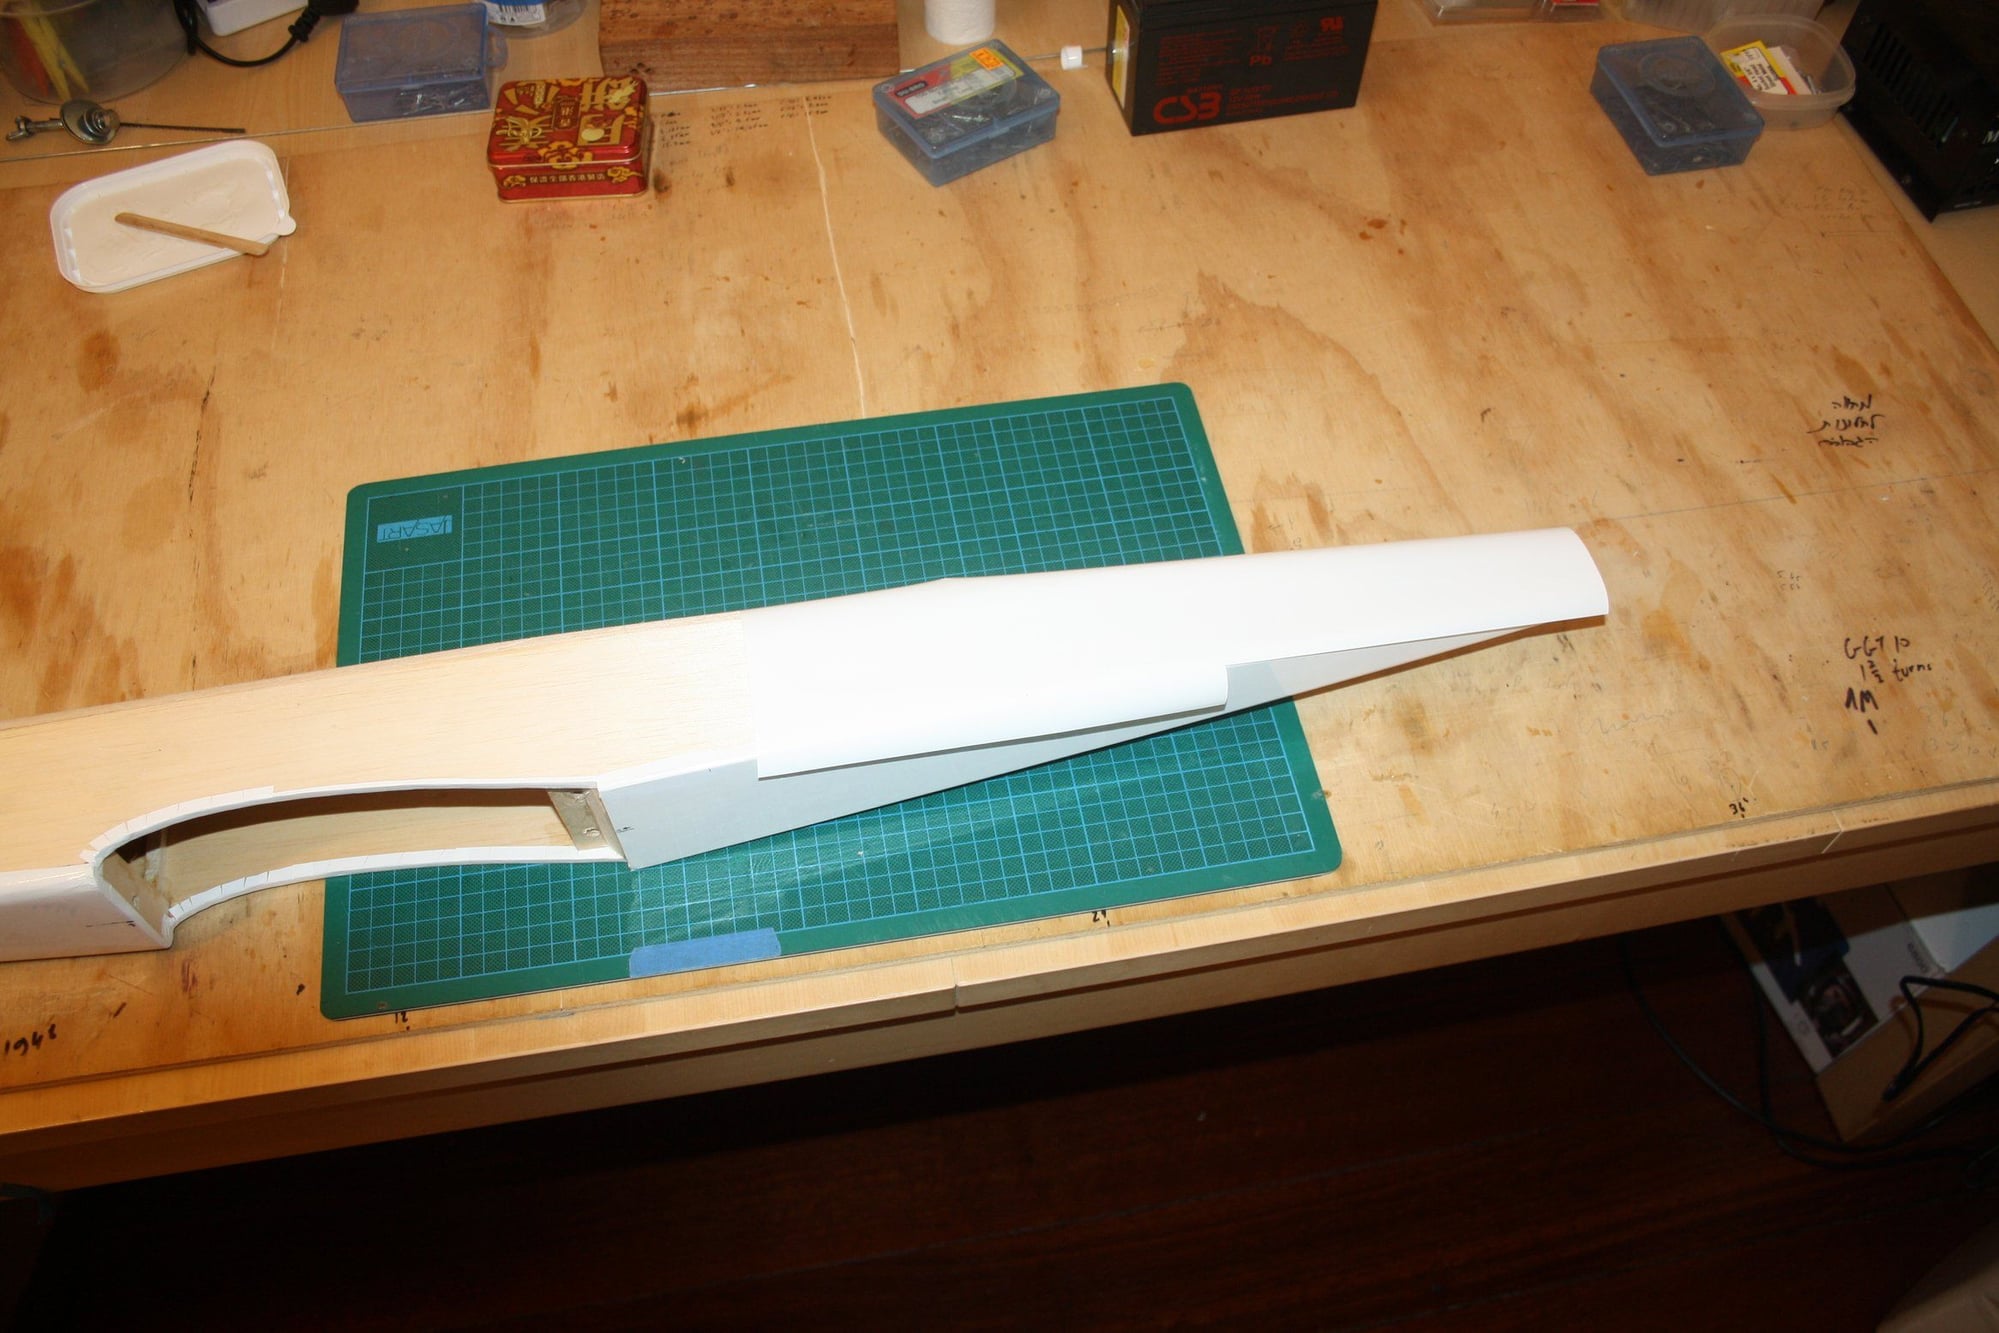
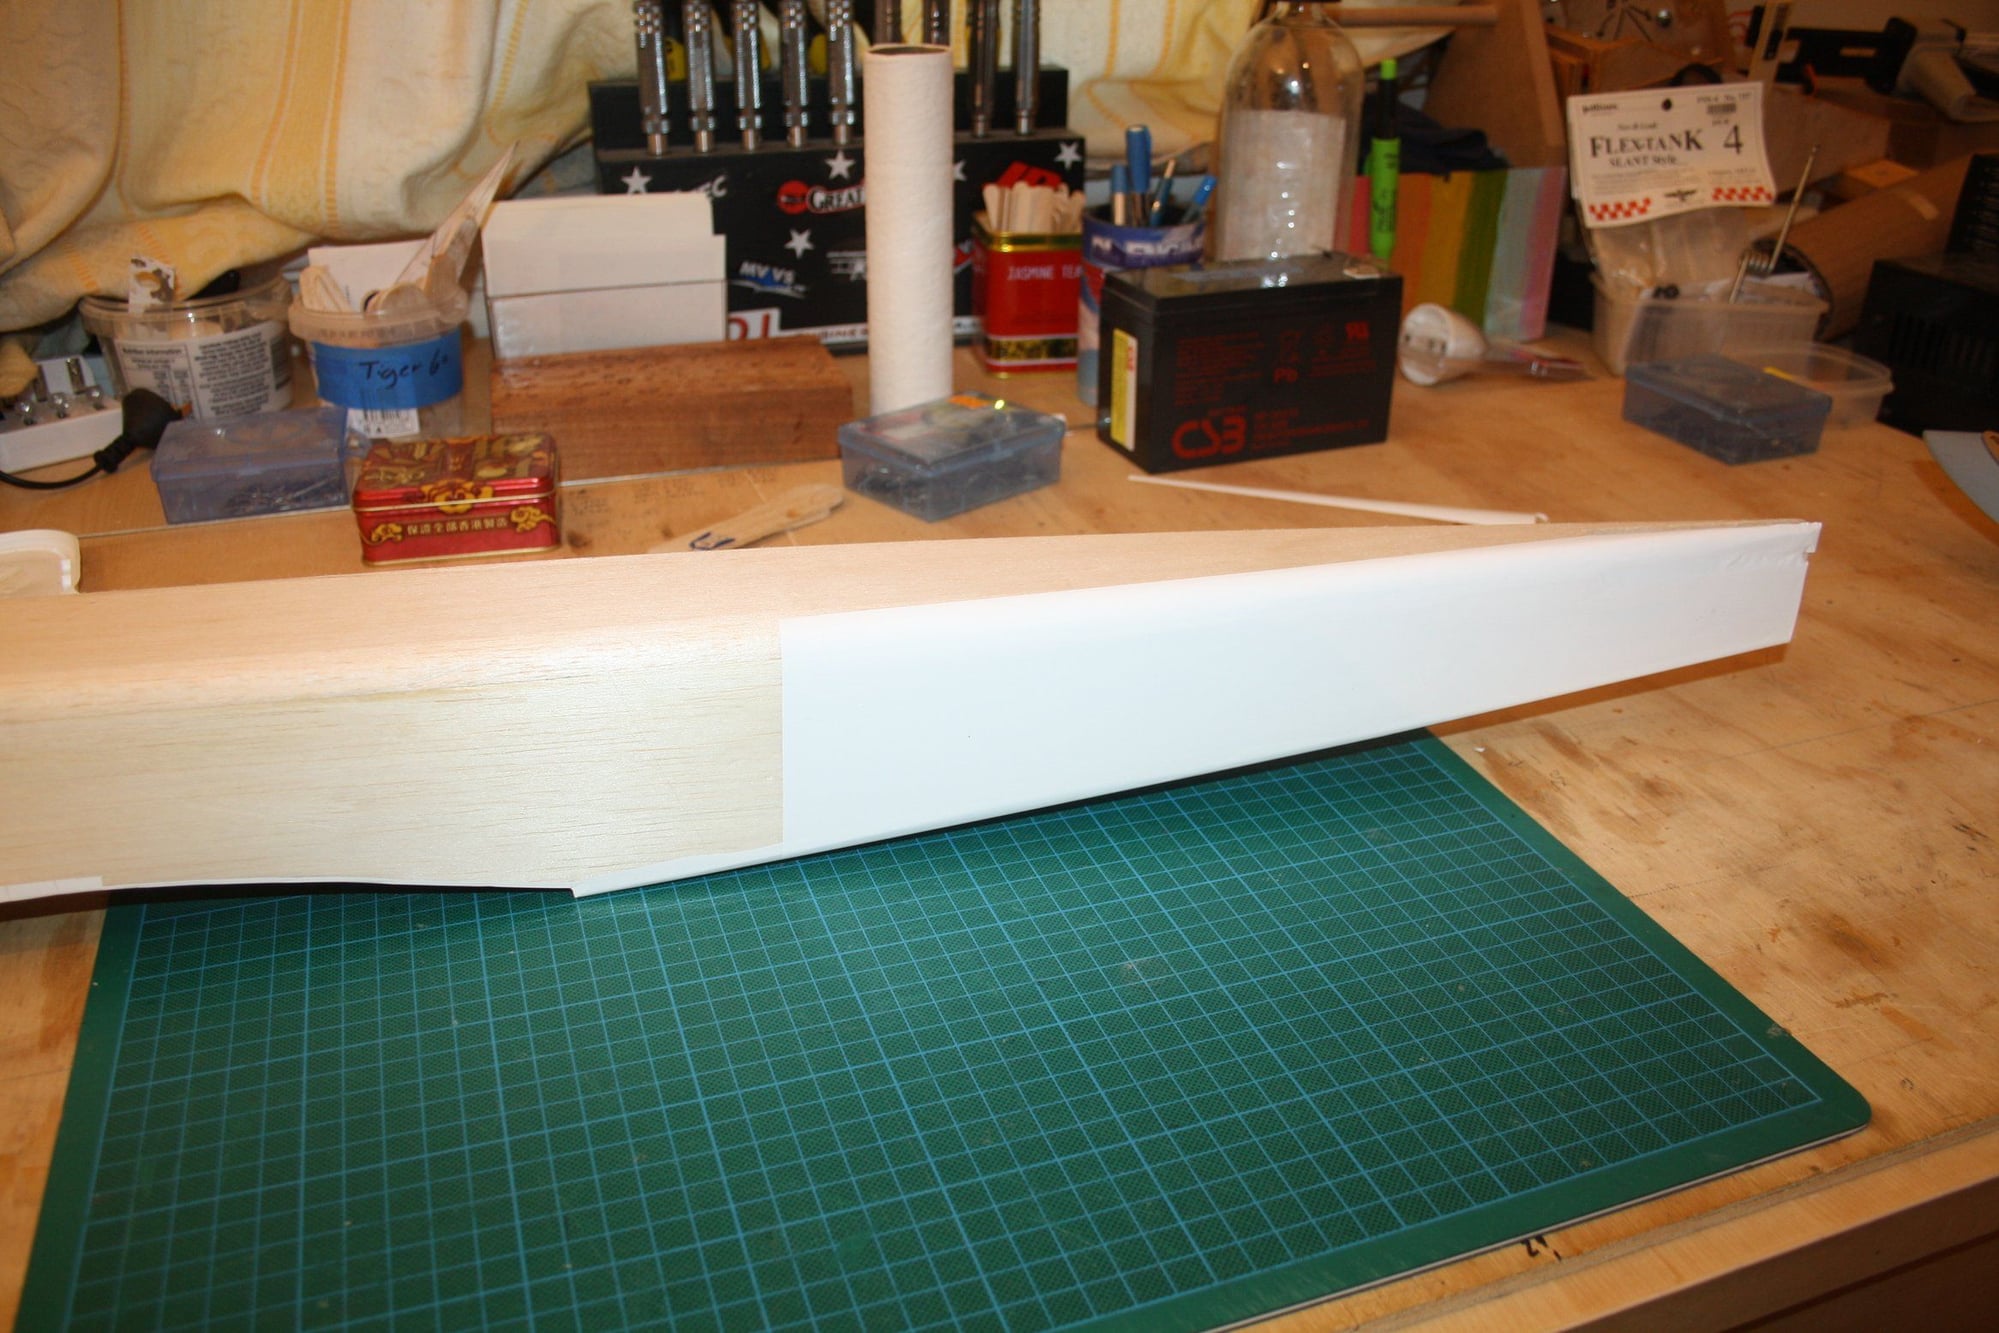
Next I bolted the engine on and marked the spinner back-plate and allowed for the plywood nose "ring". The 10mm I added when cutting the fuselage sides (fearing the engine will be too long) ended up being cut off.
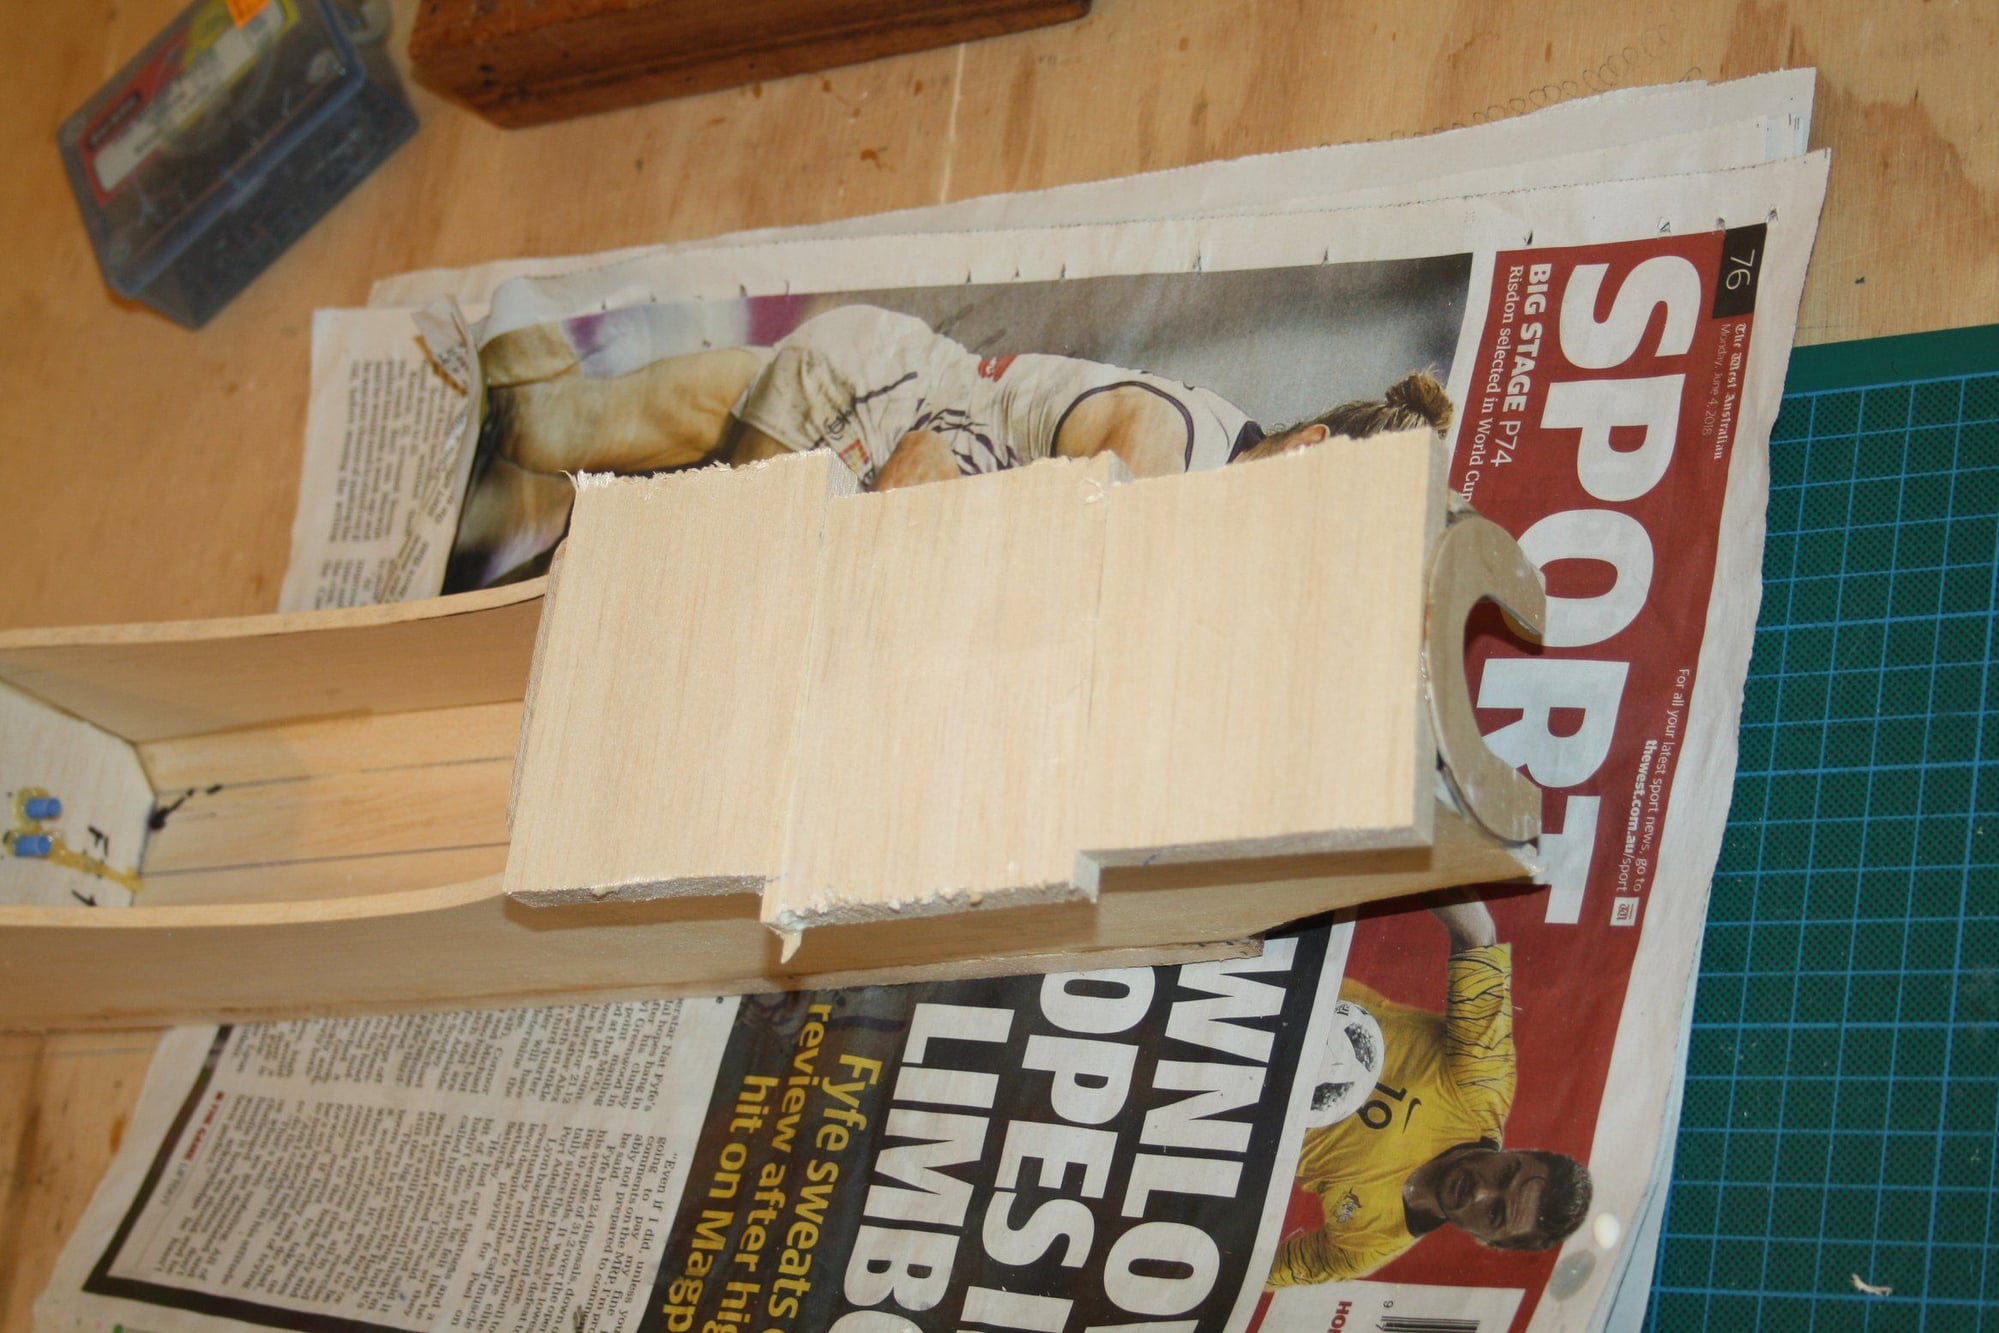
I glued the nose "ring" into place, which allowed me to complete the sheeting of the front section and sand it to shape. Last, triangles added to the nose ring.Cheers,
Eran
08-05-2018, 09:40 AM
#57

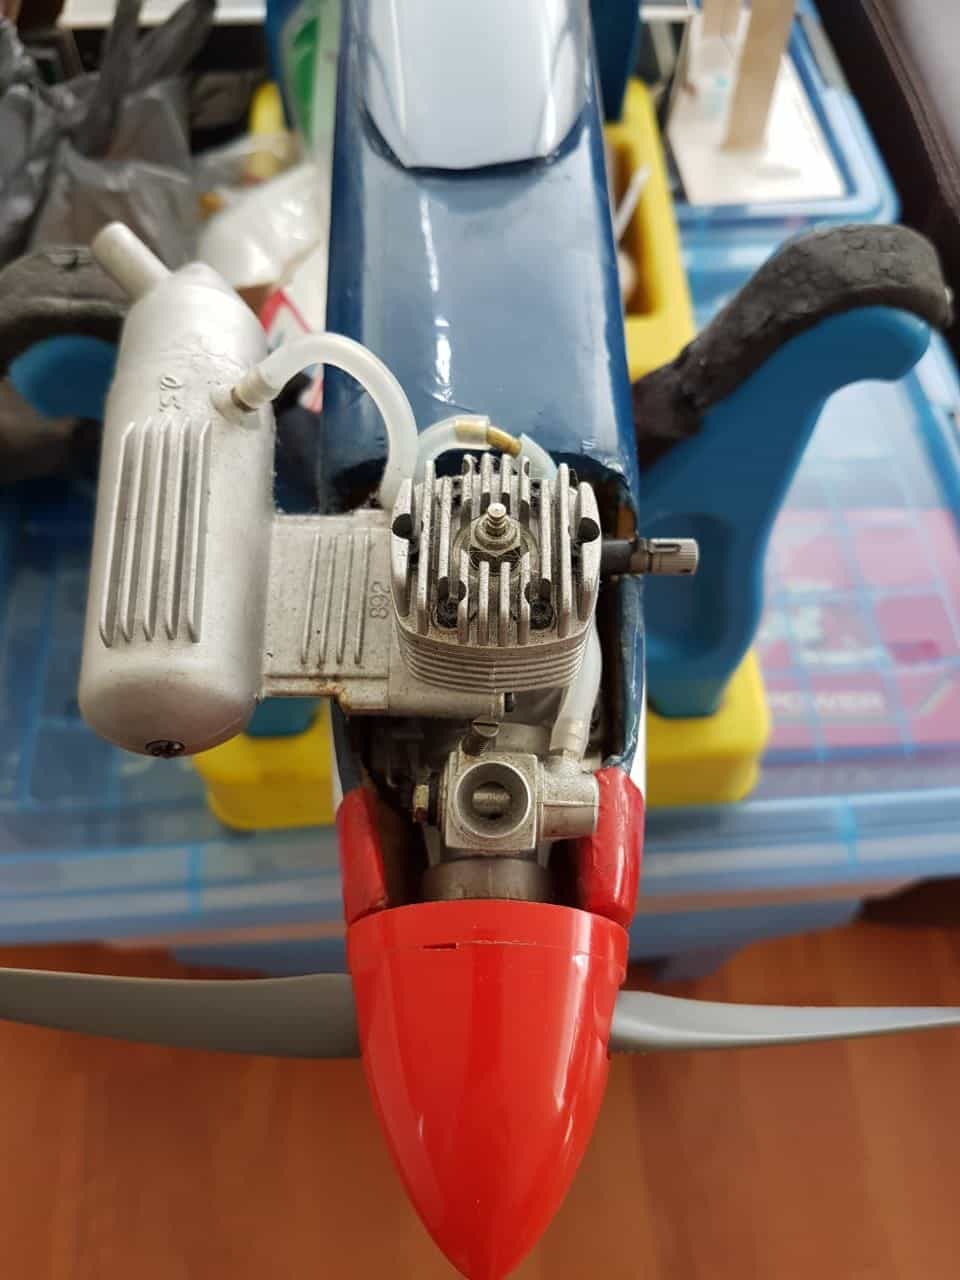
Great airplane, for mine I was originally going to use an OS 25 similar to your 20, it was my favorite engine as a kid, I used it in everything from C/L to R/C.
For the New Era I finally I decided to use a new OS 25FX, it has been a great choice but I had to increase the nose about 3/4". Here are some photos.
Alfredo
08-05-2018, 03:26 PM
#58
Thread Starter
Alfredo - Thank you for the photos, it is looking great.
I received my canopy from SIG on Friday, and the only other progress on the weekend was that I sanded the fuselage.
Cheers,
Eran
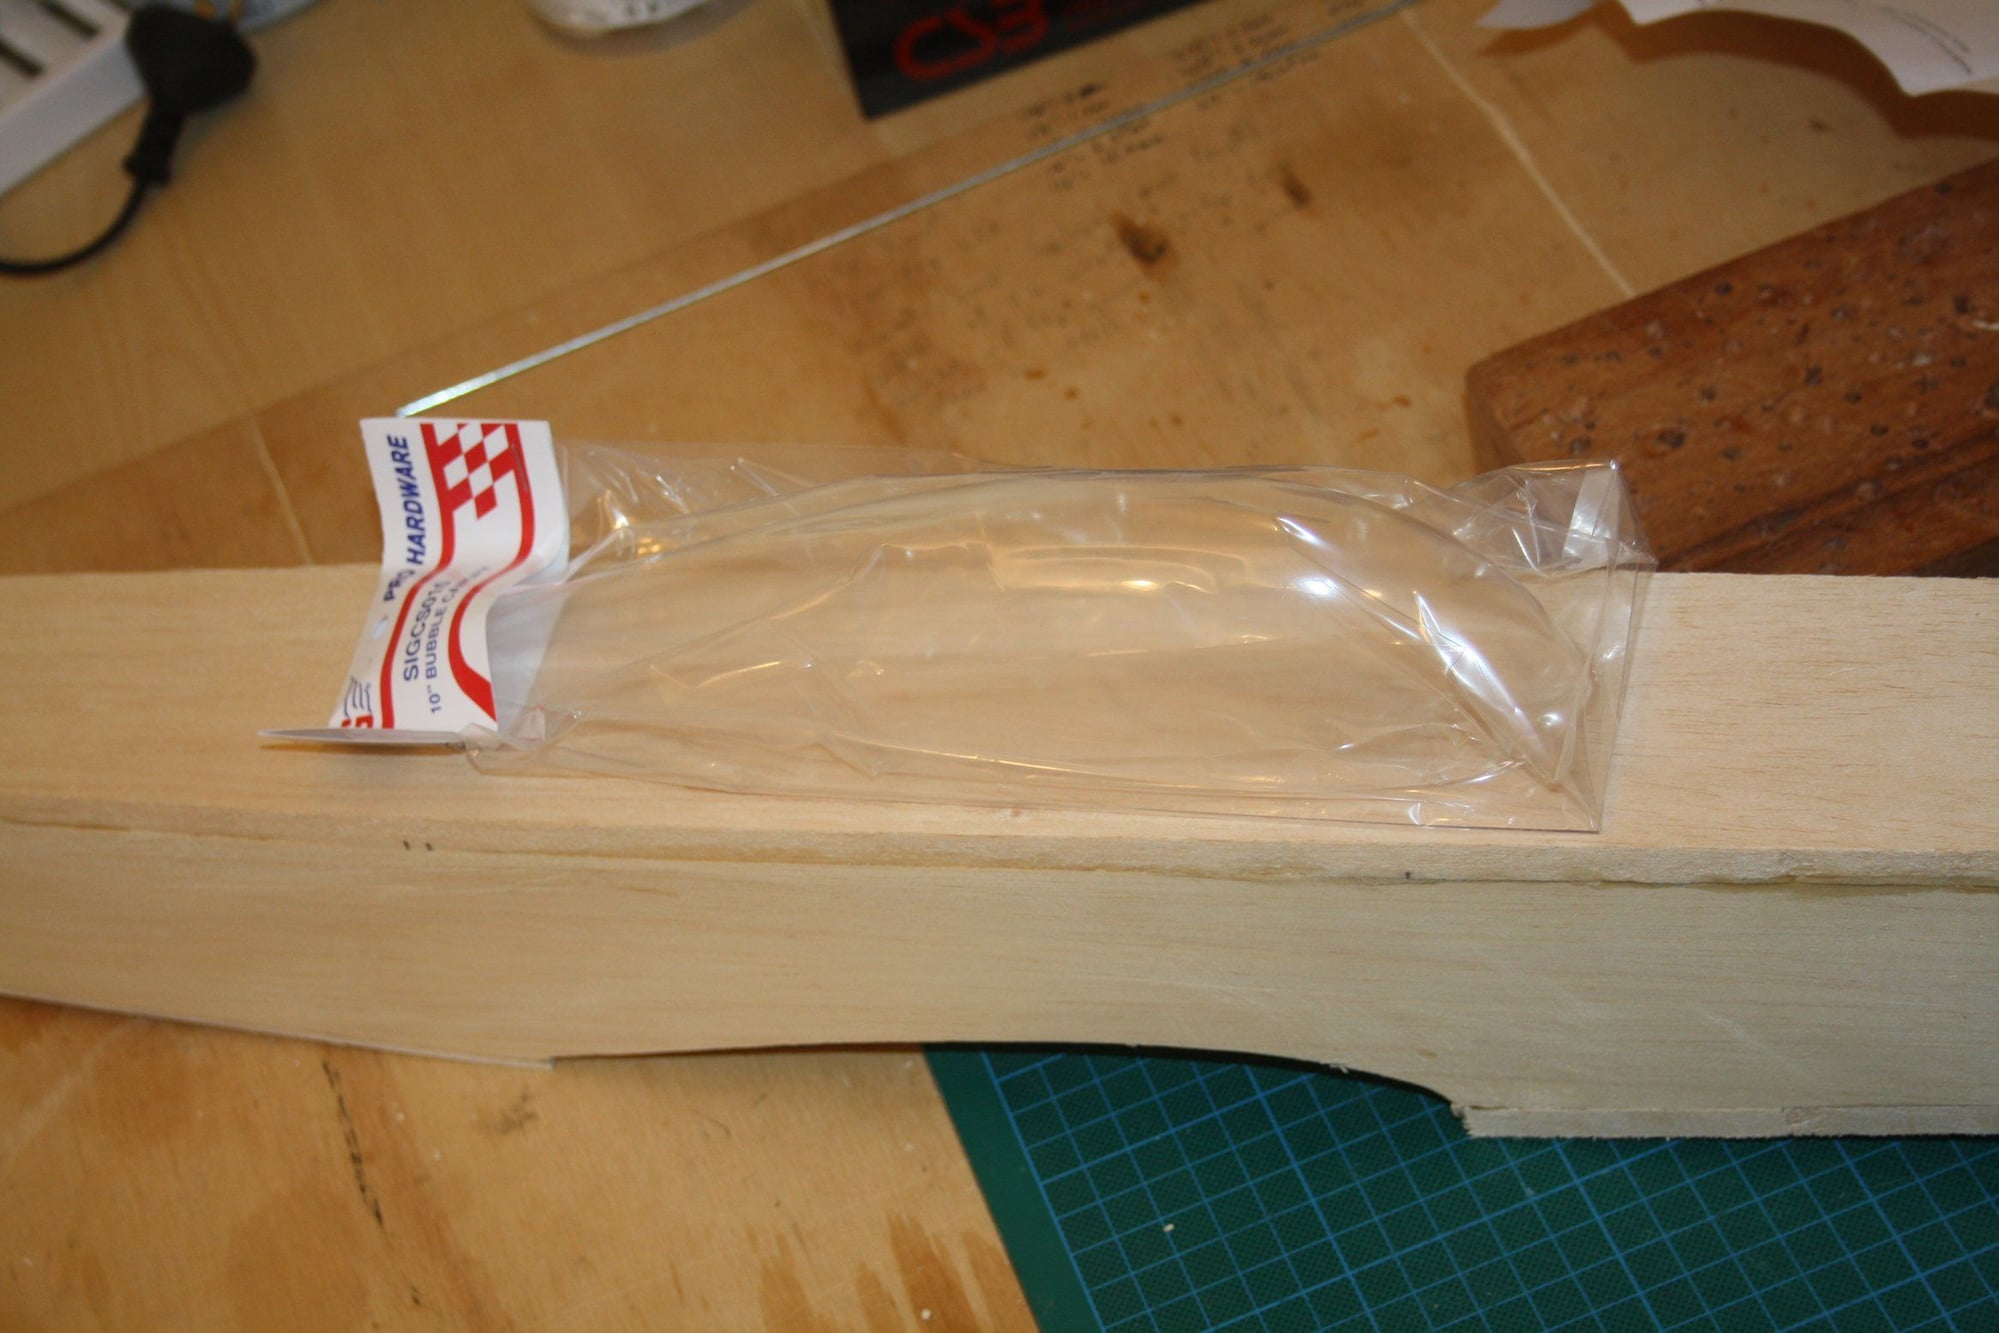
I received my canopy from SIG on Friday, and the only other progress on the weekend was that I sanded the fuselage.
Cheers,
Eran
08-06-2018, 04:22 AM
#59
Thread Starter
A good day in my Cave today.
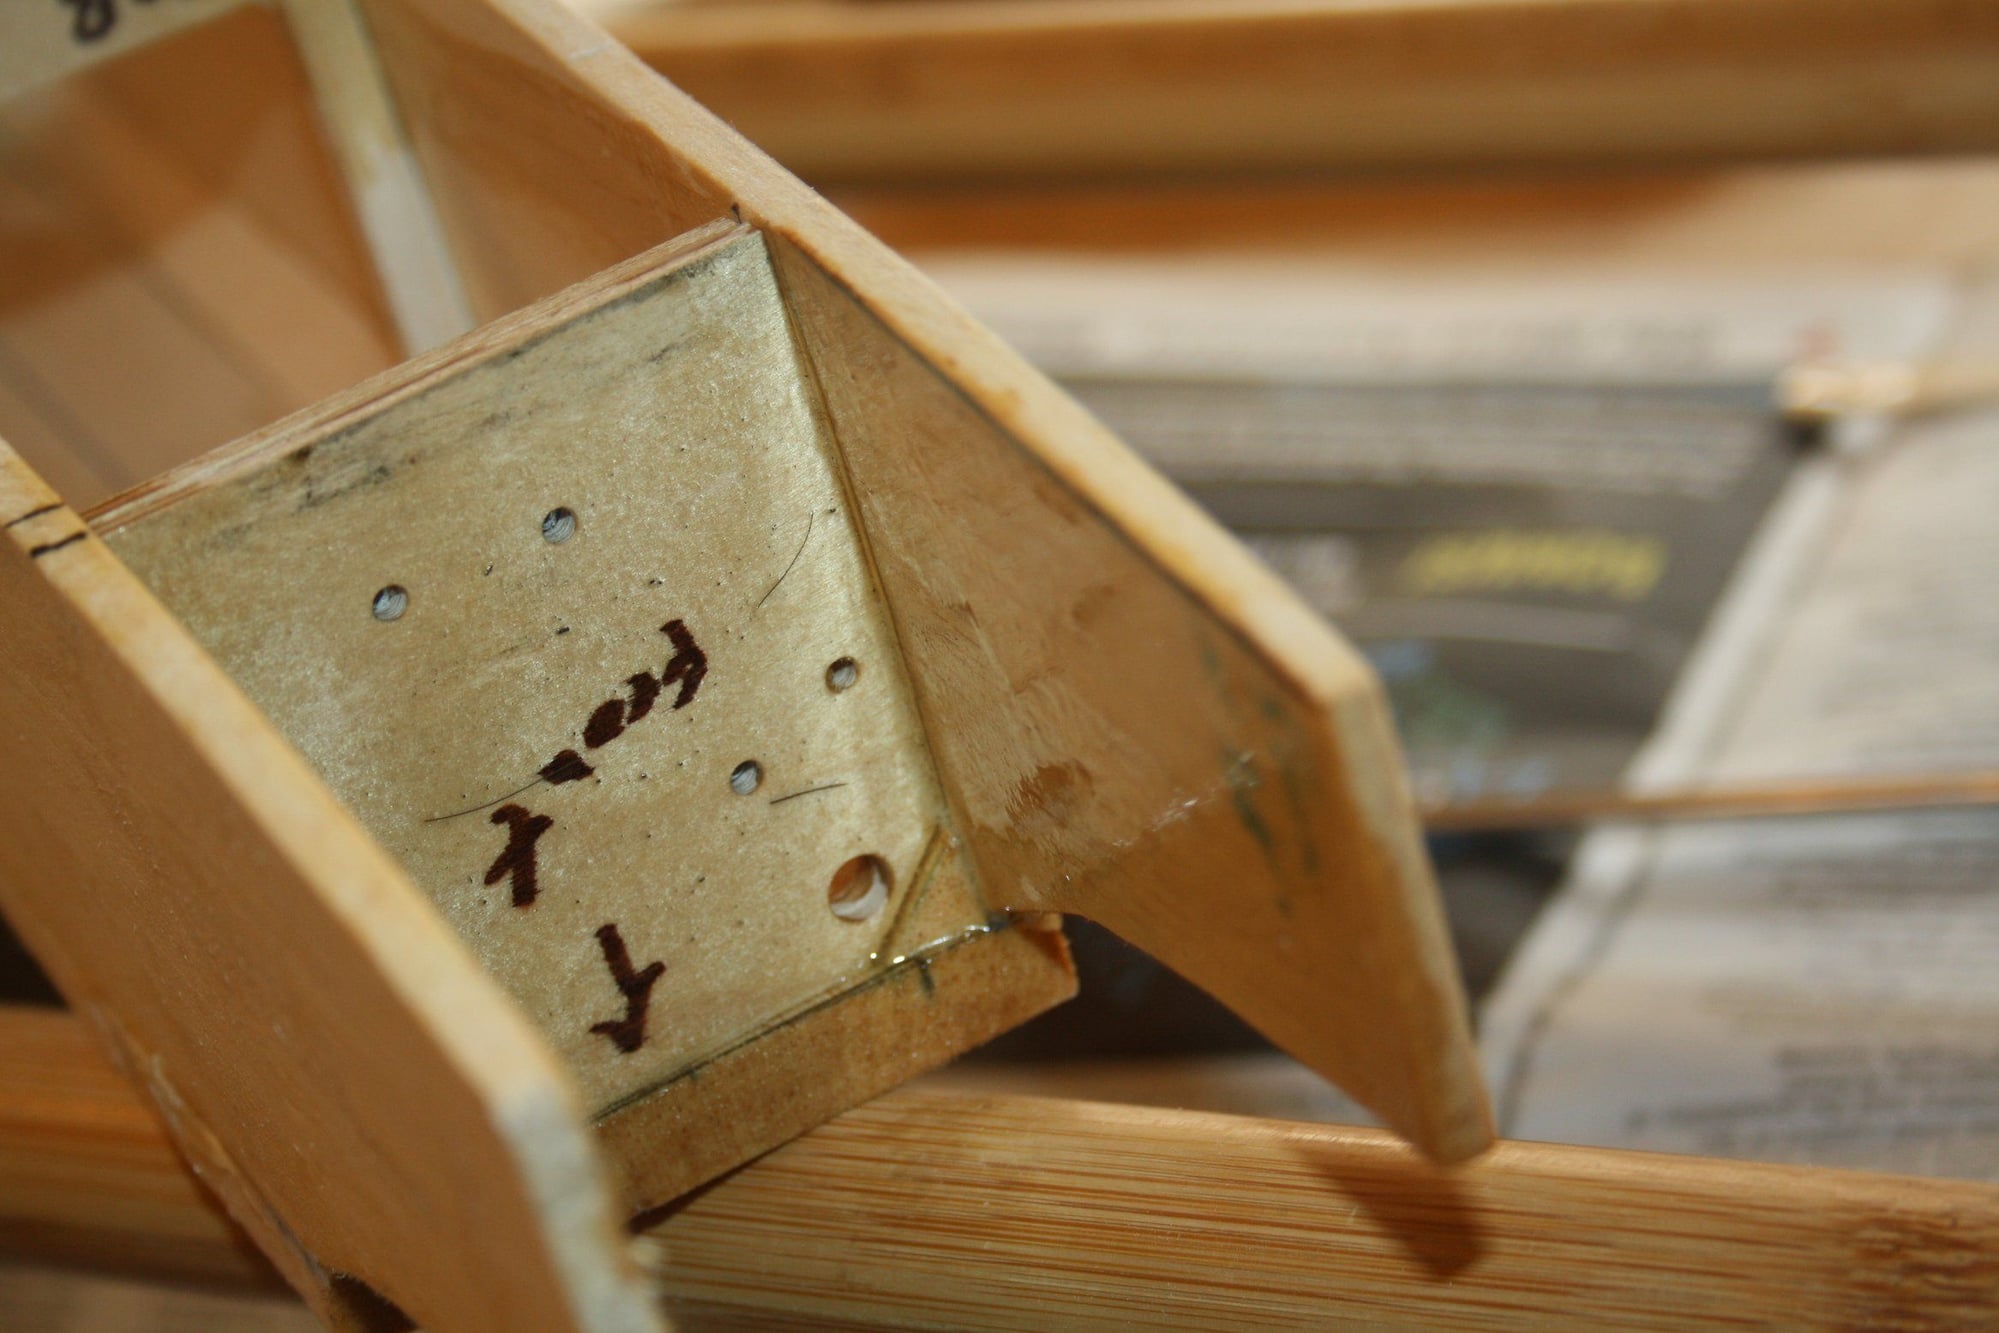
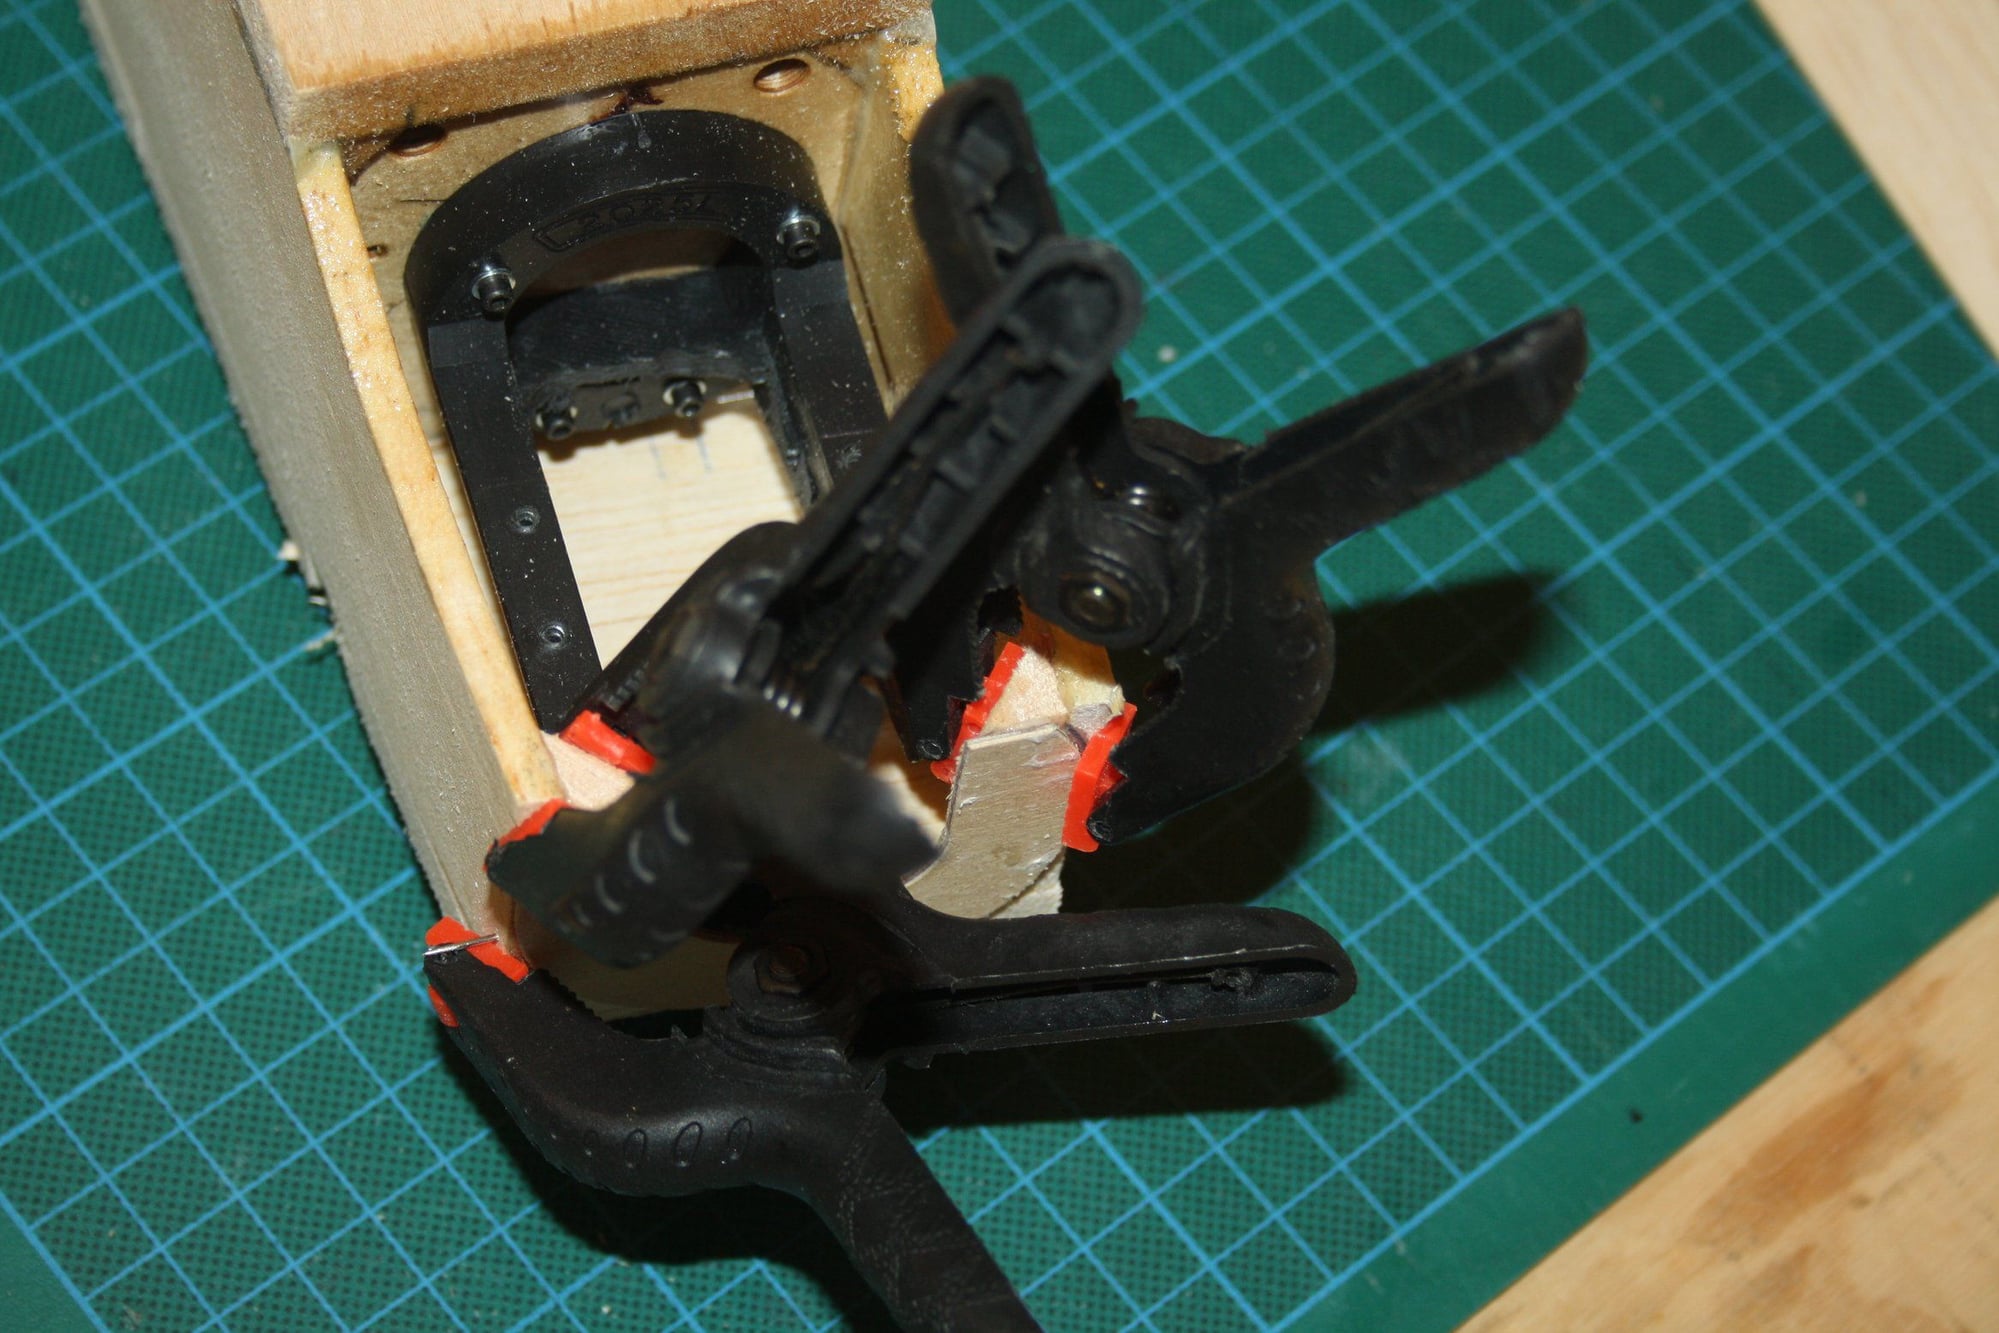
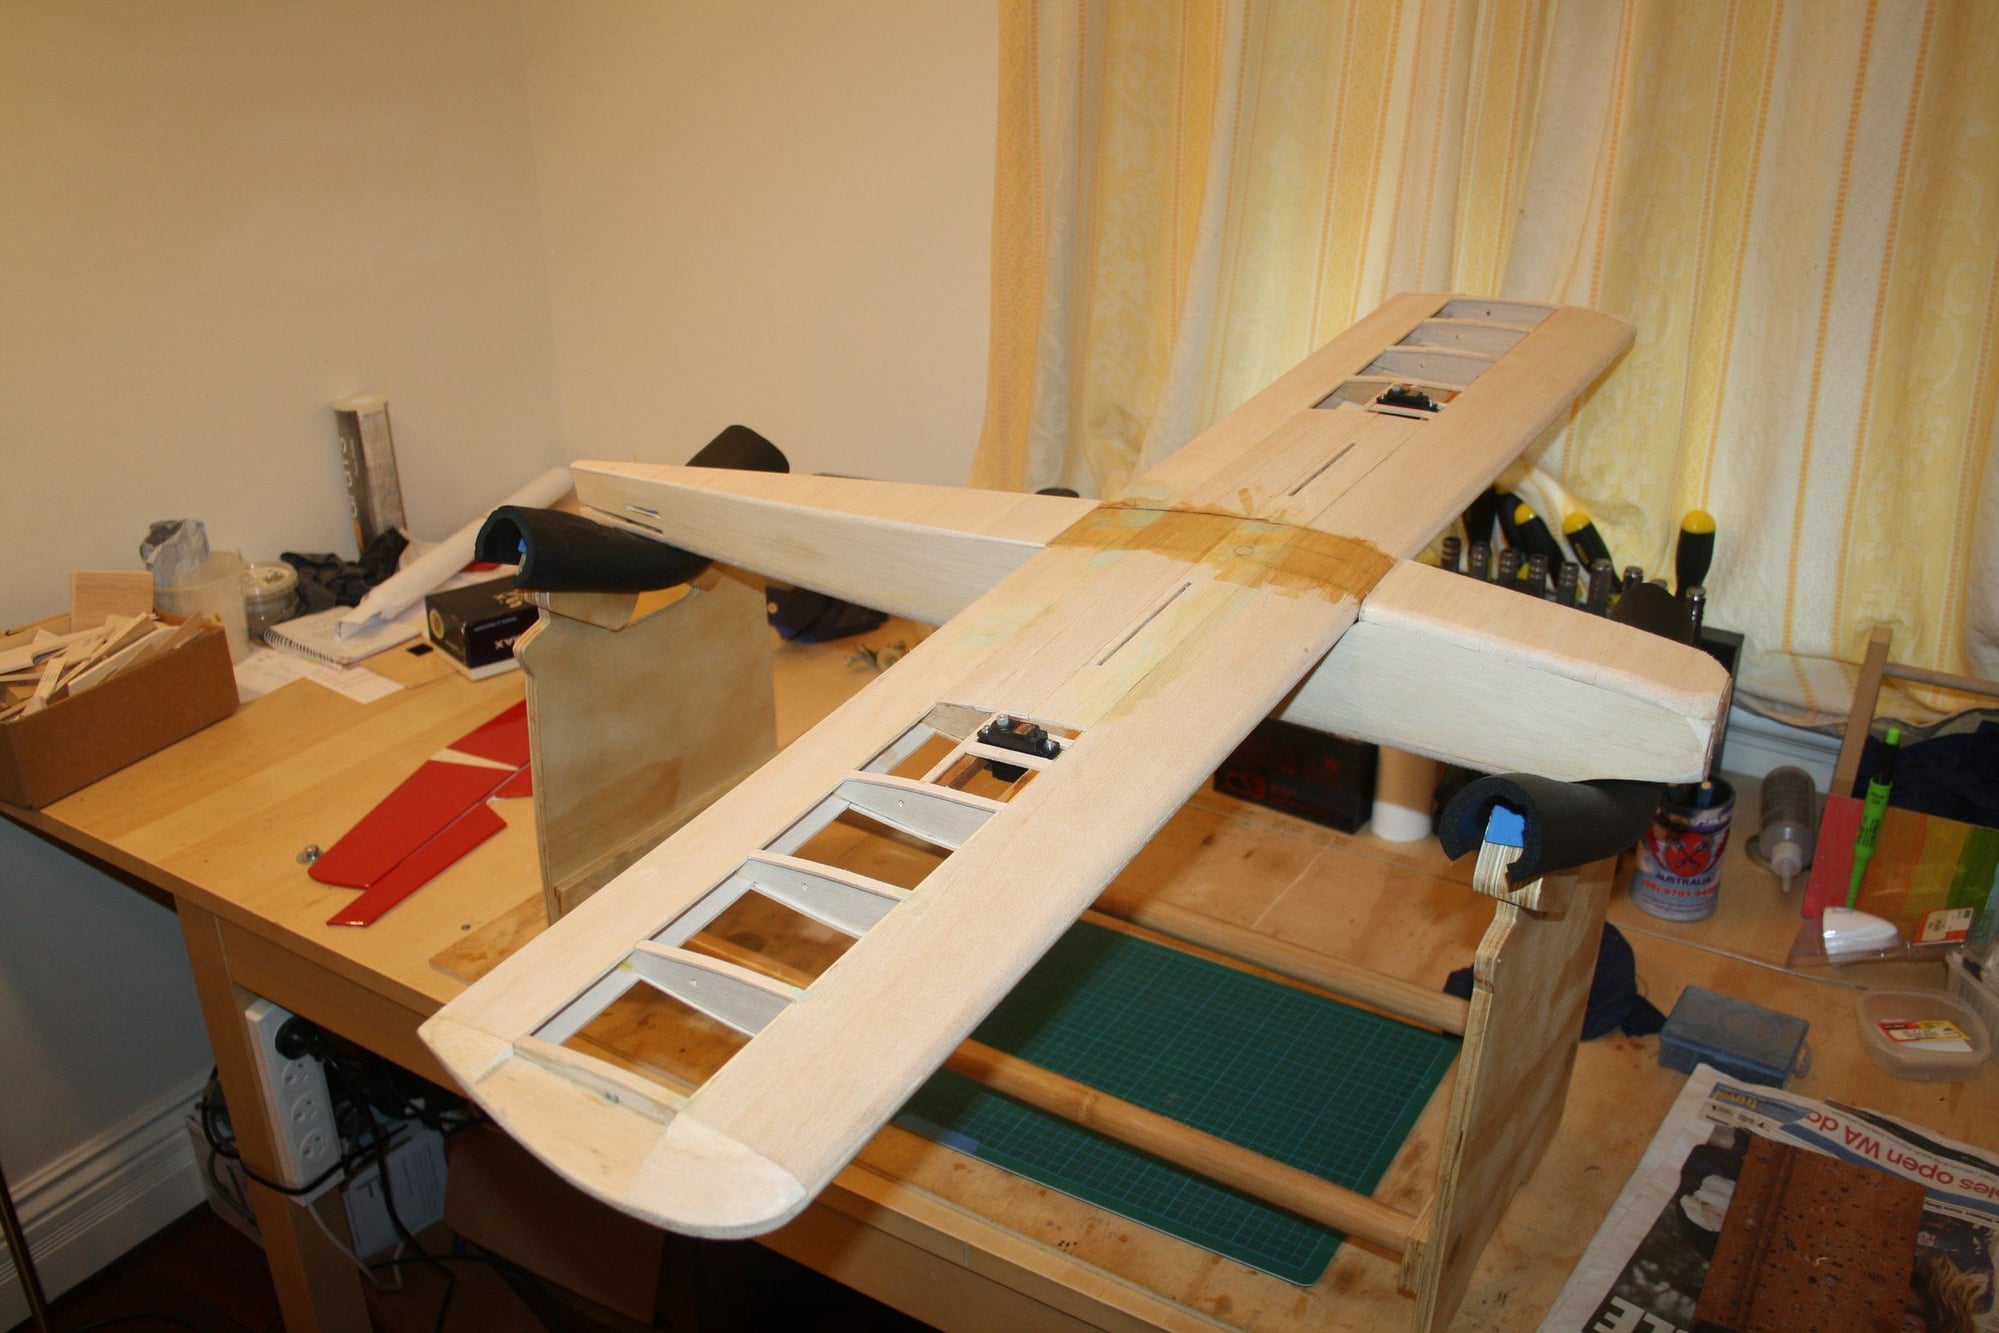
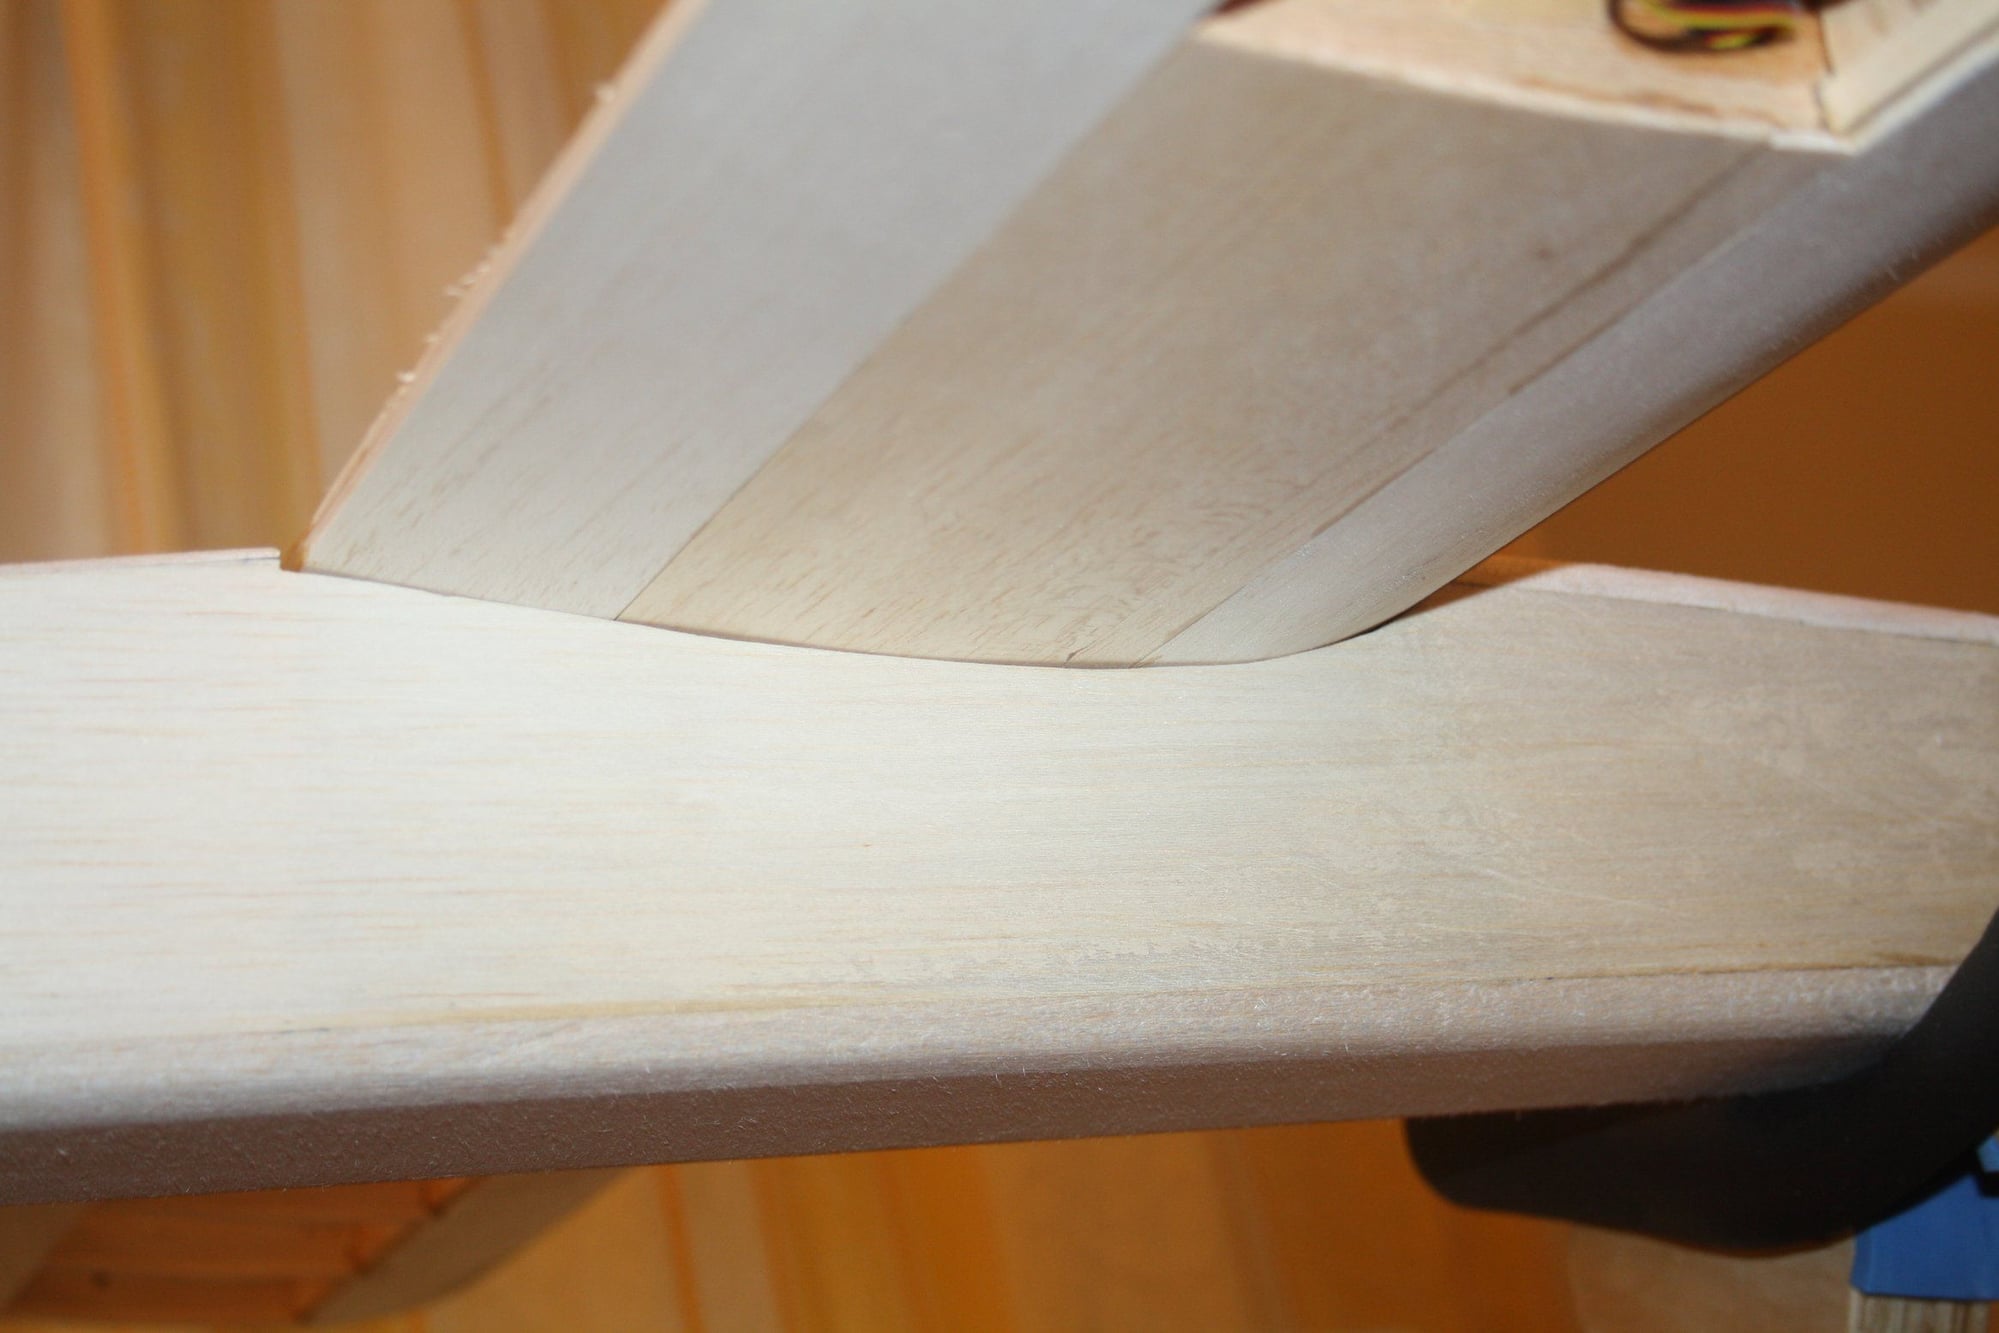
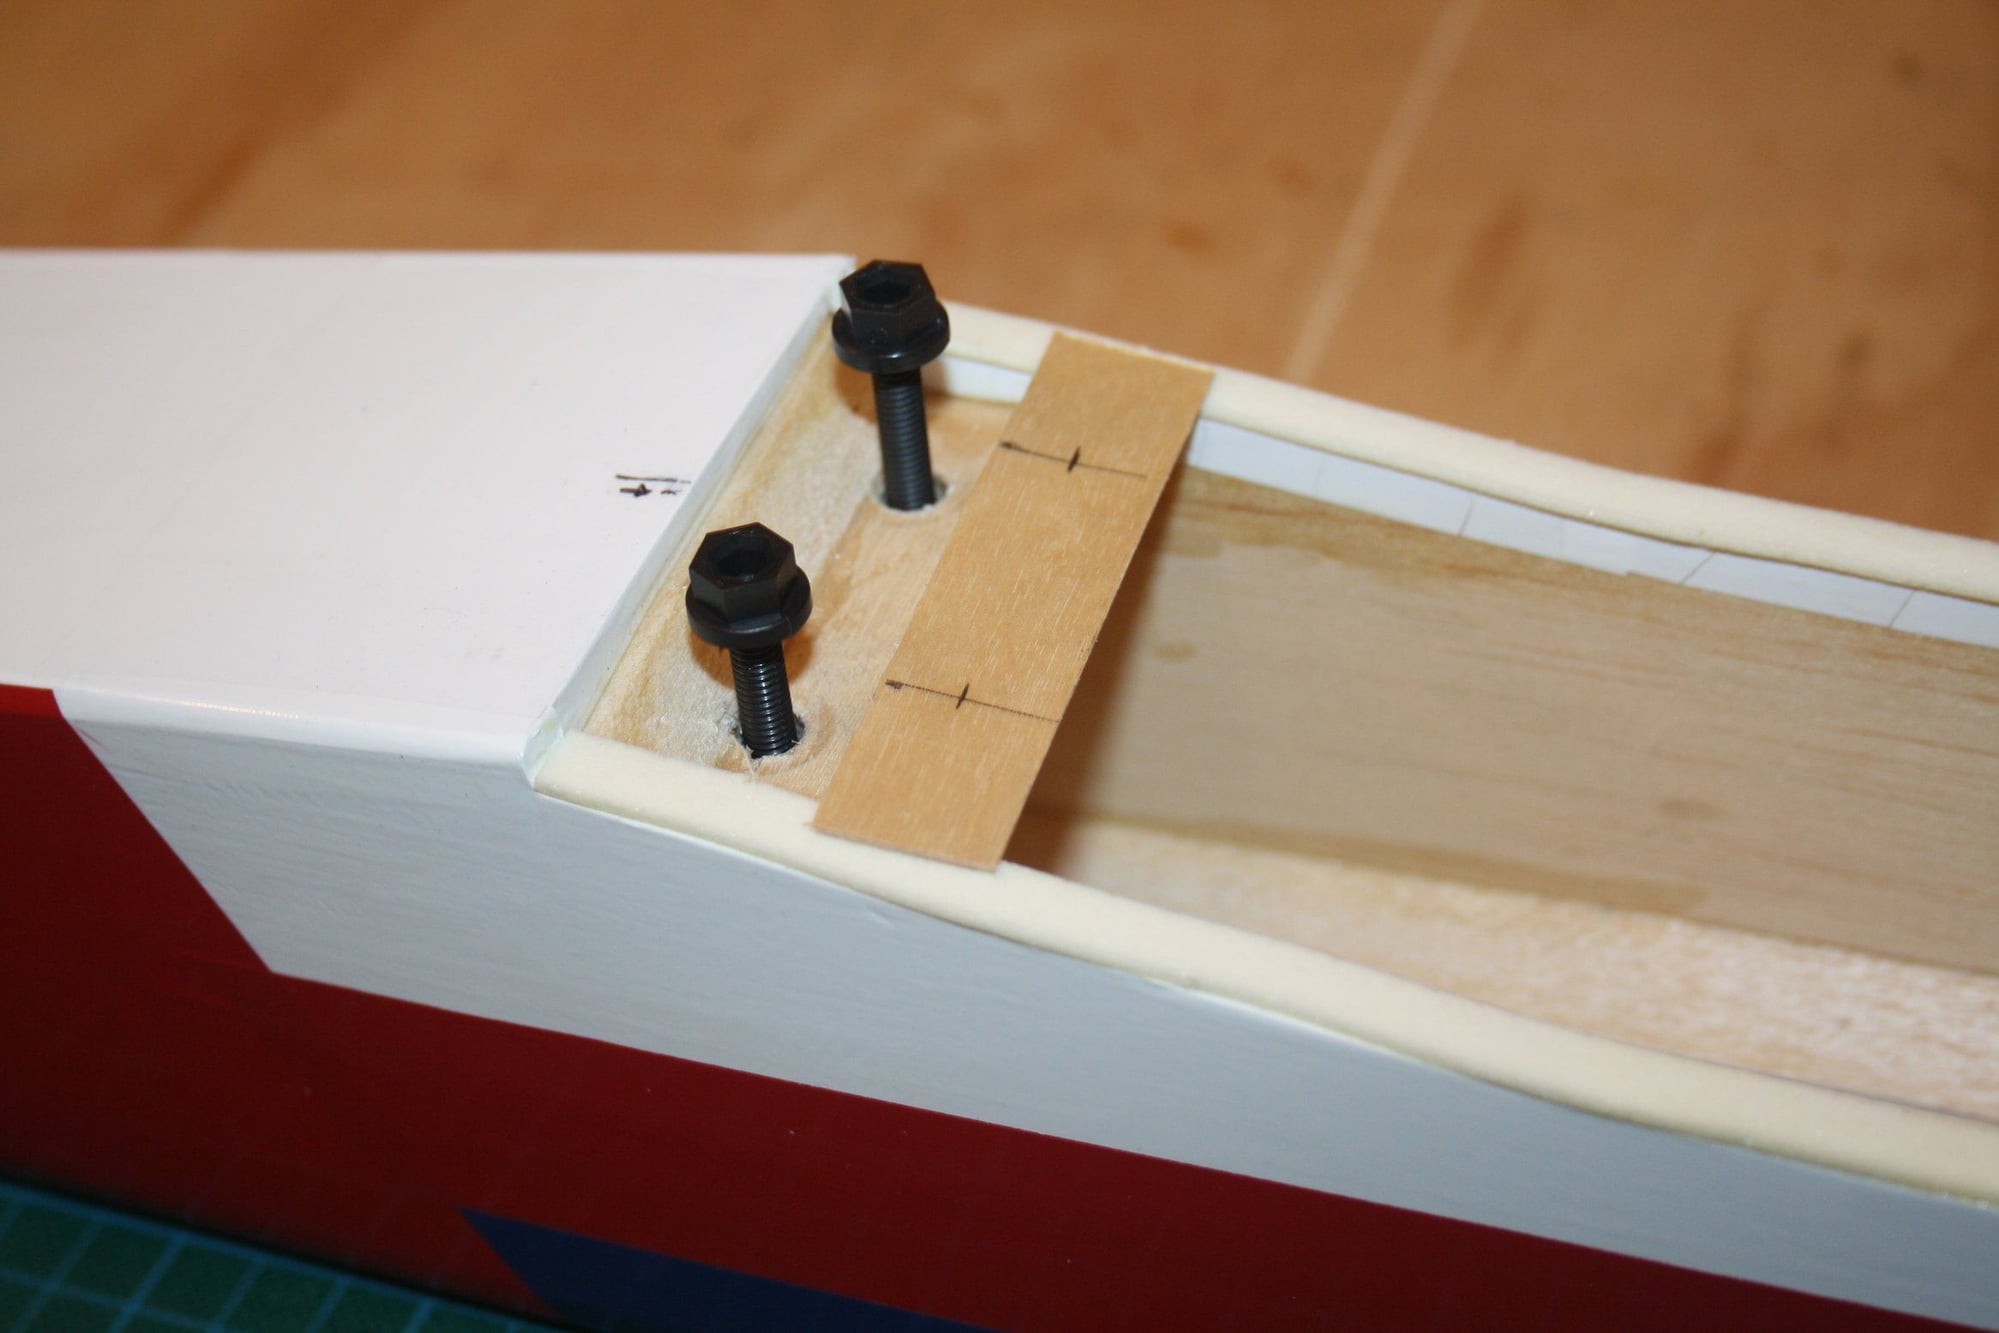
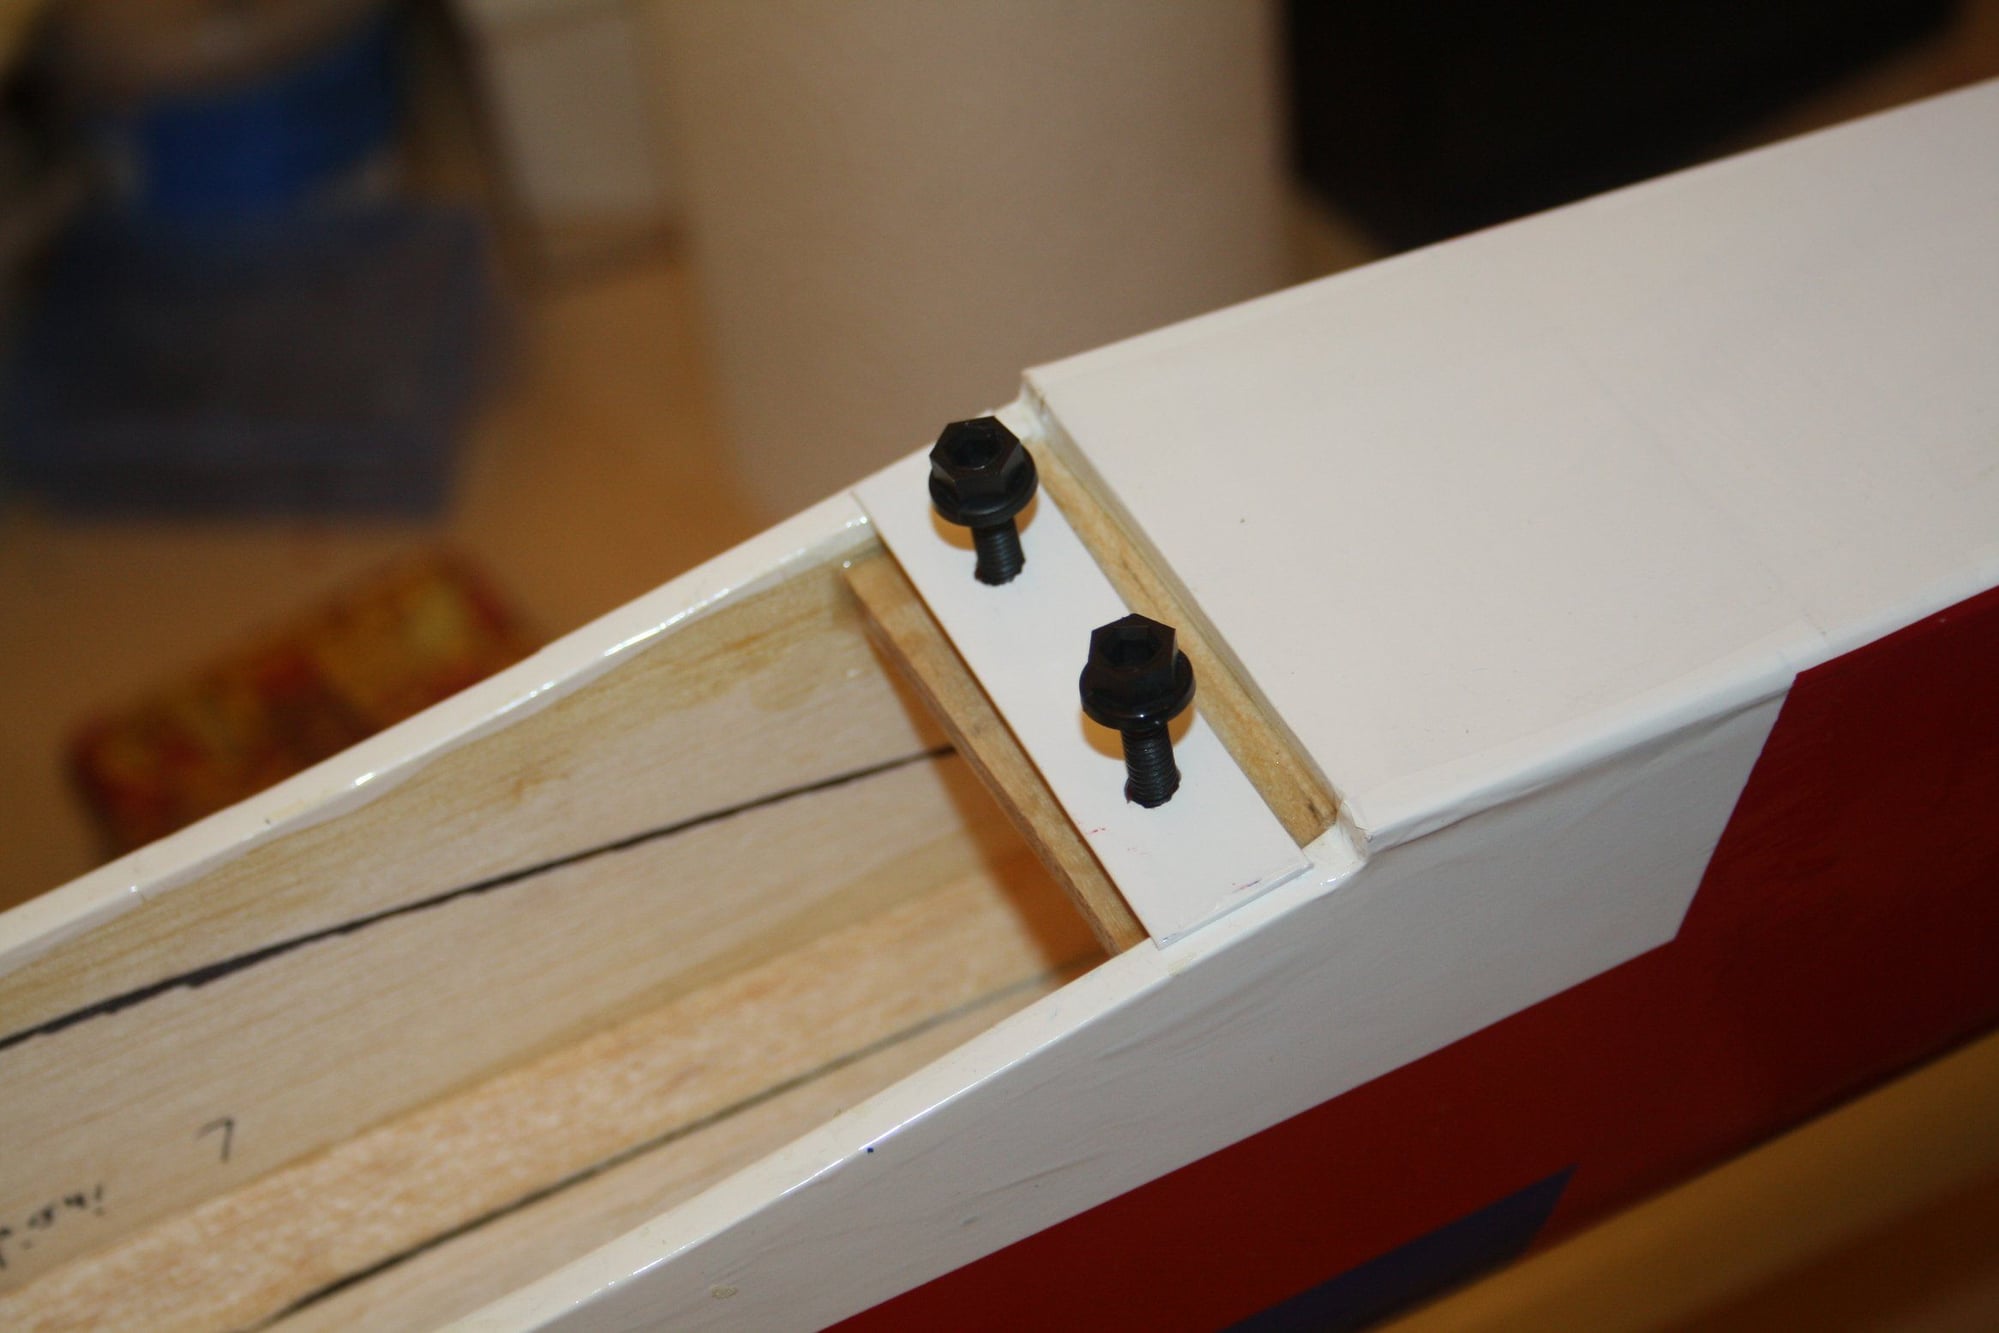
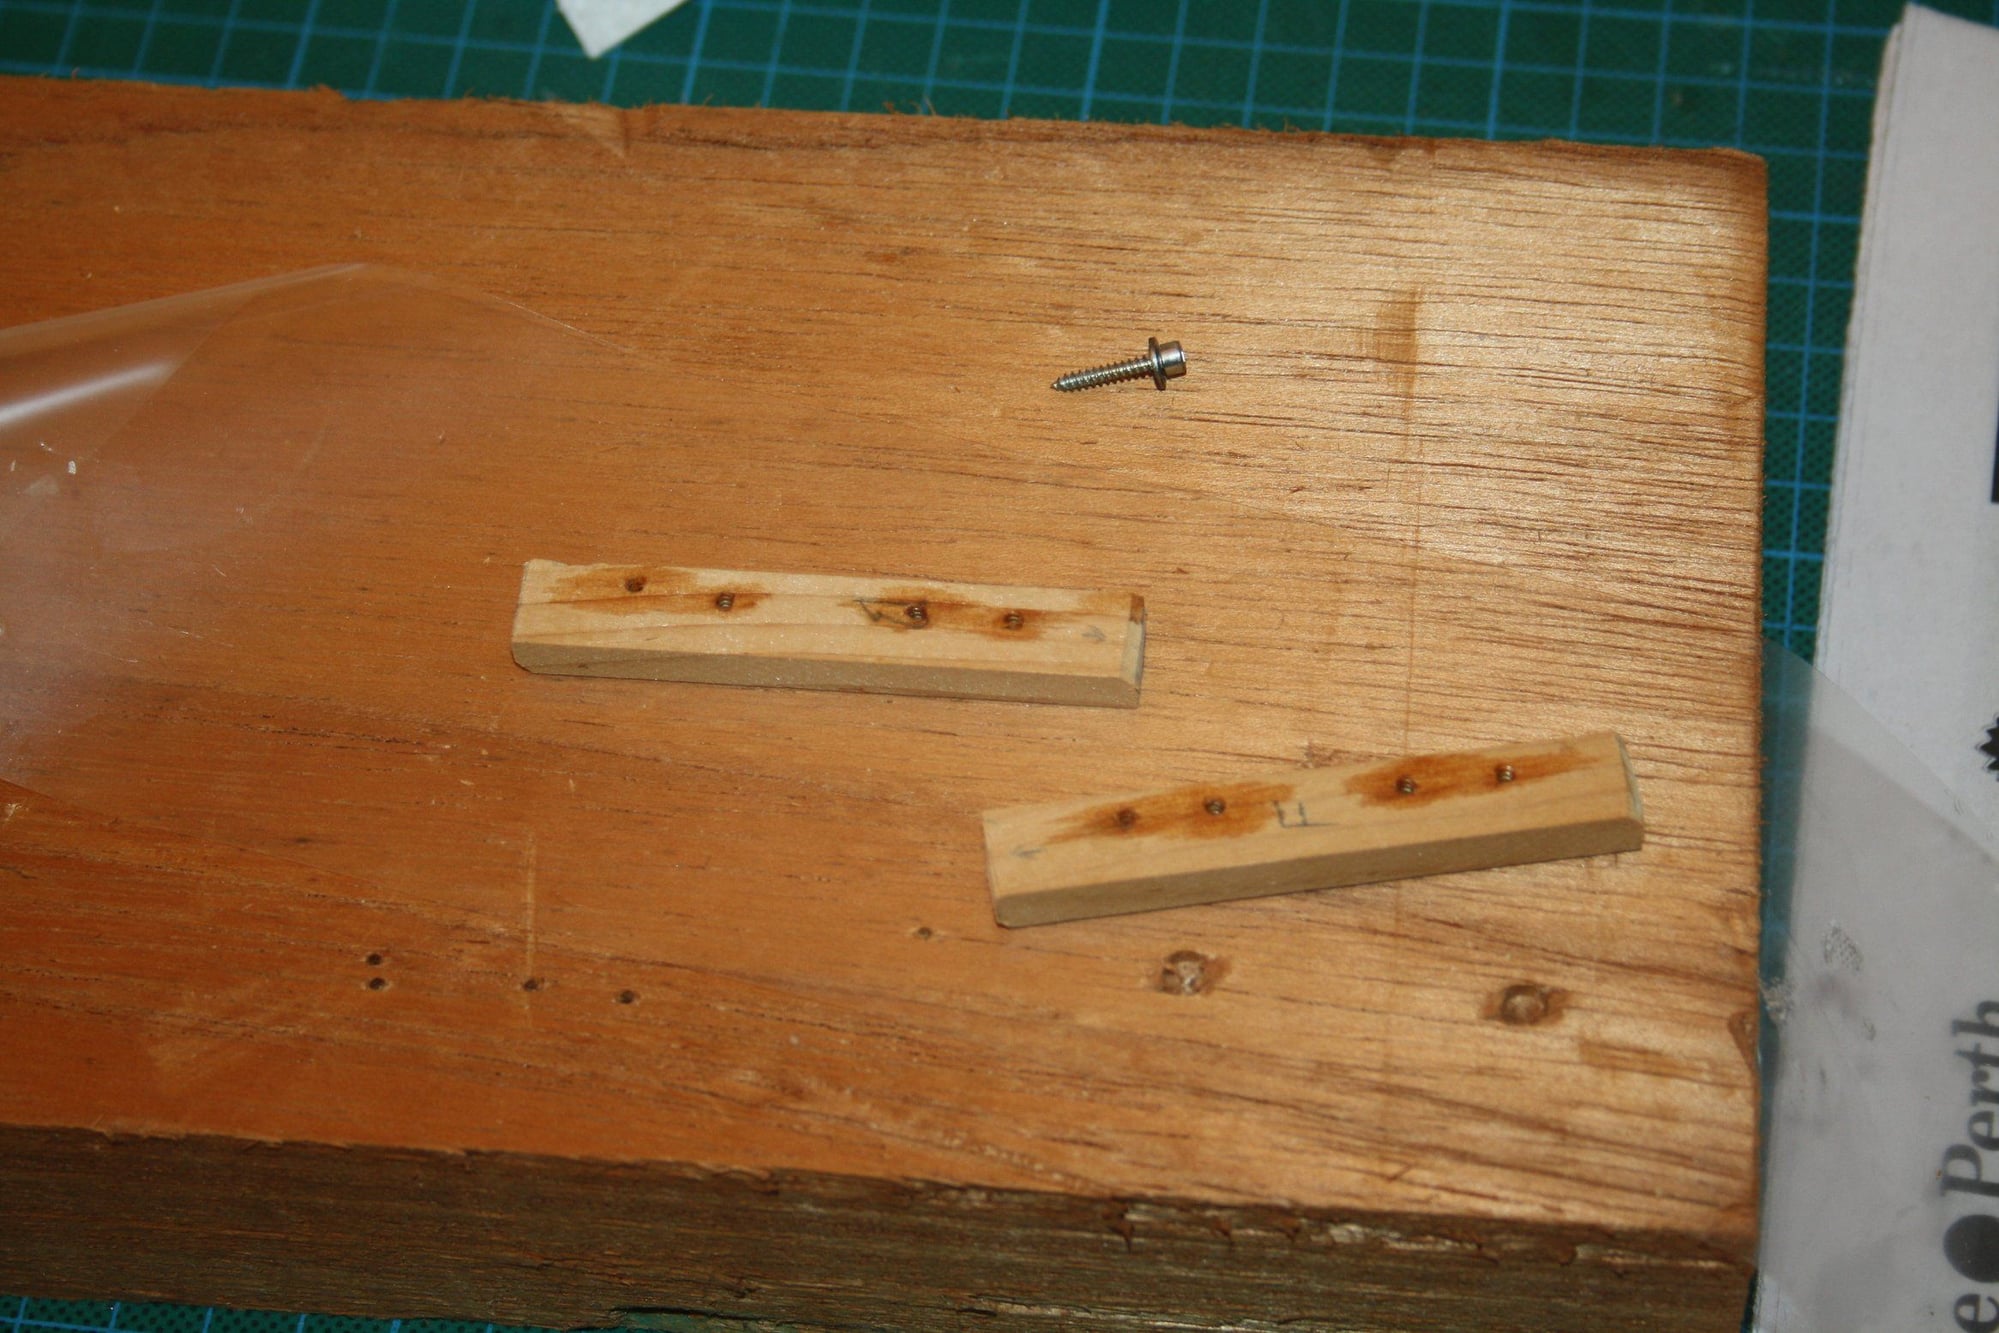
The main objective was to fit the wing to the wing mount. Currently the blind nuts for the wing screws are in place and the glue dries. I use metal screws to bring them into position.
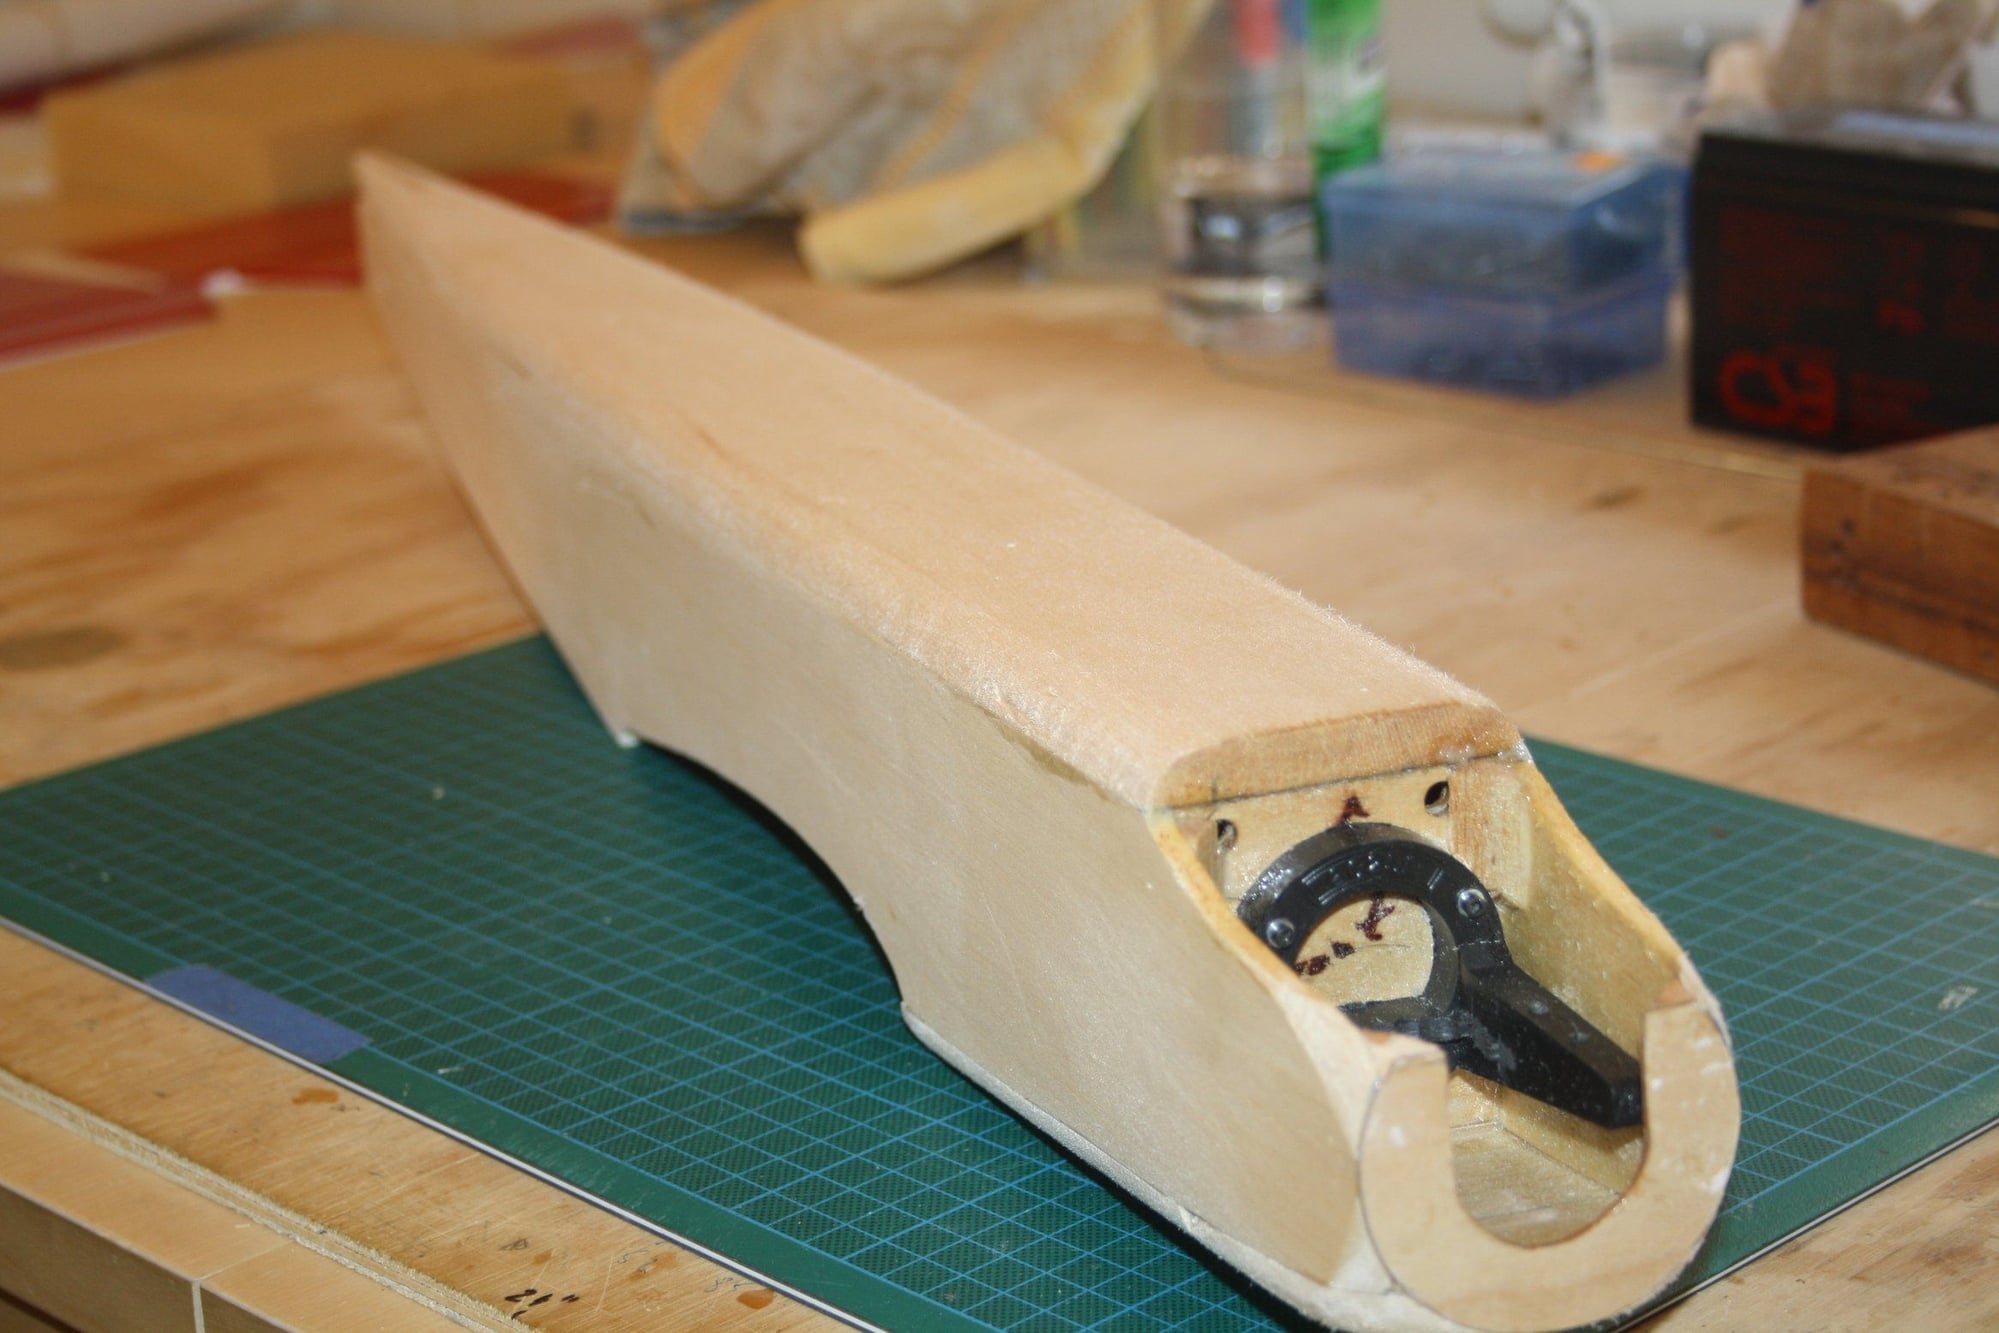
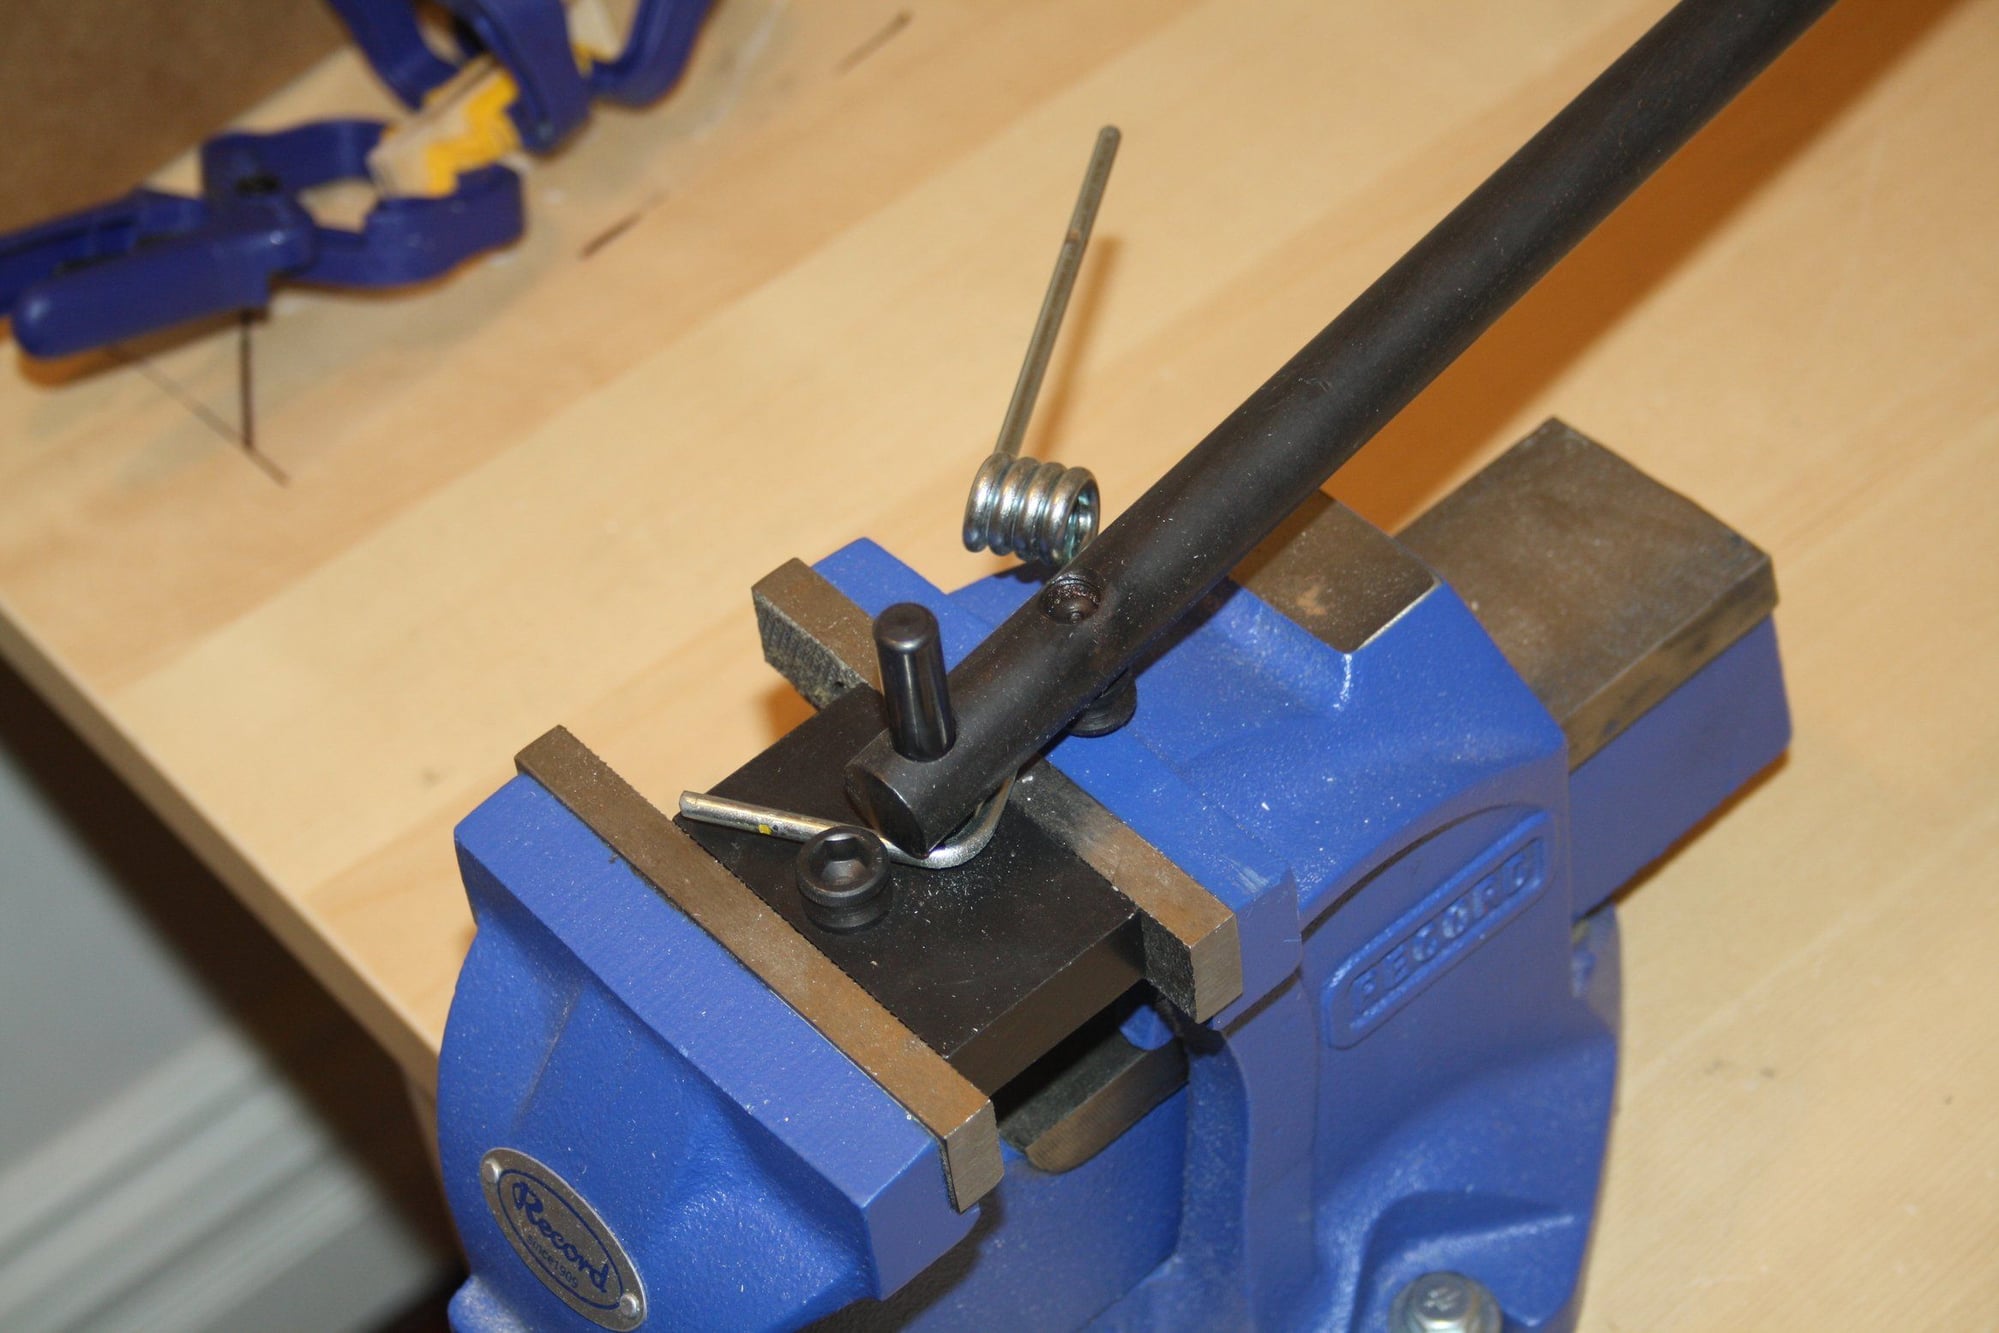
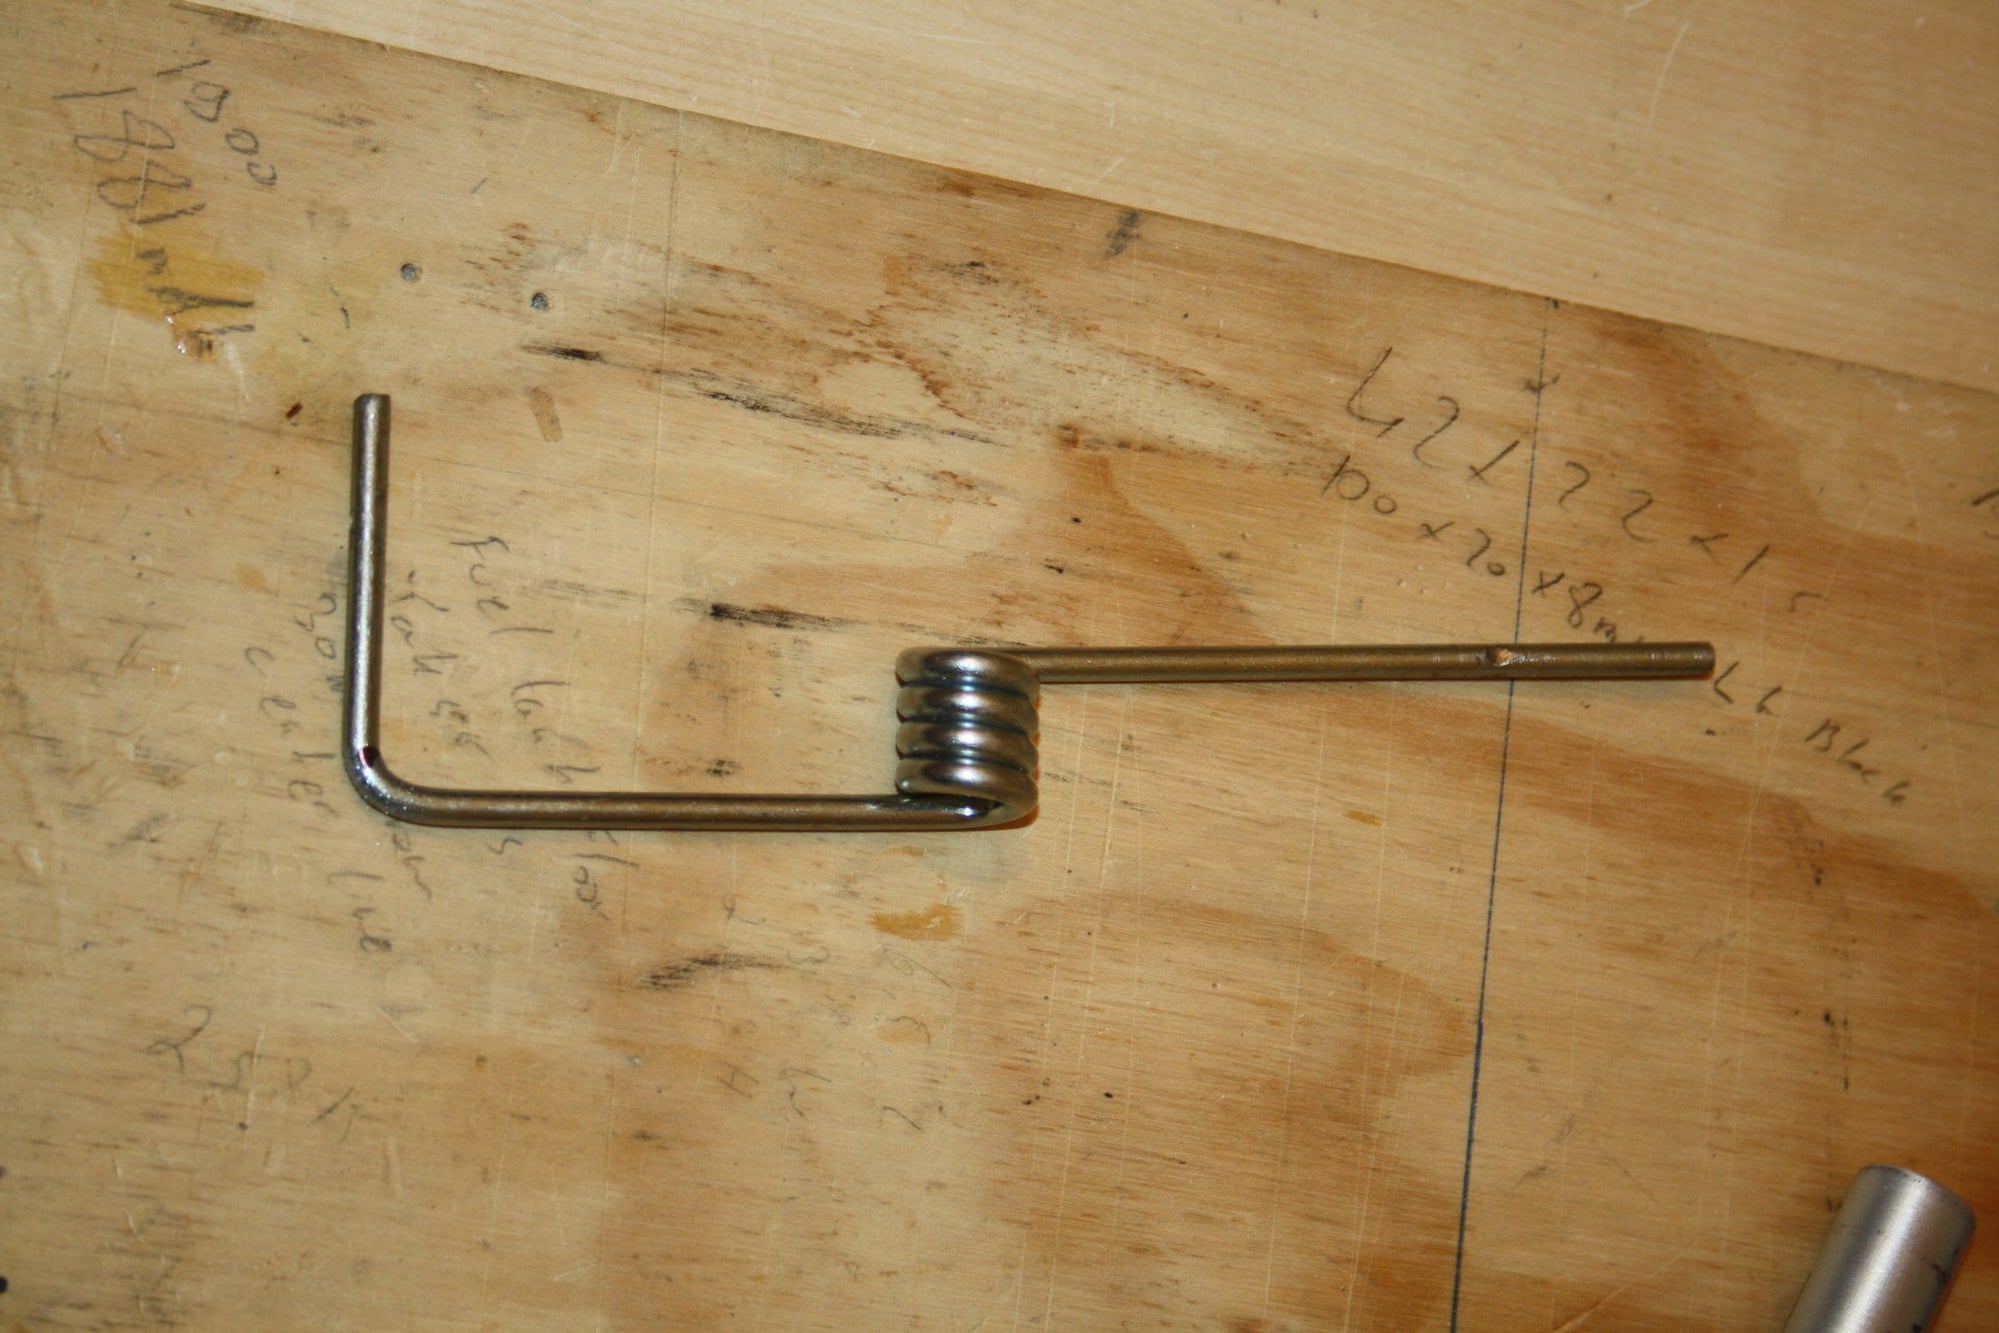
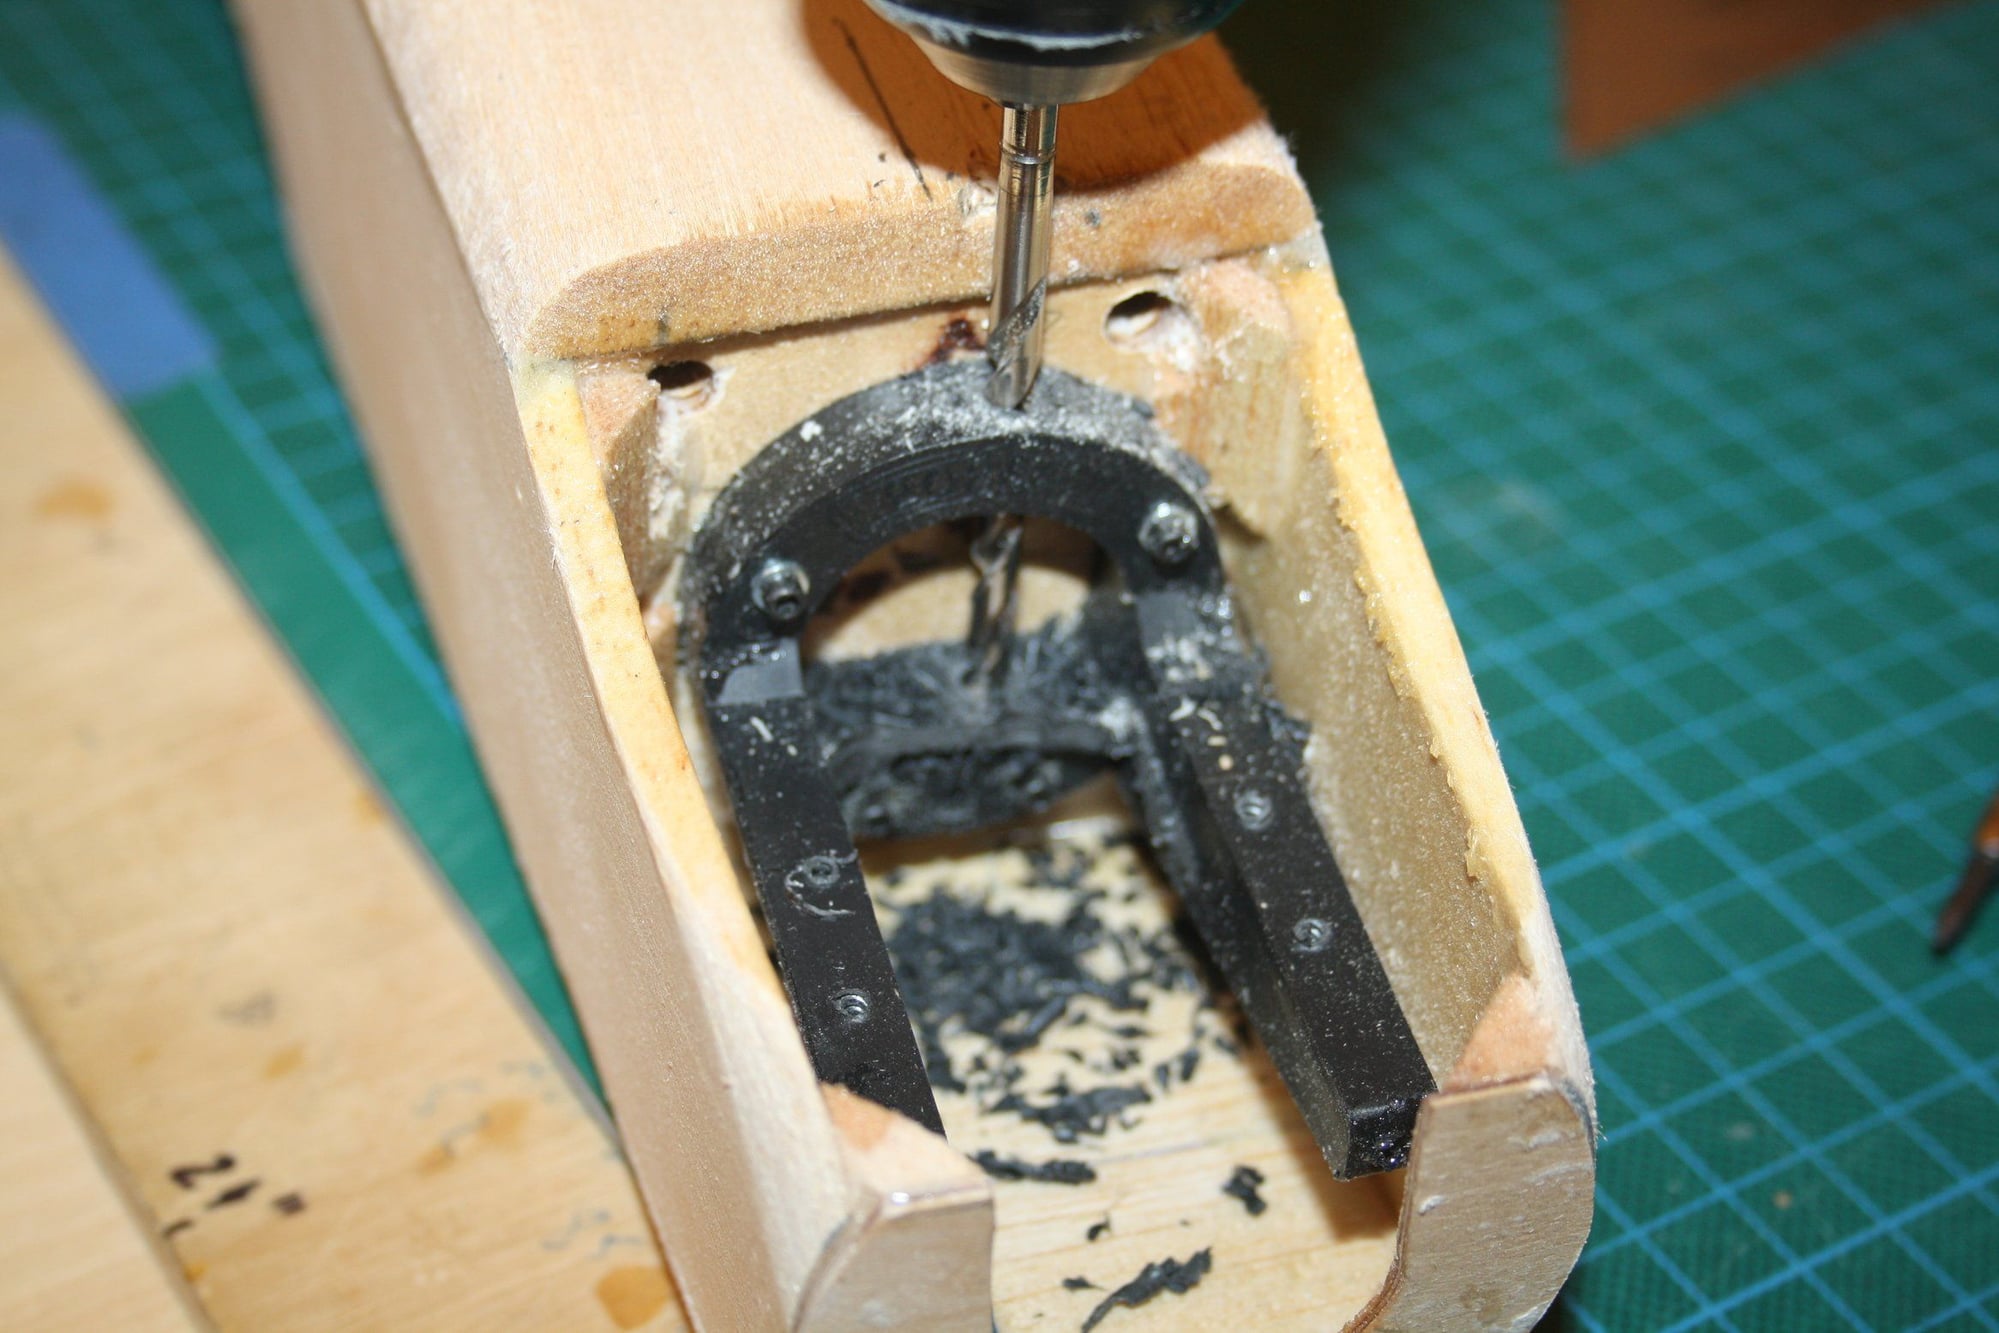
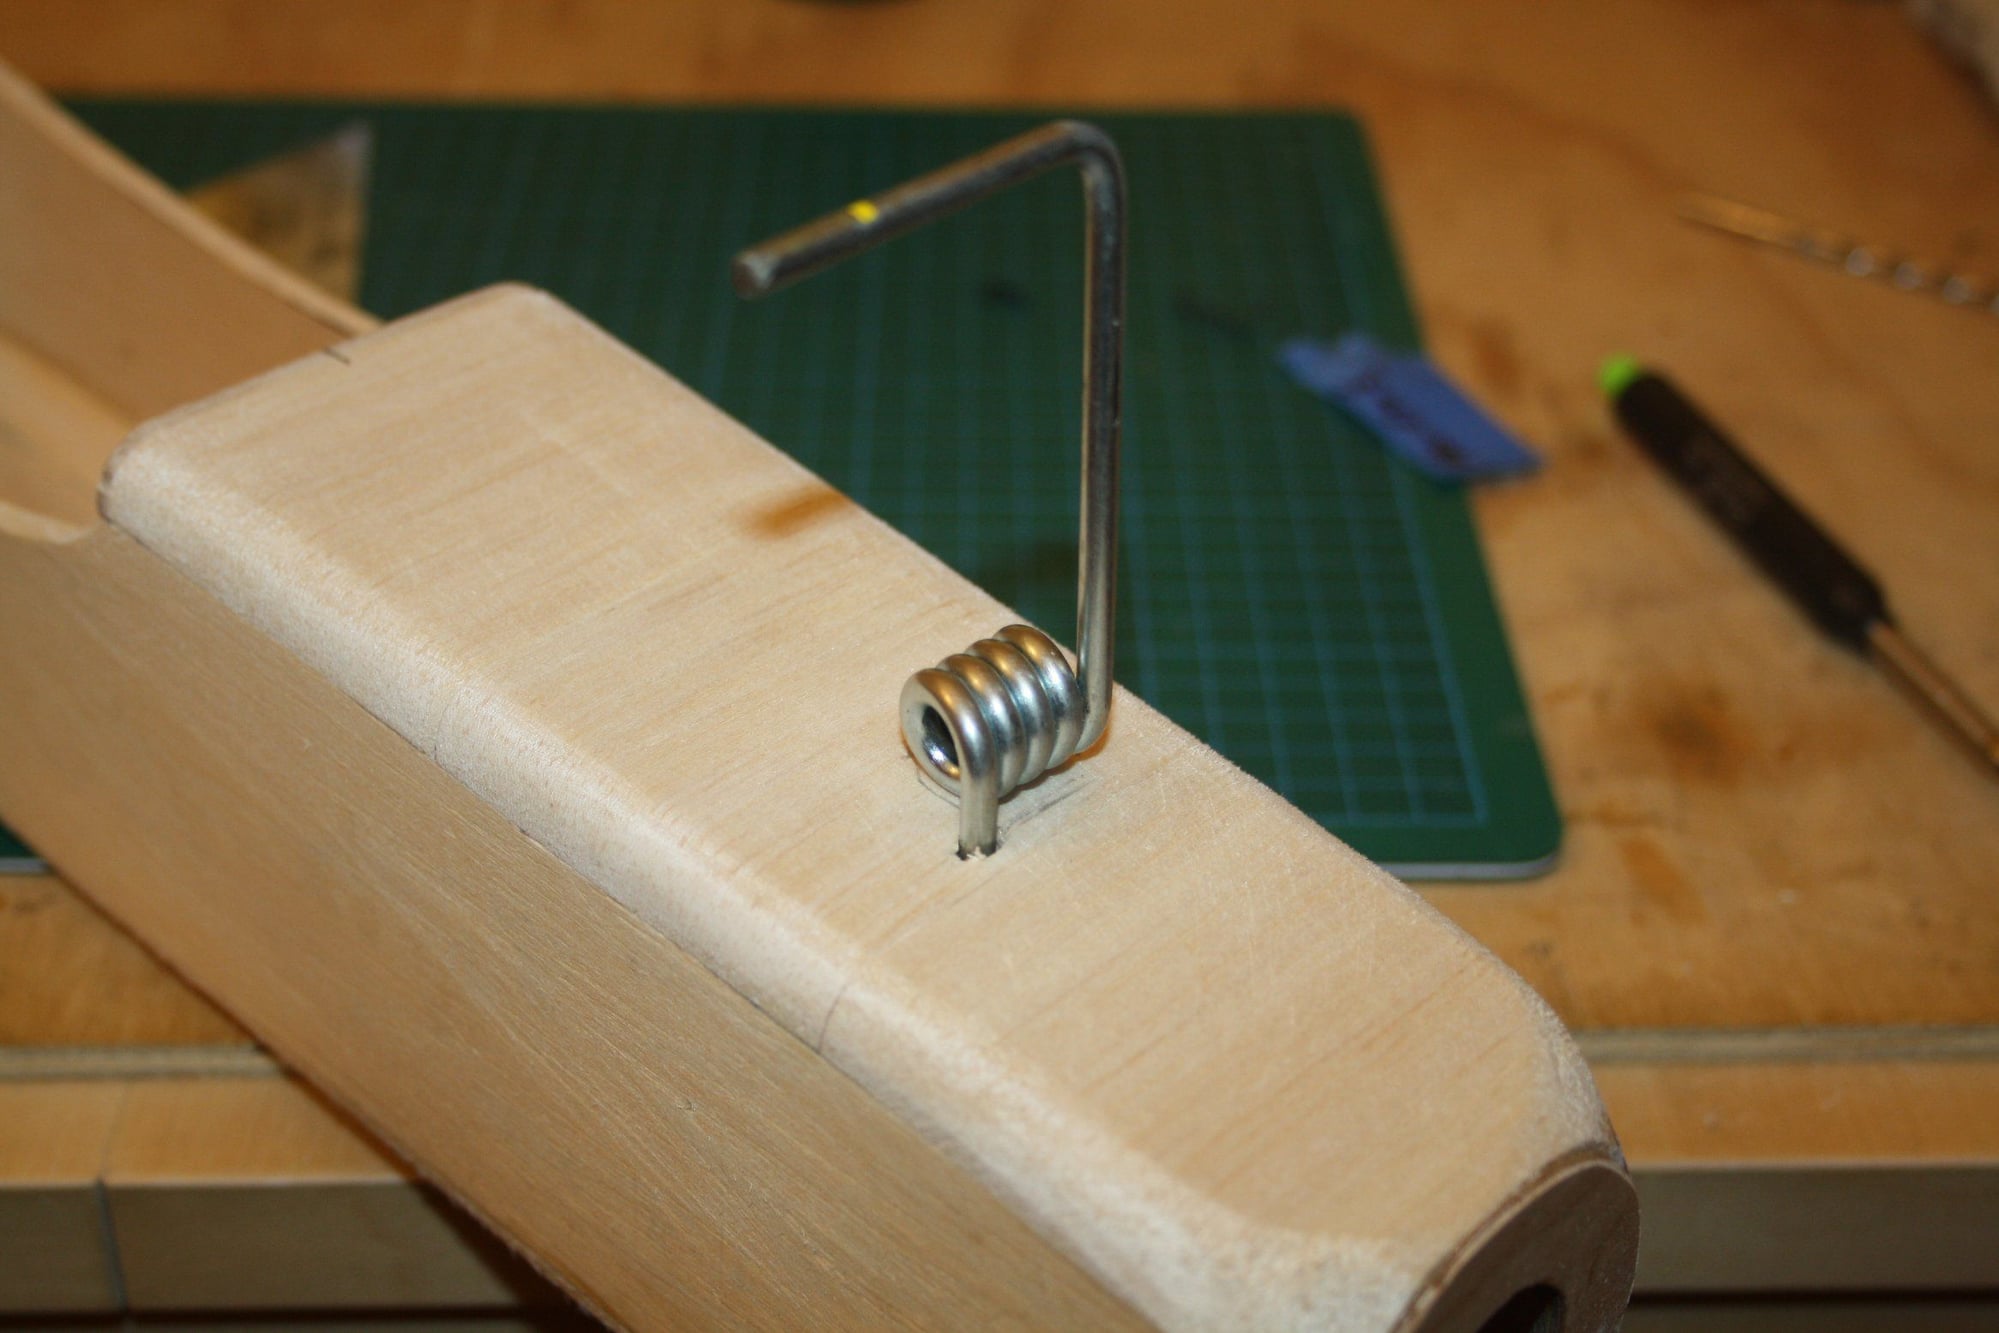
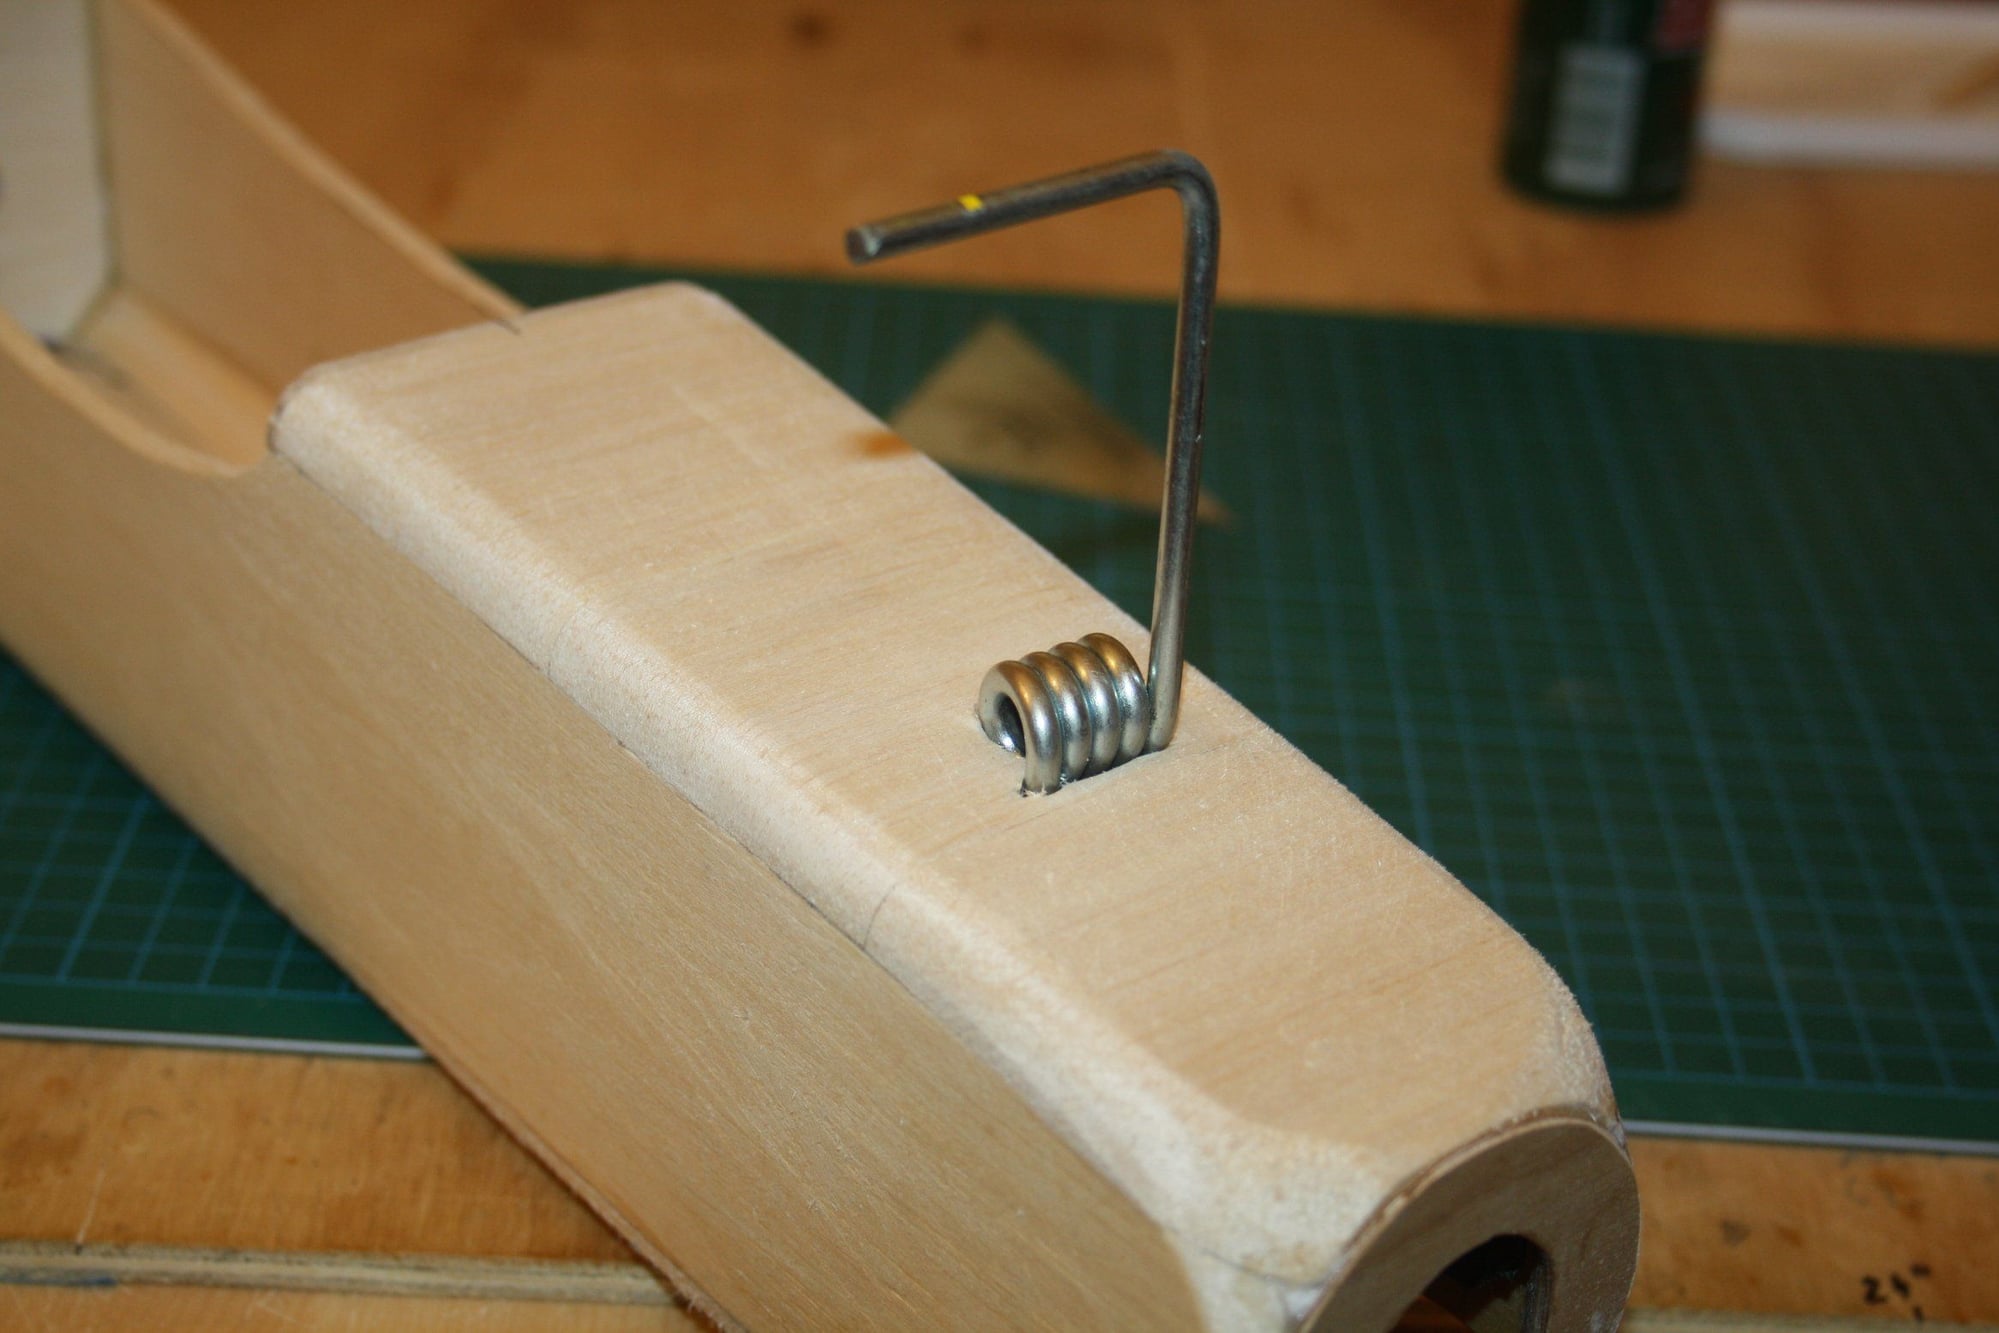
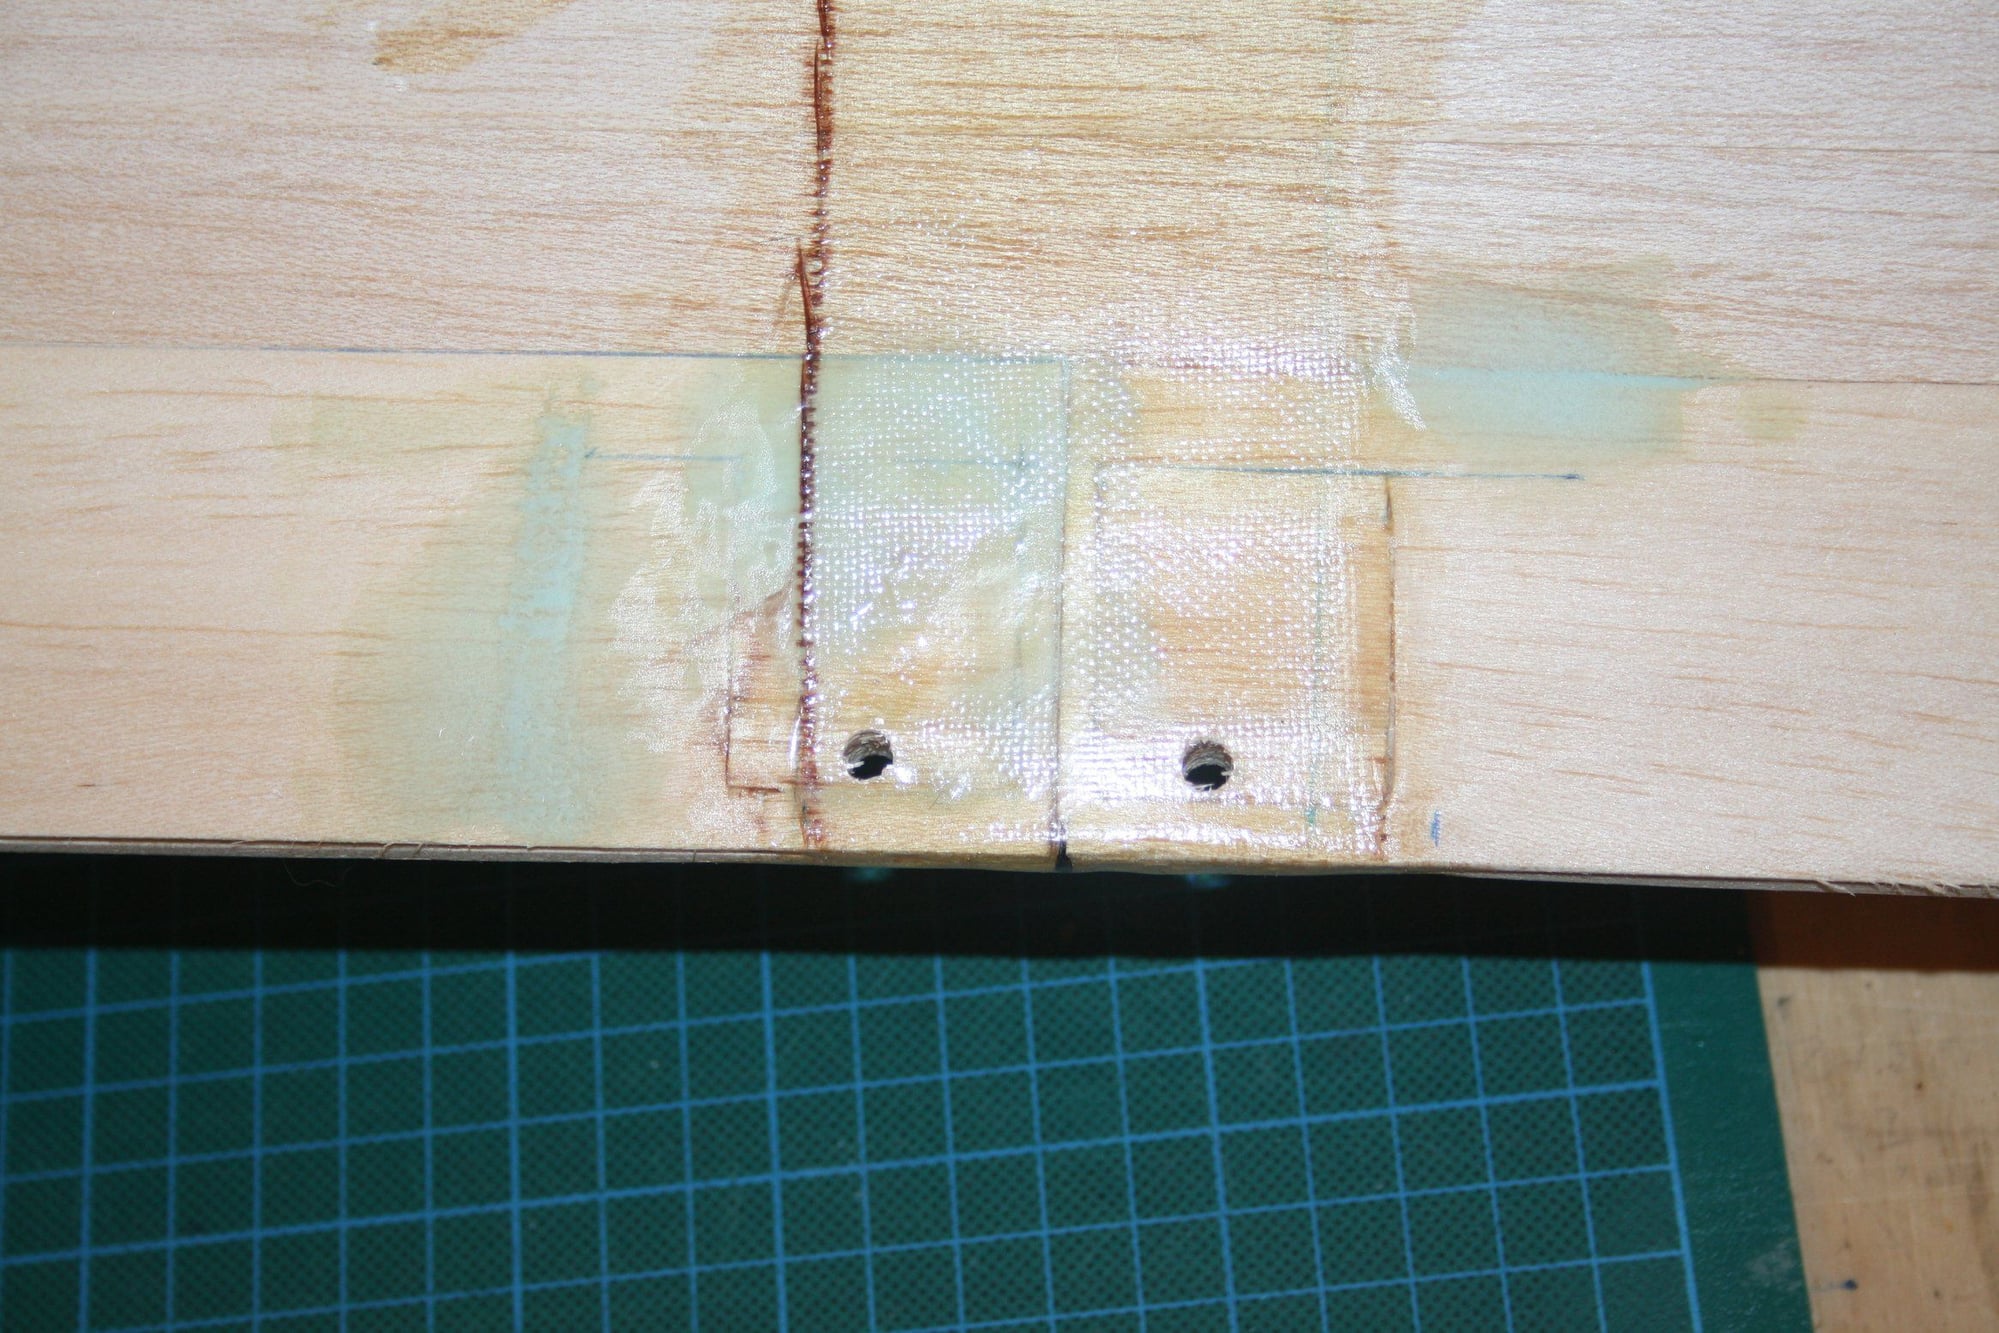
While the 30 minutes Epoxy glue was drying on the different stages, I used the time to prepare the front landing gear (bending and fitting). I found it interesting that it was recessed into the balsa sheeting all the way resulting with the coil touching the bottom of the firewall.
I also killed some time by covering the bottom of the fuselage.
Cheers,
Eran.


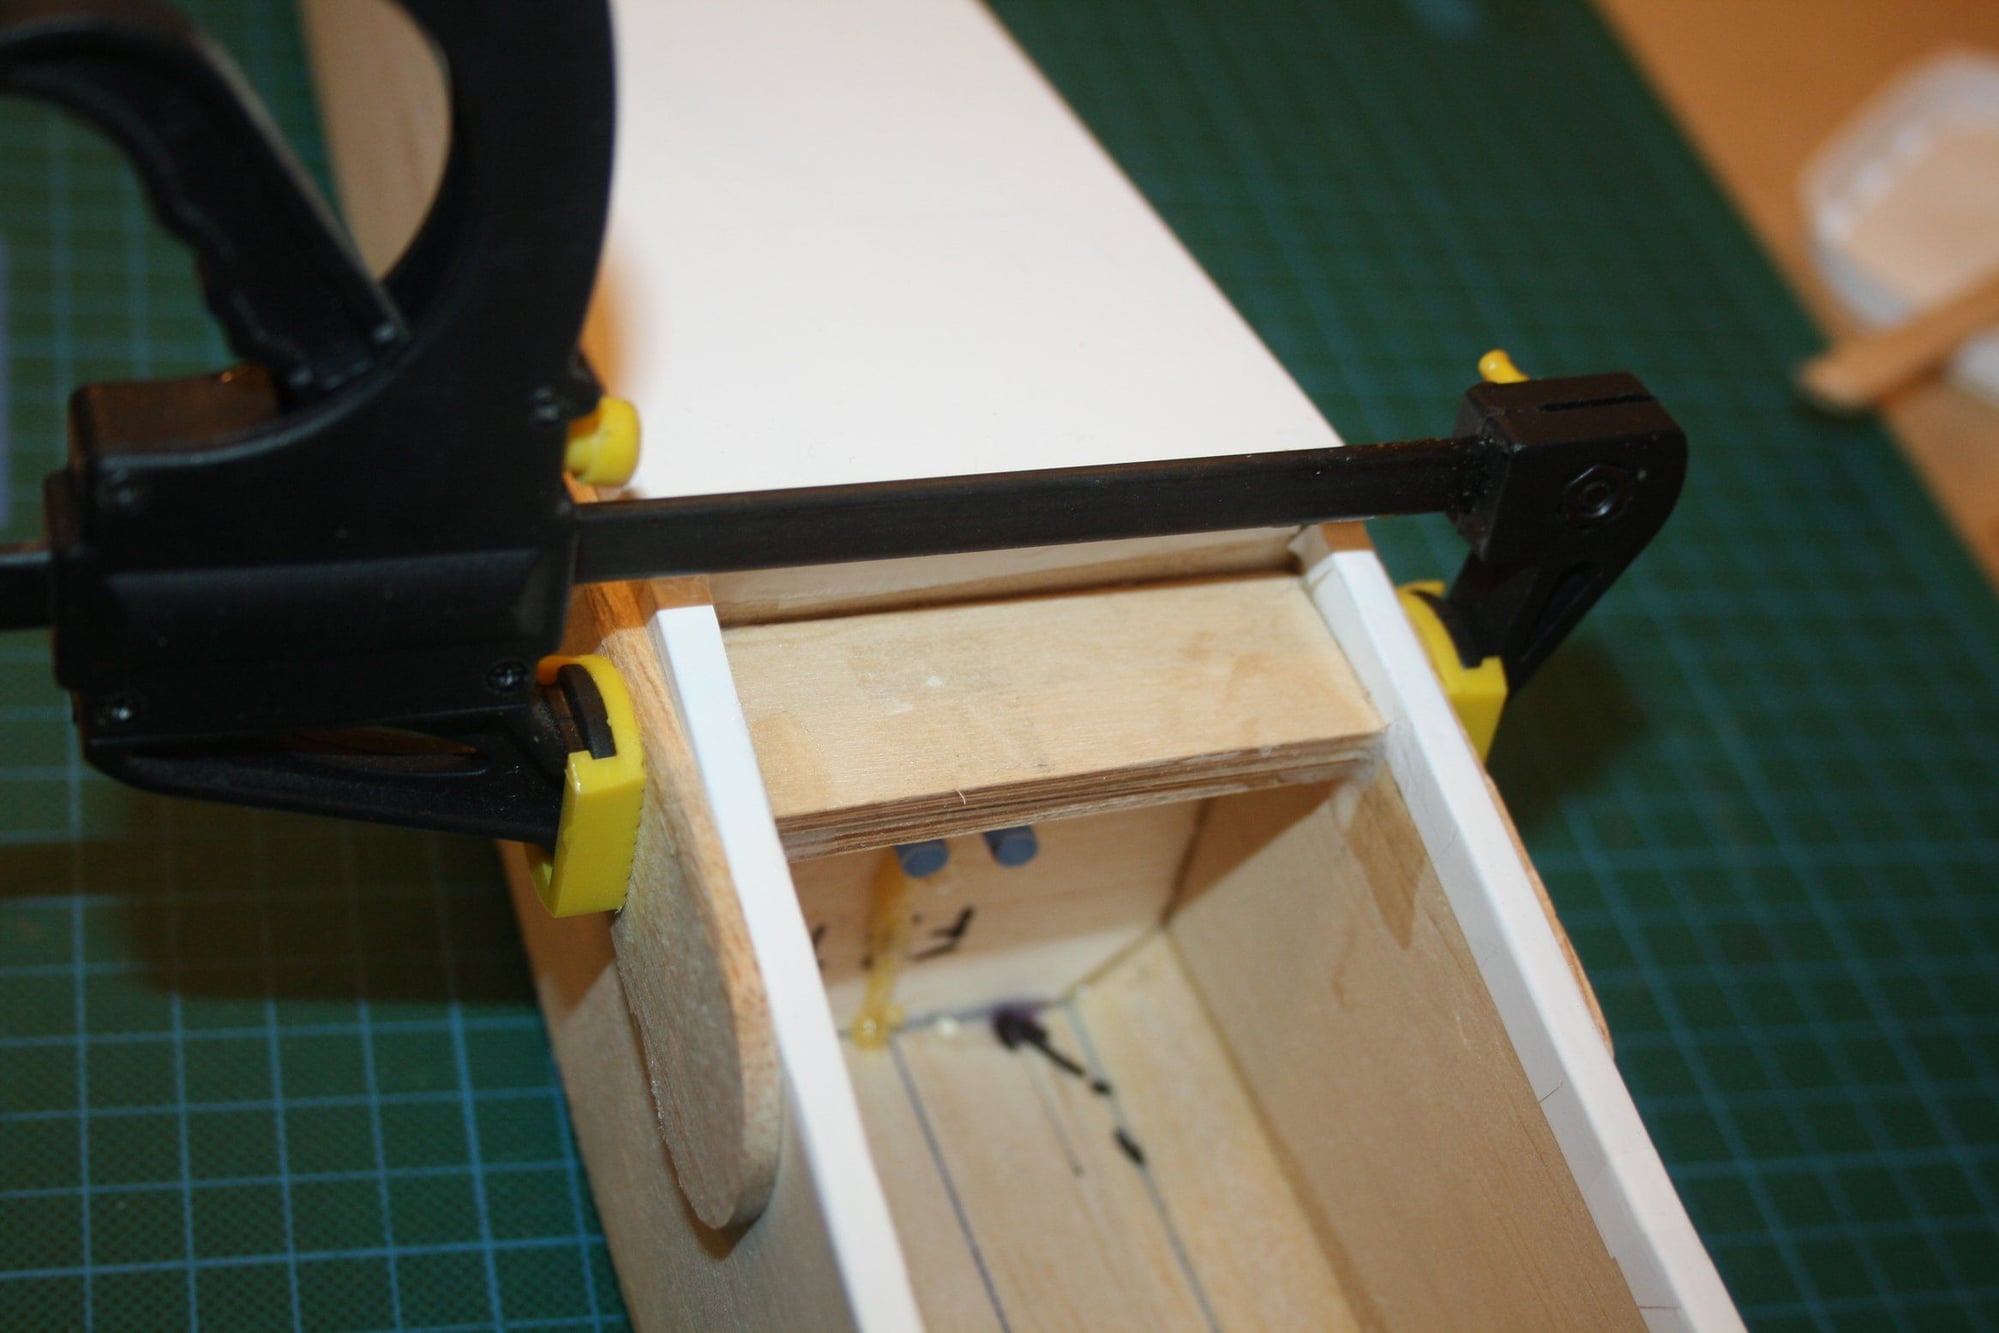
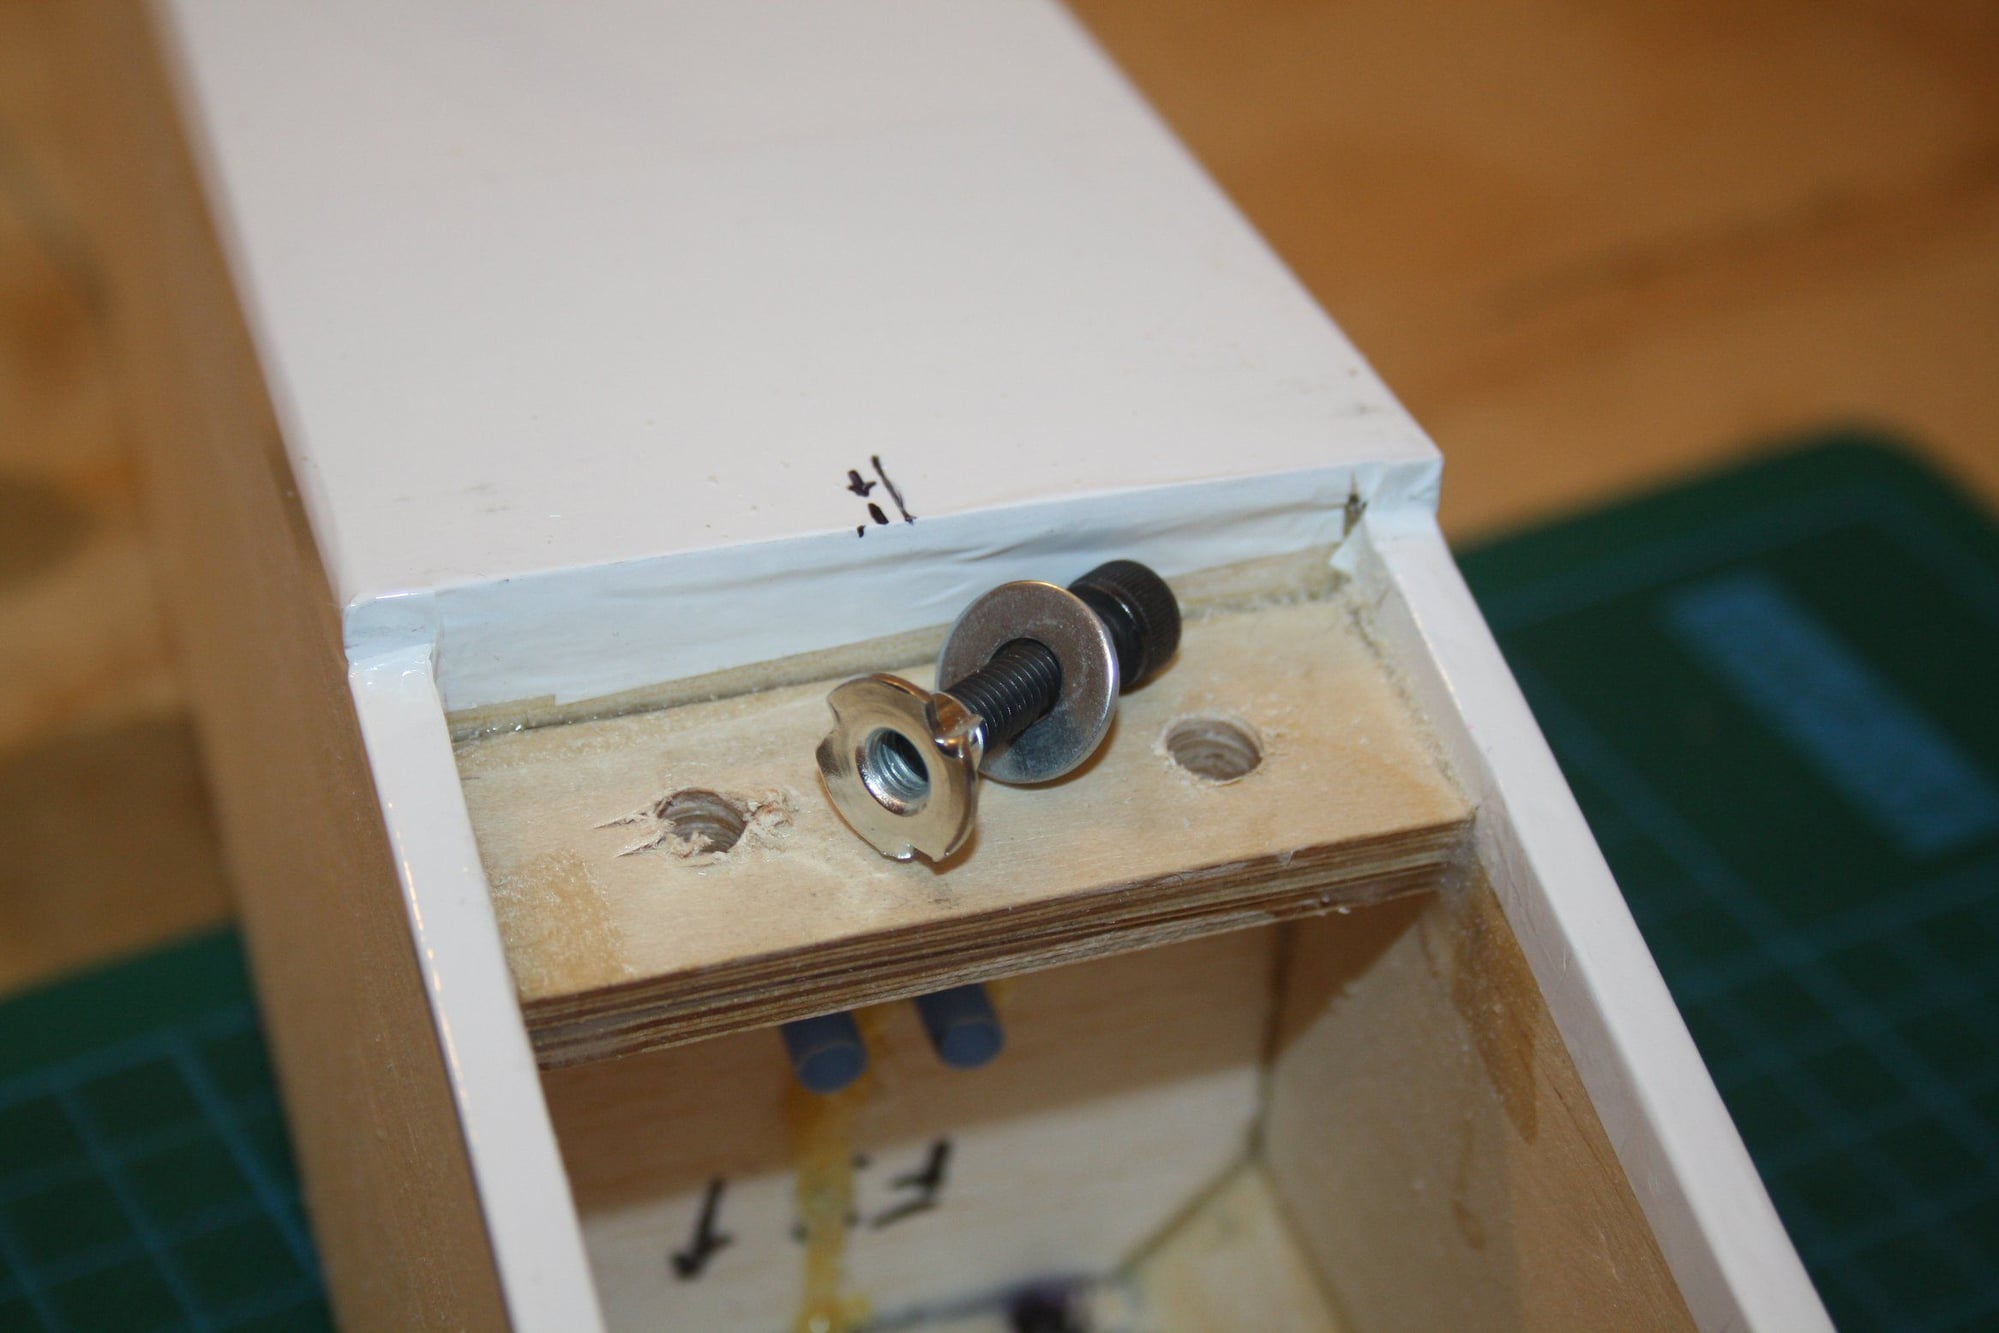
The main objective was to fit the wing to the wing mount. Currently the blind nuts for the wing screws are in place and the glue dries. I use metal screws to bring them into position.
While the 30 minutes Epoxy glue was drying on the different stages, I used the time to prepare the front landing gear (bending and fitting). I found it interesting that it was recessed into the balsa sheeting all the way resulting with the coil touching the bottom of the firewall.
I also killed some time by covering the bottom of the fuselage.
Cheers,
Eran.
08-10-2018, 12:28 AM
#60
Thread Starter
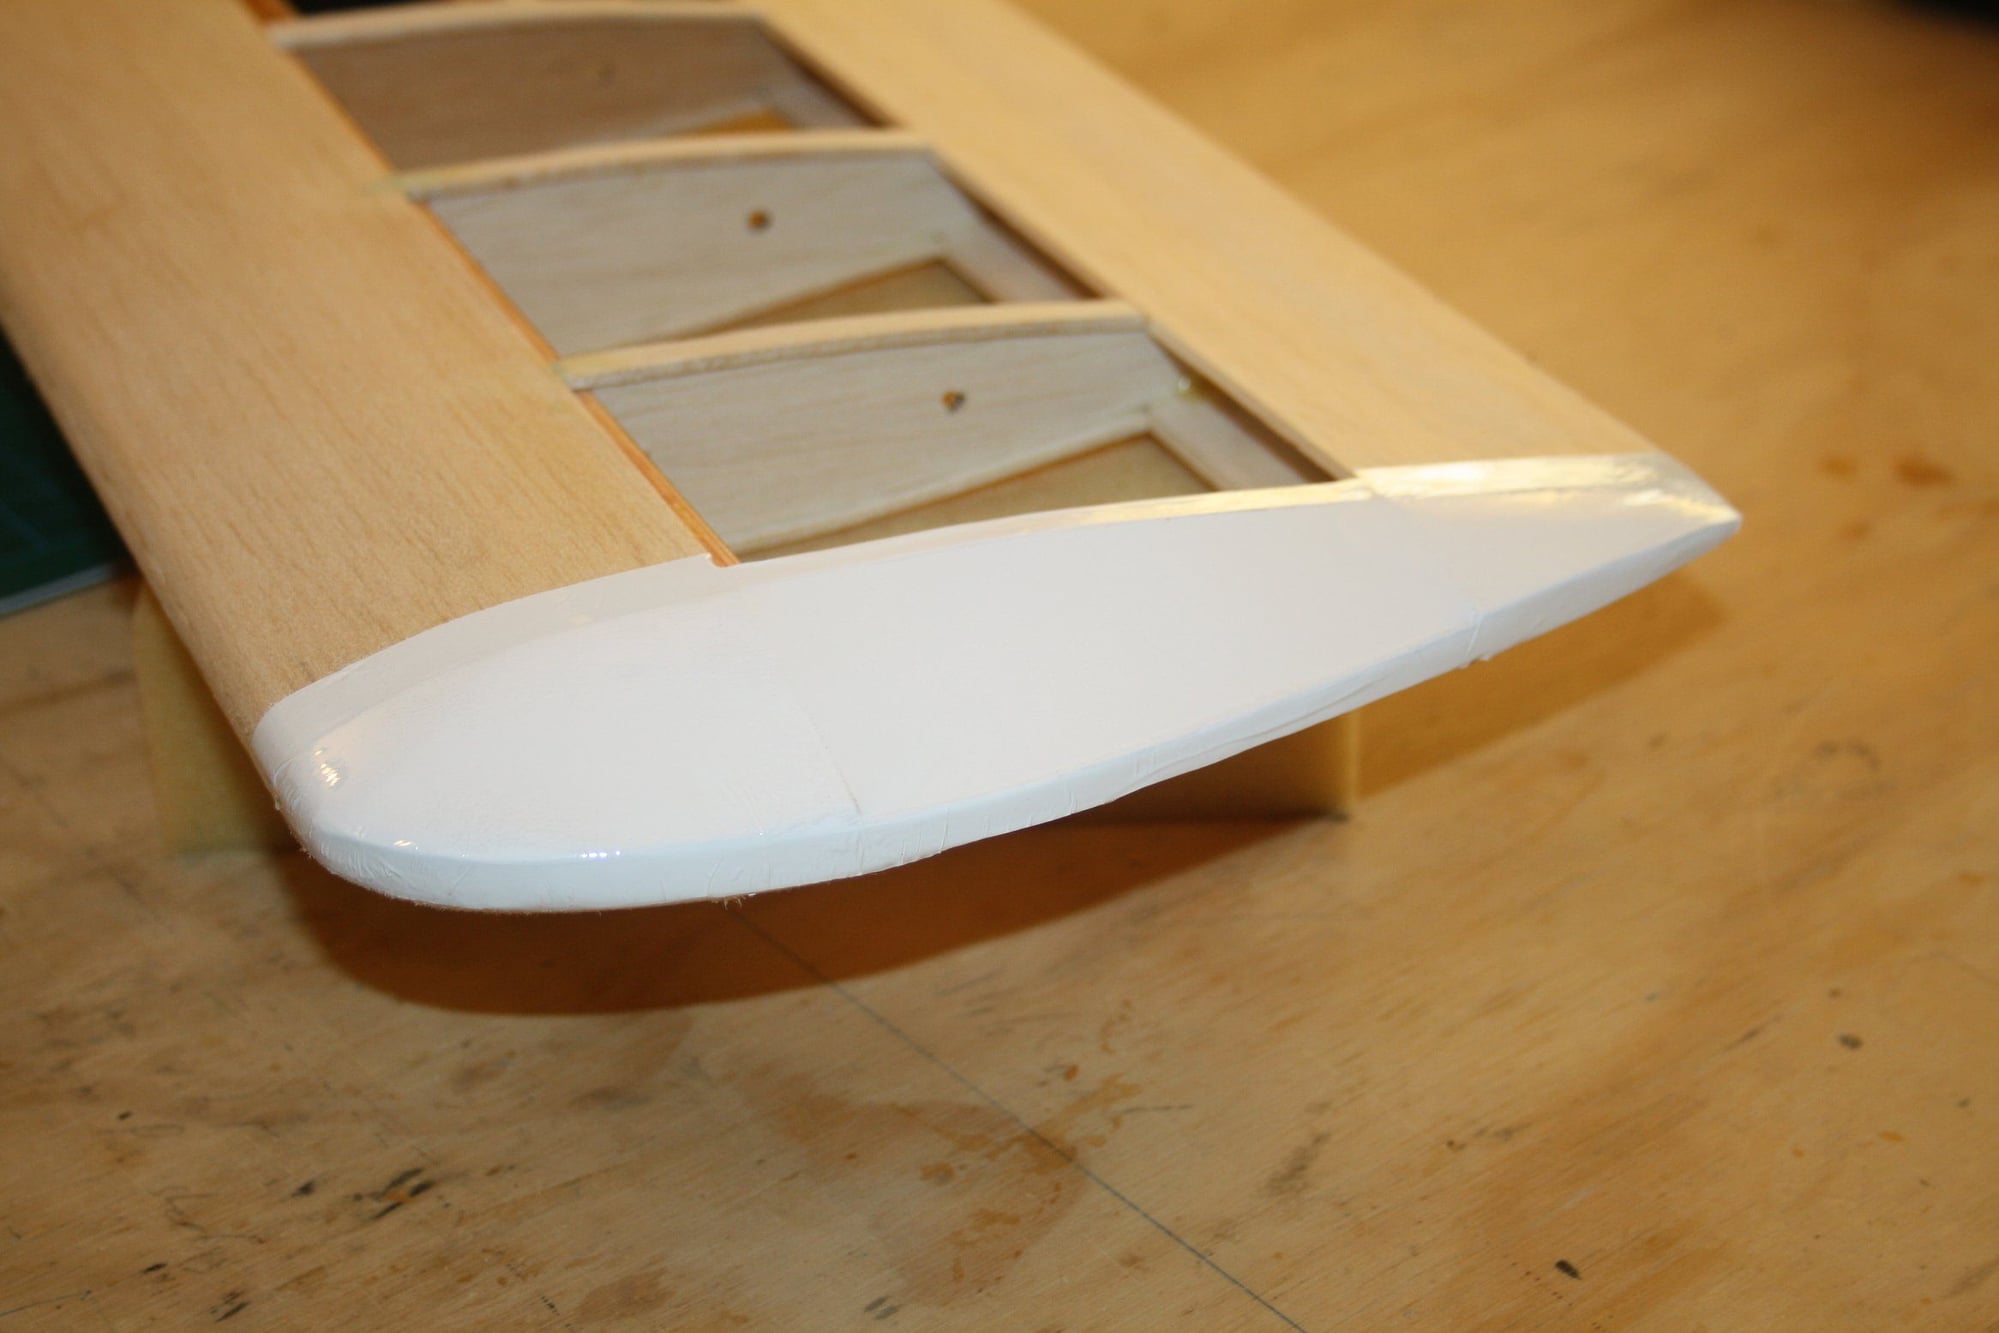
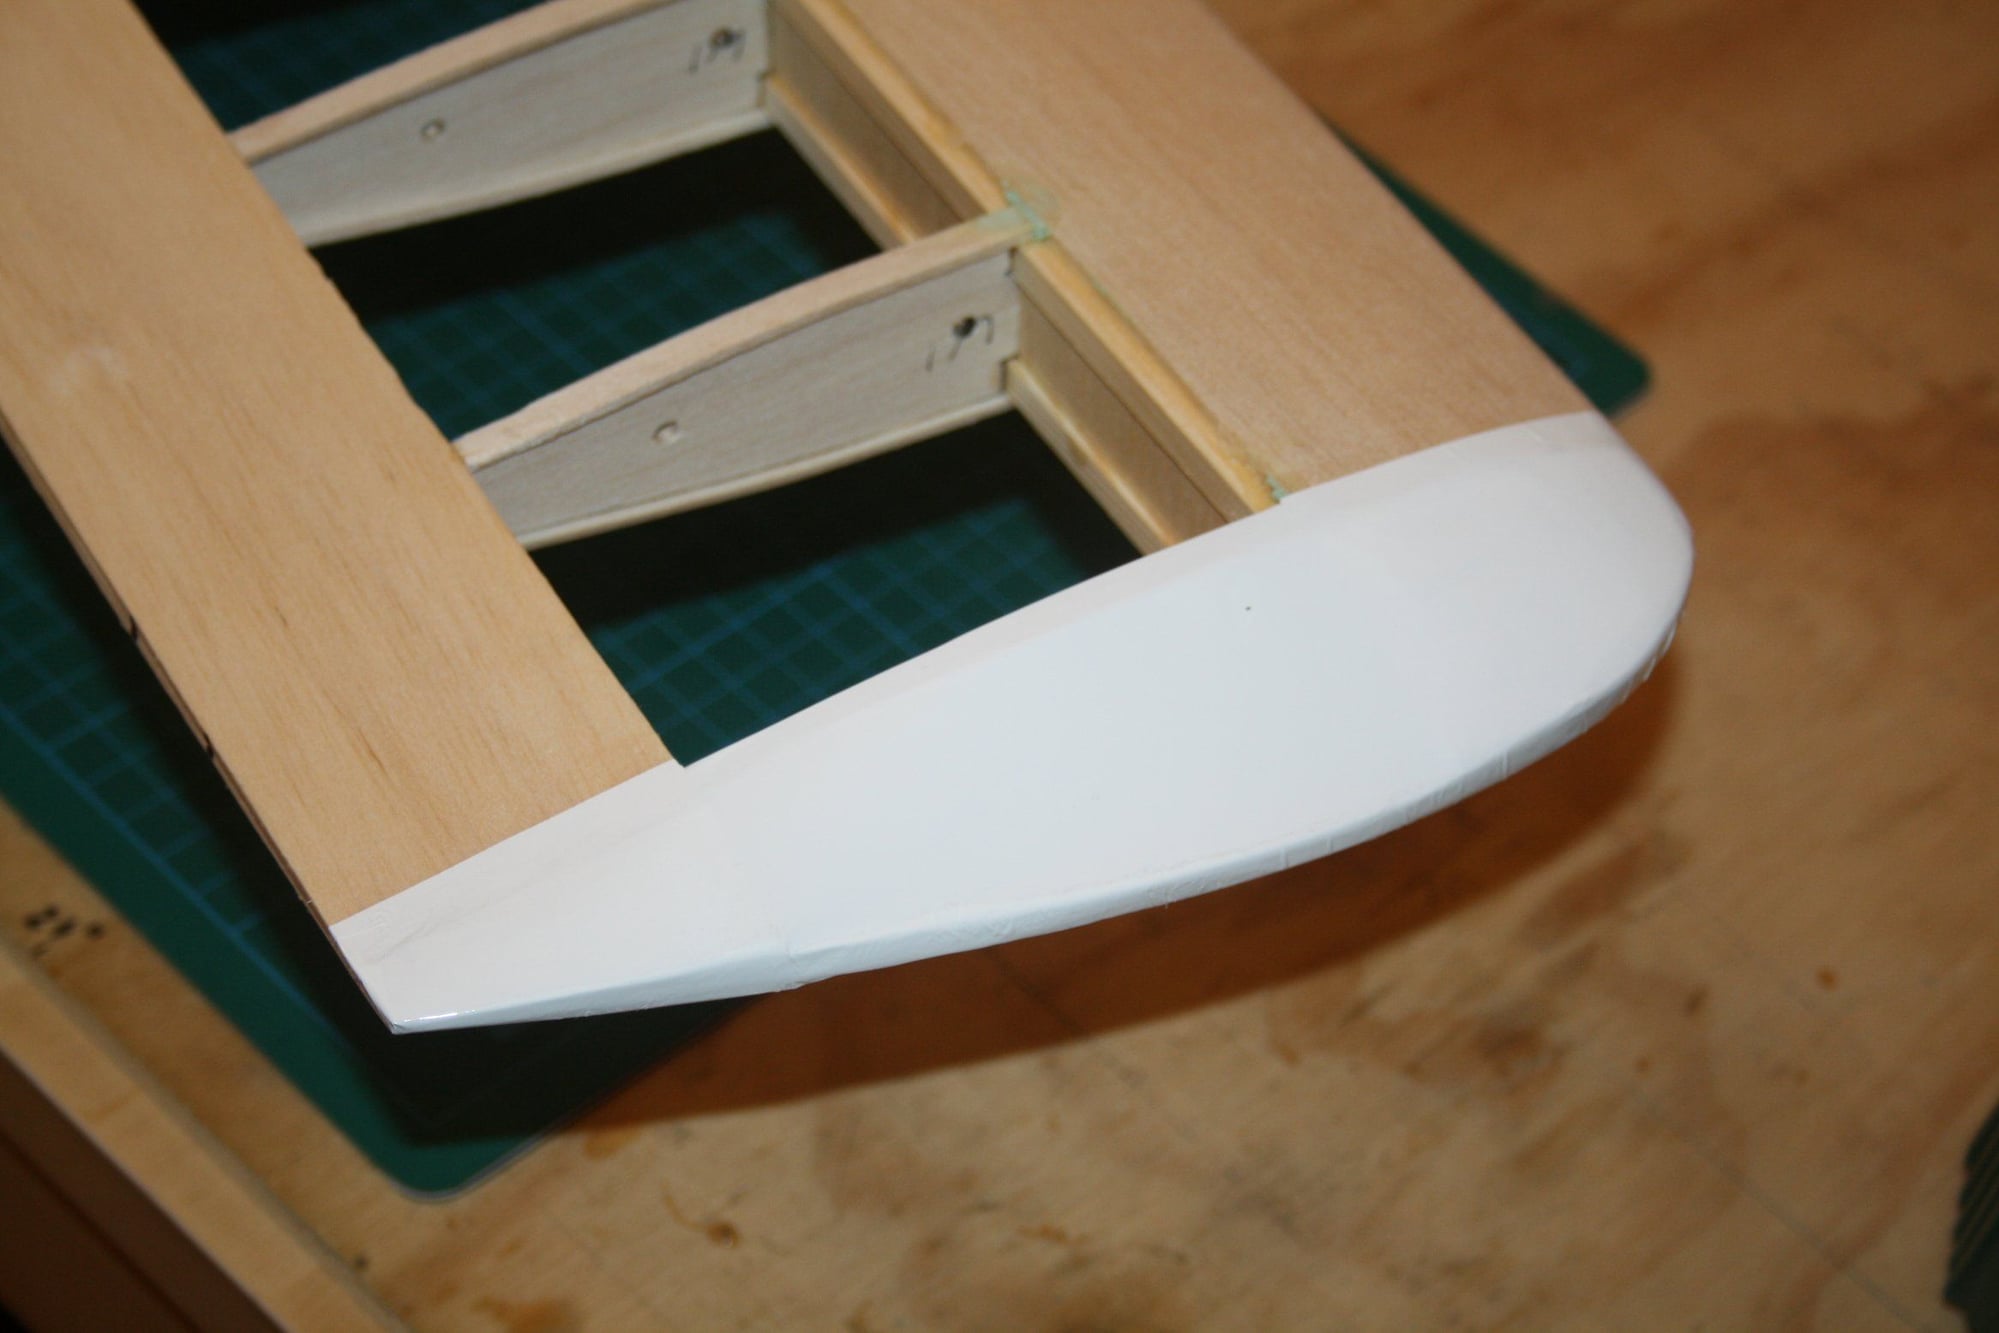
Progress has been super slow this week, however, I did managed to get some more covering done.The wing tips proved to be extremely challenging, I needed 3 goes on the first one and am not 100% happy with the other side, but have no intention to try again...
Cheers,
Eran


Cheers,
Eran

 08-15-2018, 09:00 PM
#62
Thread Starter
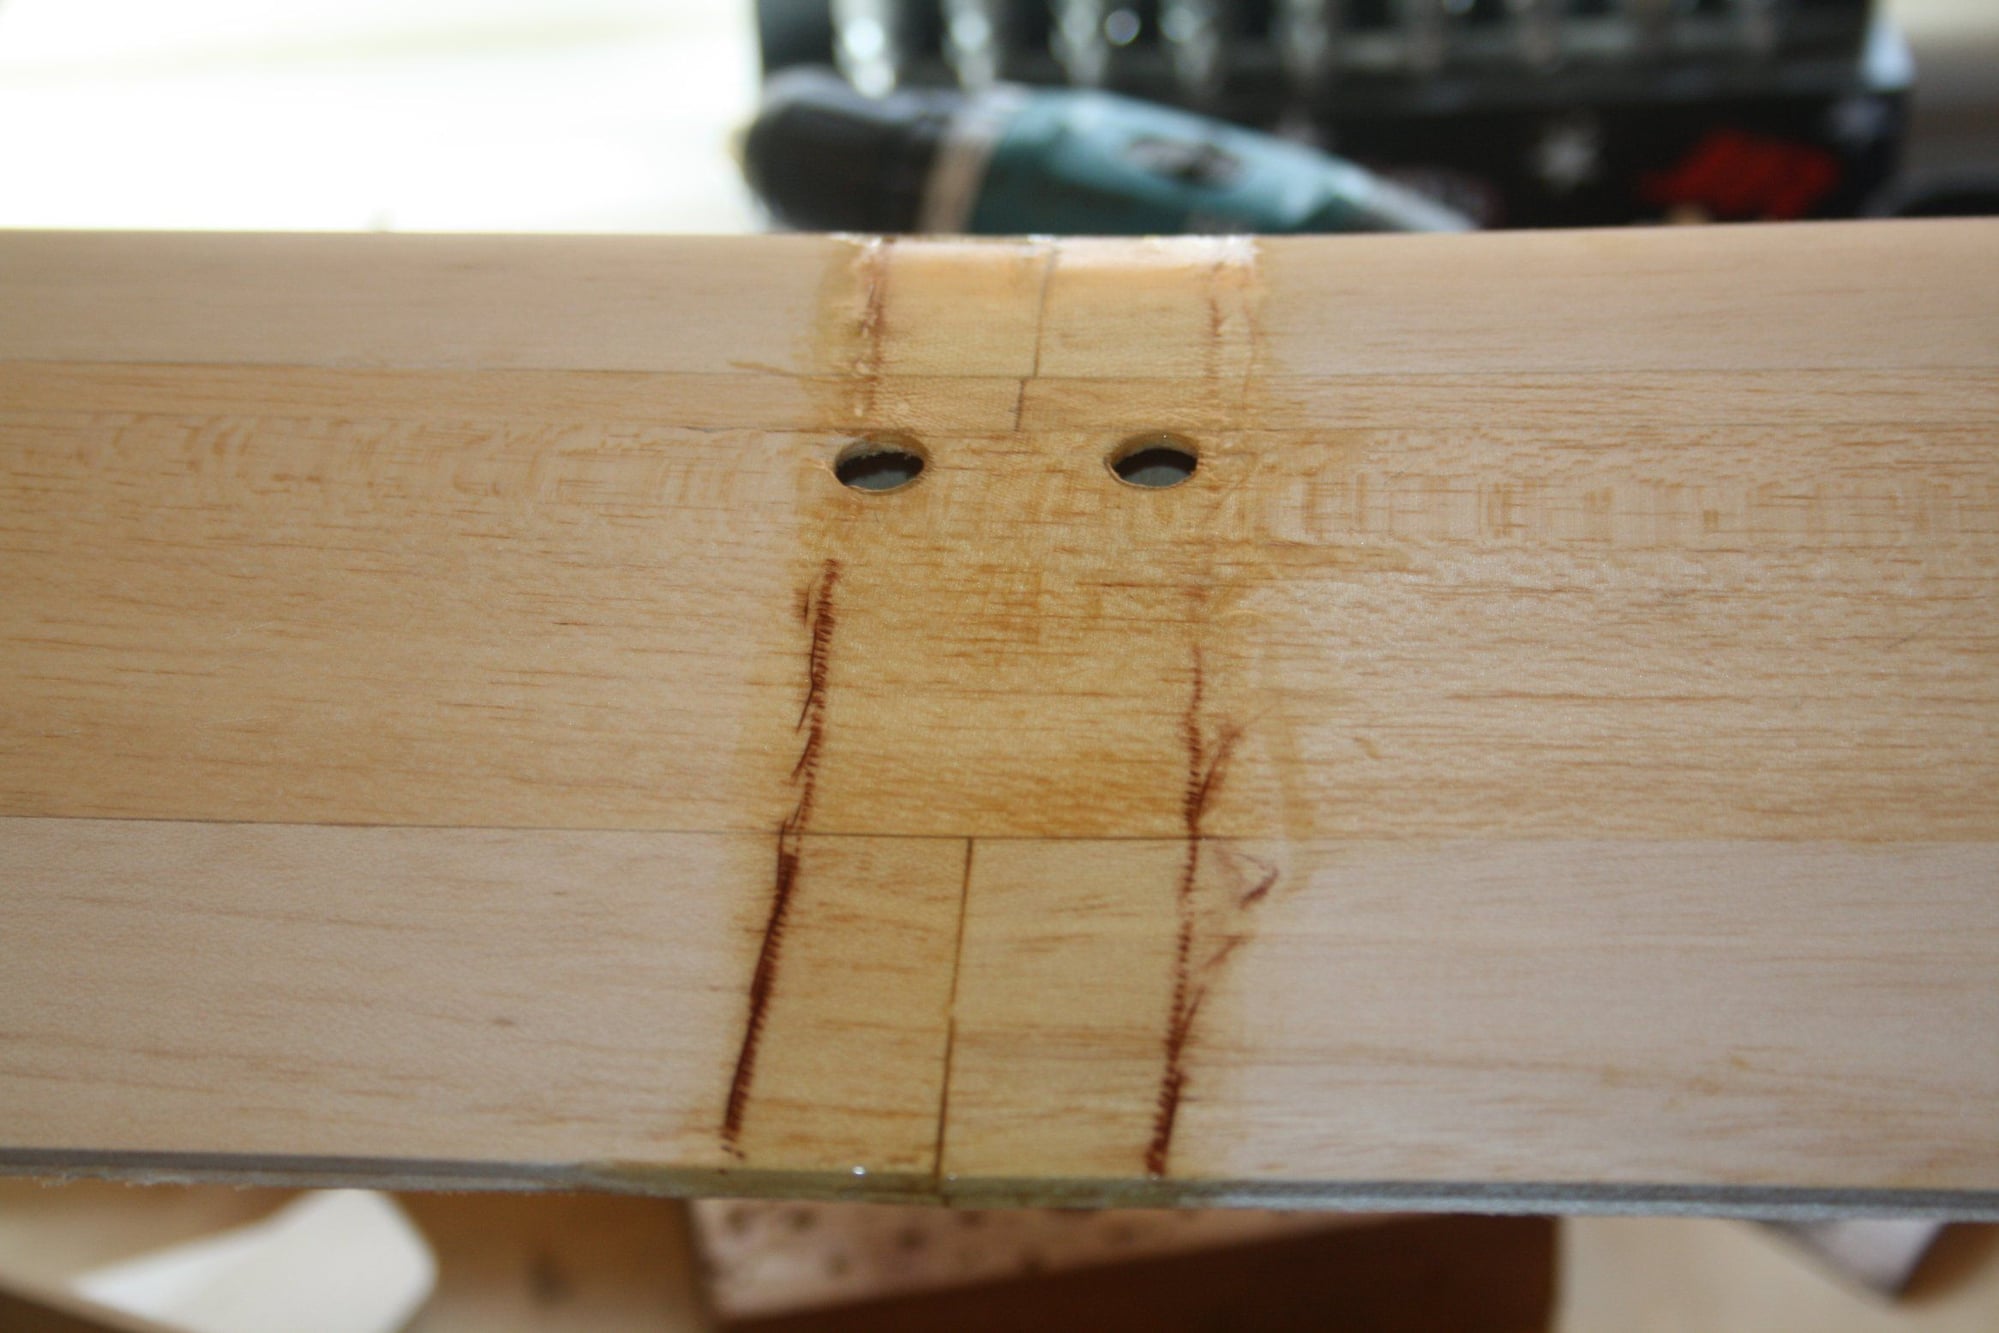
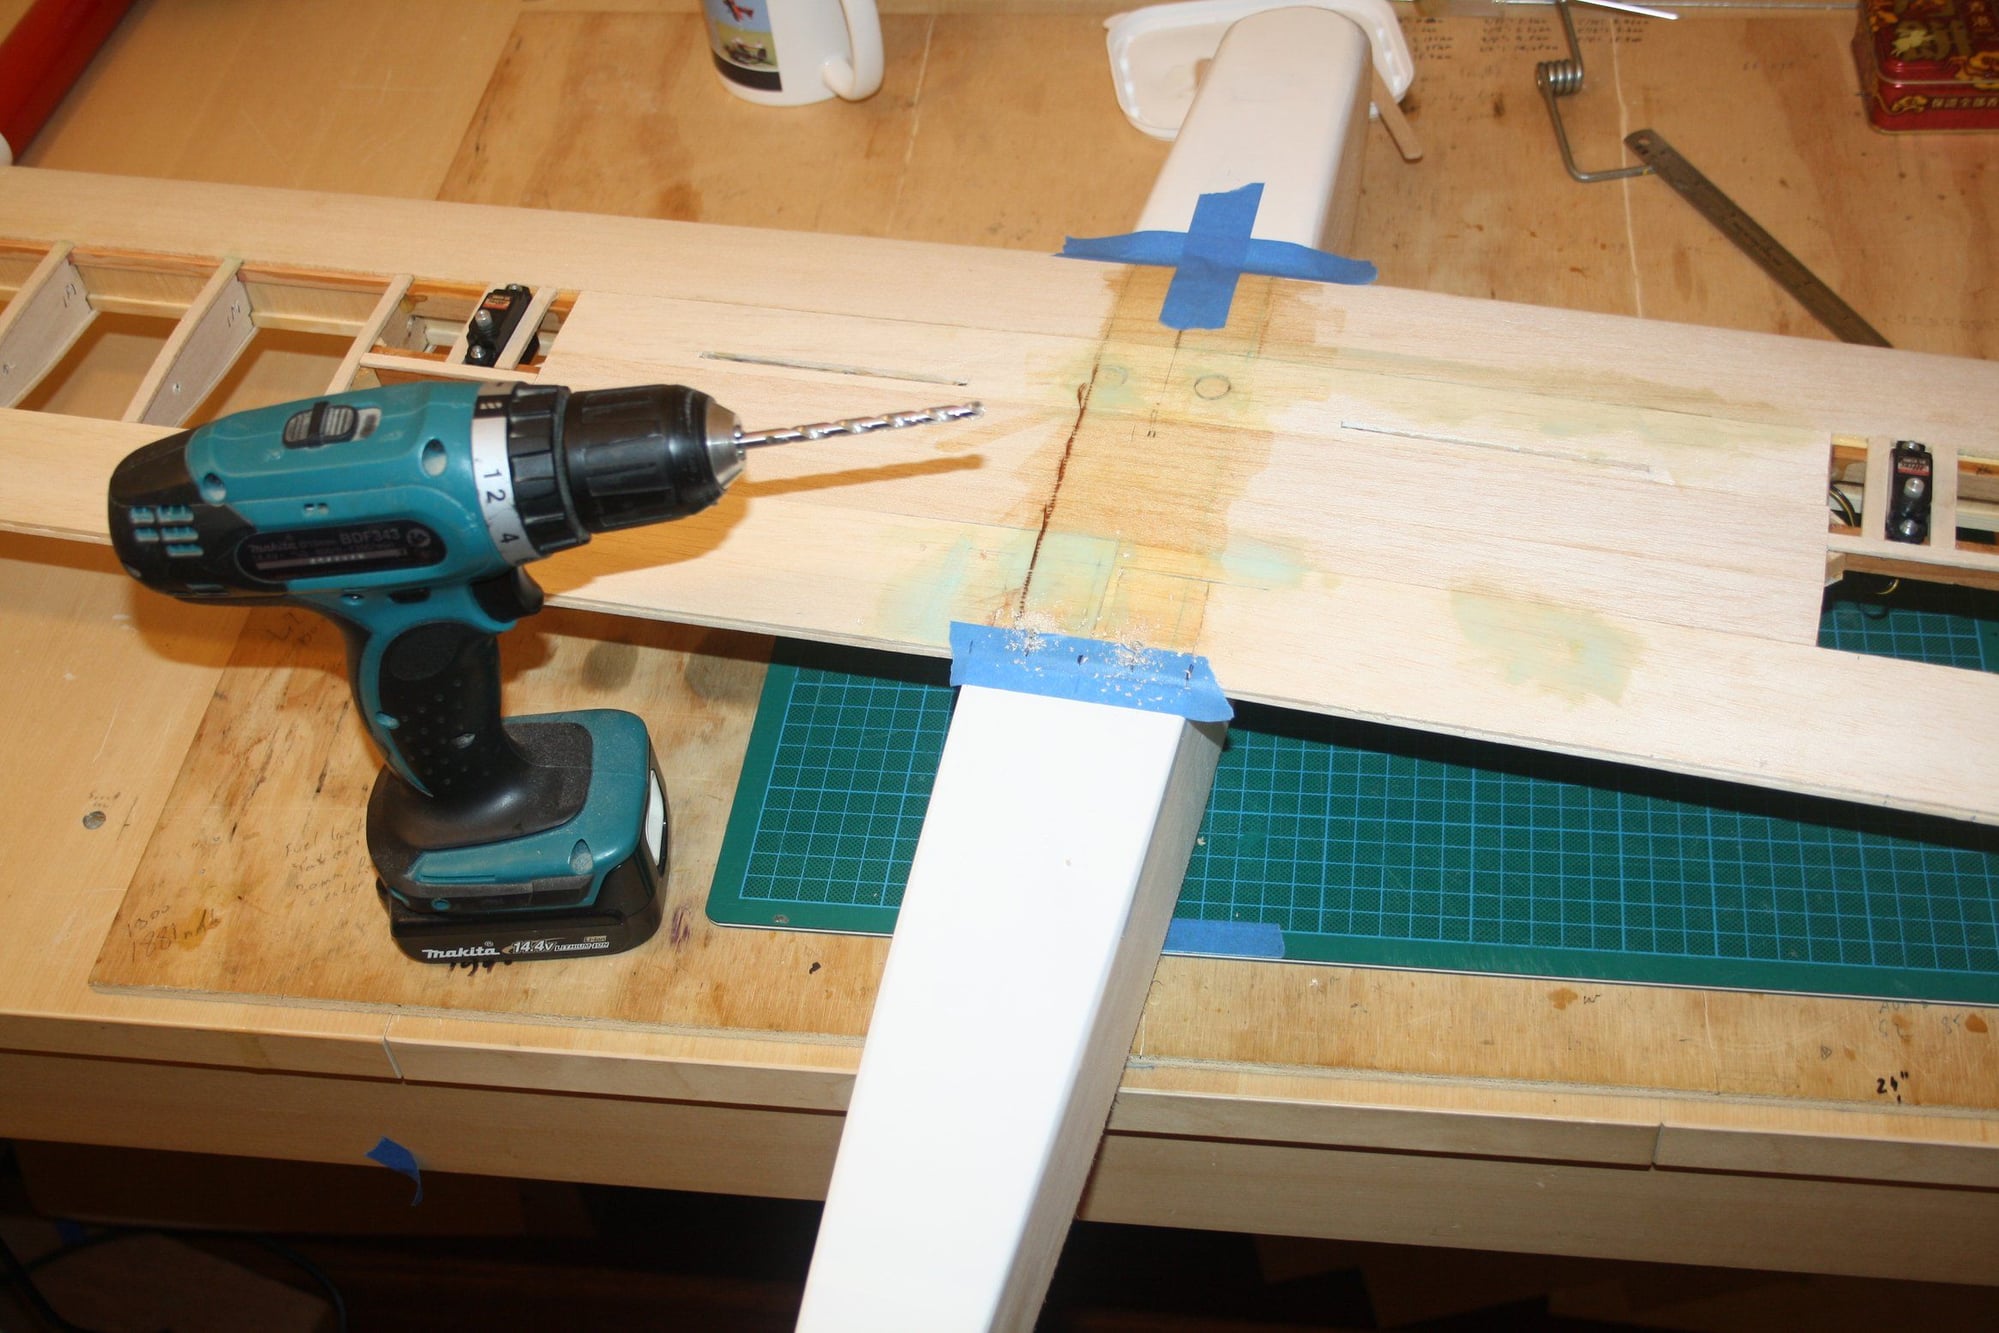
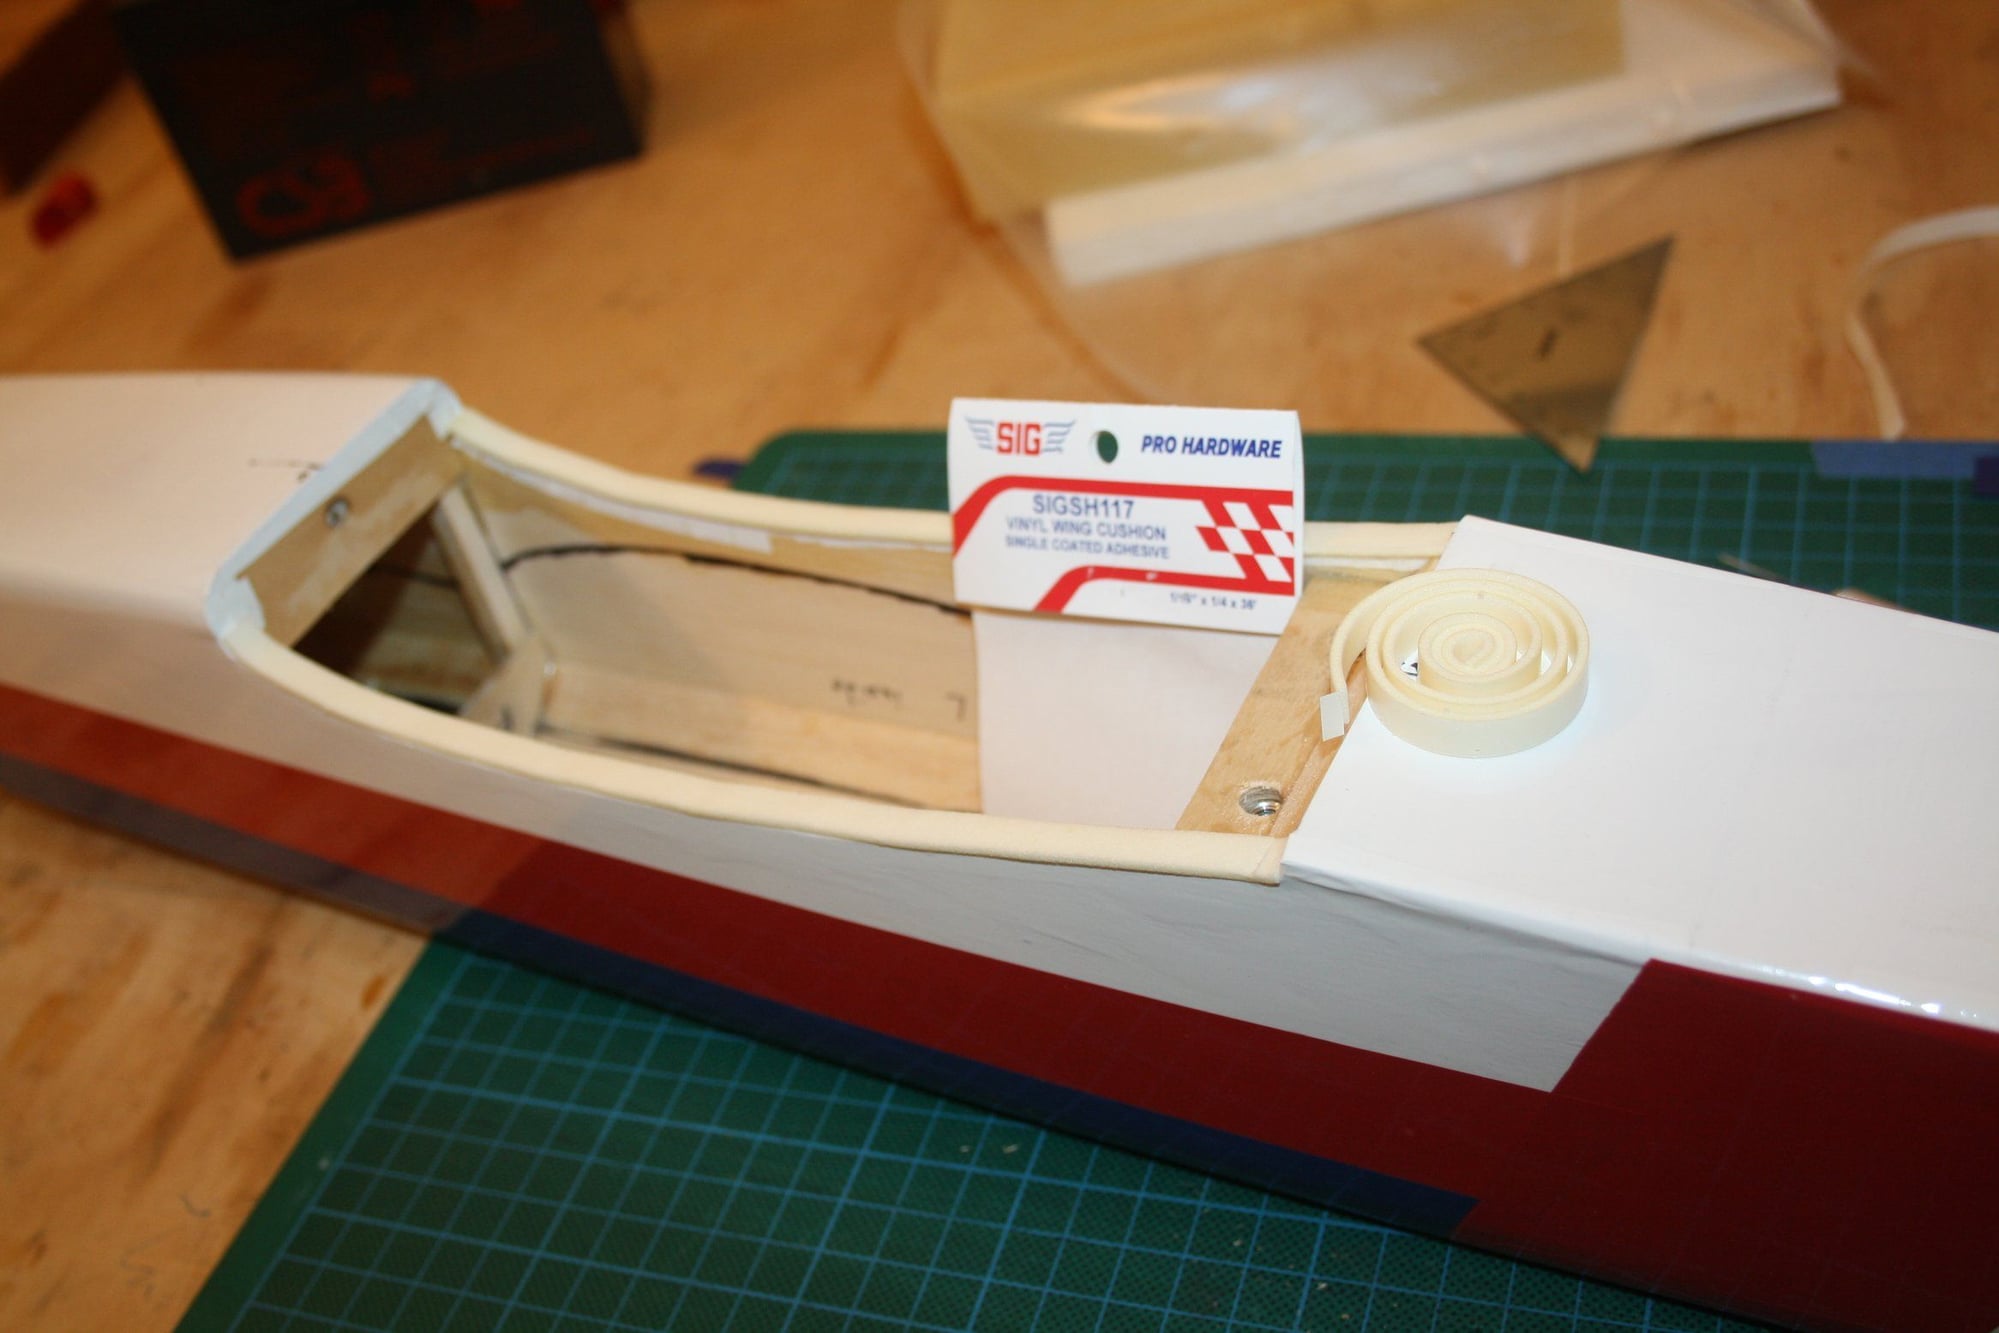
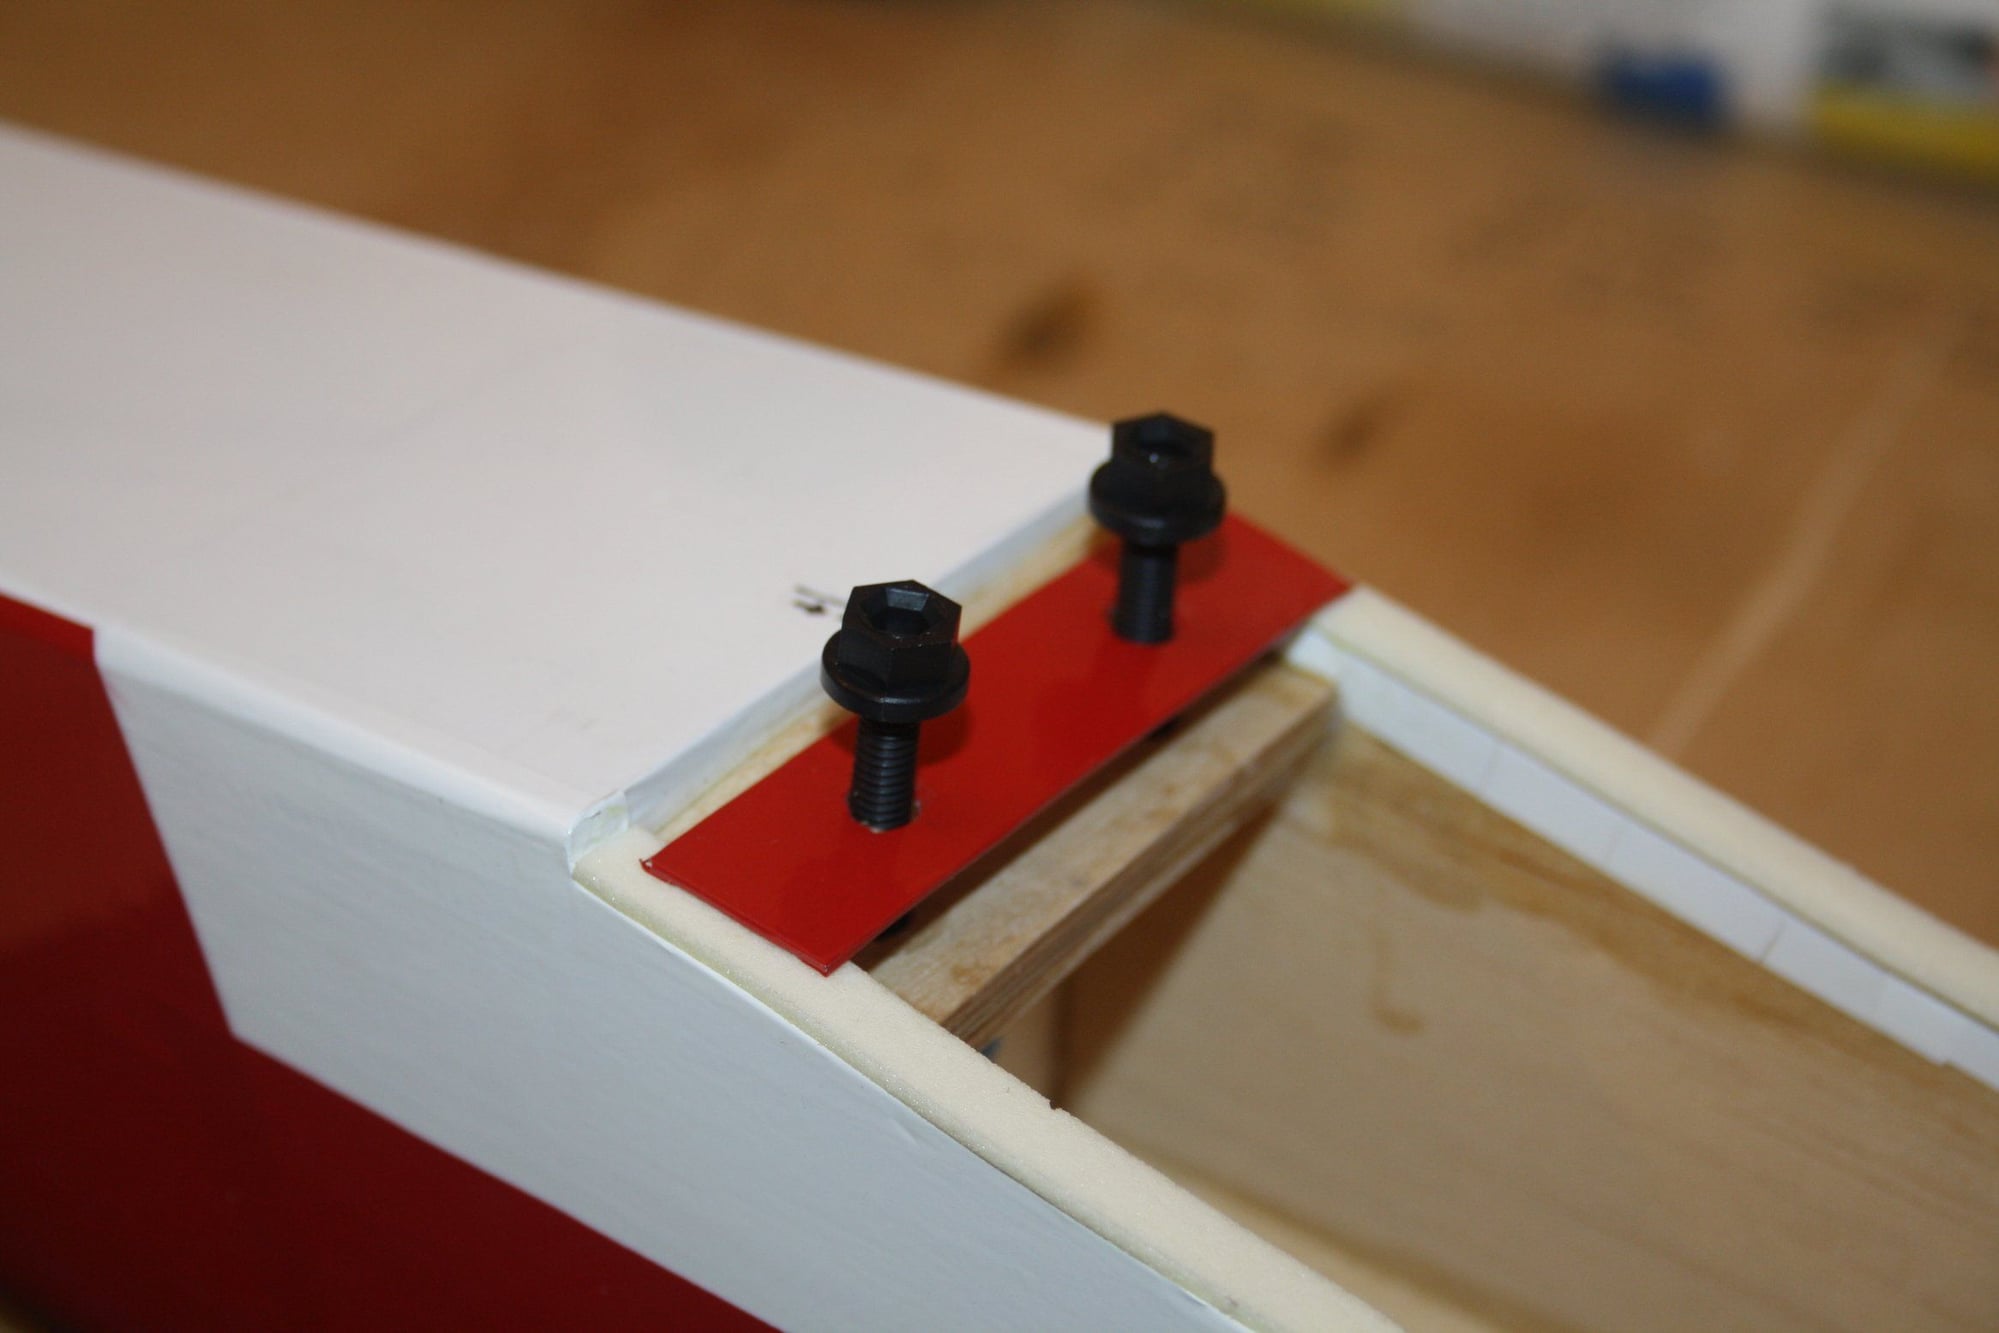
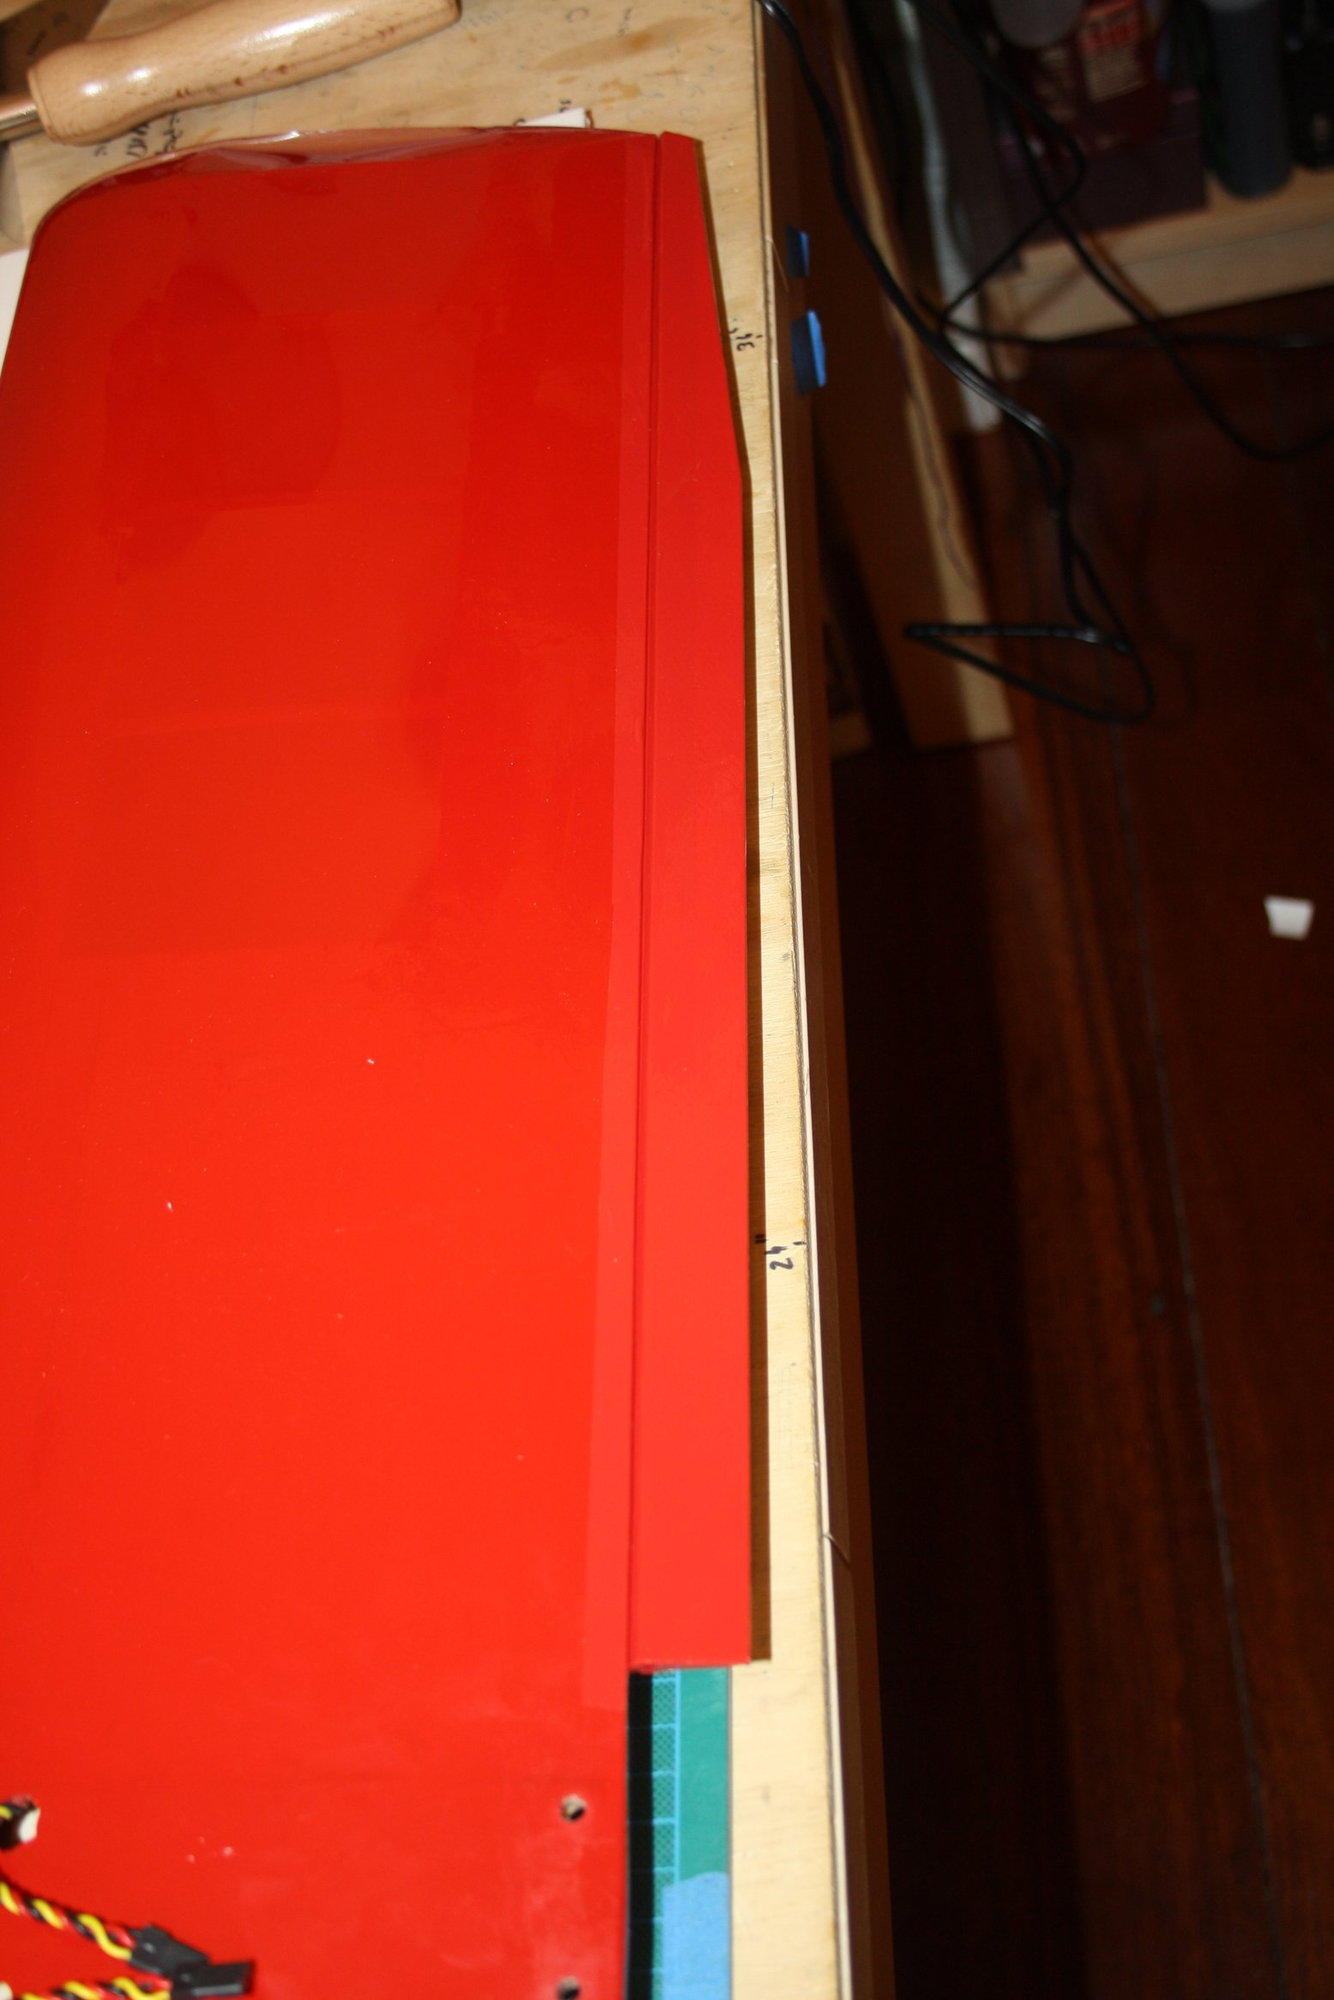
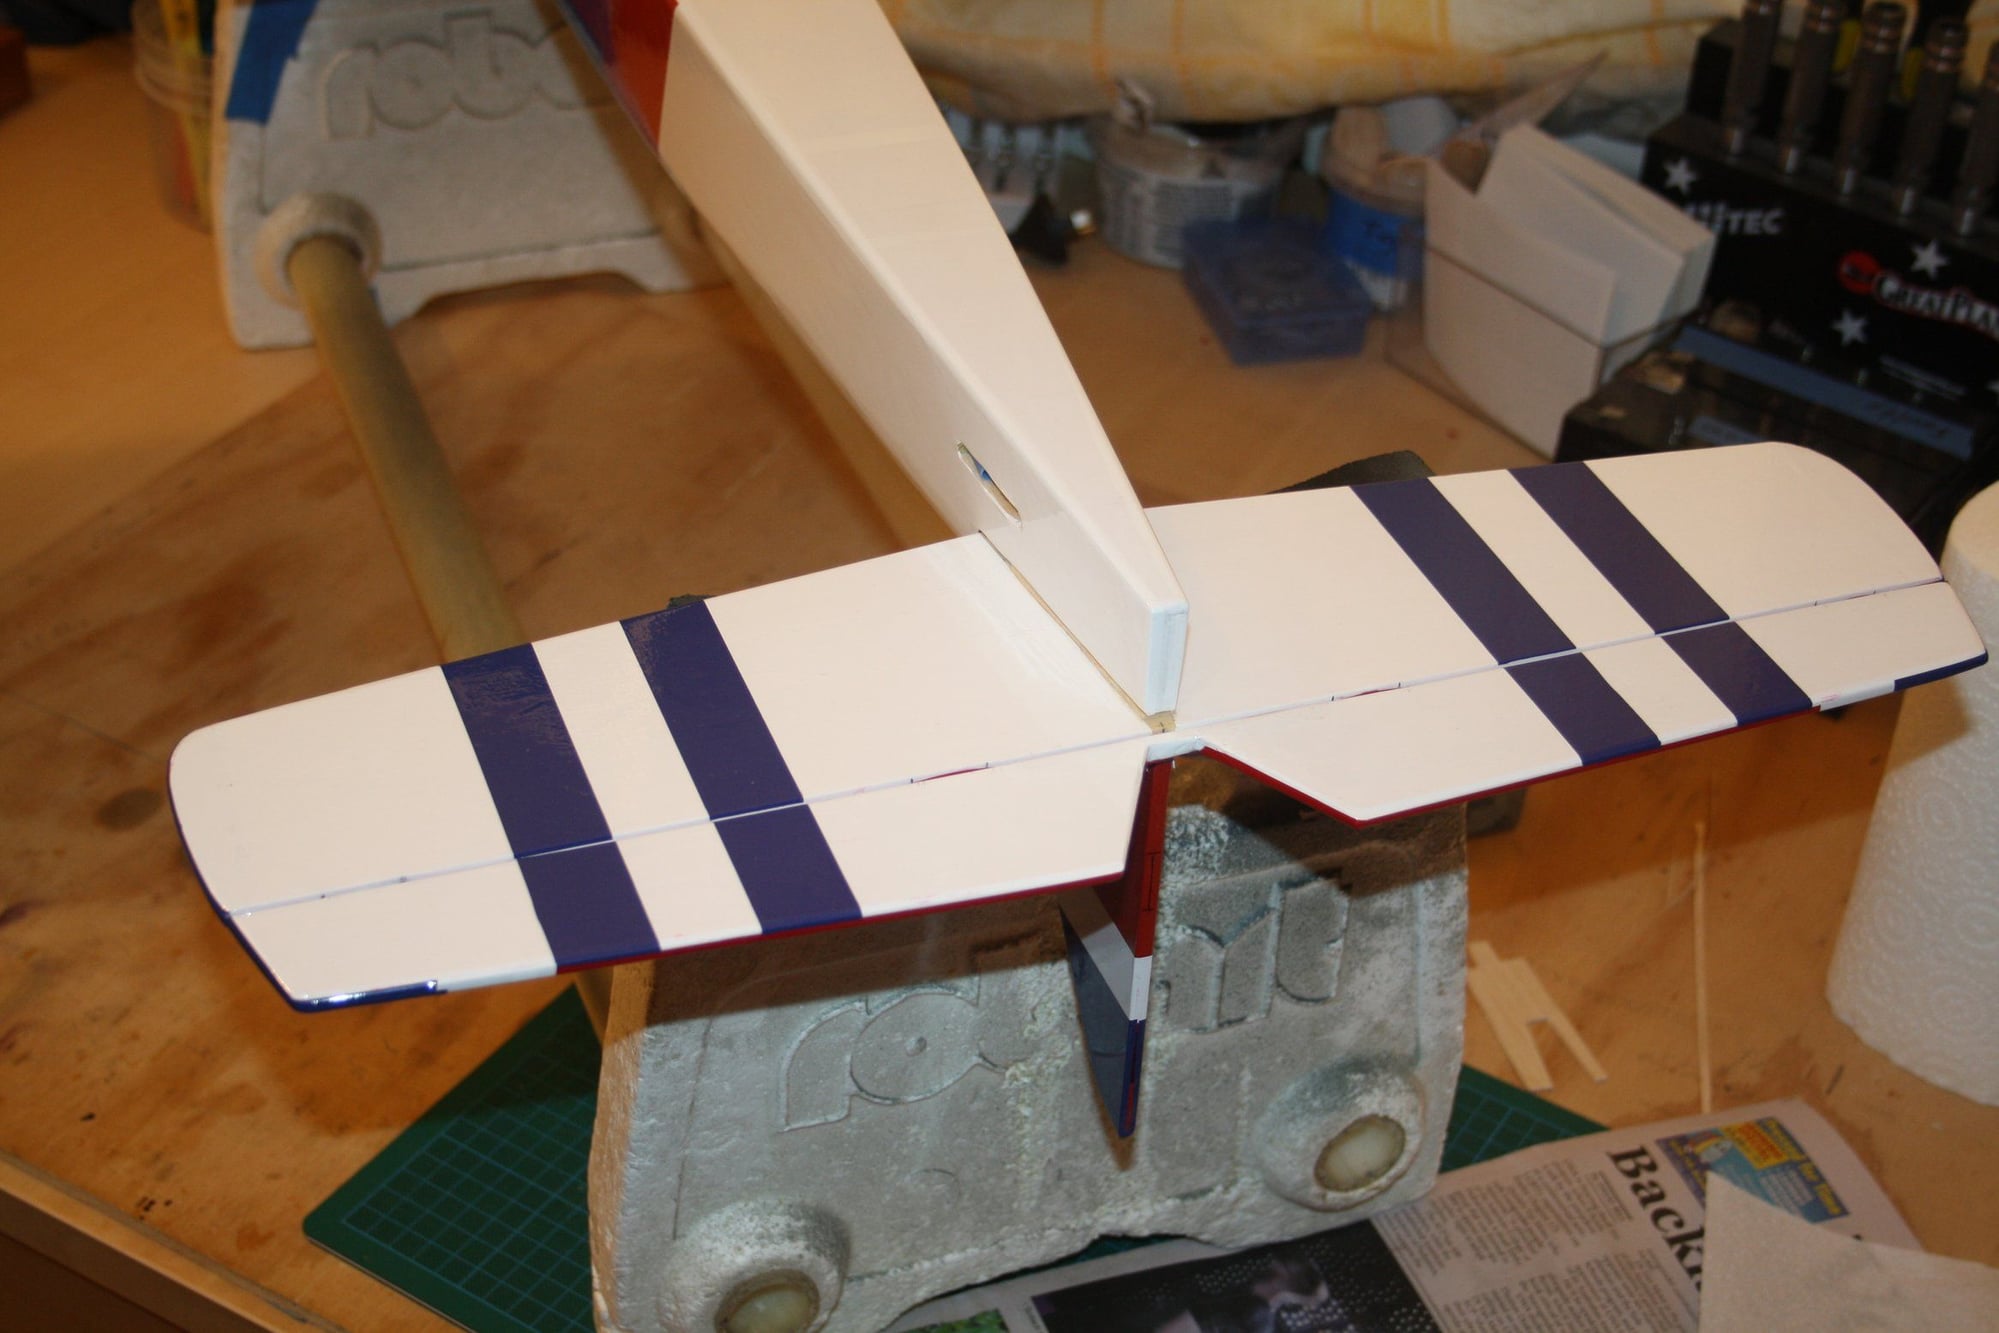
Mounting the wing was frustrating as I managed to miss align my drilling into the LE for the dowel.This got it into an empty space in the D-Box and gluing it into place (the centre rib) was challenging. I decided to use the polyurethane glue and it ended up OK.While waiting for the polyurethane glue to dry I fitted the SIG wing cushion to the wing saddle. When I tried to fit the wing I found that it is way off alignment due to the "cushion" and I had to rip it off (and clean the saddle from the sticky glue)...In addition, I made a plywood protector for the wing screws and covered it in Red... Oops, the bottom of the wing is White... Another item to fix later...
Cheers,
Eran

Cheers,
Eran

 08-19-2018, 01:30 PM
#64

Another good build thread. Your build is coming along very good. I�ve been a scratch builder since I got back in the hobby. I was a fabric and paint builder. I�ve only done 2 Chinakote shrink fabric builds now. So I learn from these build threads. Following along.
08-19-2018, 03:31 PM
#65
Thread Starter
ETpilot - I am glad you find this thread helpful. After over 30 years of scratch building I am still following build threads to learn new techniques.
My only "non heat shrink covering" experience was dope and silk covering of a small rubber powered kit. It was not a creation I could be proud of...
Cheers,
Eran
My only "non heat shrink covering" experience was dope and silk covering of a small rubber powered kit. It was not a creation I could be proud of...
Cheers,
Eran
 08-22-2018, 02:01 AM
#67
Thread Starter
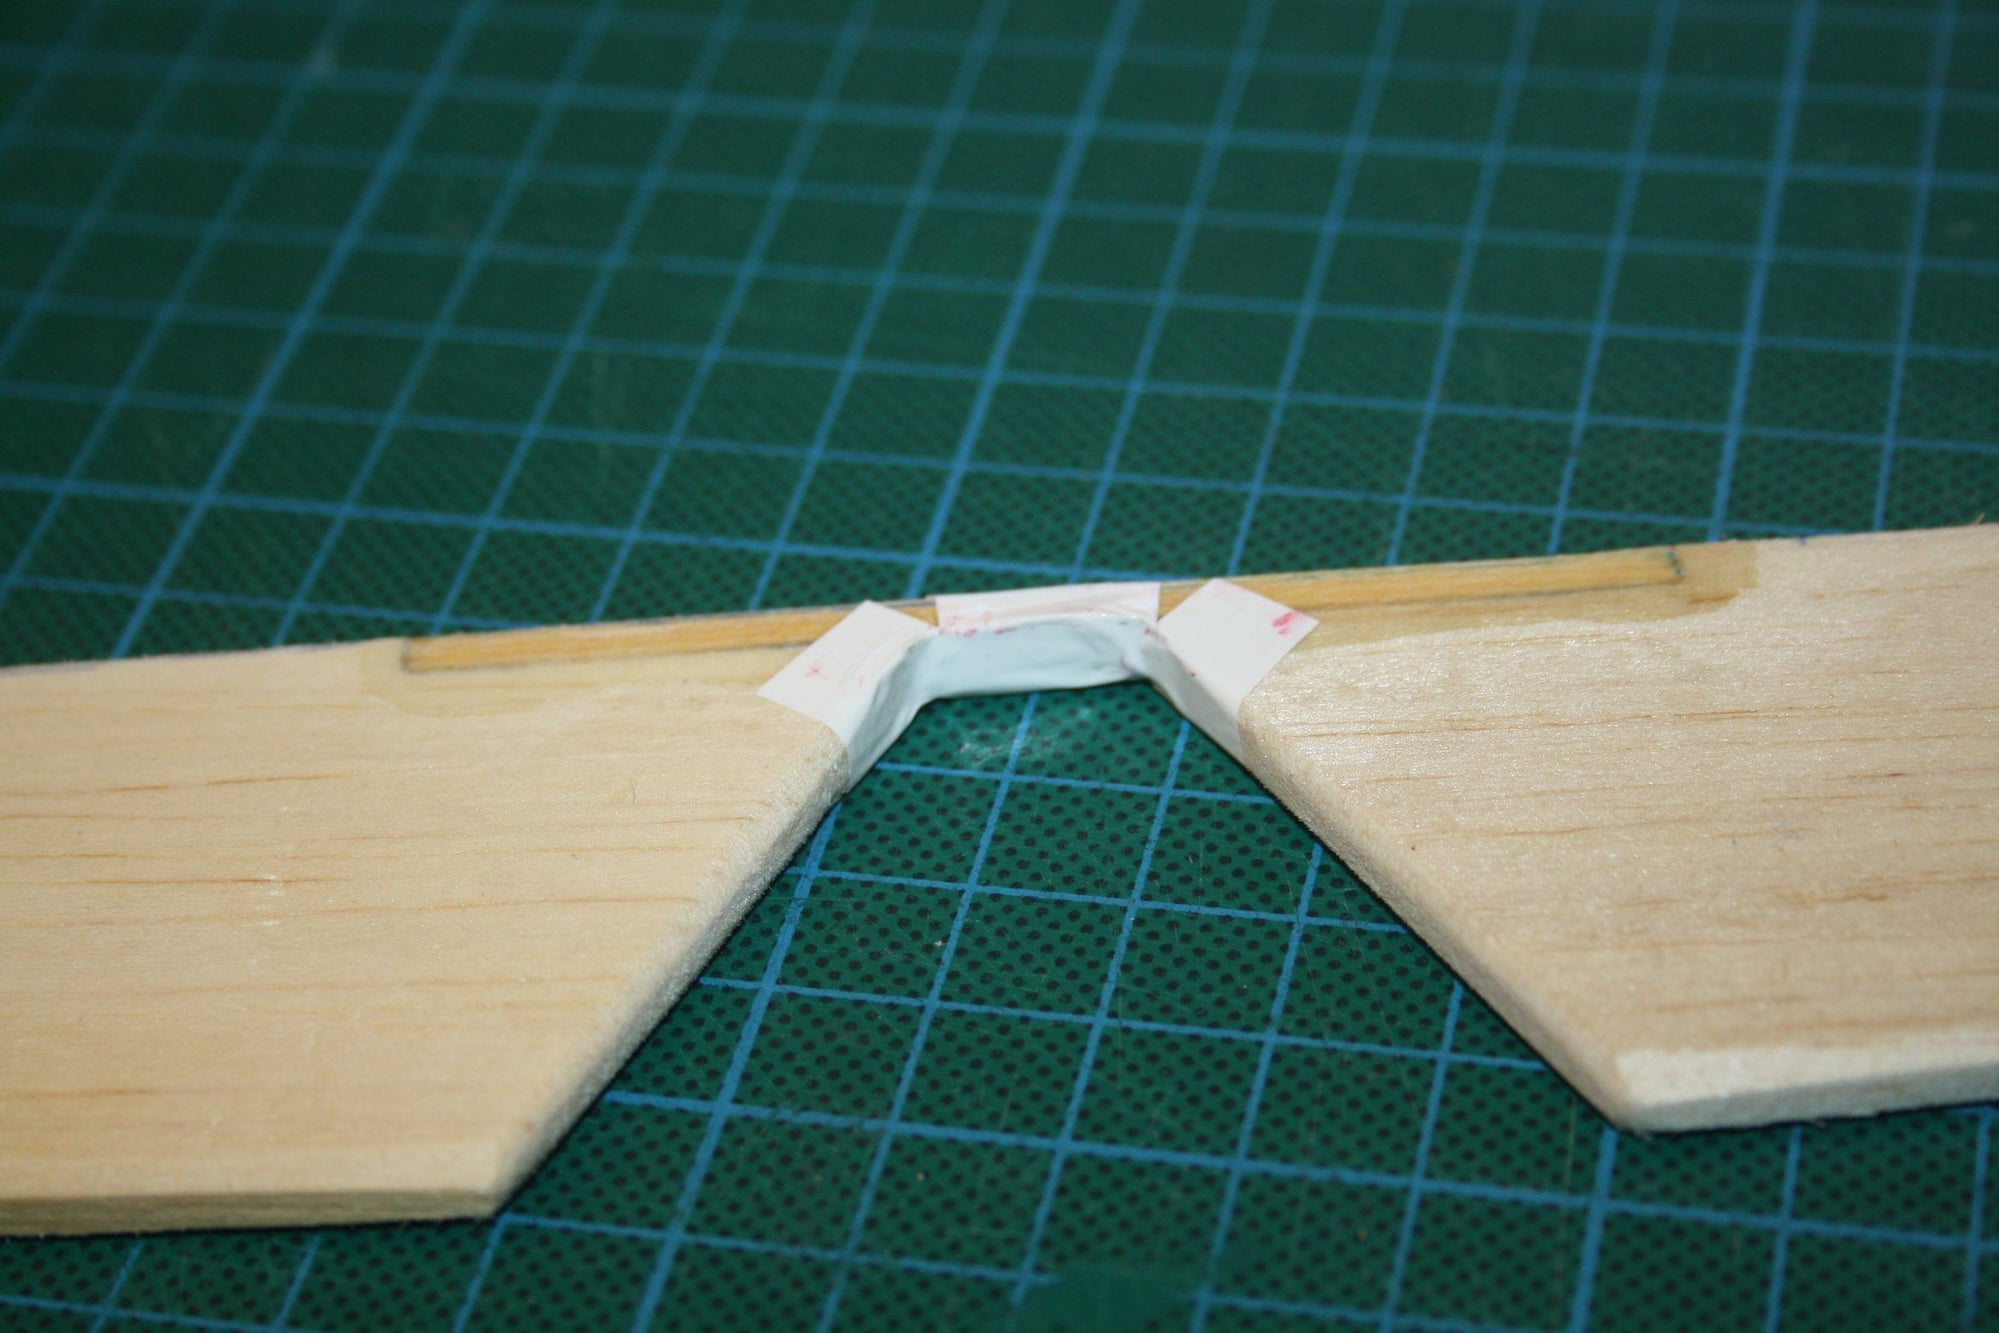
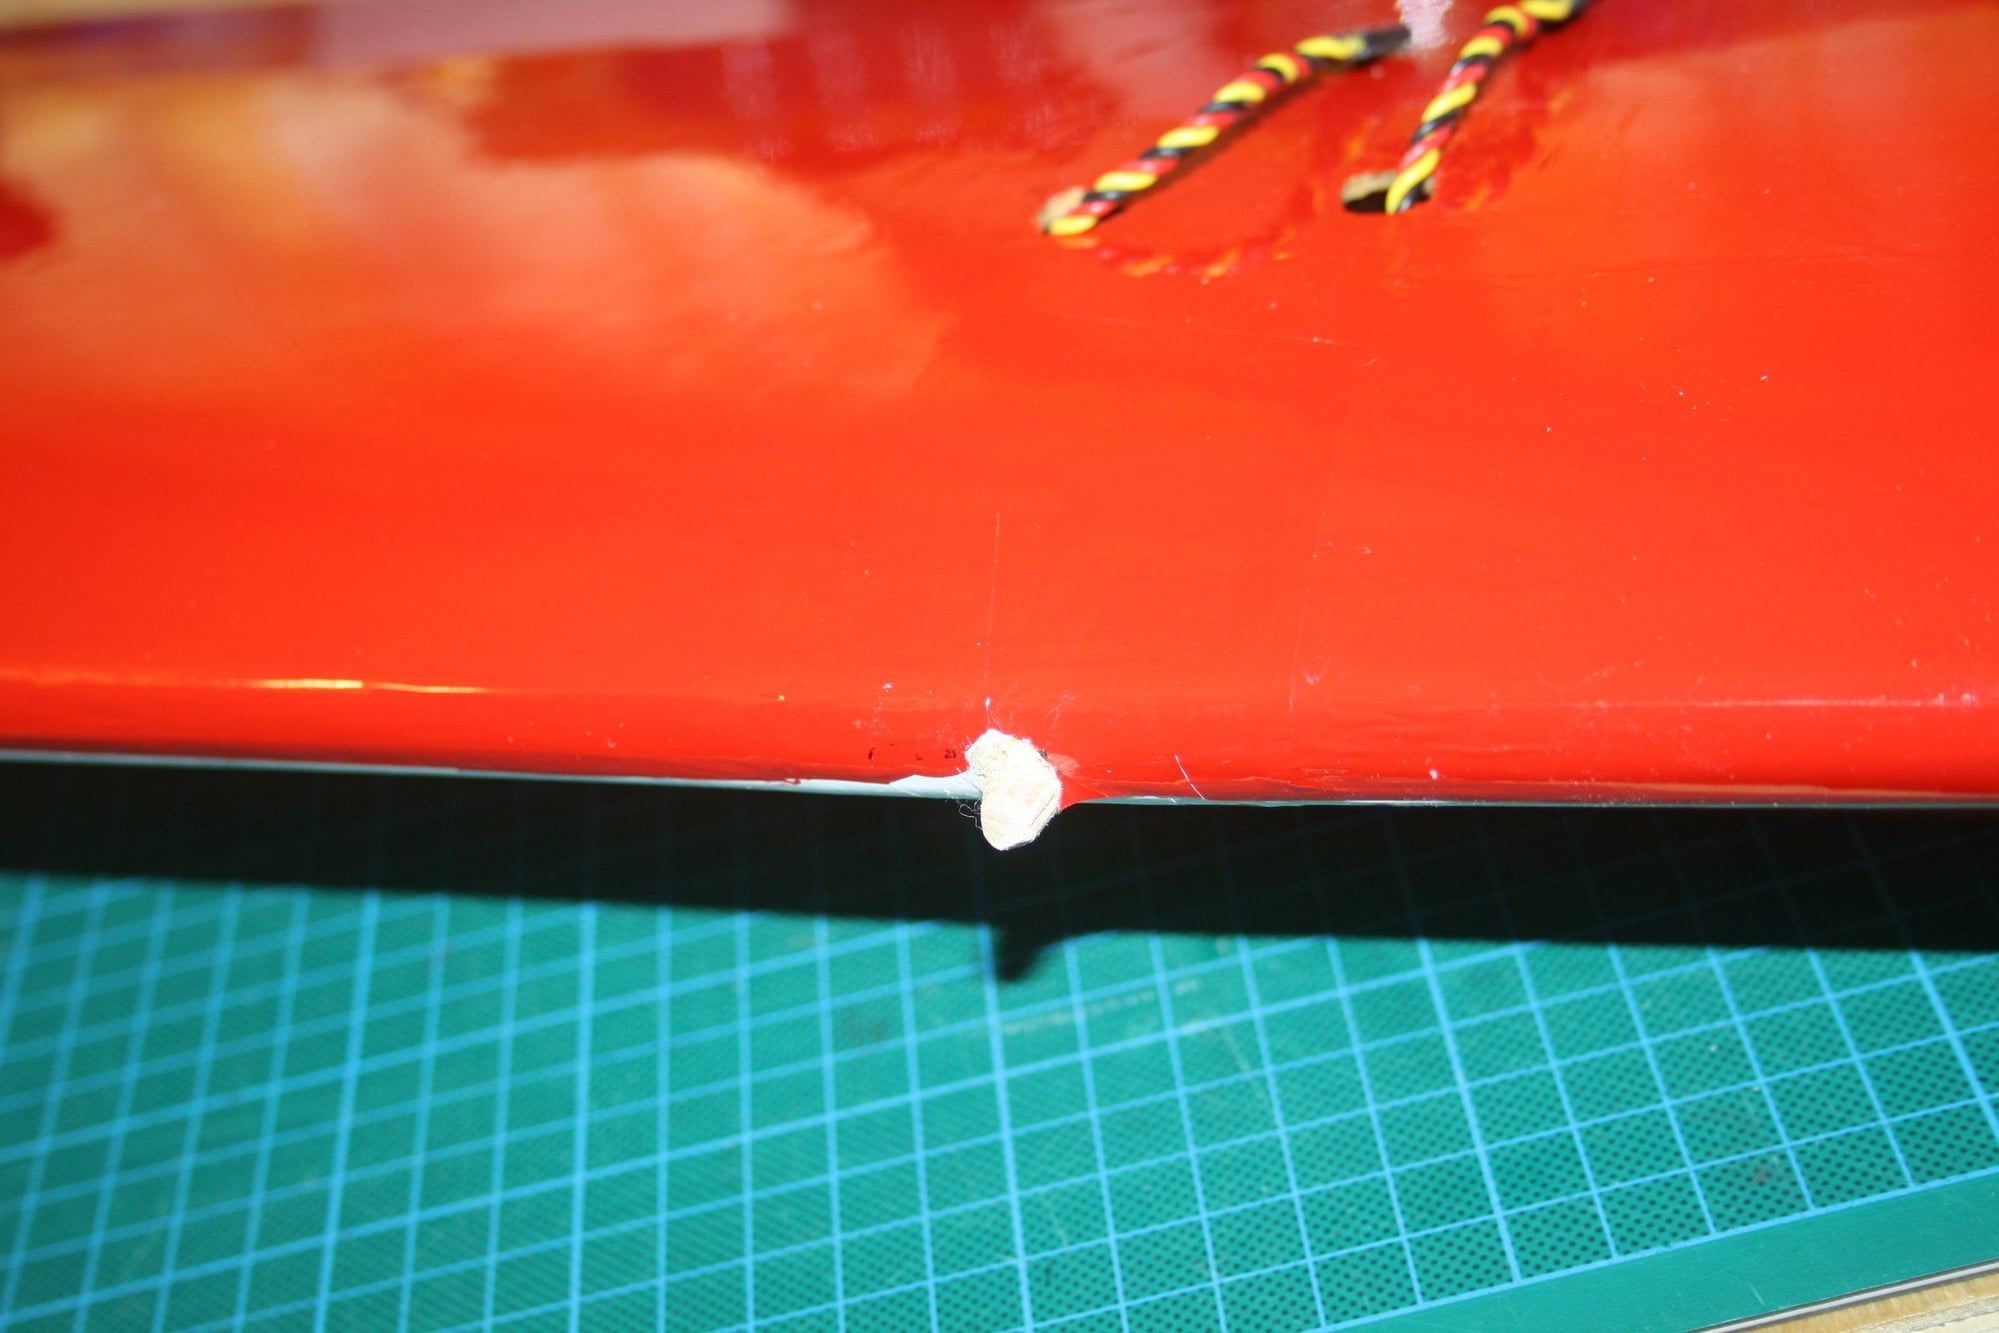
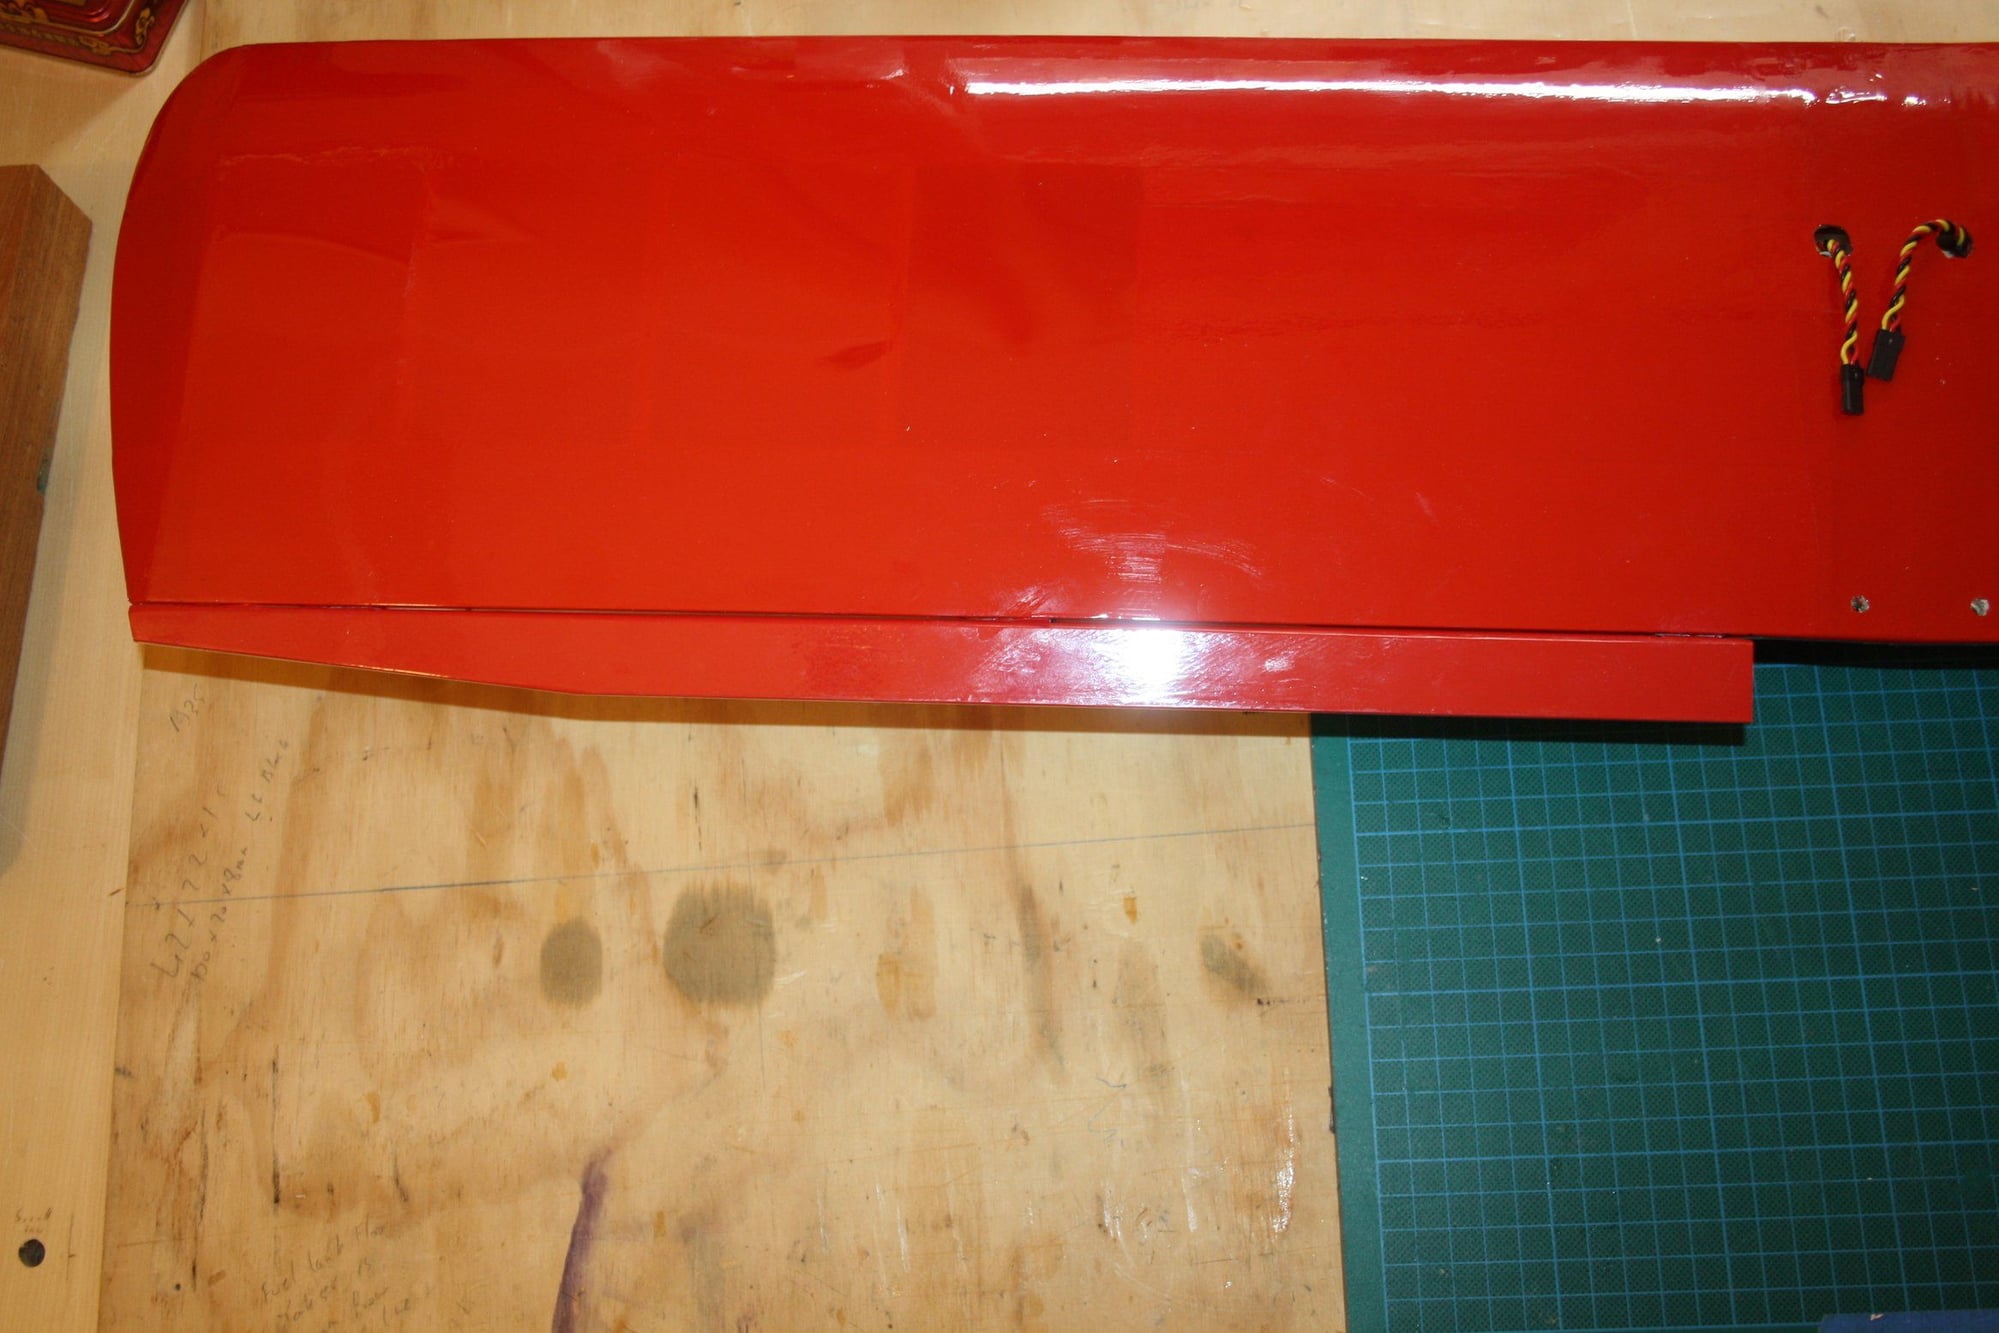
I decided to seal the gap between the ailerons and the TE...
As I was doing this I noticed that there is a distinct colour difference between the two Monokote rolls I was using (one is new and one is a bit older). Too late now...
Eran
As I was doing this I noticed that there is a distinct colour difference between the two Monokote rolls I was using (one is new and one is a bit older). Too late now...
Eran
08-22-2018, 02:04 AM
#68
Thread Starter
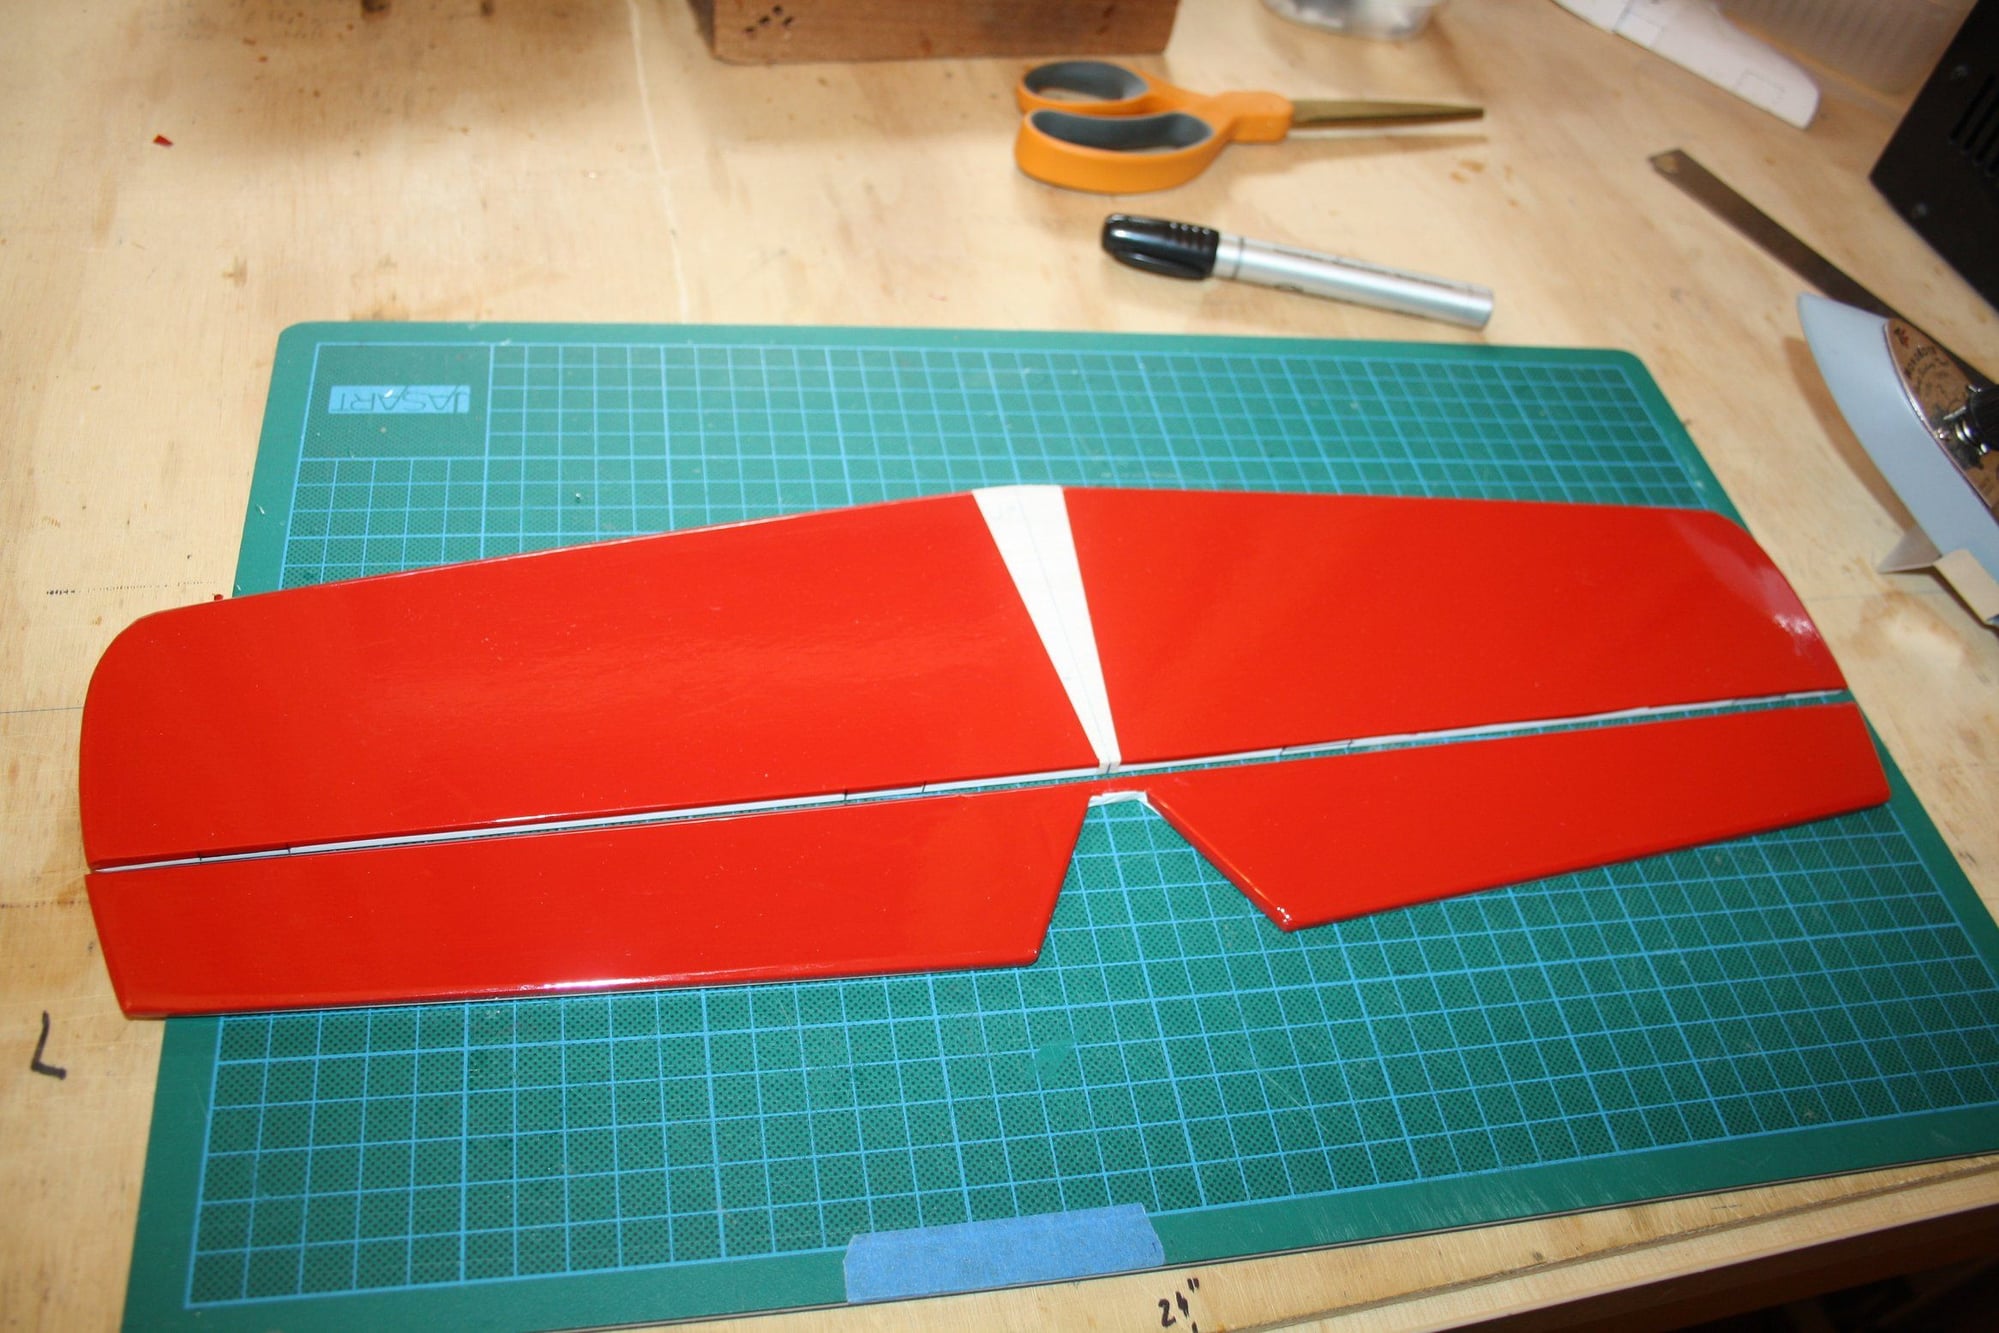
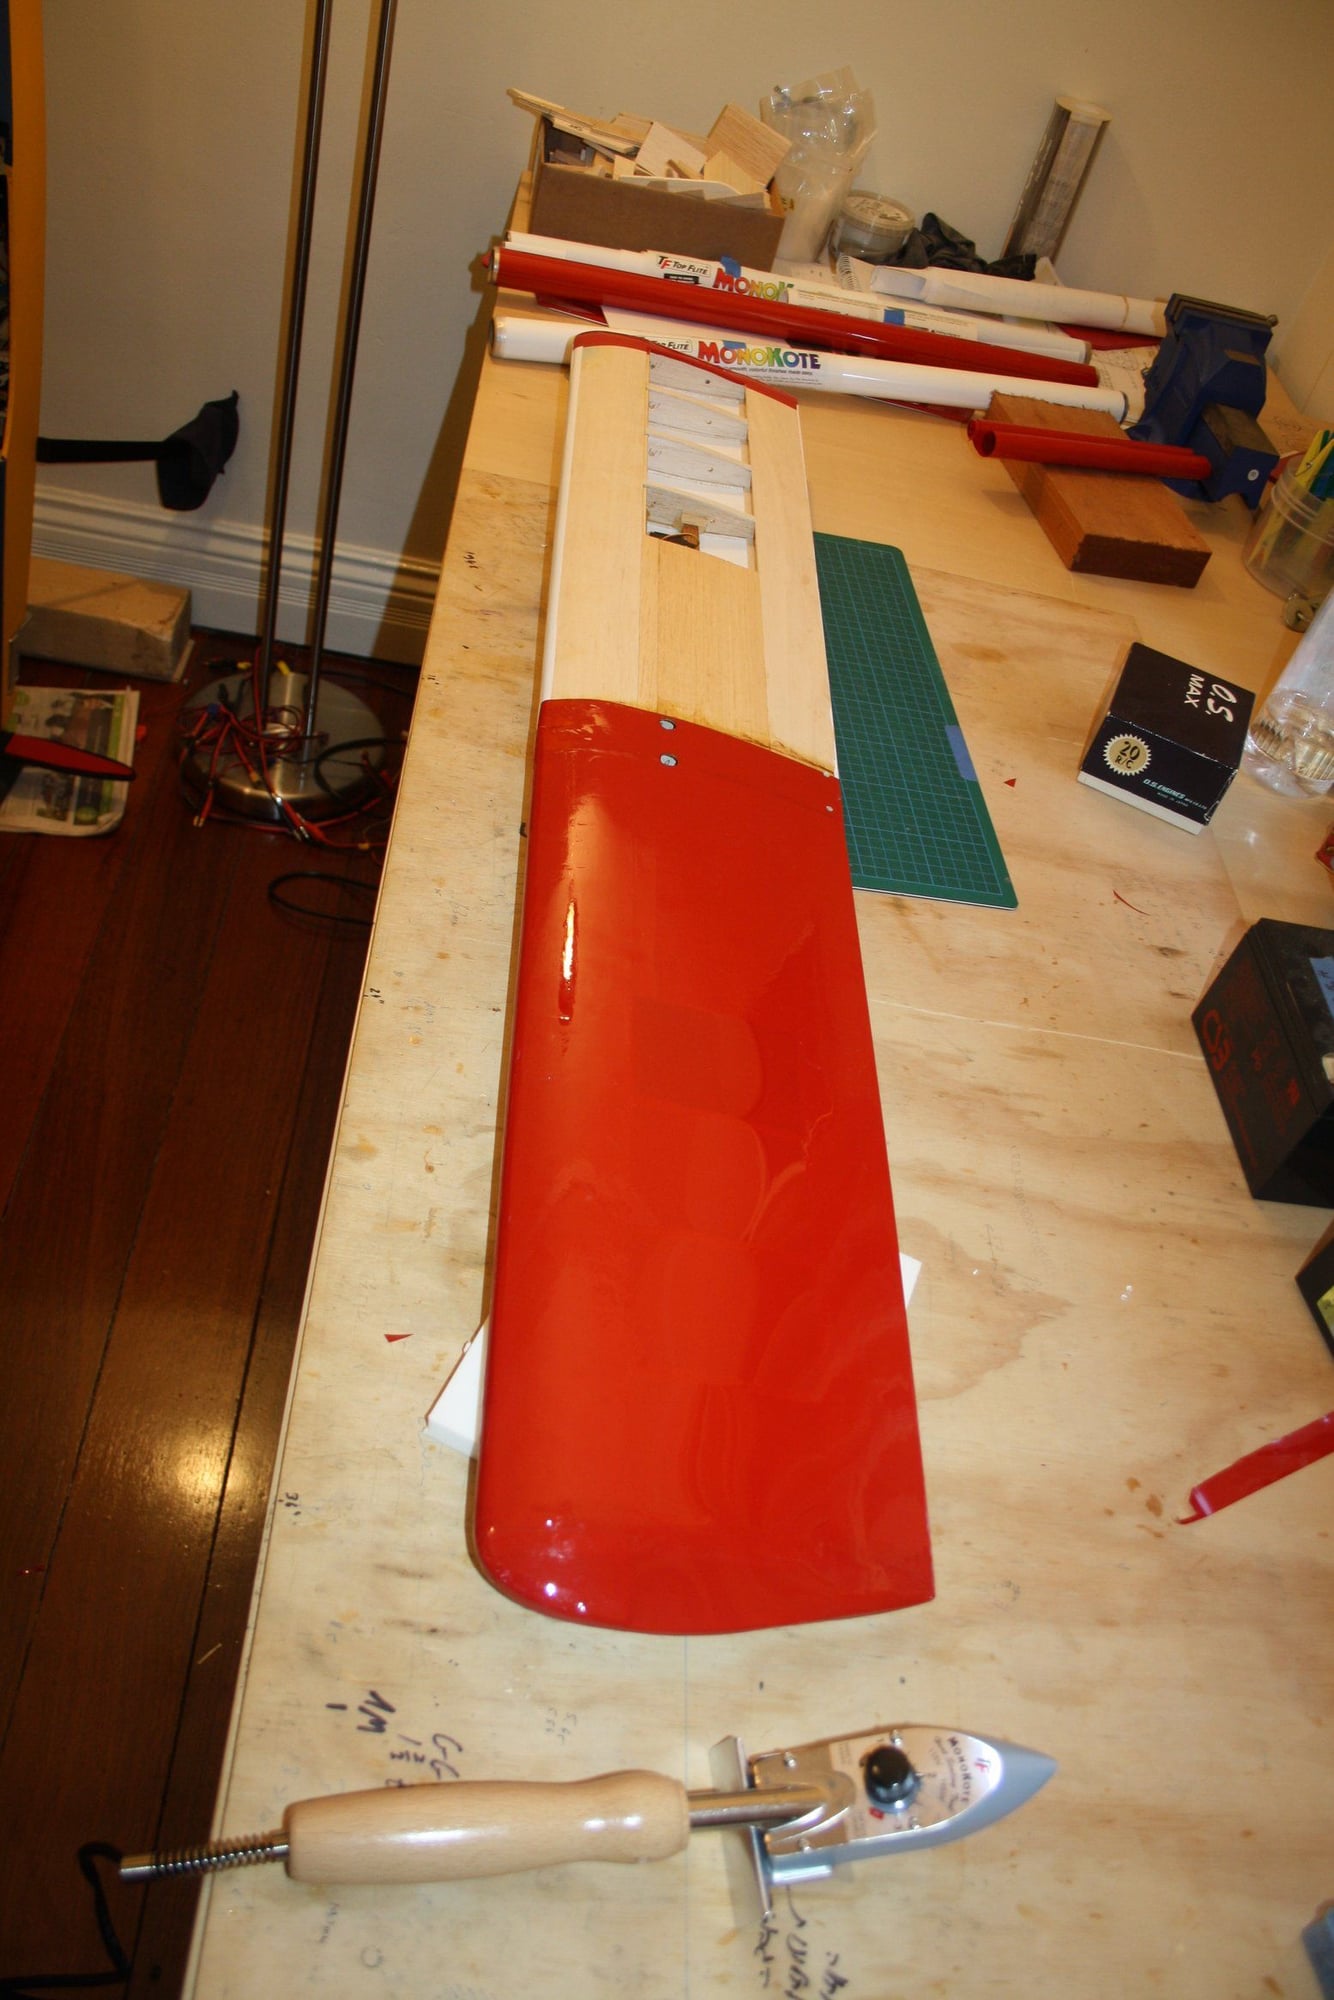
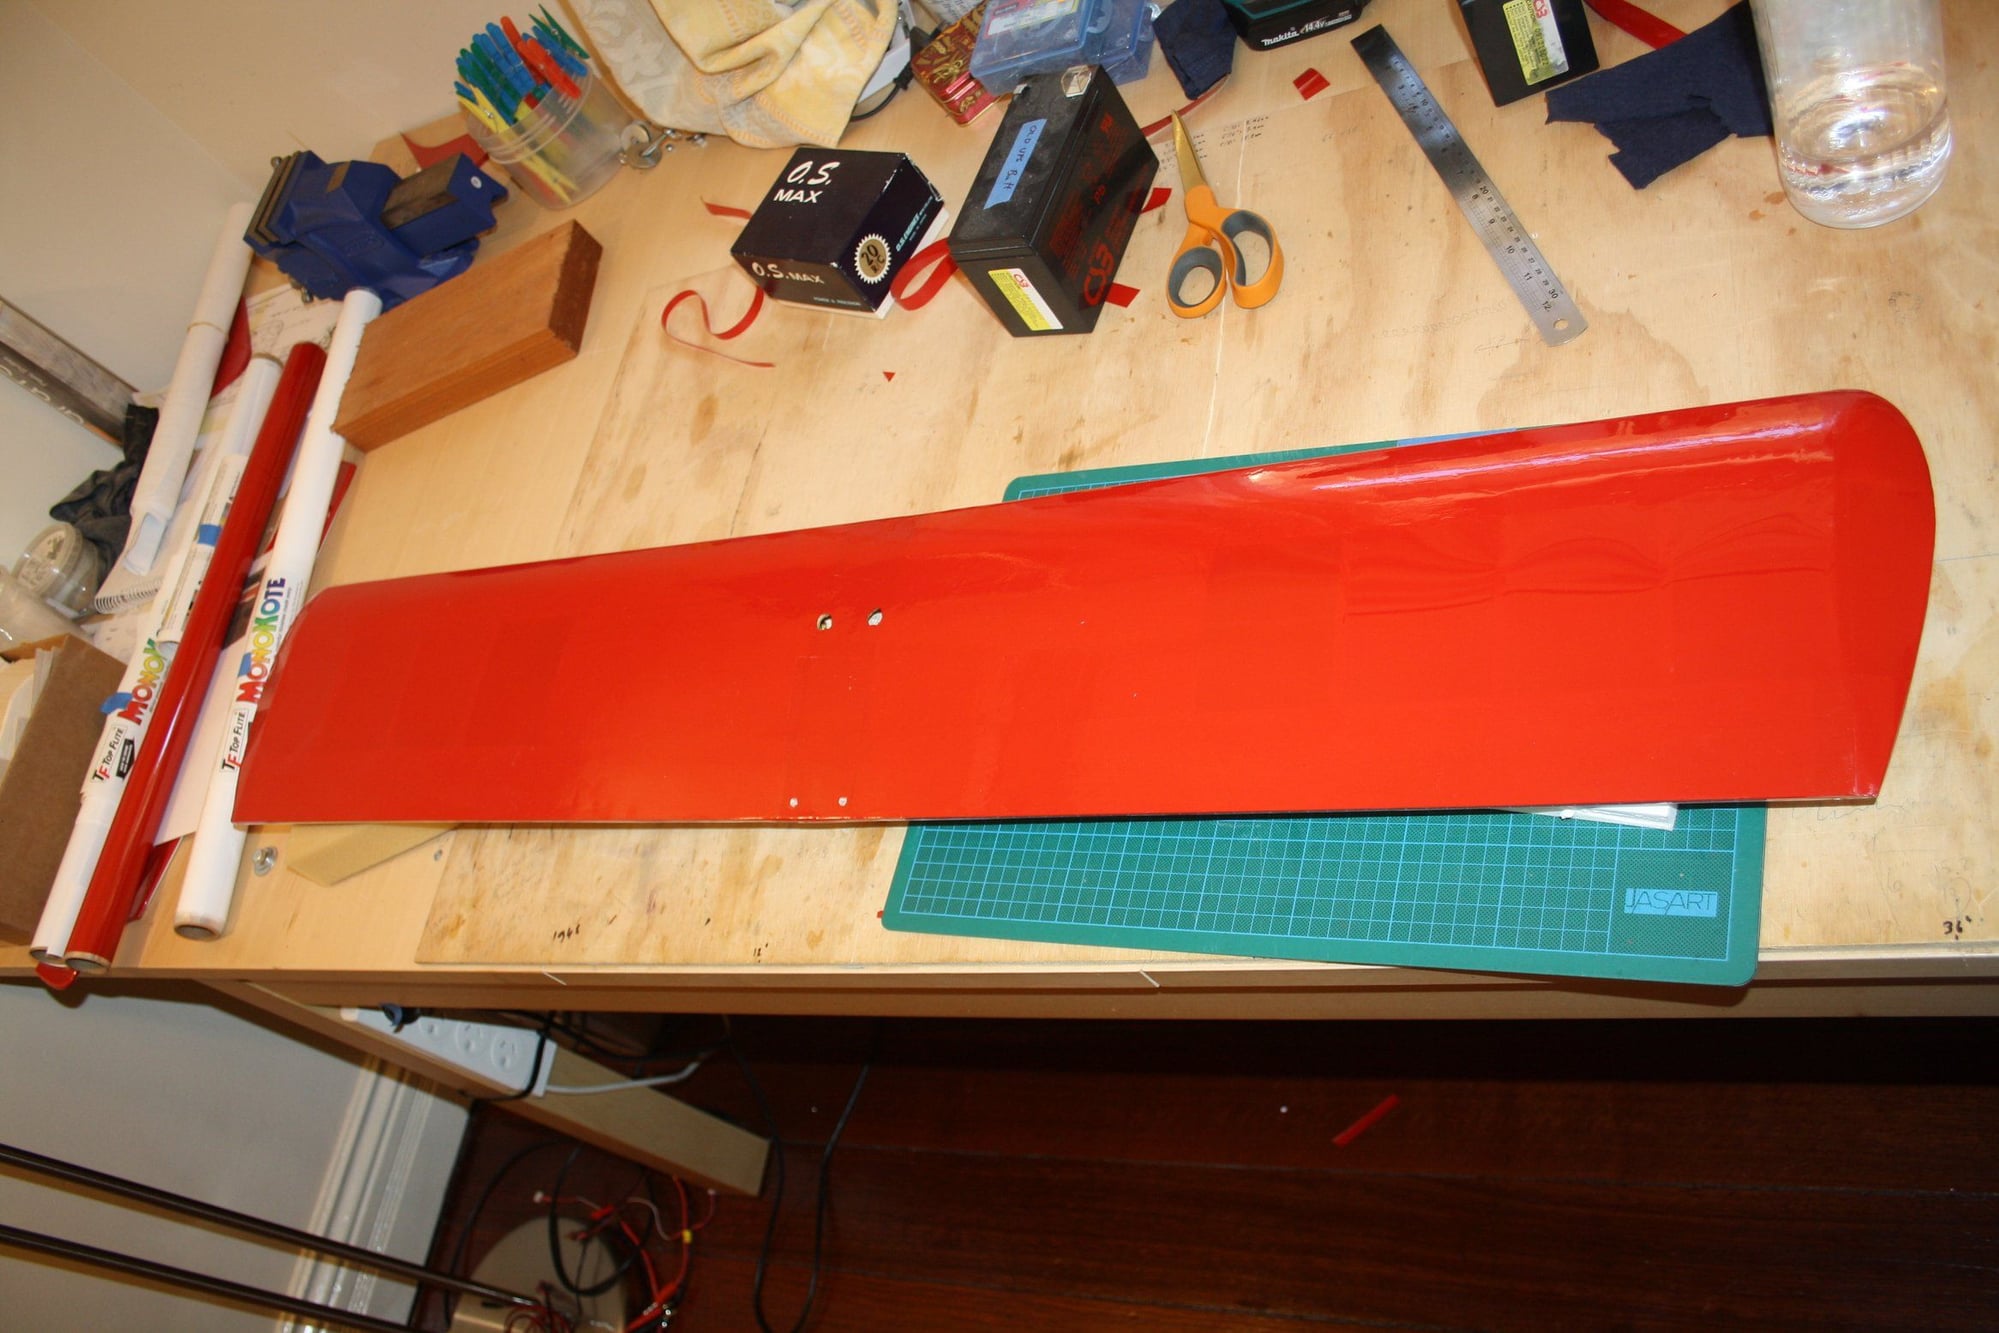
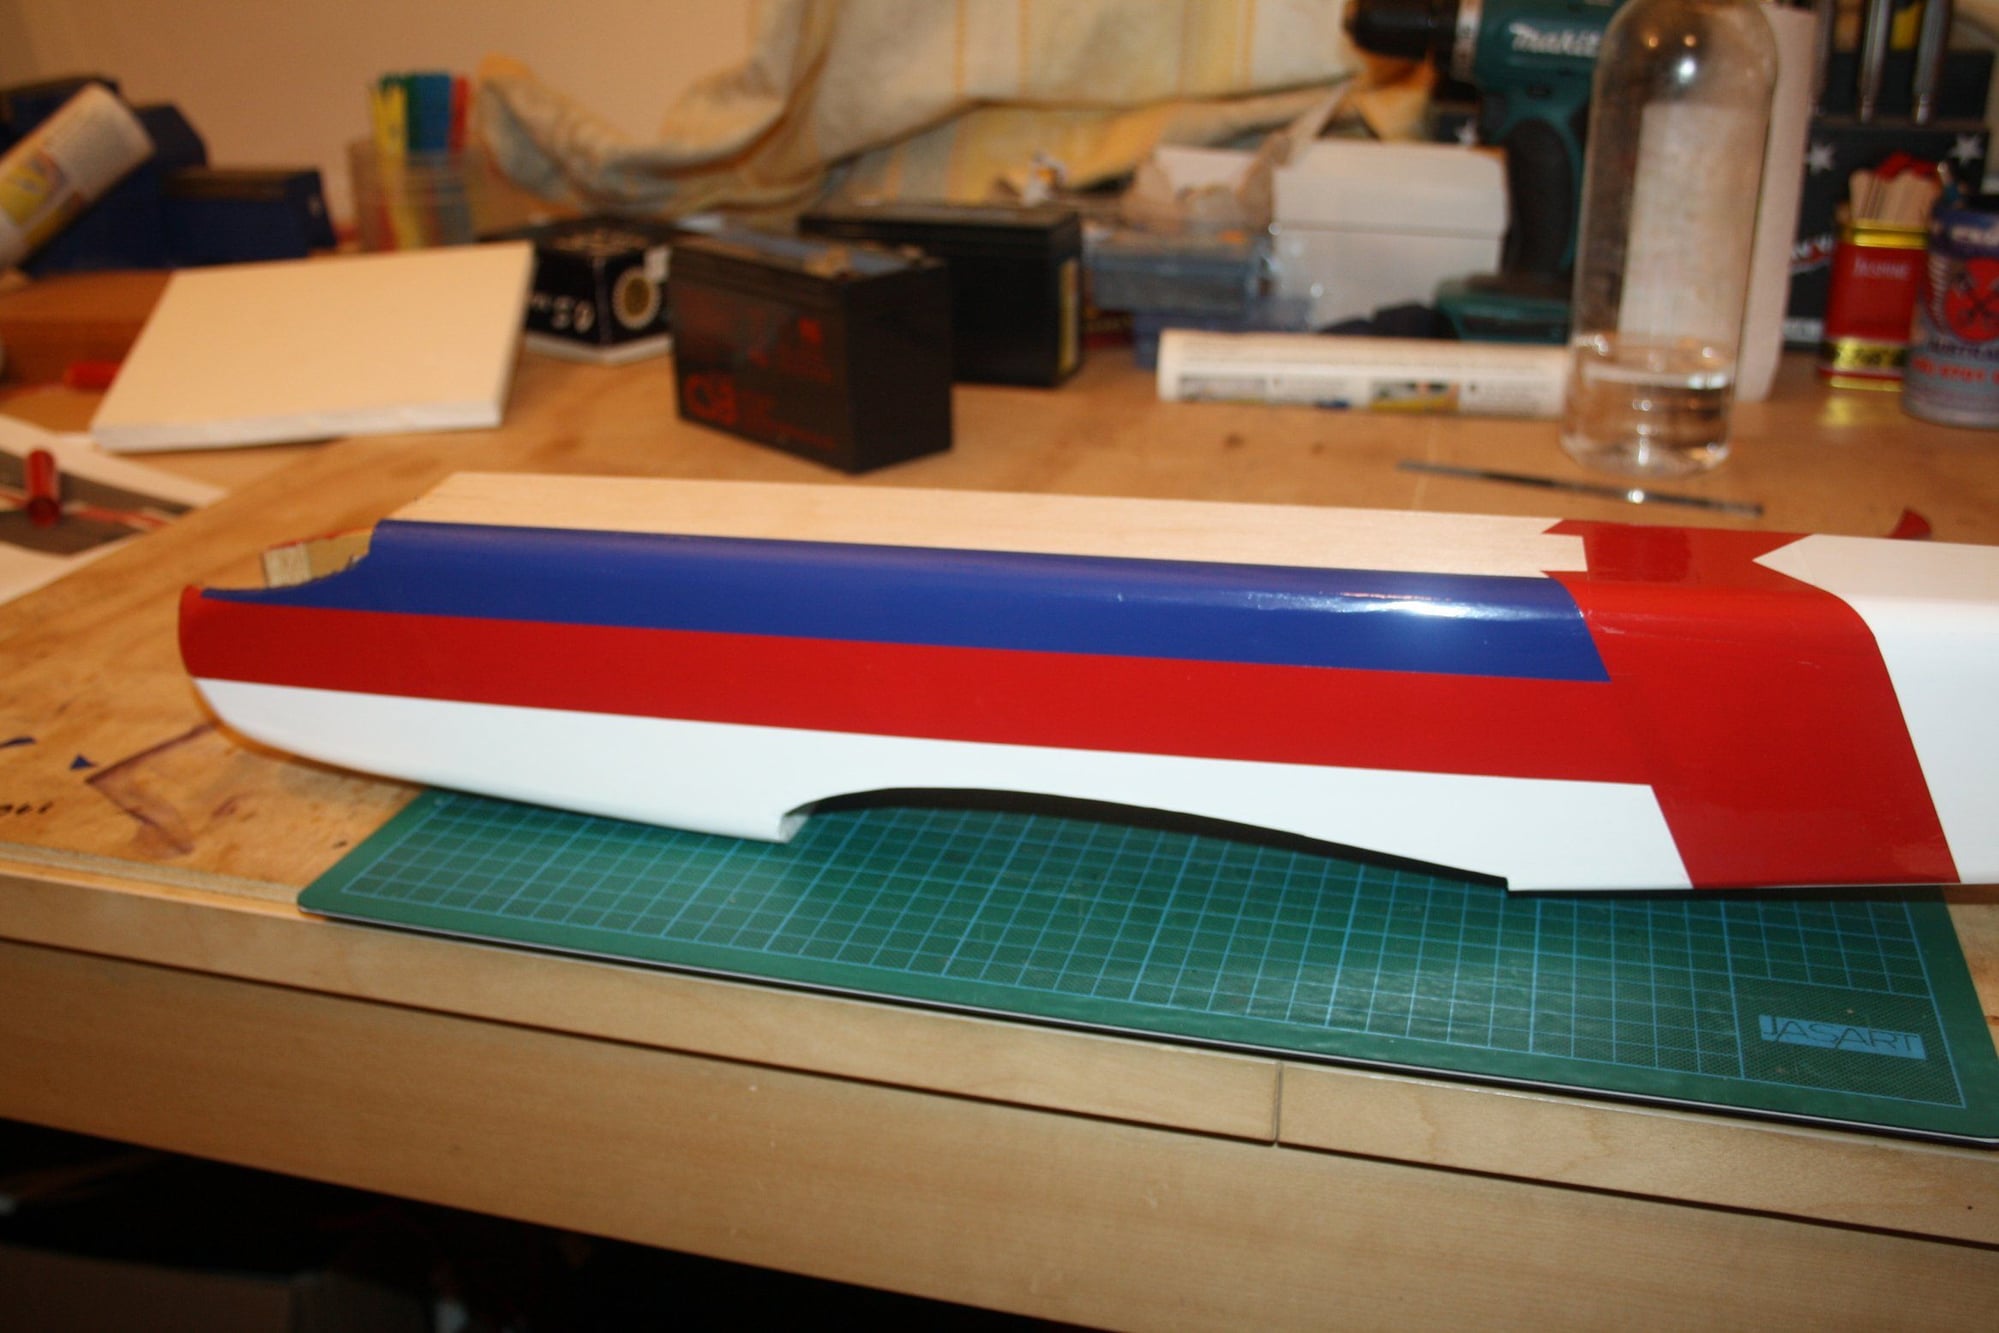
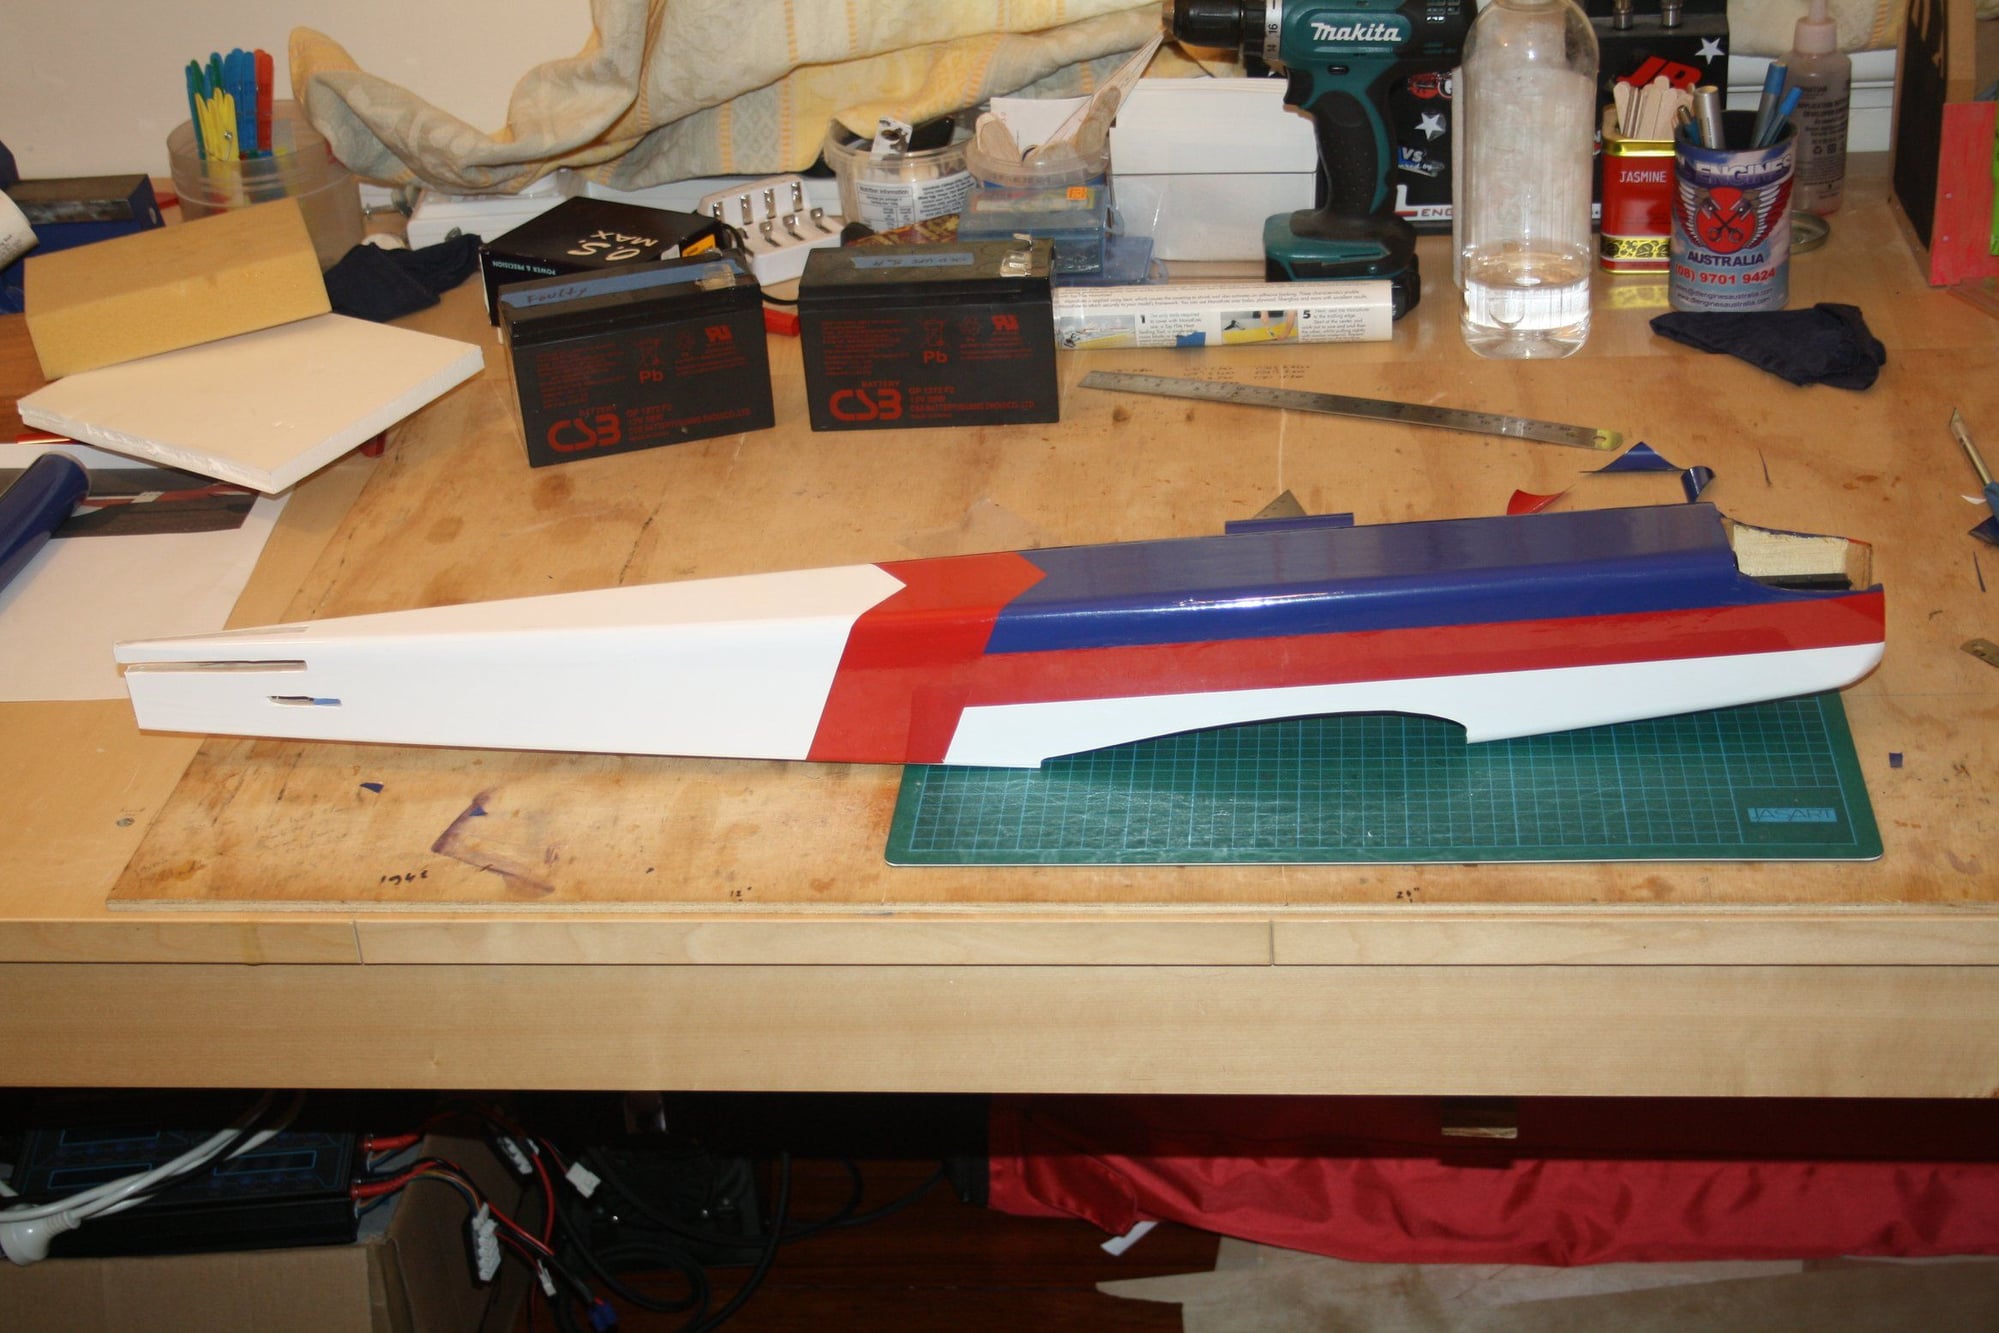
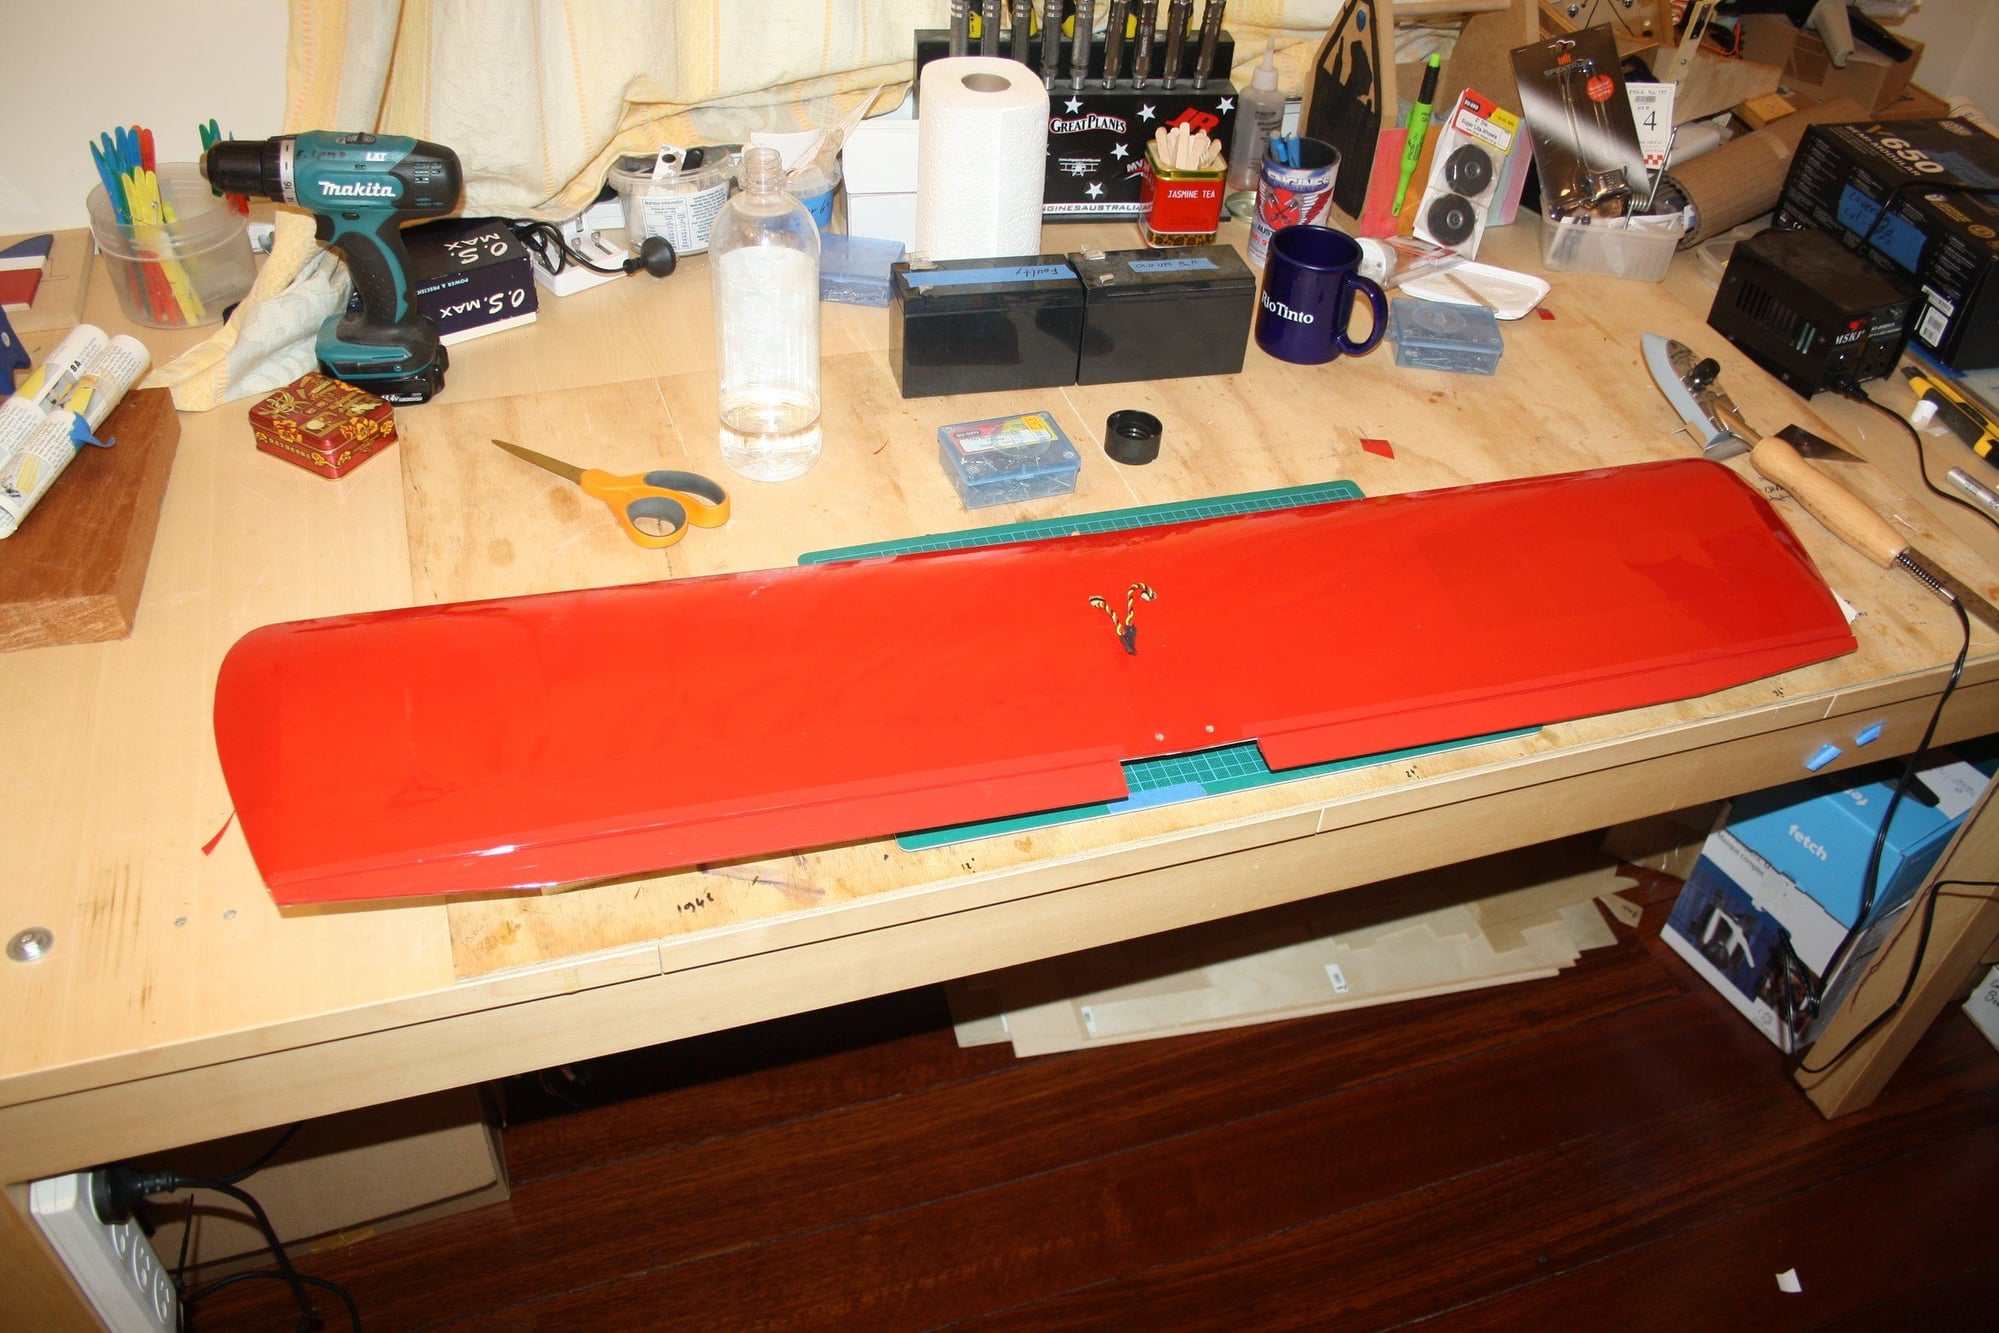
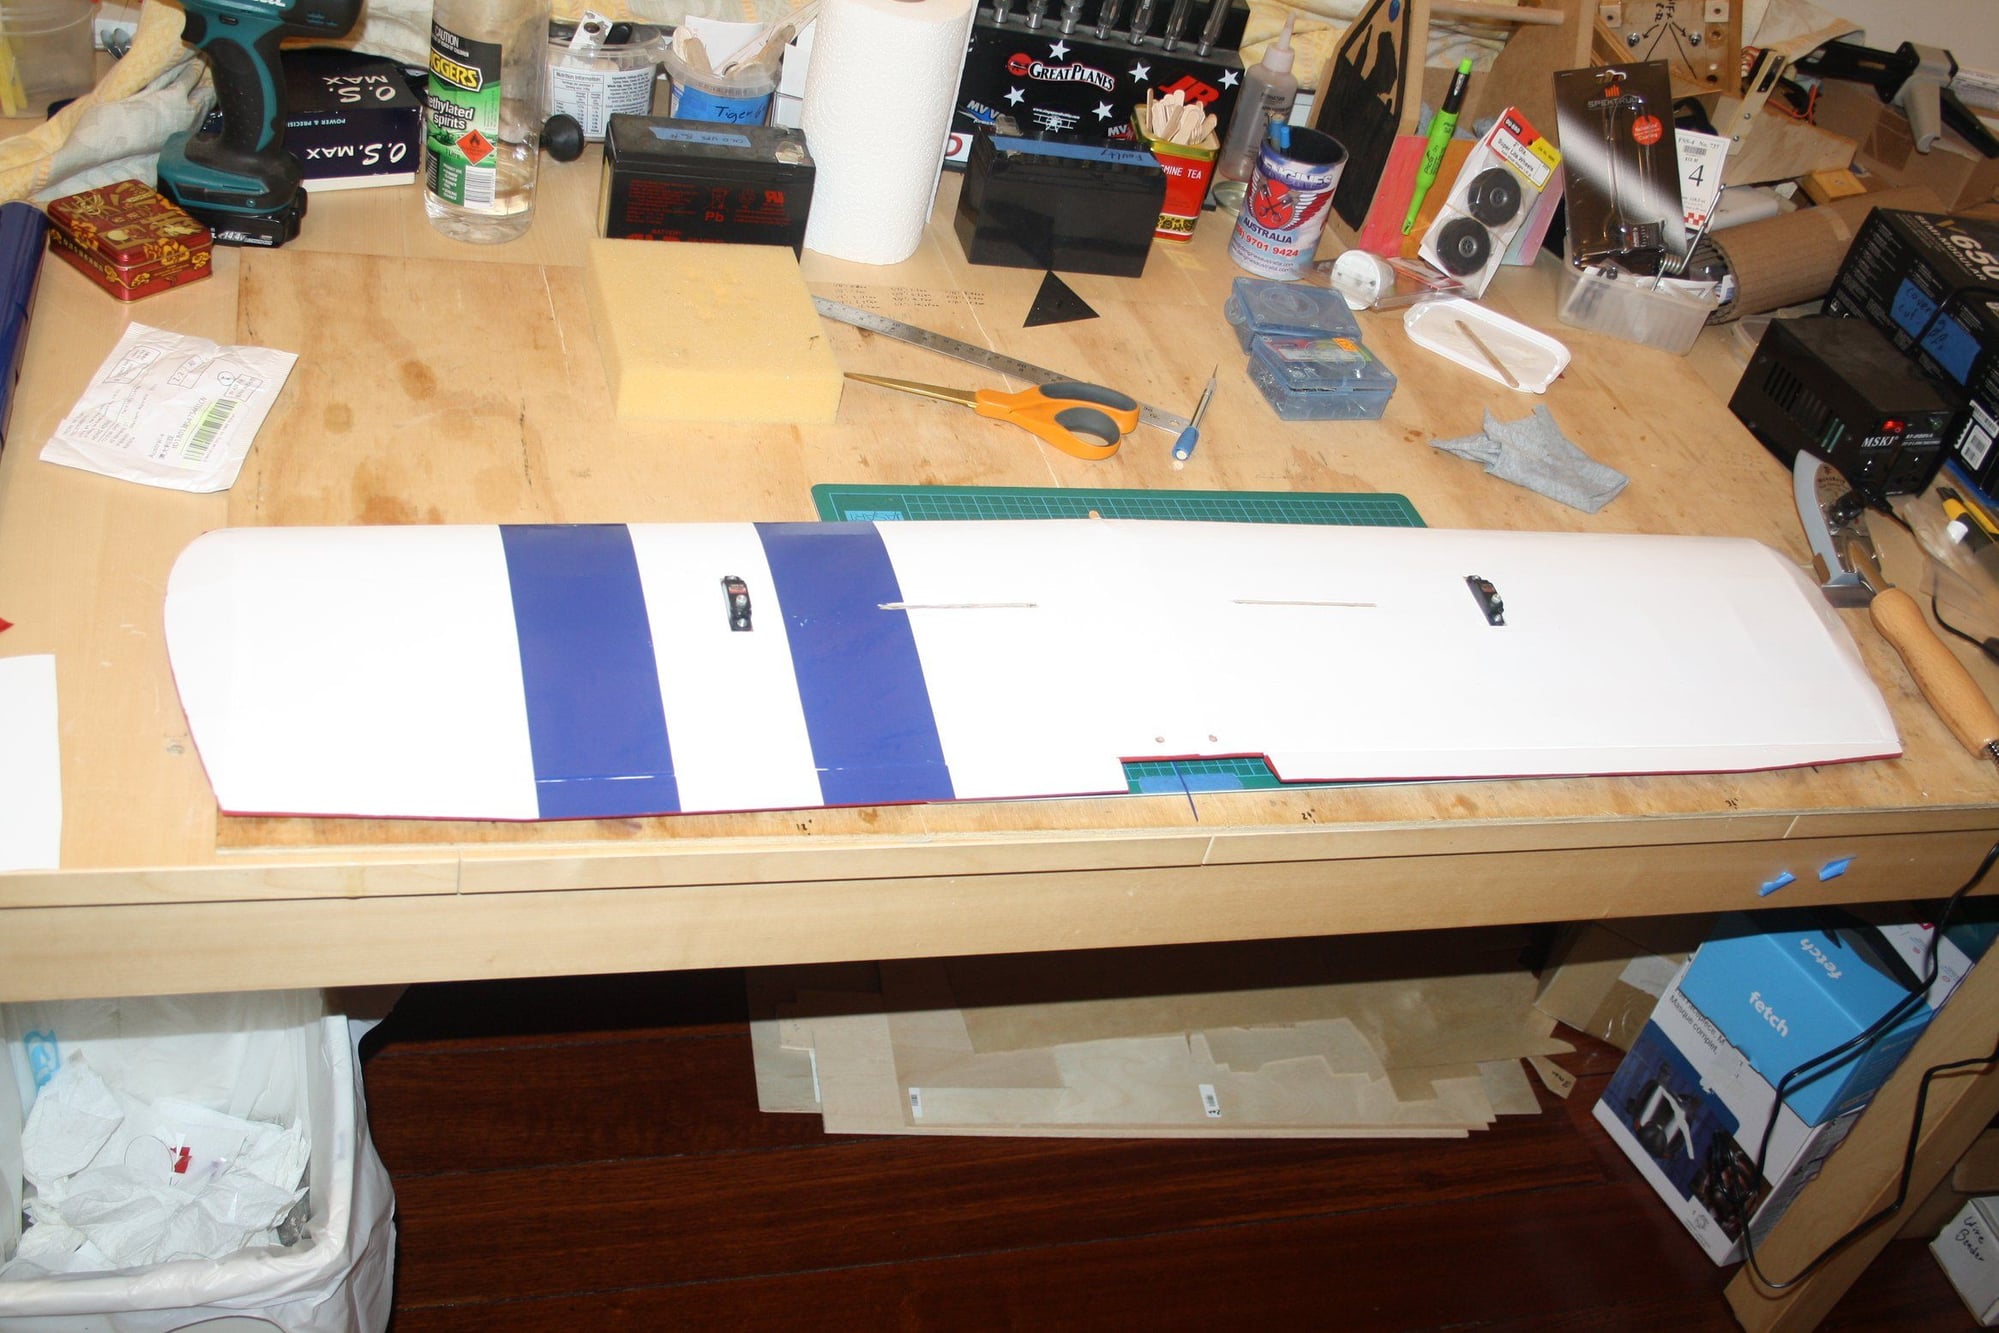
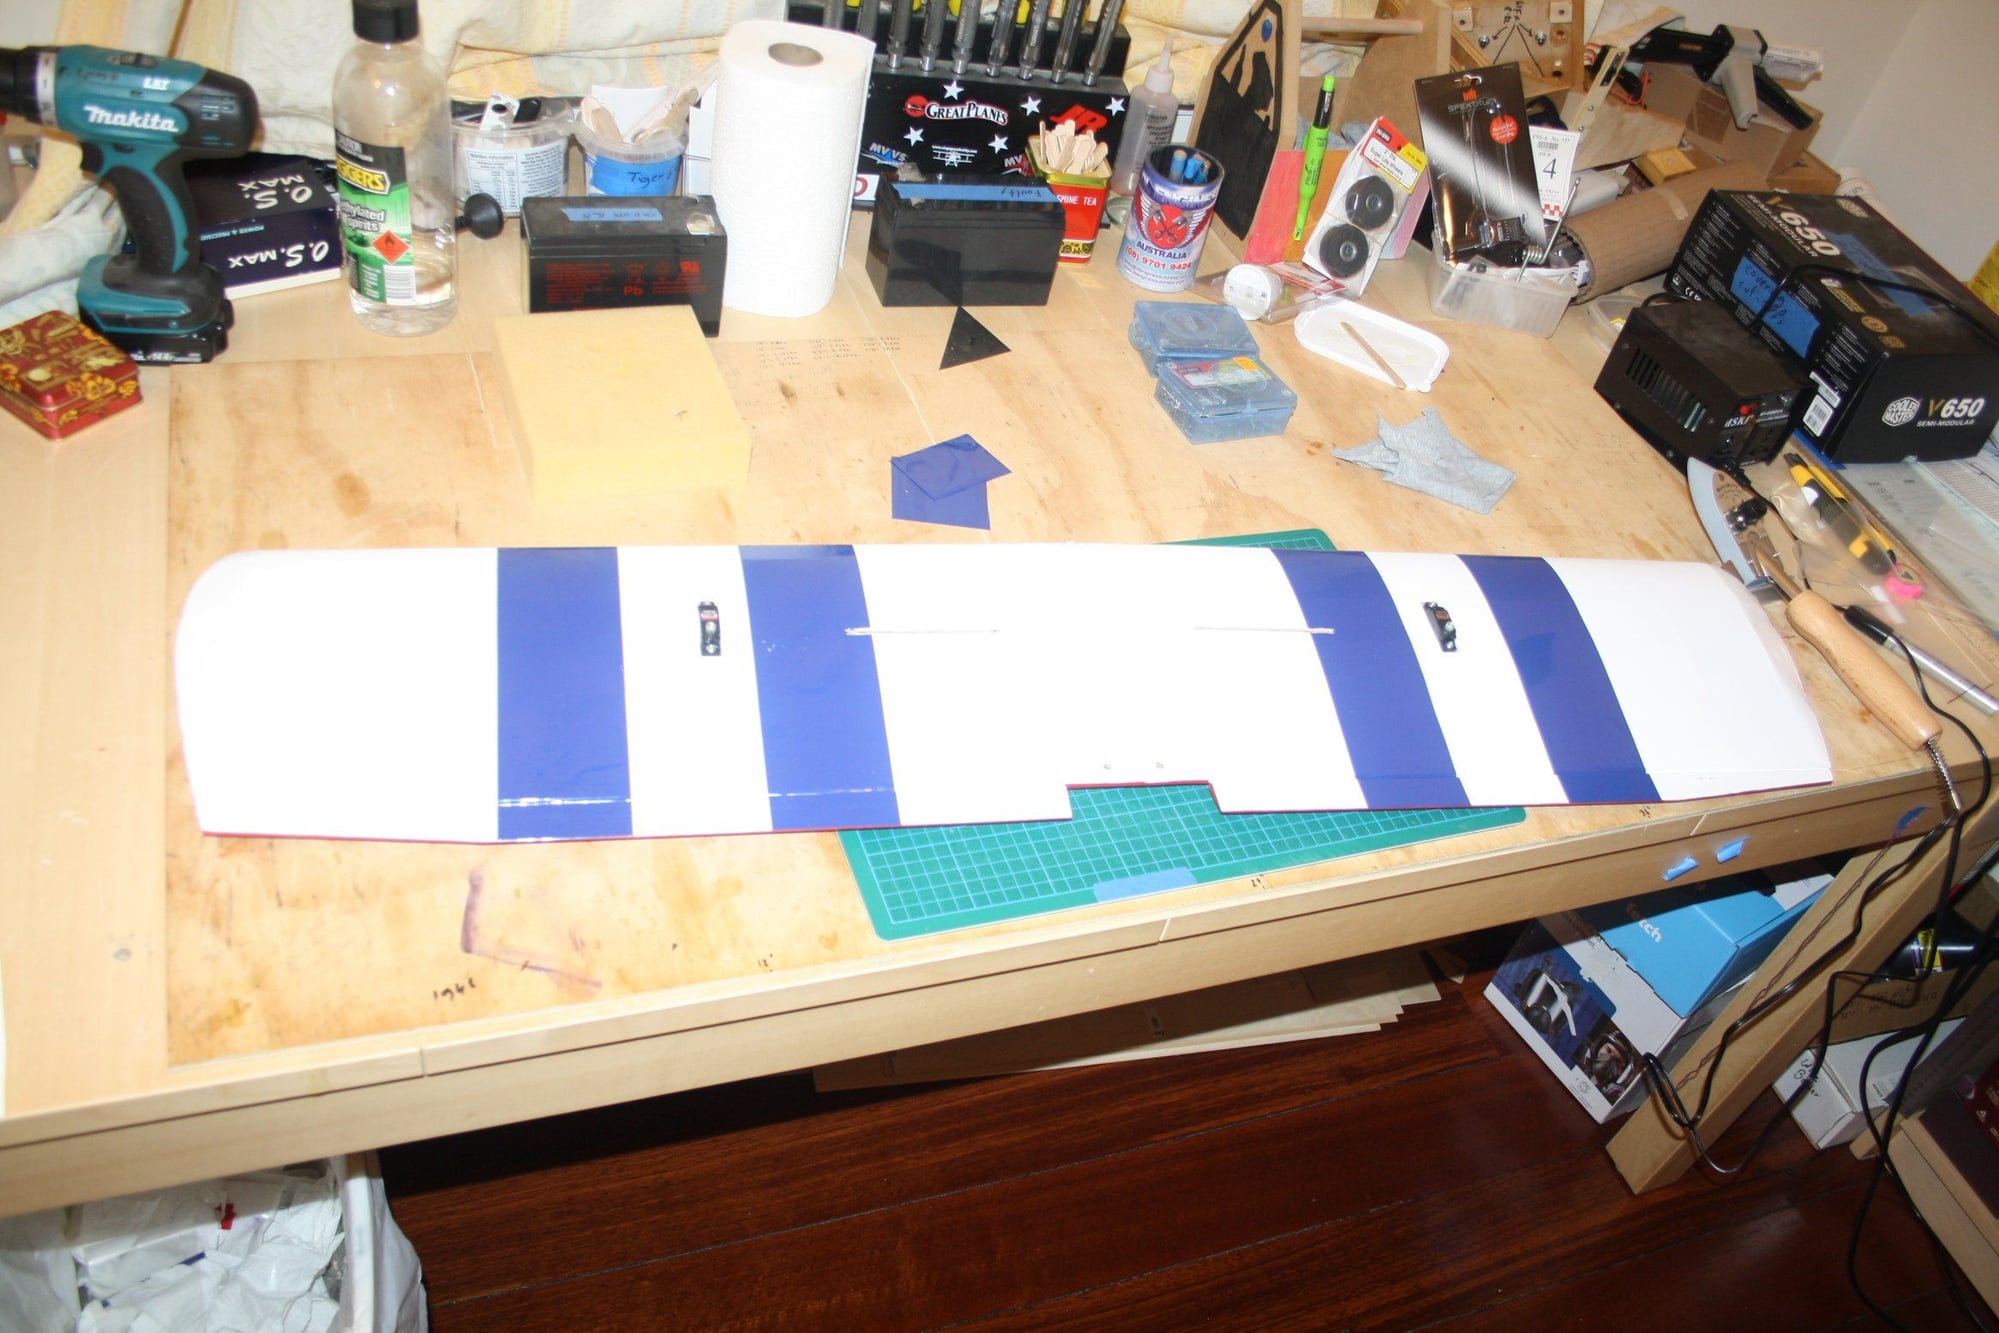
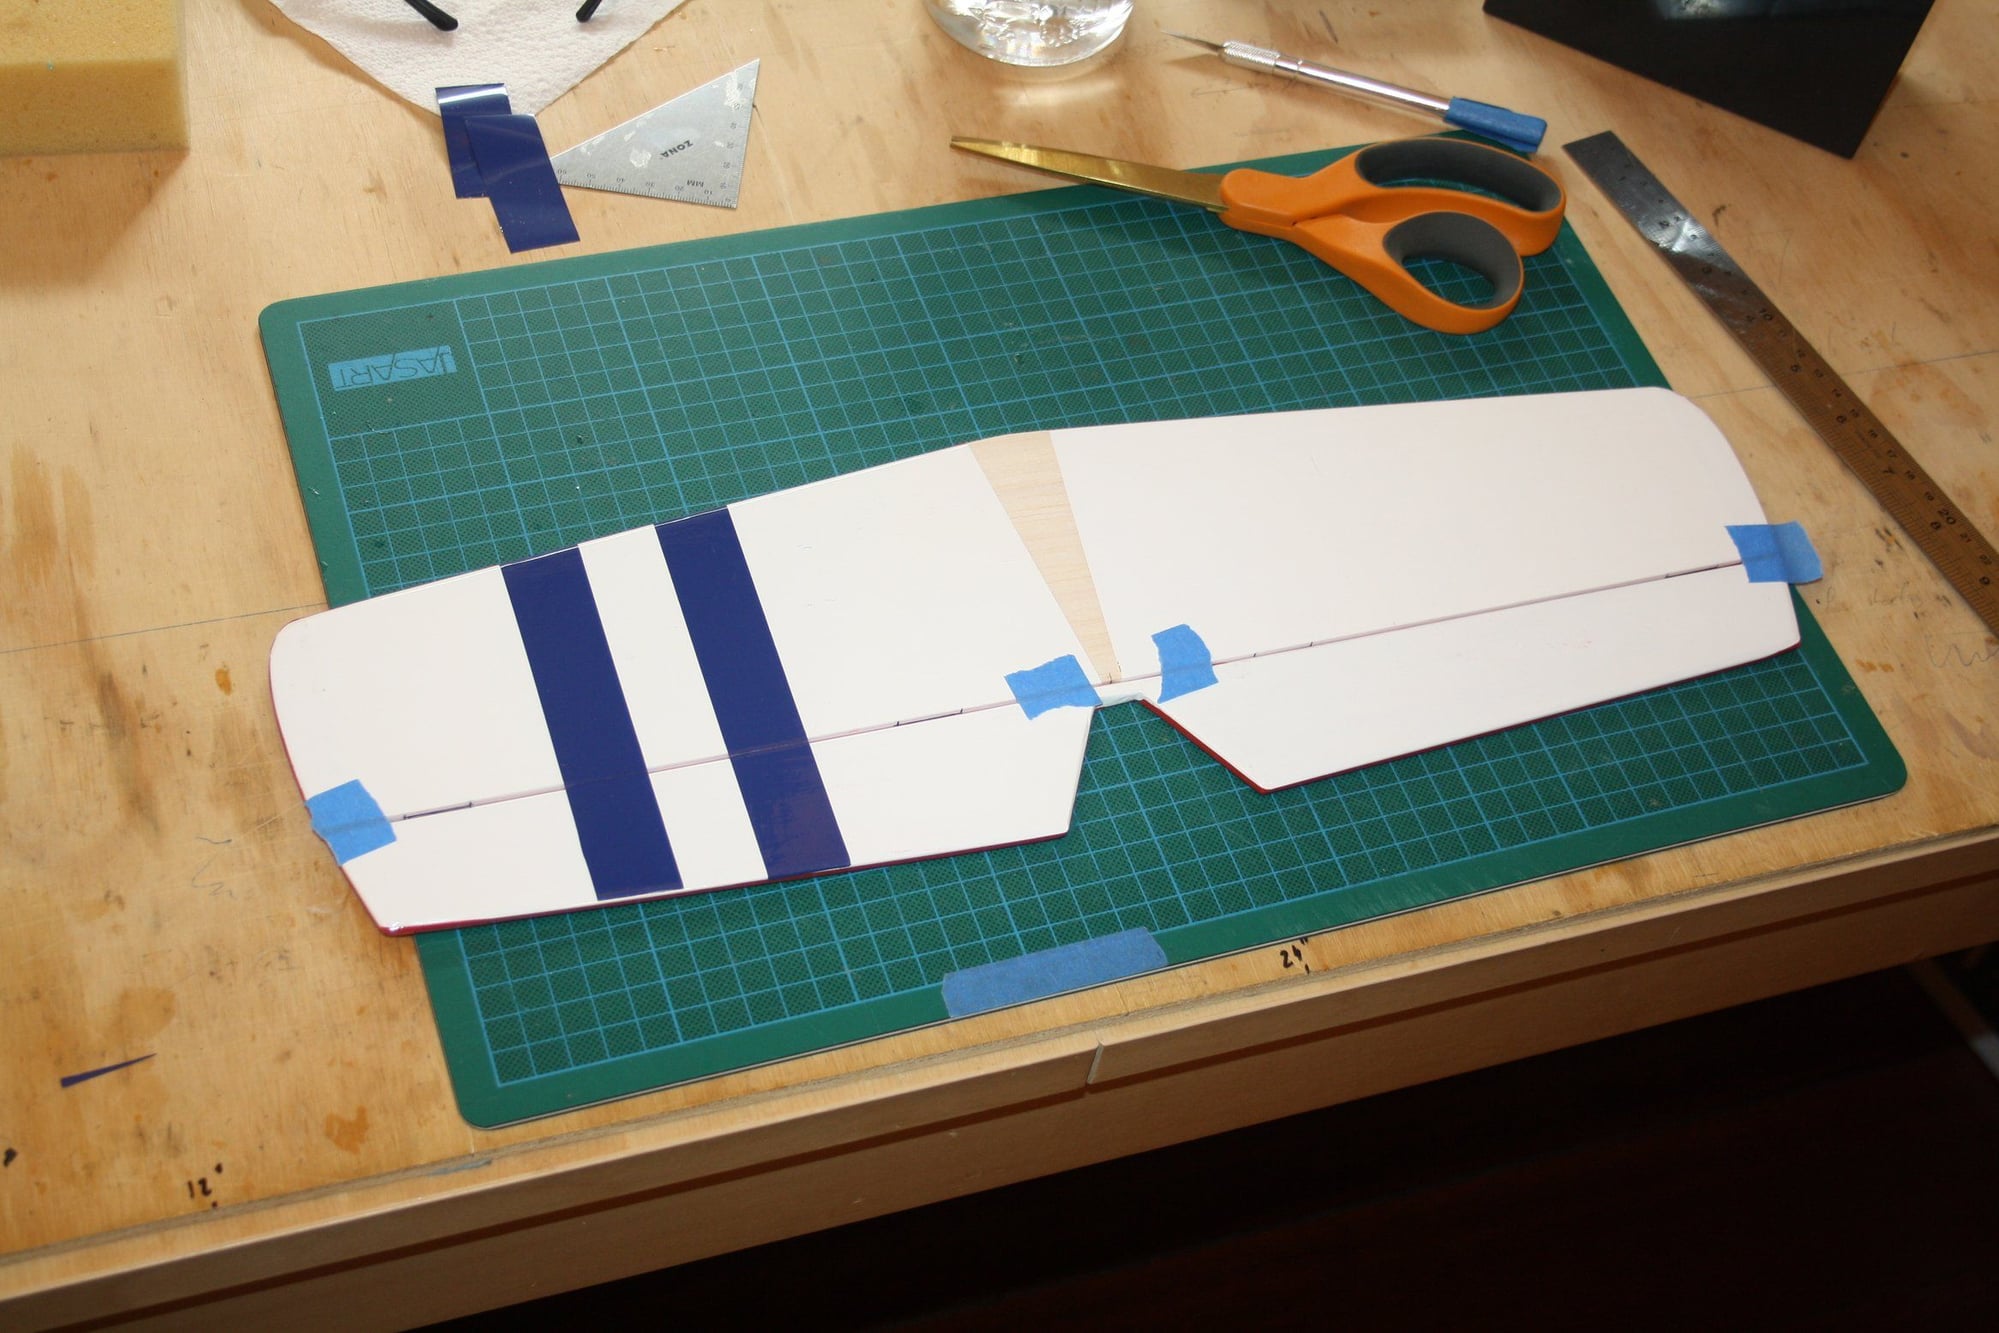
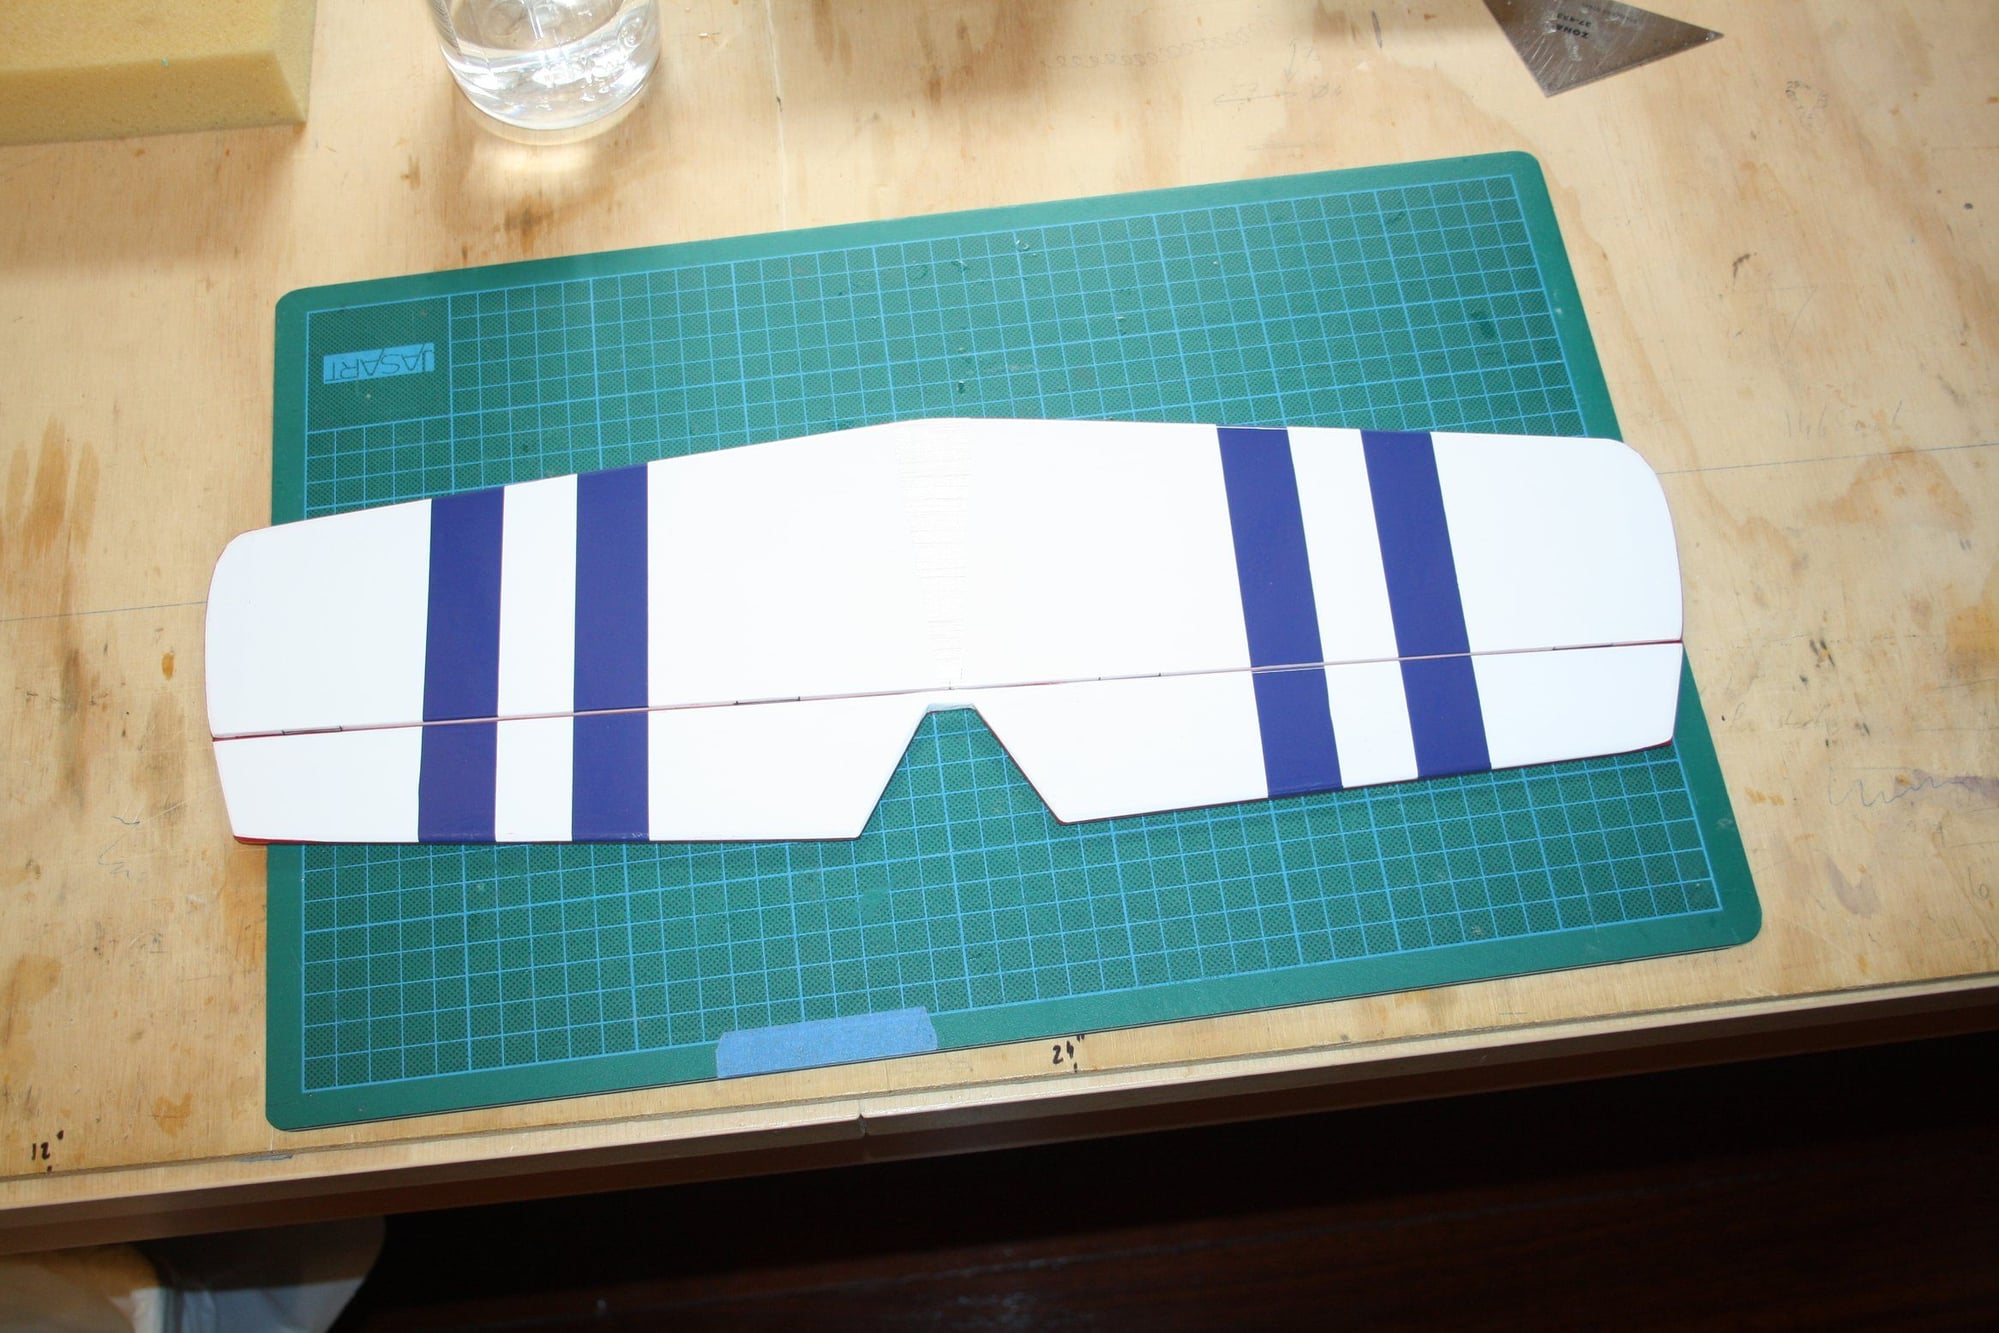
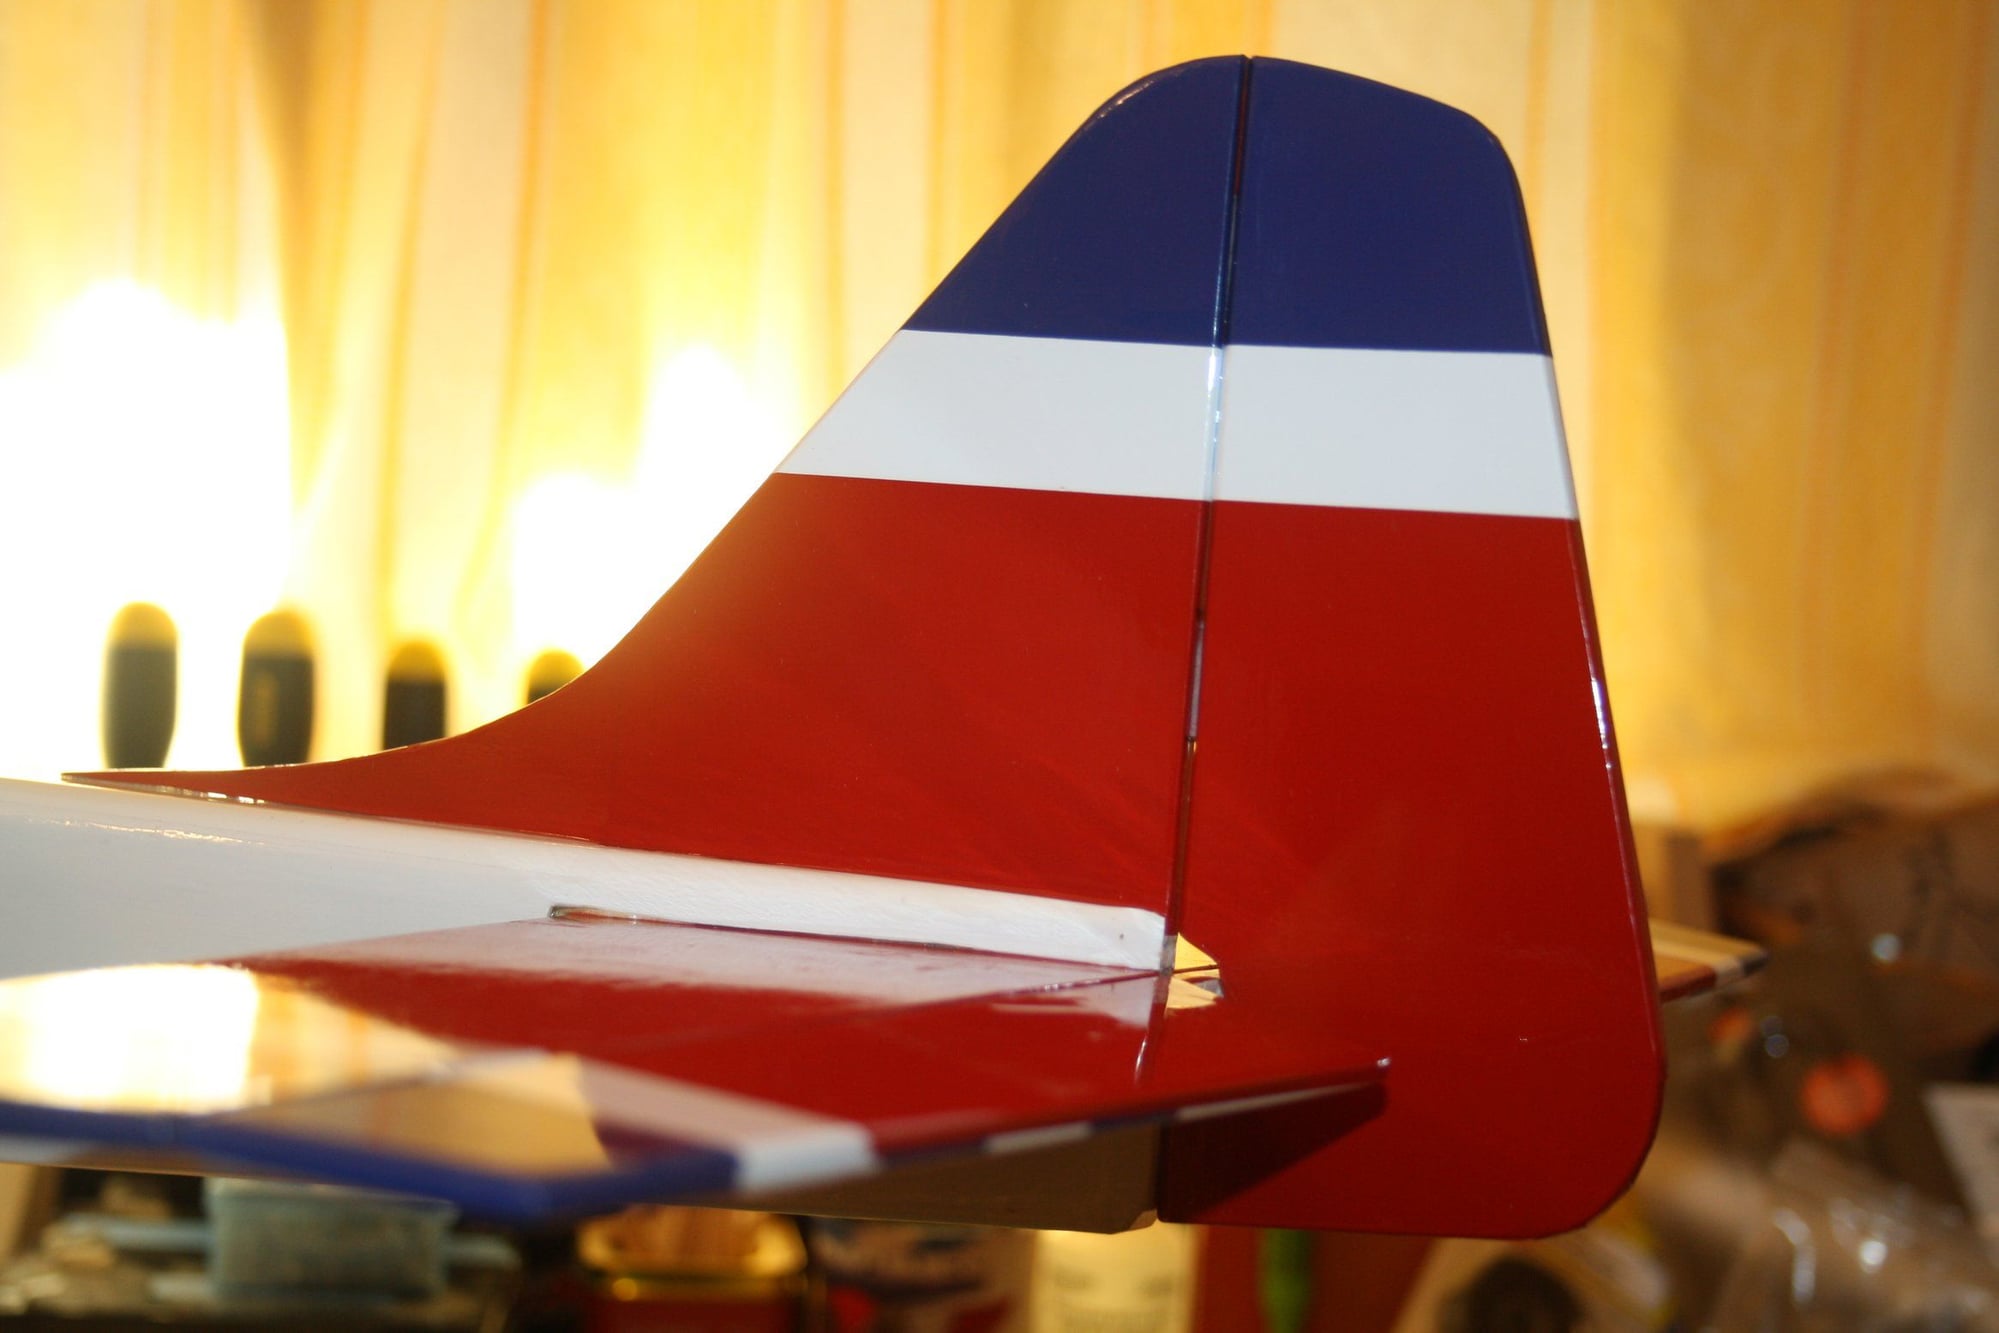
It was time to apply the trim colours to the covering in preparation to attached the tail sections to the fuselage.
The wing blue trim is the same dark blue as on the tail. It didn't came out properly in the photo.
Eran

The wing blue trim is the same dark blue as on the tail. It didn't came out properly in the photo.
Eran
08-22-2018, 03:32 AM
#69
Looking good. What is your technique when applying the gap seals? I like that look. I would not worry about the slight color difference. It will not be noticed from a few feet away.
08-22-2018, 04:22 AM
#70
Thread Starter
ETpilot - There is nothing special about the method I used in this case. I cut the length of Monokote to match the aileron length plus couple of centimetres which were trimmed at the end of the process. The width was such that it will provide good contact area on both sides of the gap and some "slack" for the hinge bevelled section.
Start with ironing the section next to the LE holding the aileron fully deflected away. Then, using the side 90 degree edge and tip of the iron, push into the bevelled section while still holding maximum deflection away. Finally, the easy "home run" of ironing the aileron side.
As to the colour difference, I figured out as I was packing that the Monokote rolls were not of the same red colour as I first thought...
Cheers,
Eran
08-24-2018, 07:24 PM
#72
Thread Starter
Some of the work I did over the last couple of days and forgot to post...
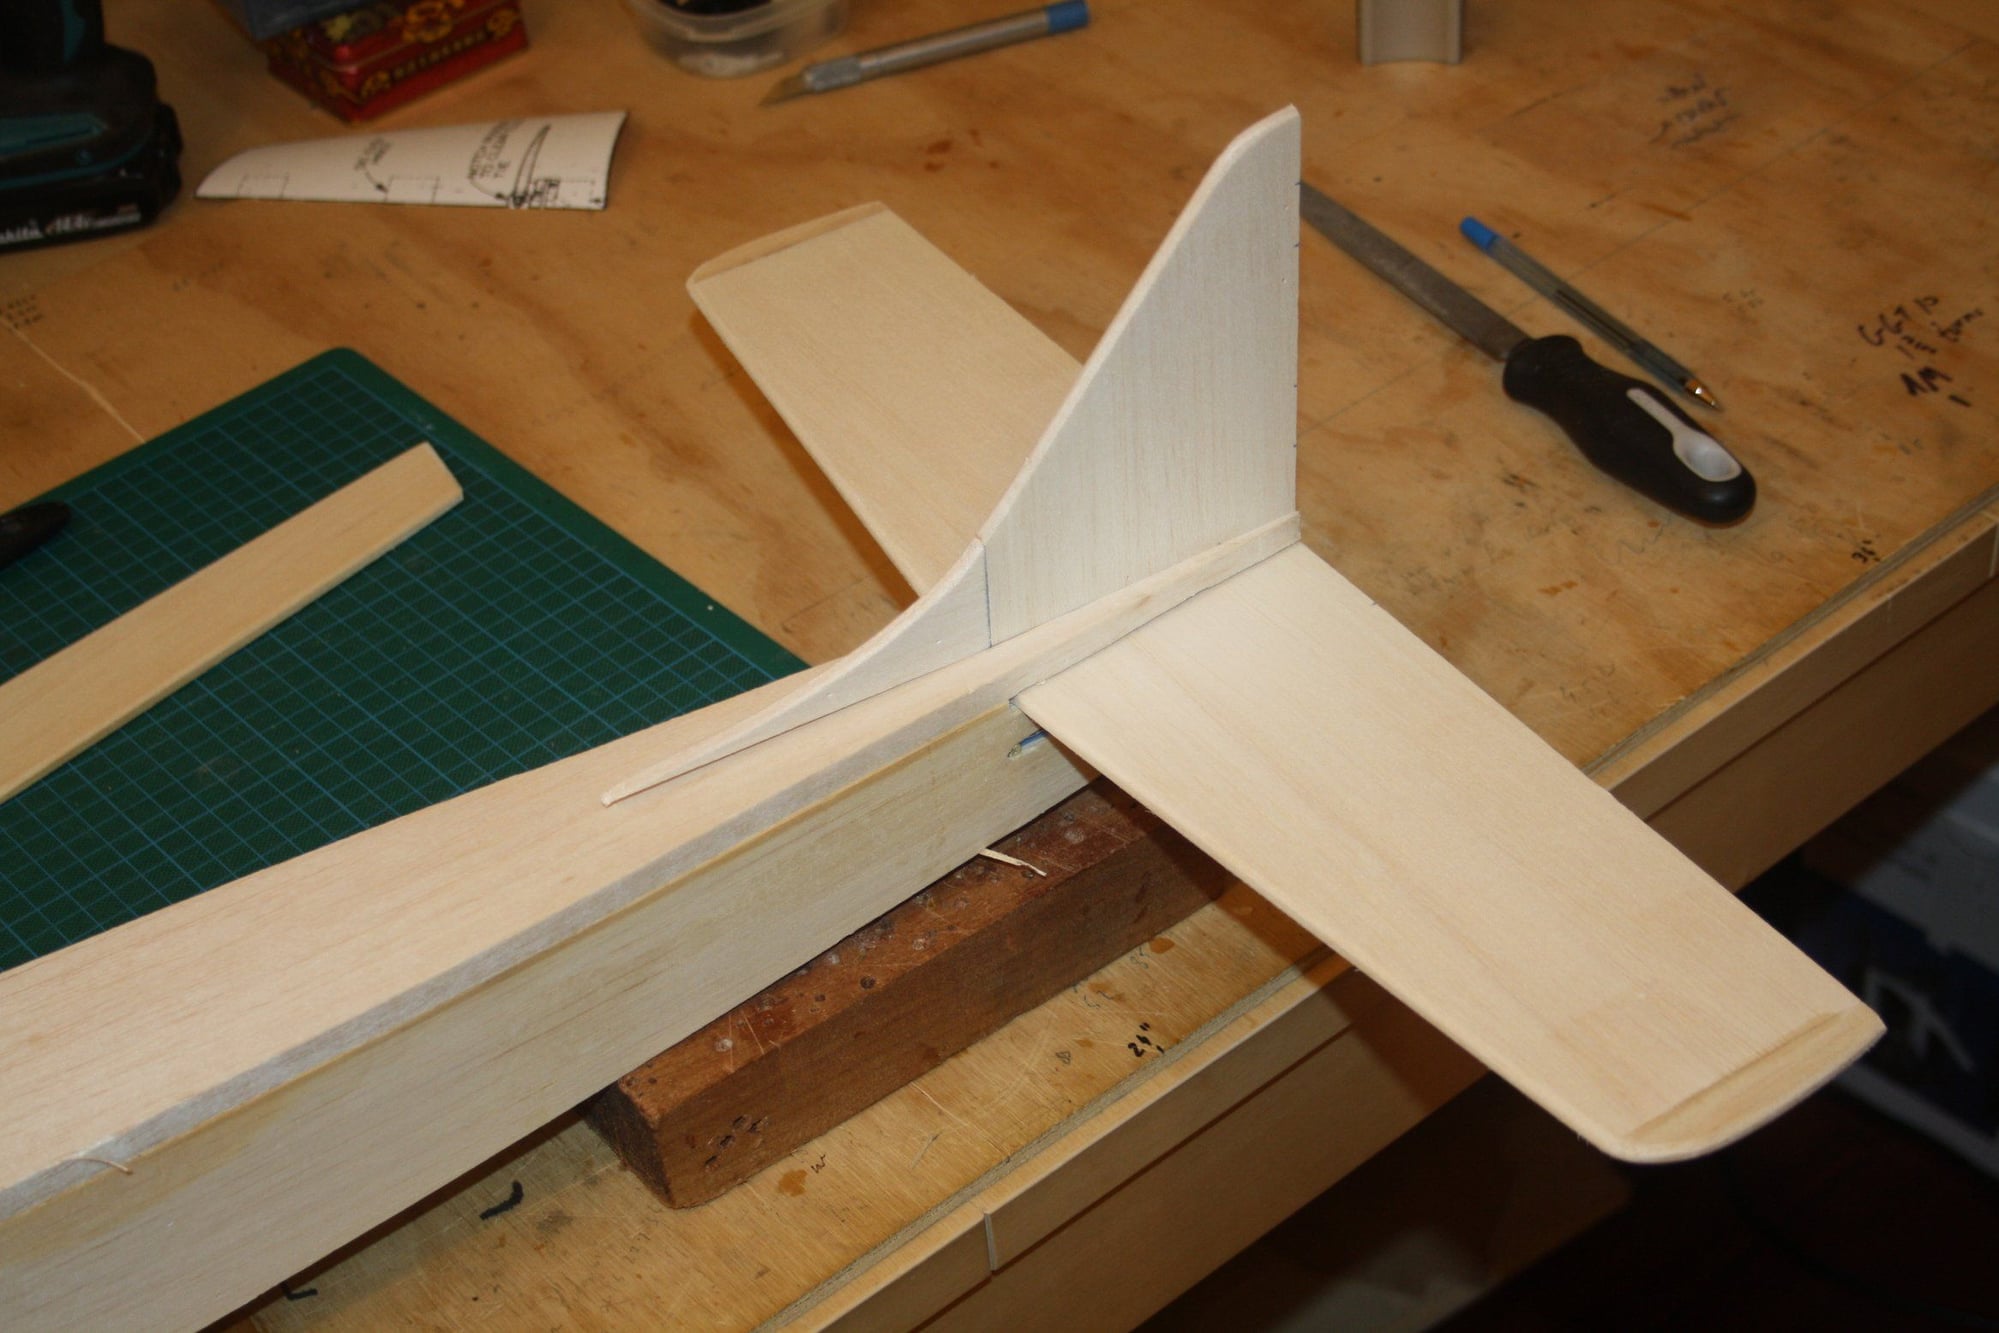
I glued the horizontal stabiliser and the vertical fin.
I hinged the elevator using CA hinges
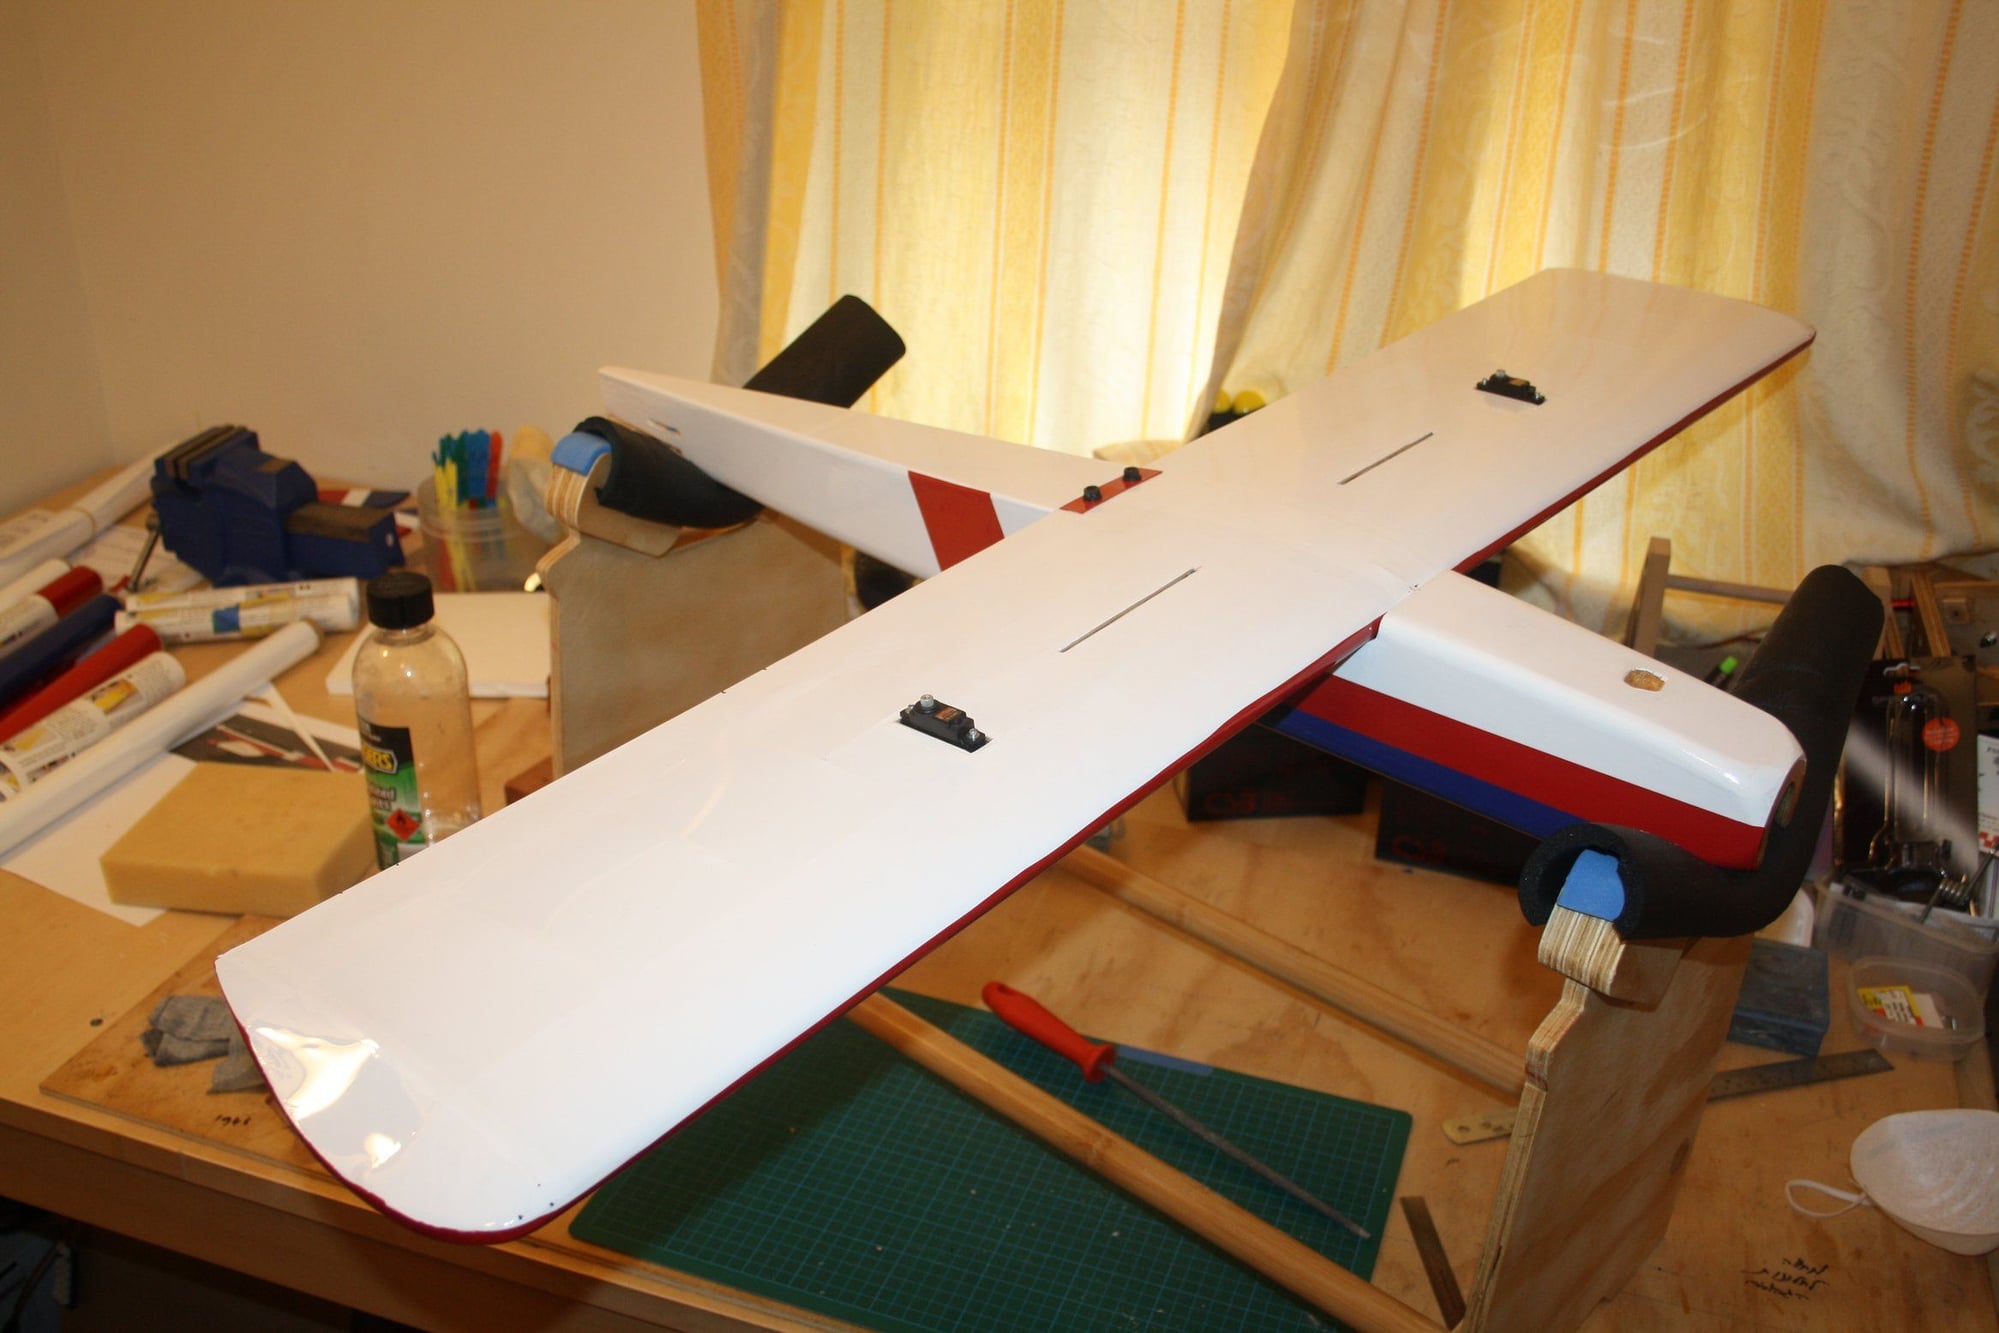
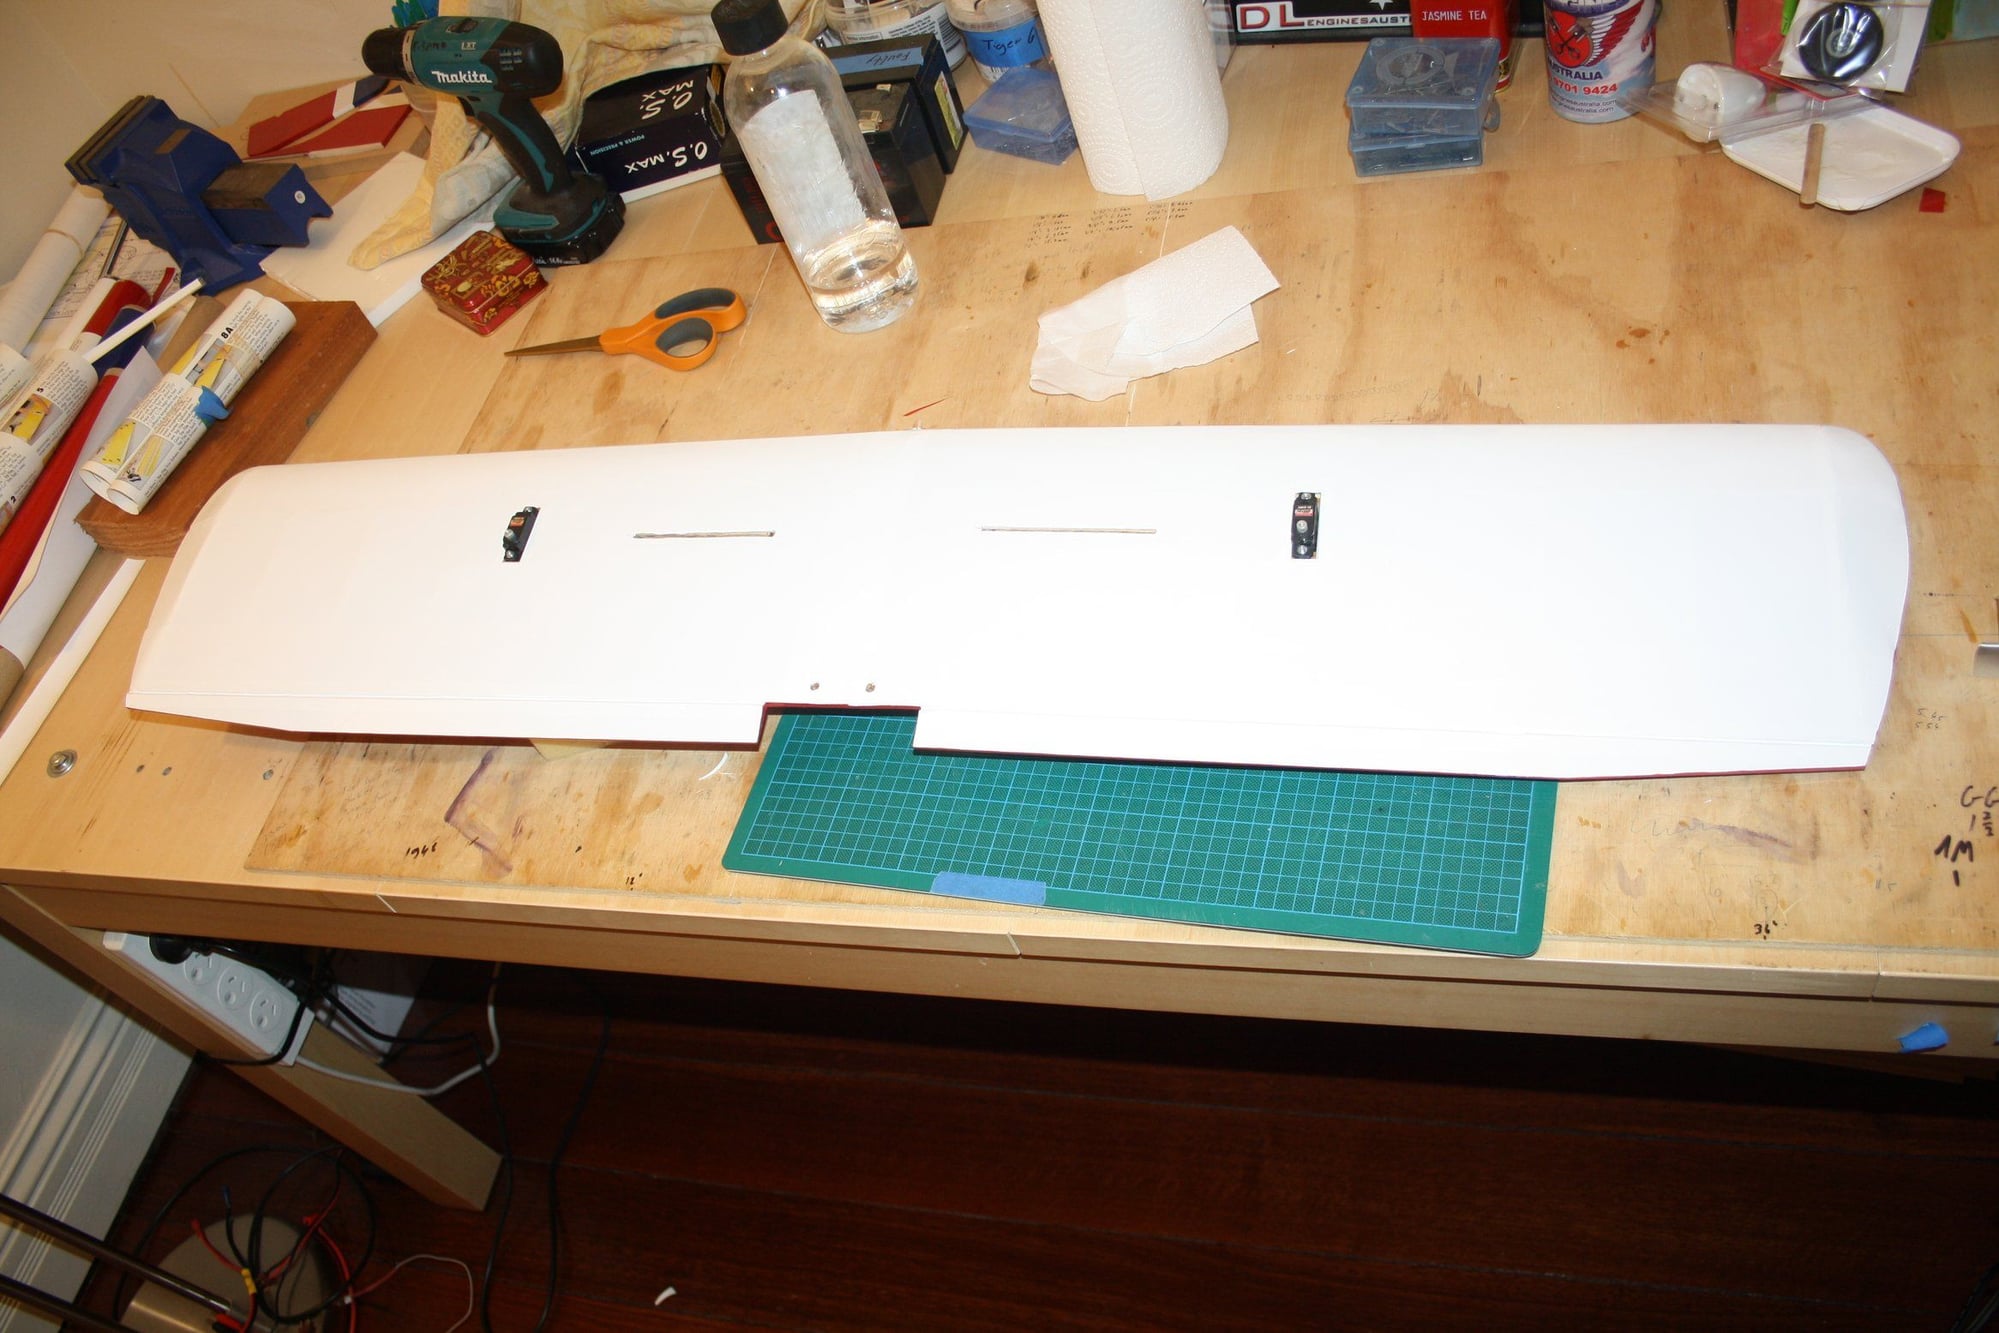
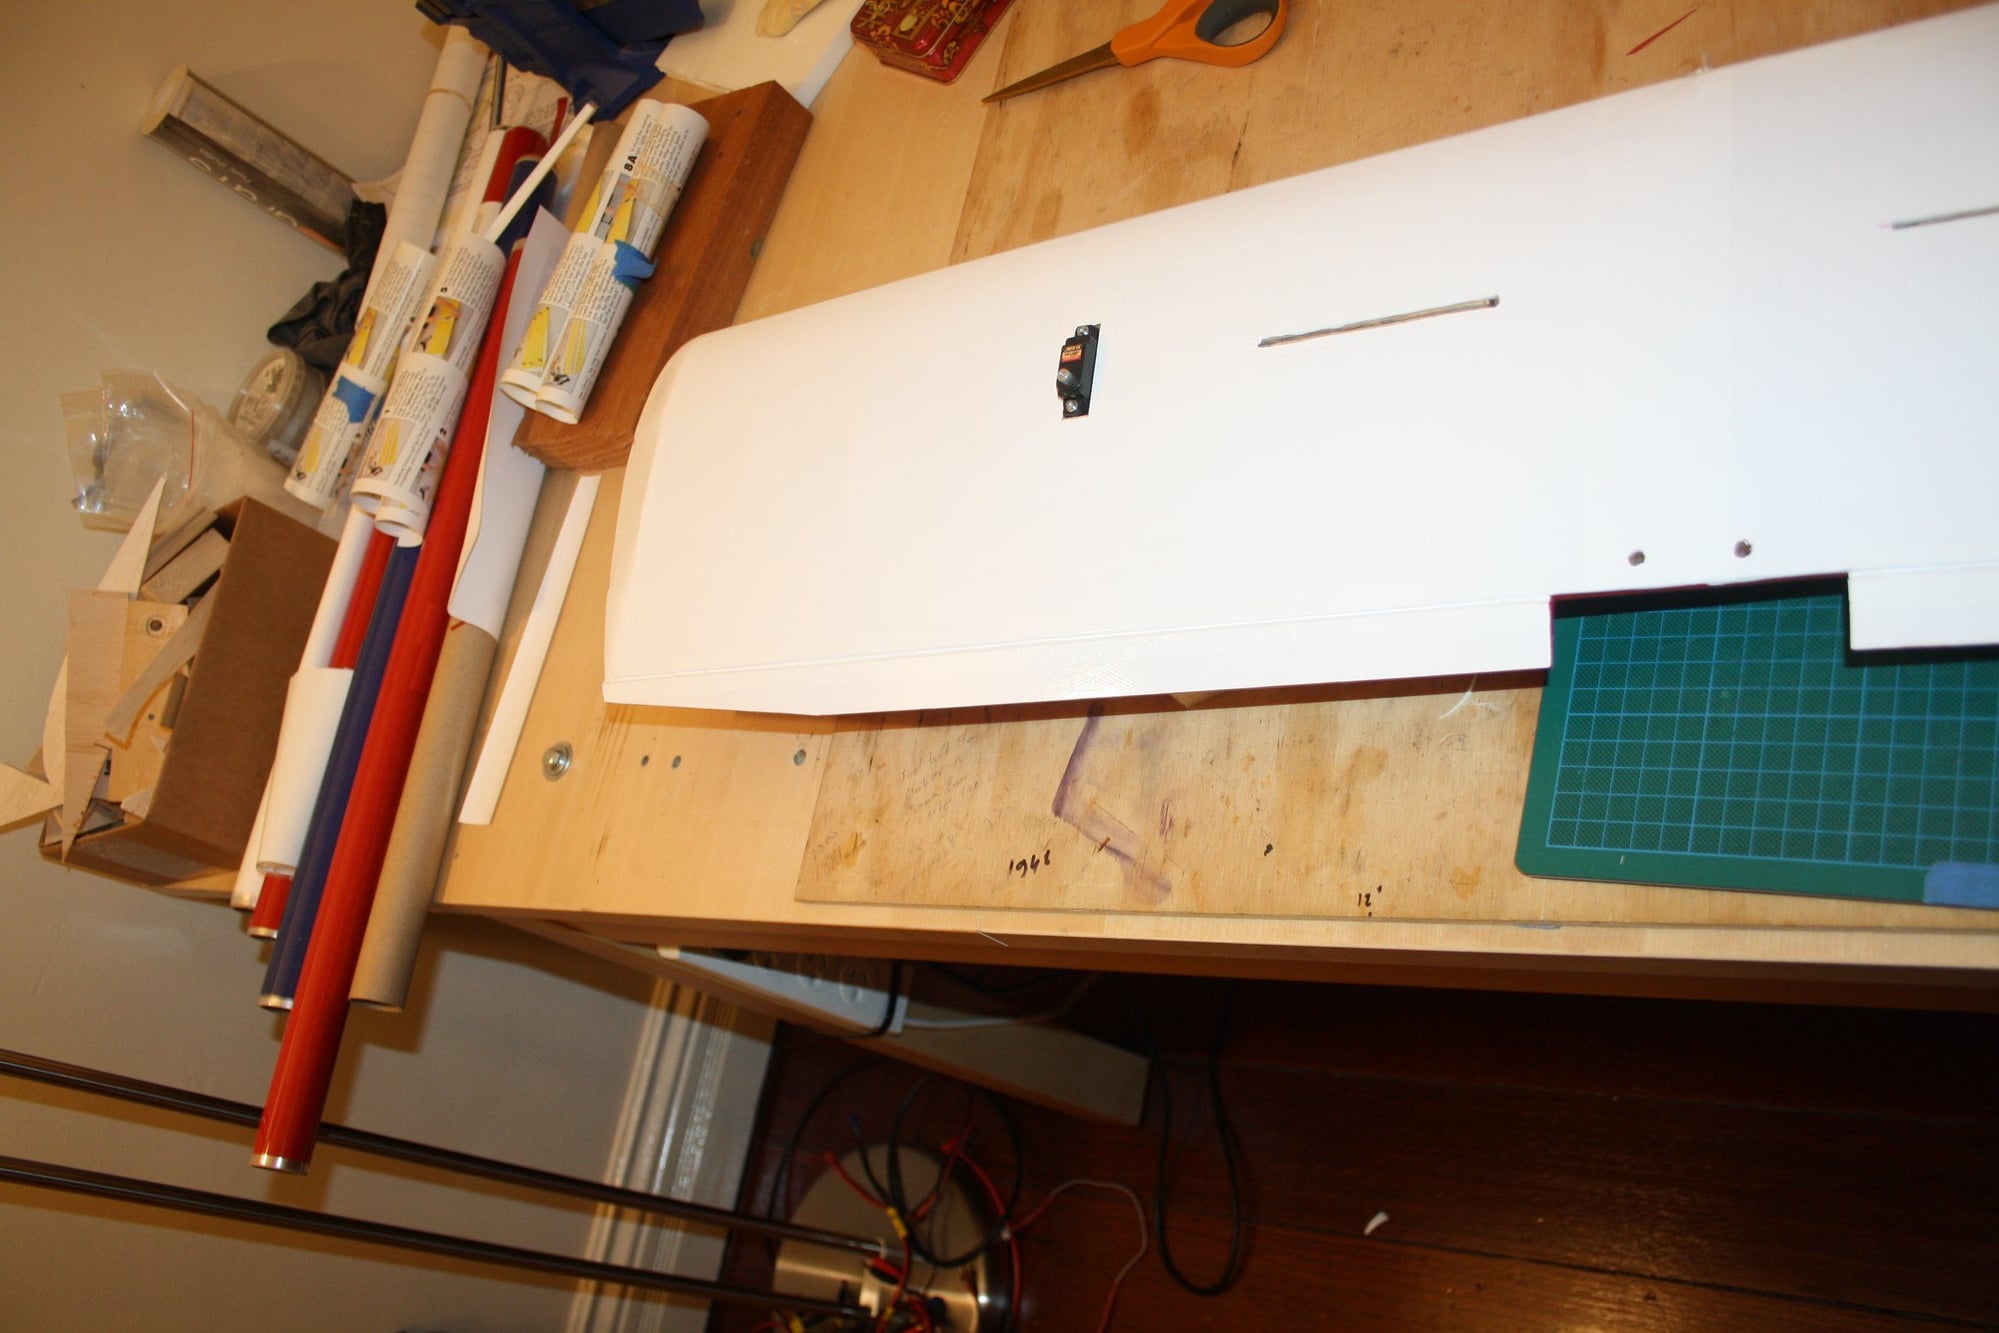
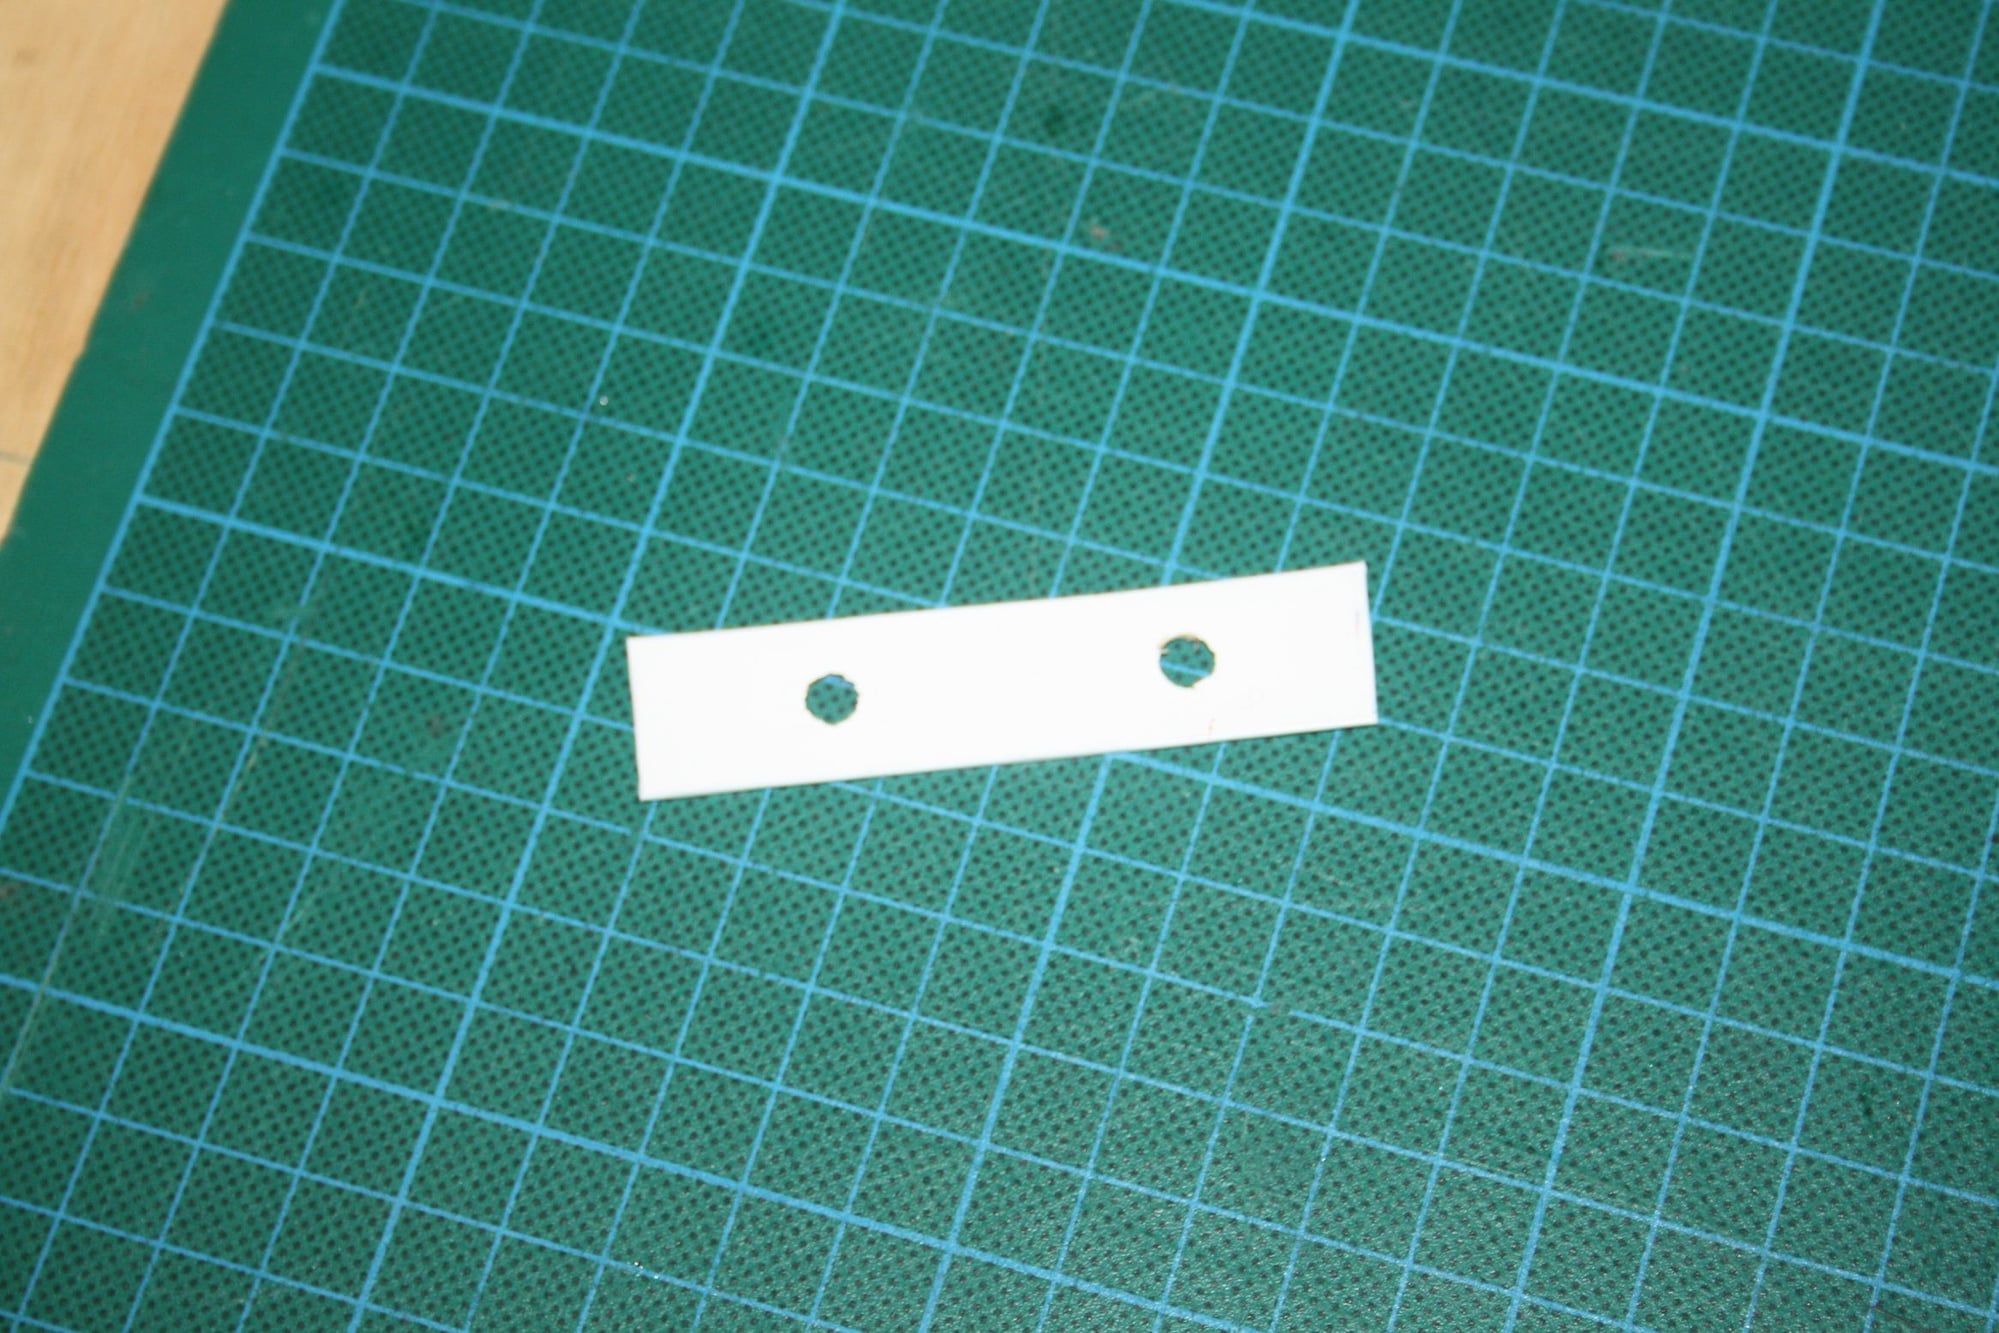
I re-covered the wing bolts protector plywood piece in white : )
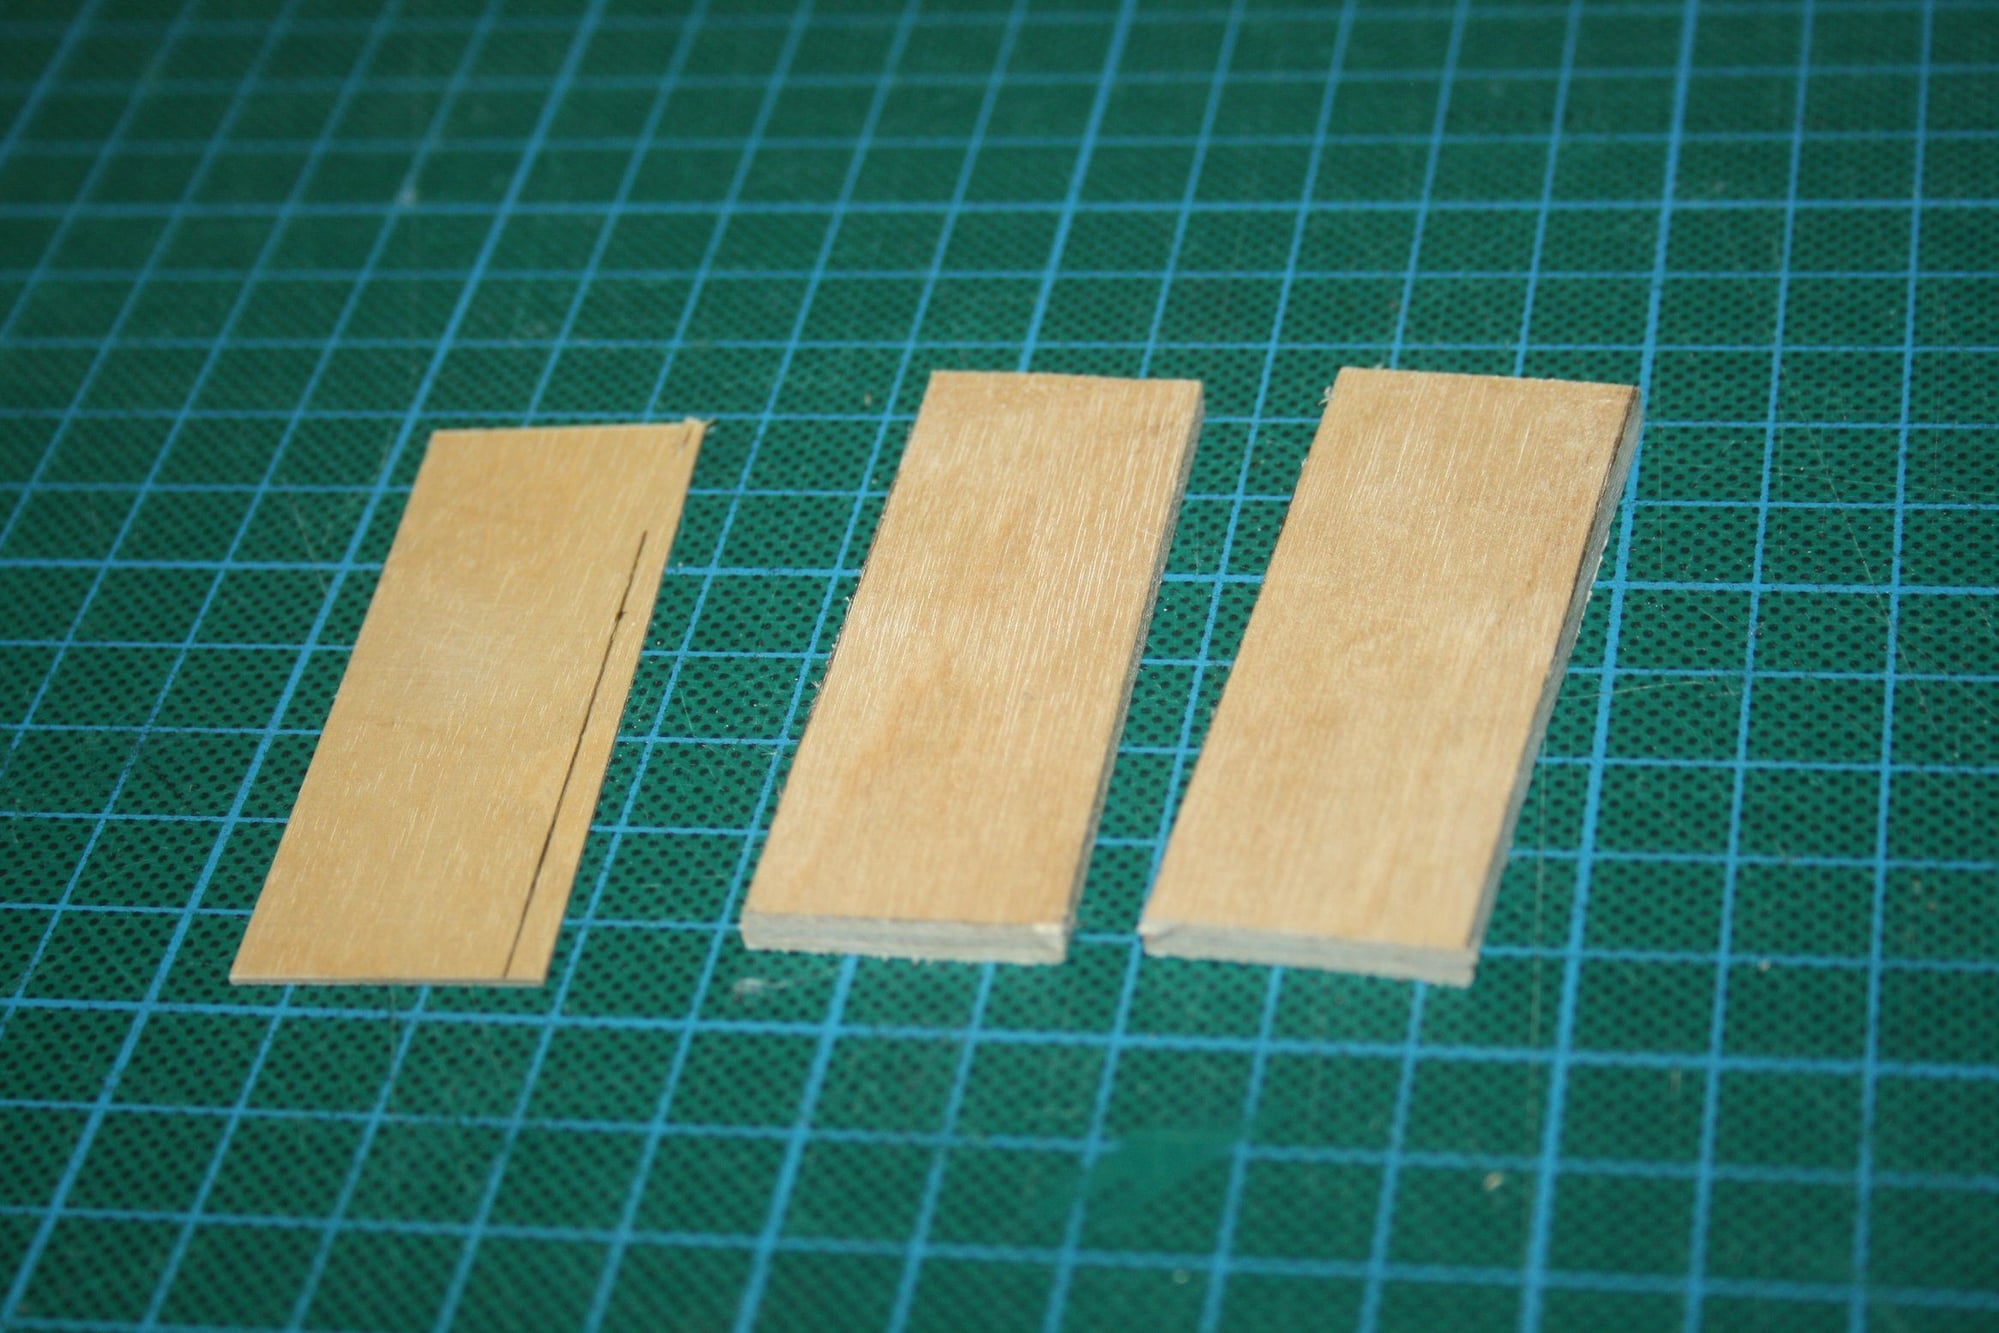
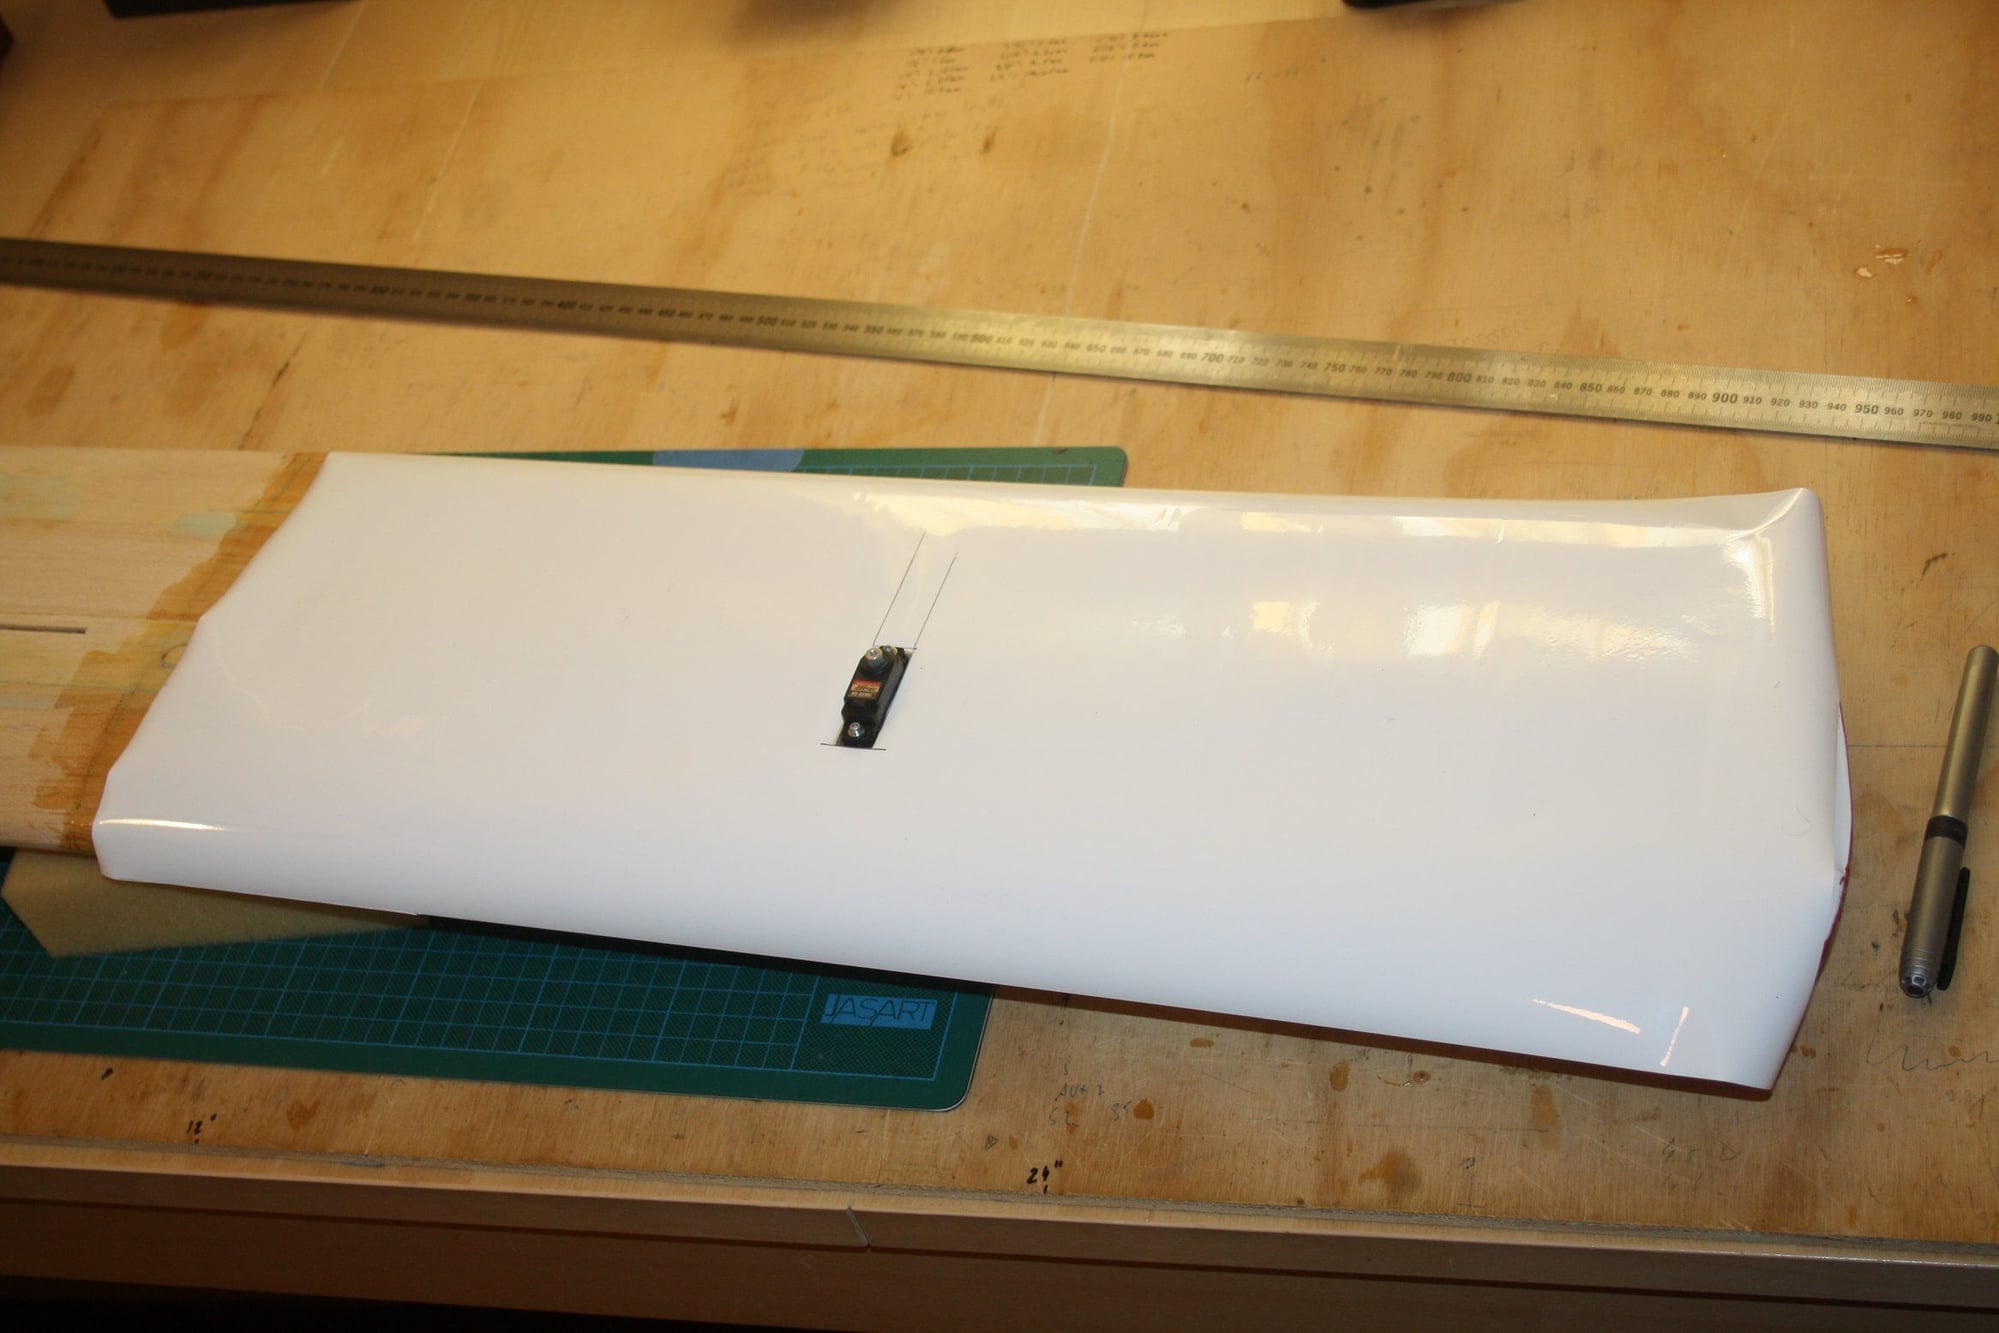
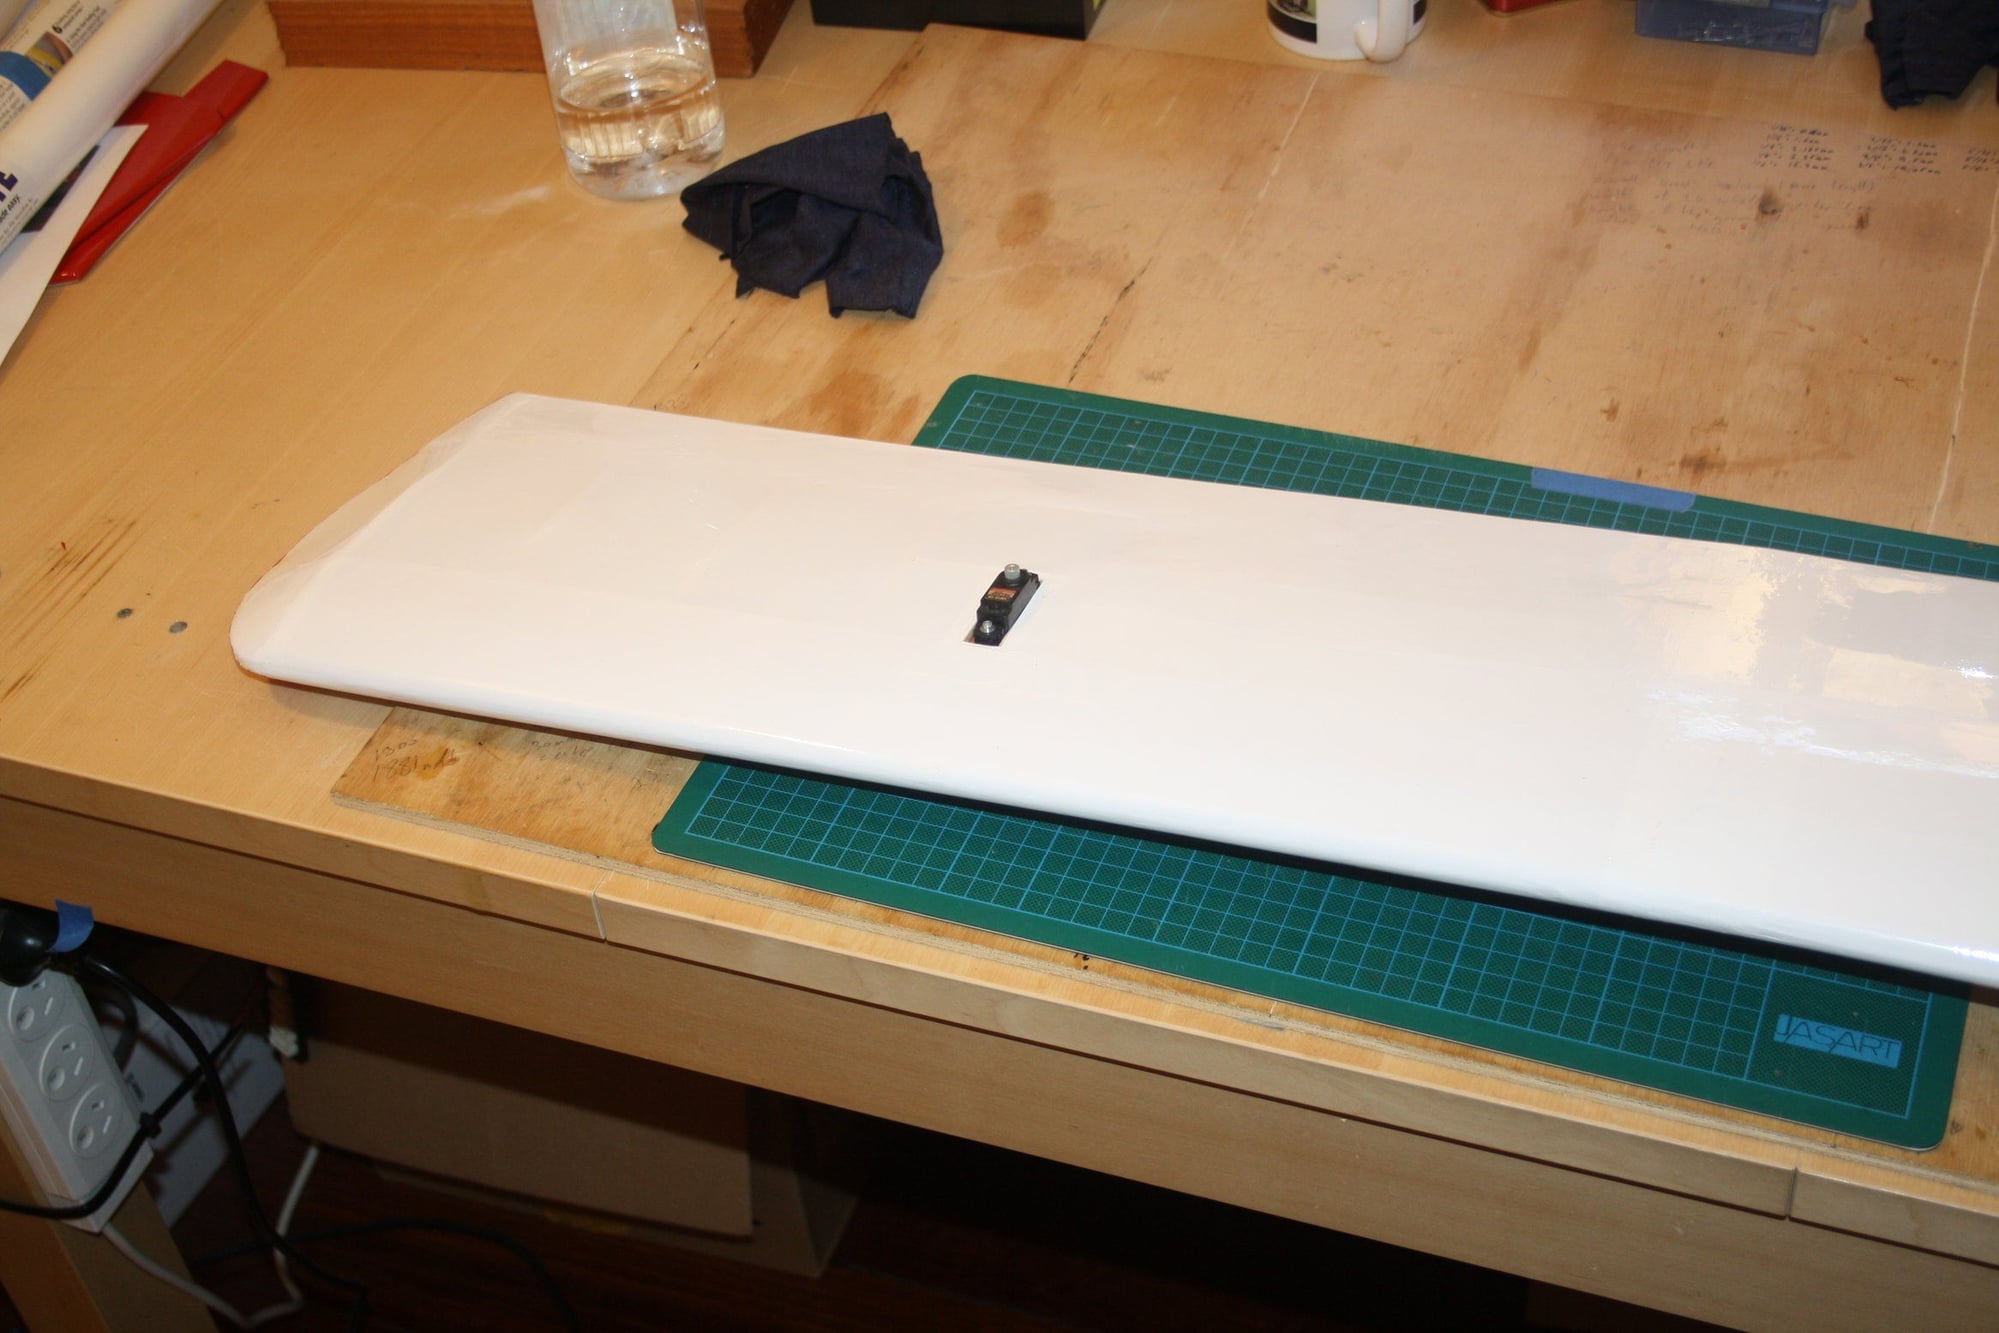
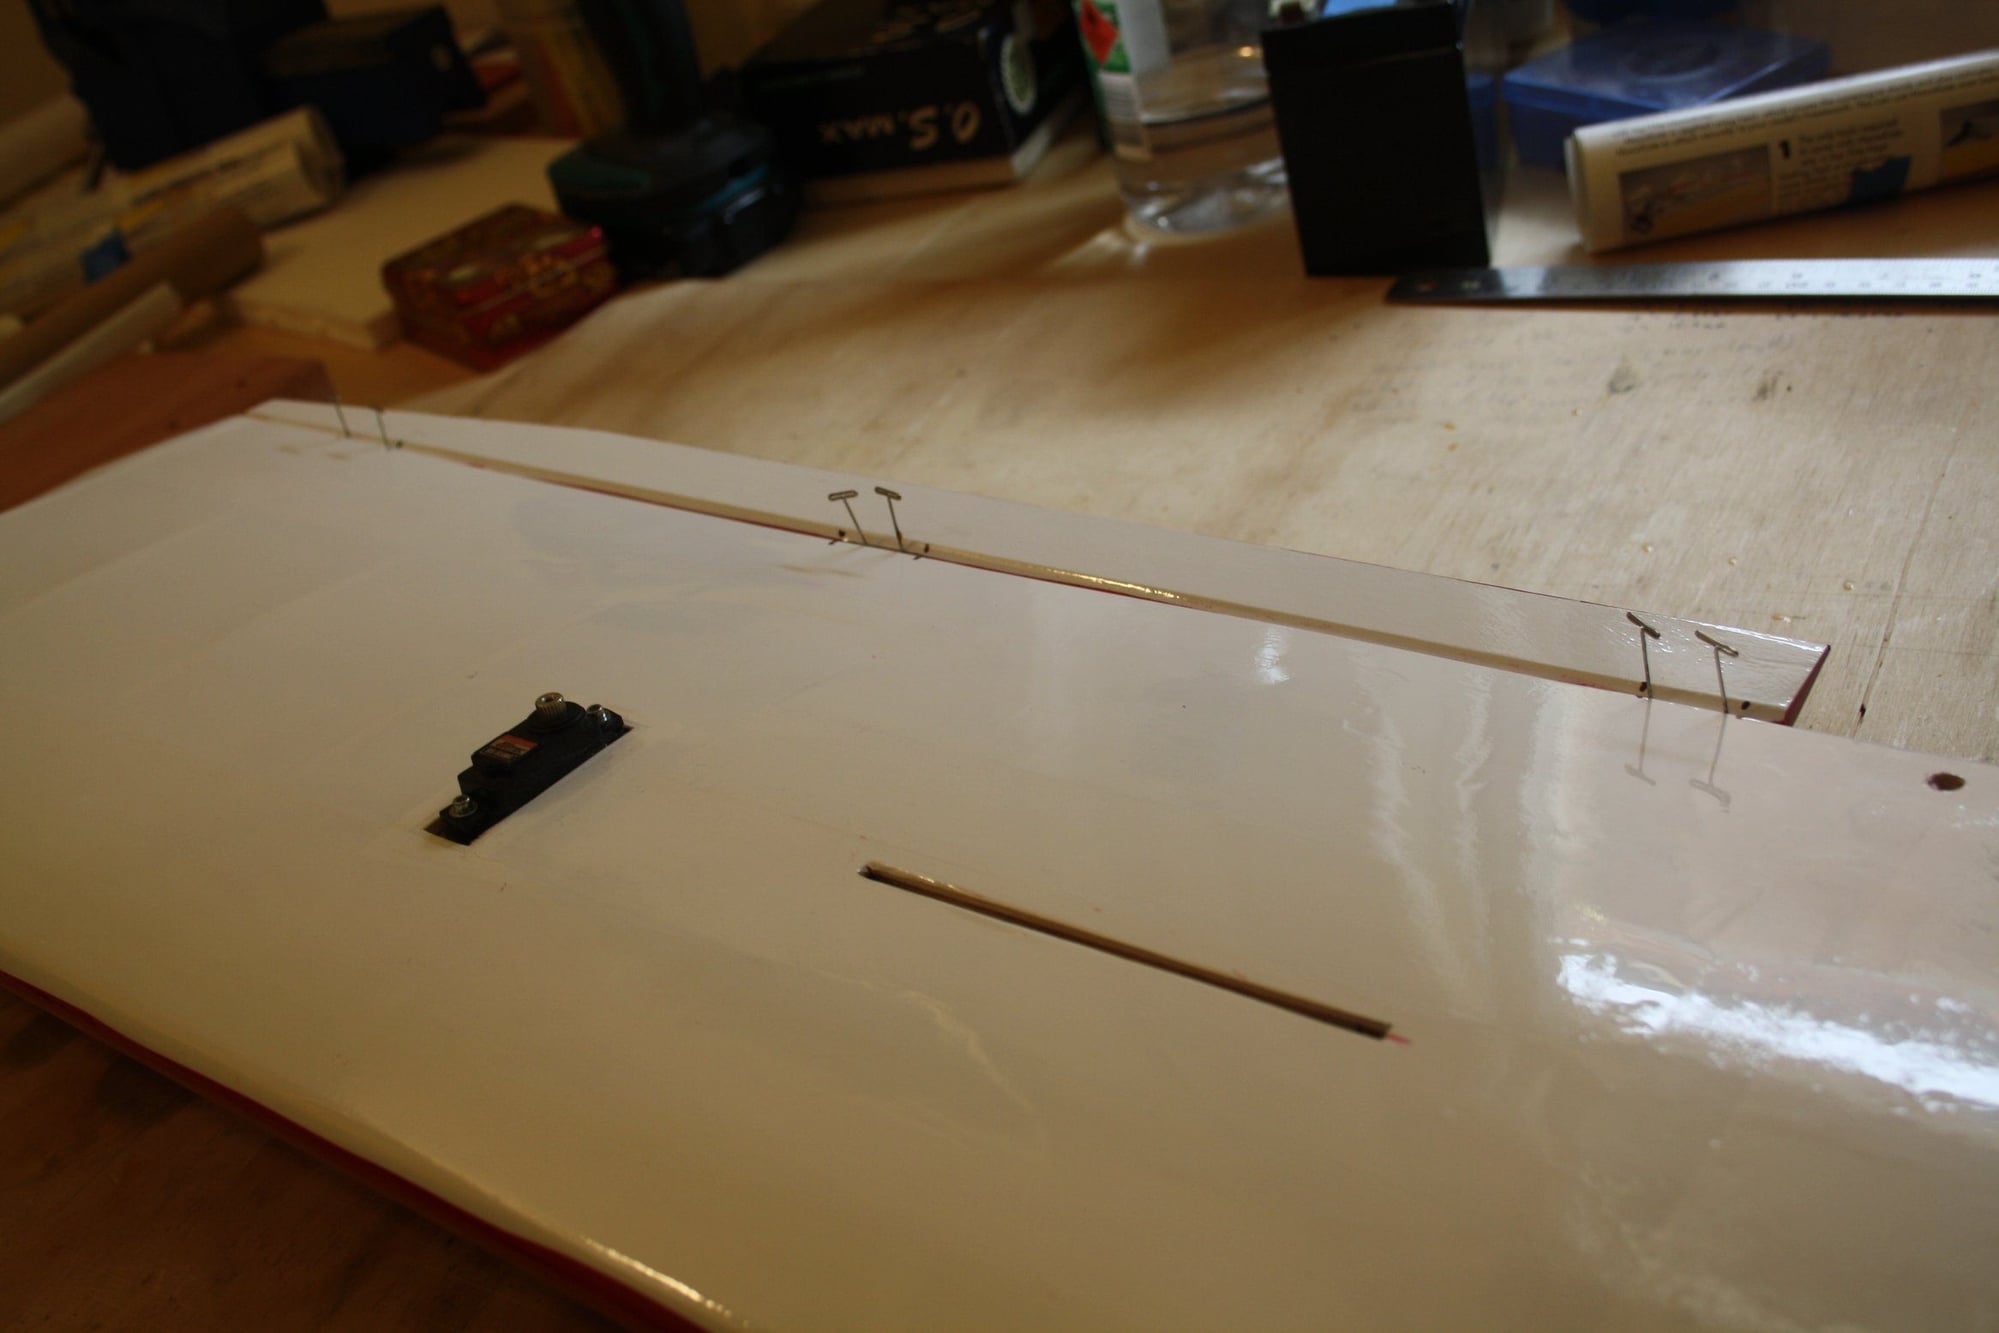
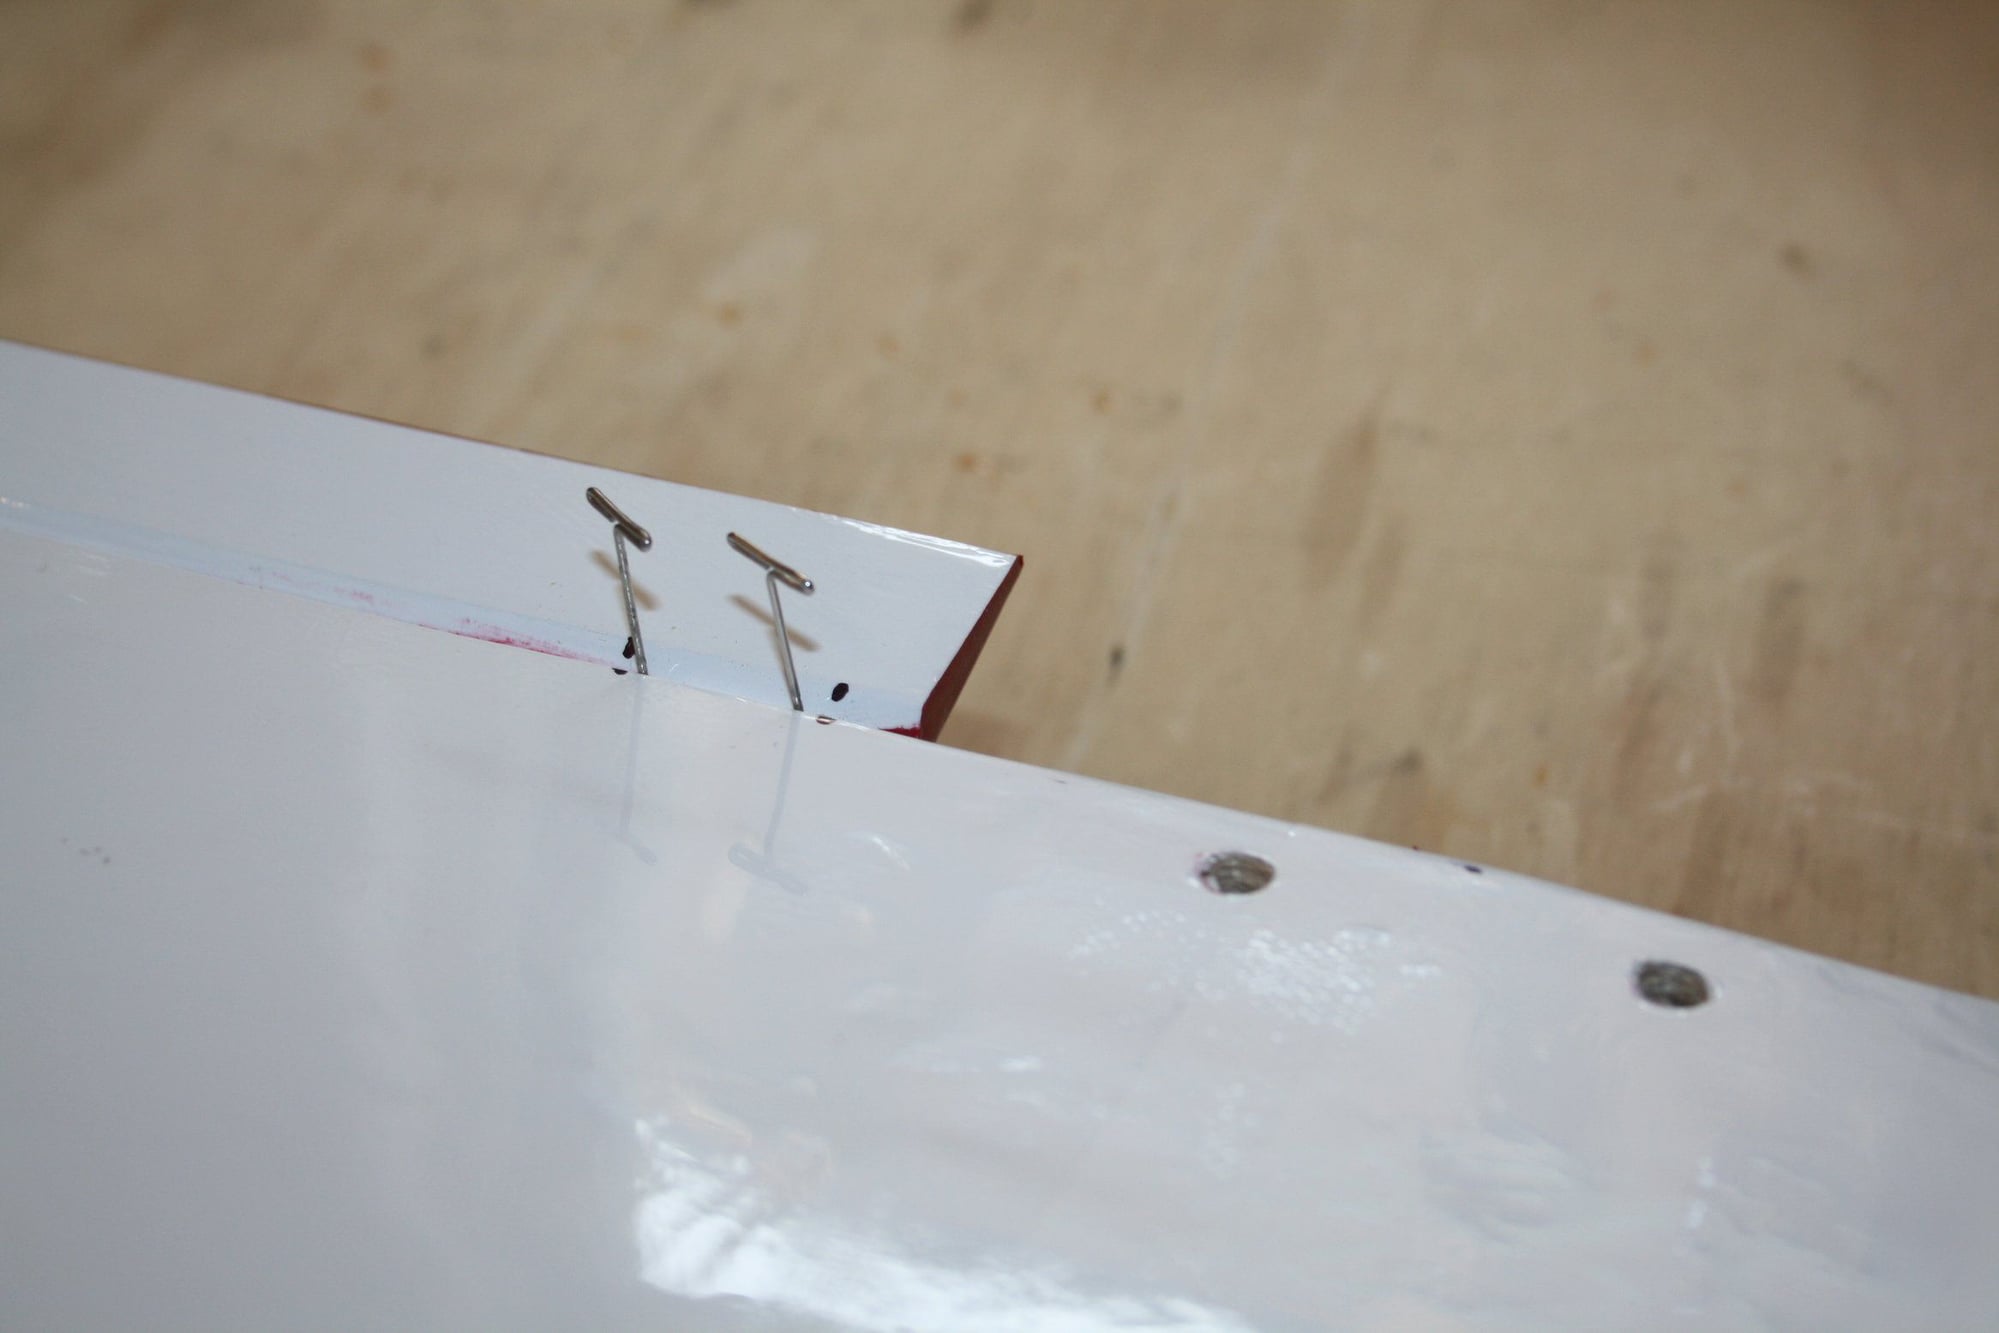
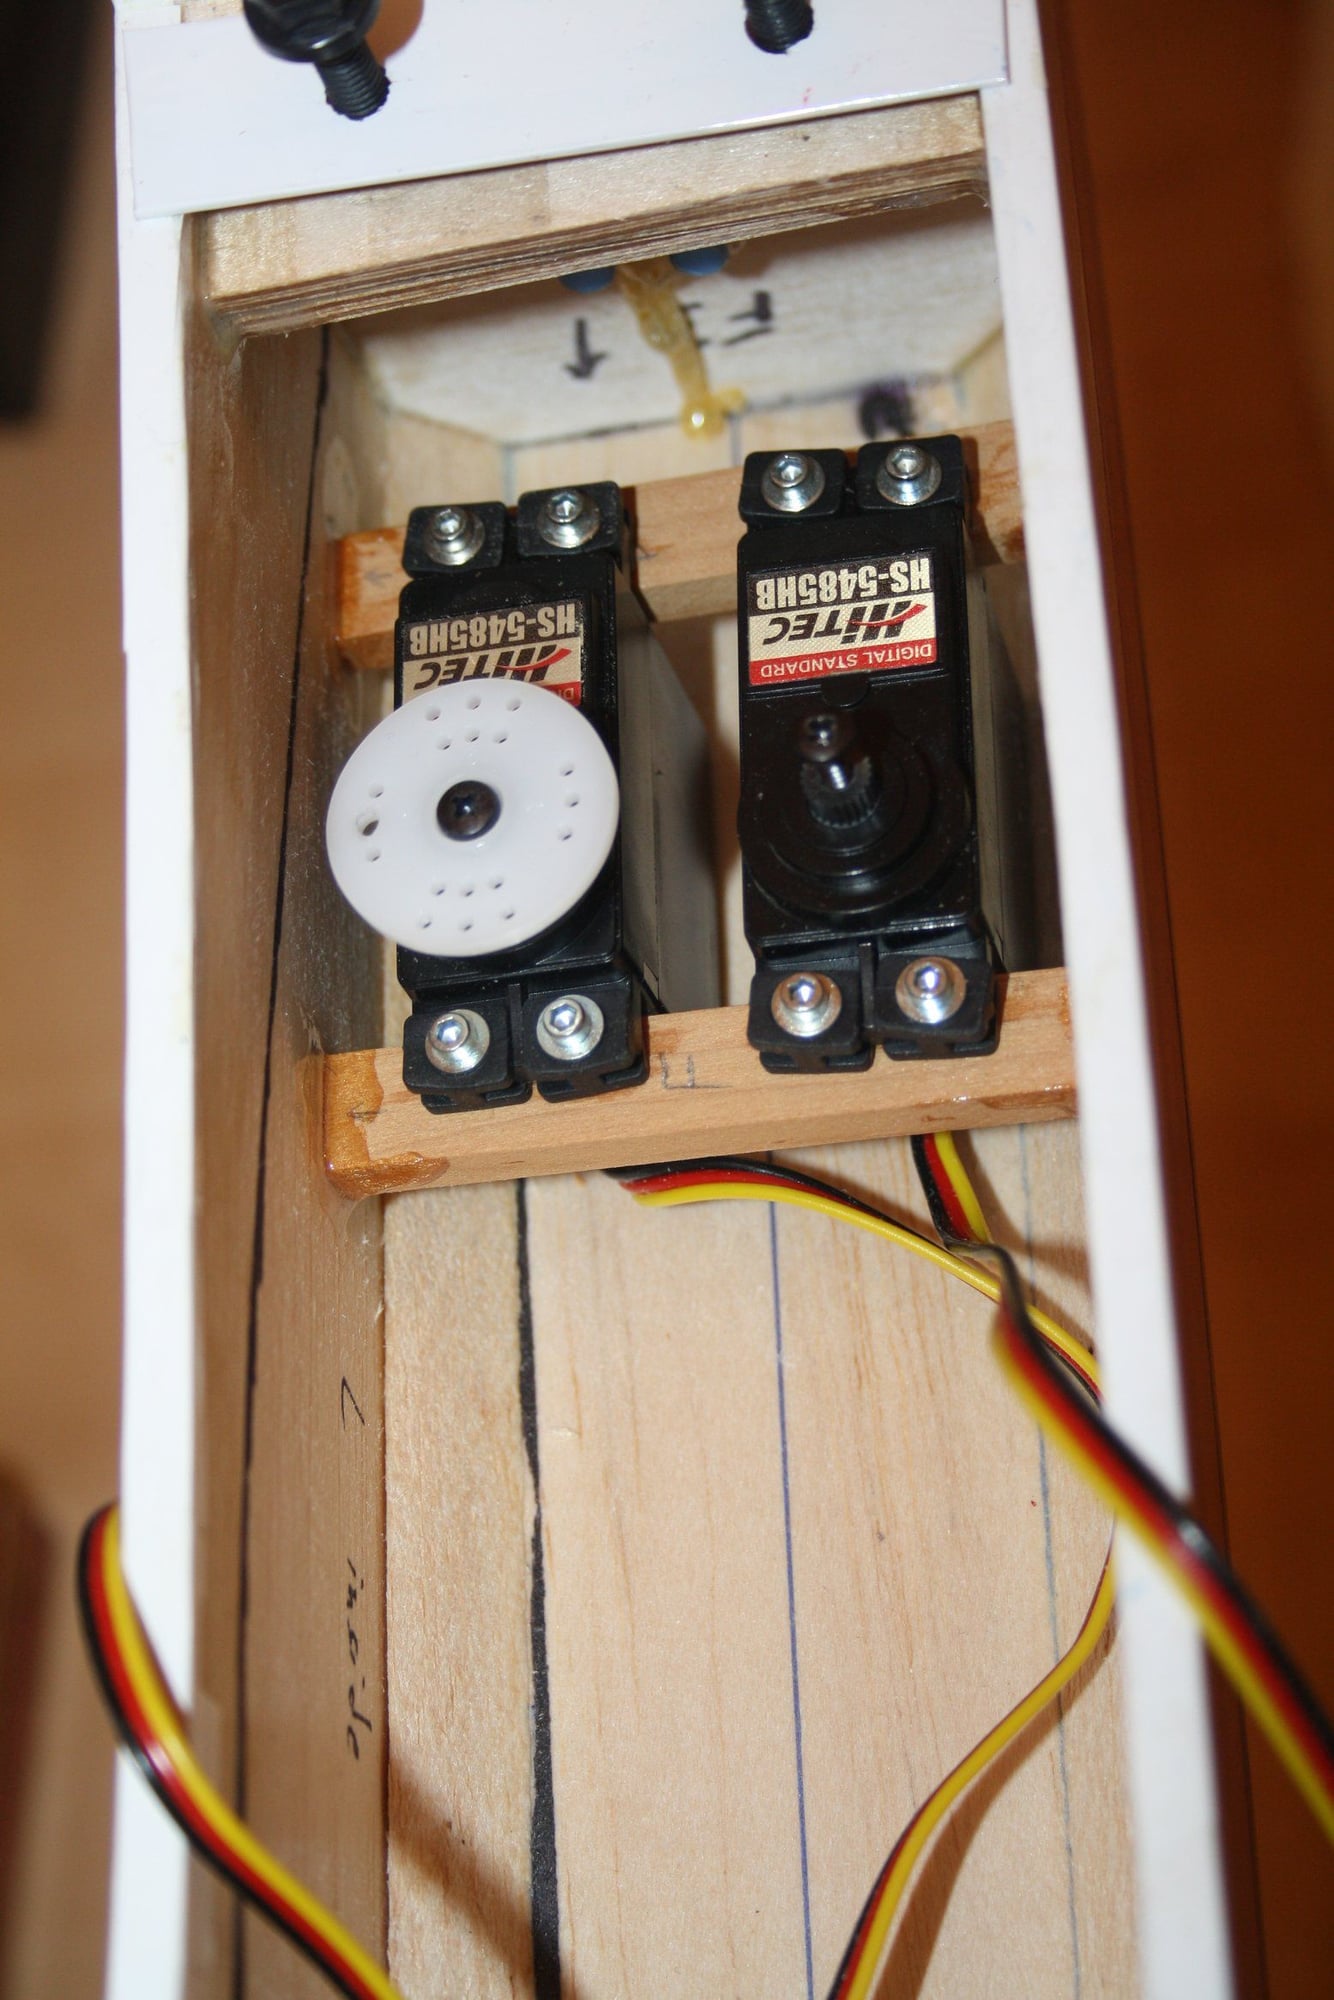
Finally, pre drilled, threaded and hardened by CA, I glued the servo rails into place using the servos to hold the rails in correct position.
Cheers,
Eran
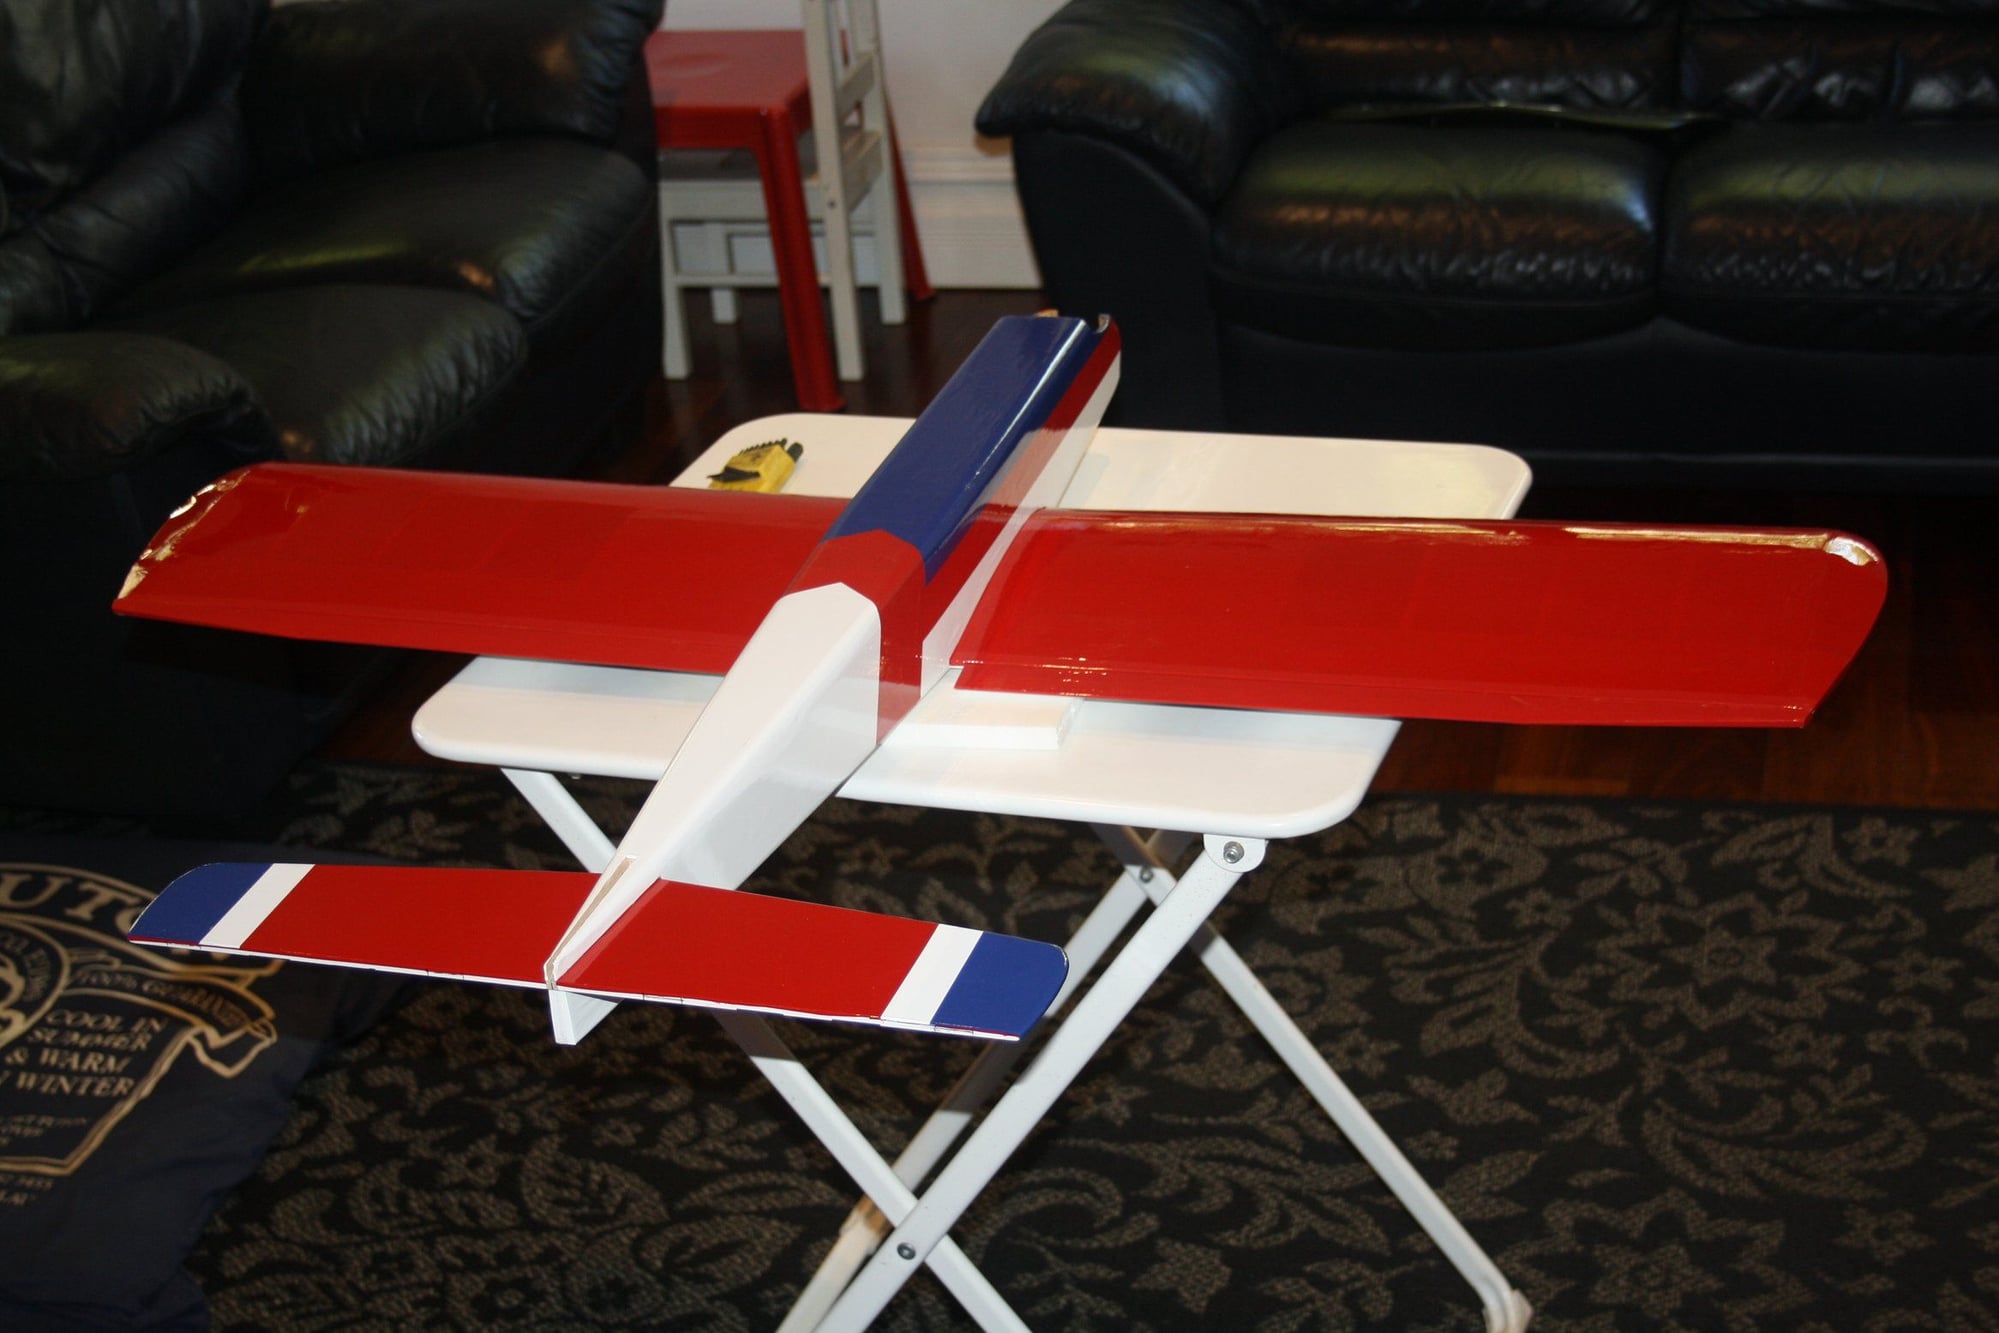
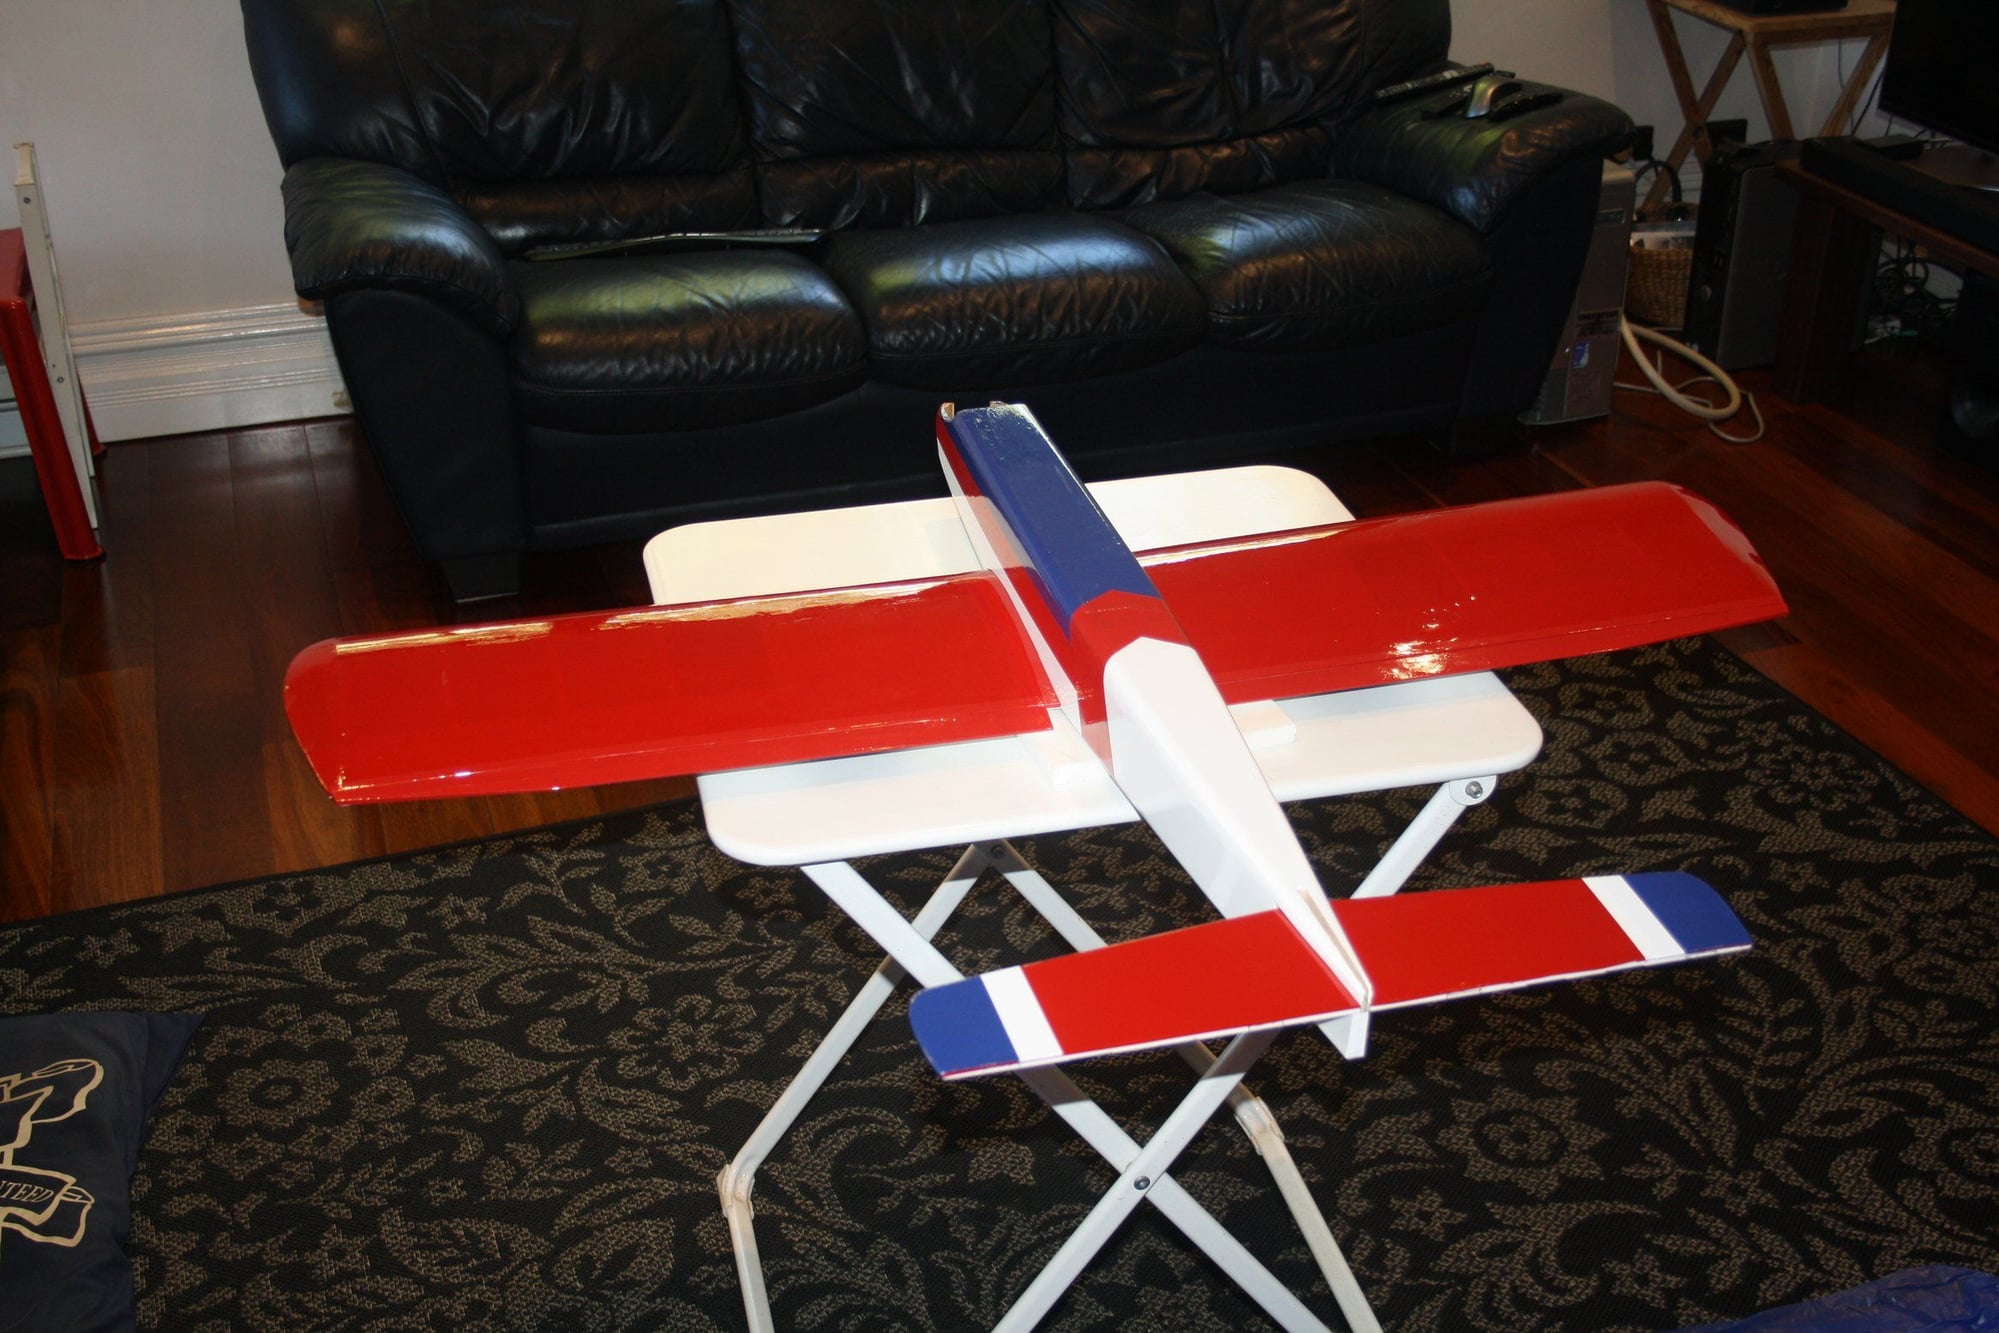

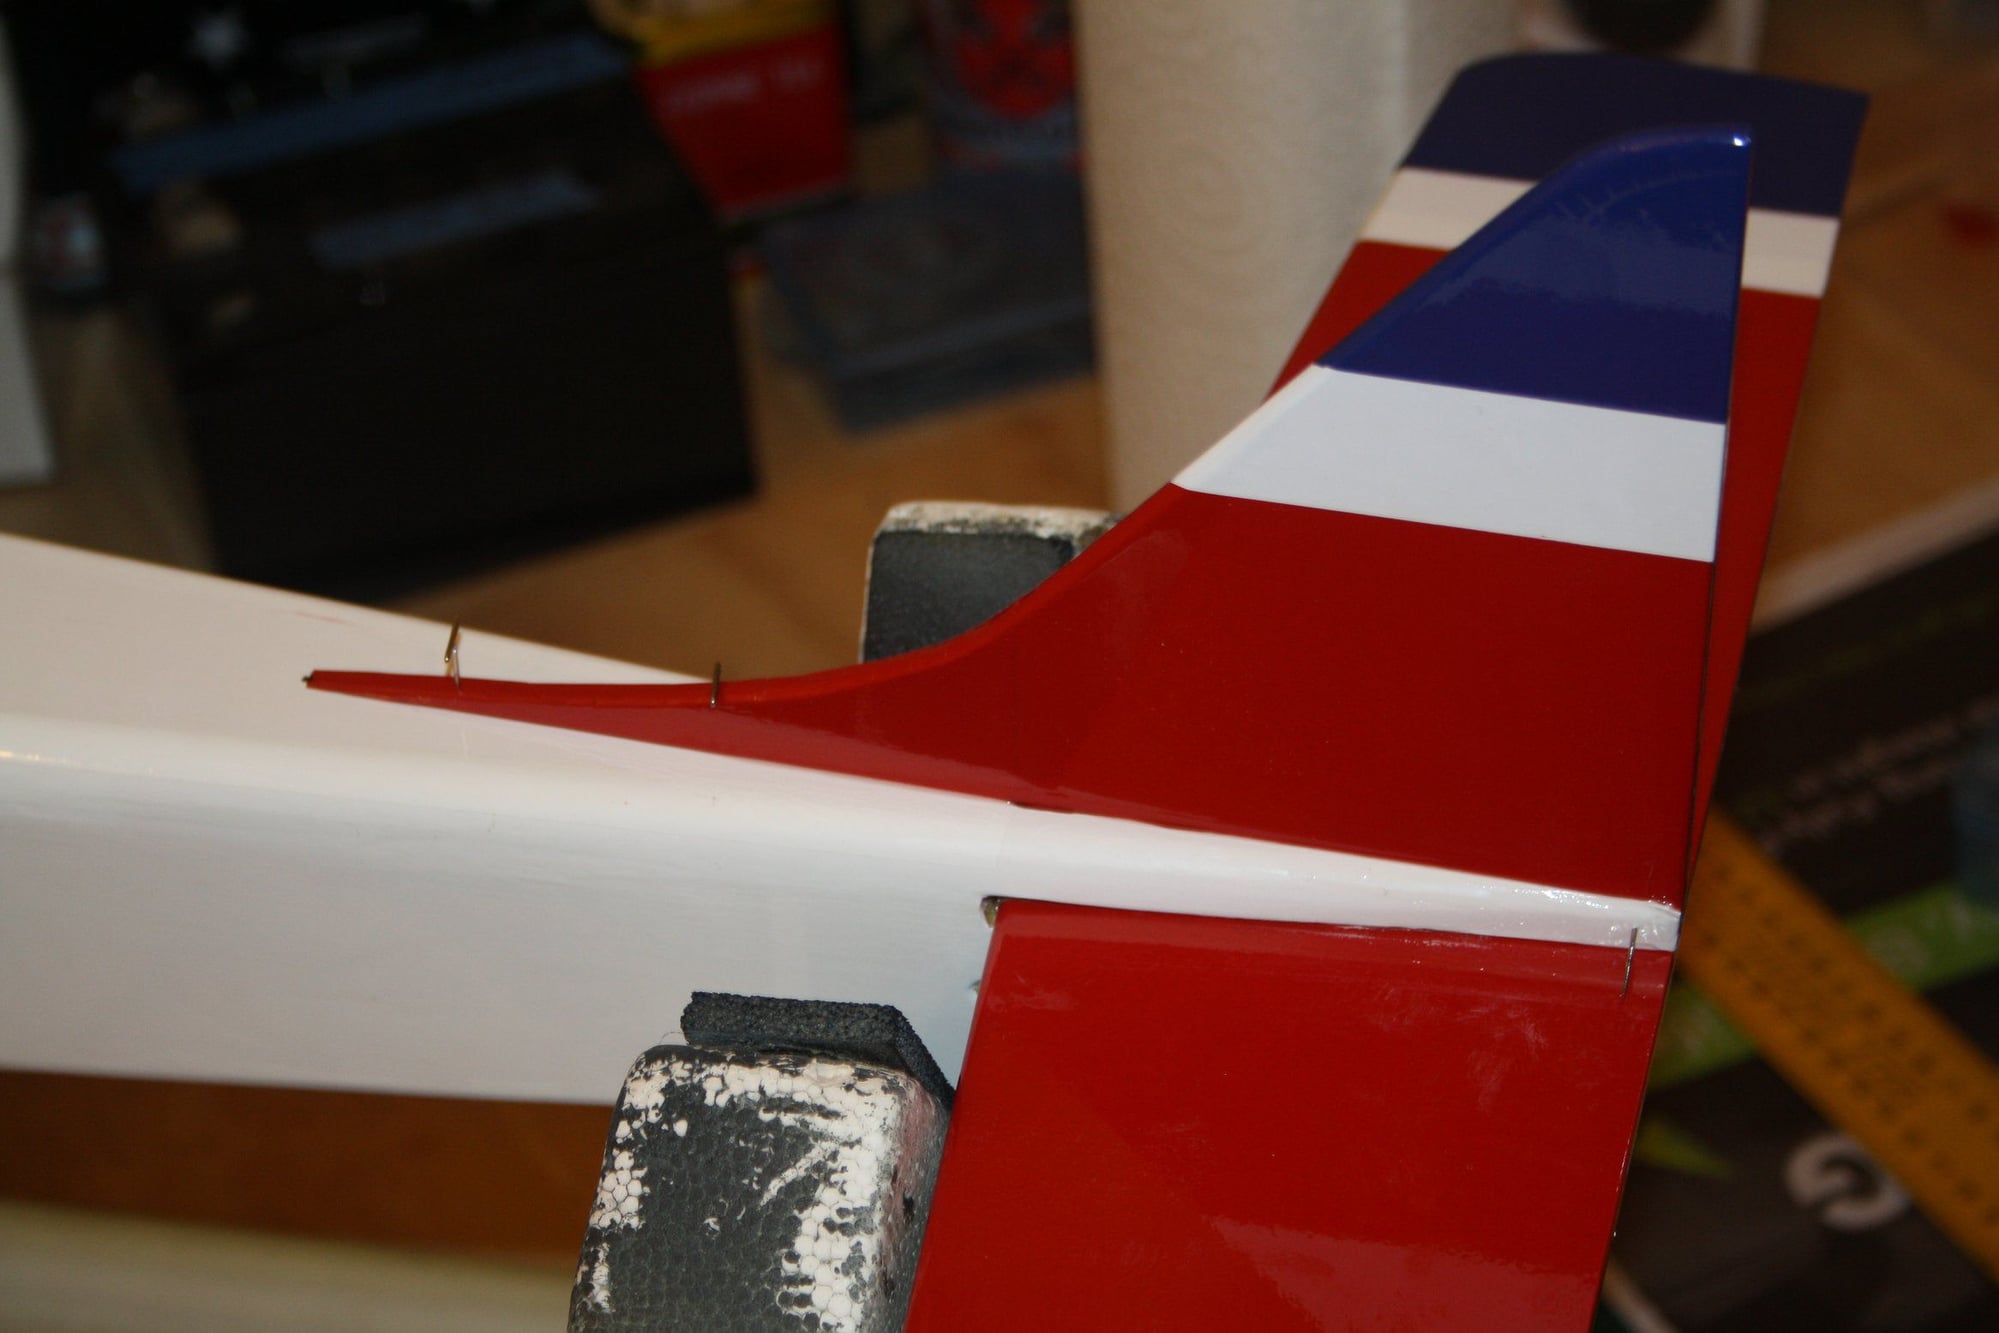


I glued the horizontal stabiliser and the vertical fin.
I hinged the elevator using CA hinges
I re-covered the wing bolts protector plywood piece in white : )
Finally, pre drilled, threaded and hardened by CA, I glued the servo rails into place using the servos to hold the rails in correct position.
Cheers,
Eran
08-26-2018, 03:23 PM
#74
Thread Starter
buzzard bait - I do not have an estimate of the final weigh, but I am reasonably confident that I will have the actual final weight within the next couple of weeks : )
I had 10 minutes in the Cave yesterday, so I hinged the rudder,
Cheers,
Eran
I had 10 minutes in the Cave yesterday, so I hinged the rudder,
Cheers,
Eran
08-27-2018, 03:21 PM
#75
Thread Starter
I installed the horns to the rudder and elevator. Then,I set up new aeroplane into the Tx and centred the servos prior to installation.
Once done, the servos were screwed into place and the "snake" linkages connected.
Cheers,
Eran

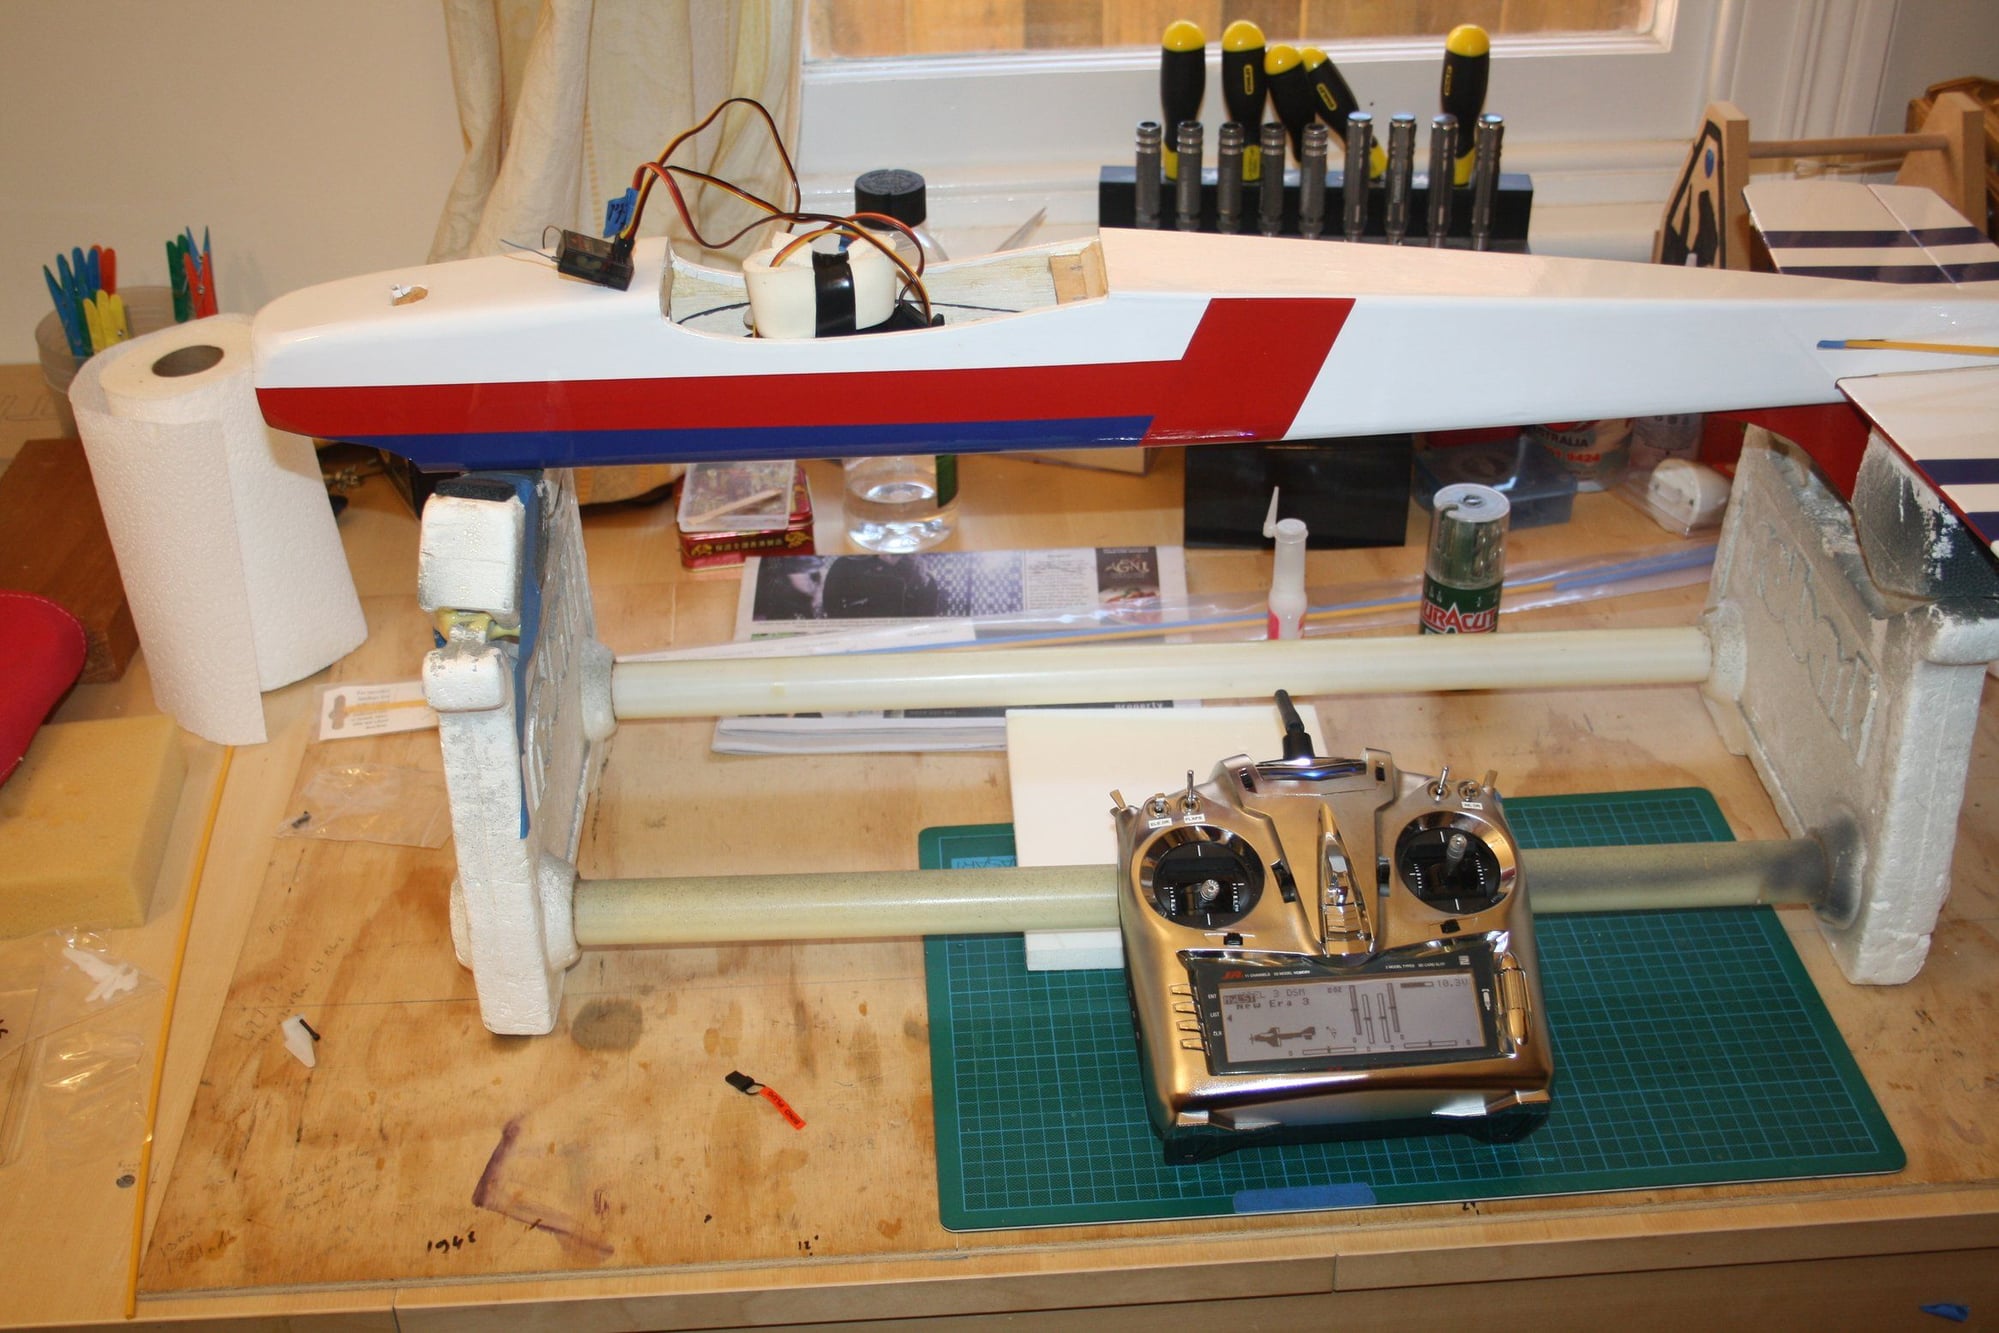
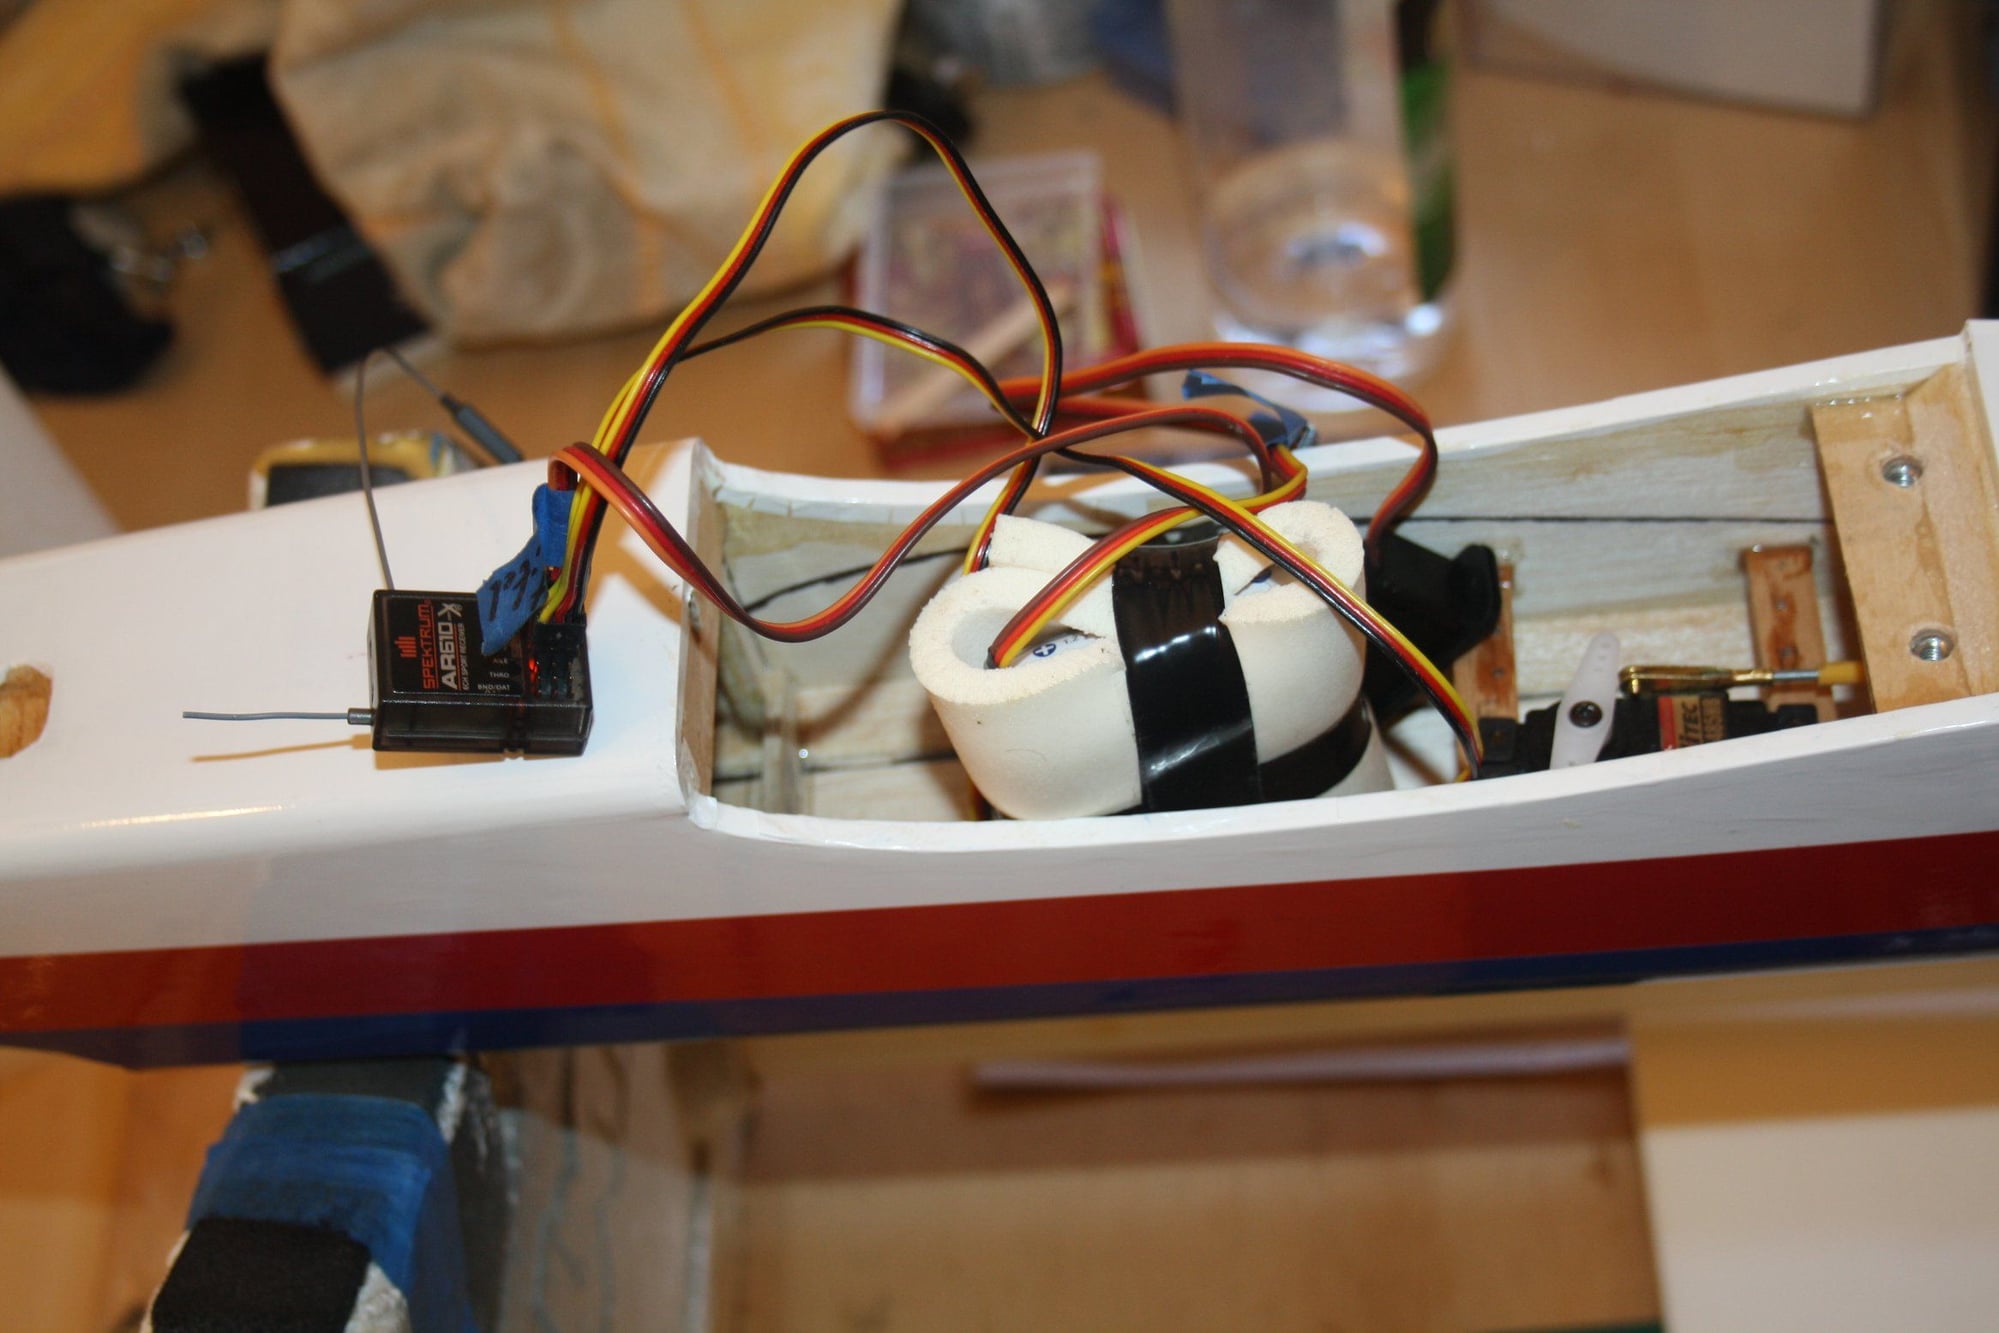

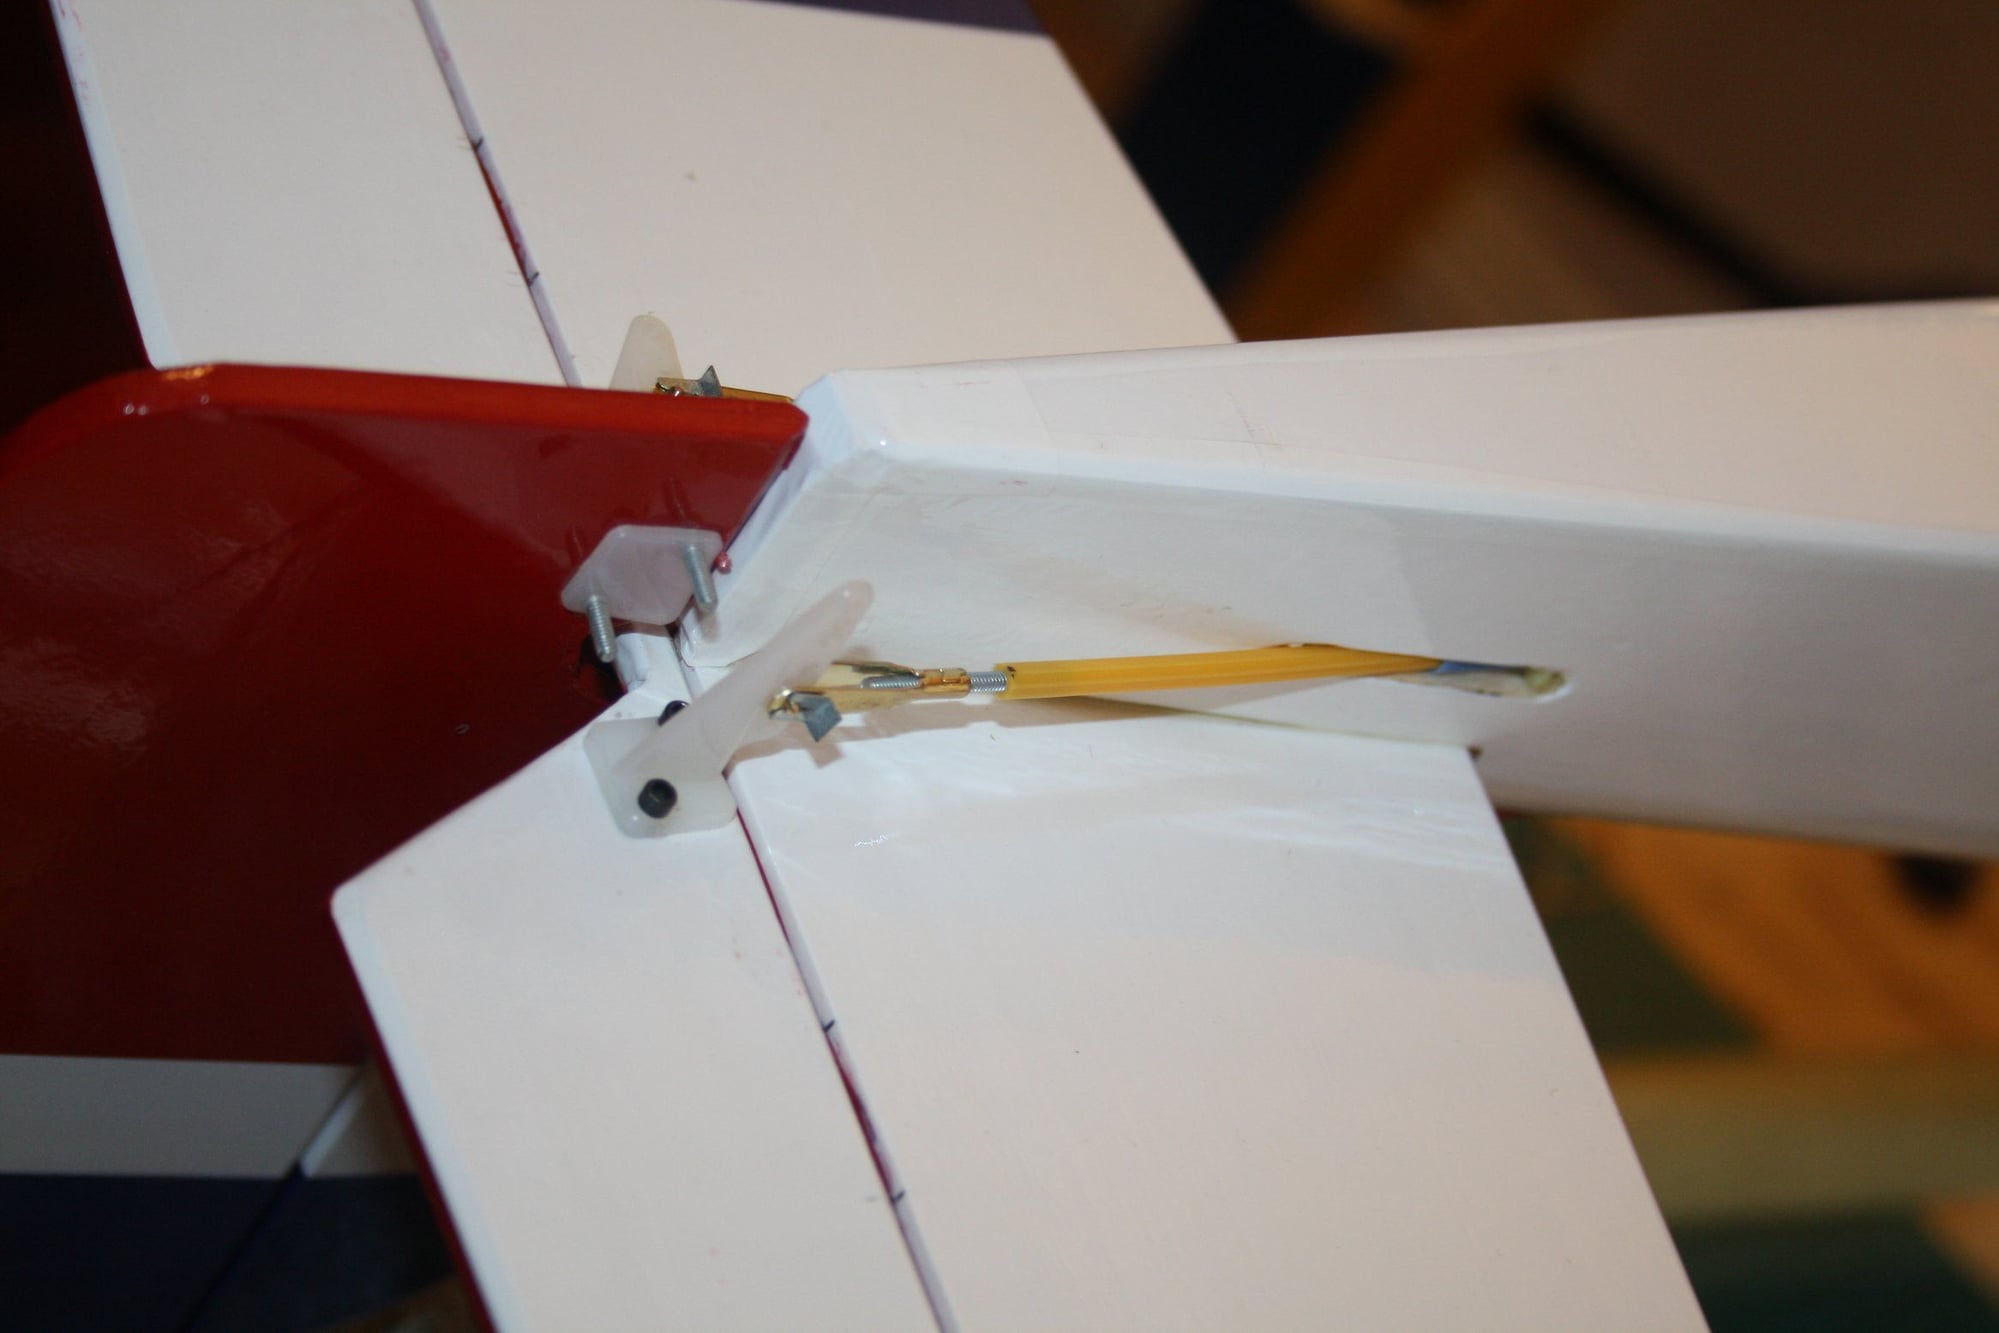
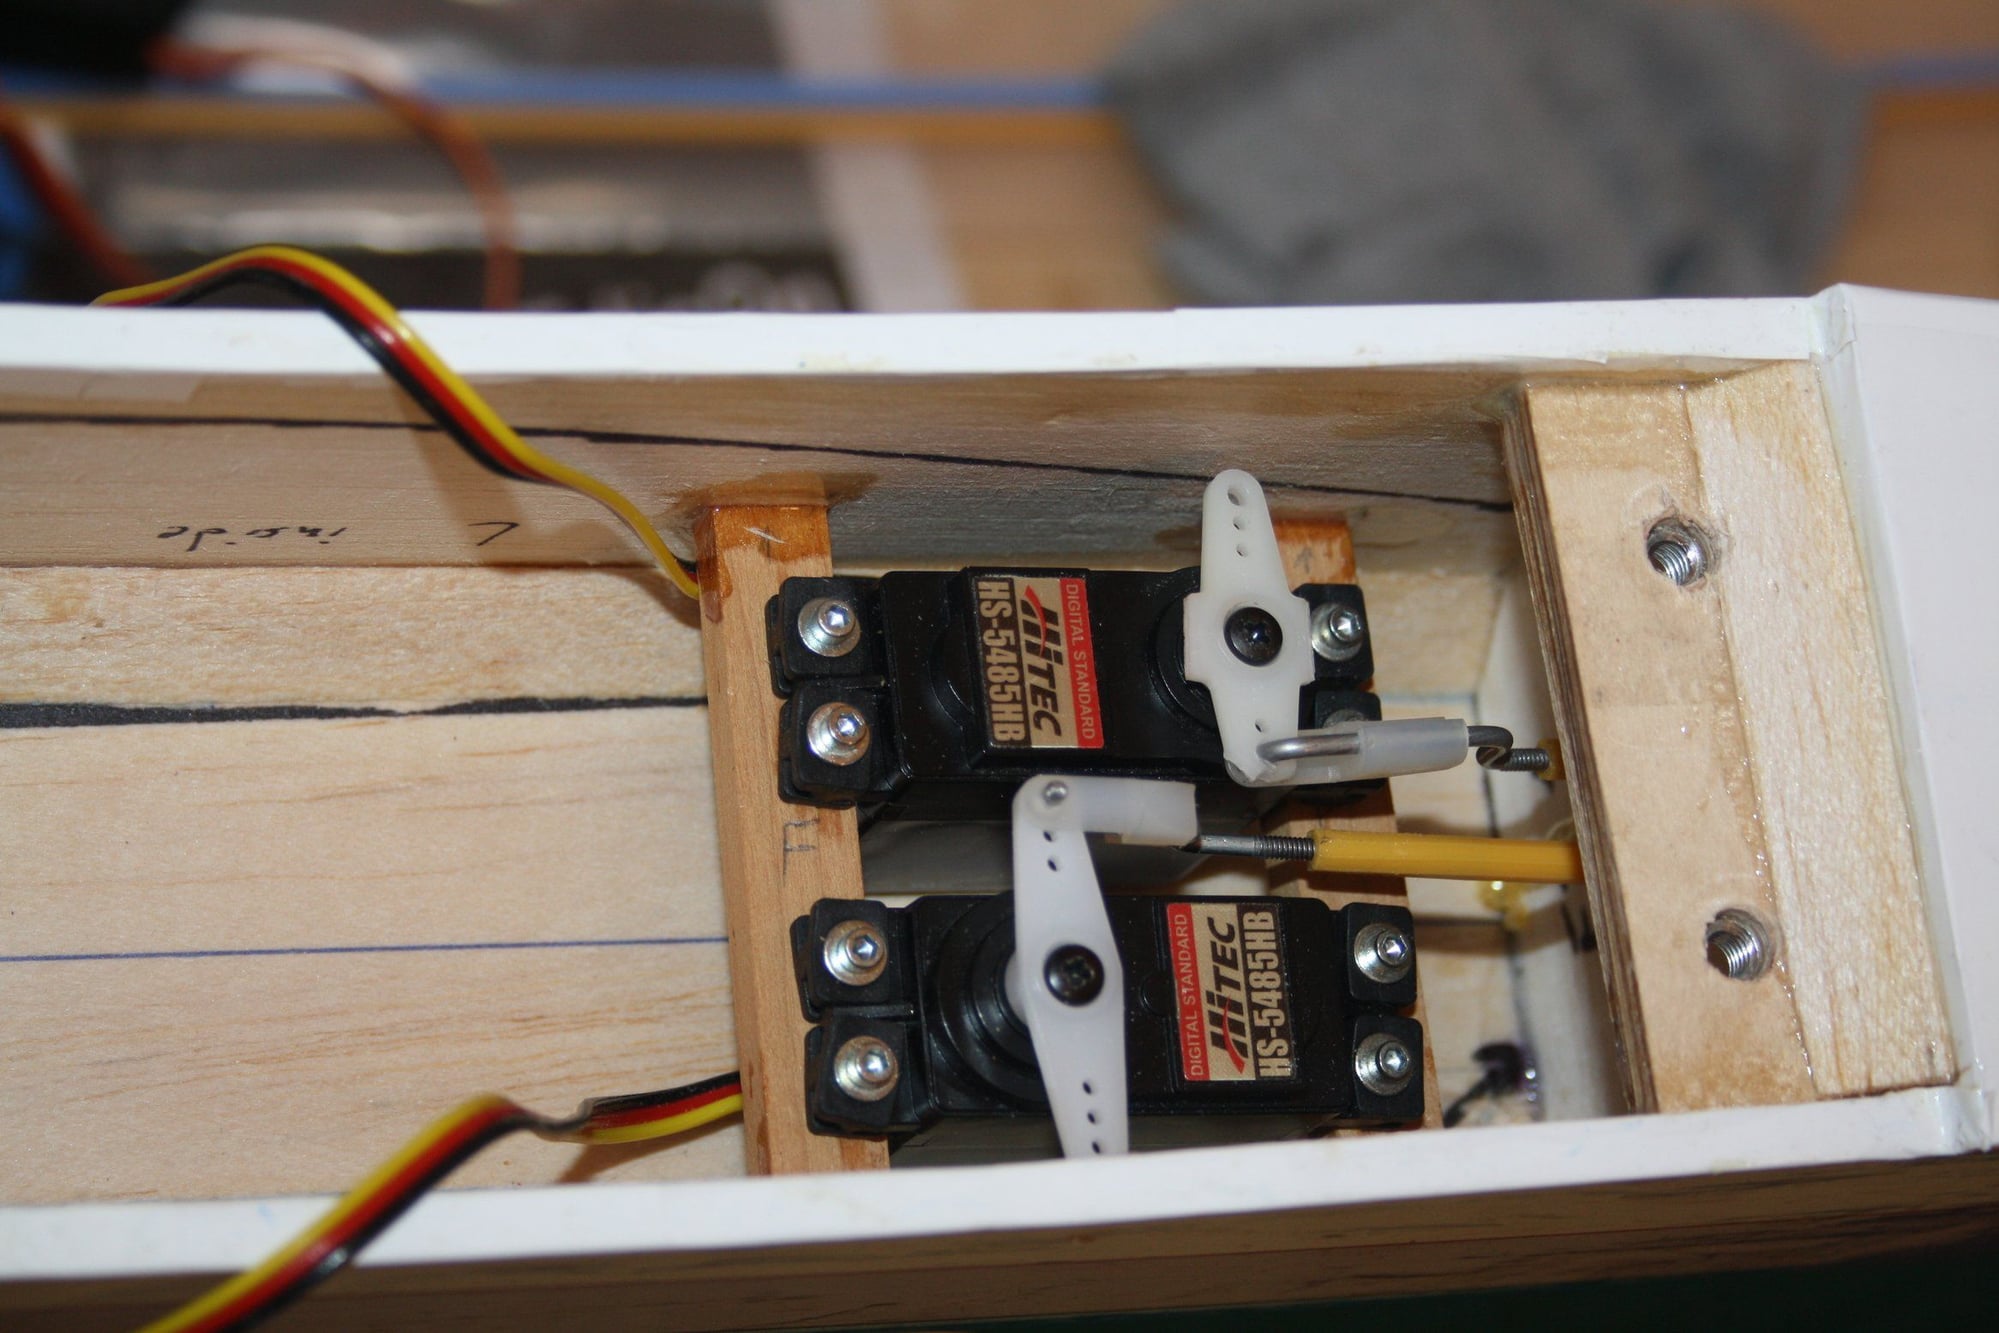
Once done, the servos were screwed into place and the "snake" linkages connected.
Cheers,
Eran