


New Era III from RCM Plans
 04-22-2018, 04:21 AM
#1

Thread Starter
It has been a while since I completed my Kwik Fli III (http://www.rcuniverse.com/forum/scra...l#post12372259). I was busy assembling a large ARF Hangar 9 Cessna for a friend, but now as it is nearing completion I was craving cutting some balsa.
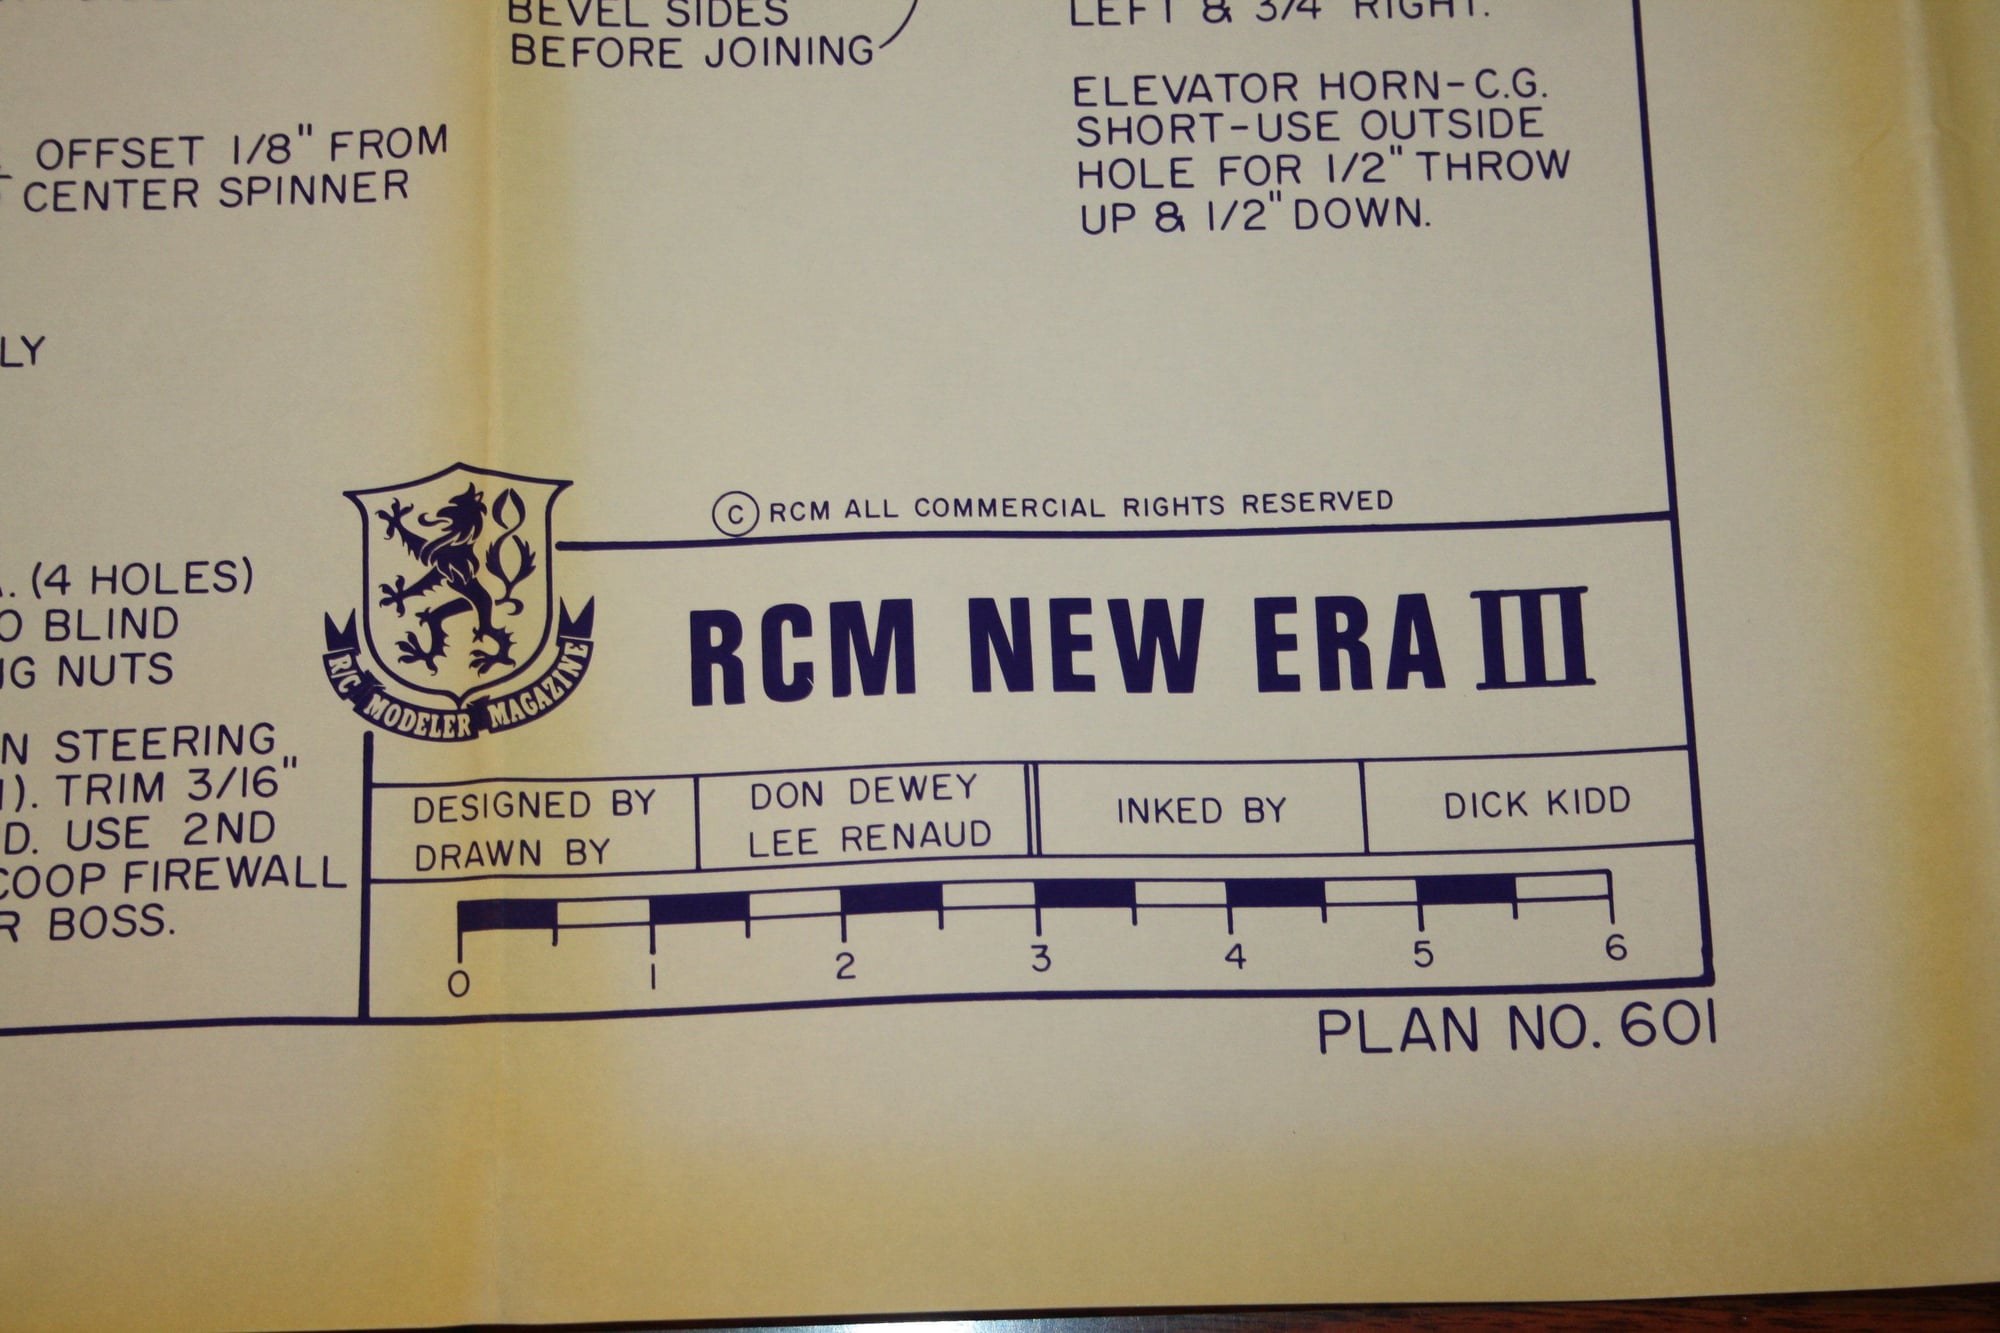
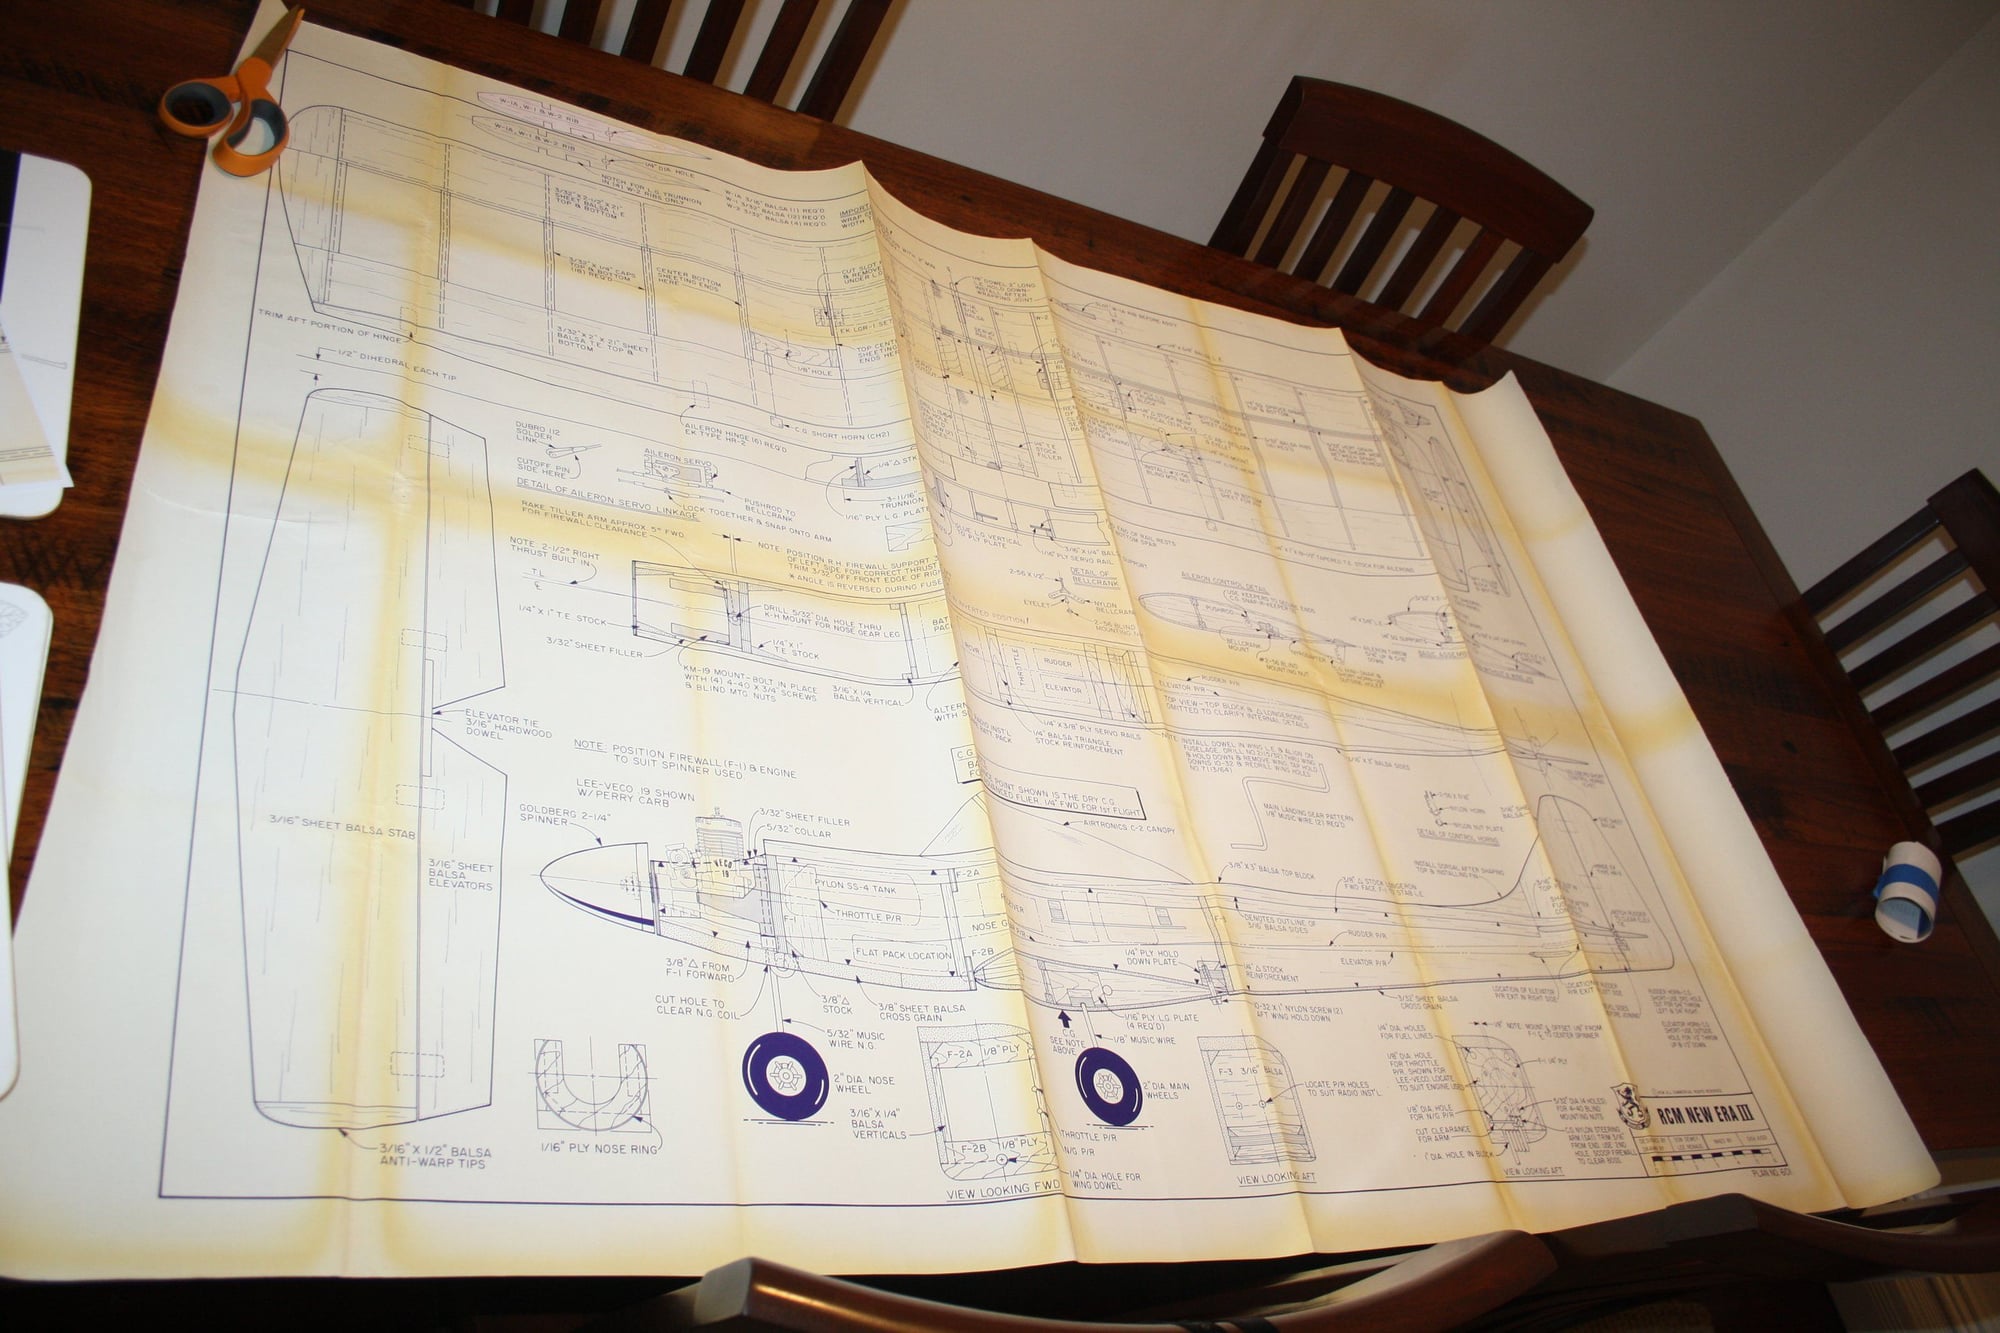
Looking around my "Cave" for inspiration, I suddenly remembered that I still have my old RCM plans which I bought in the late 80's. One of the plans I bought at the time was Don Dewey design New Era III "pattern" style aeroplane (Plan No. 601).
Published on June 1975, this should be a great little project.
So, with the plans reviewed, I'll make a start.
Cheers,
Eran
 04-23-2018, 03:59 AM
#2
Thread Starter
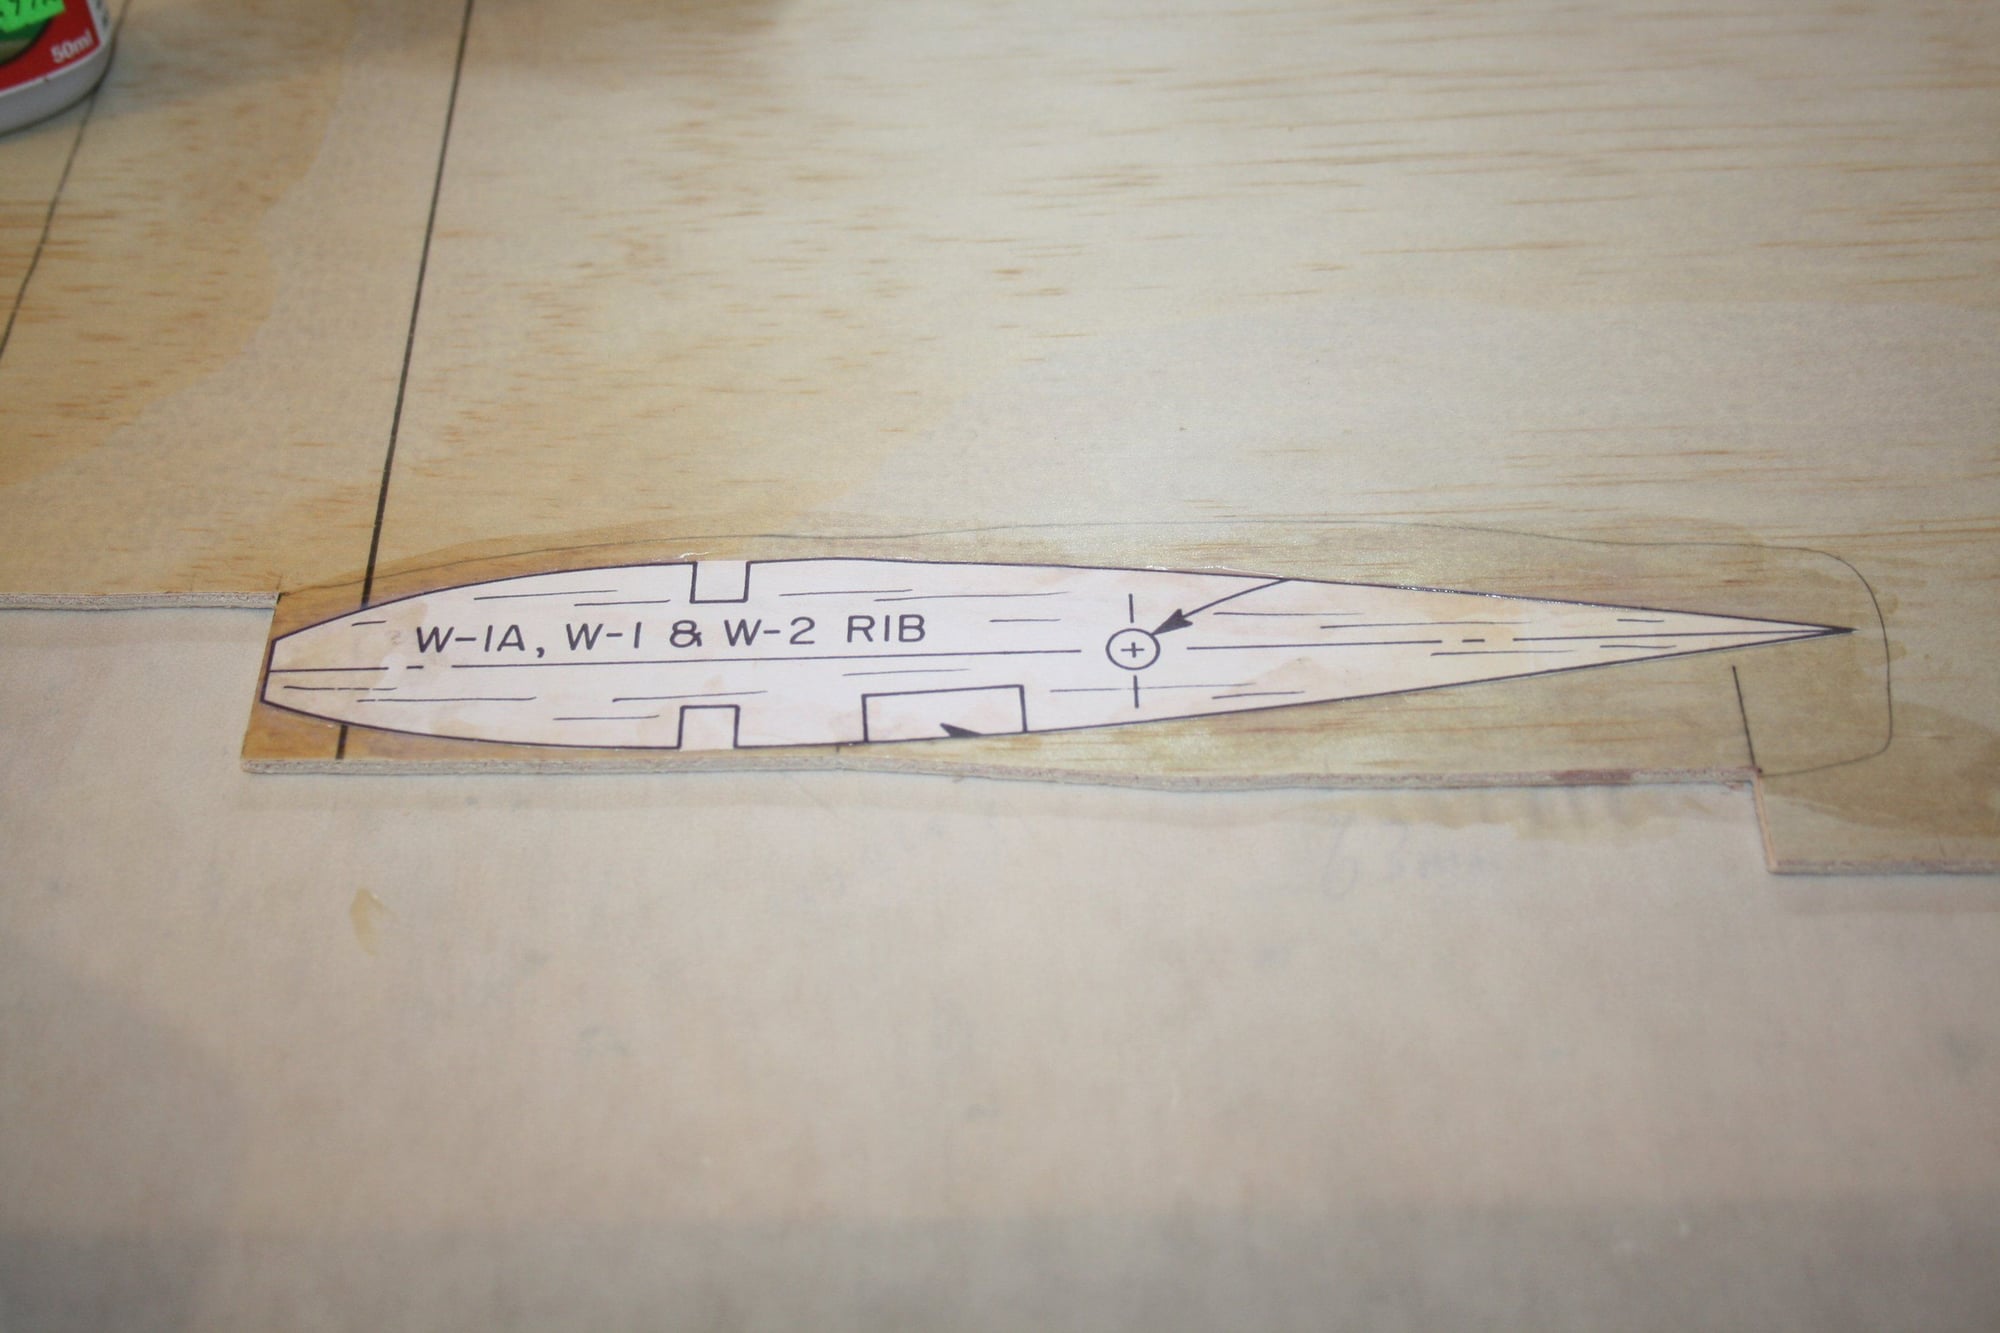
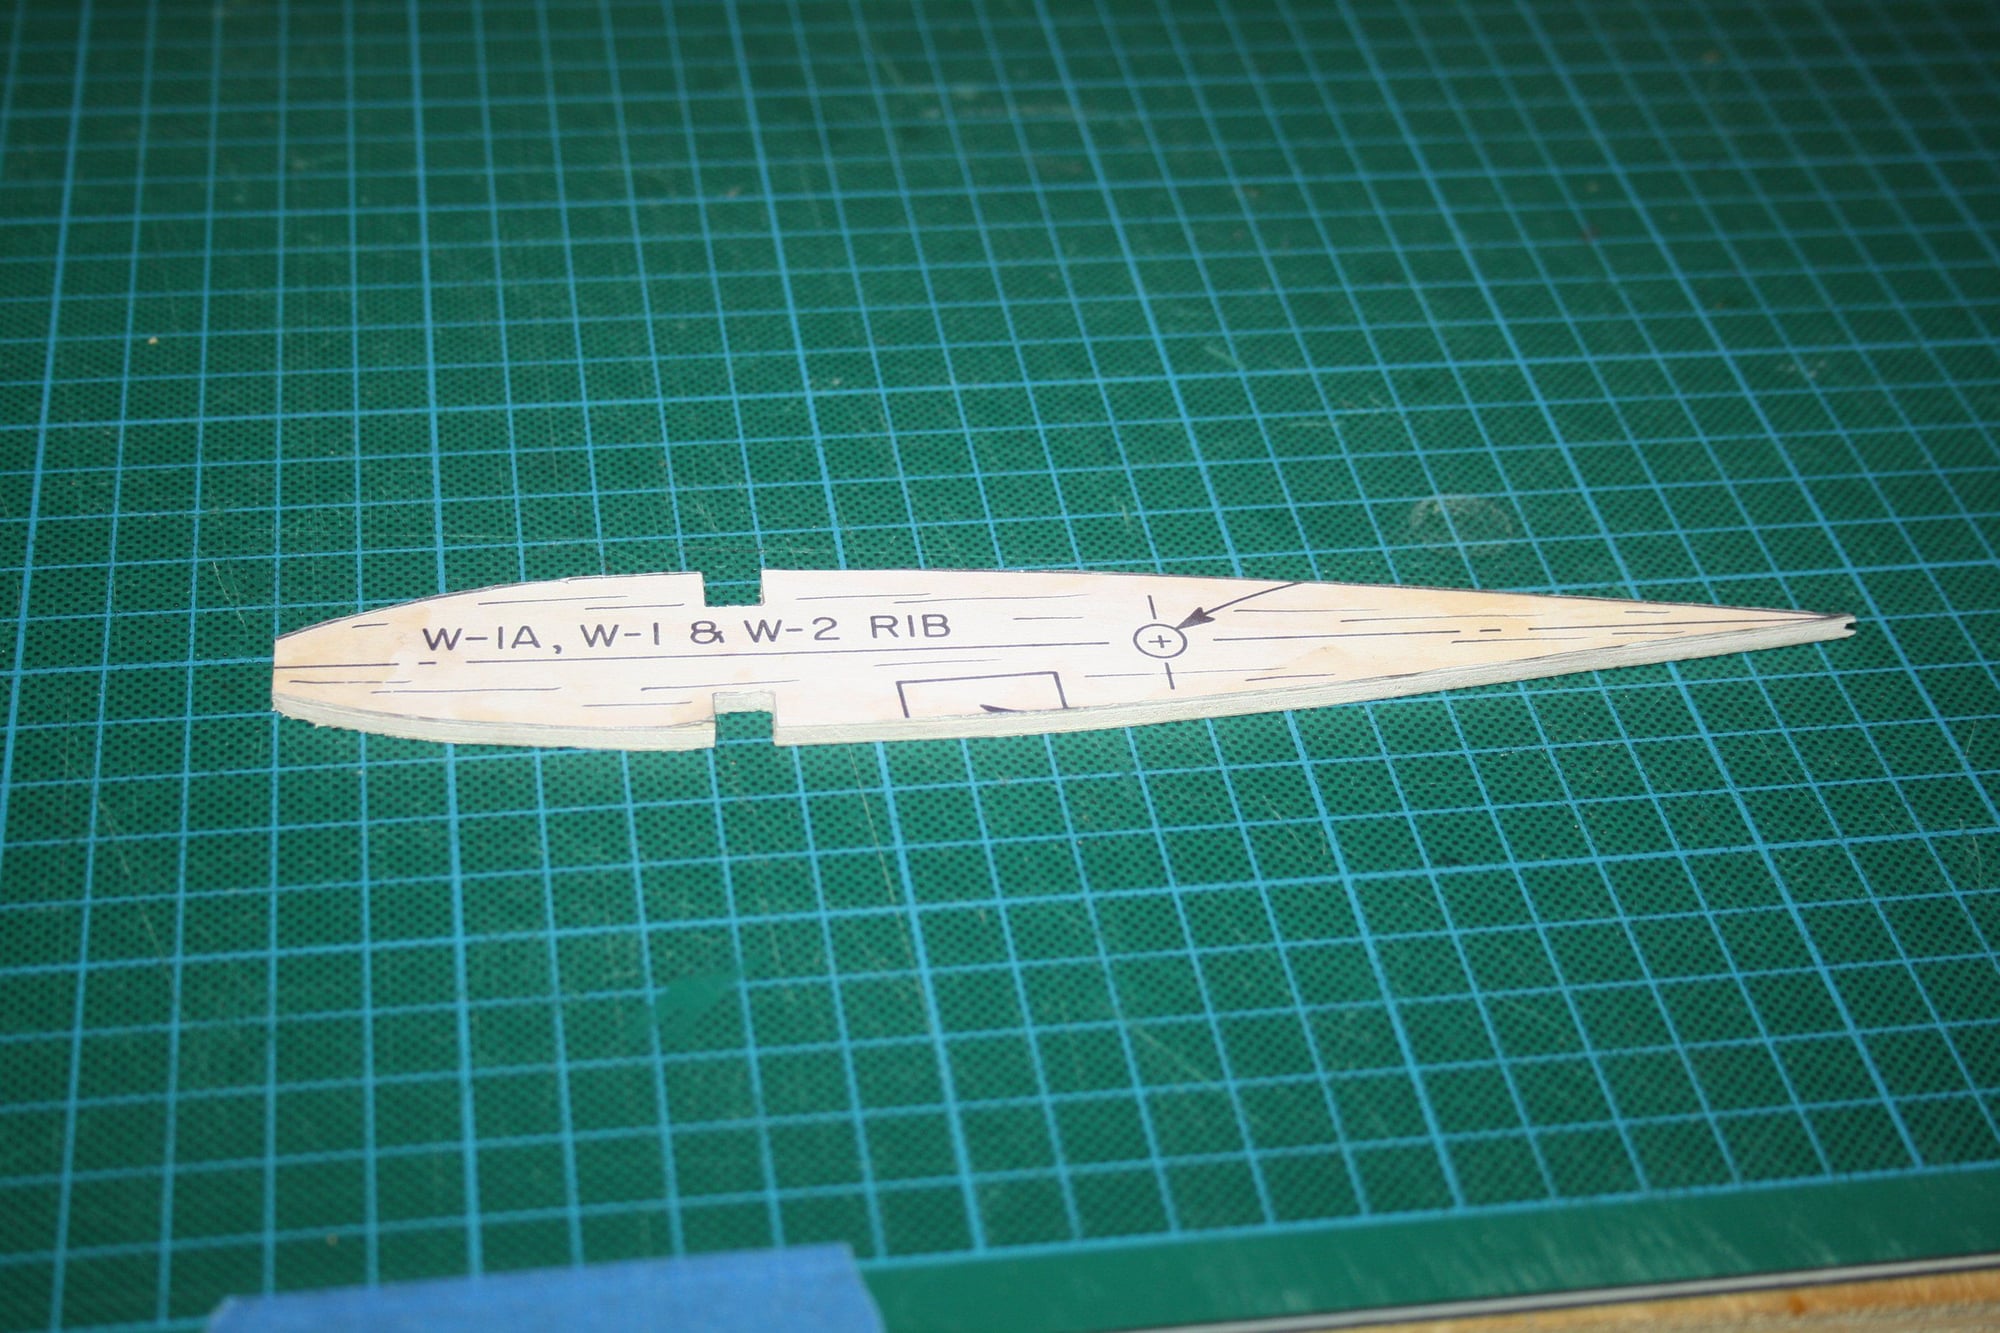
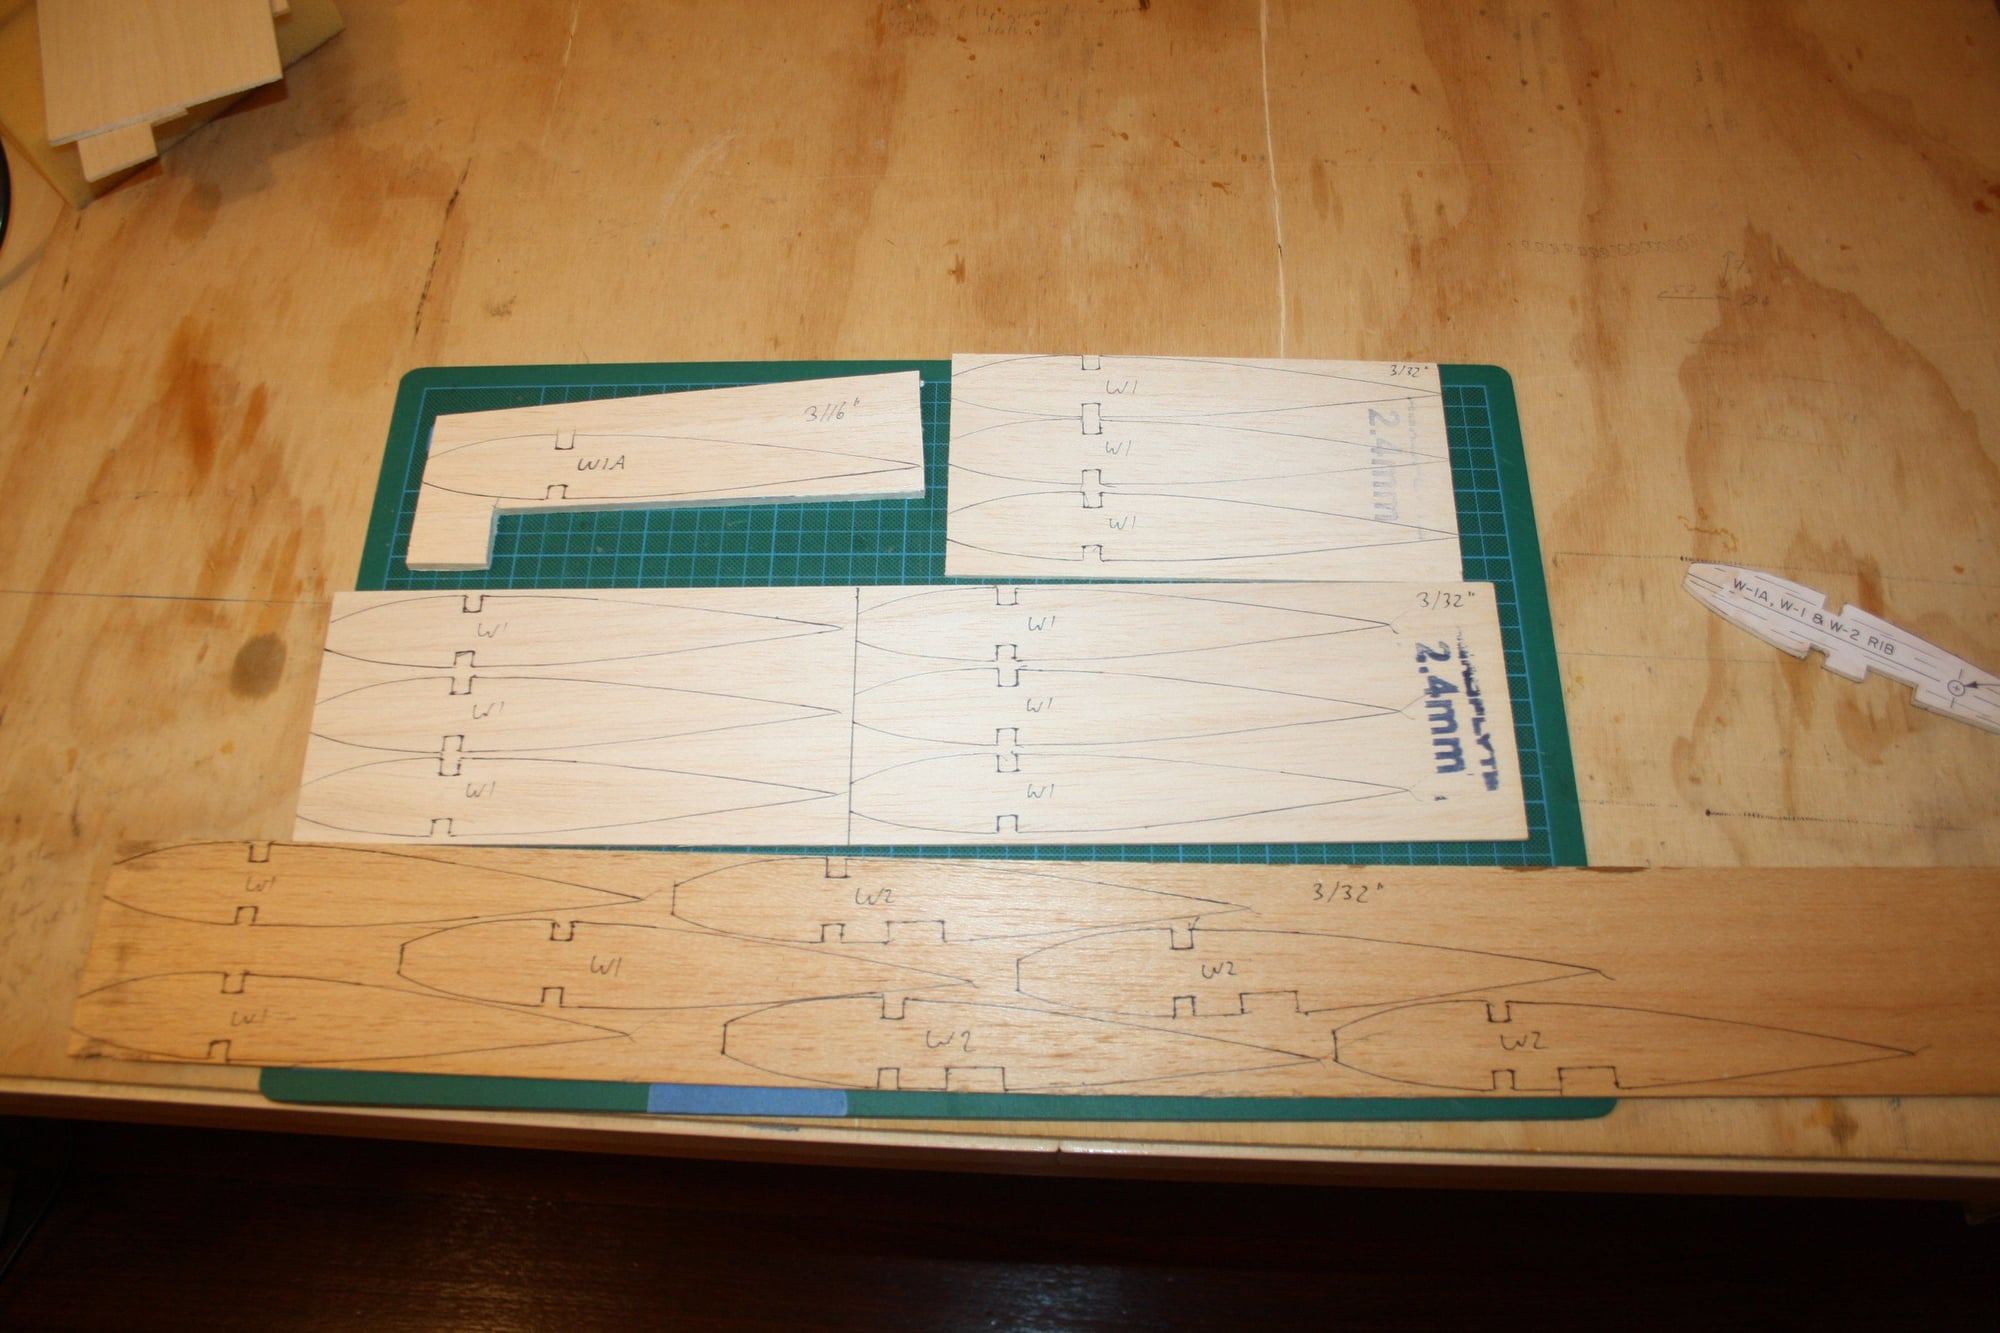
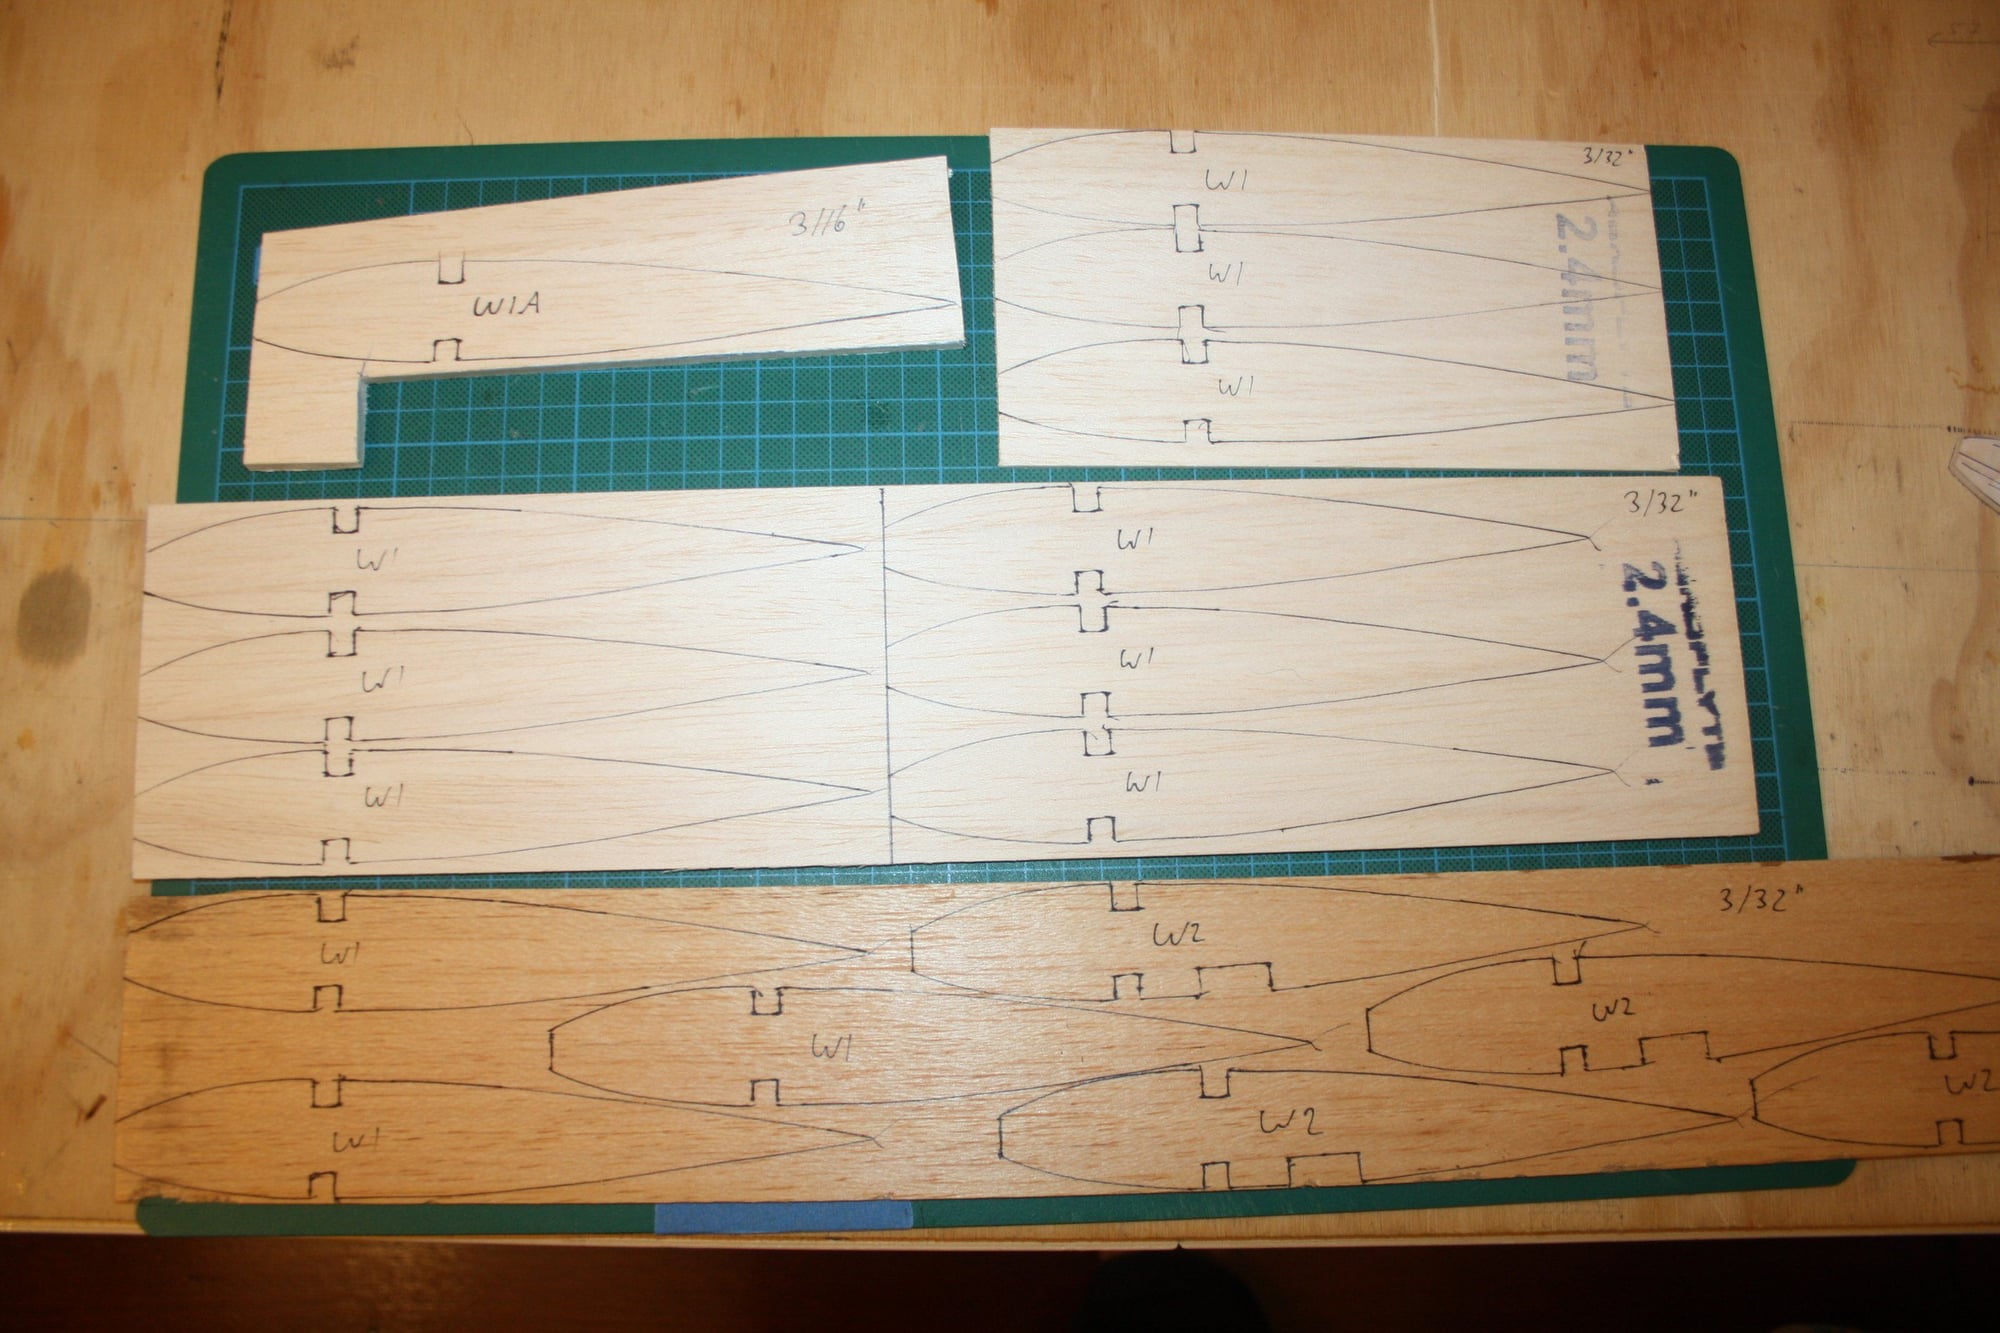
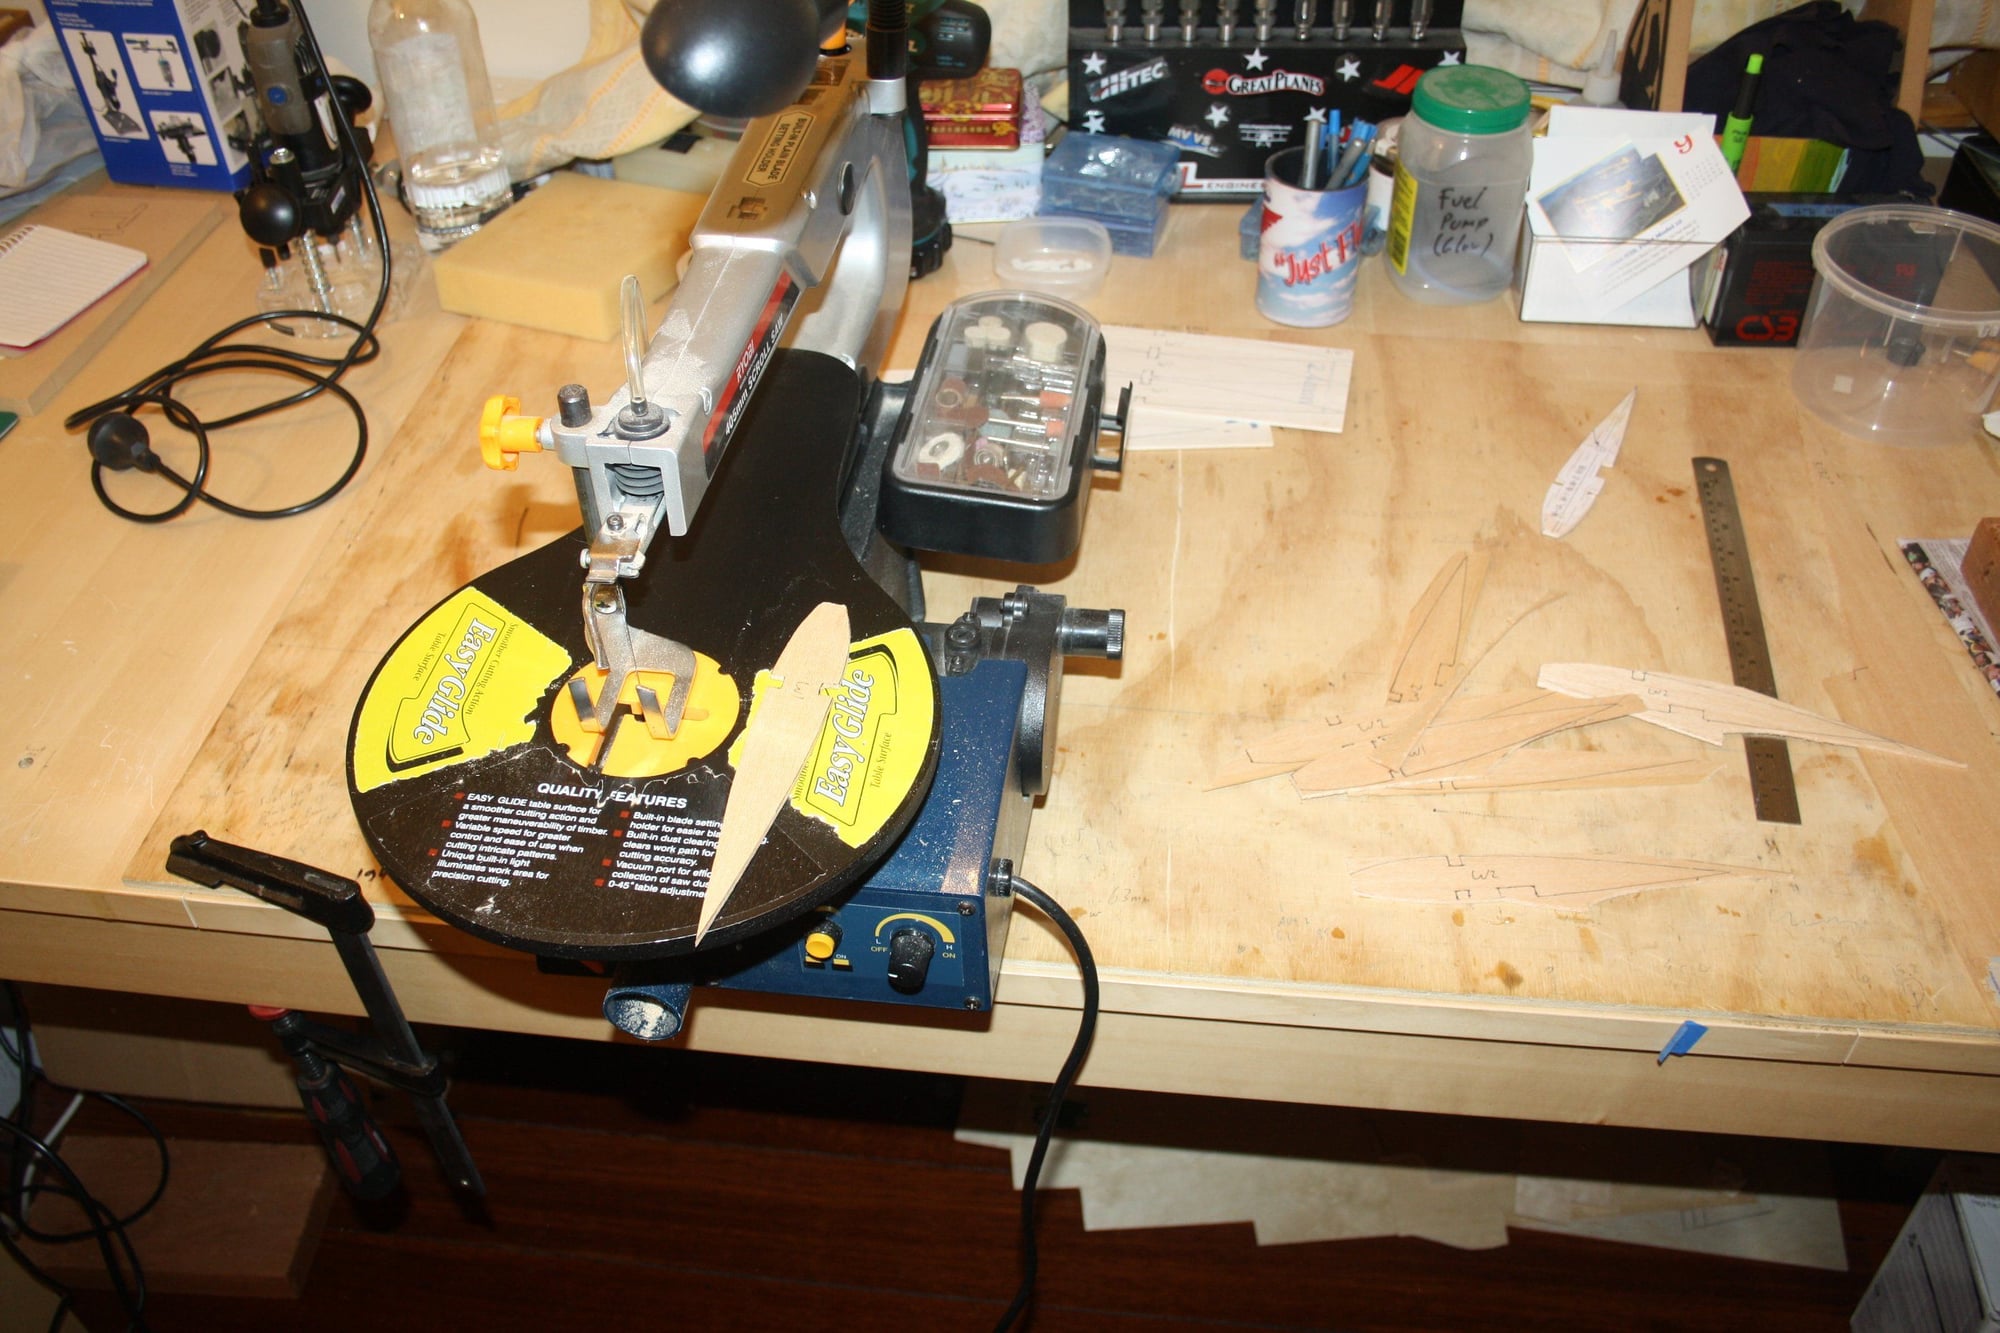
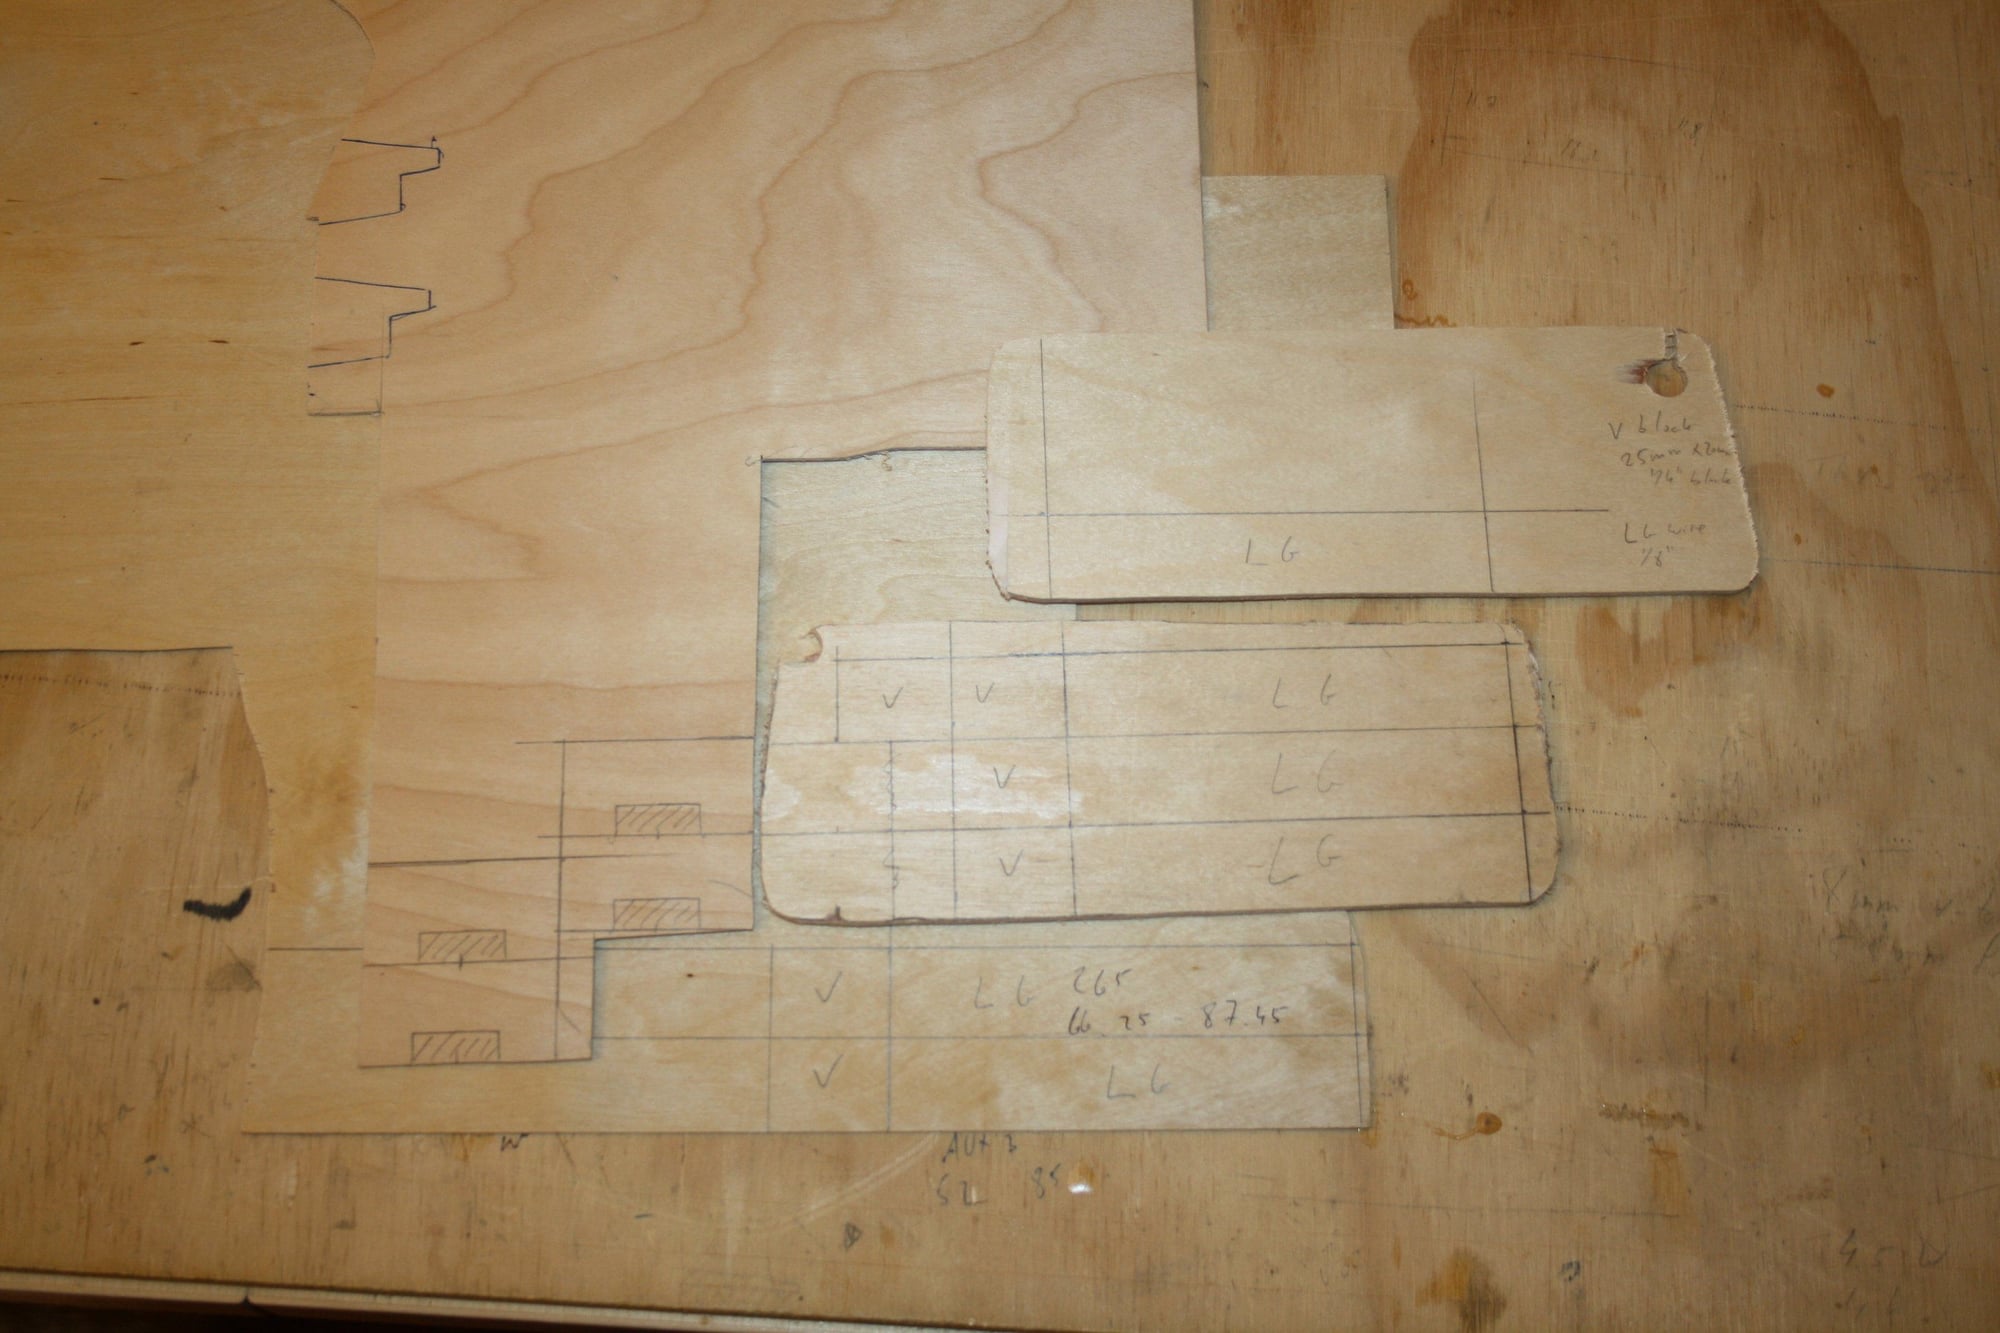
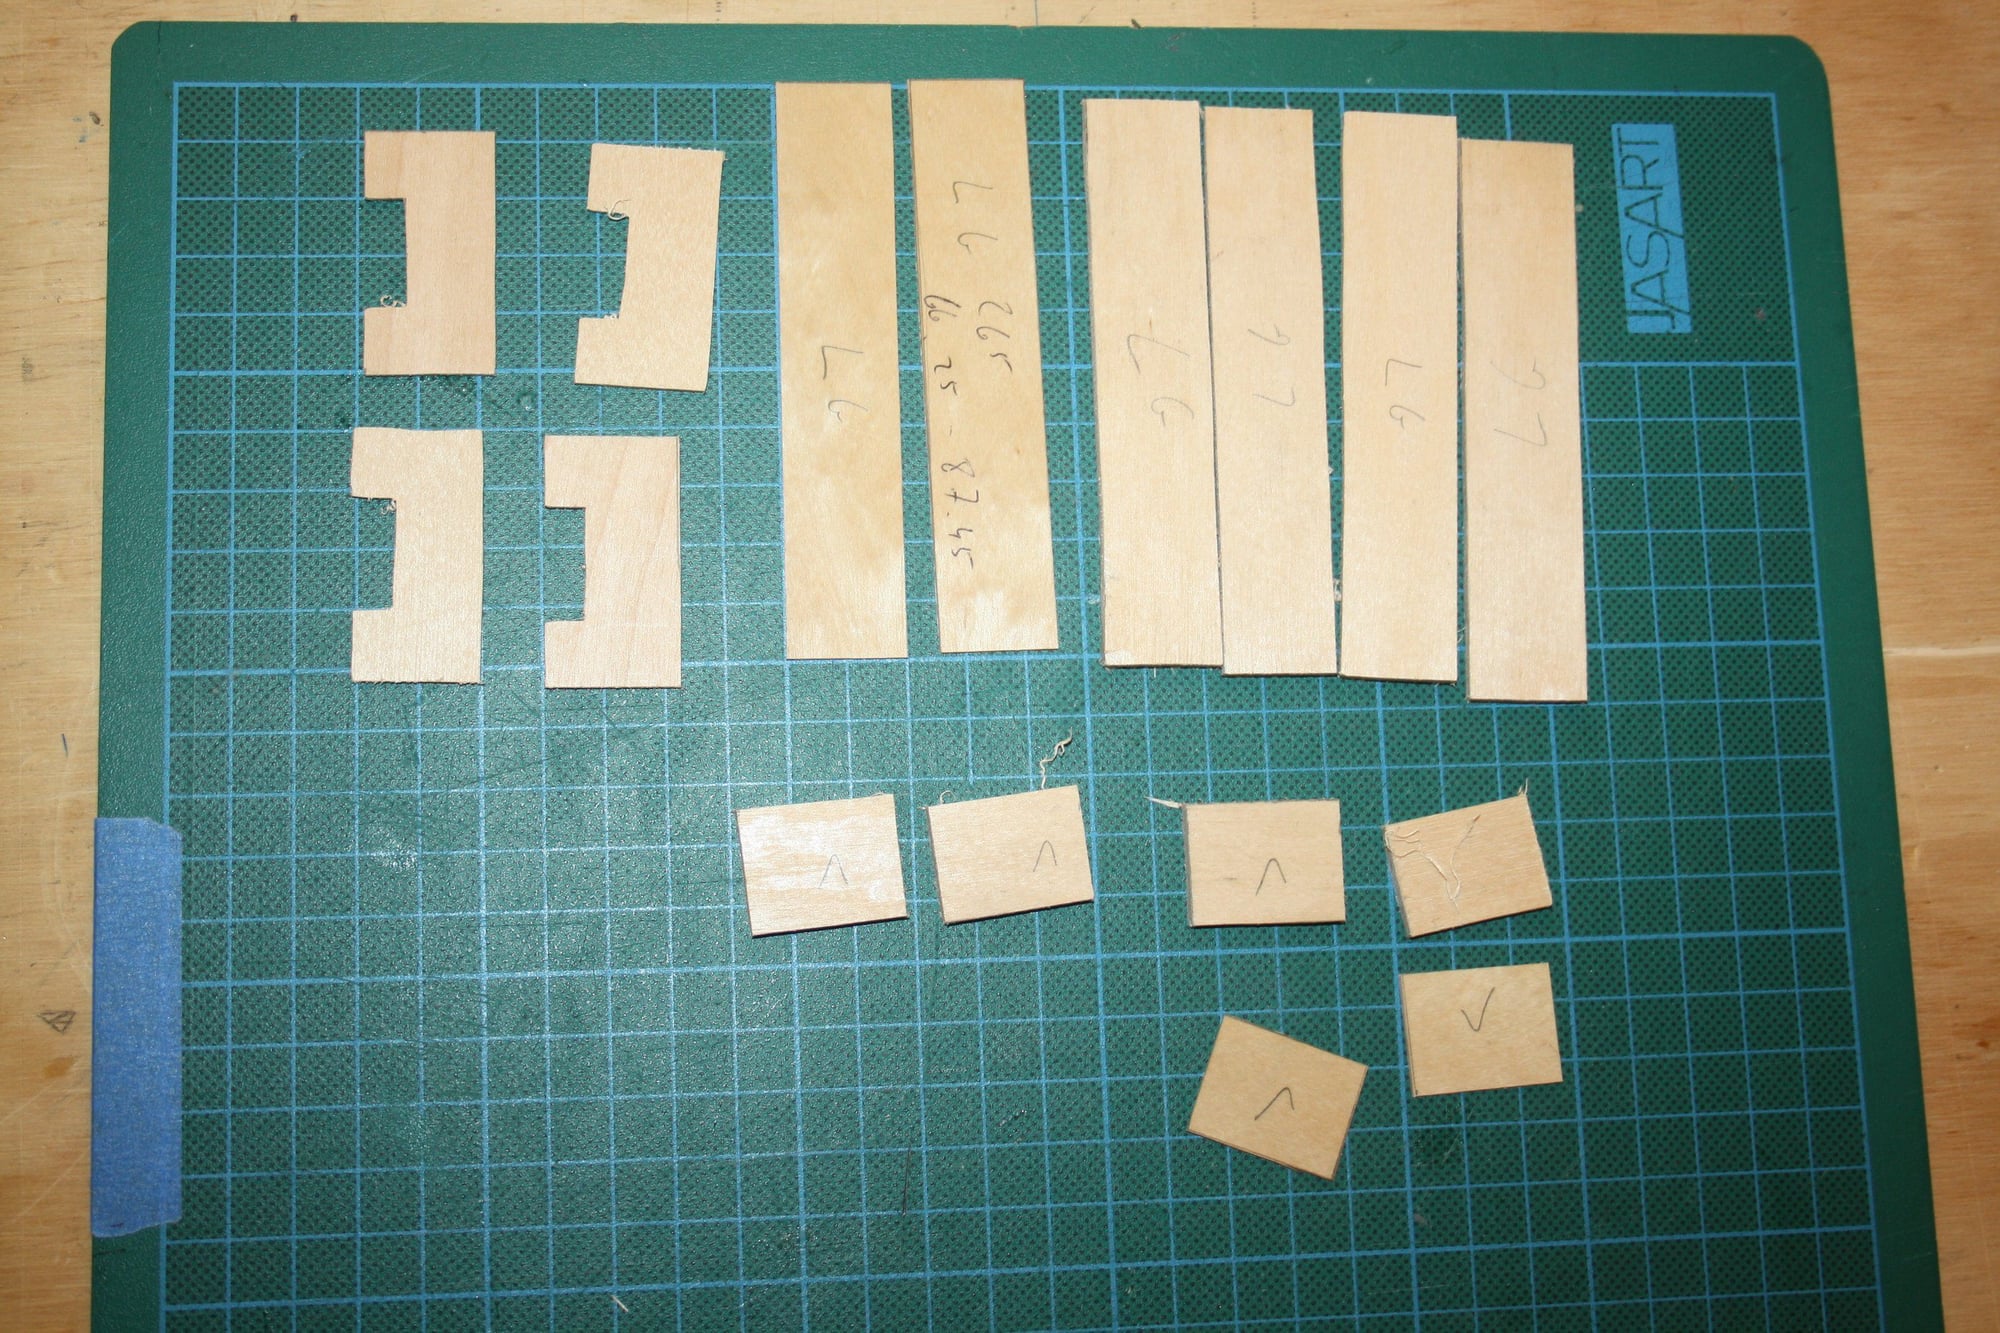
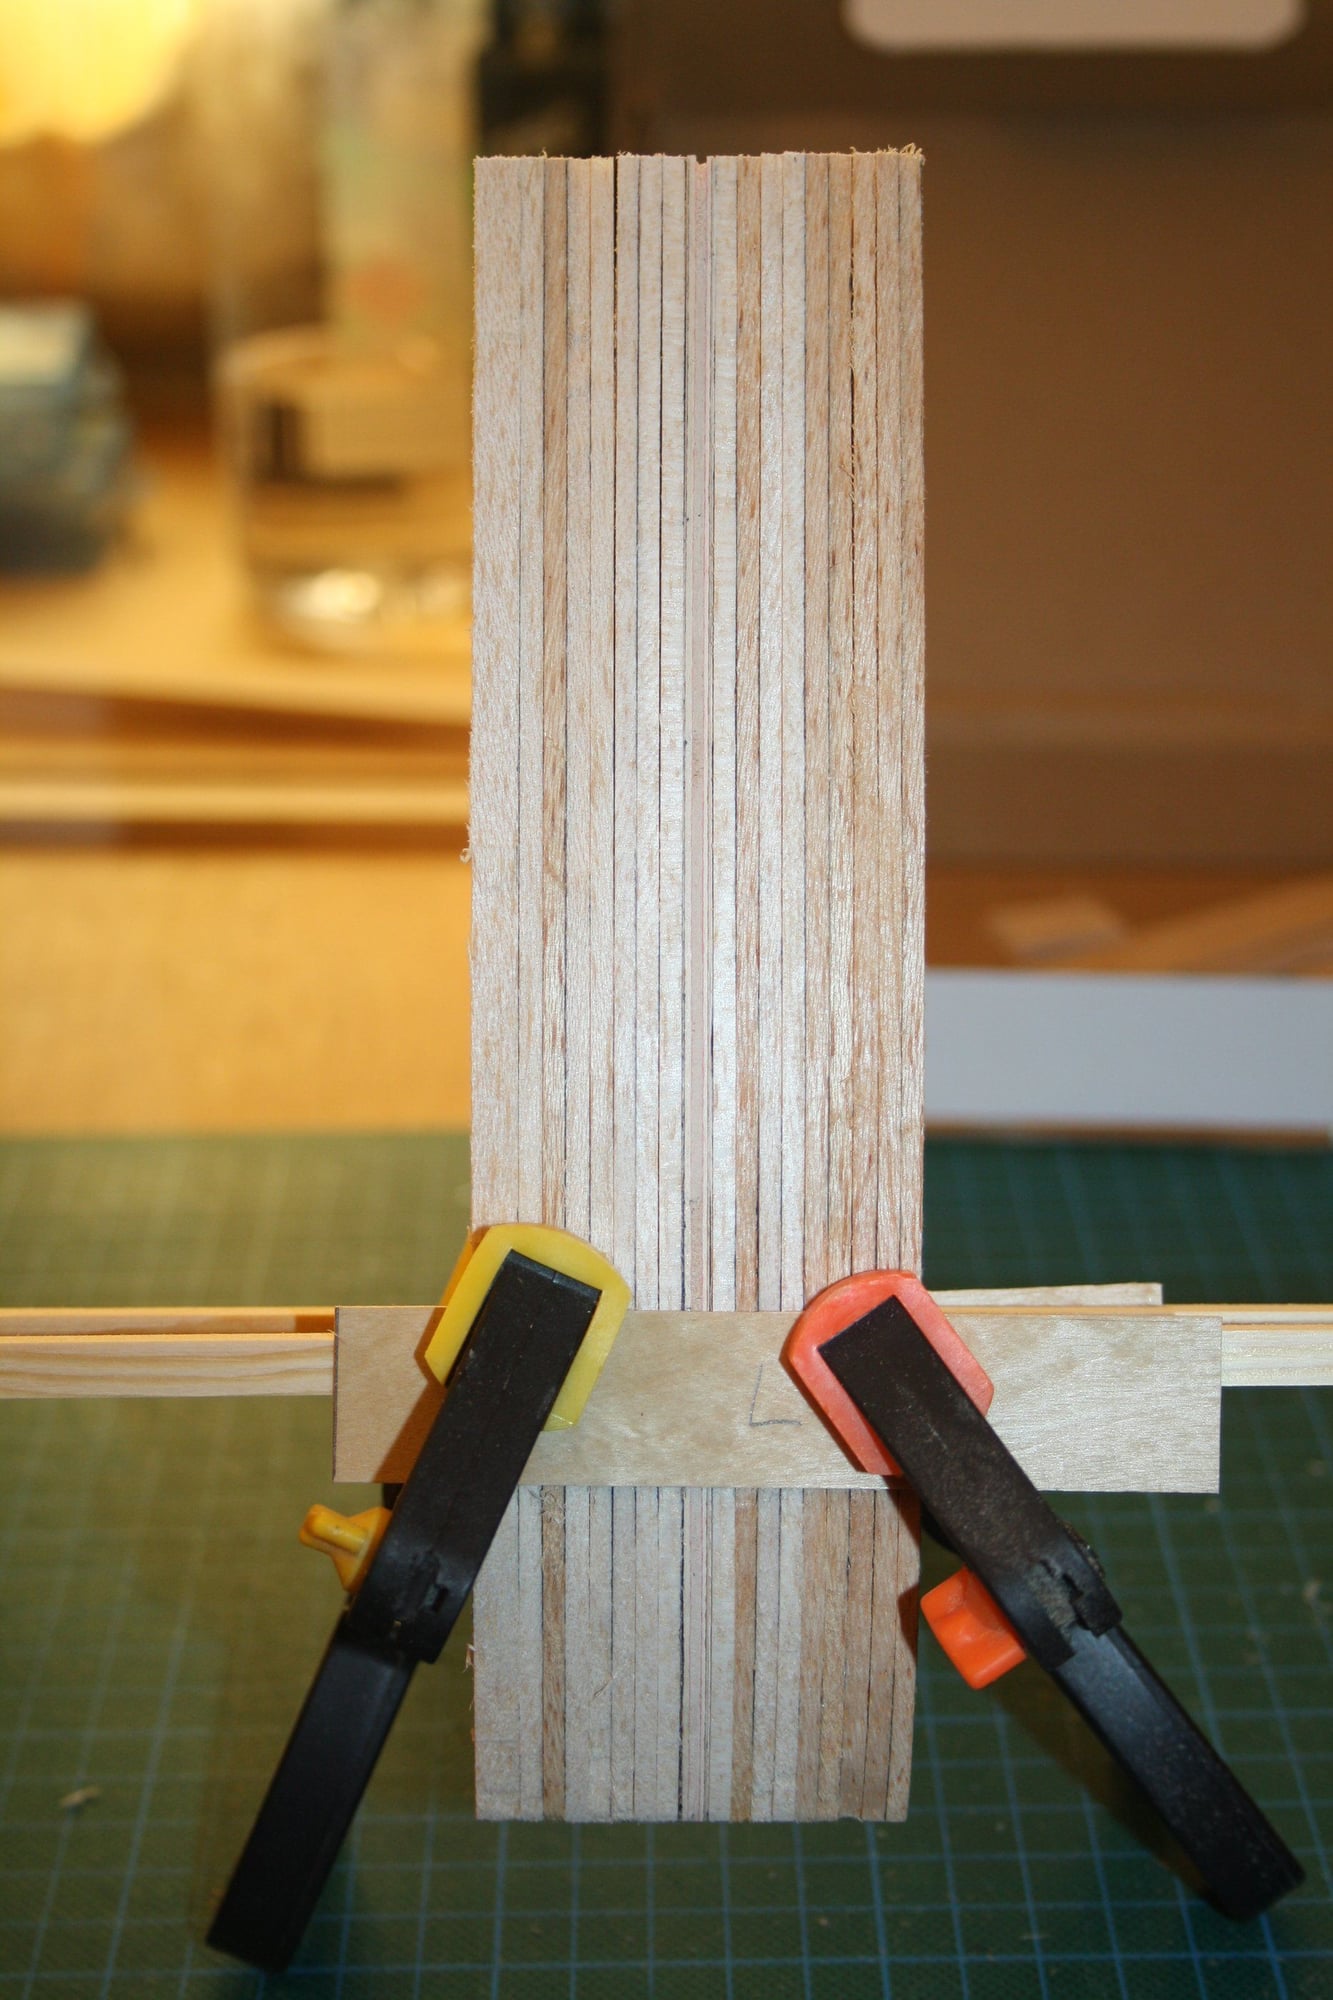
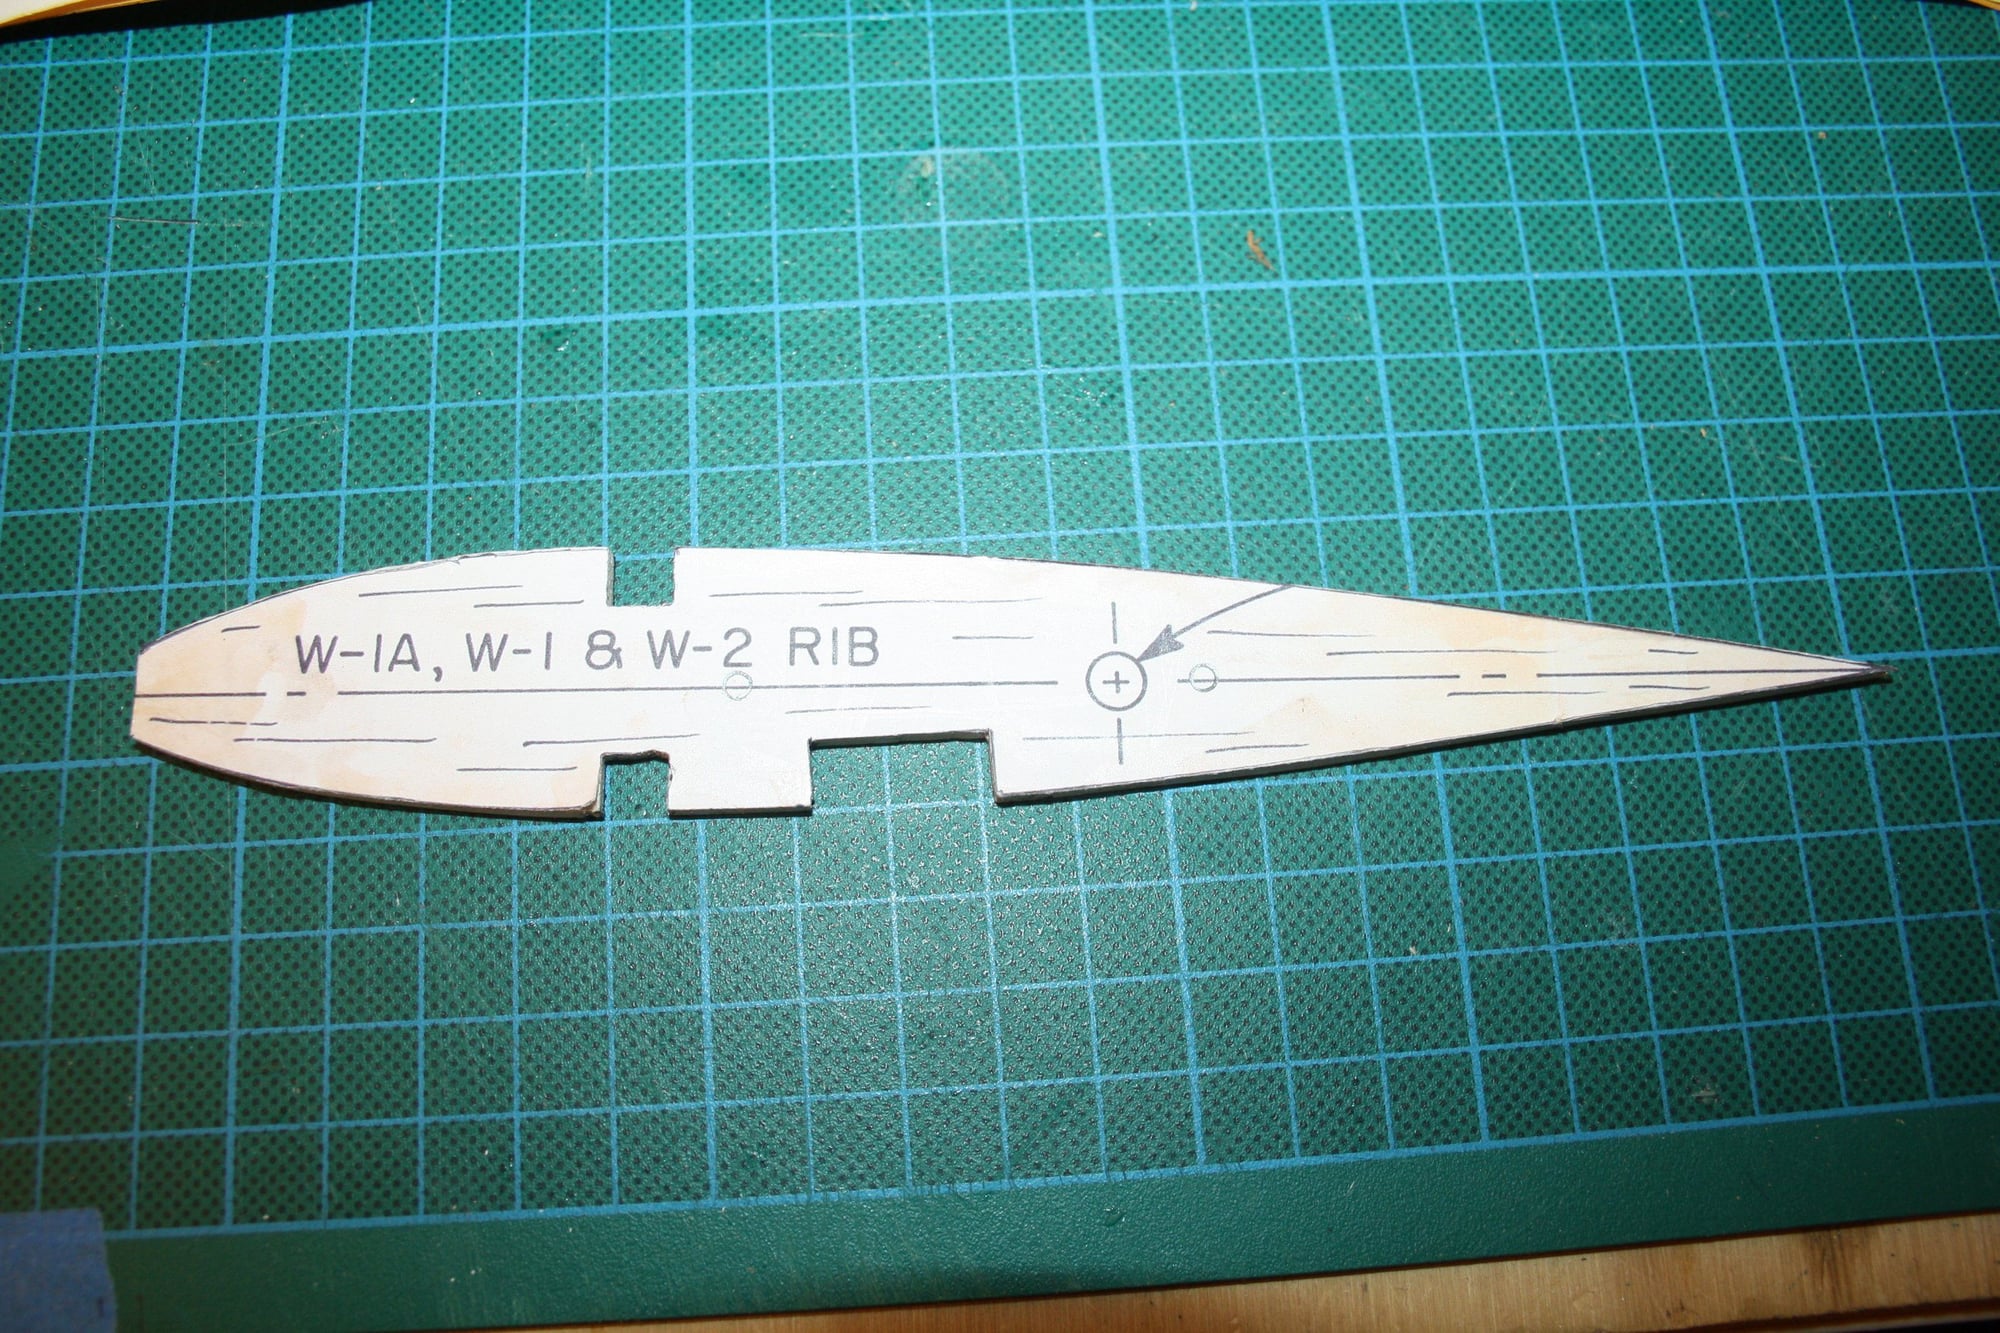
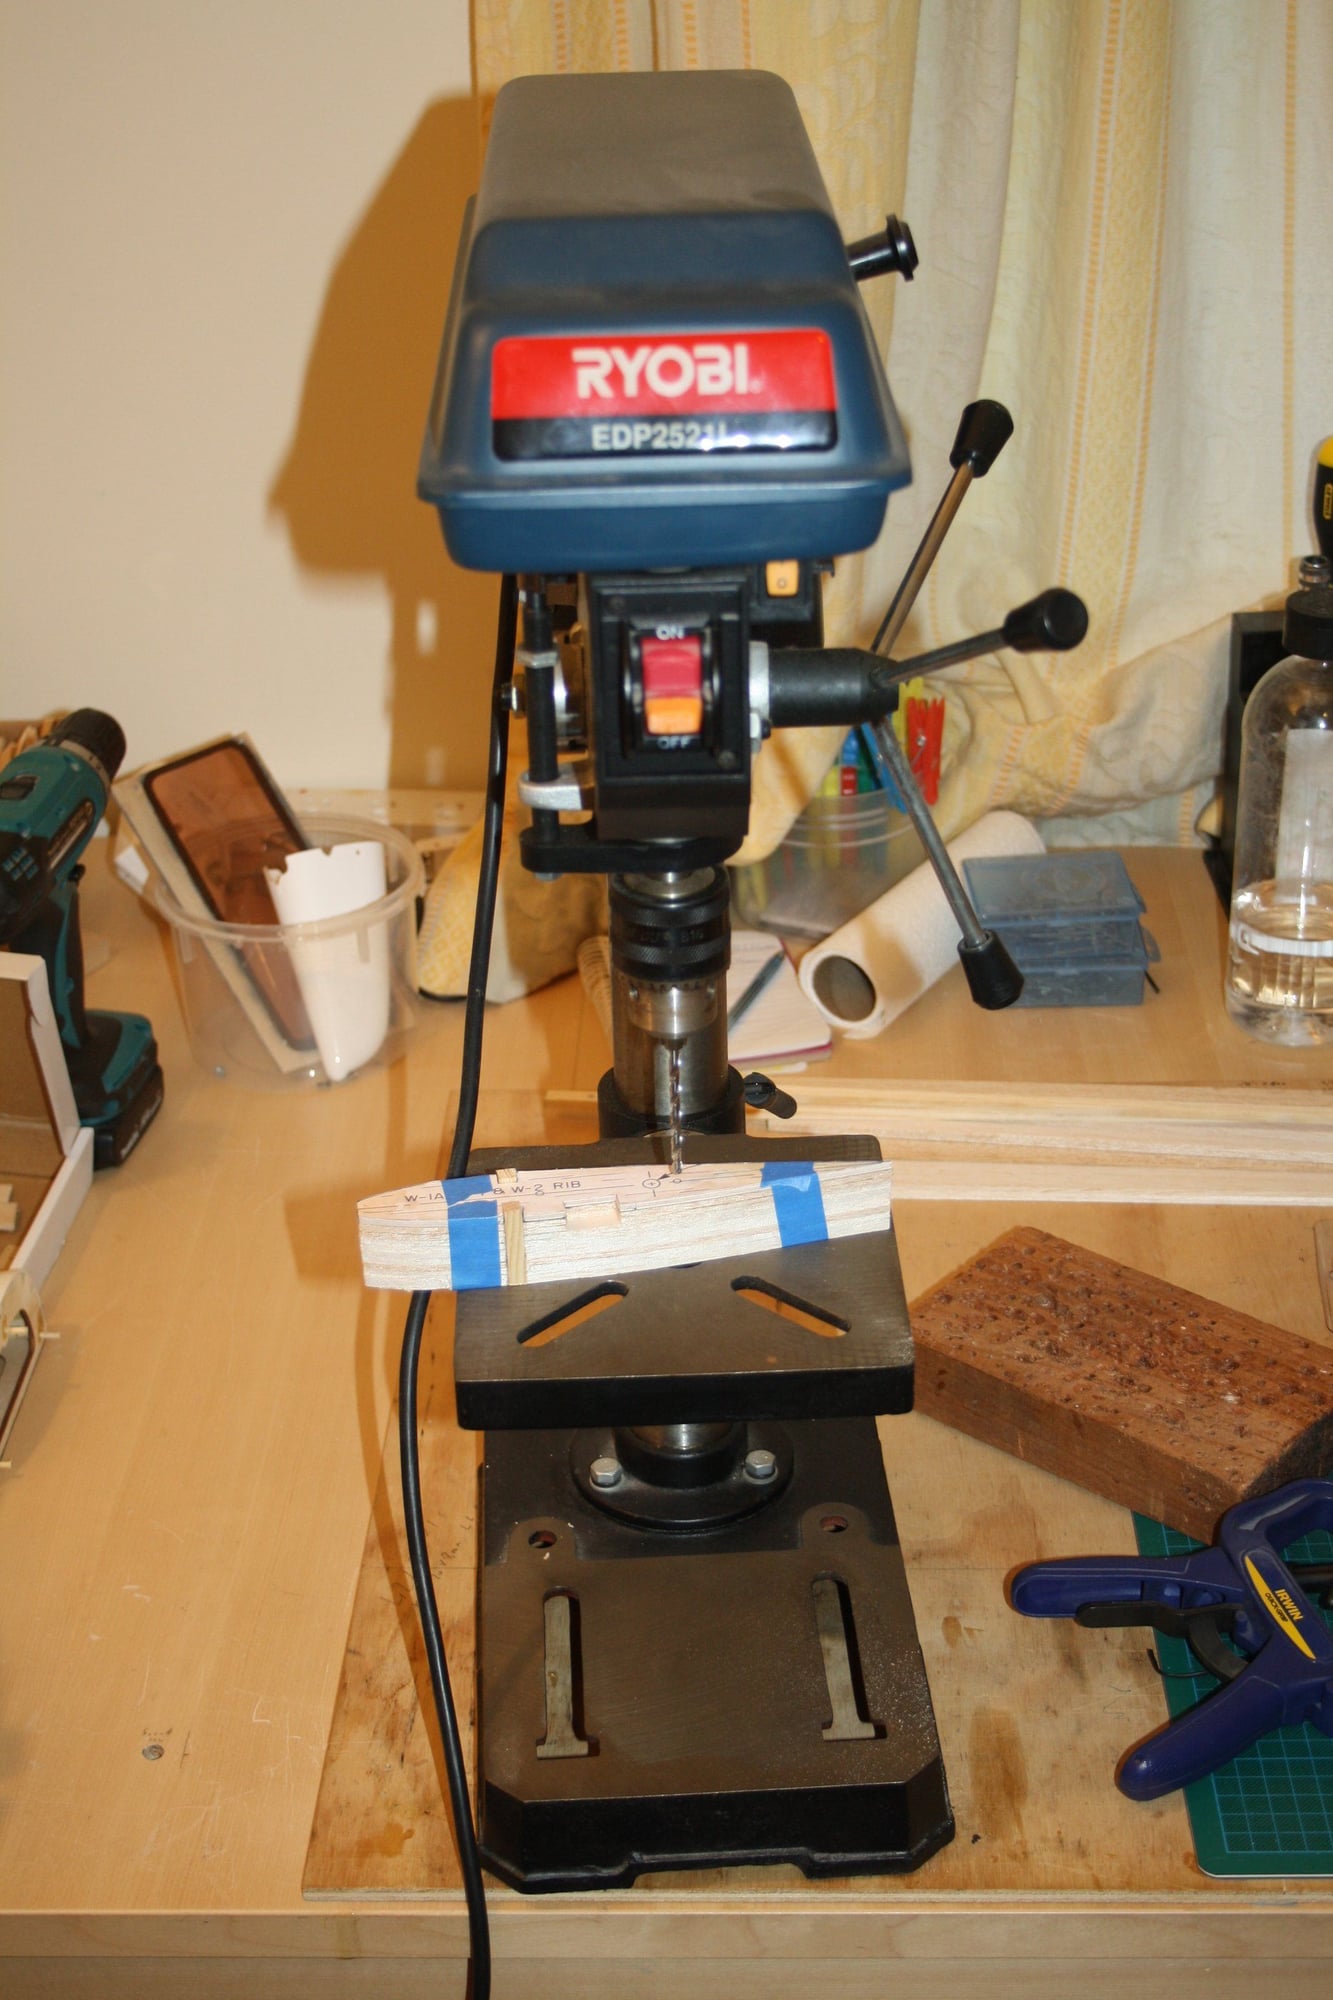
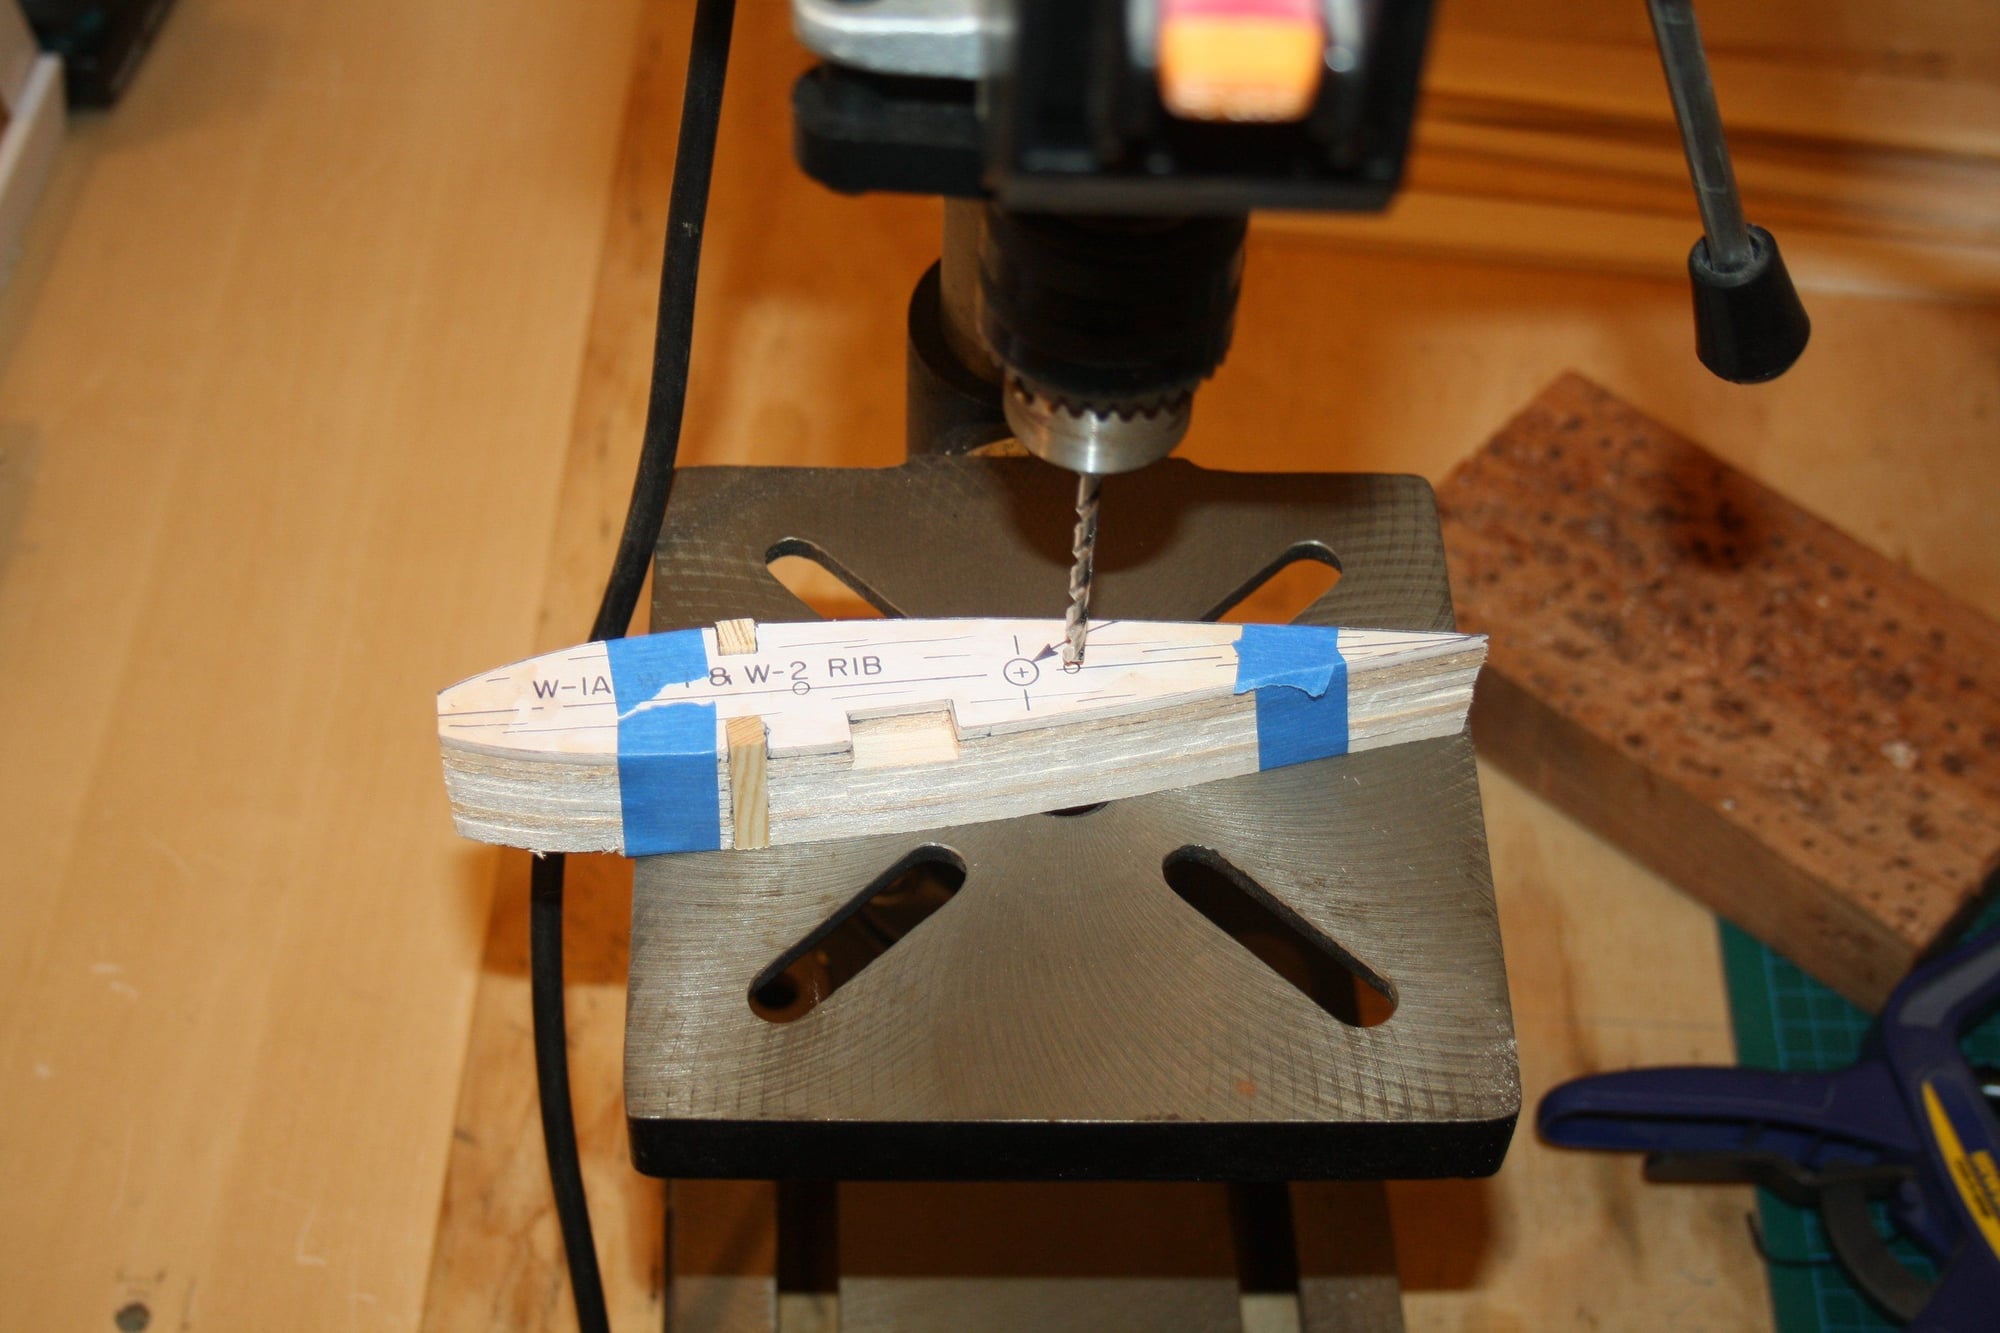
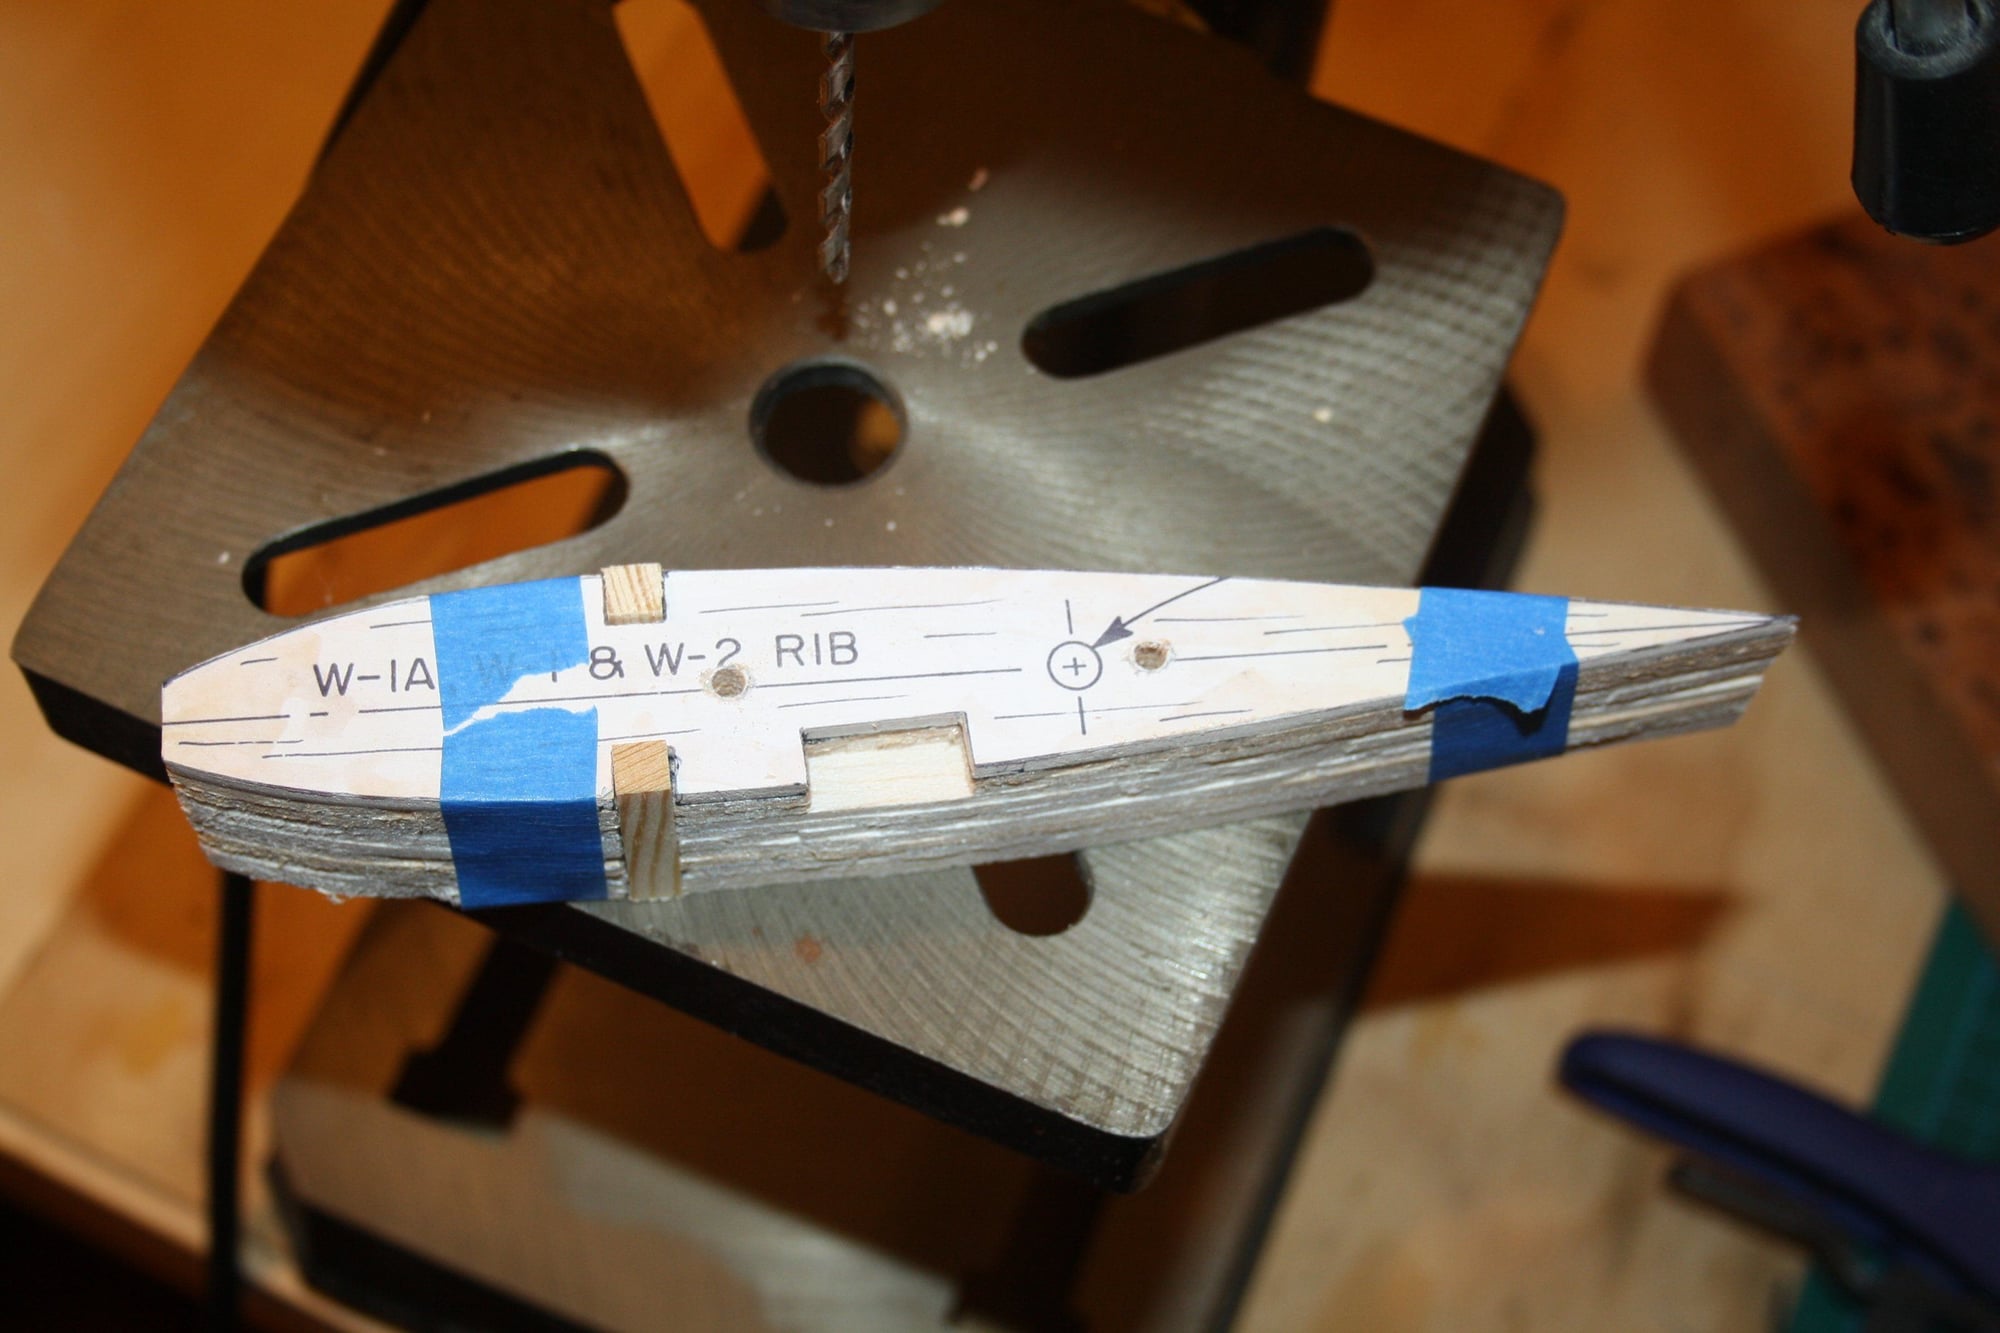
I made a plywood template for the ribs and went through my box of off-cuts to use what is available (and suitable).
Then I pulled a sheet of balsa from my pile. To my surprise it was a Keil Kraft branded sheet... Must be over 40 years old. I got some balsa from a friend couple of years ago and this must have been in his possession since.
All ribs are traced, I am ready to create some balsa dust.
Eran
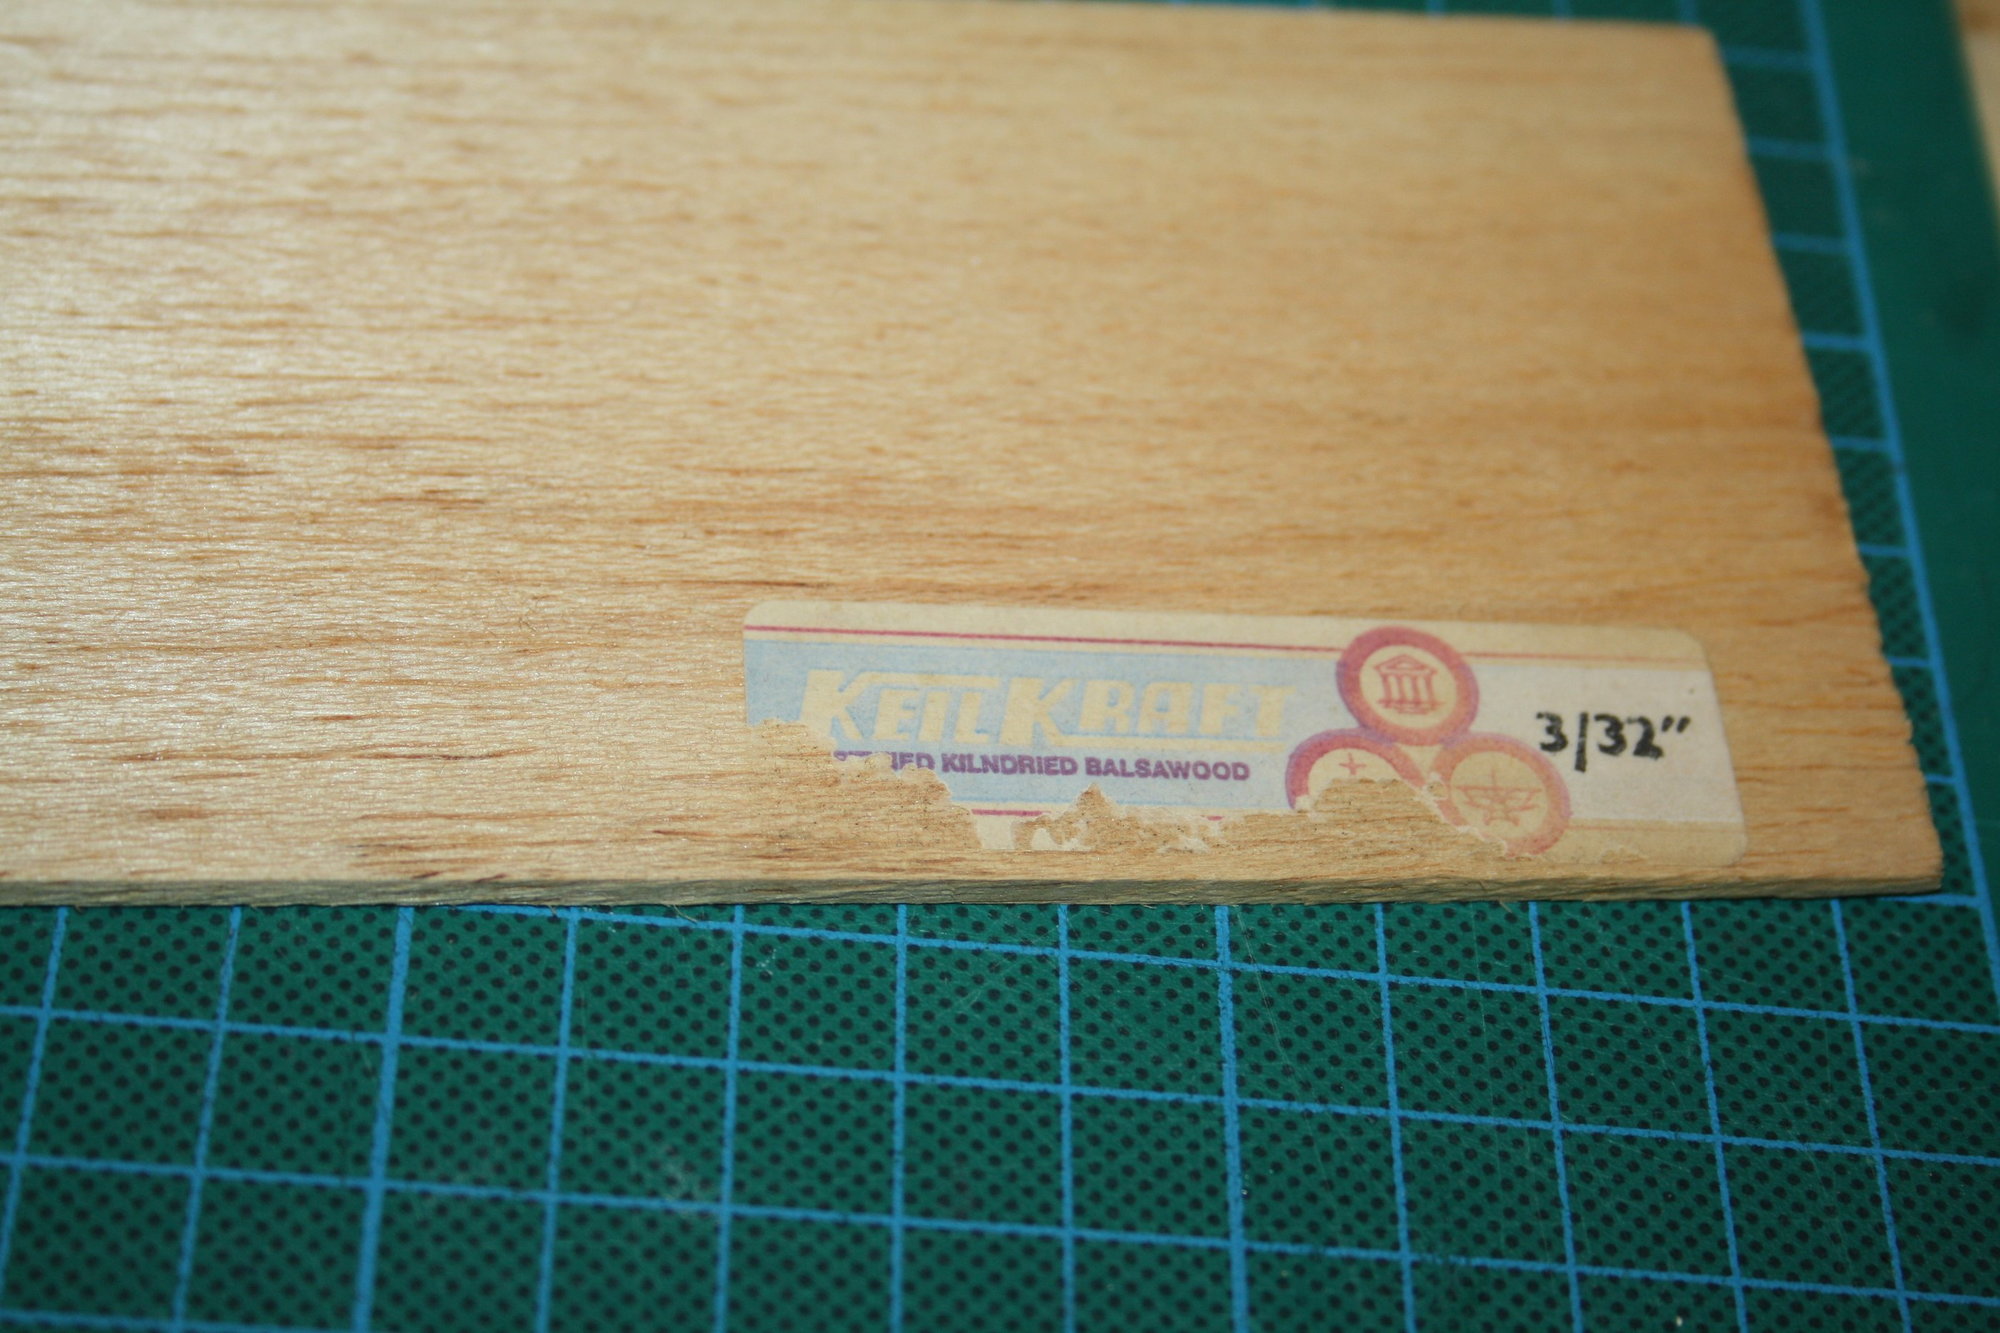
Then I pulled a sheet of balsa from my pile. To my surprise it was a Keil Kraft branded sheet... Must be over 40 years old. I got some balsa from a friend couple of years ago and this must have been in his possession since.
All ribs are traced, I am ready to create some balsa dust.
Eran


 04-30-2018, 10:18 PM
#6
Thread Starter
Hi Ron S
Great to see that I am not the only one remembering this model. I am yet to have an engine for this one, but it will probably be O.S 25FX.
As with all good intentions, I thought that I have a clear run of time and space in my Cave to build, however, I had to put it aside for hopefully no longer then couple of weeks. I was fixing a wing for a friend and needed to get back to do some additional work on another friend large H9 Cessna 182 before we get it certified. It should not be too long before I will get going with this build again.
Eran
 05-08-2018, 09:29 PM
#8
Thread Starter
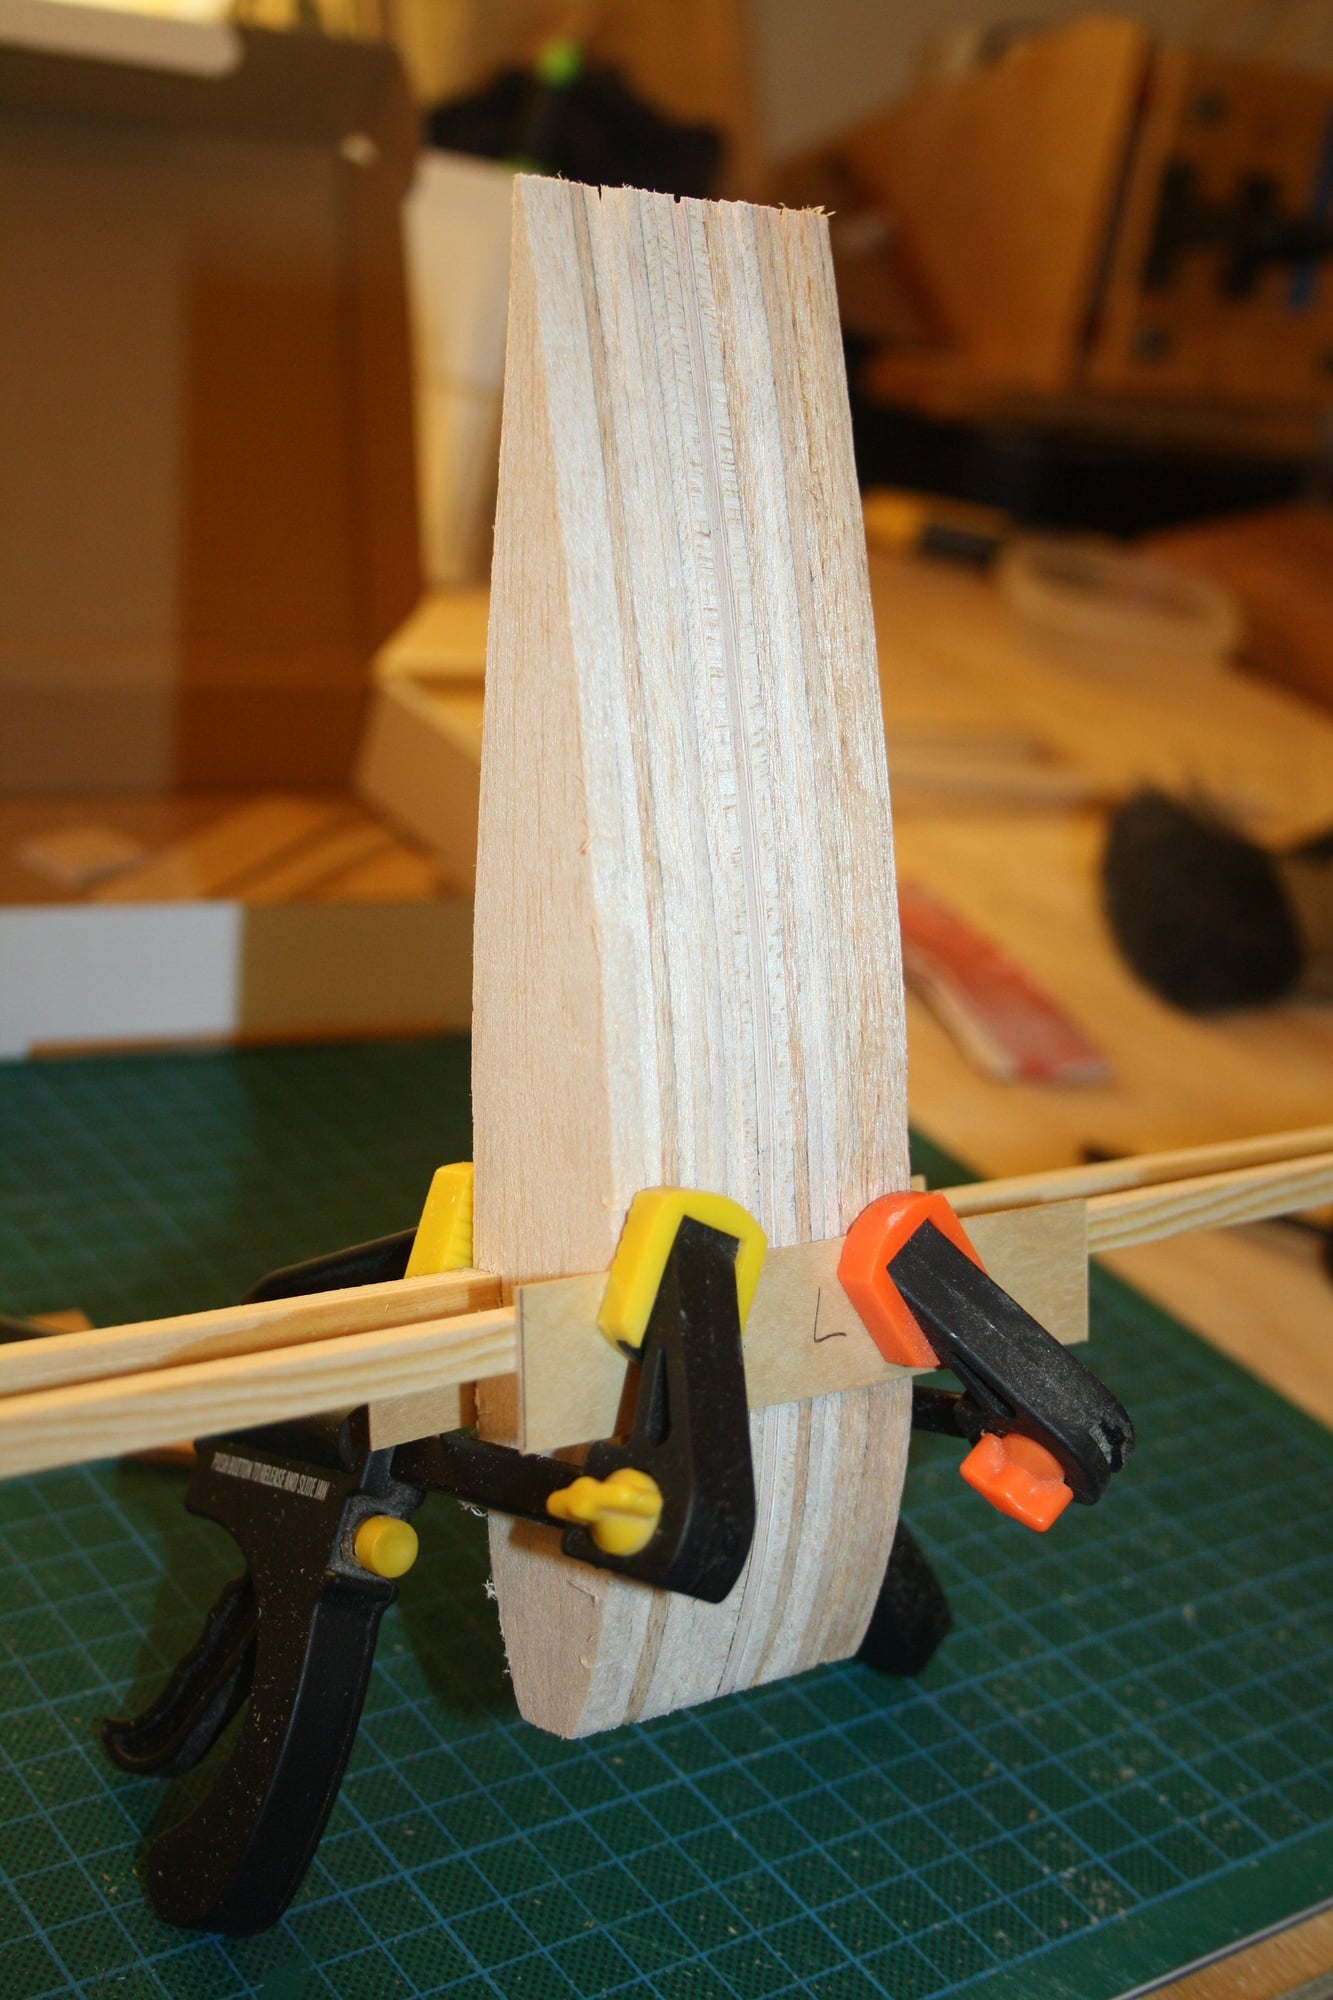
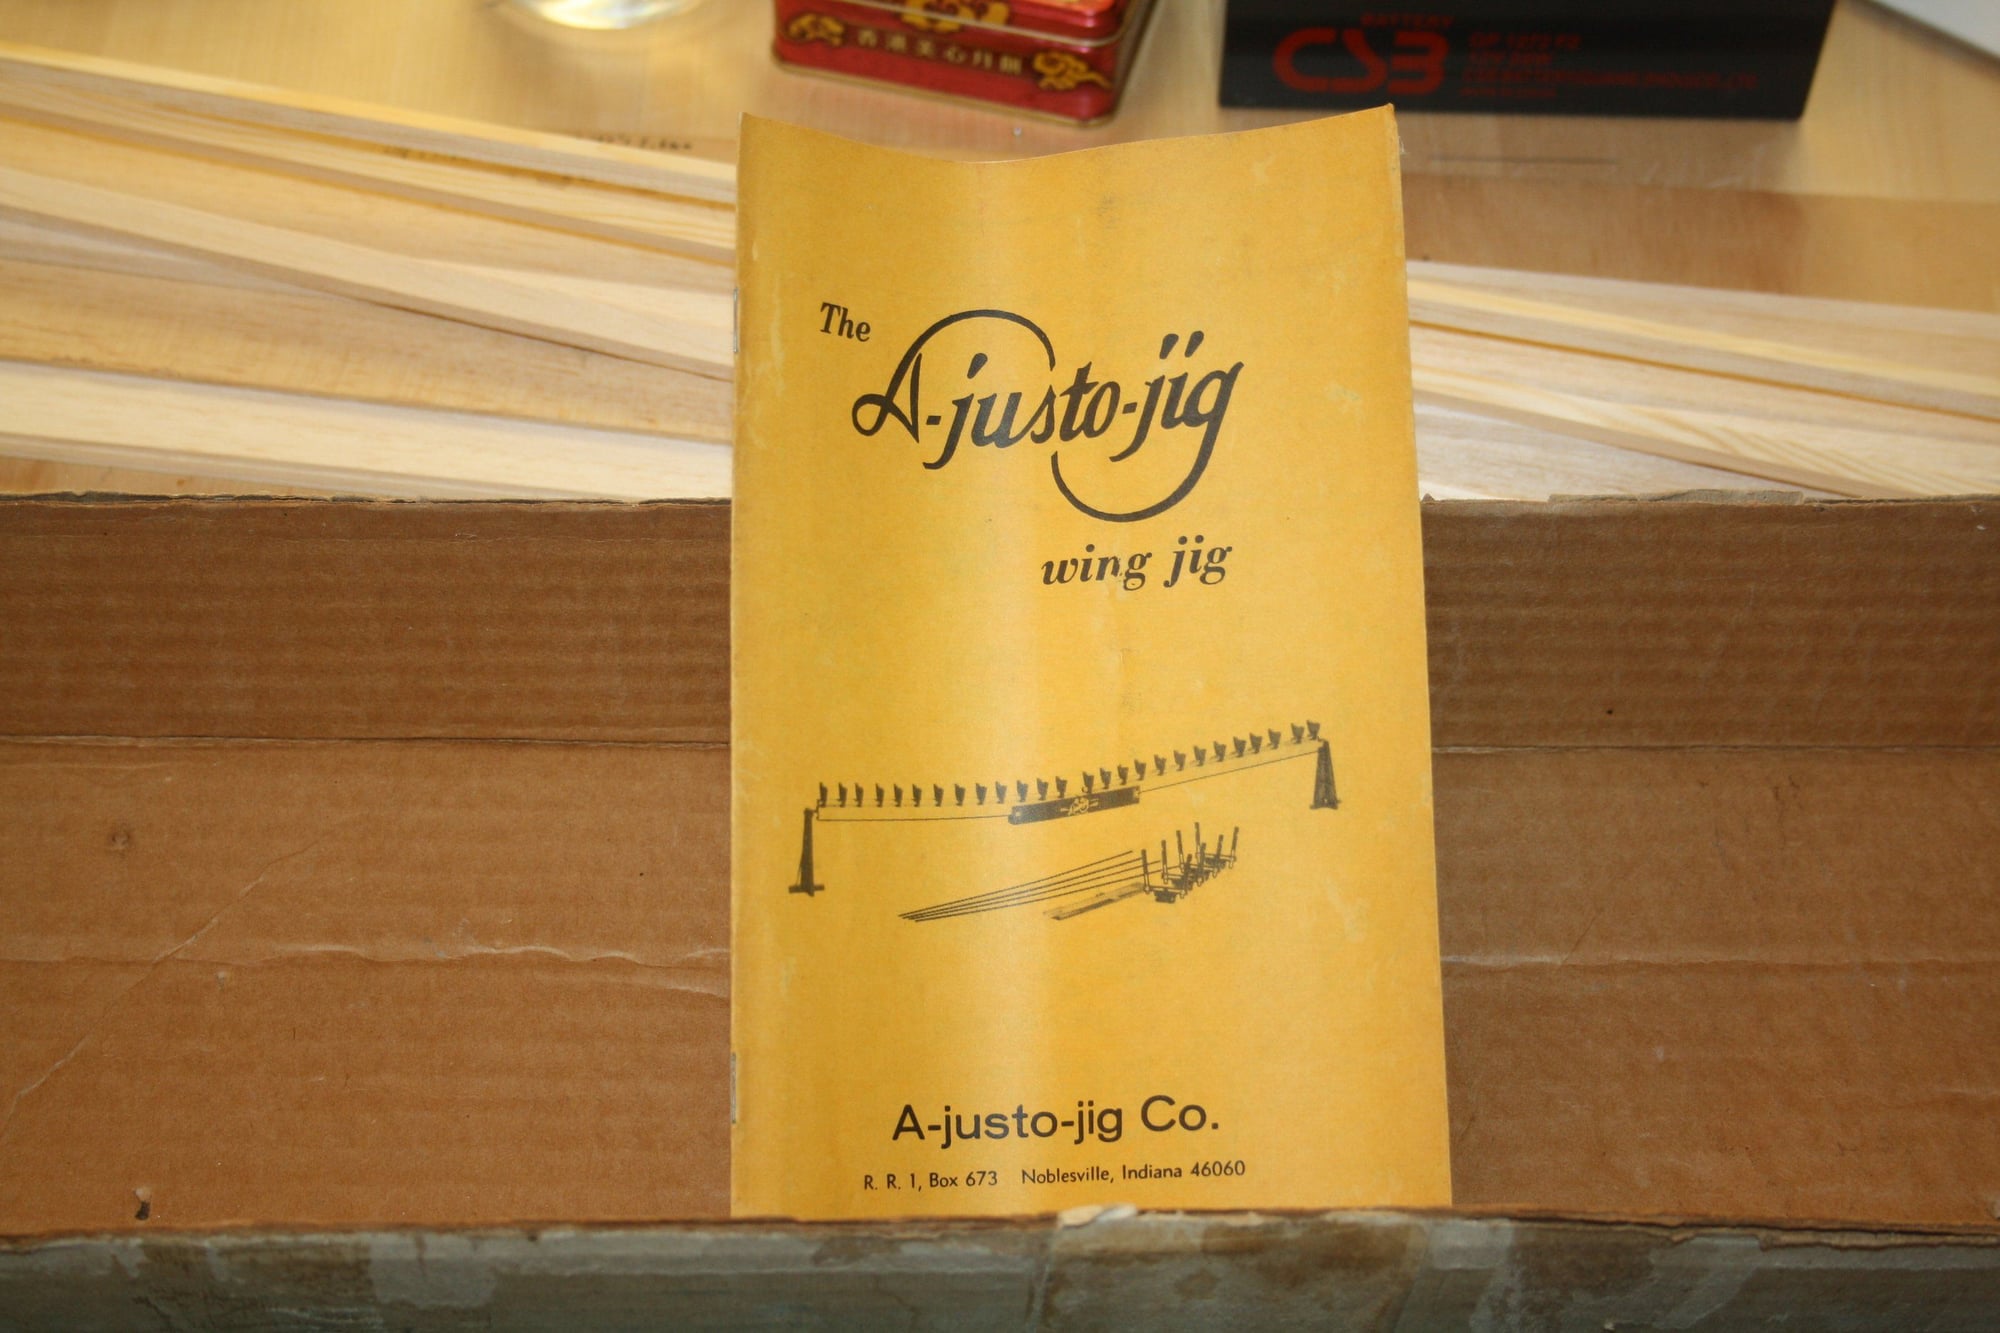
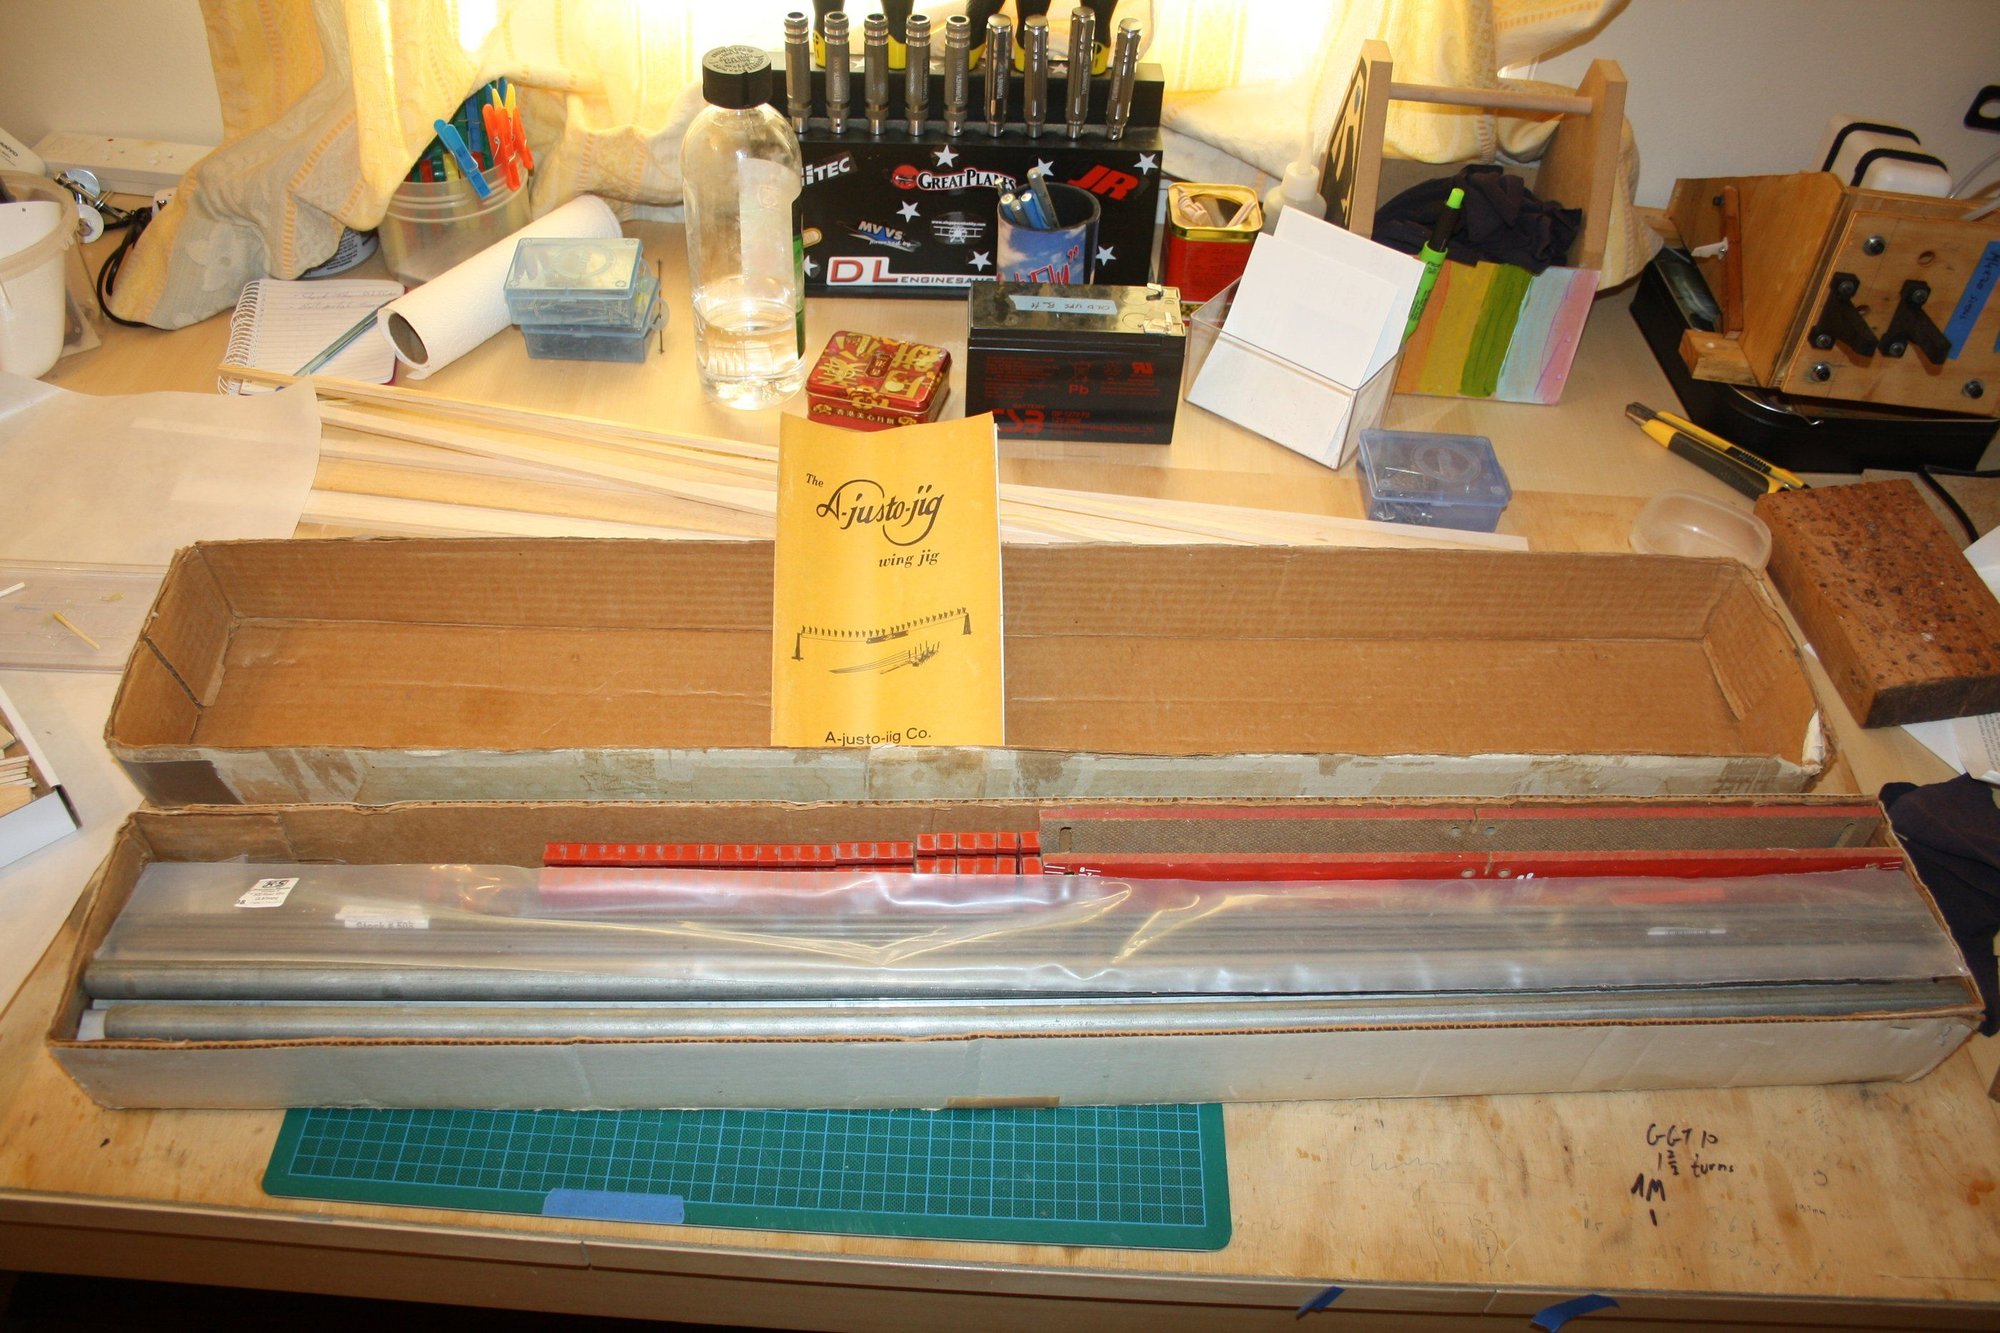
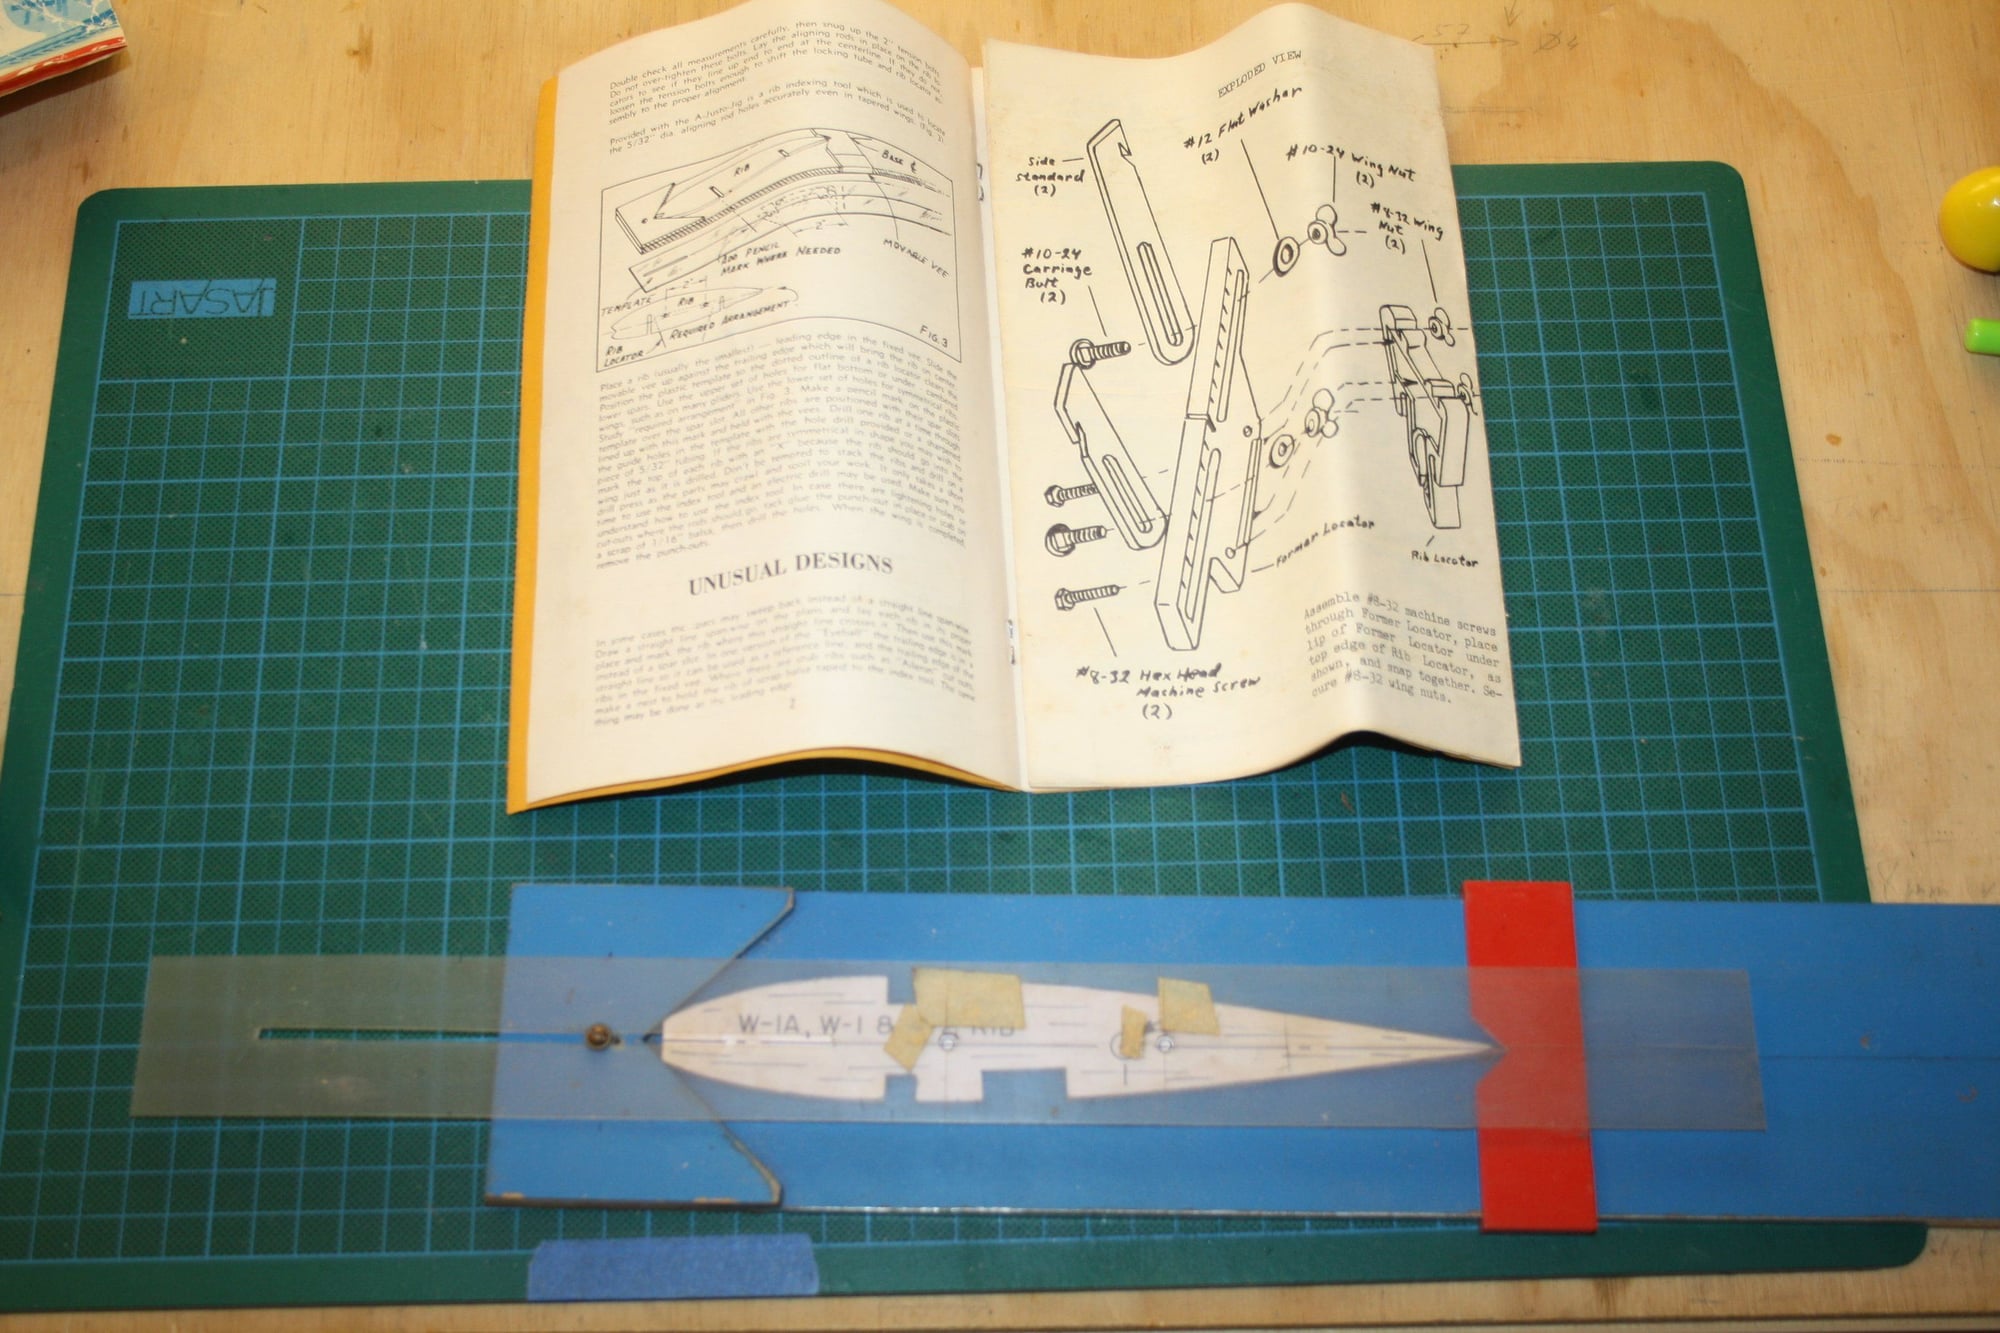
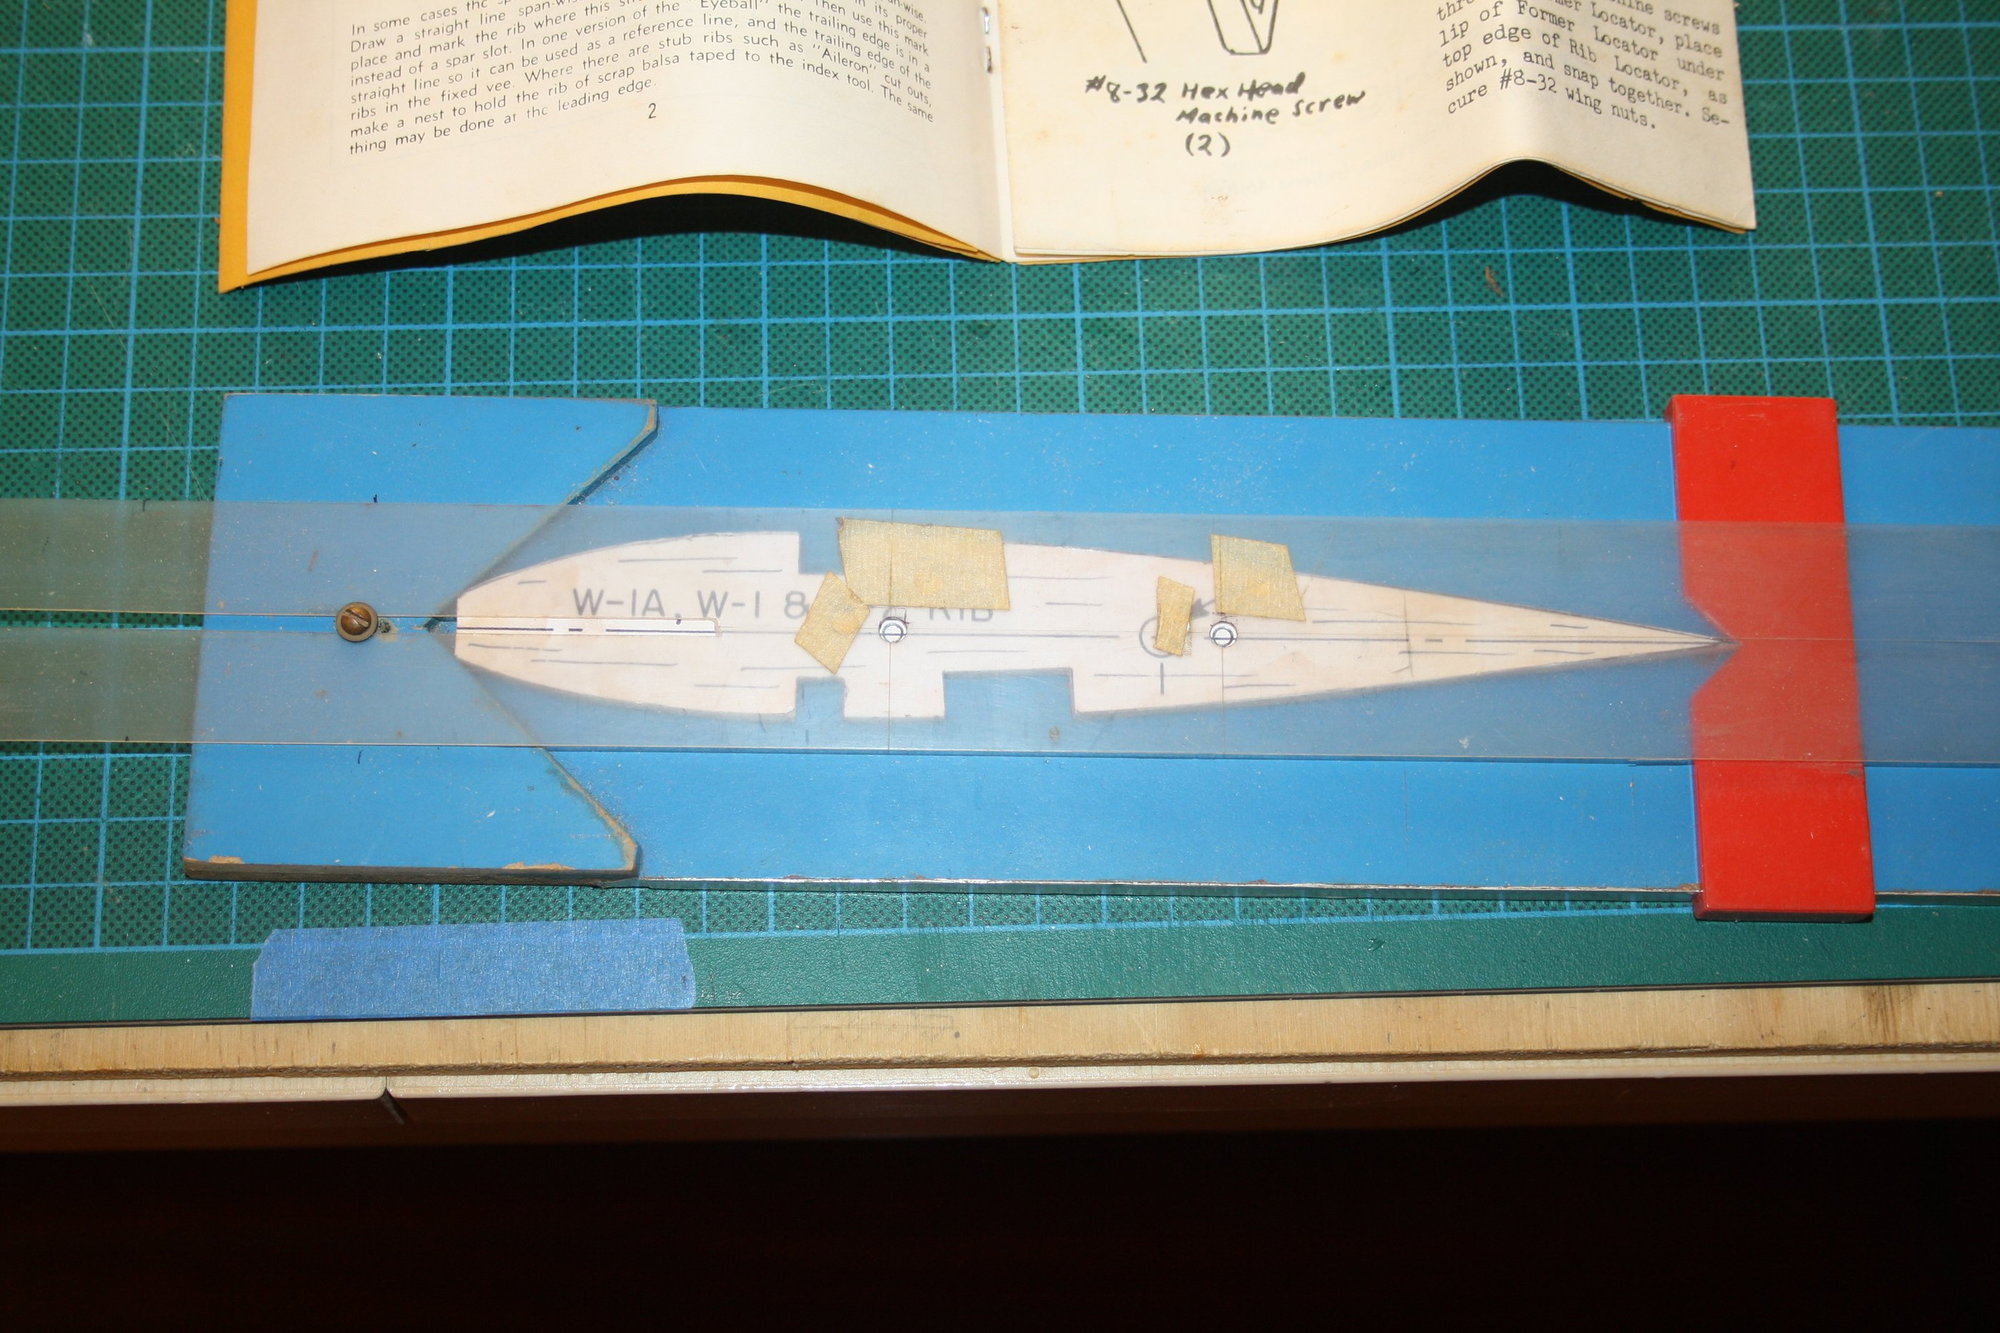
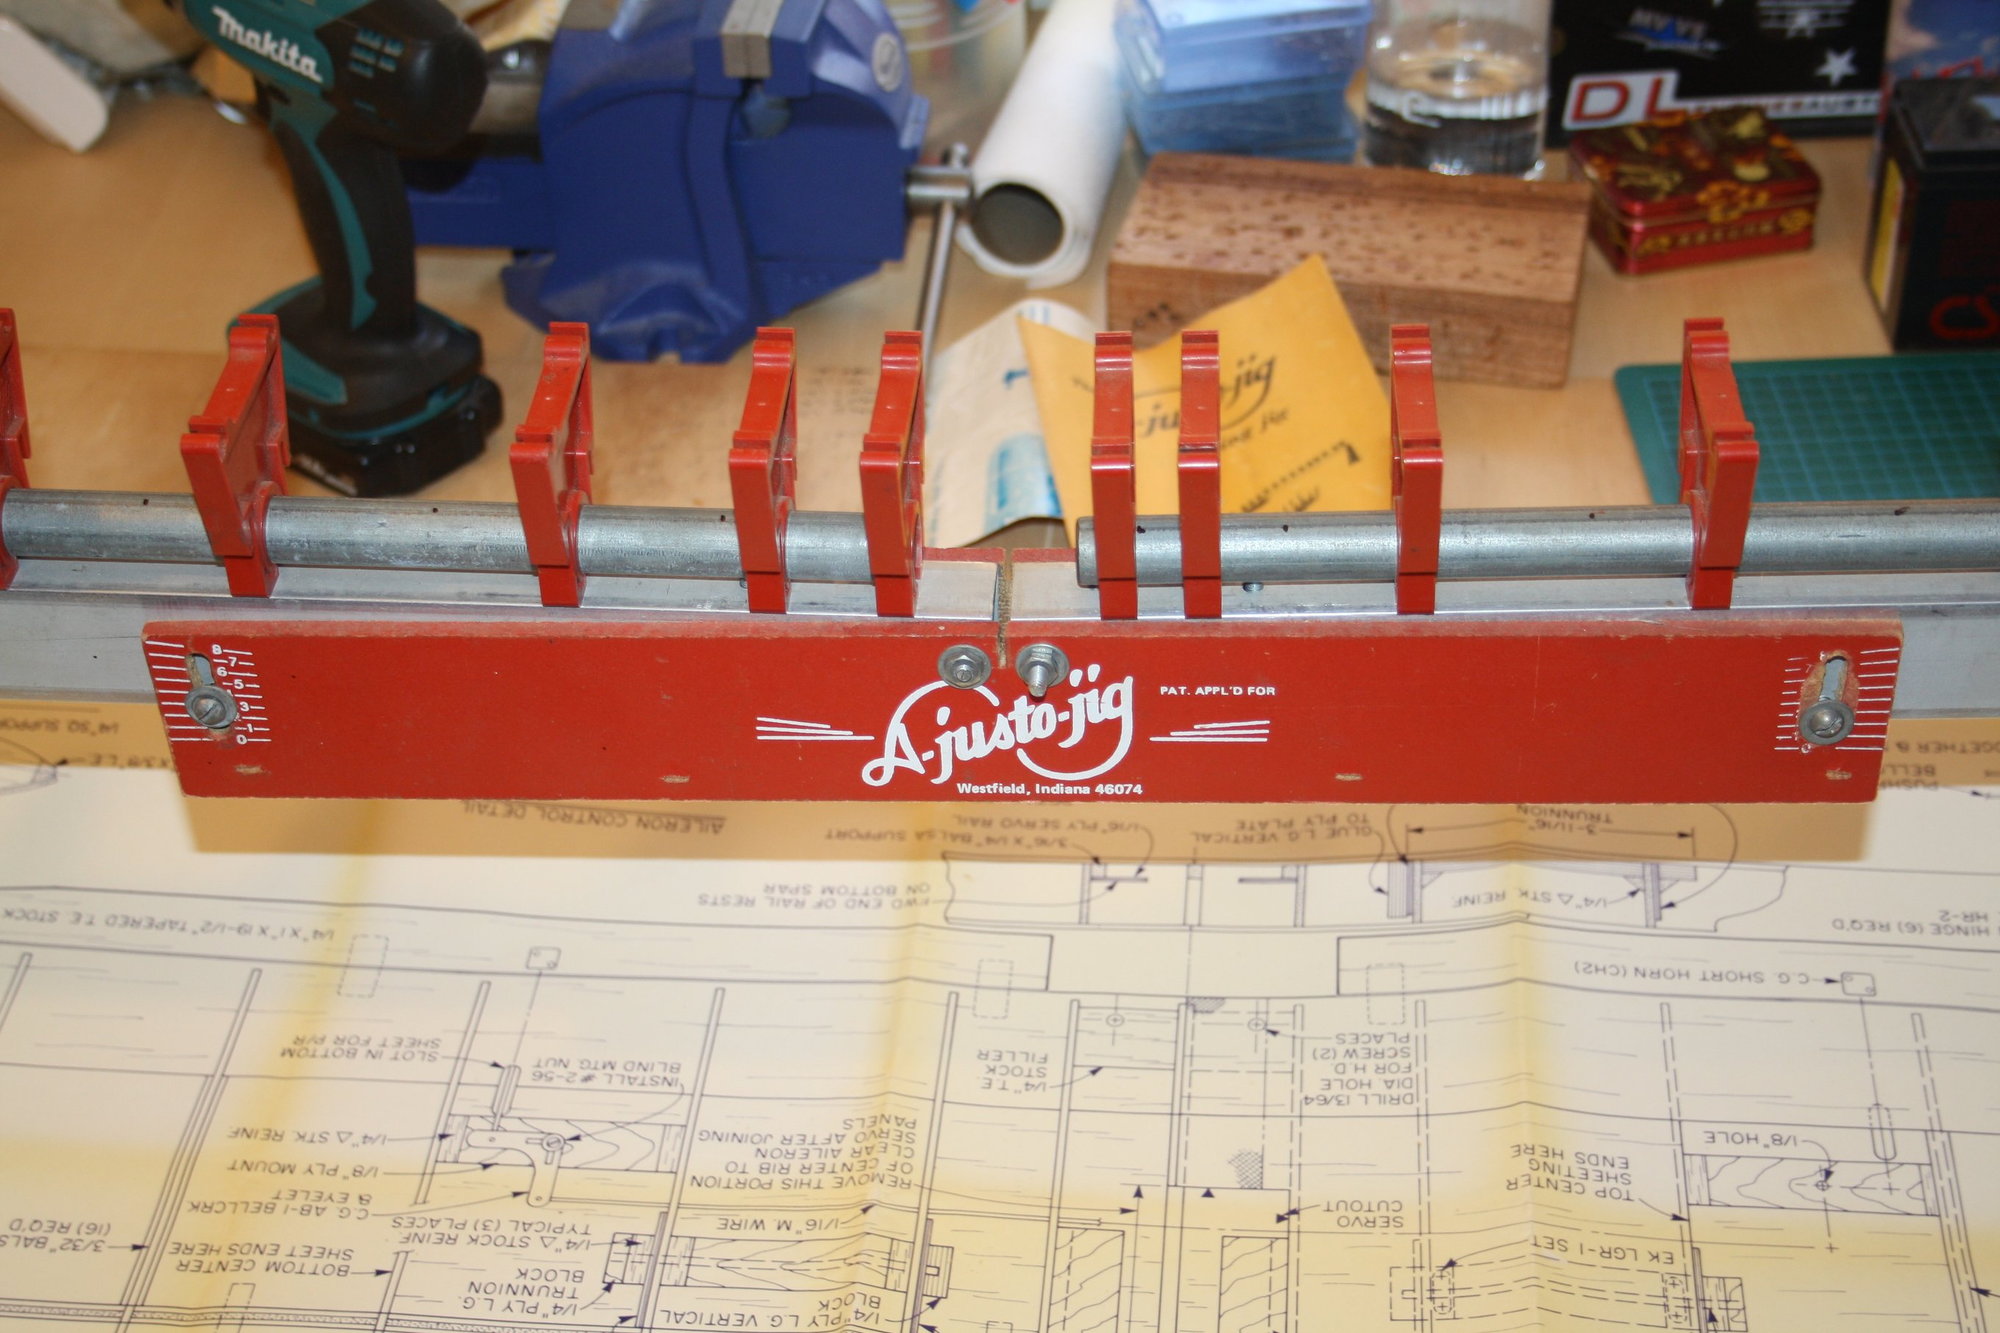
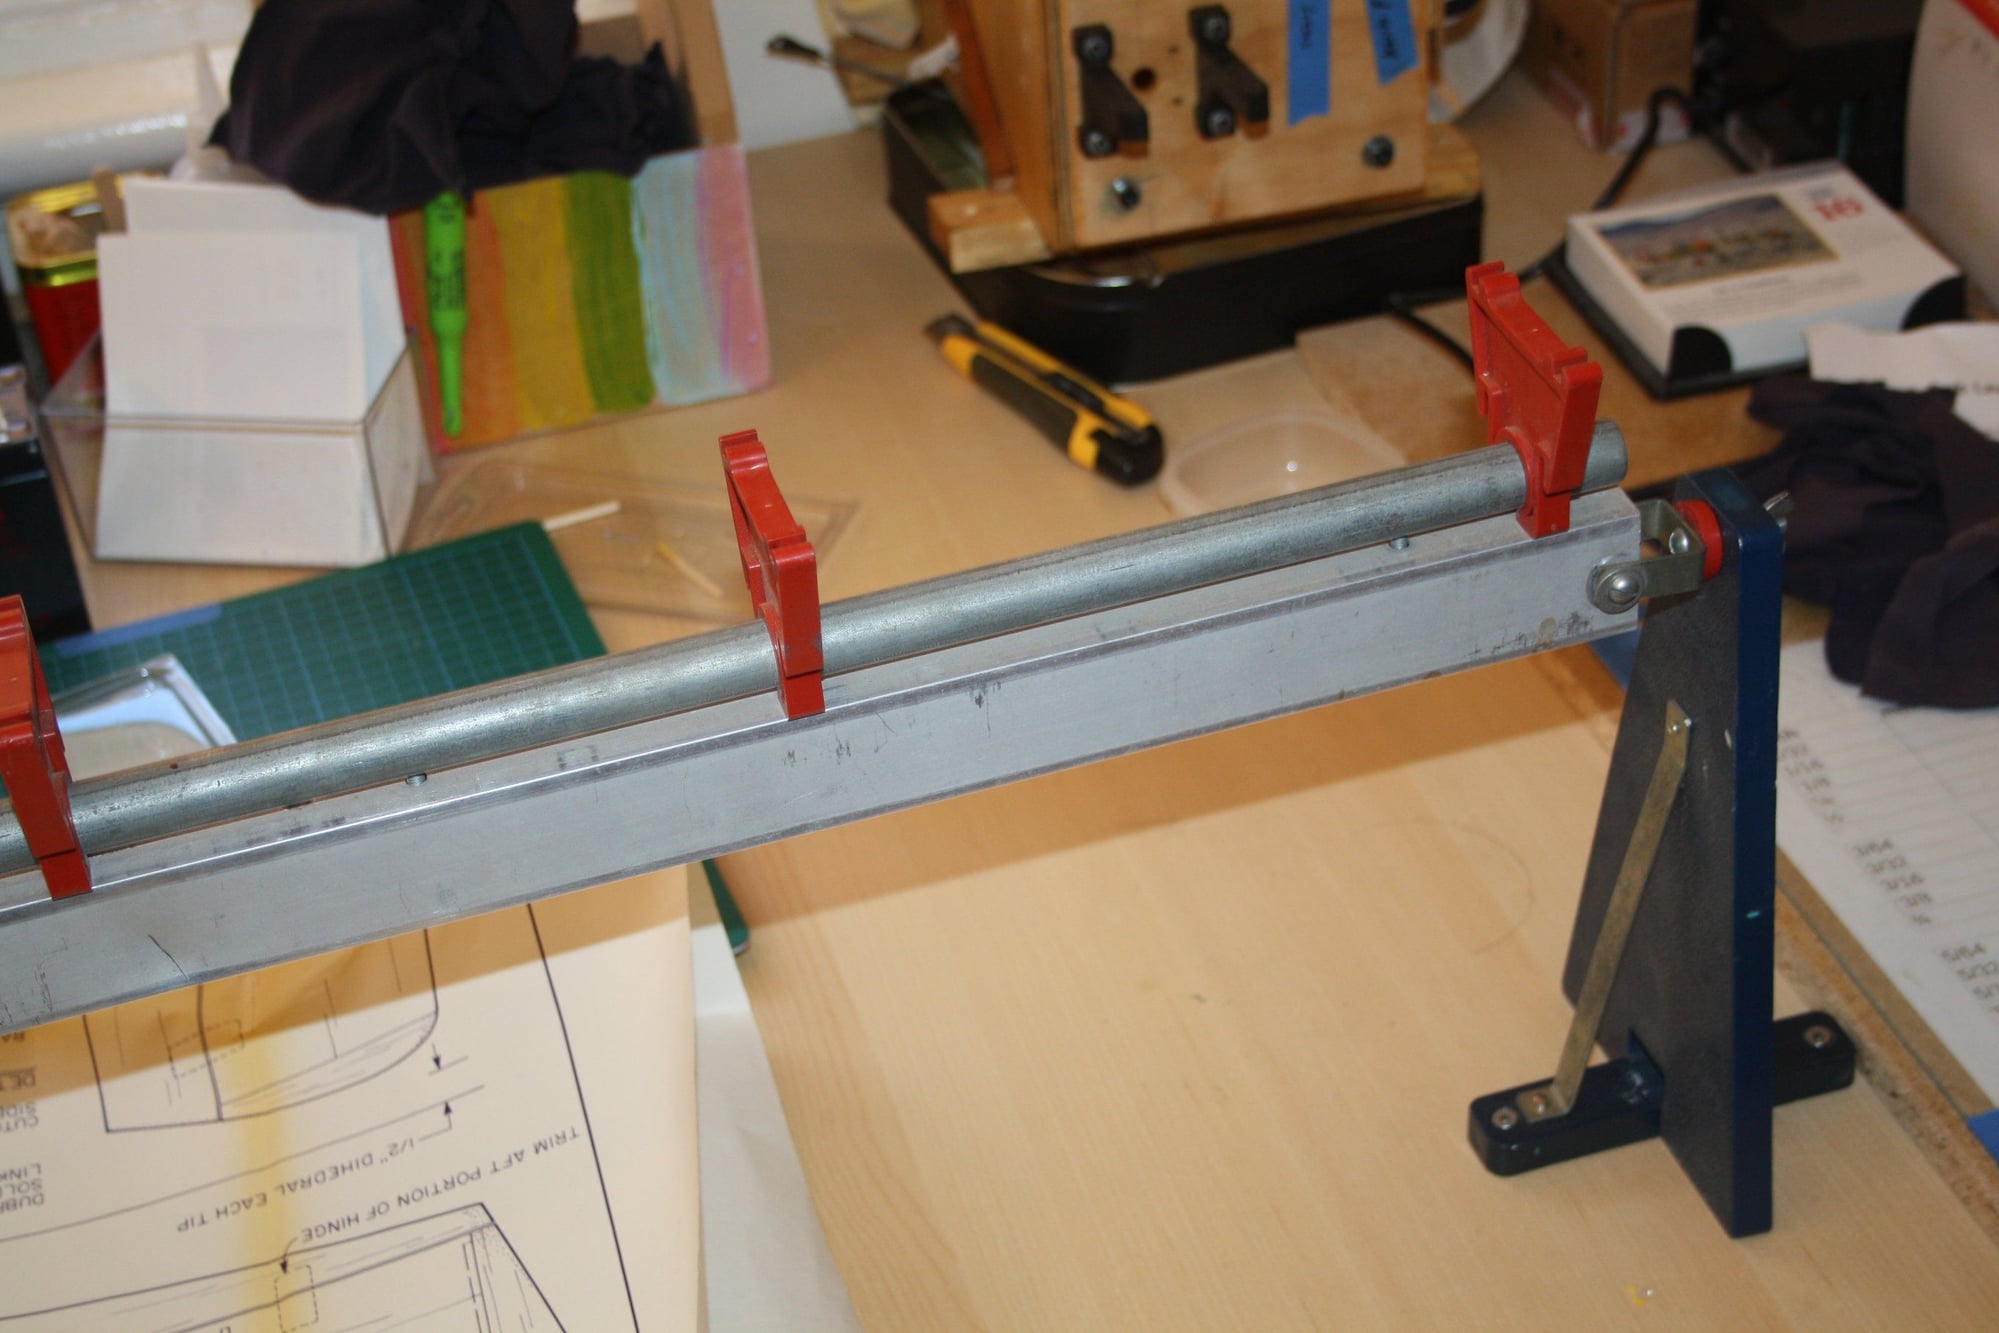
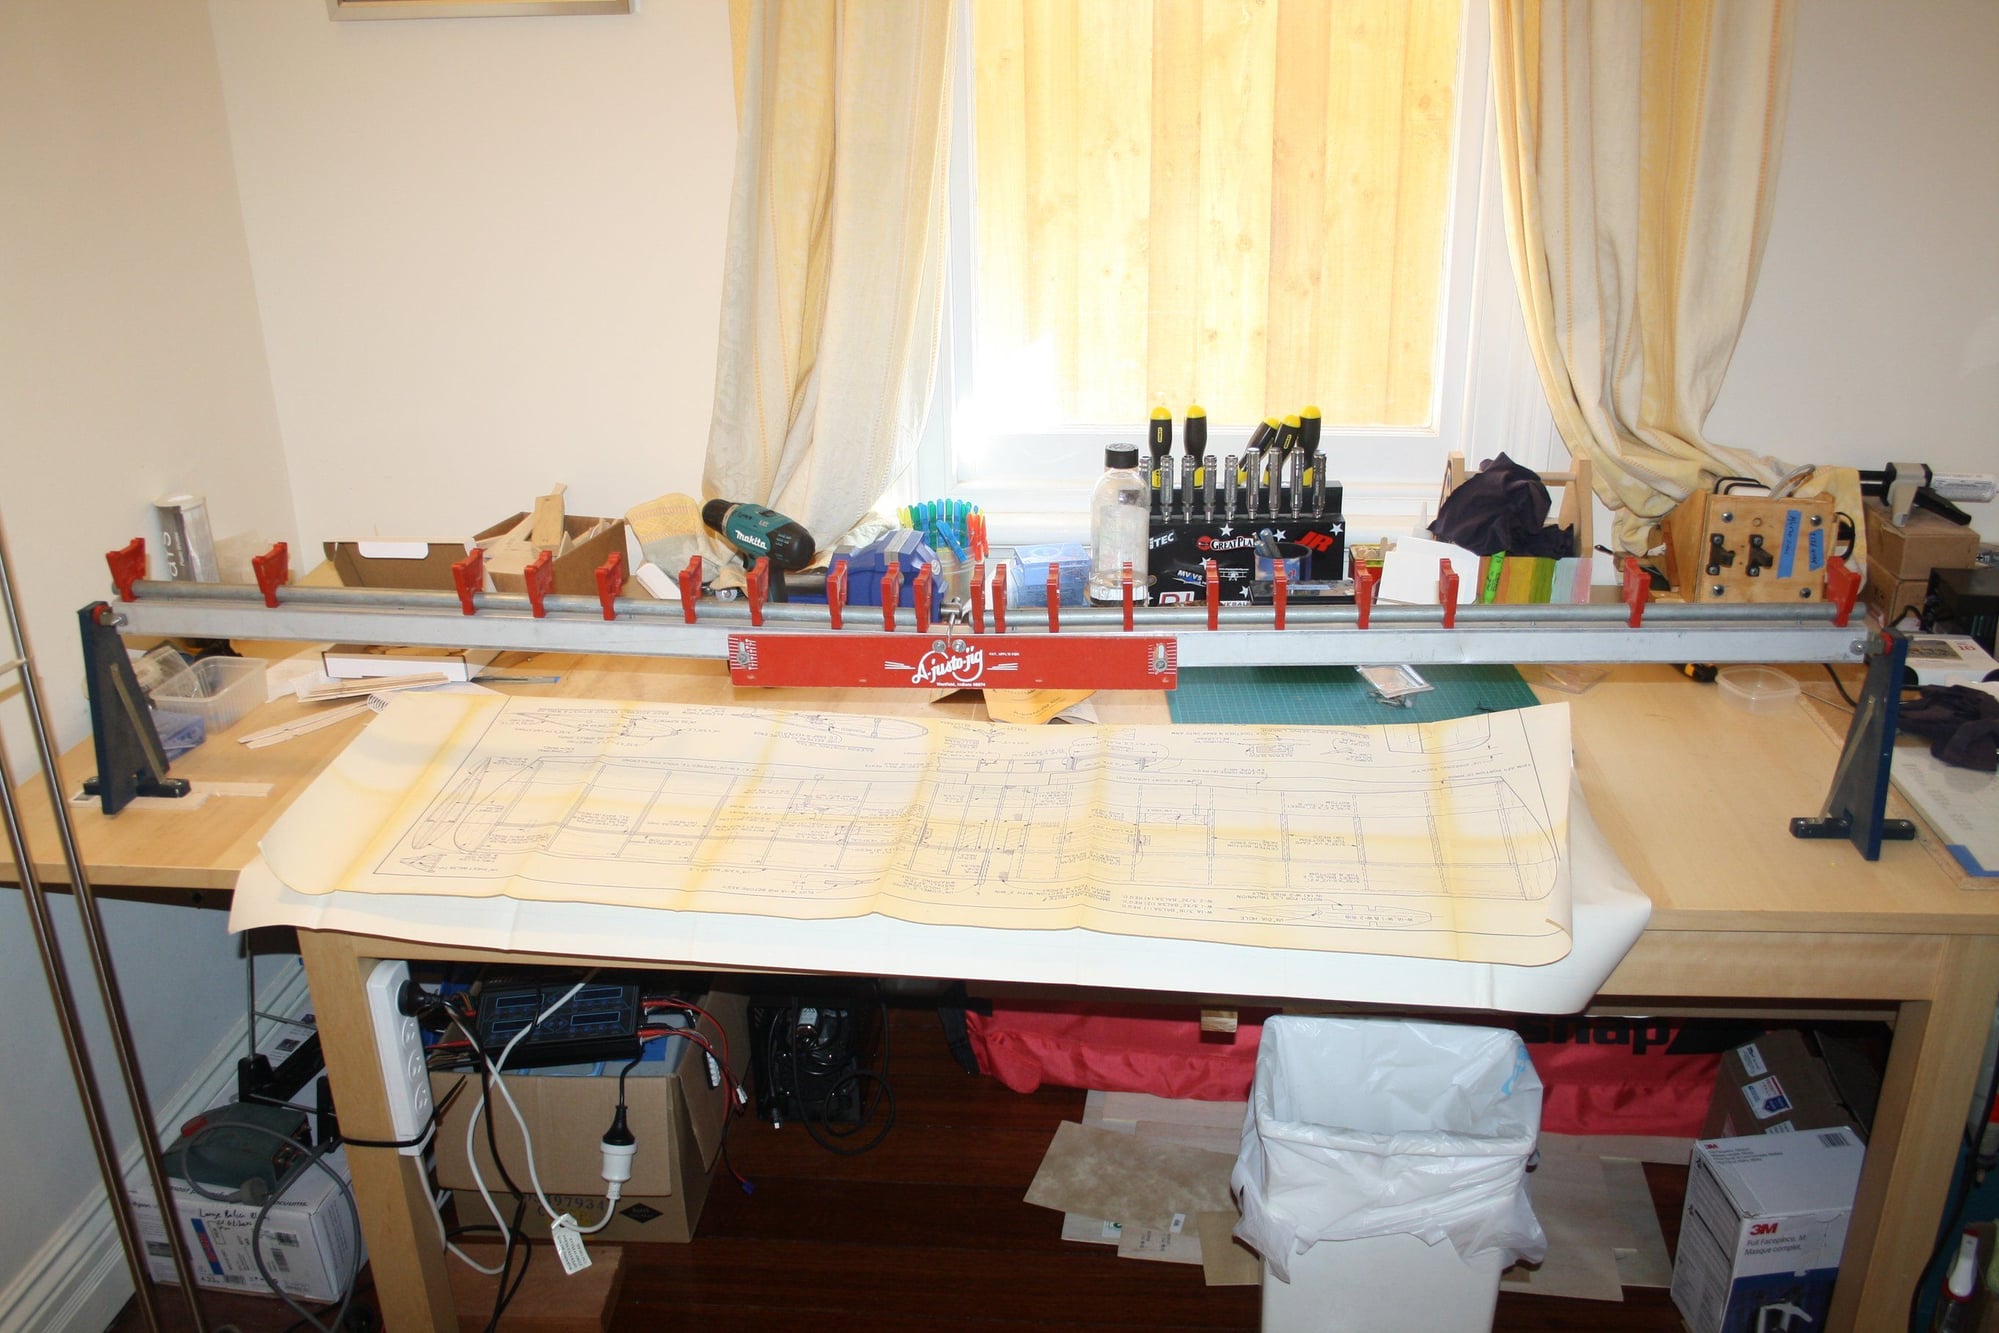
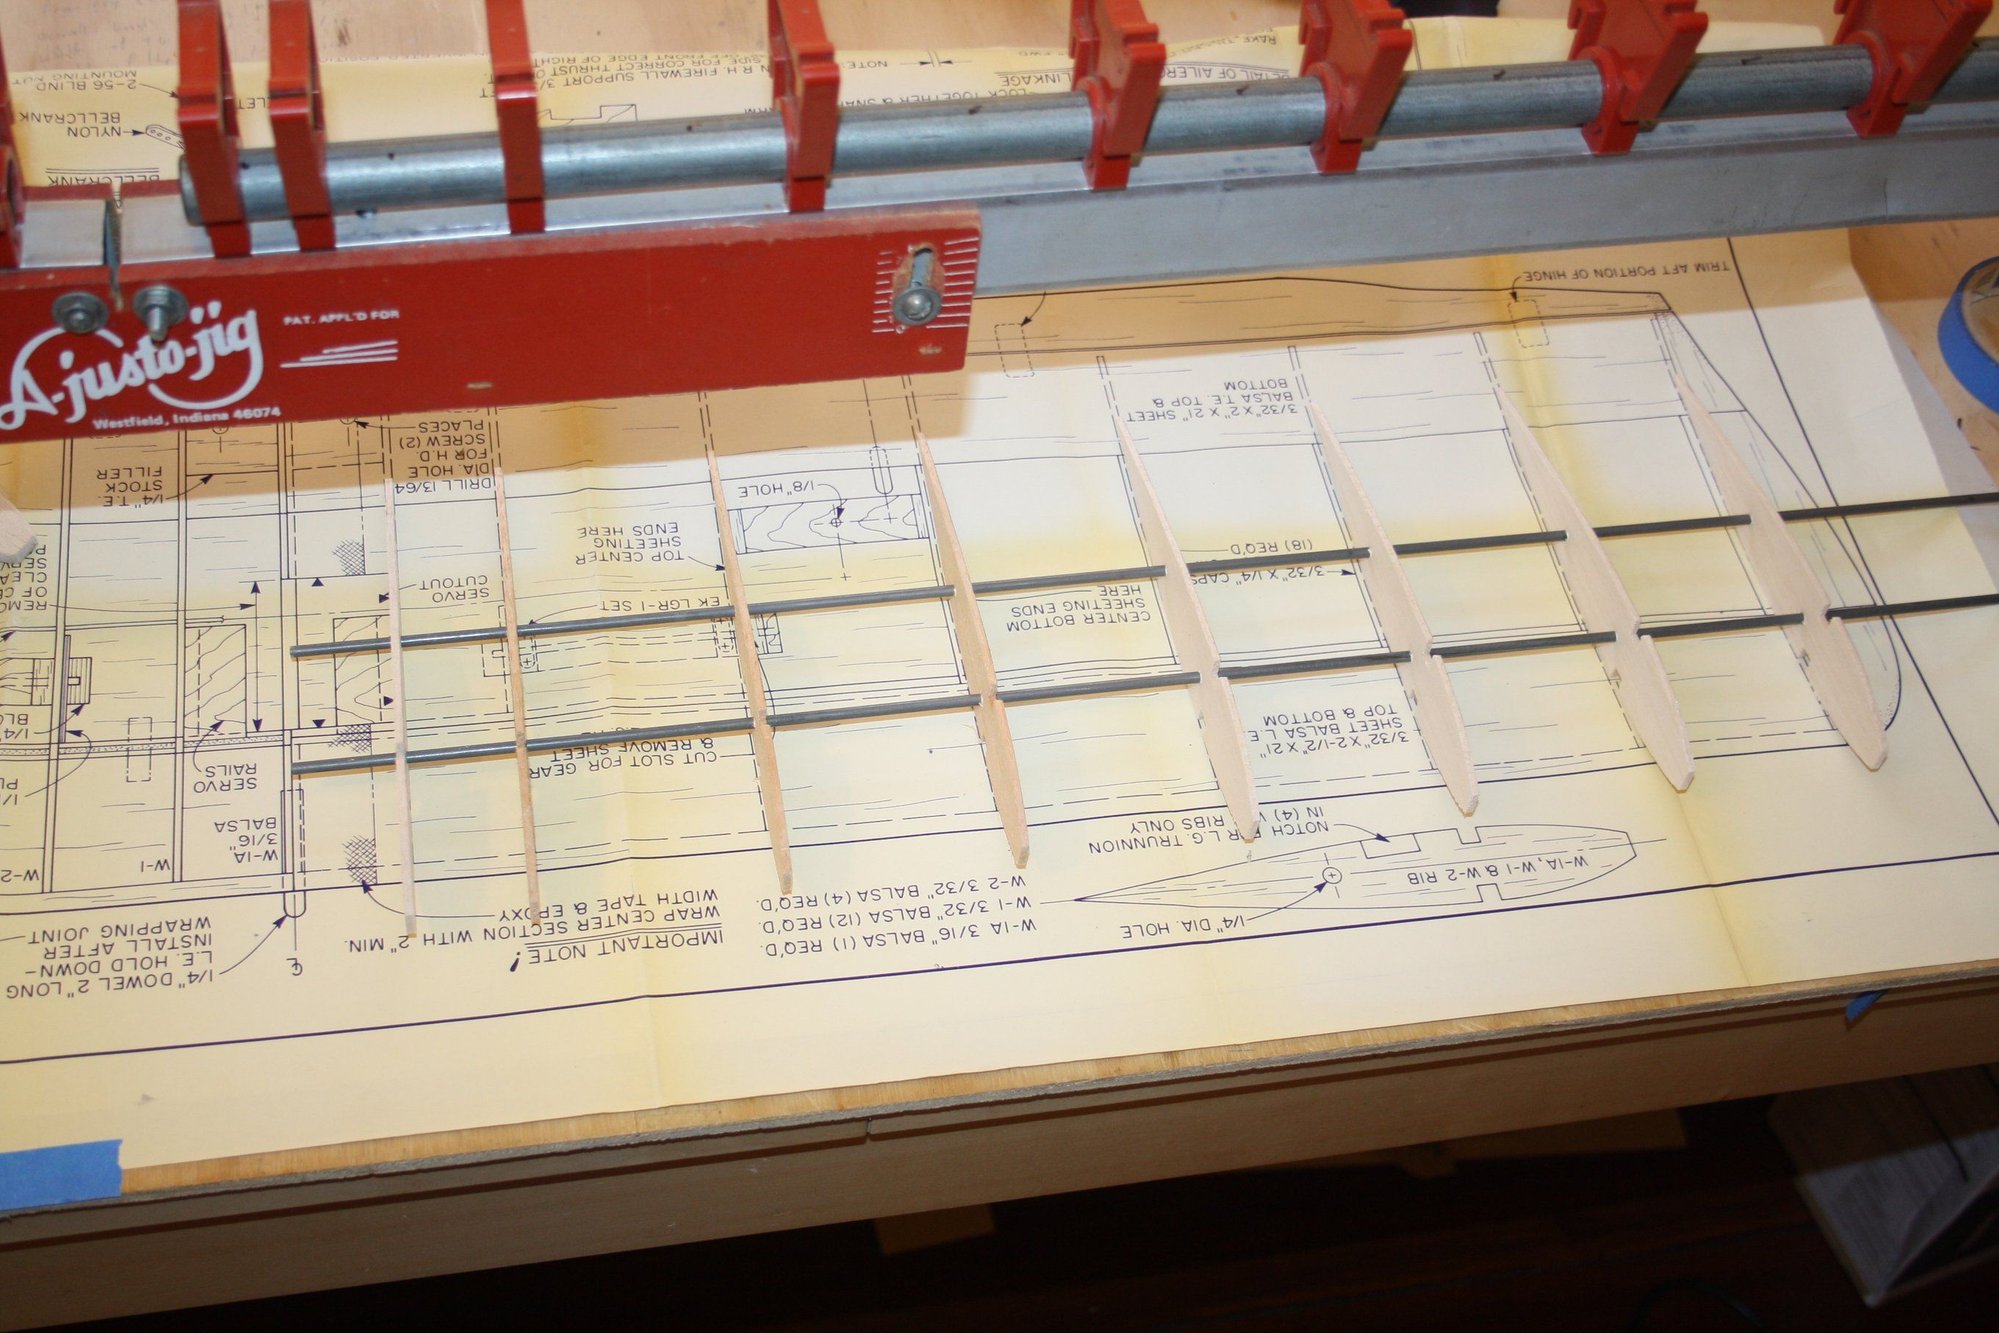
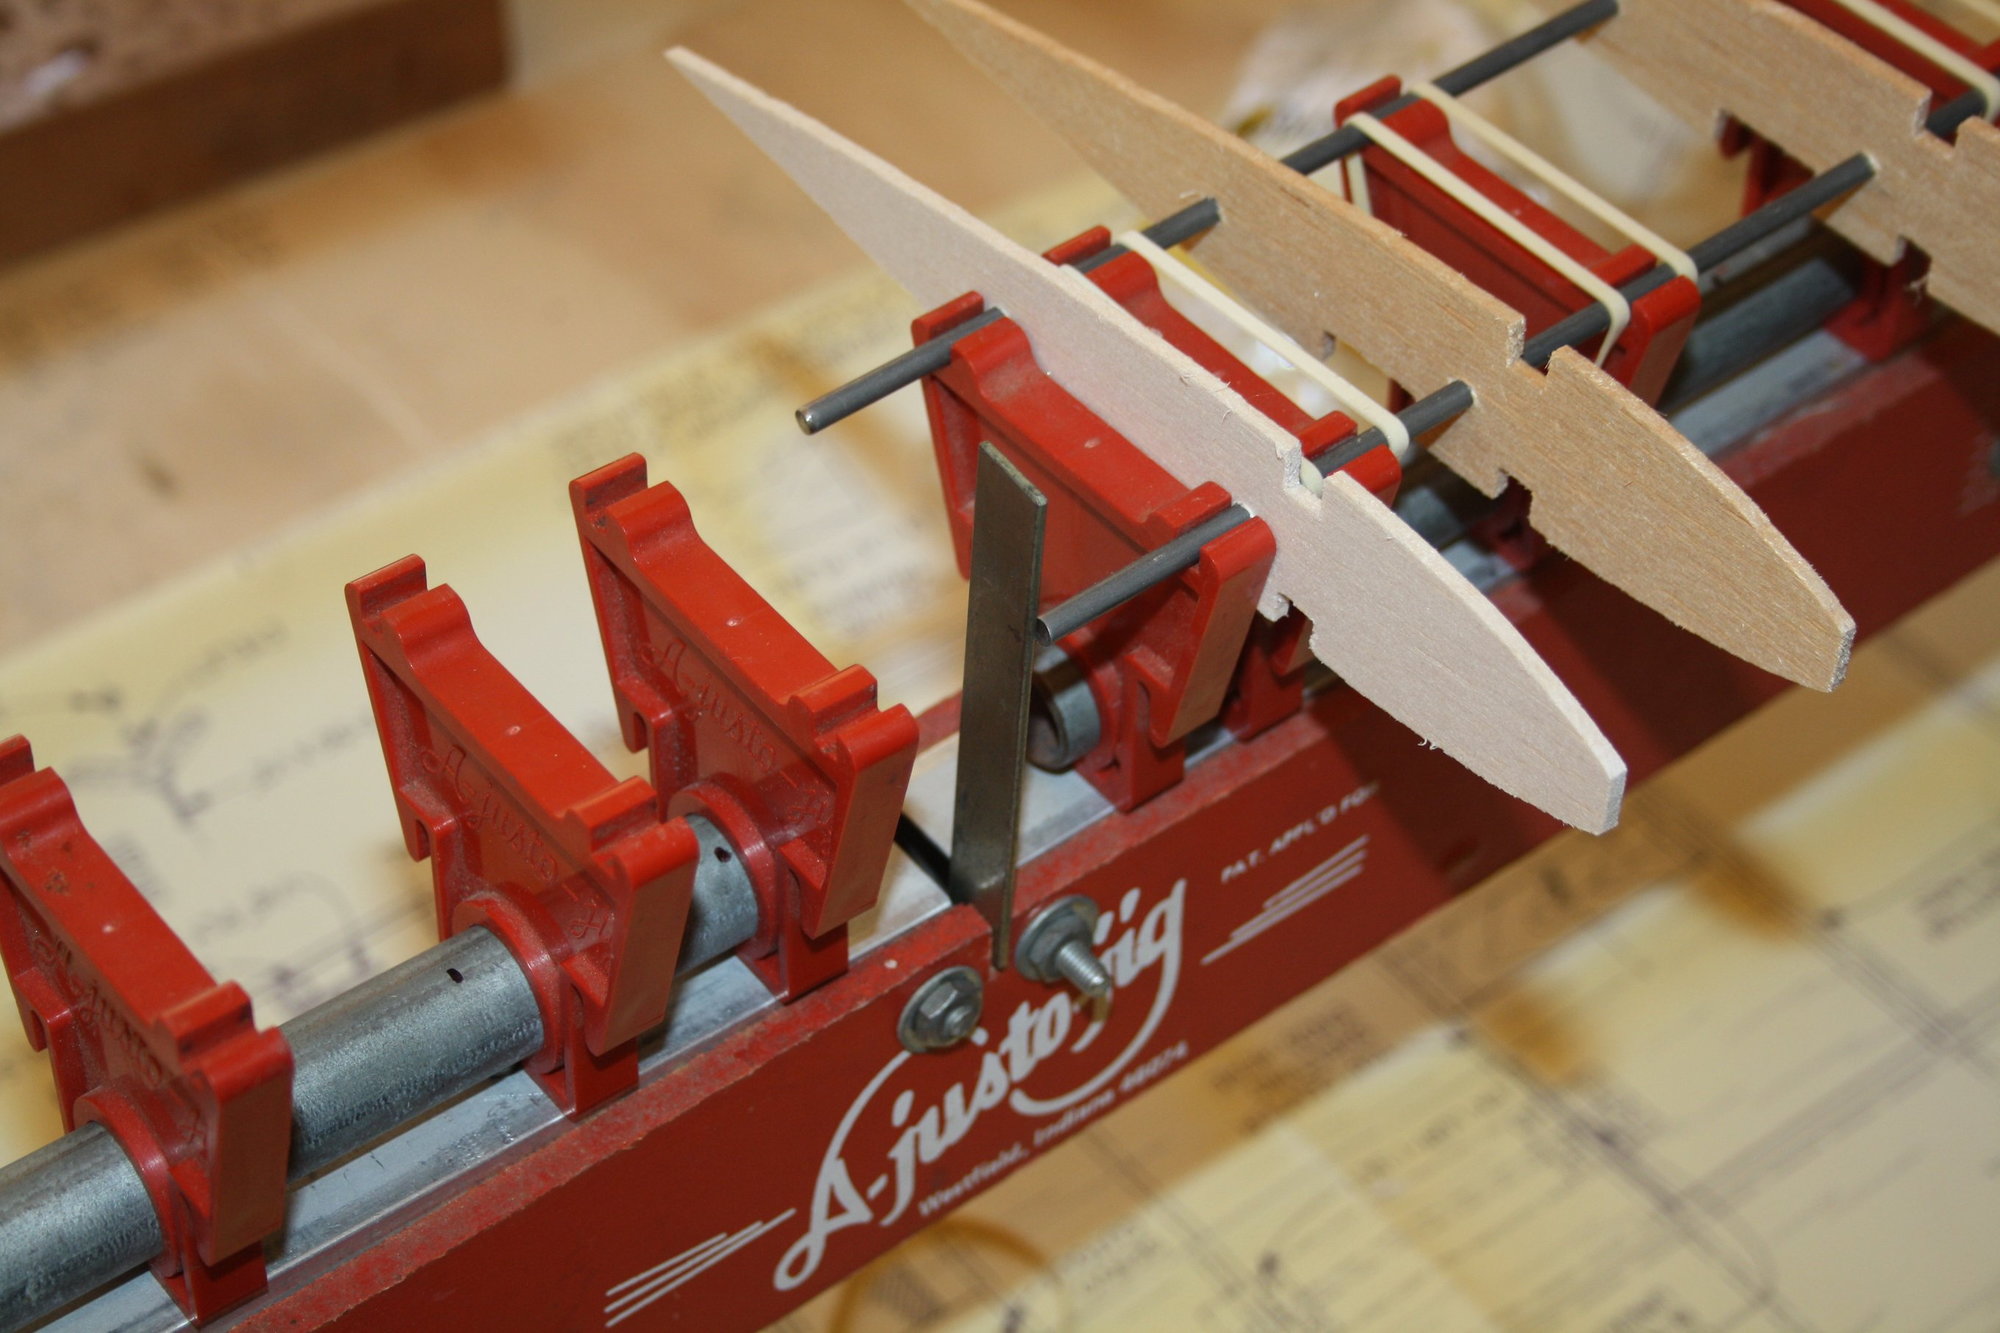
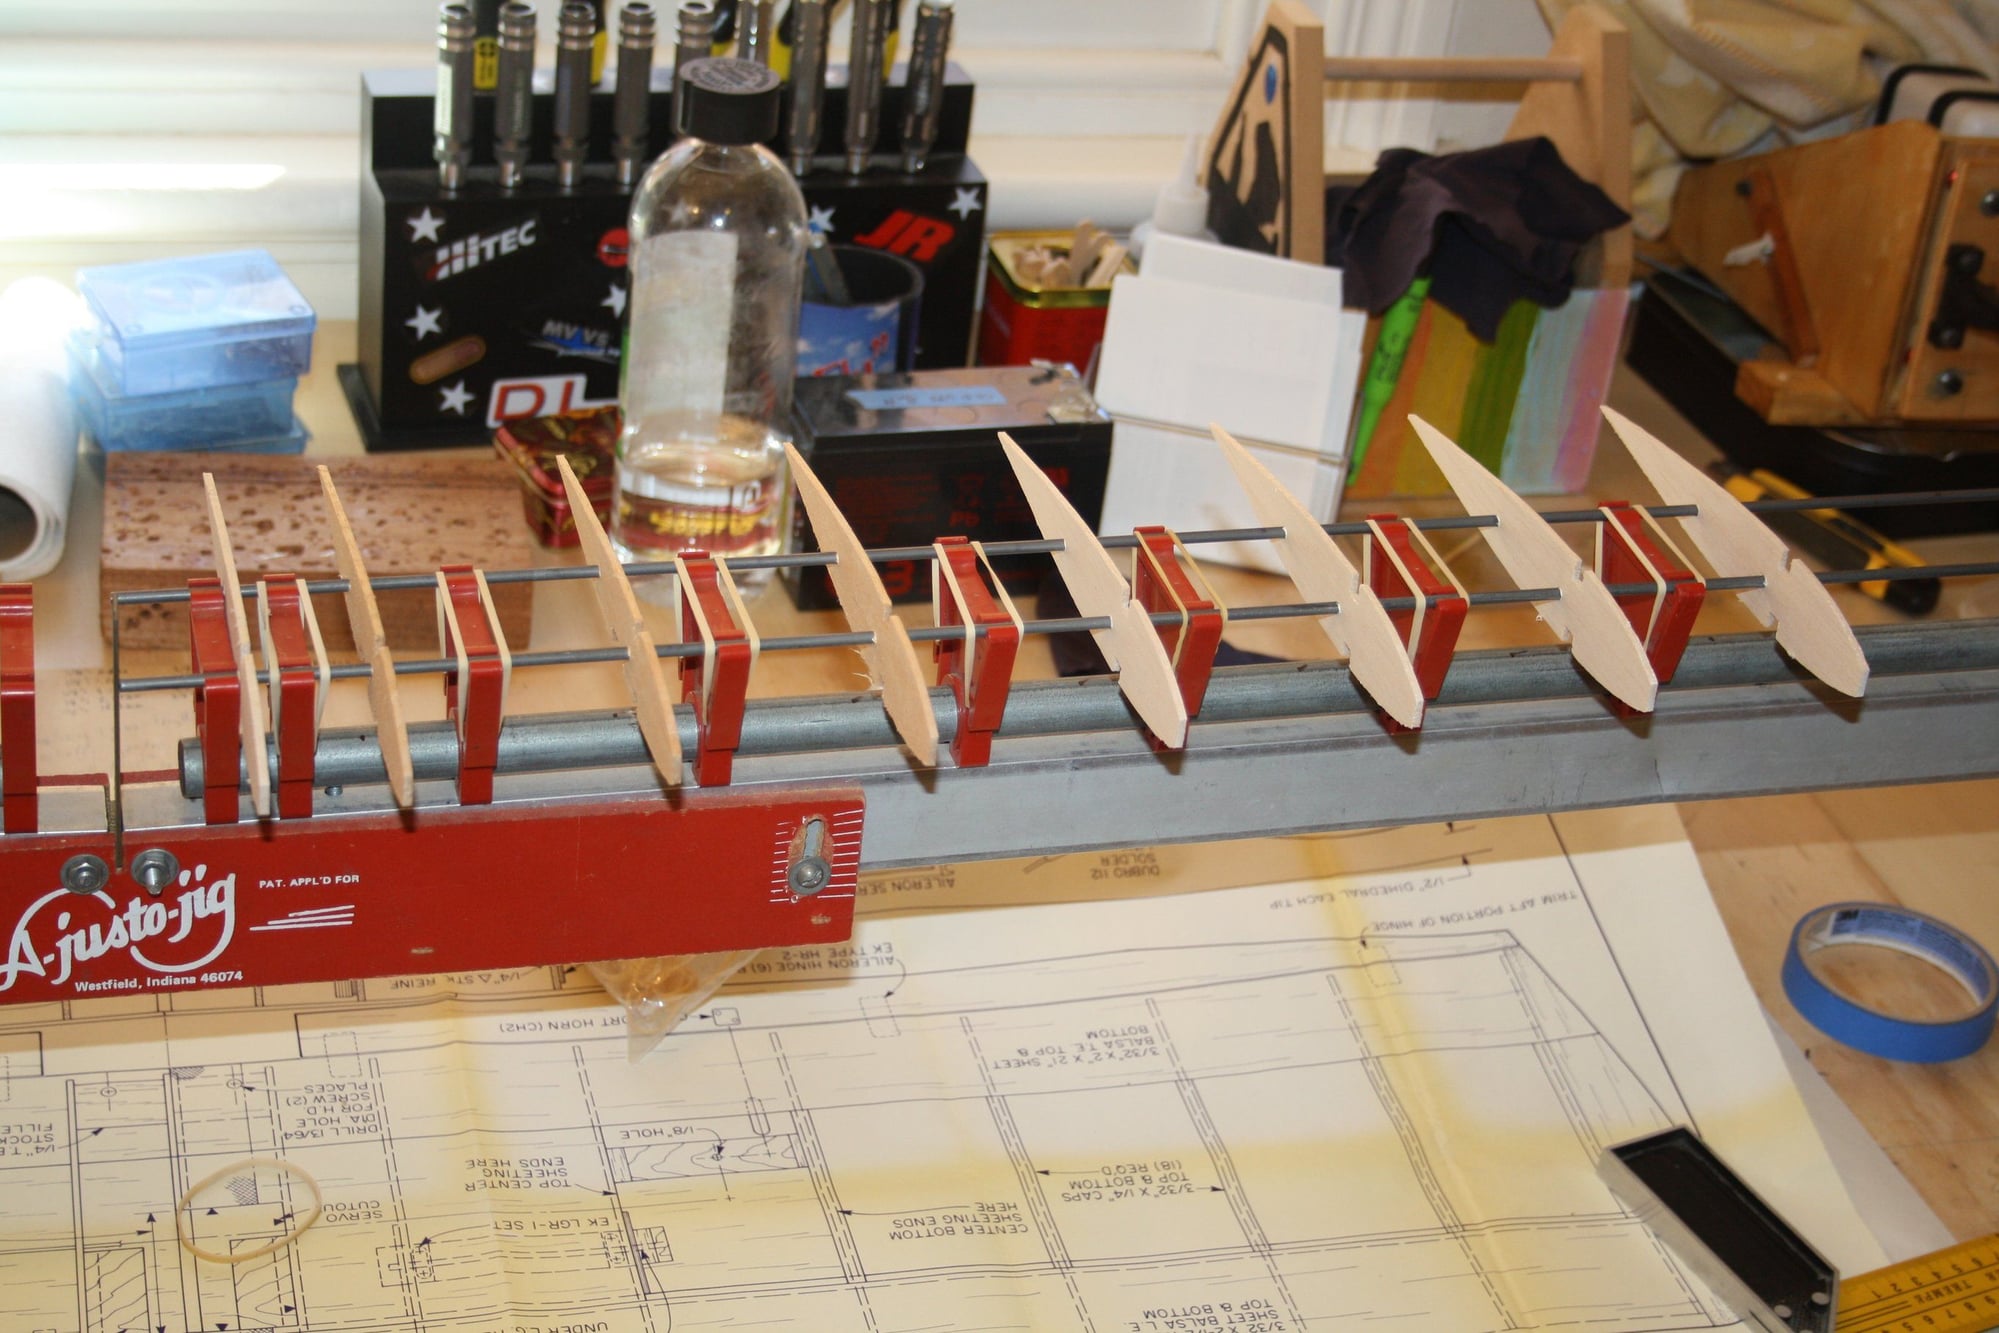
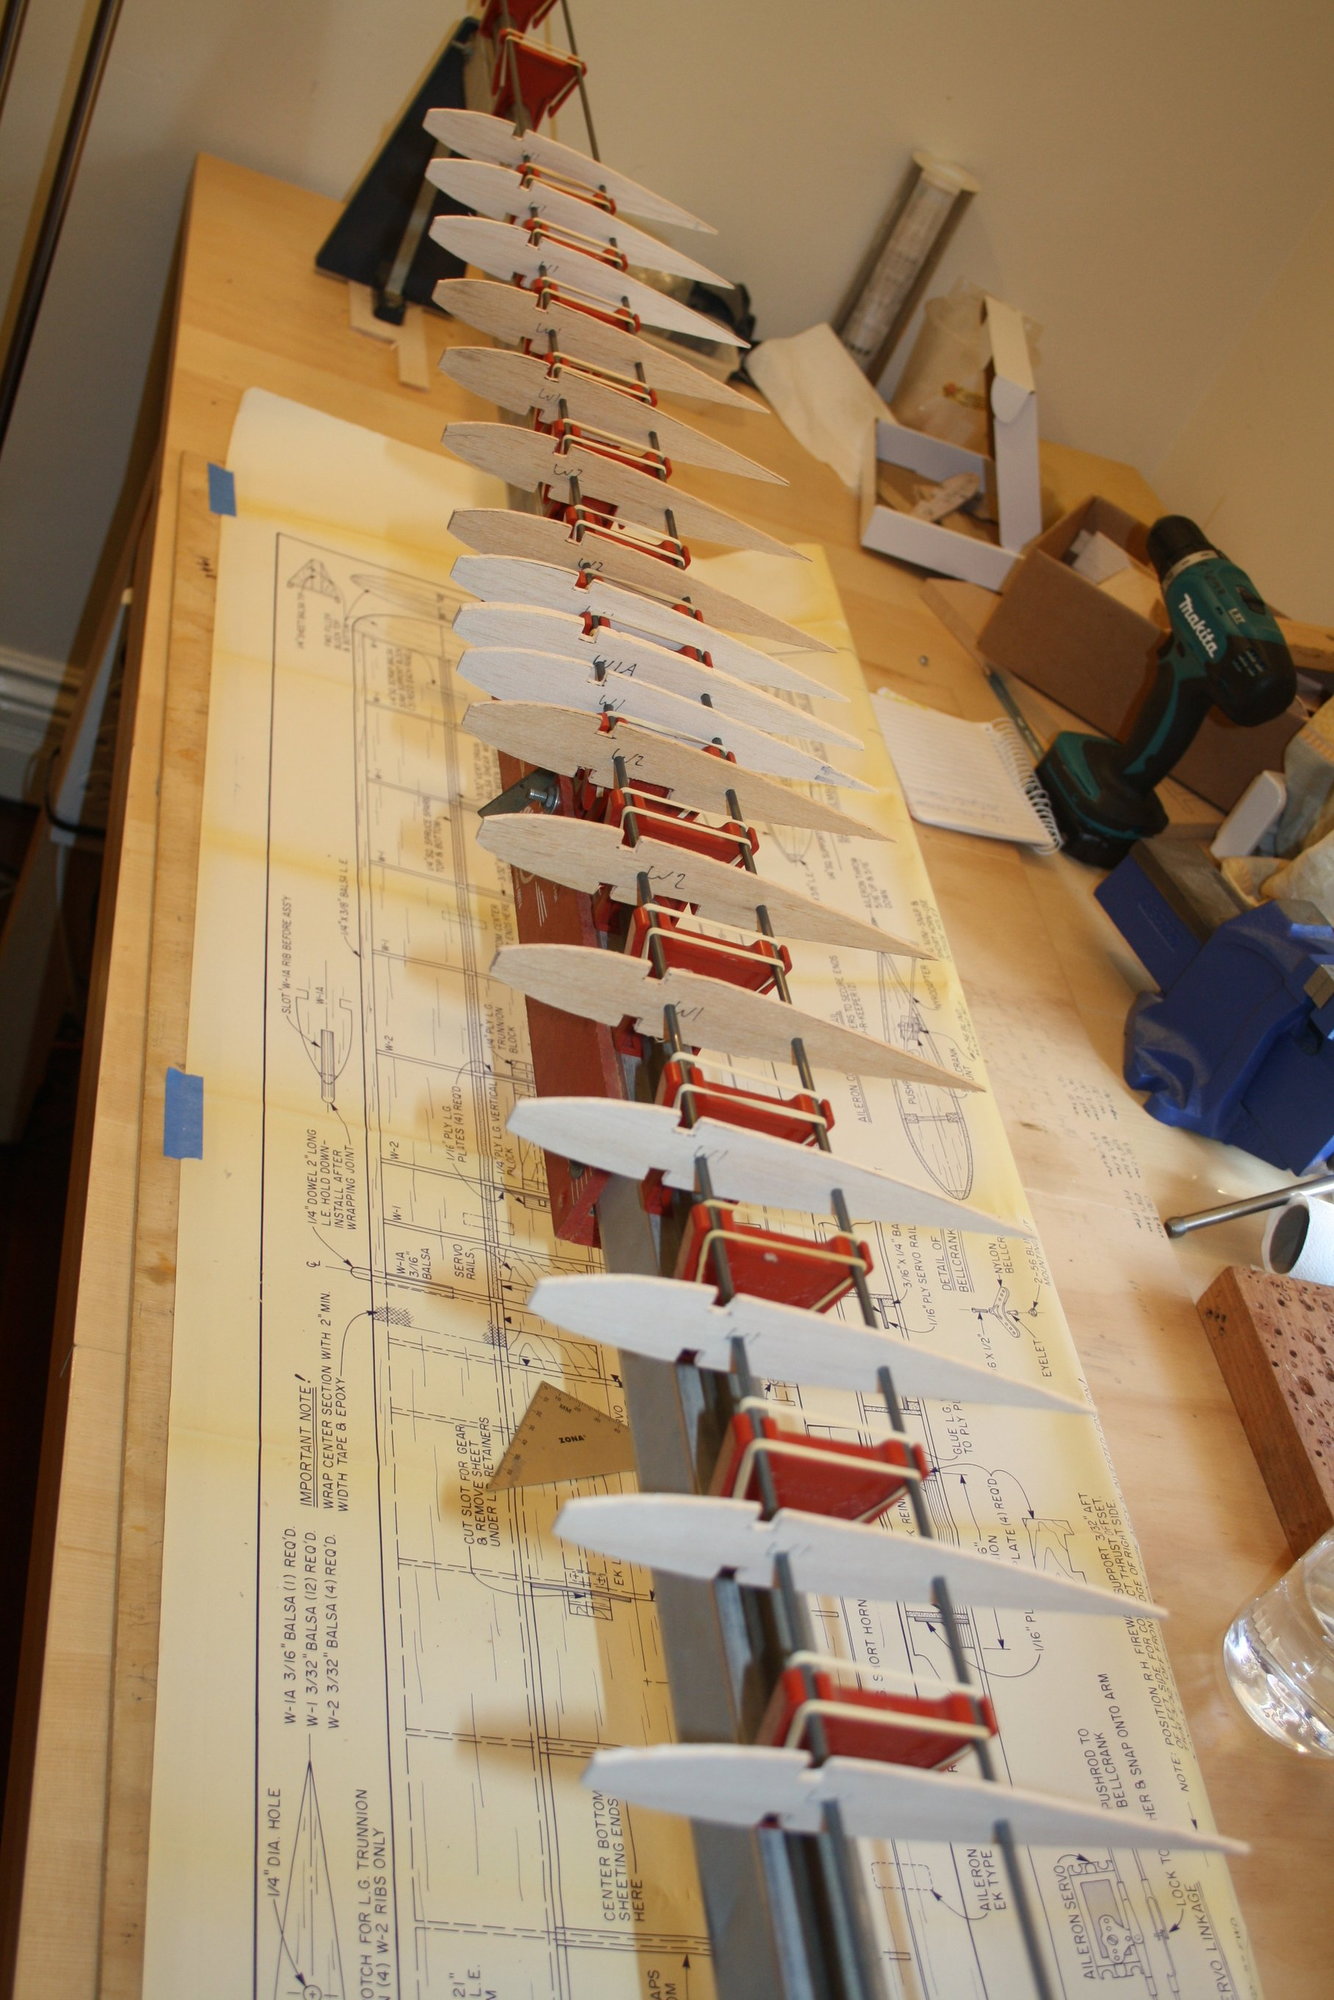
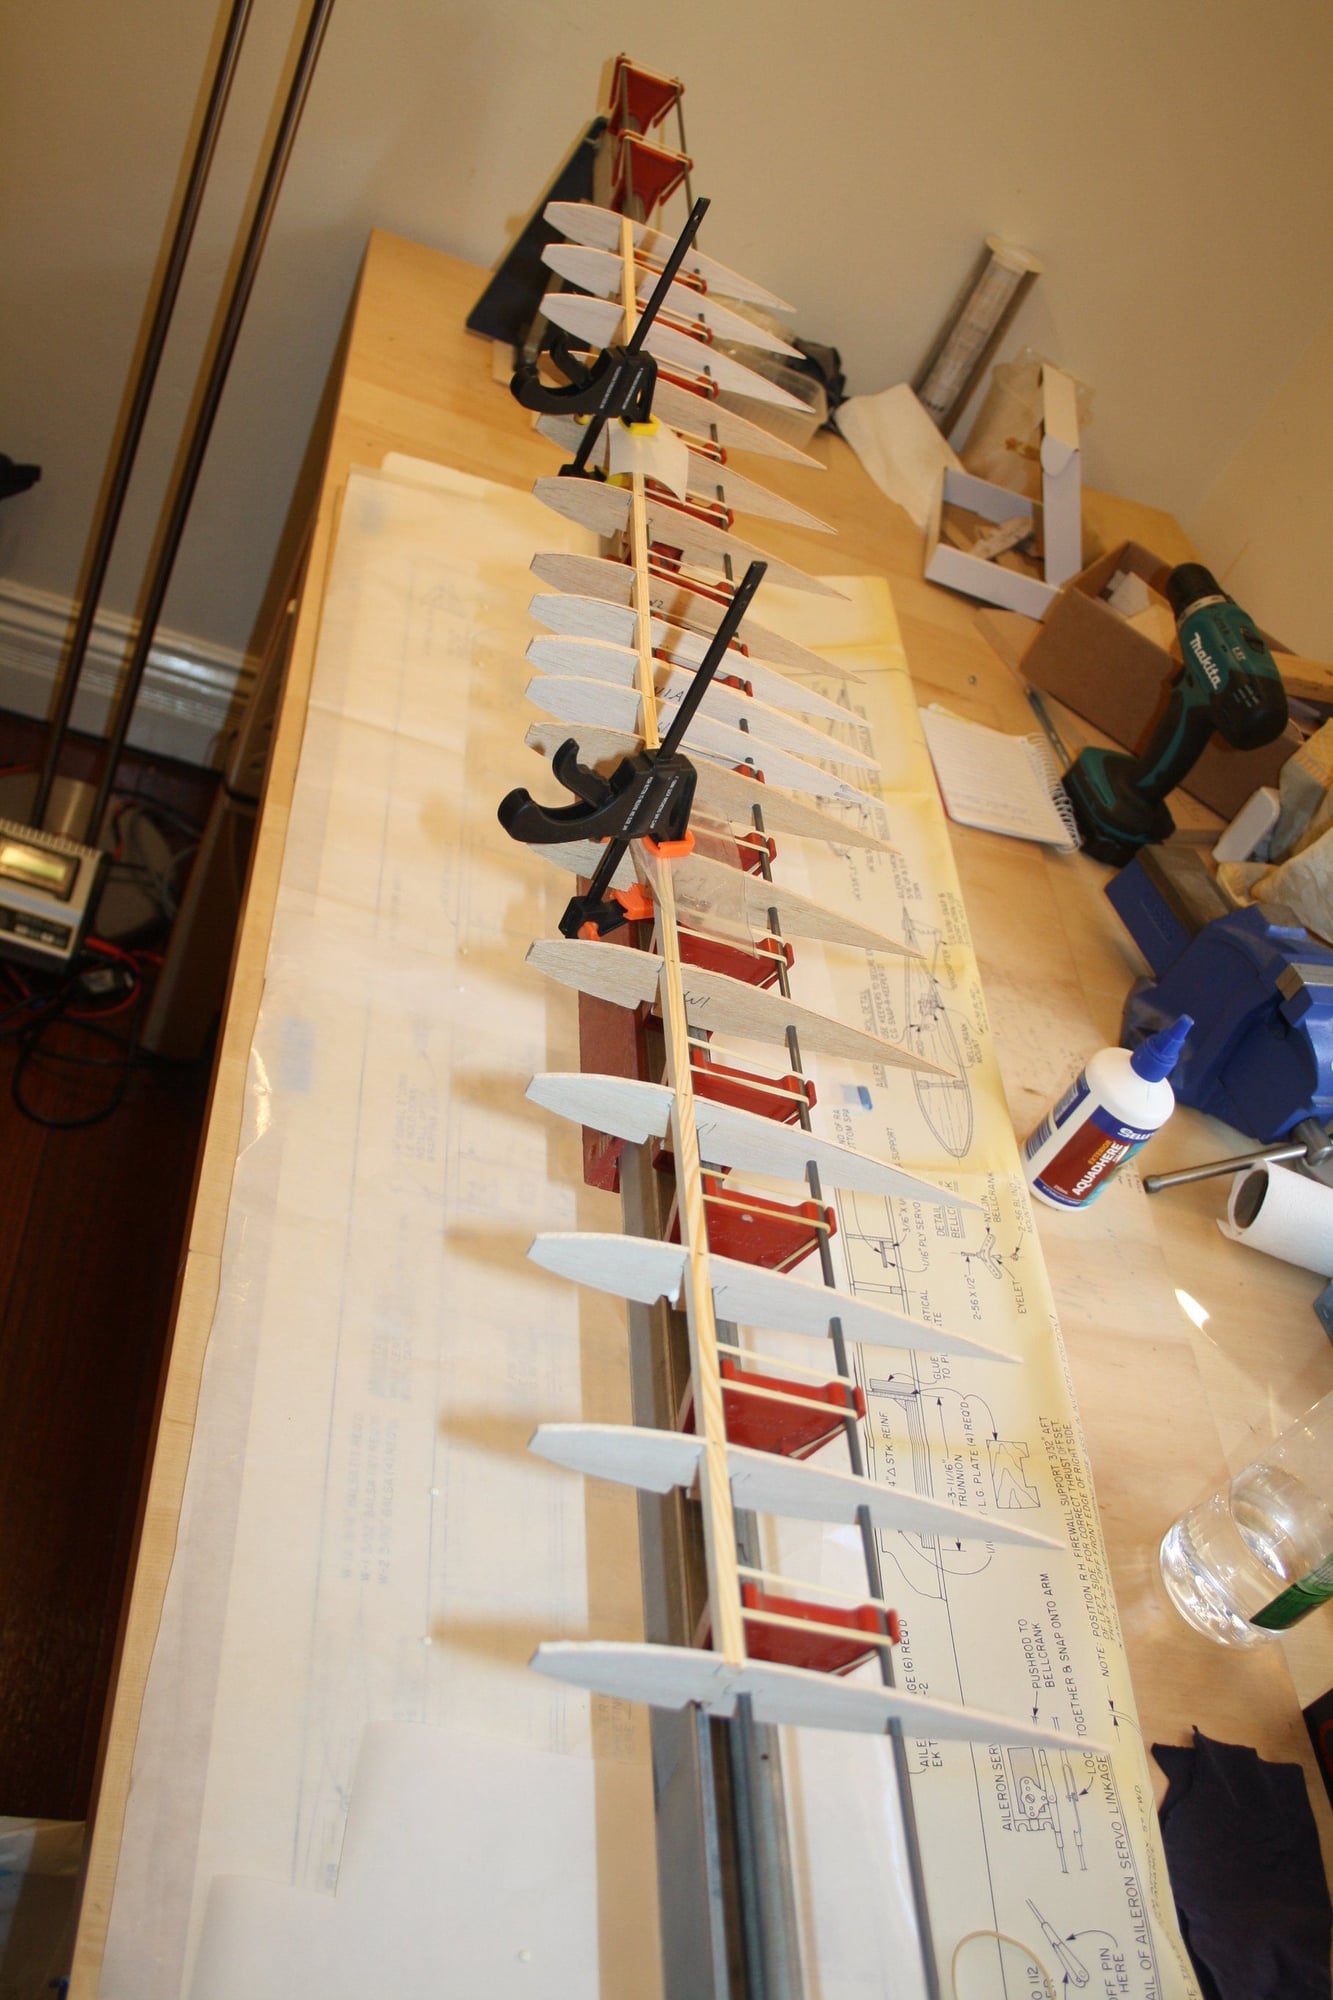
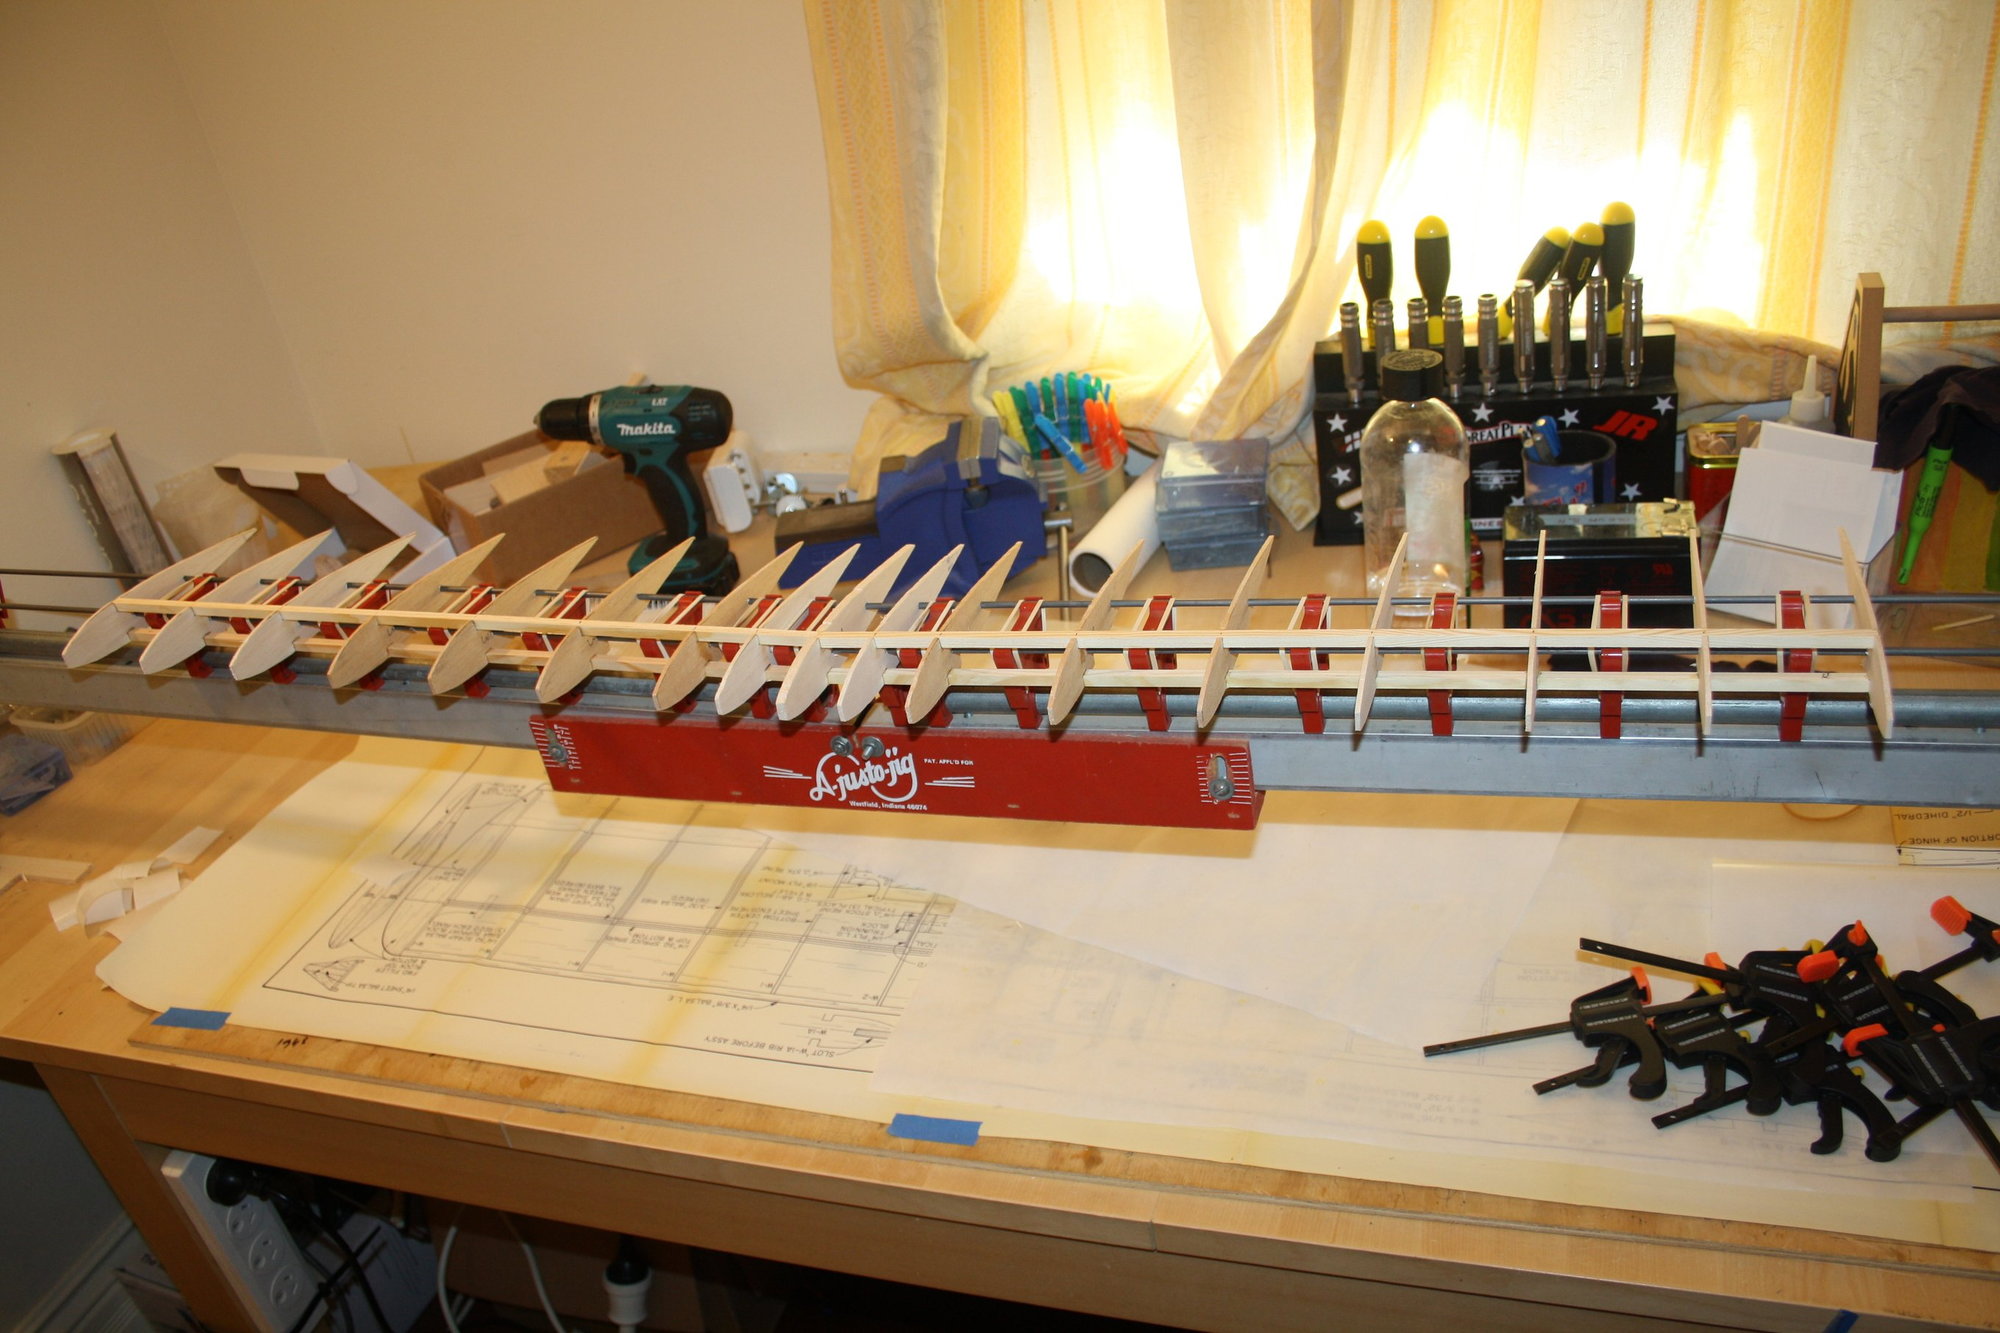
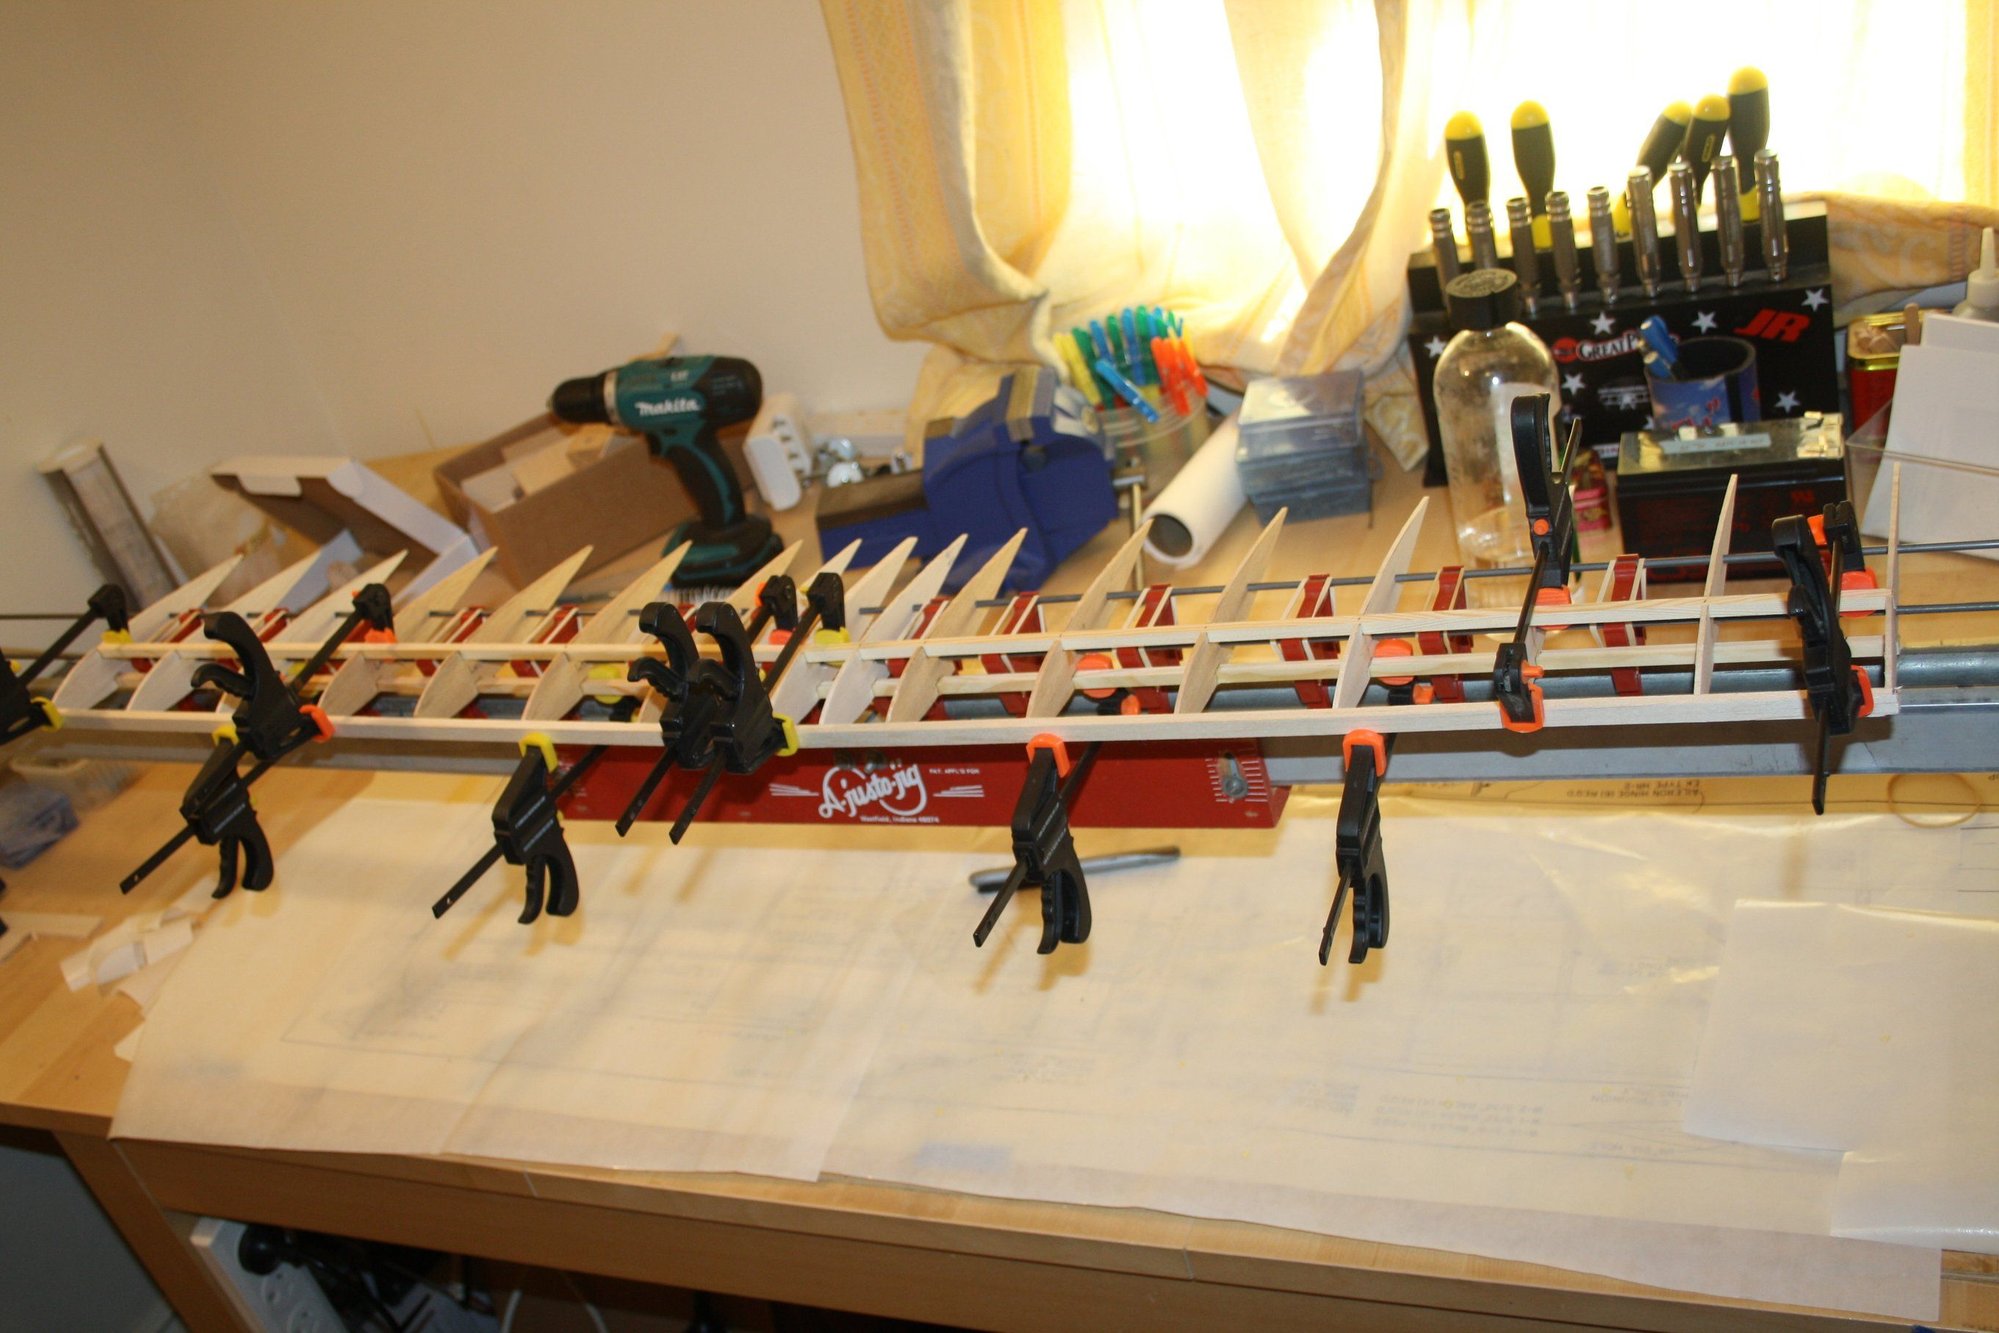
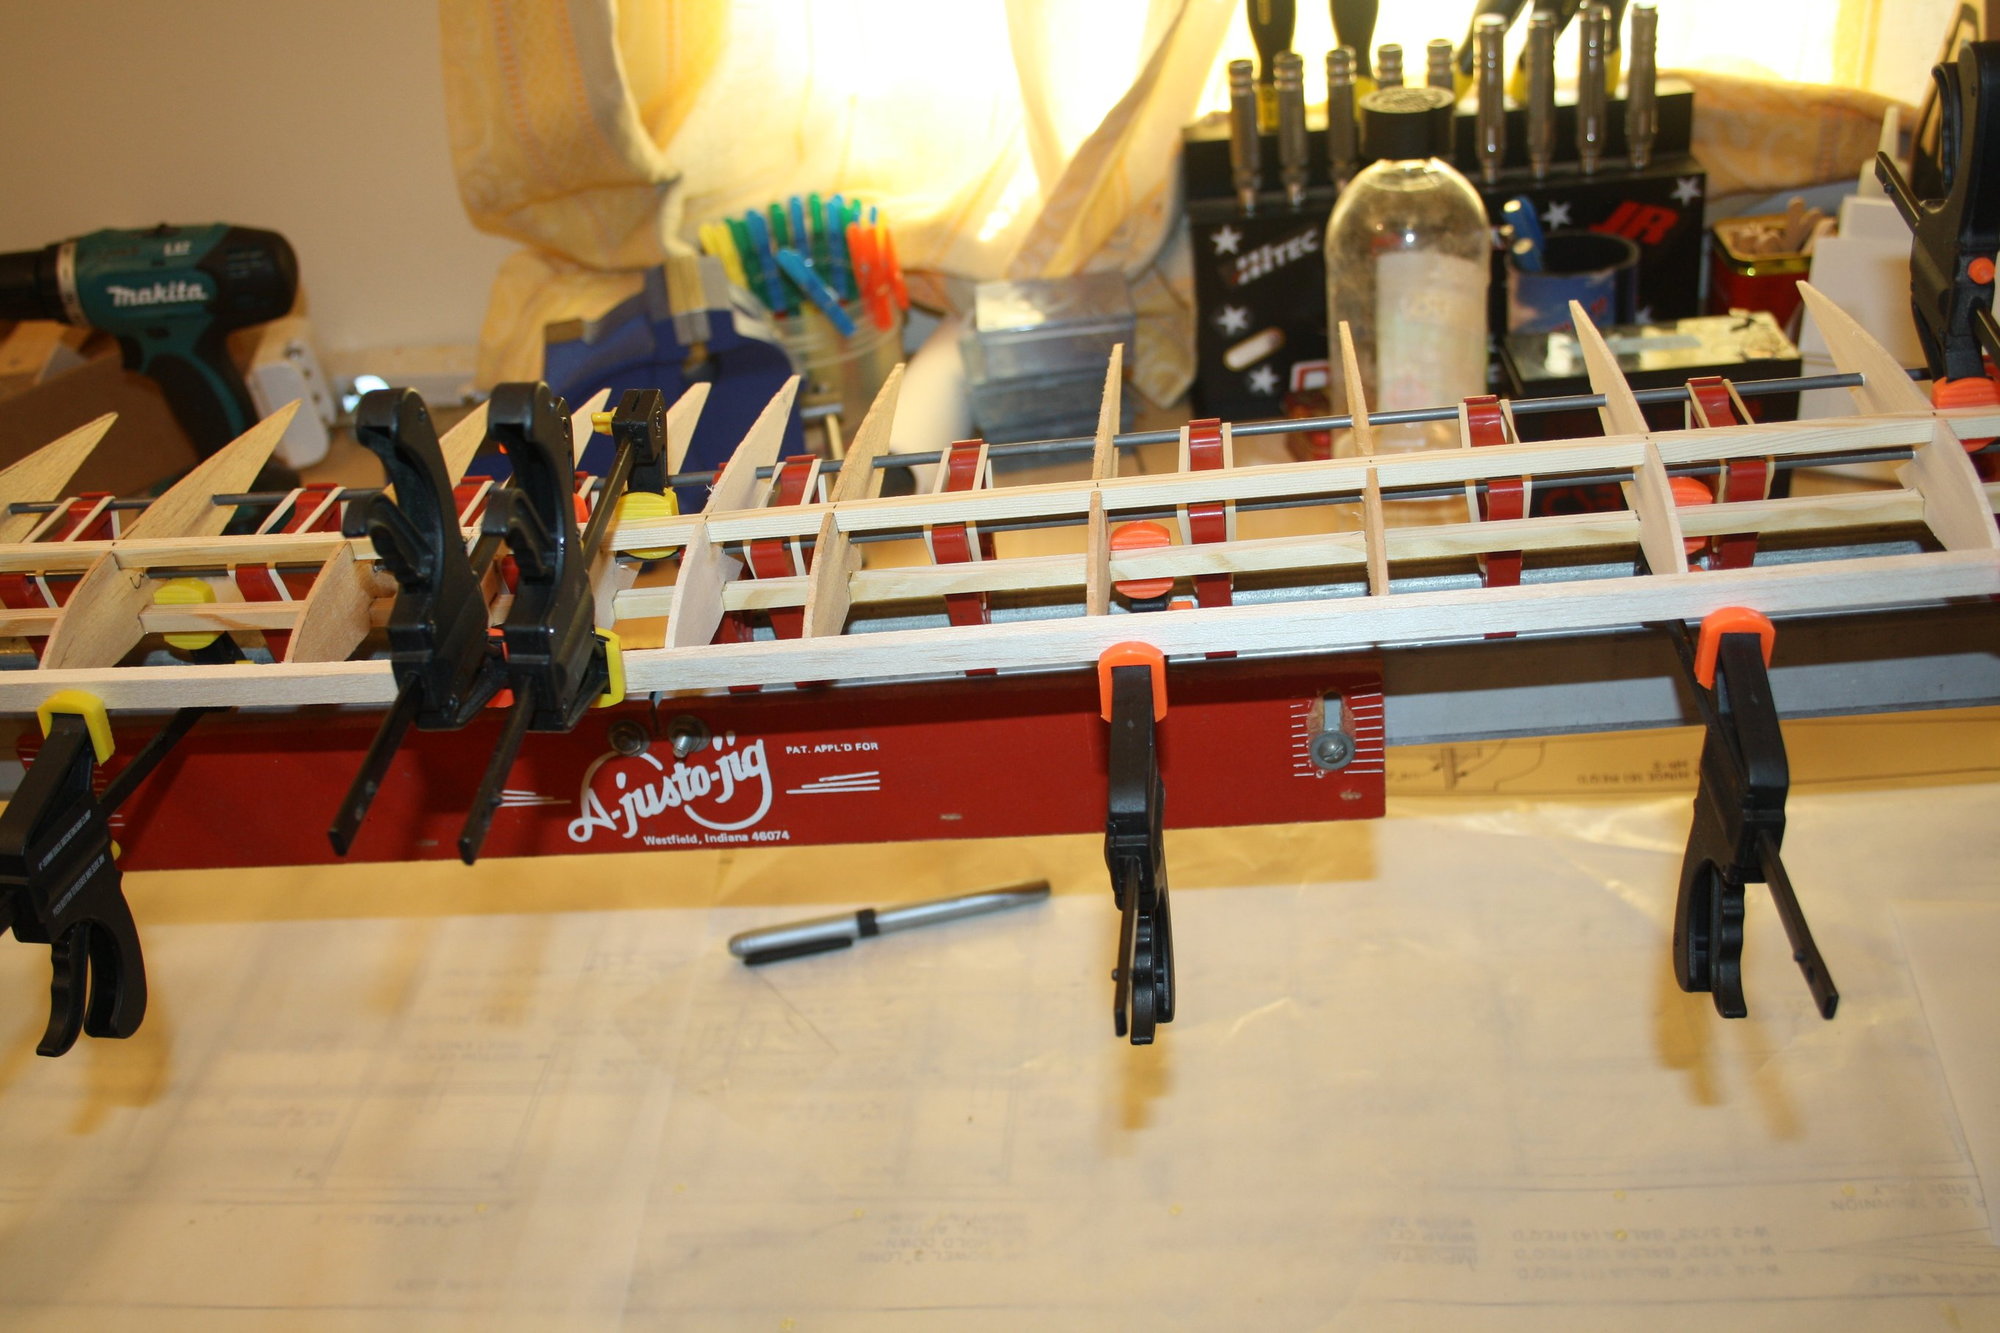
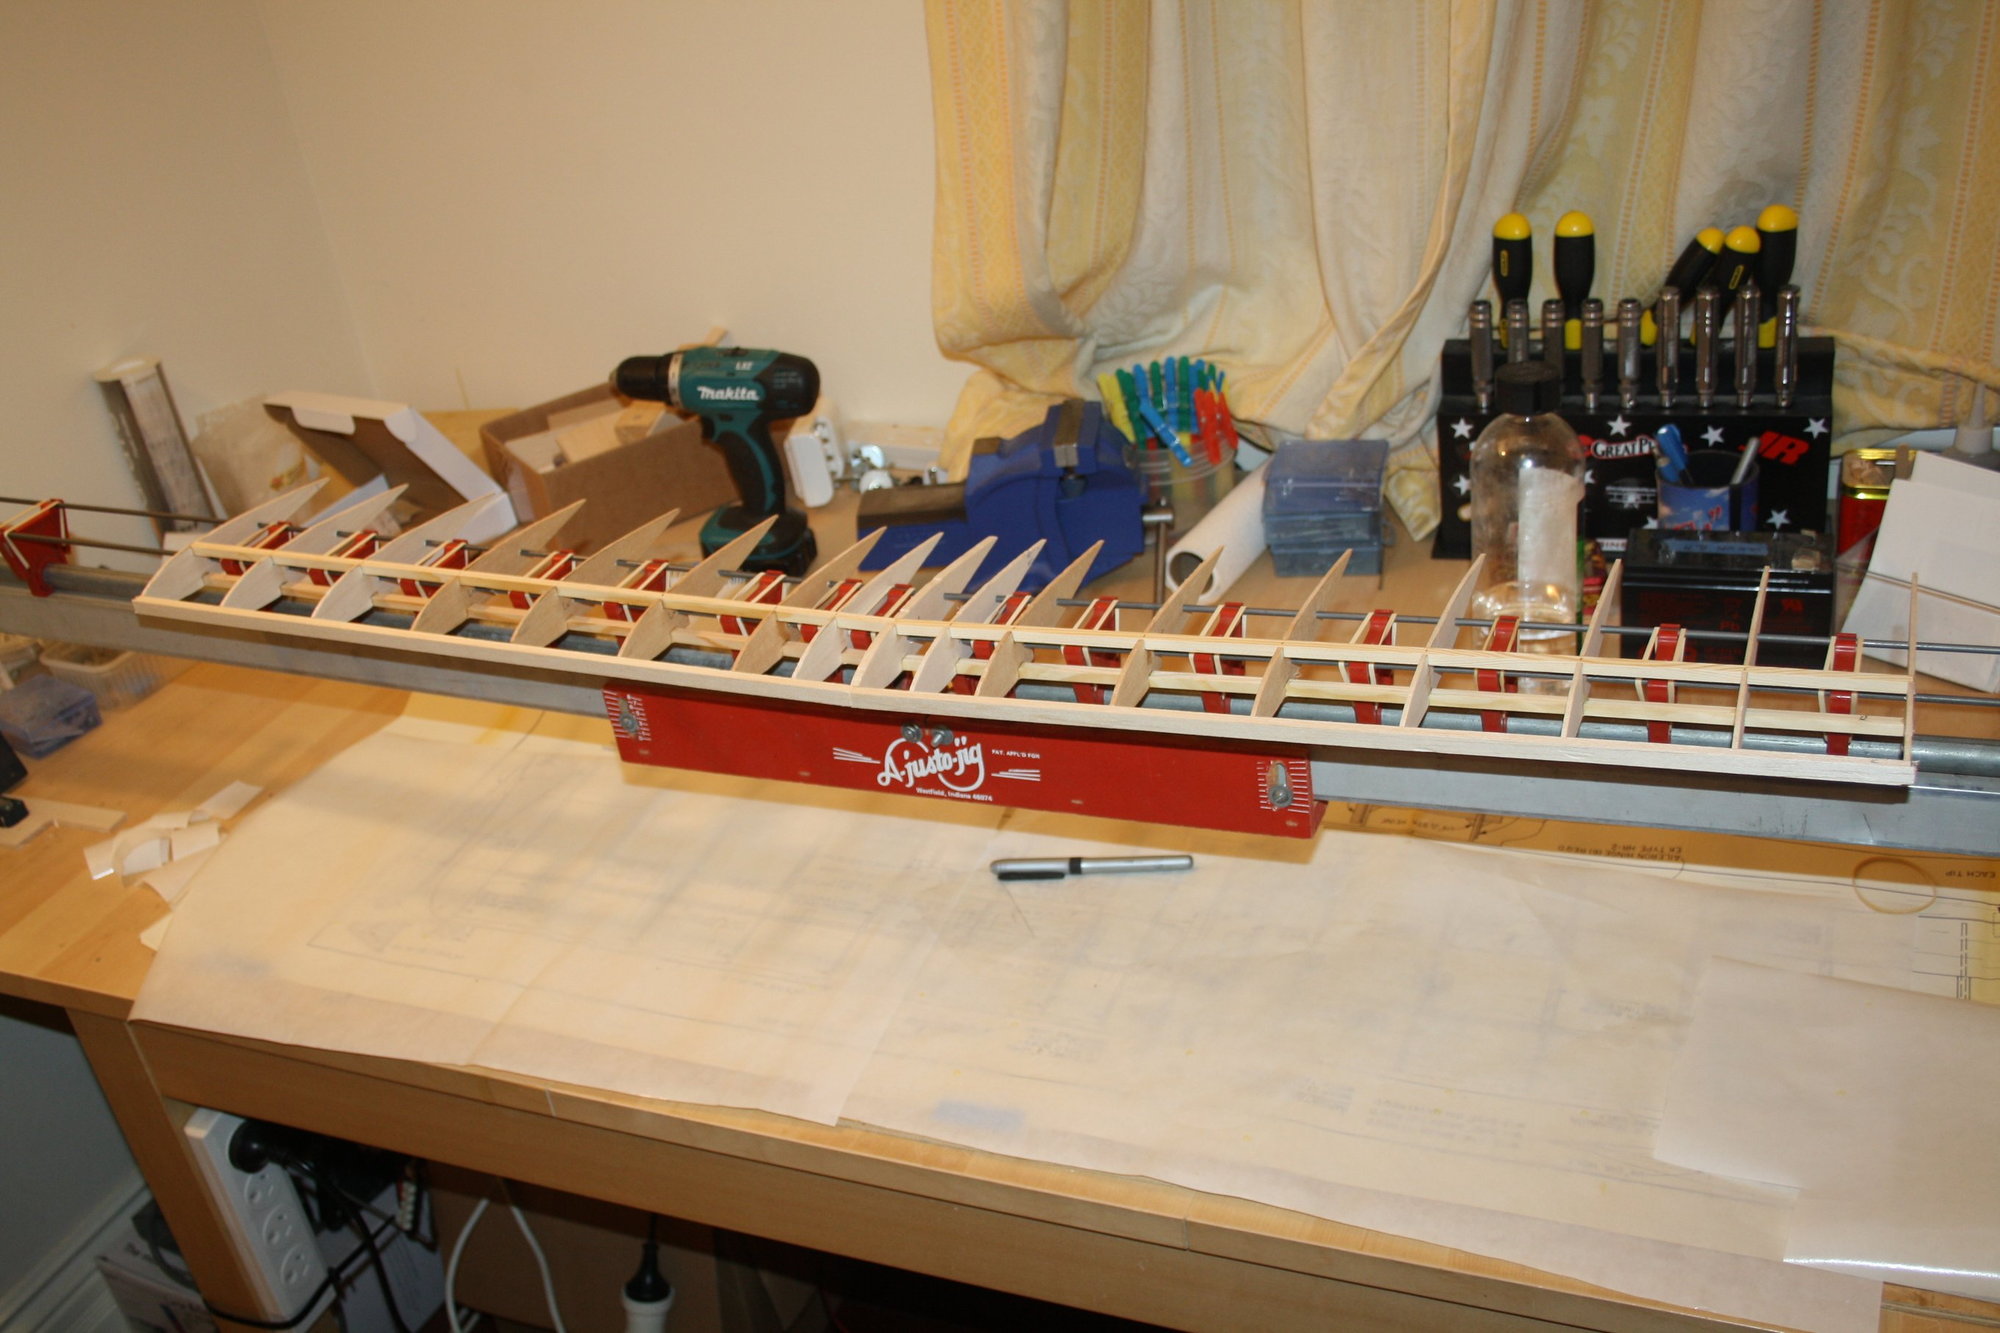
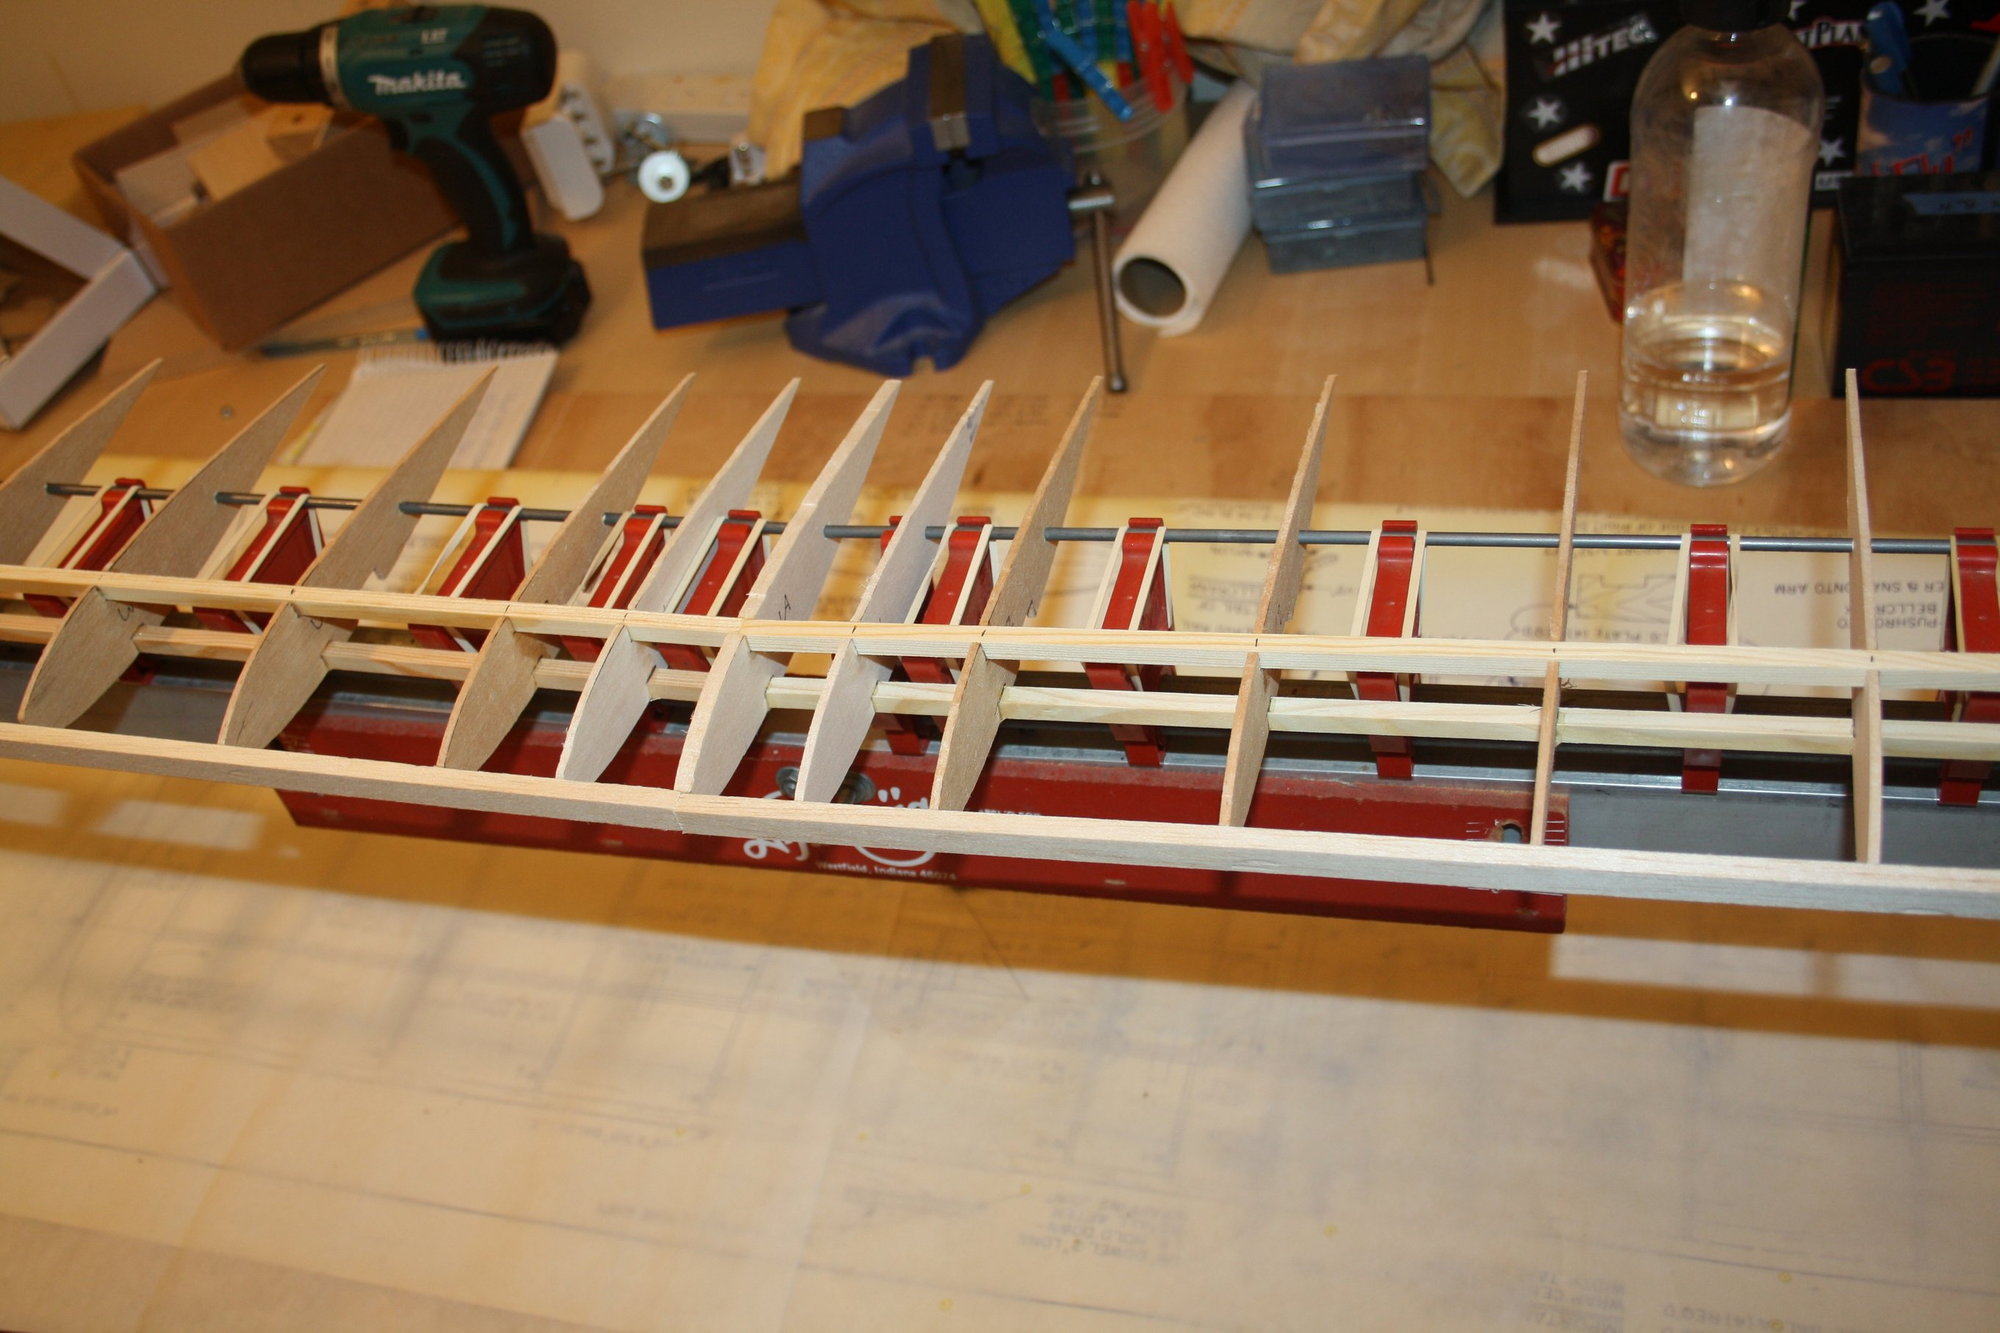
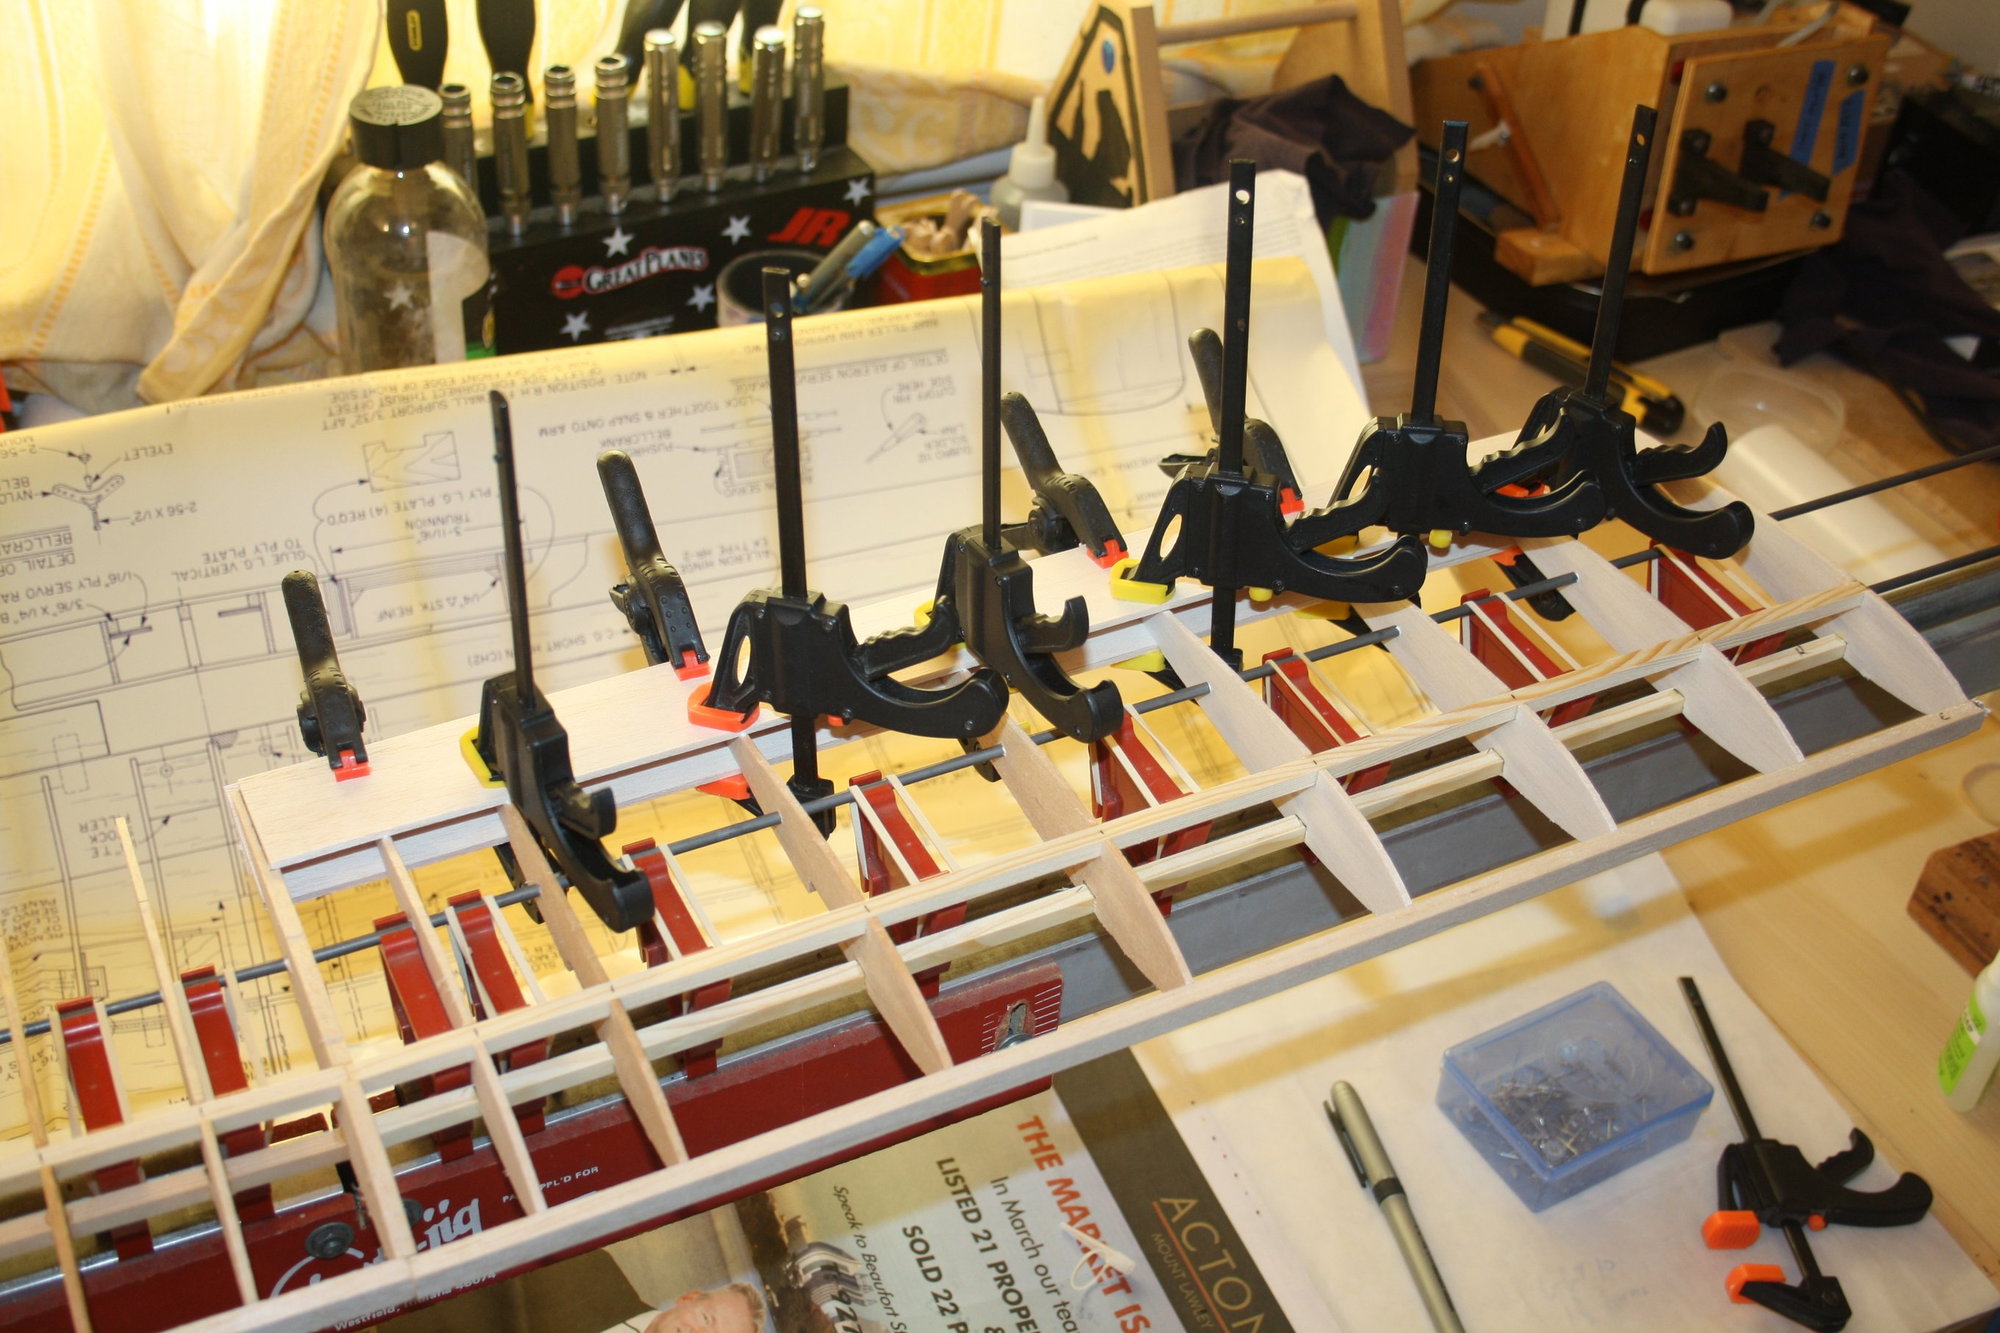
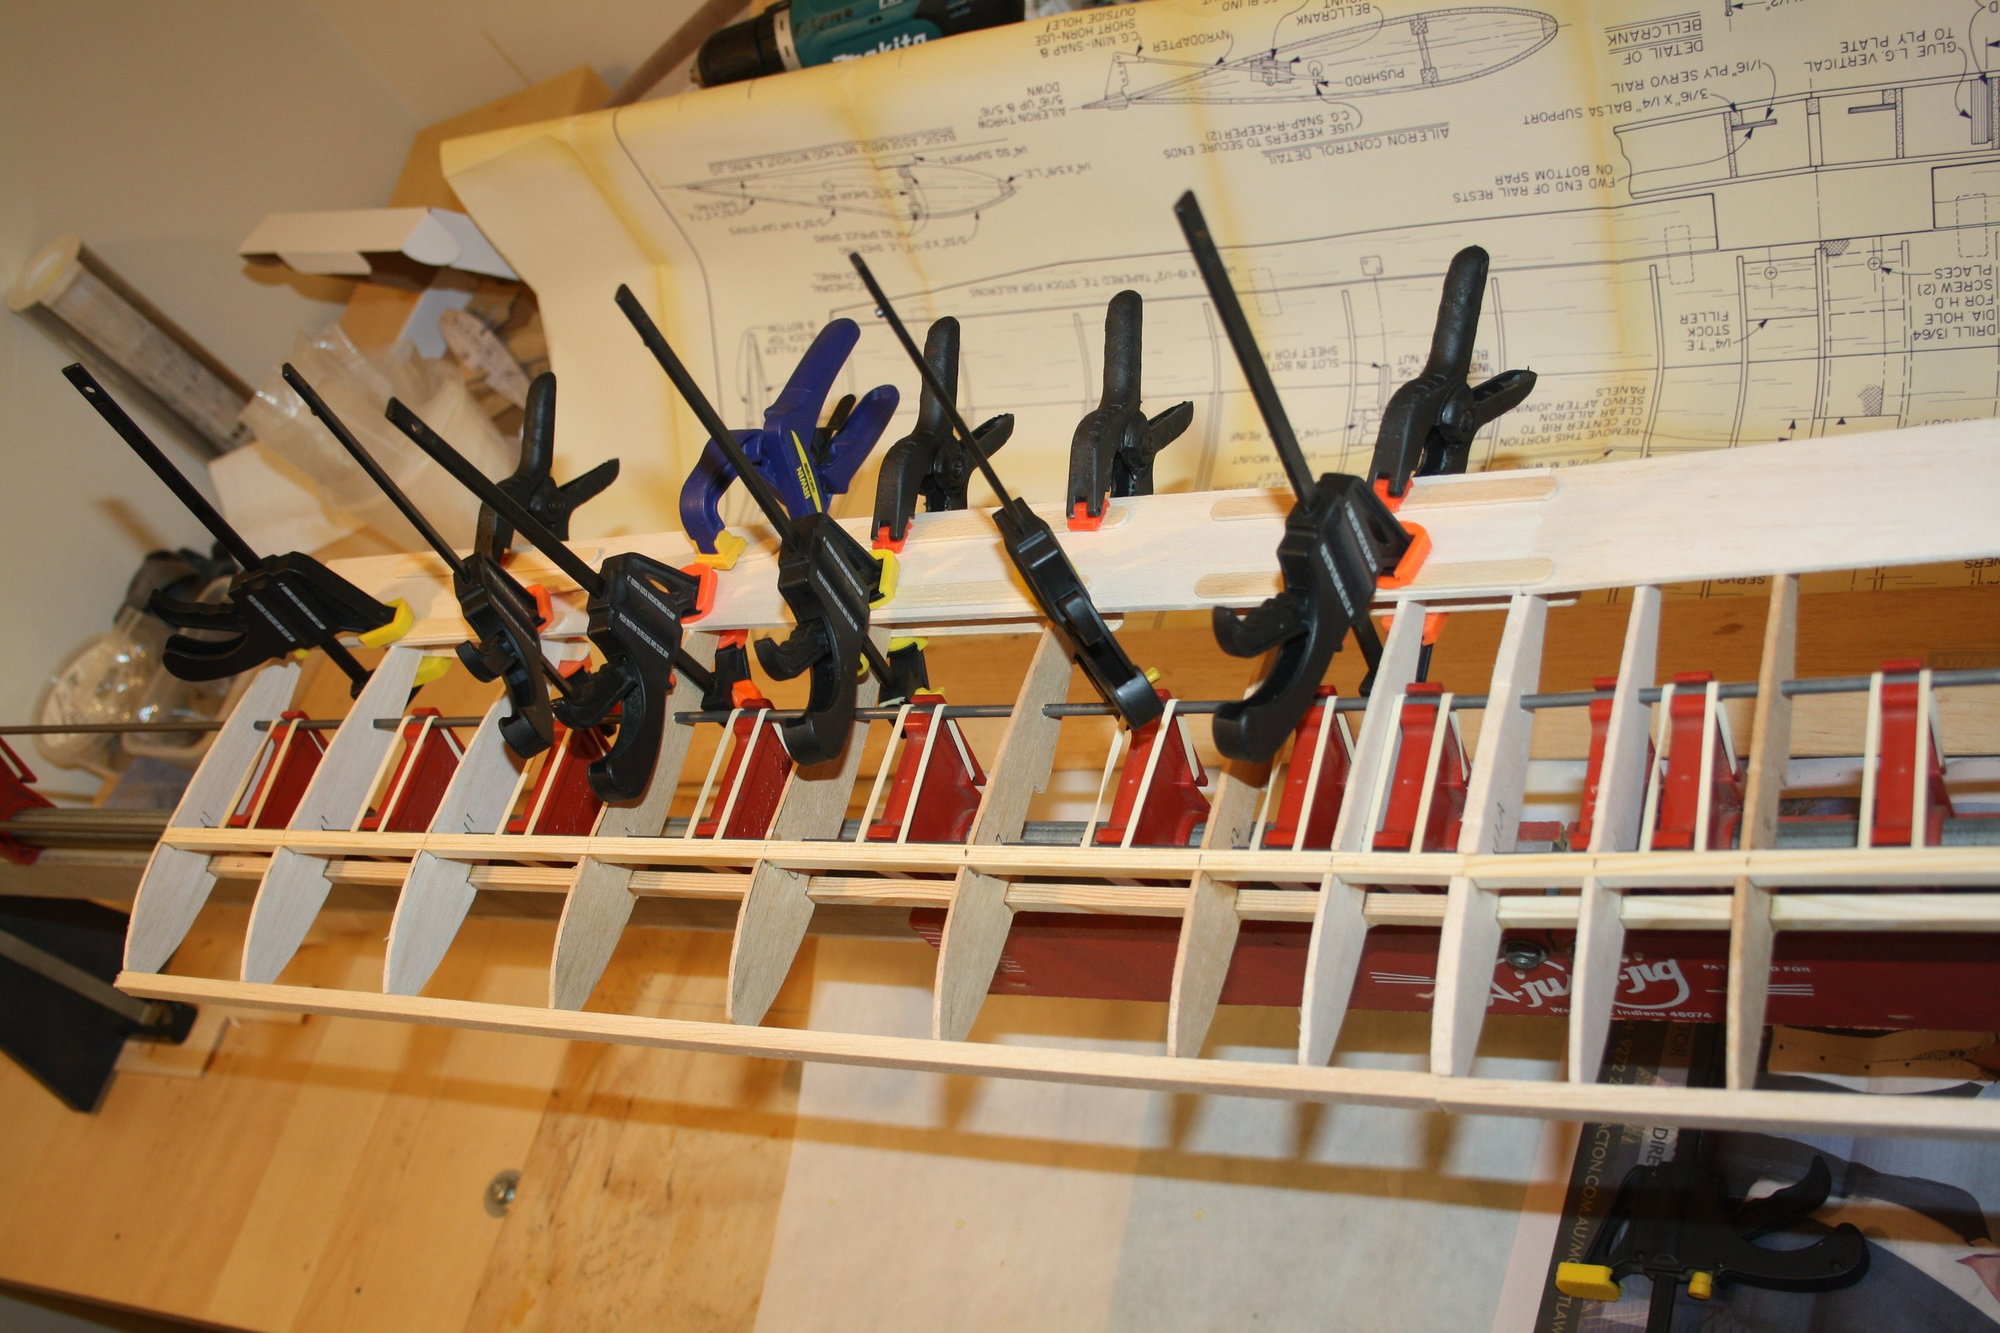
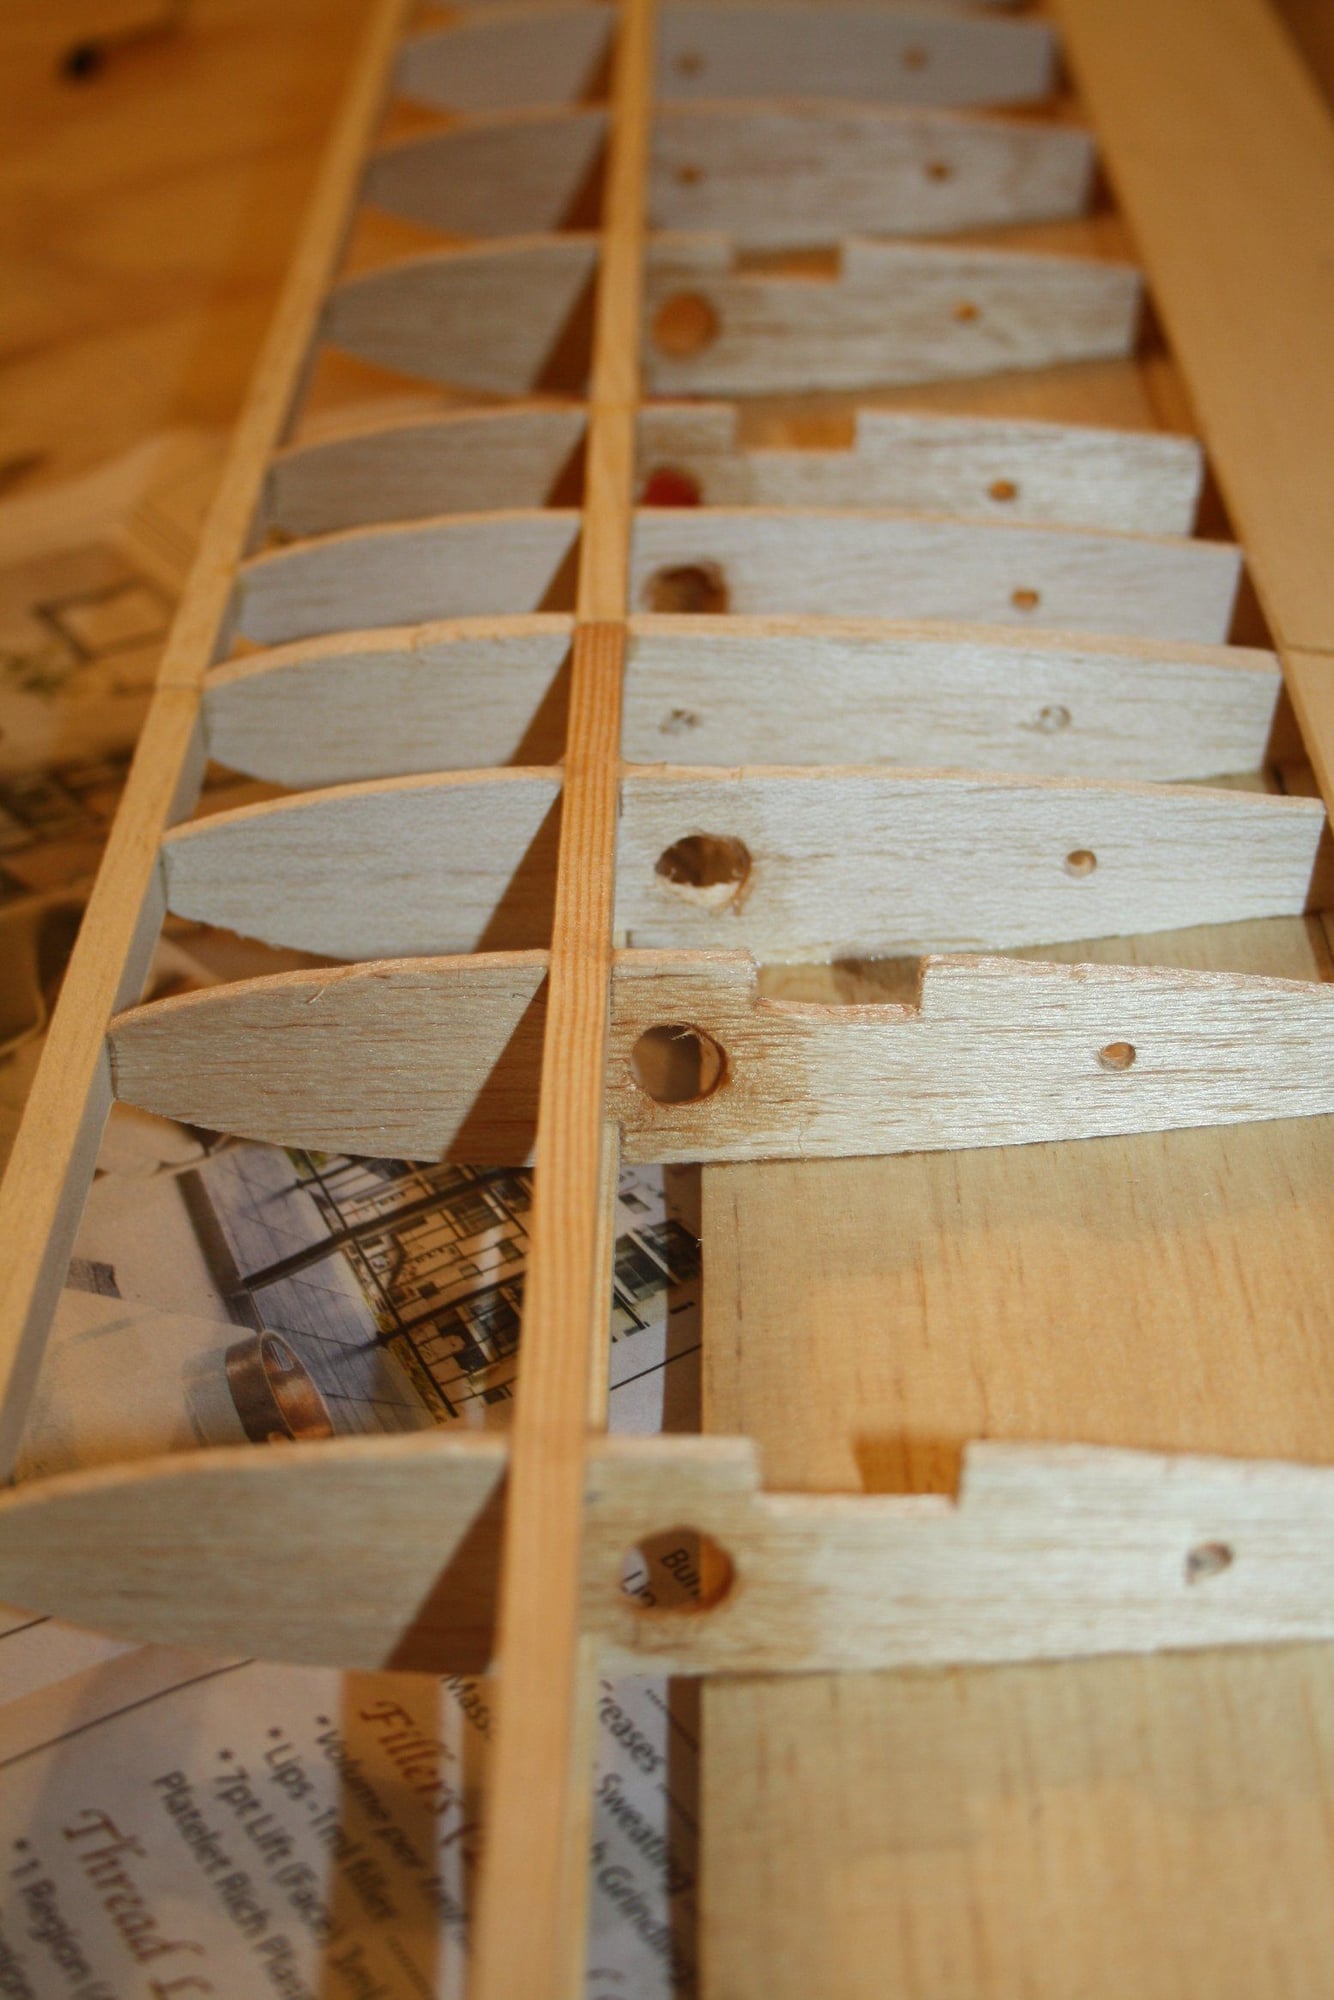
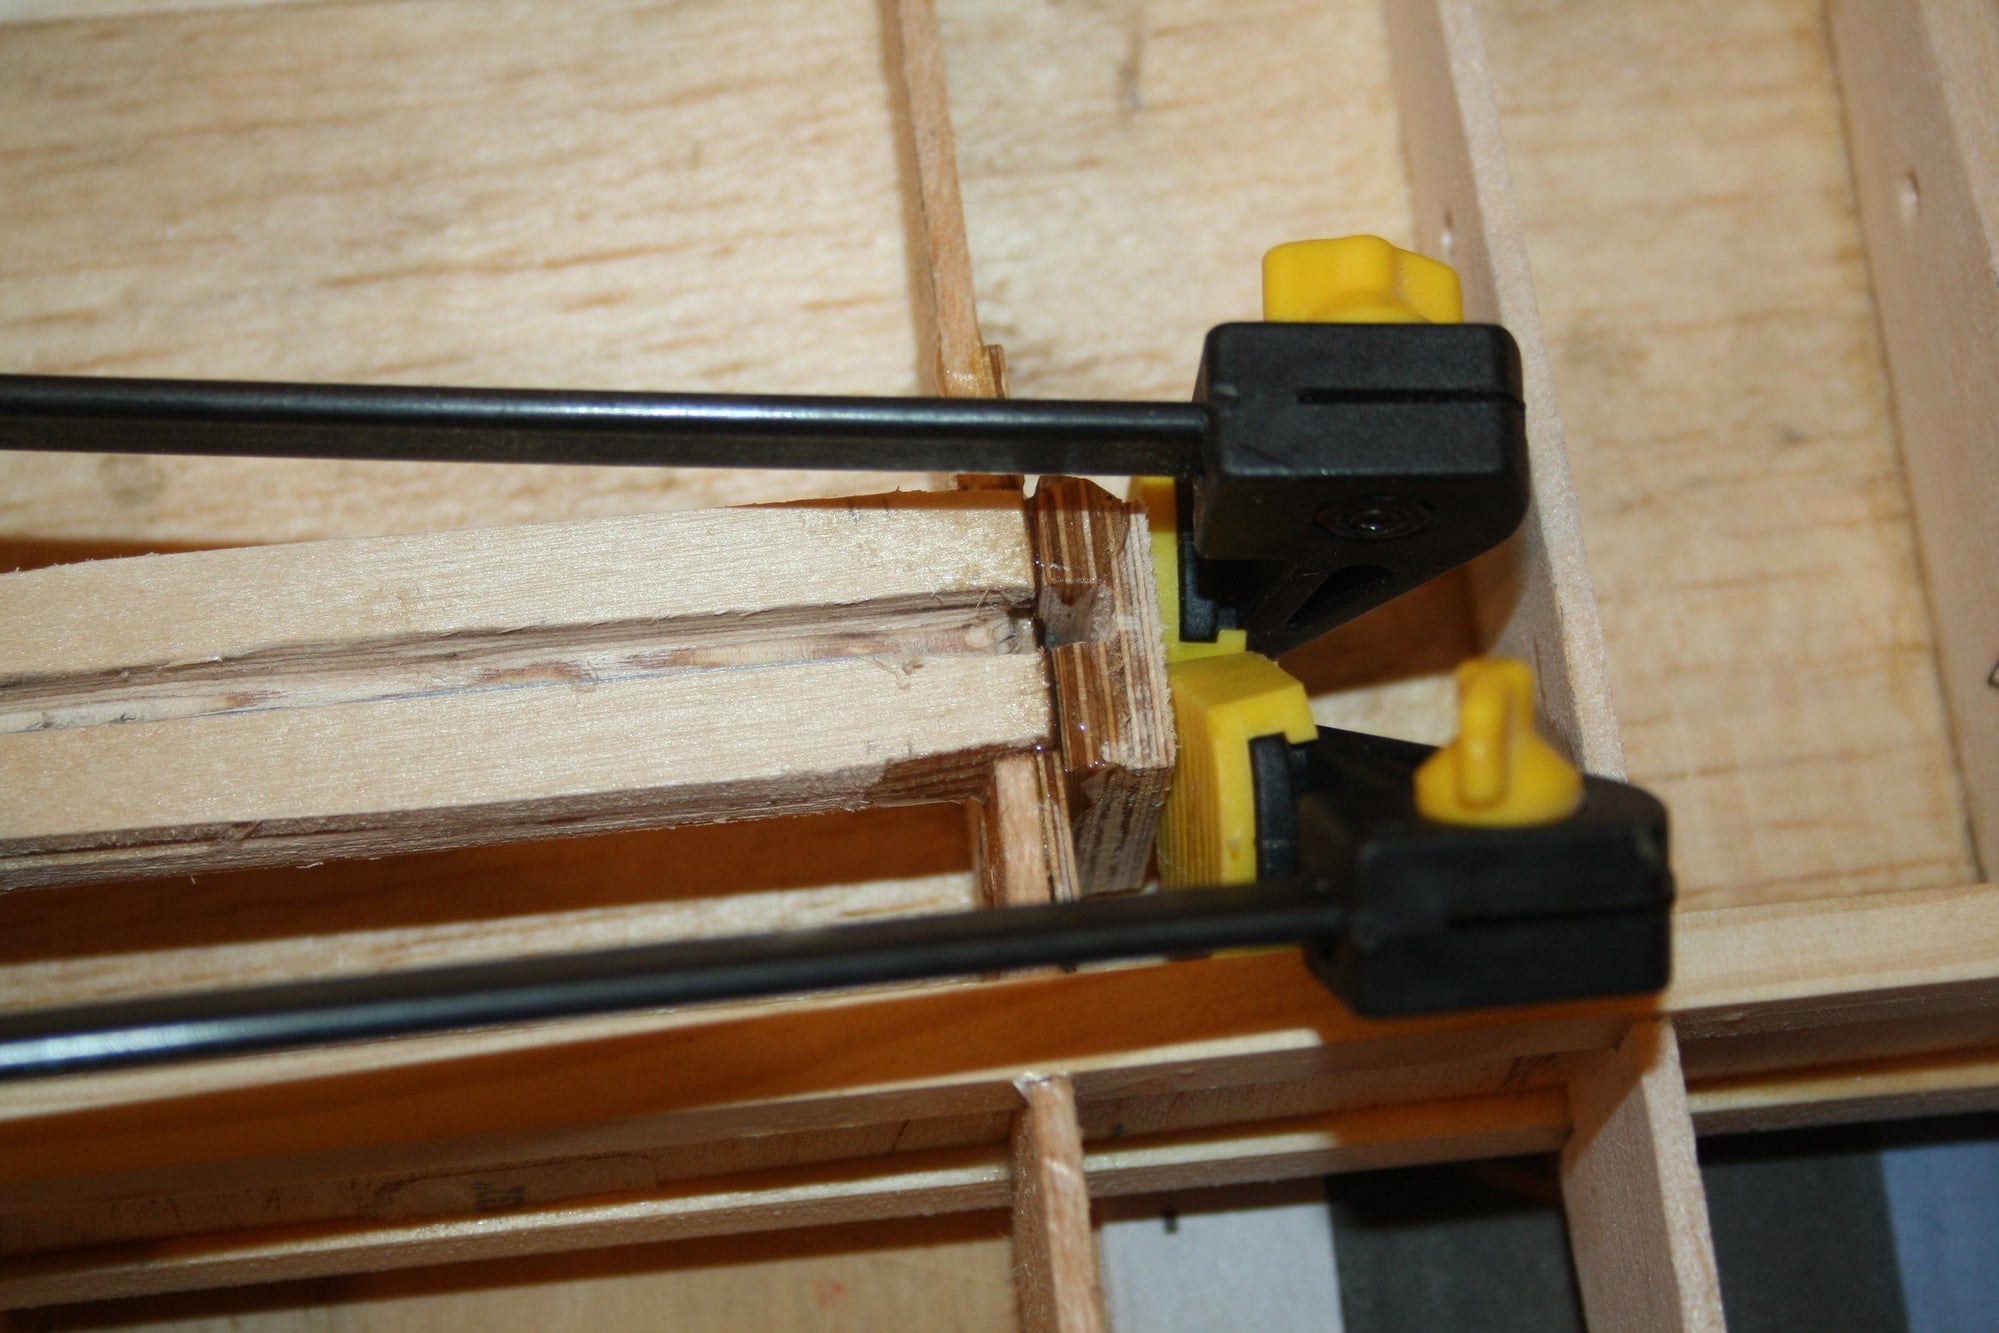
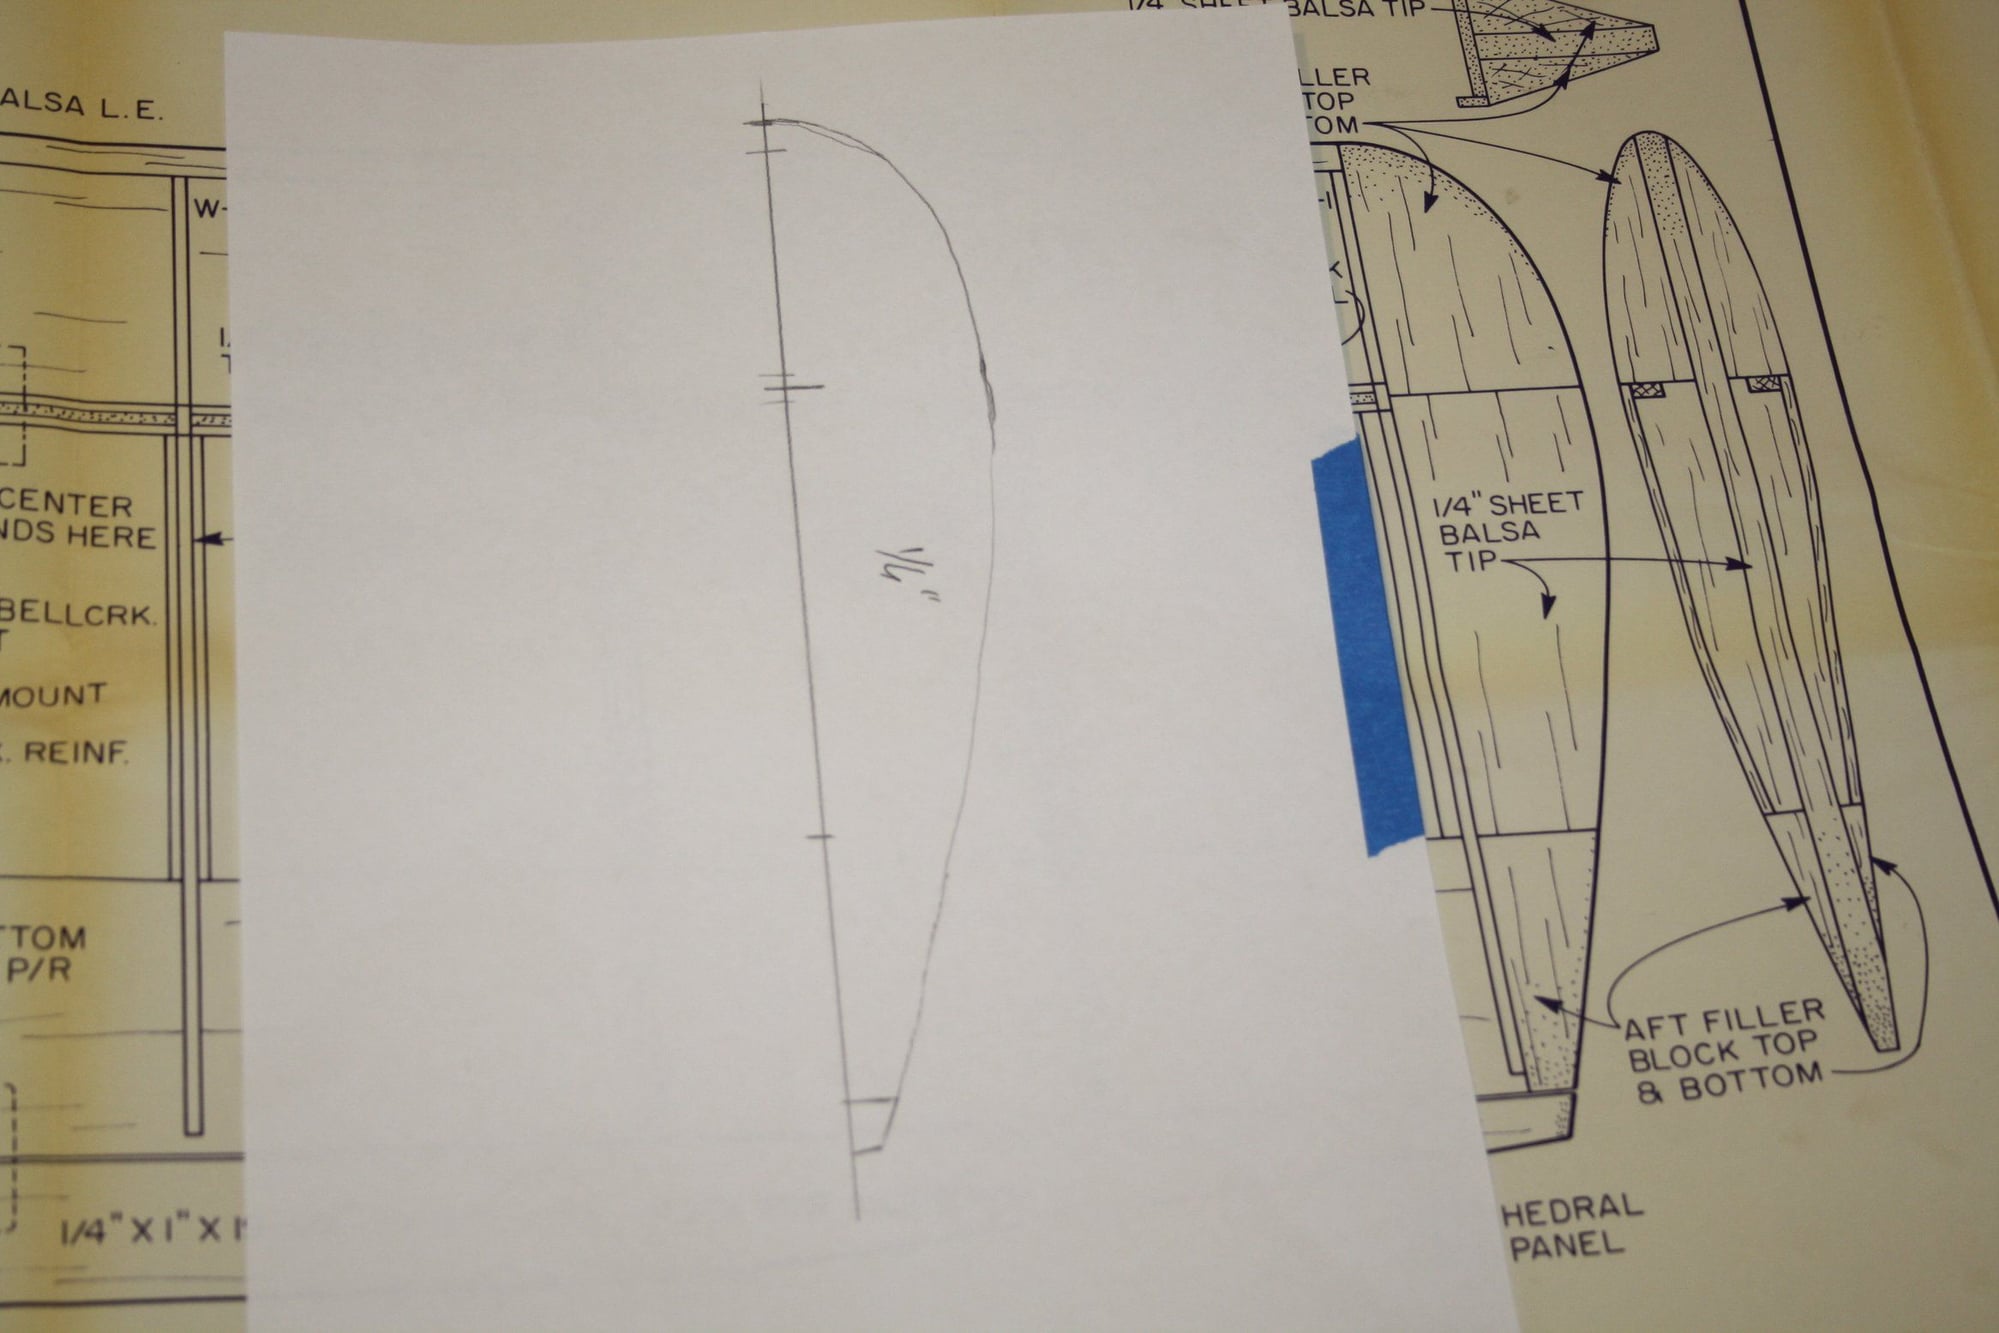
I set up the "A-Justo-Jig" on my table with the wingtip dihedral of 1/2" (always a pain in the backside to do).
The ribs were skewed onto the 5/32" rods and the rods were strapped into position with rubber bands. Then I was re- checking alignments and centre until was satisfied that all is as aligned as I can have it.
When all was done, the top spruce spars were glued into place.
I have some problems with posting photos at the moment, I will try again in few hours.
Eran.

 05-14-2018, 06:40 AM
#12
Thread Starter
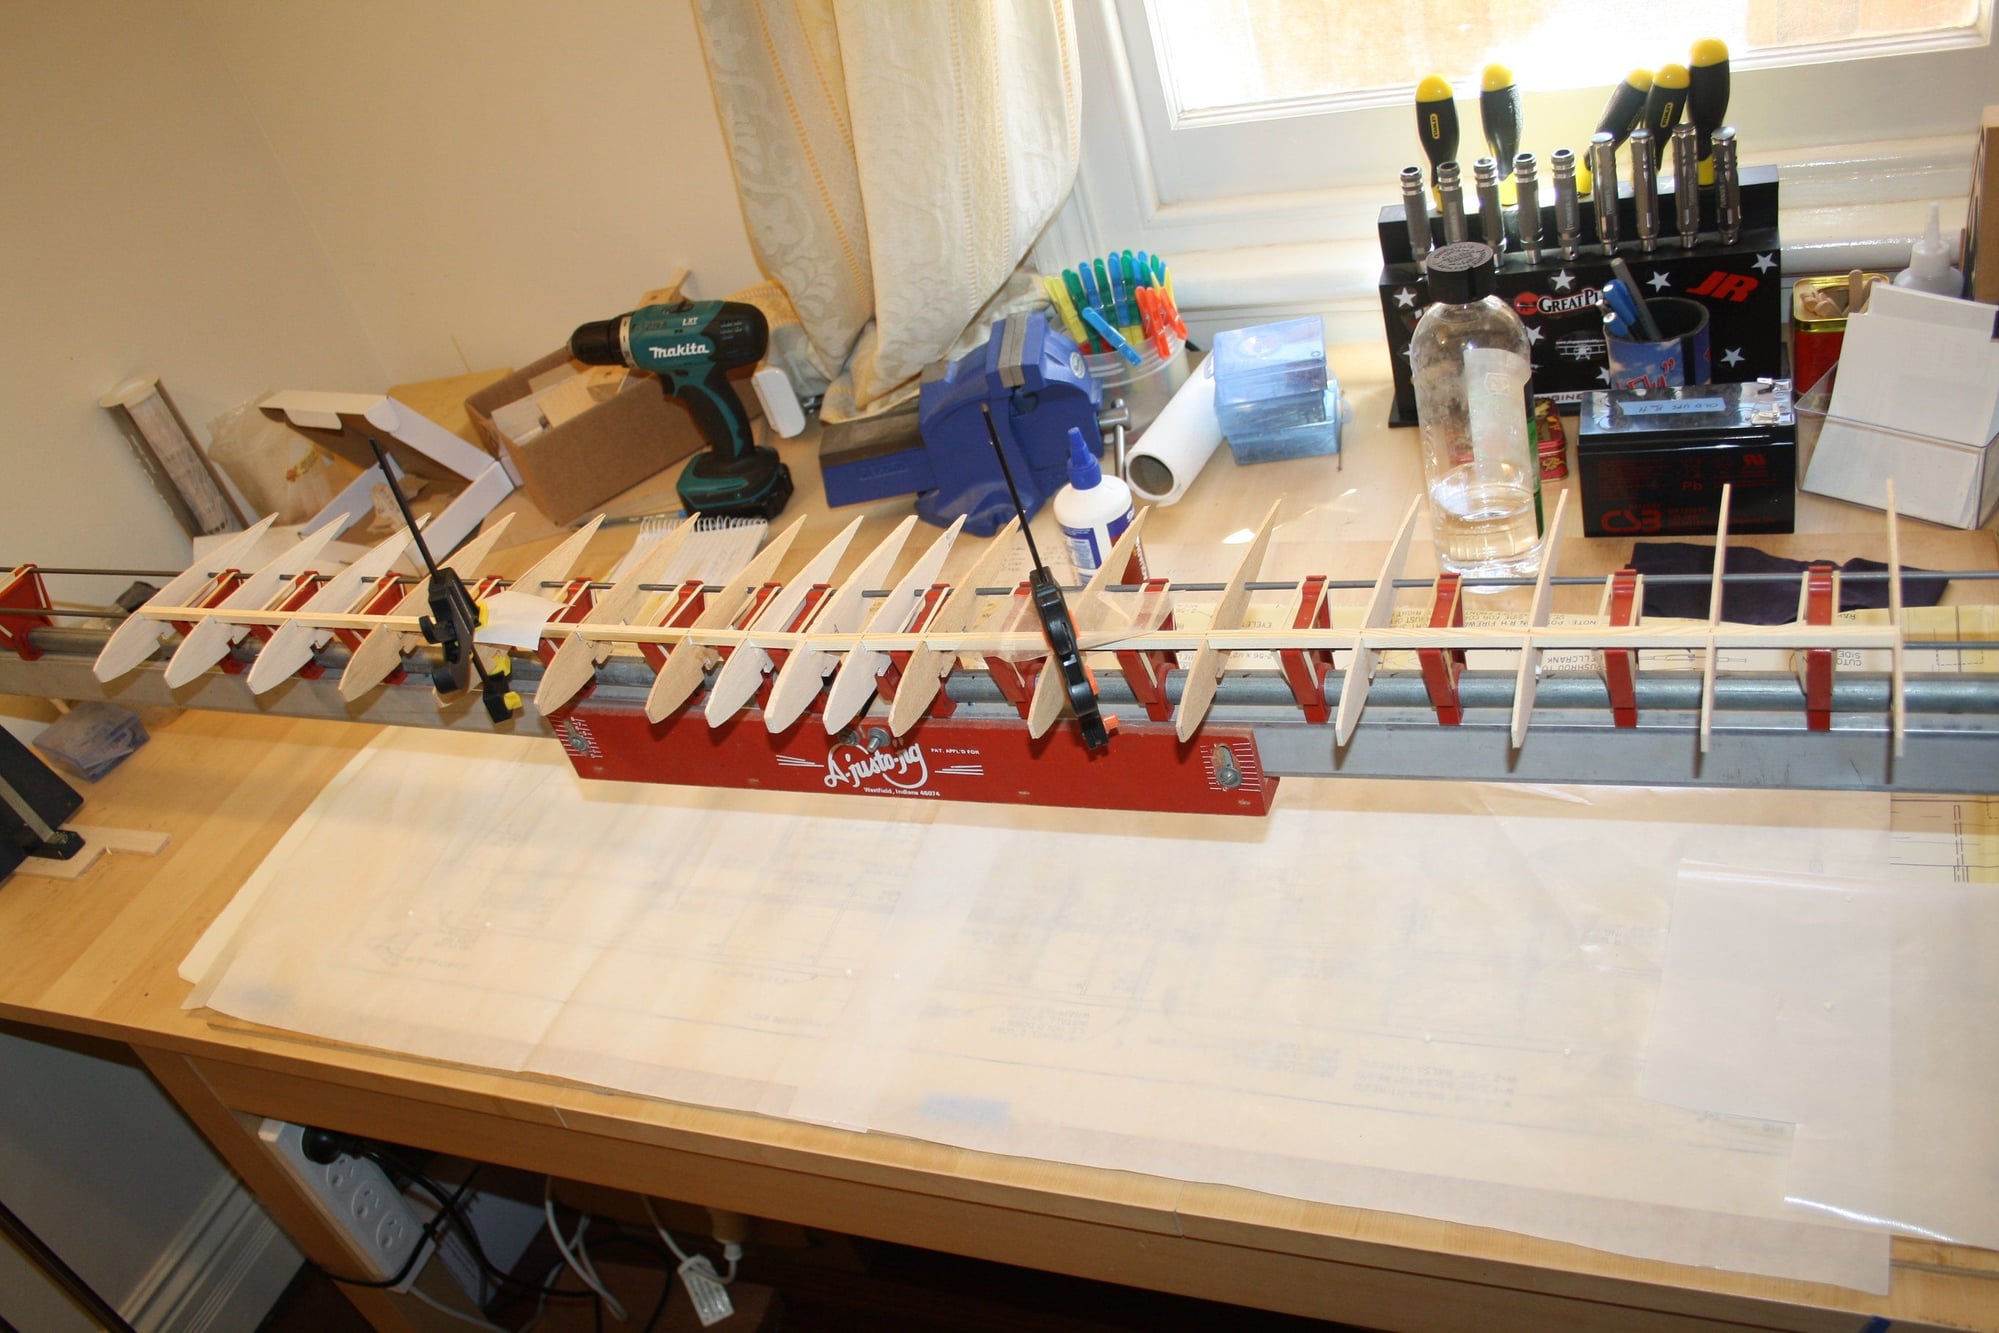
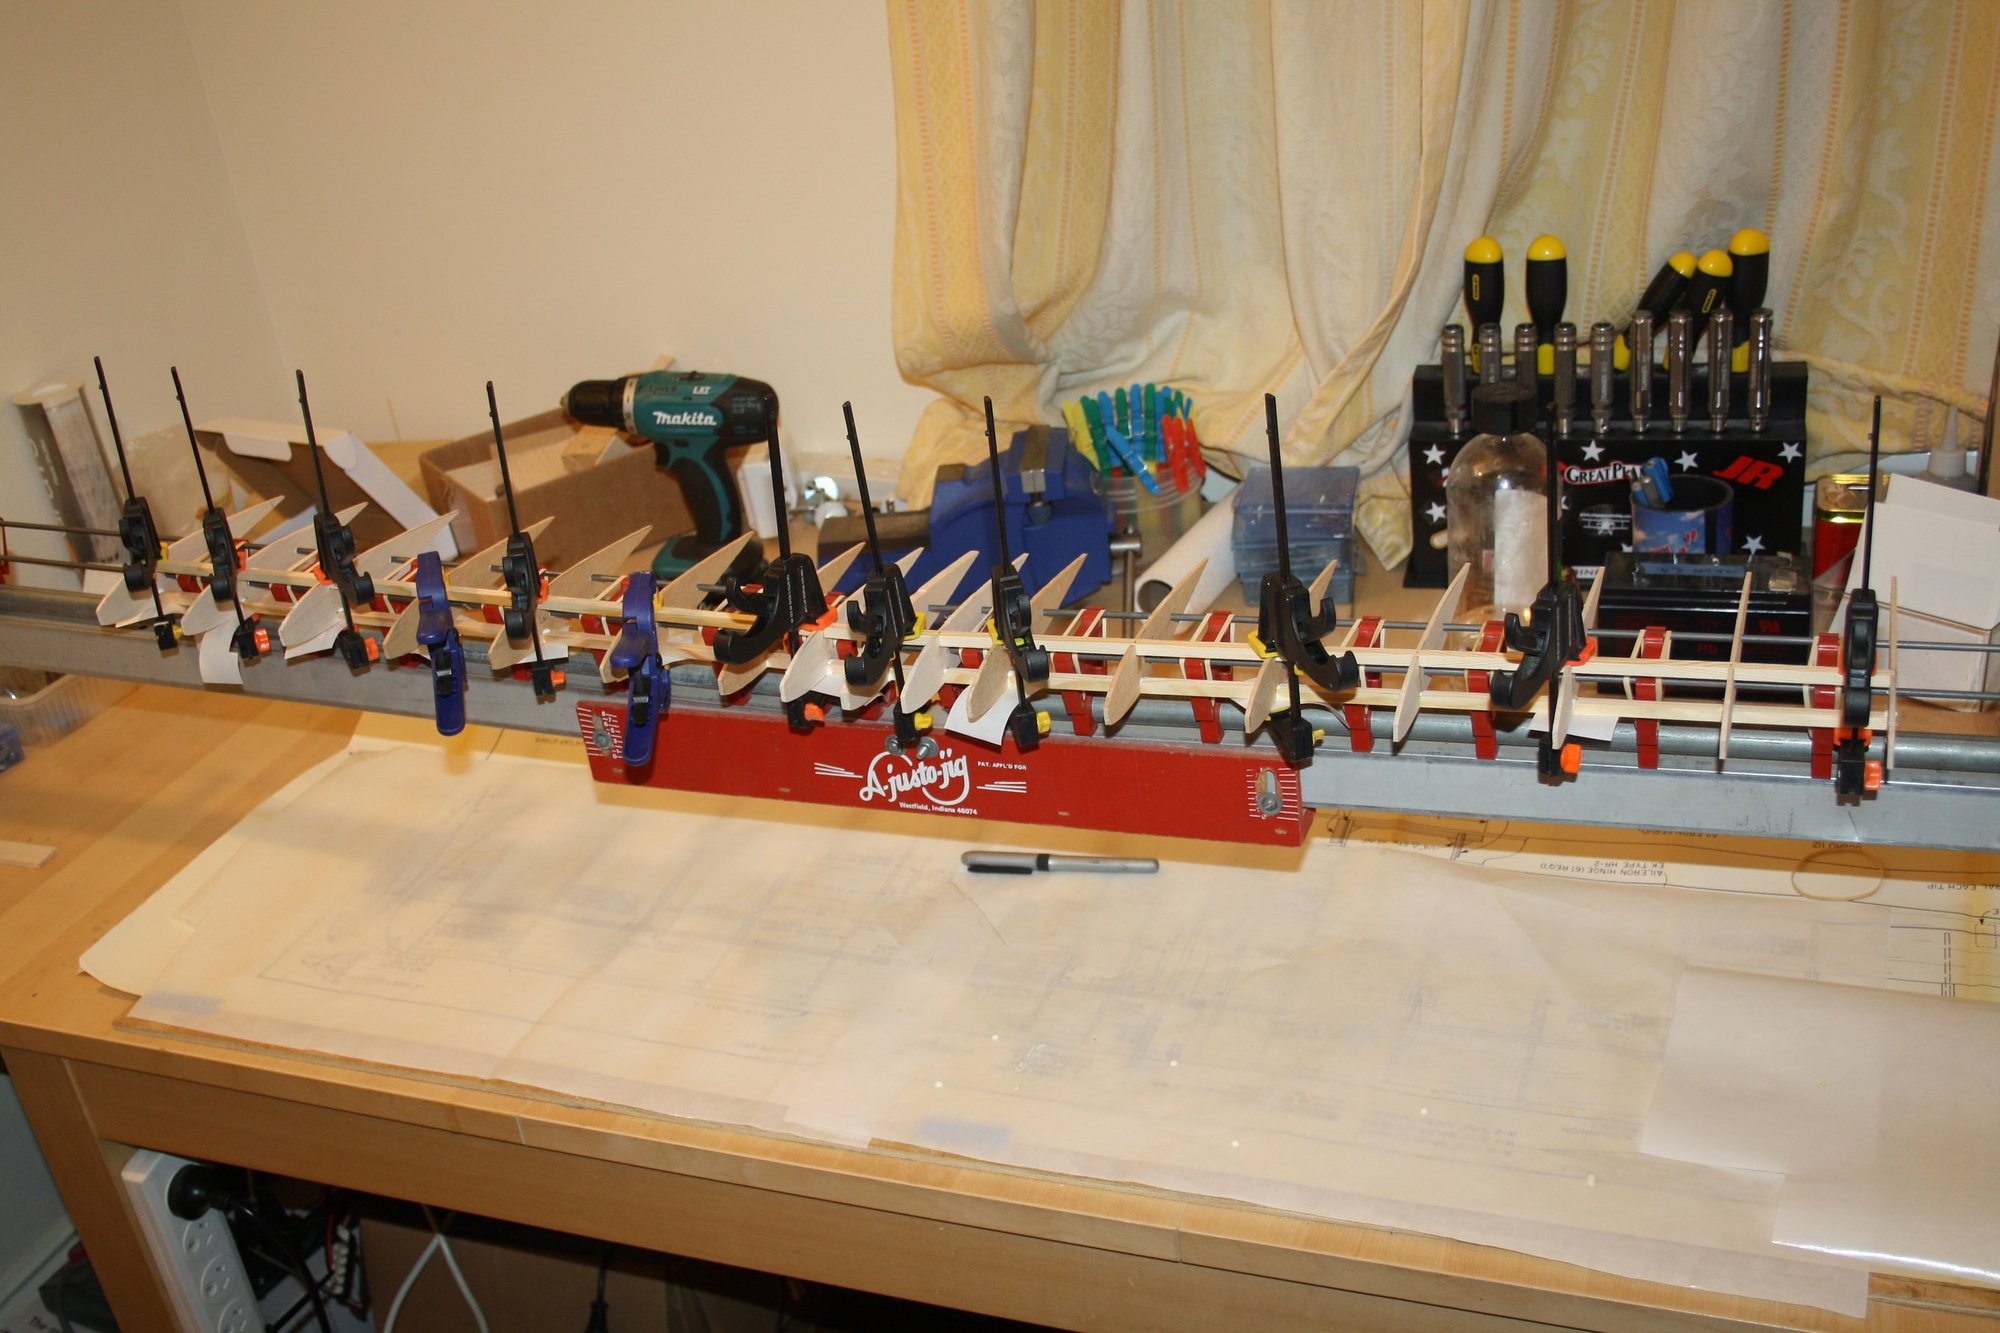
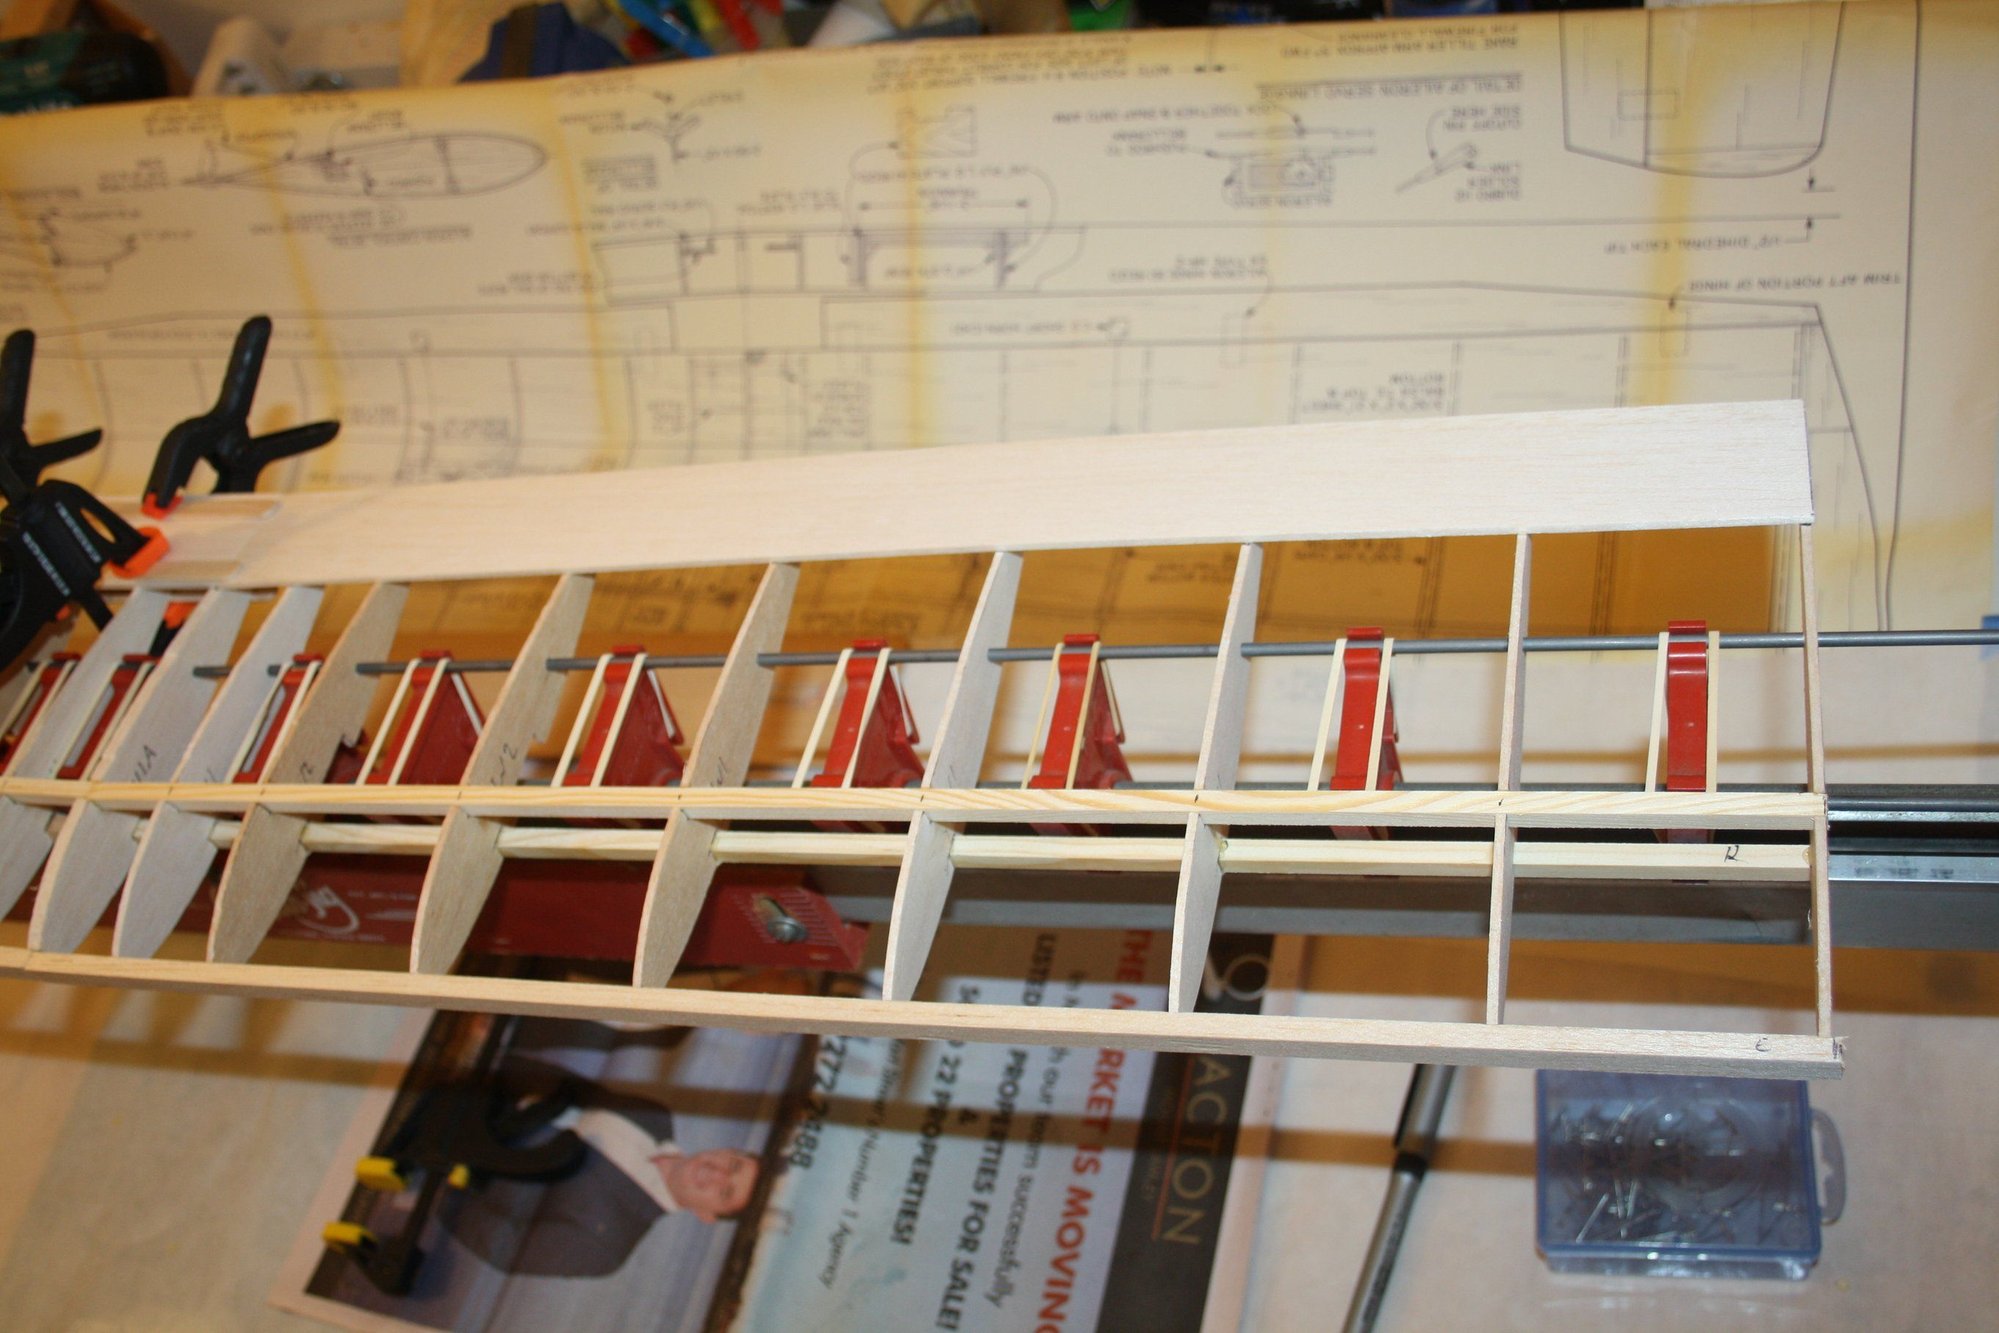
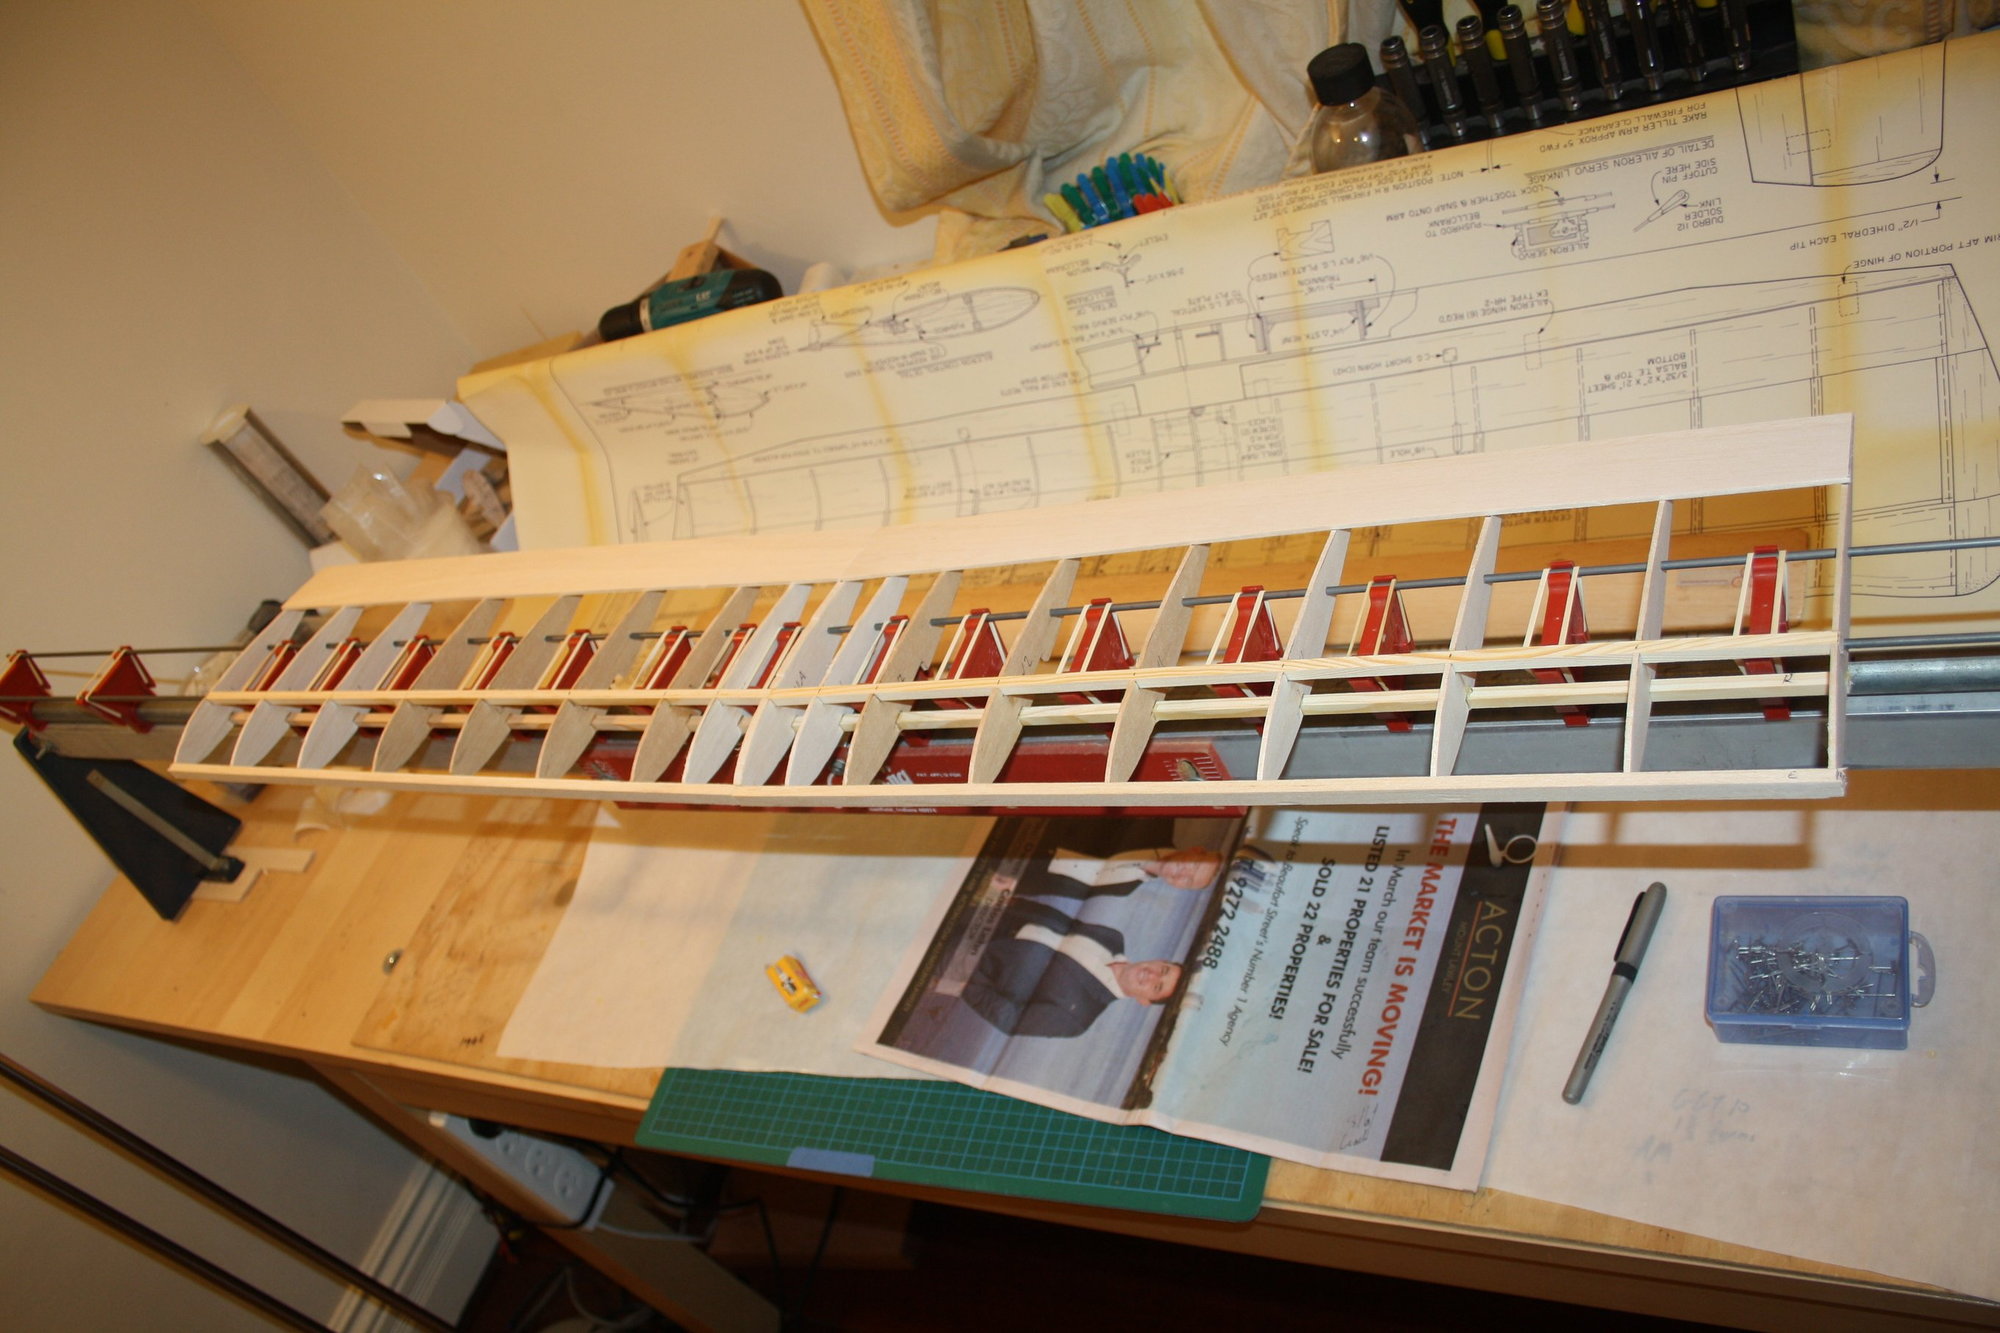
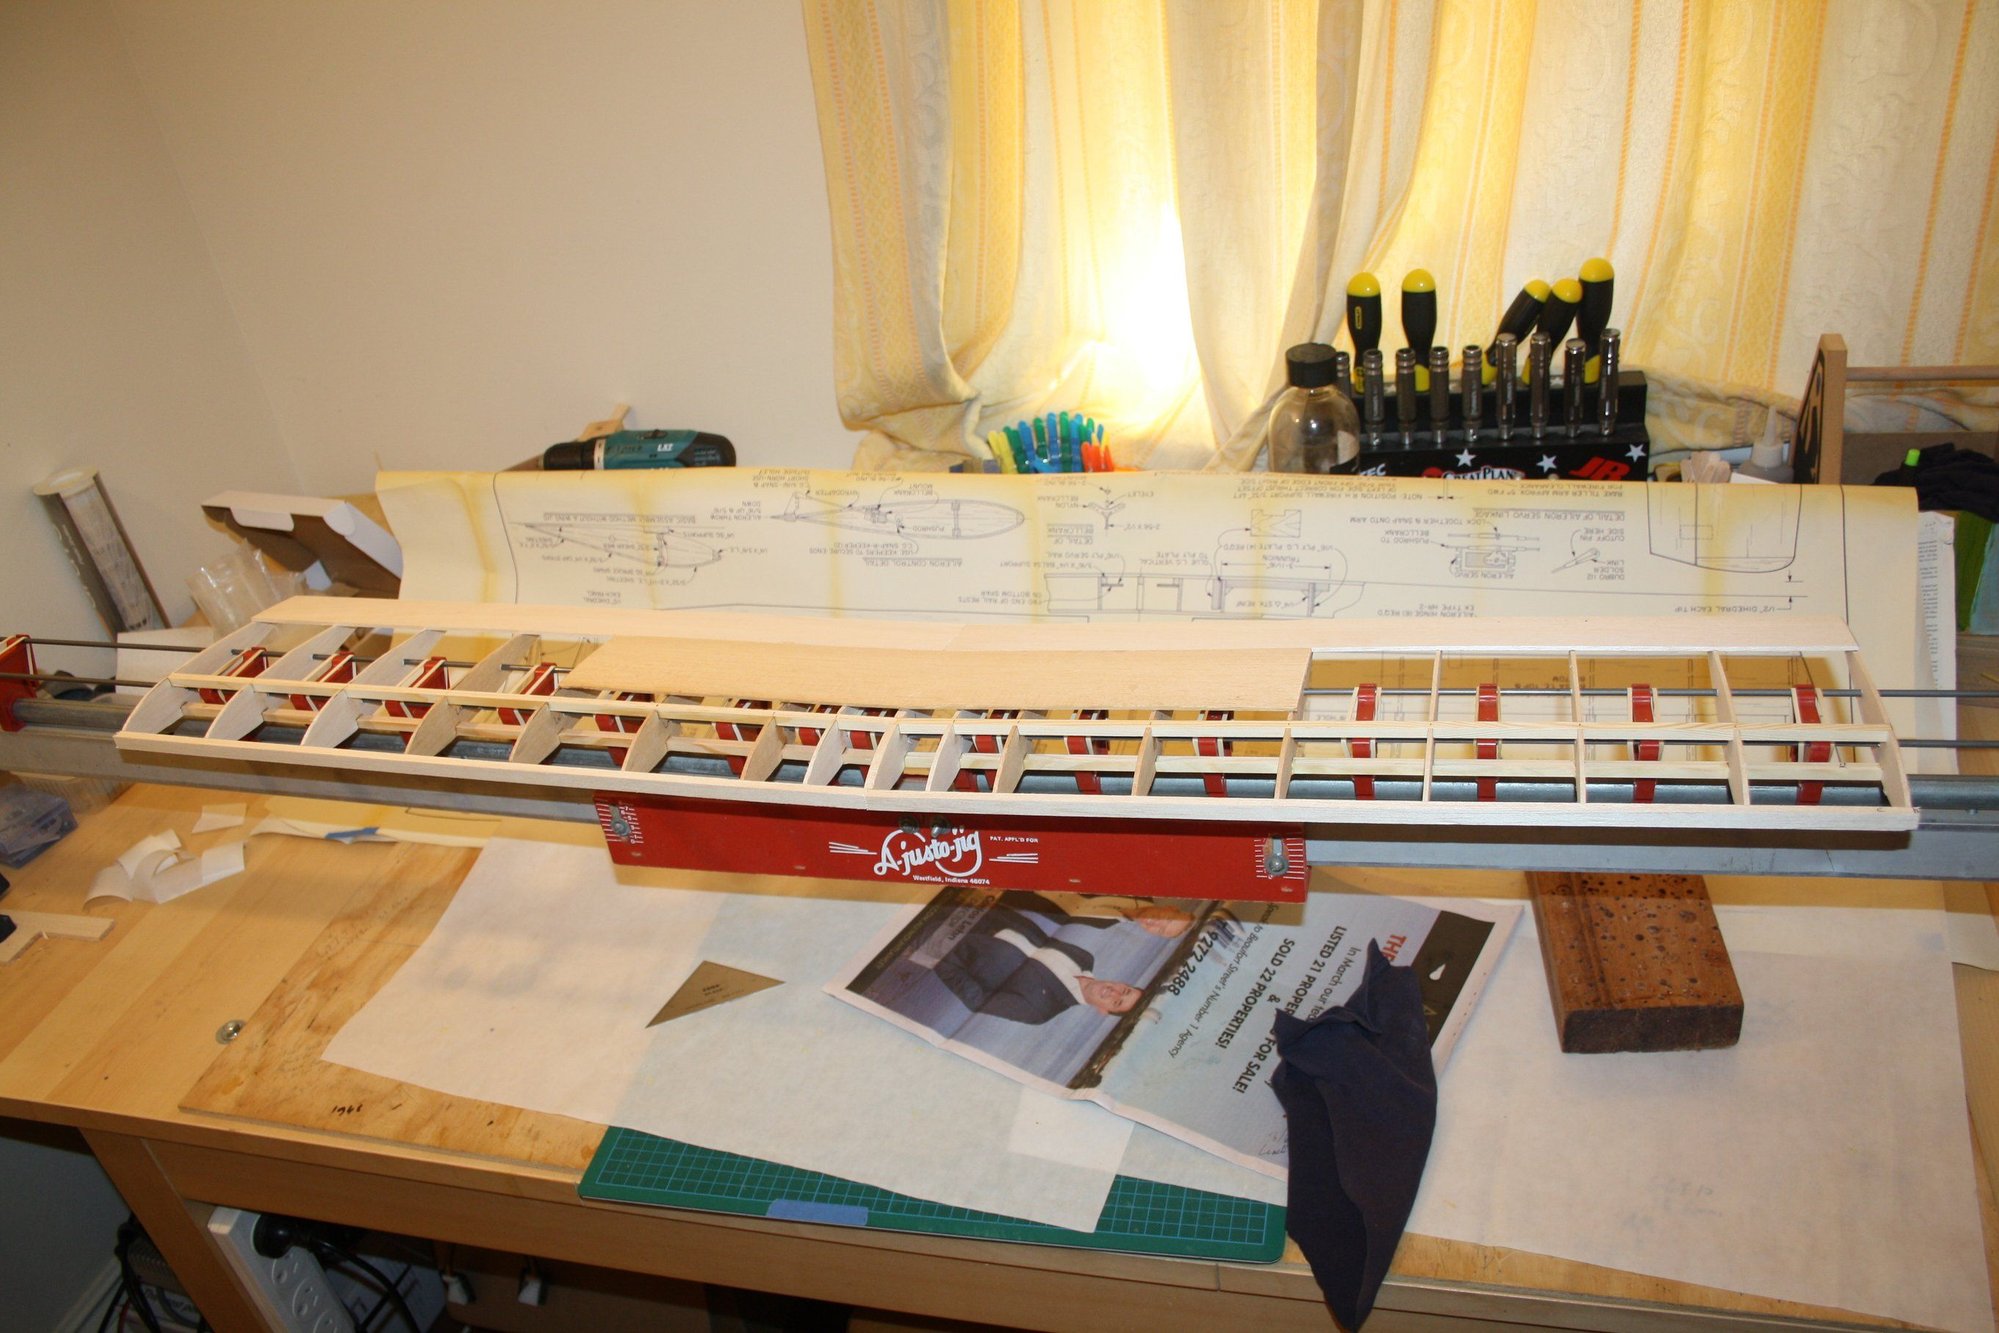
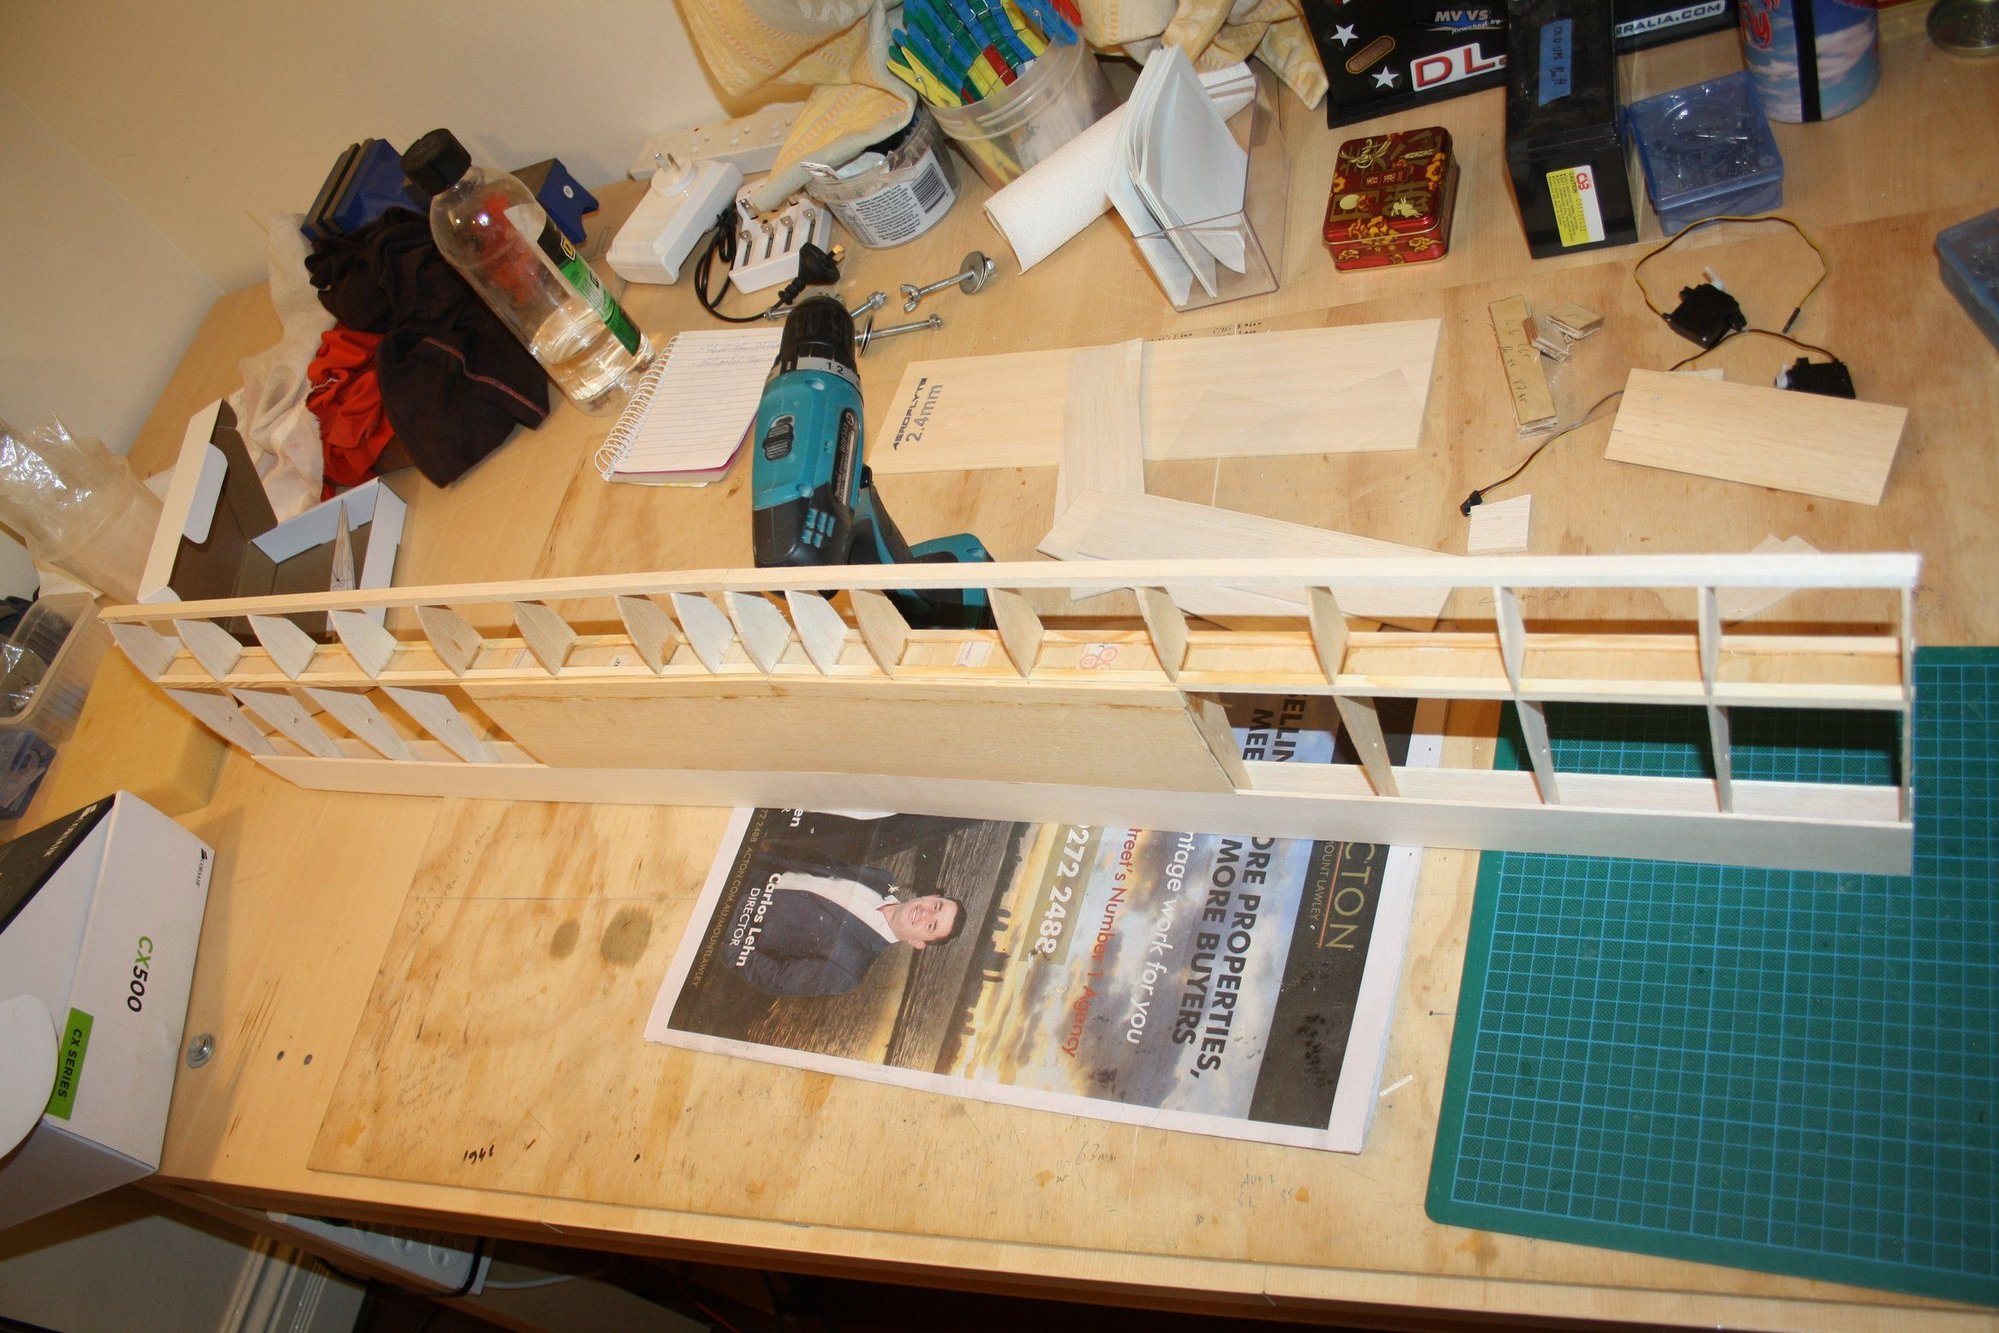
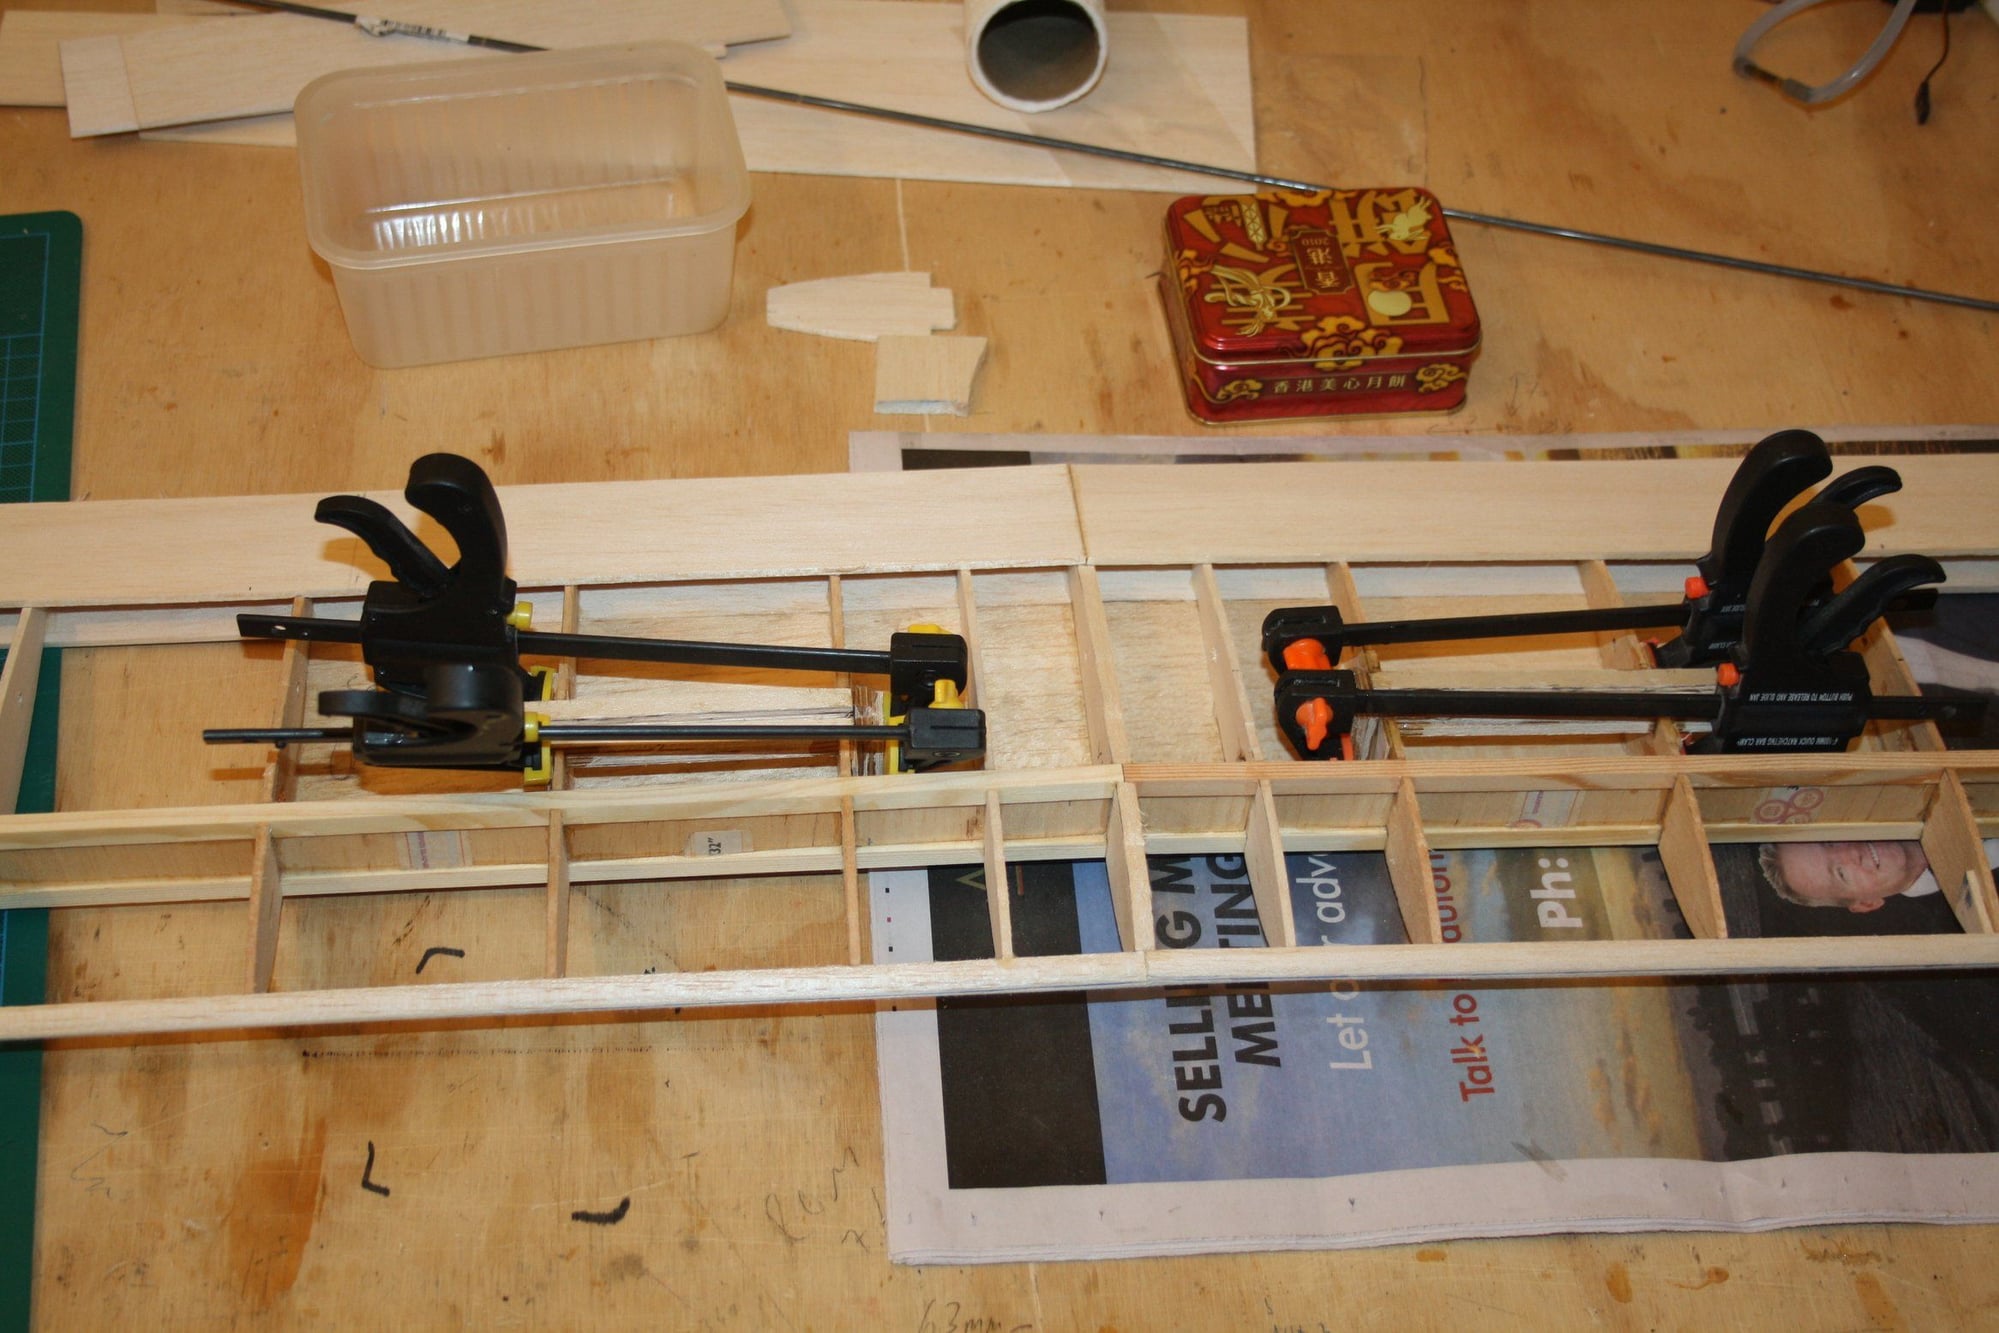
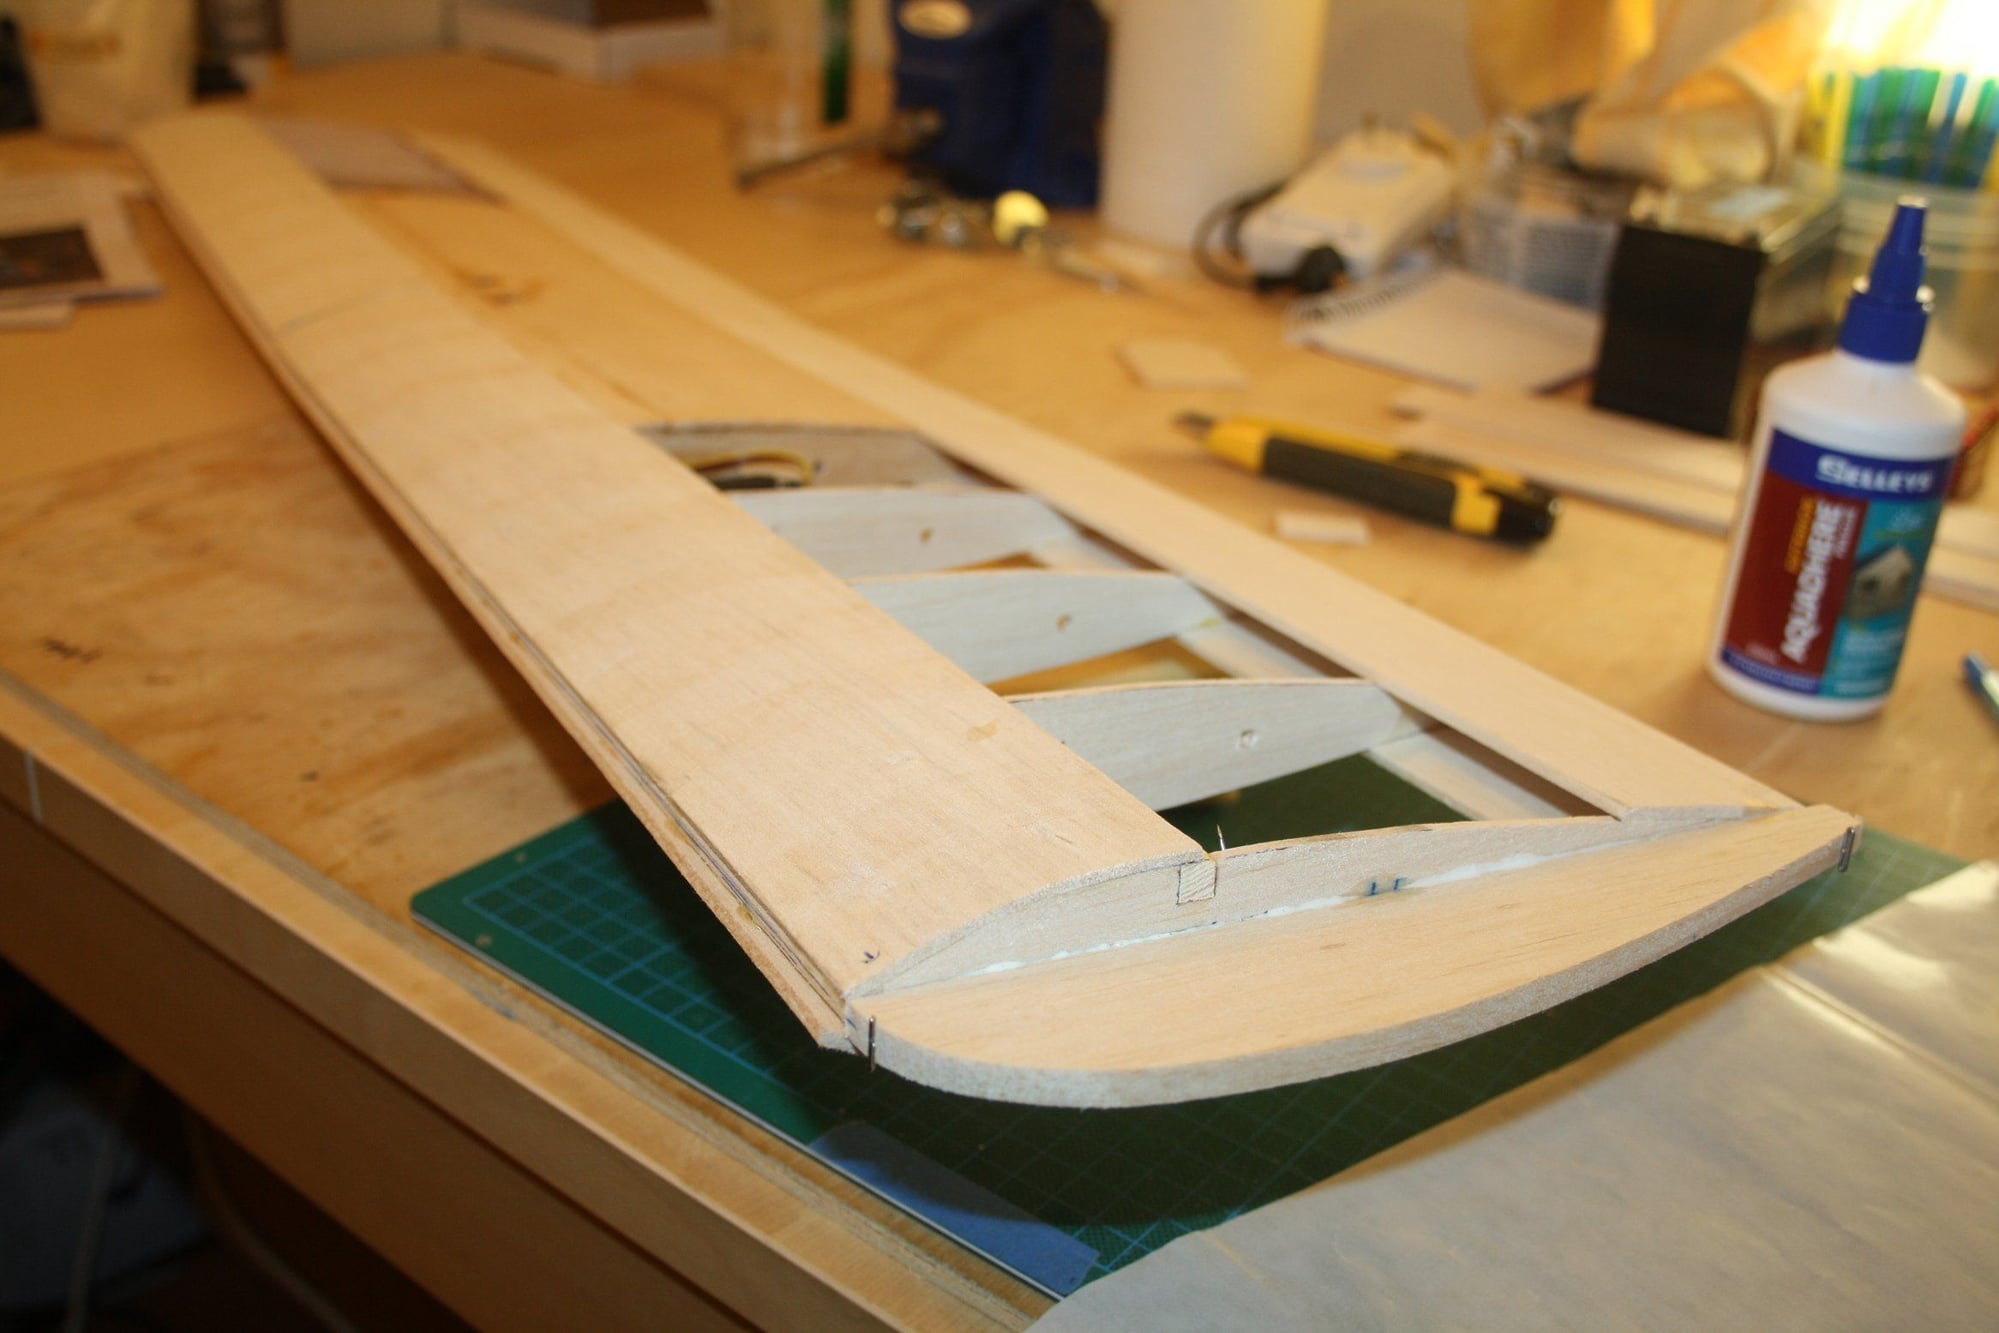
I had to get to get the jig off my build table due to some urgent work on another aeroplane, so I got the top TE sheeting and top centre section done and removed the wing off the jig.
Eran
Eran
 05-18-2018, 04:05 PM
#14
Thread Starter
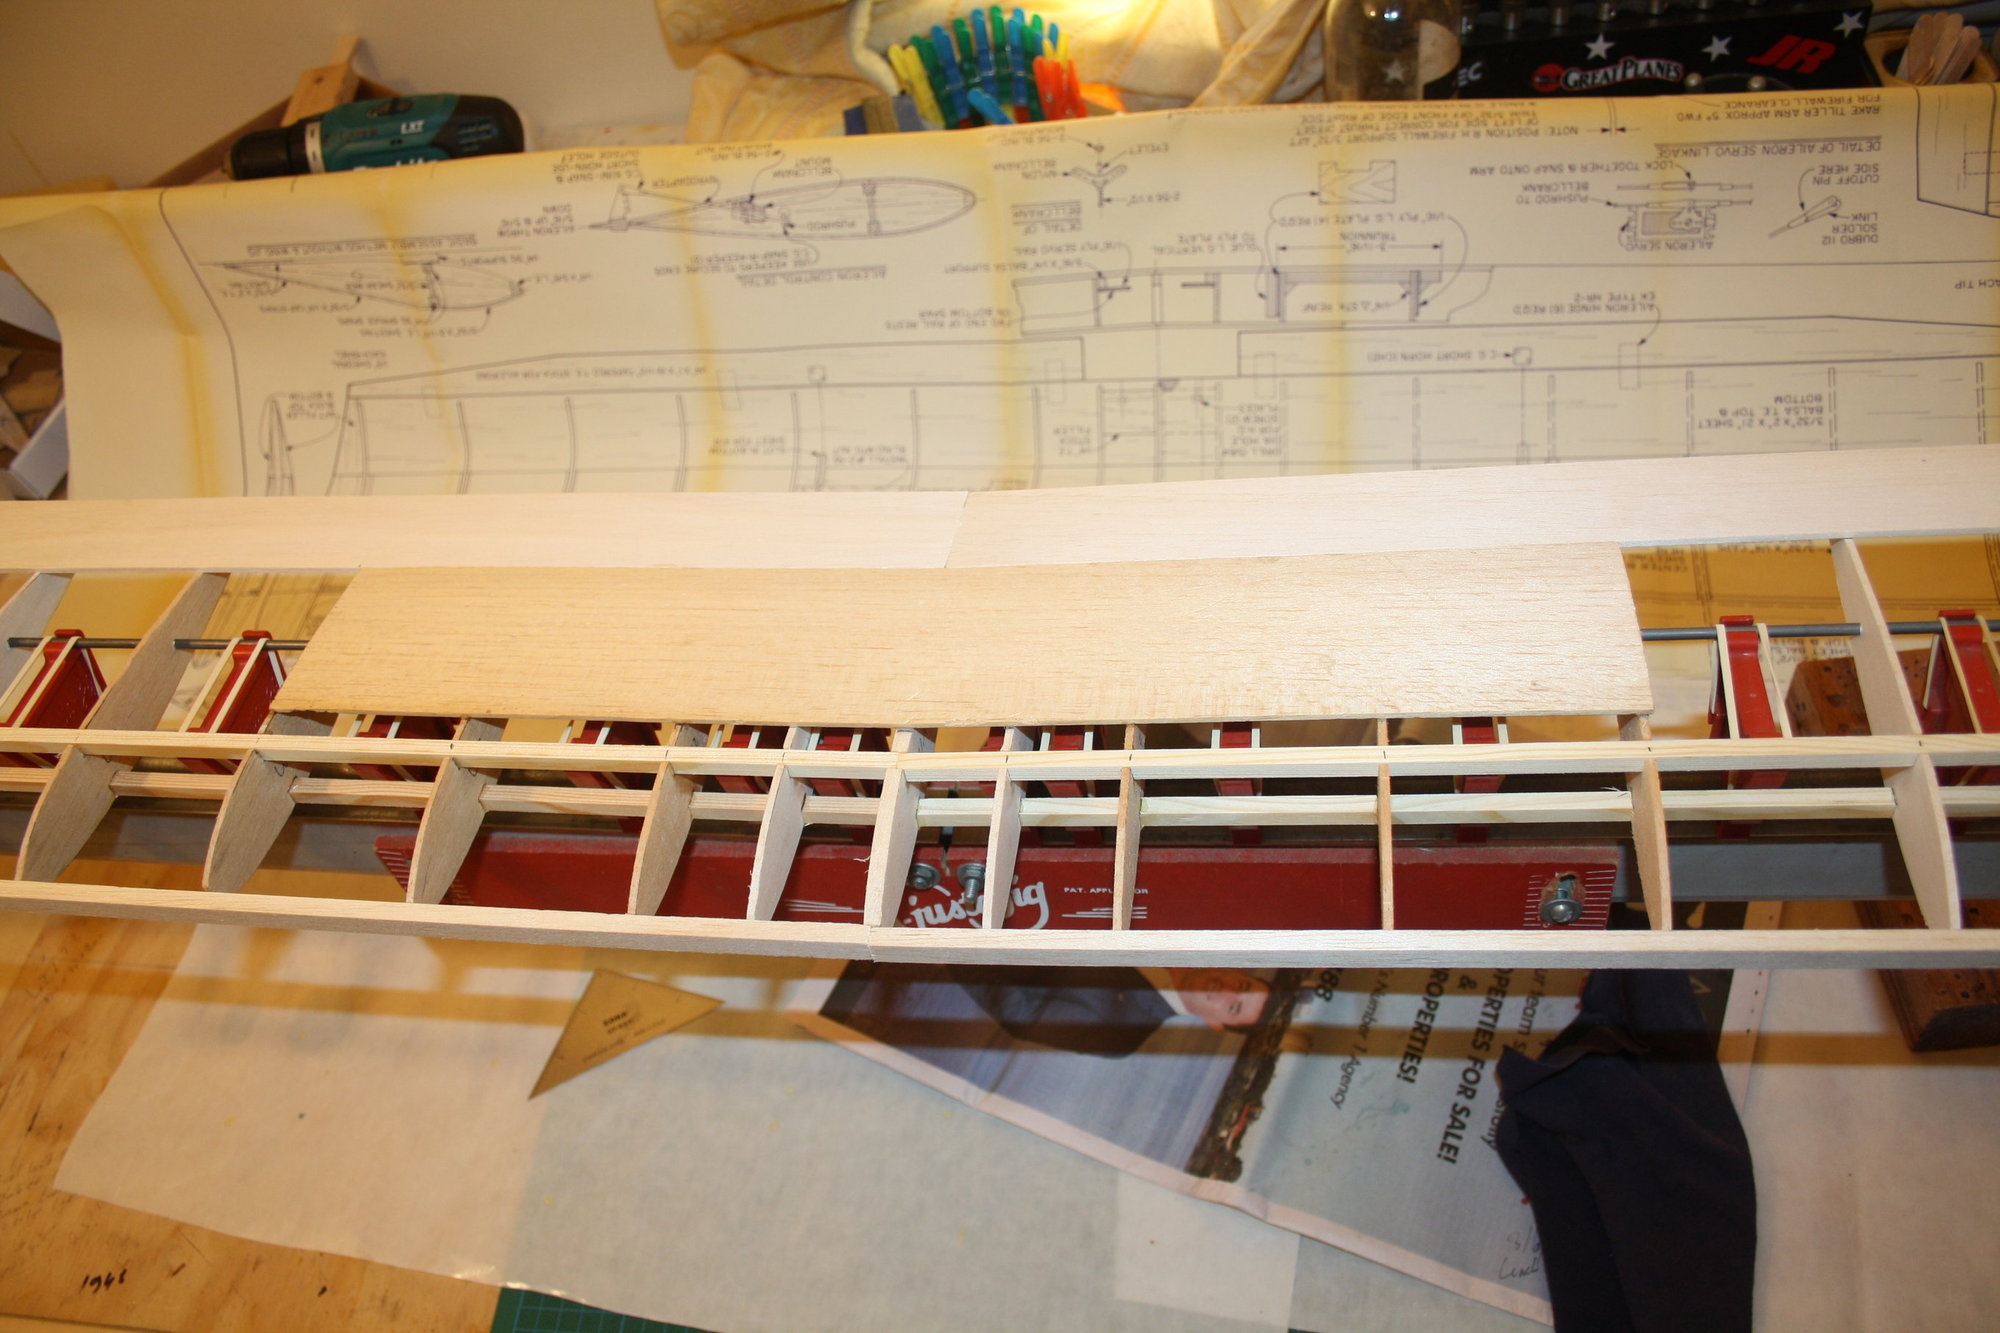
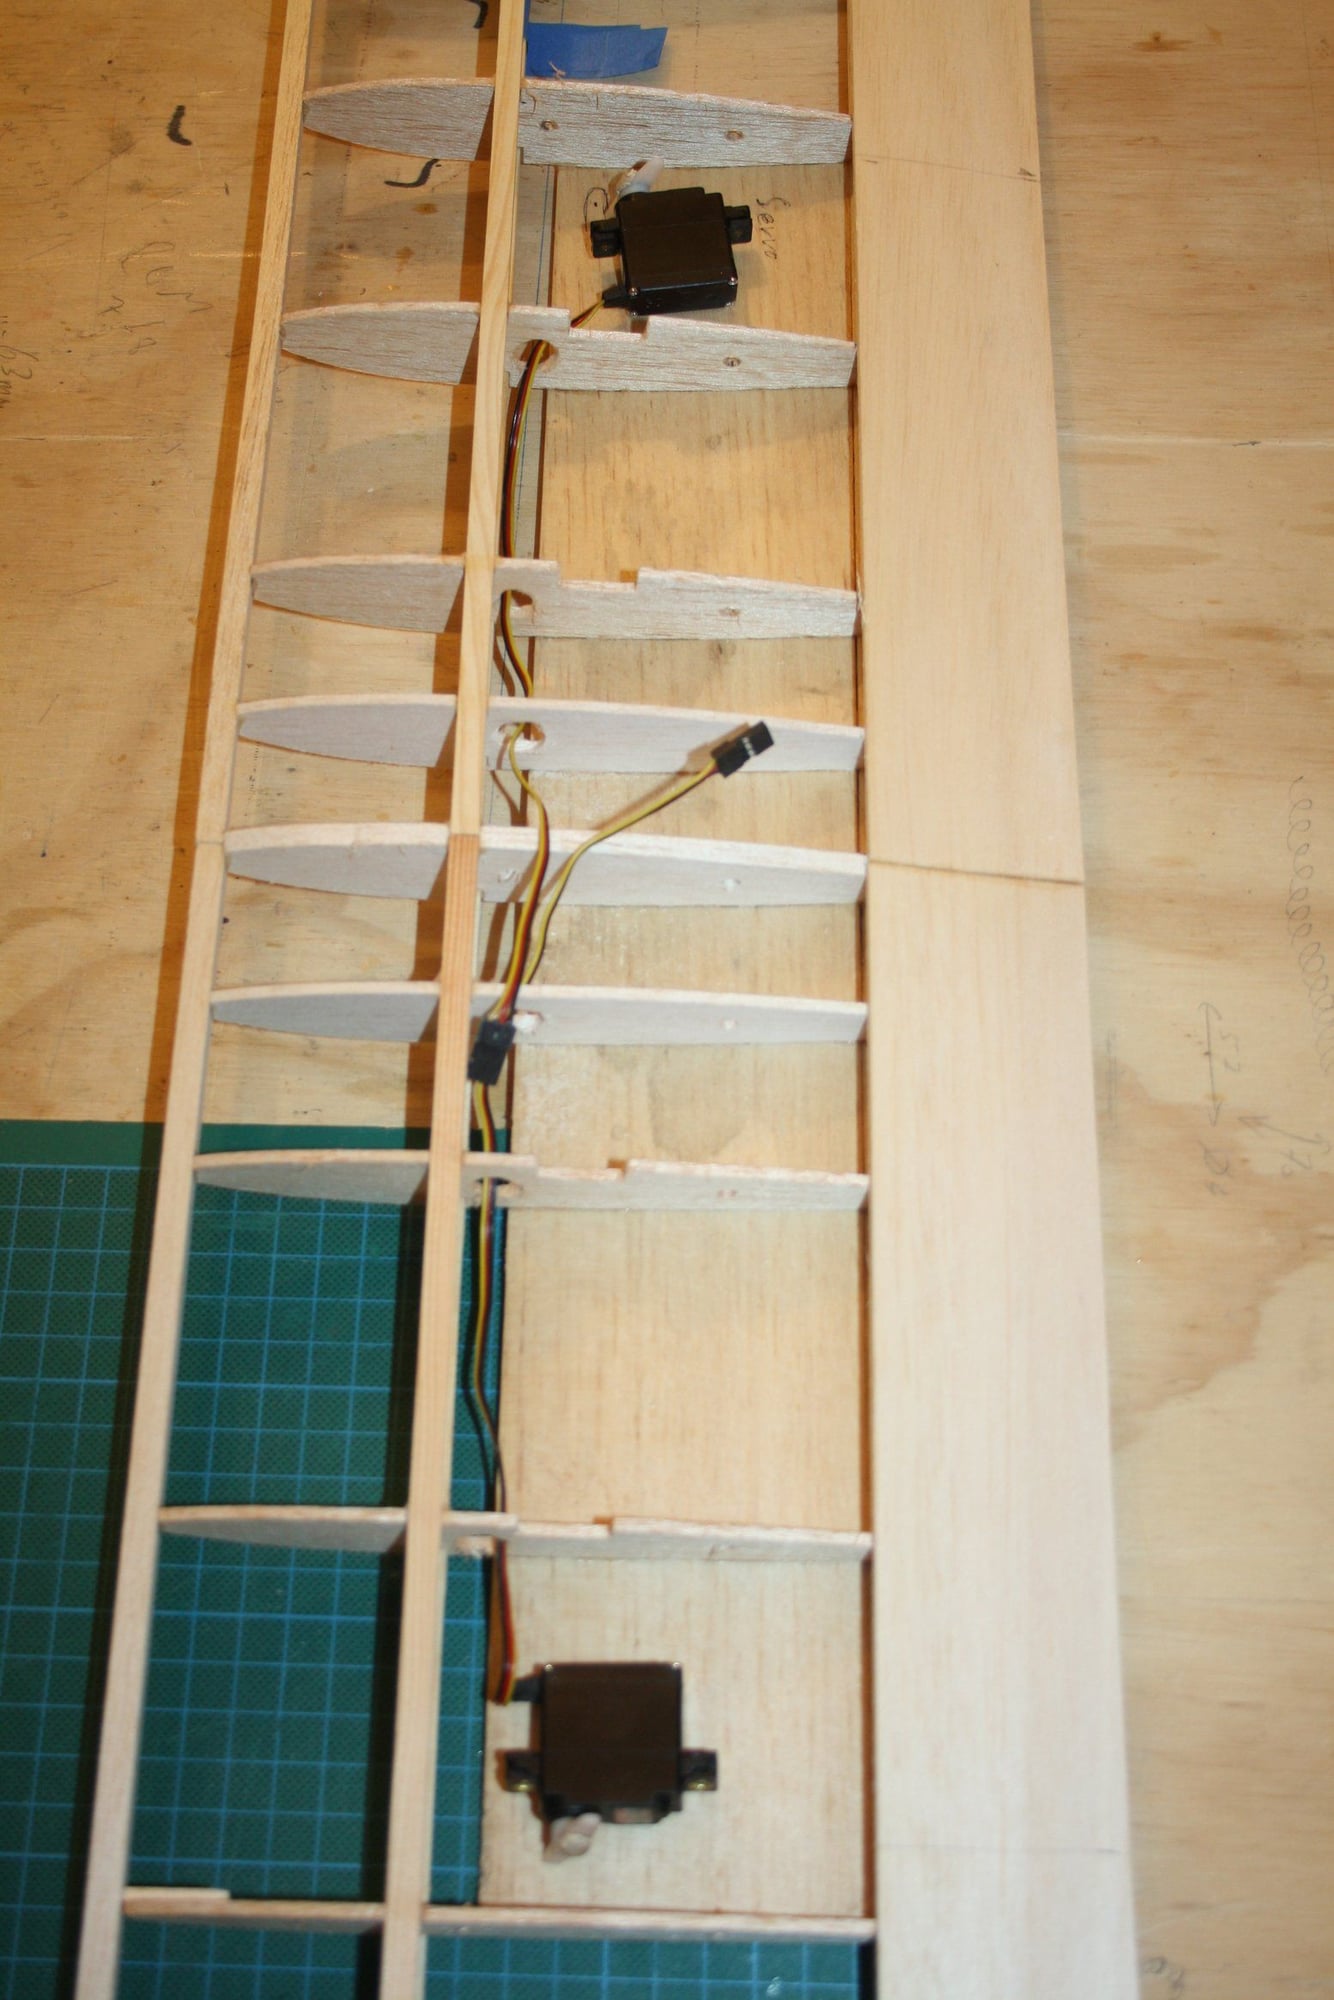
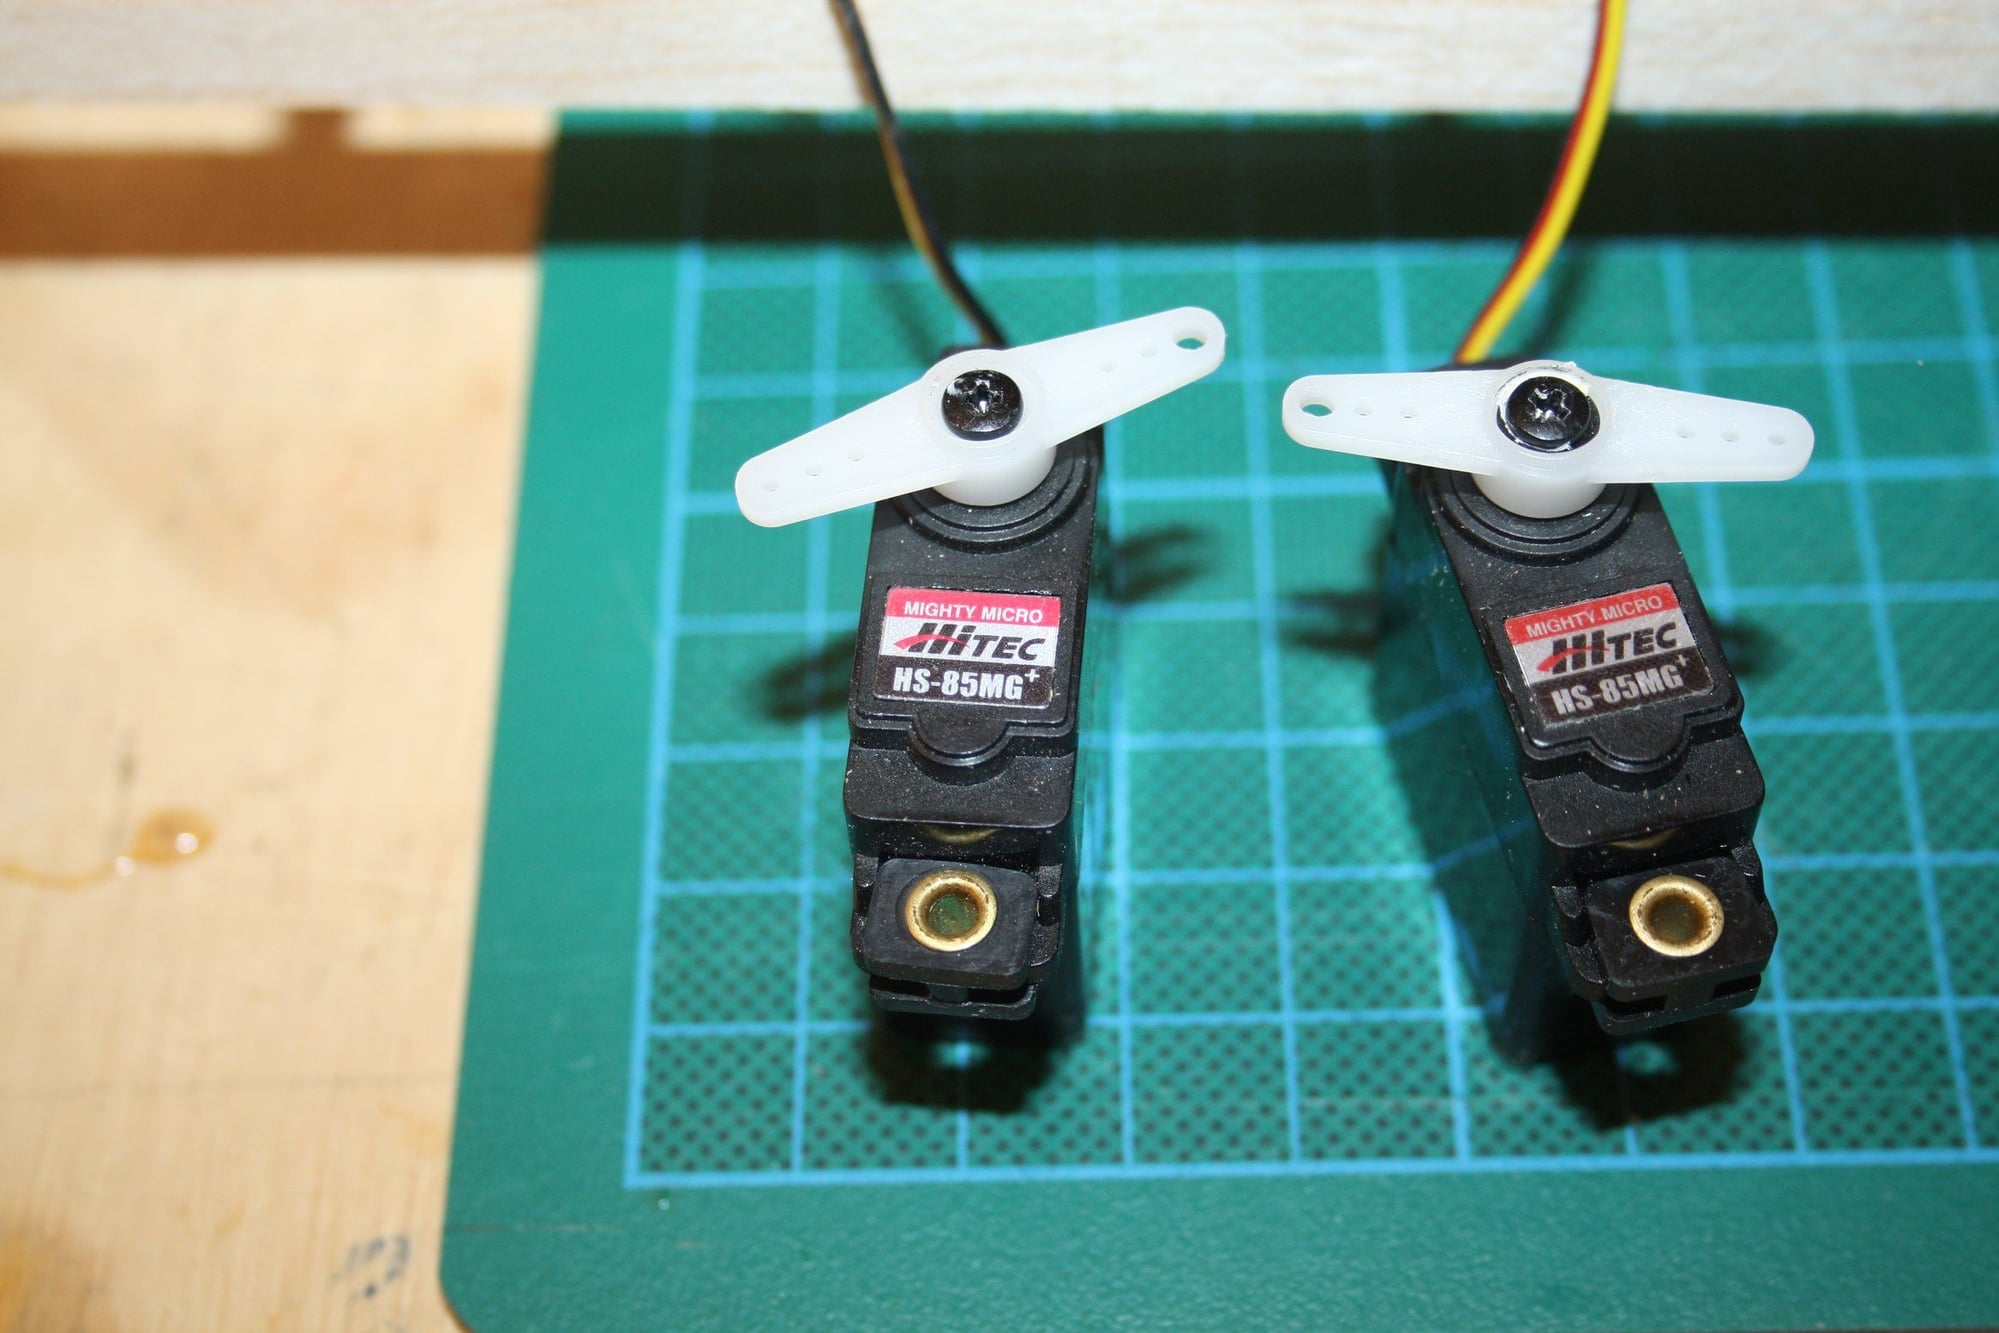
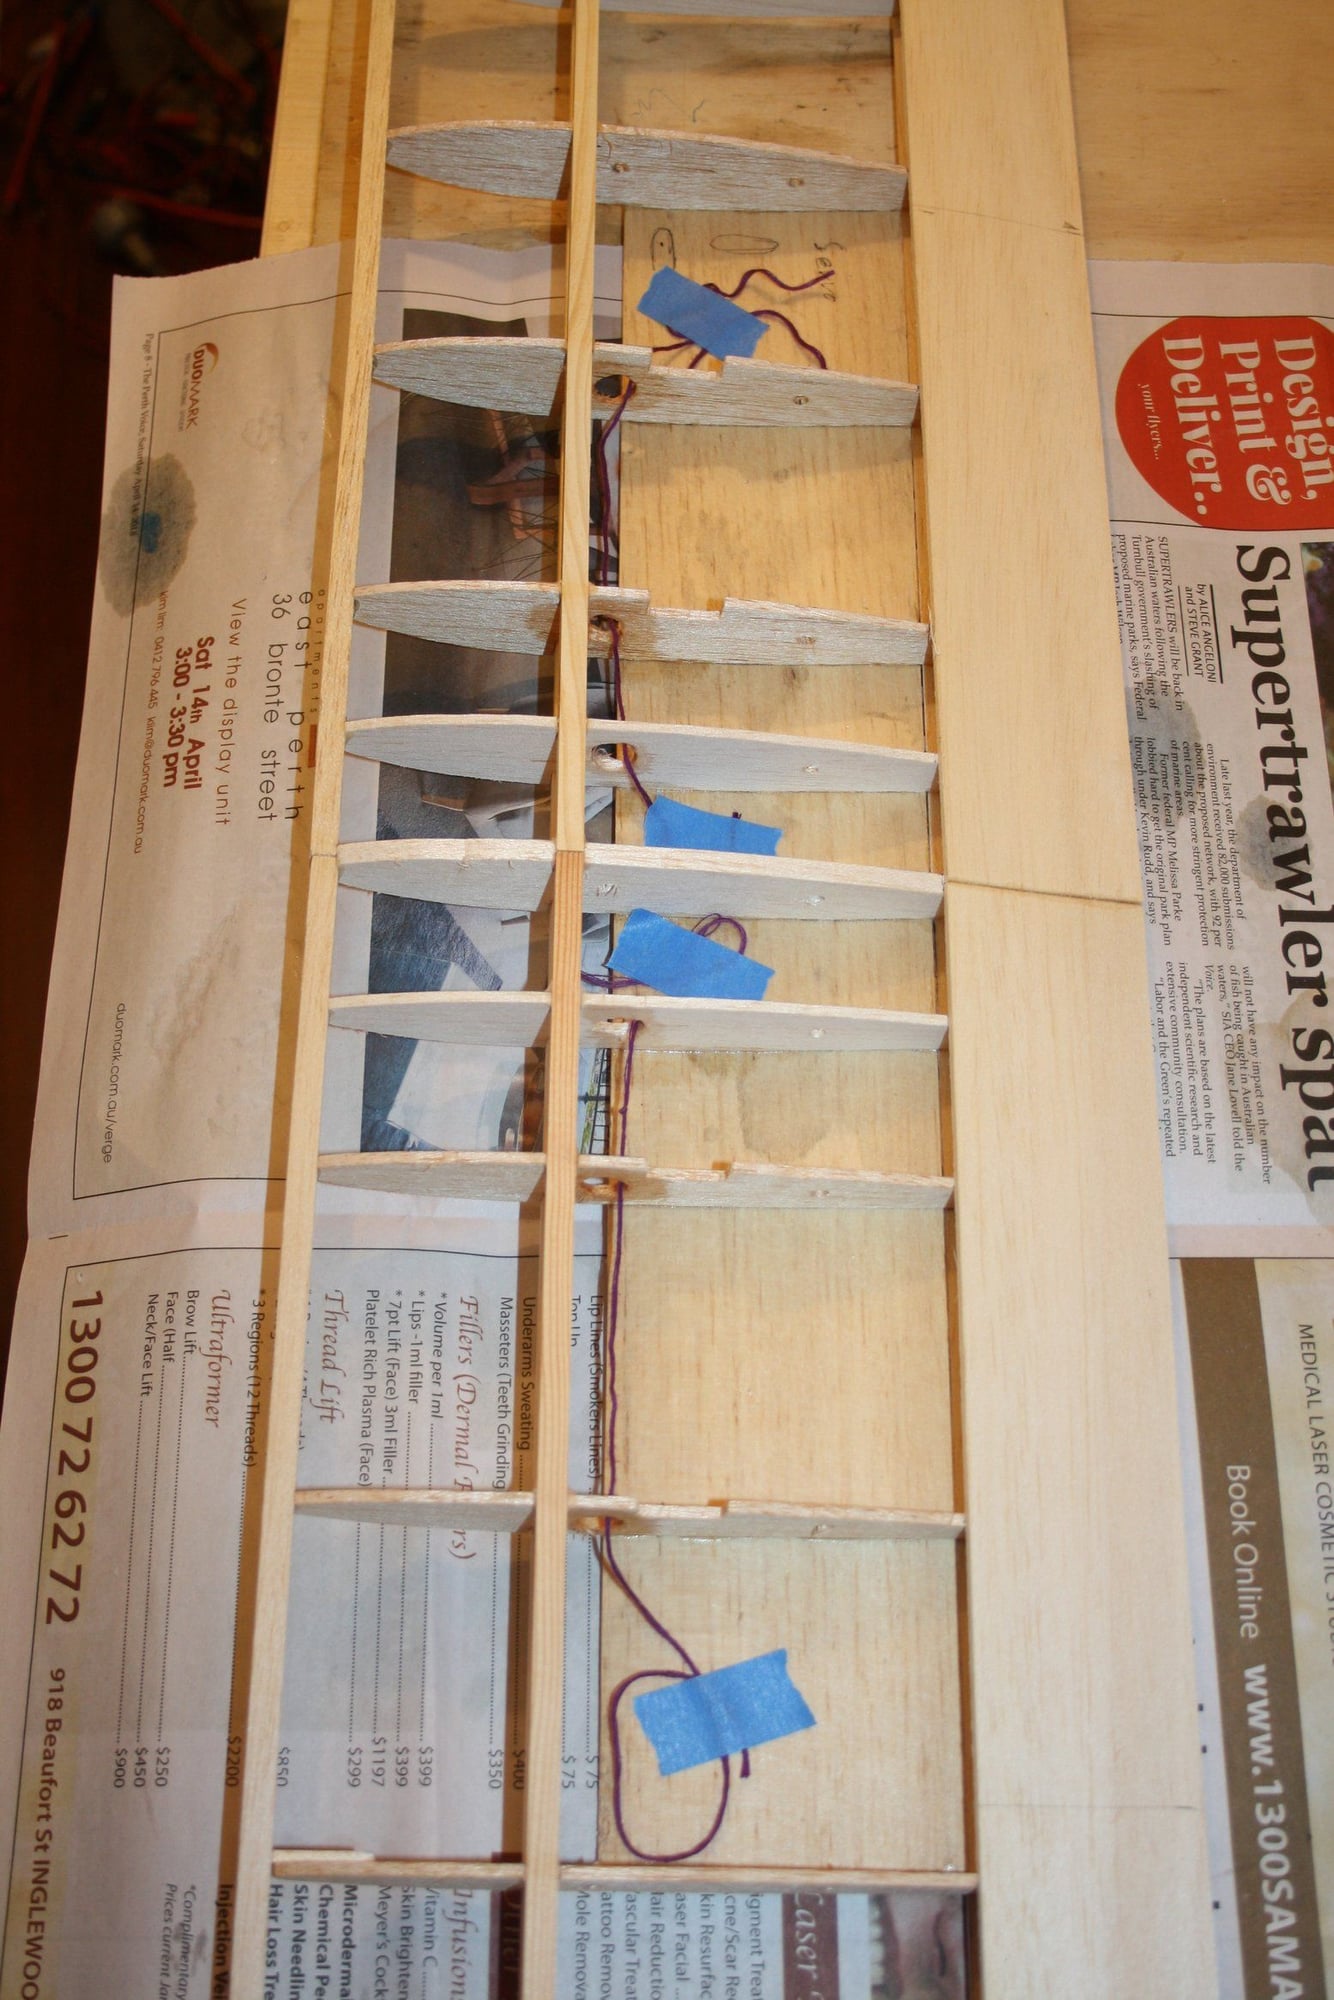
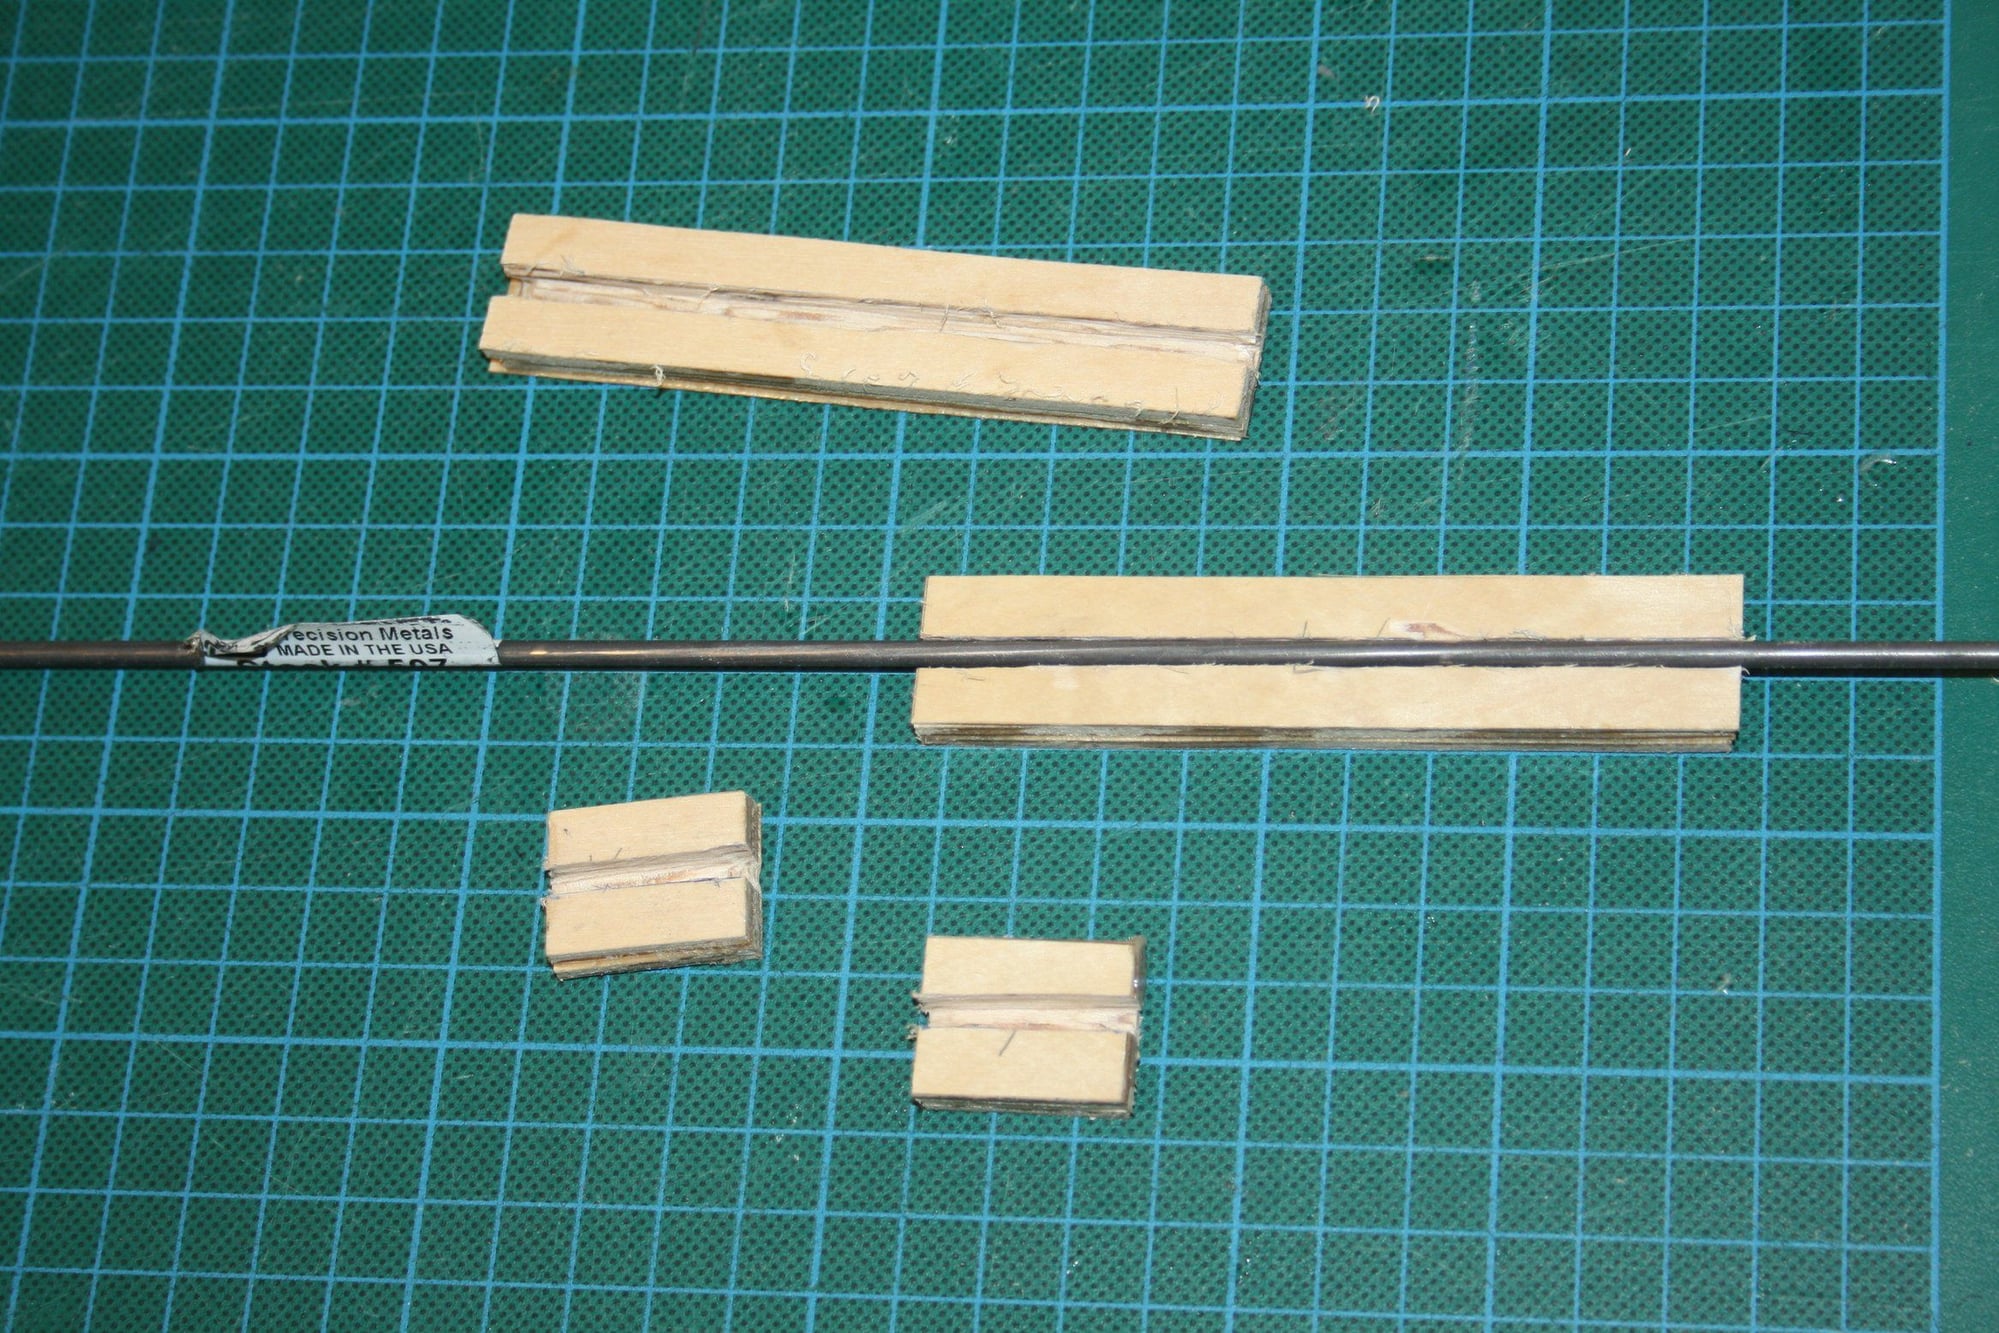
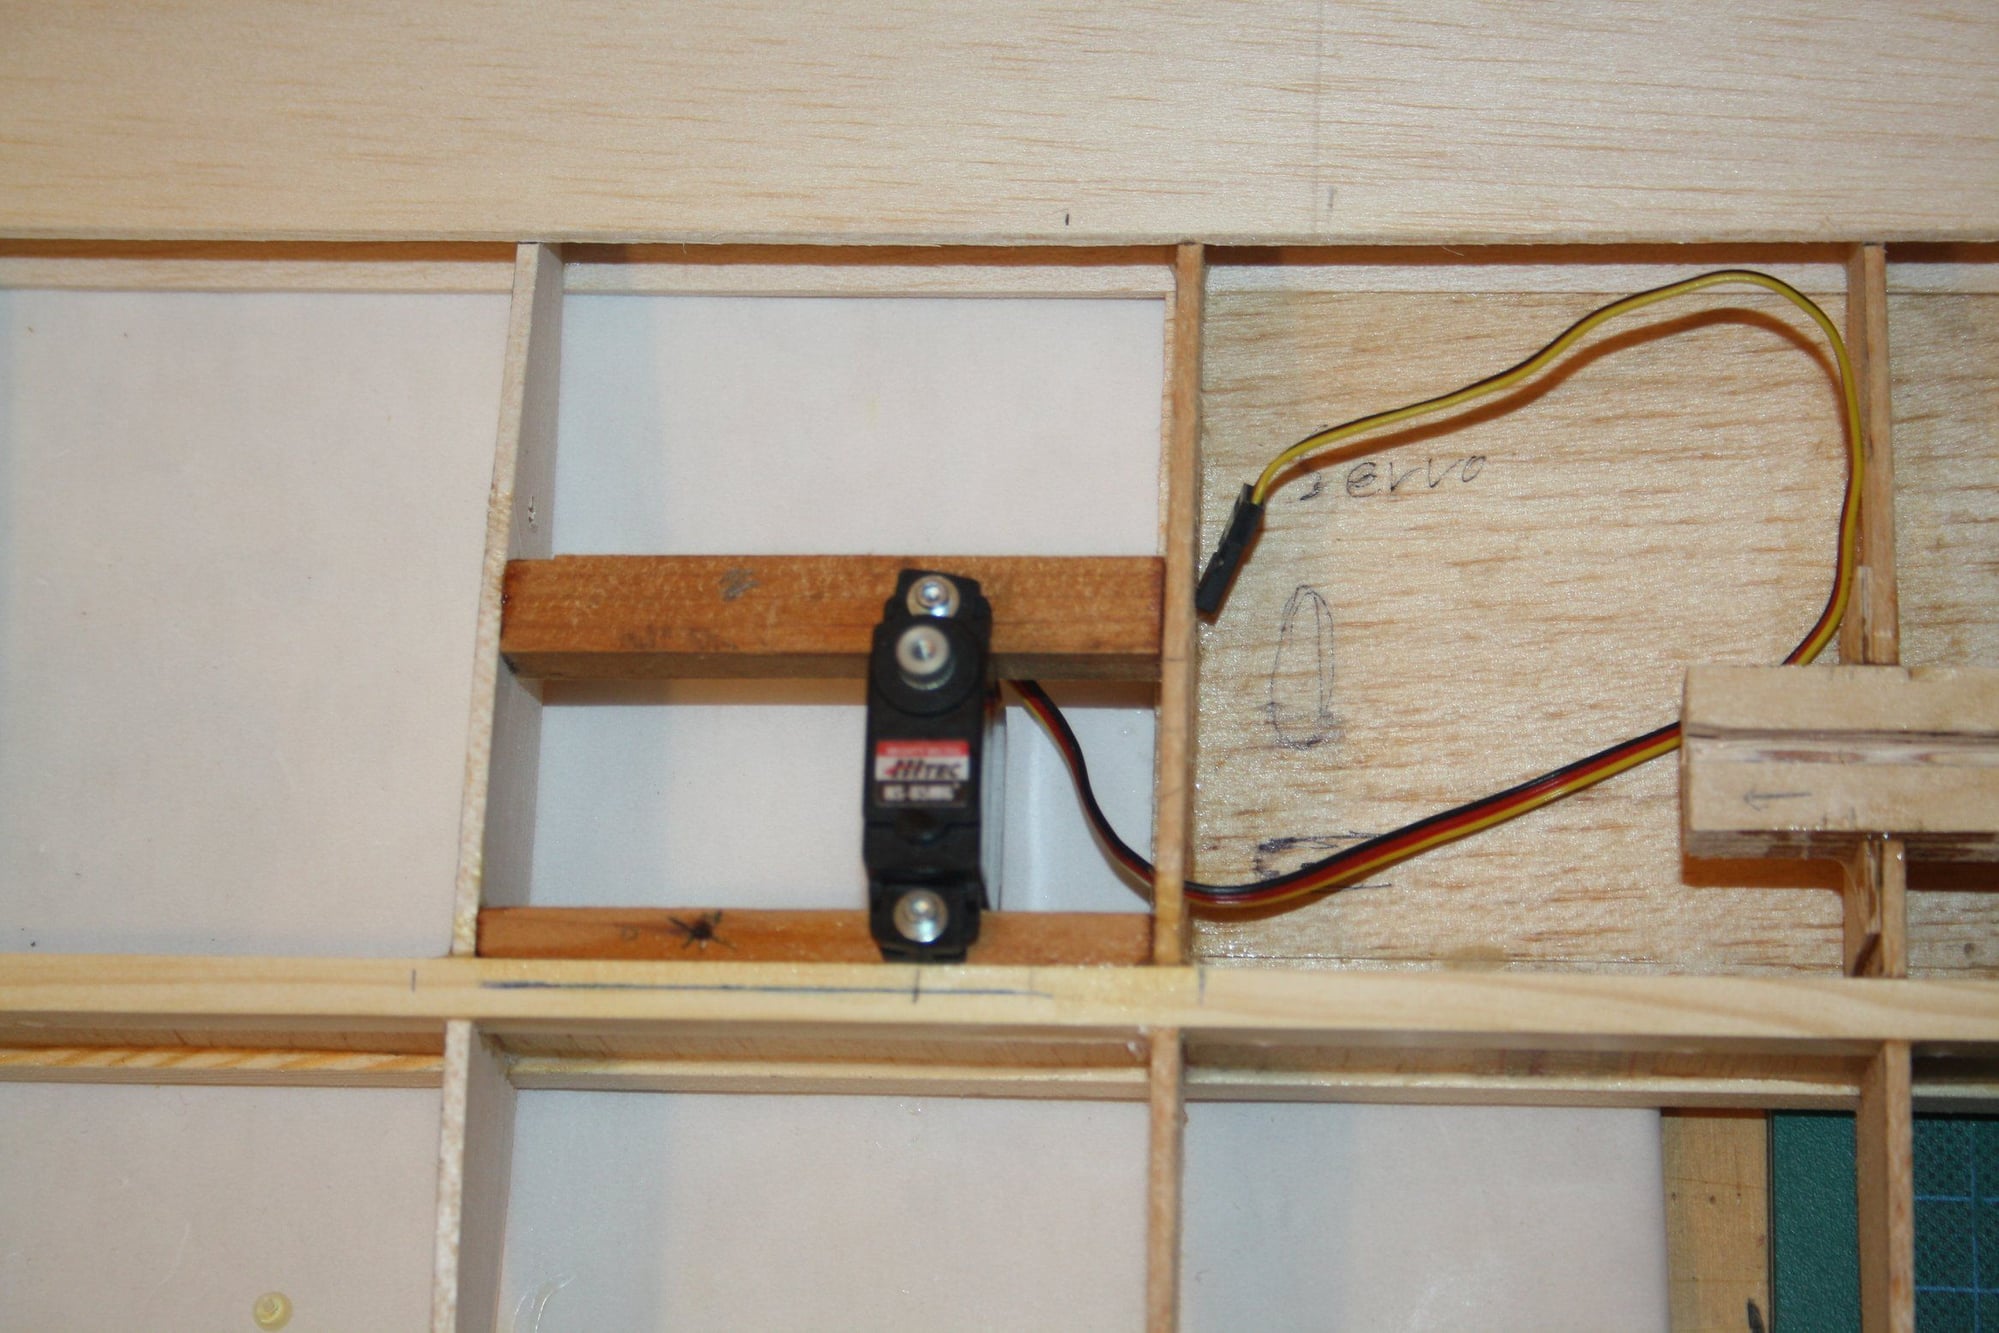
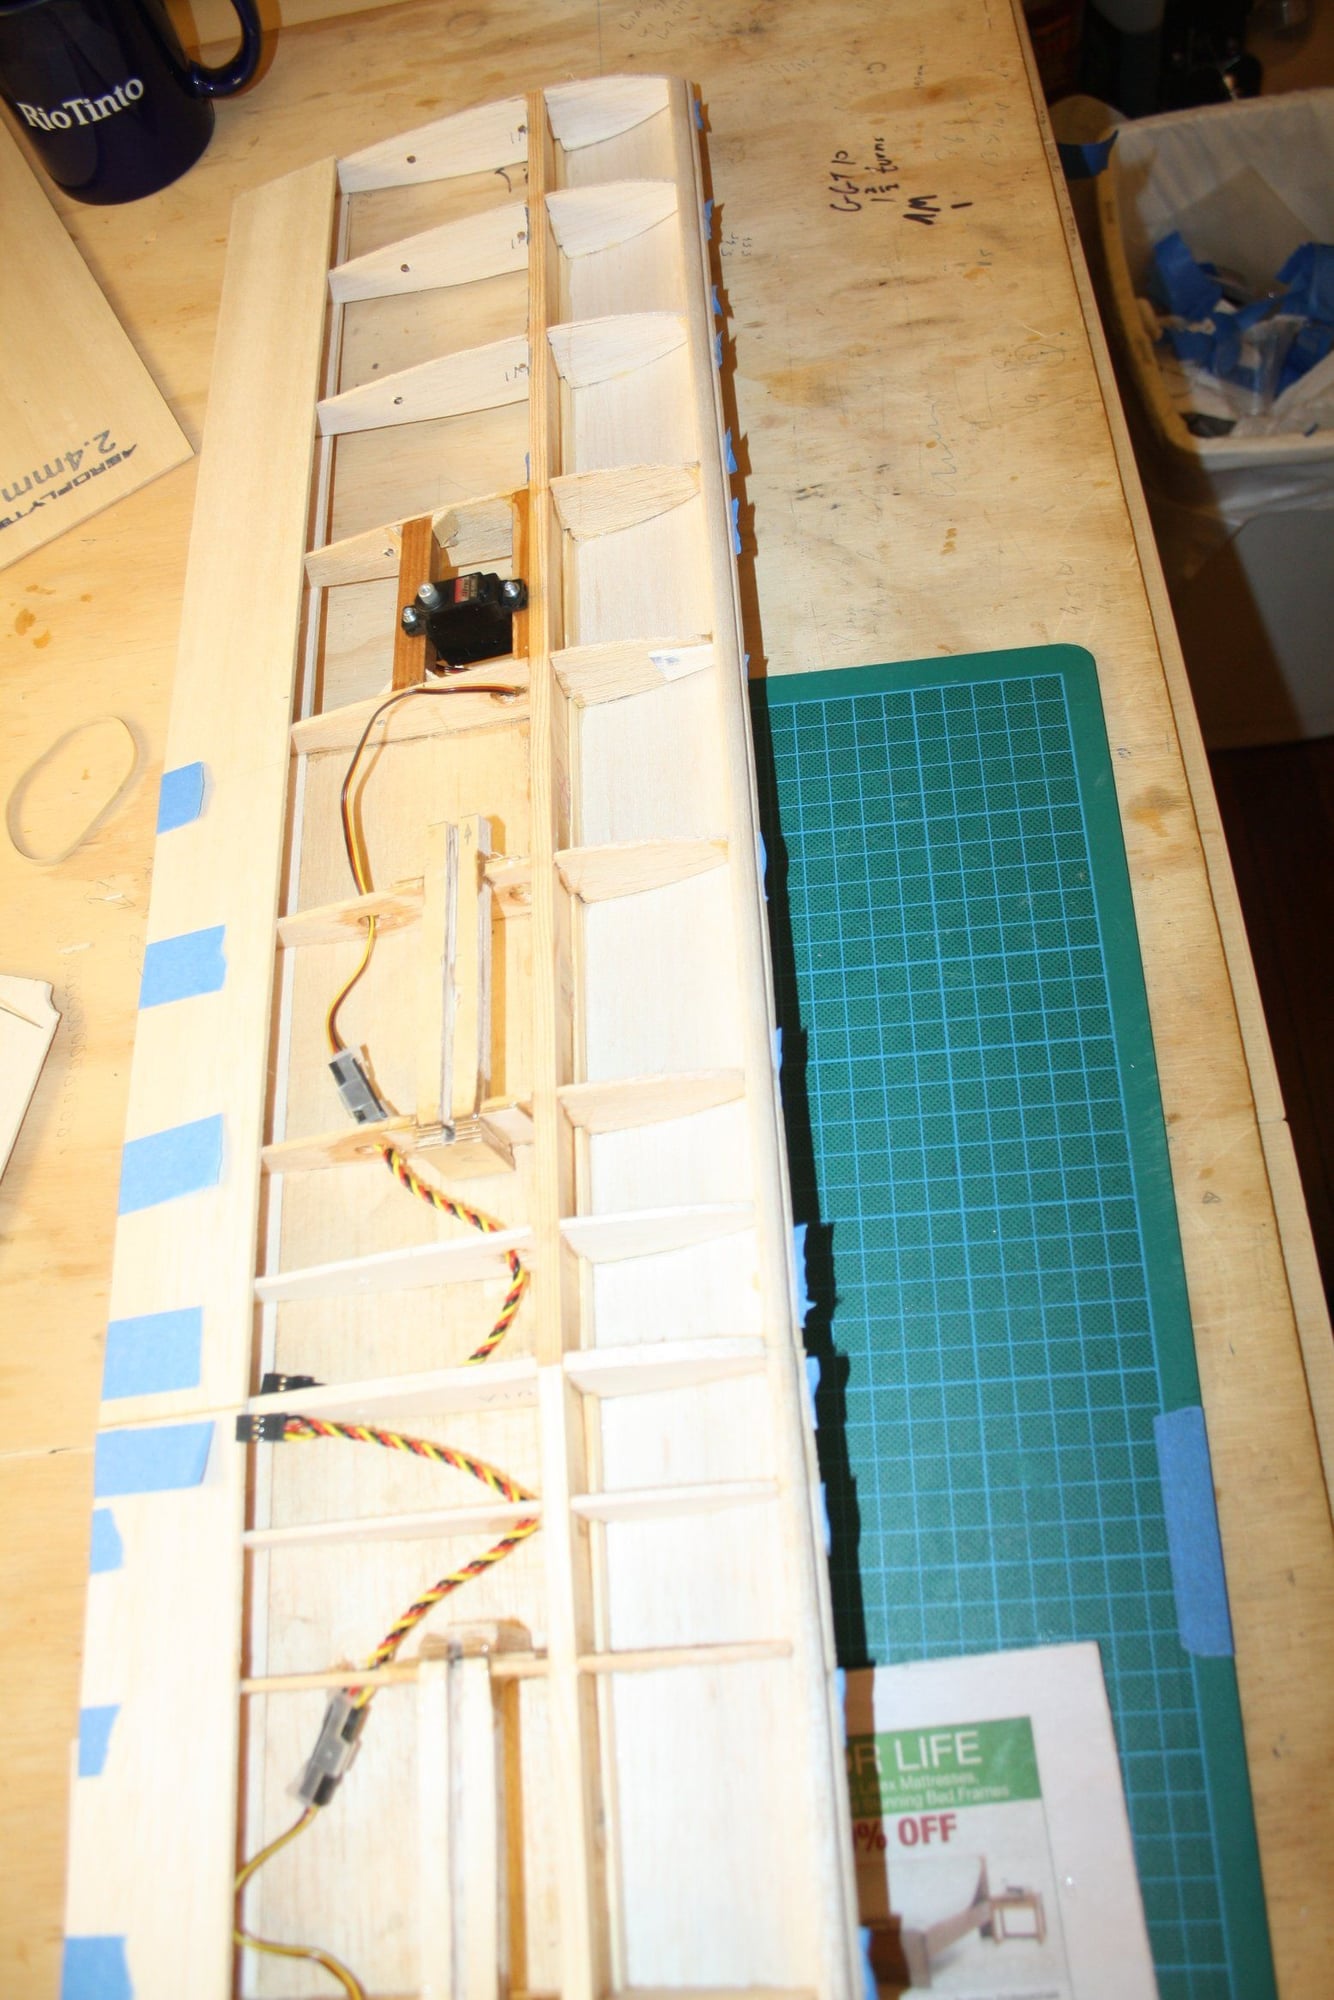
I needed to do some thinking as to where I would like to place the servos as I will be using servo per aileron. I made a path for the cable in the ribs also final decision yet to be made.
I then completer the centre section top sheeting and glued the landing gear mounting pieces together.
Eran

I then completer the centre section top sheeting and glued the landing gear mounting pieces together.
Eran
 05-23-2018, 04:18 AM
#16
Thread Starter
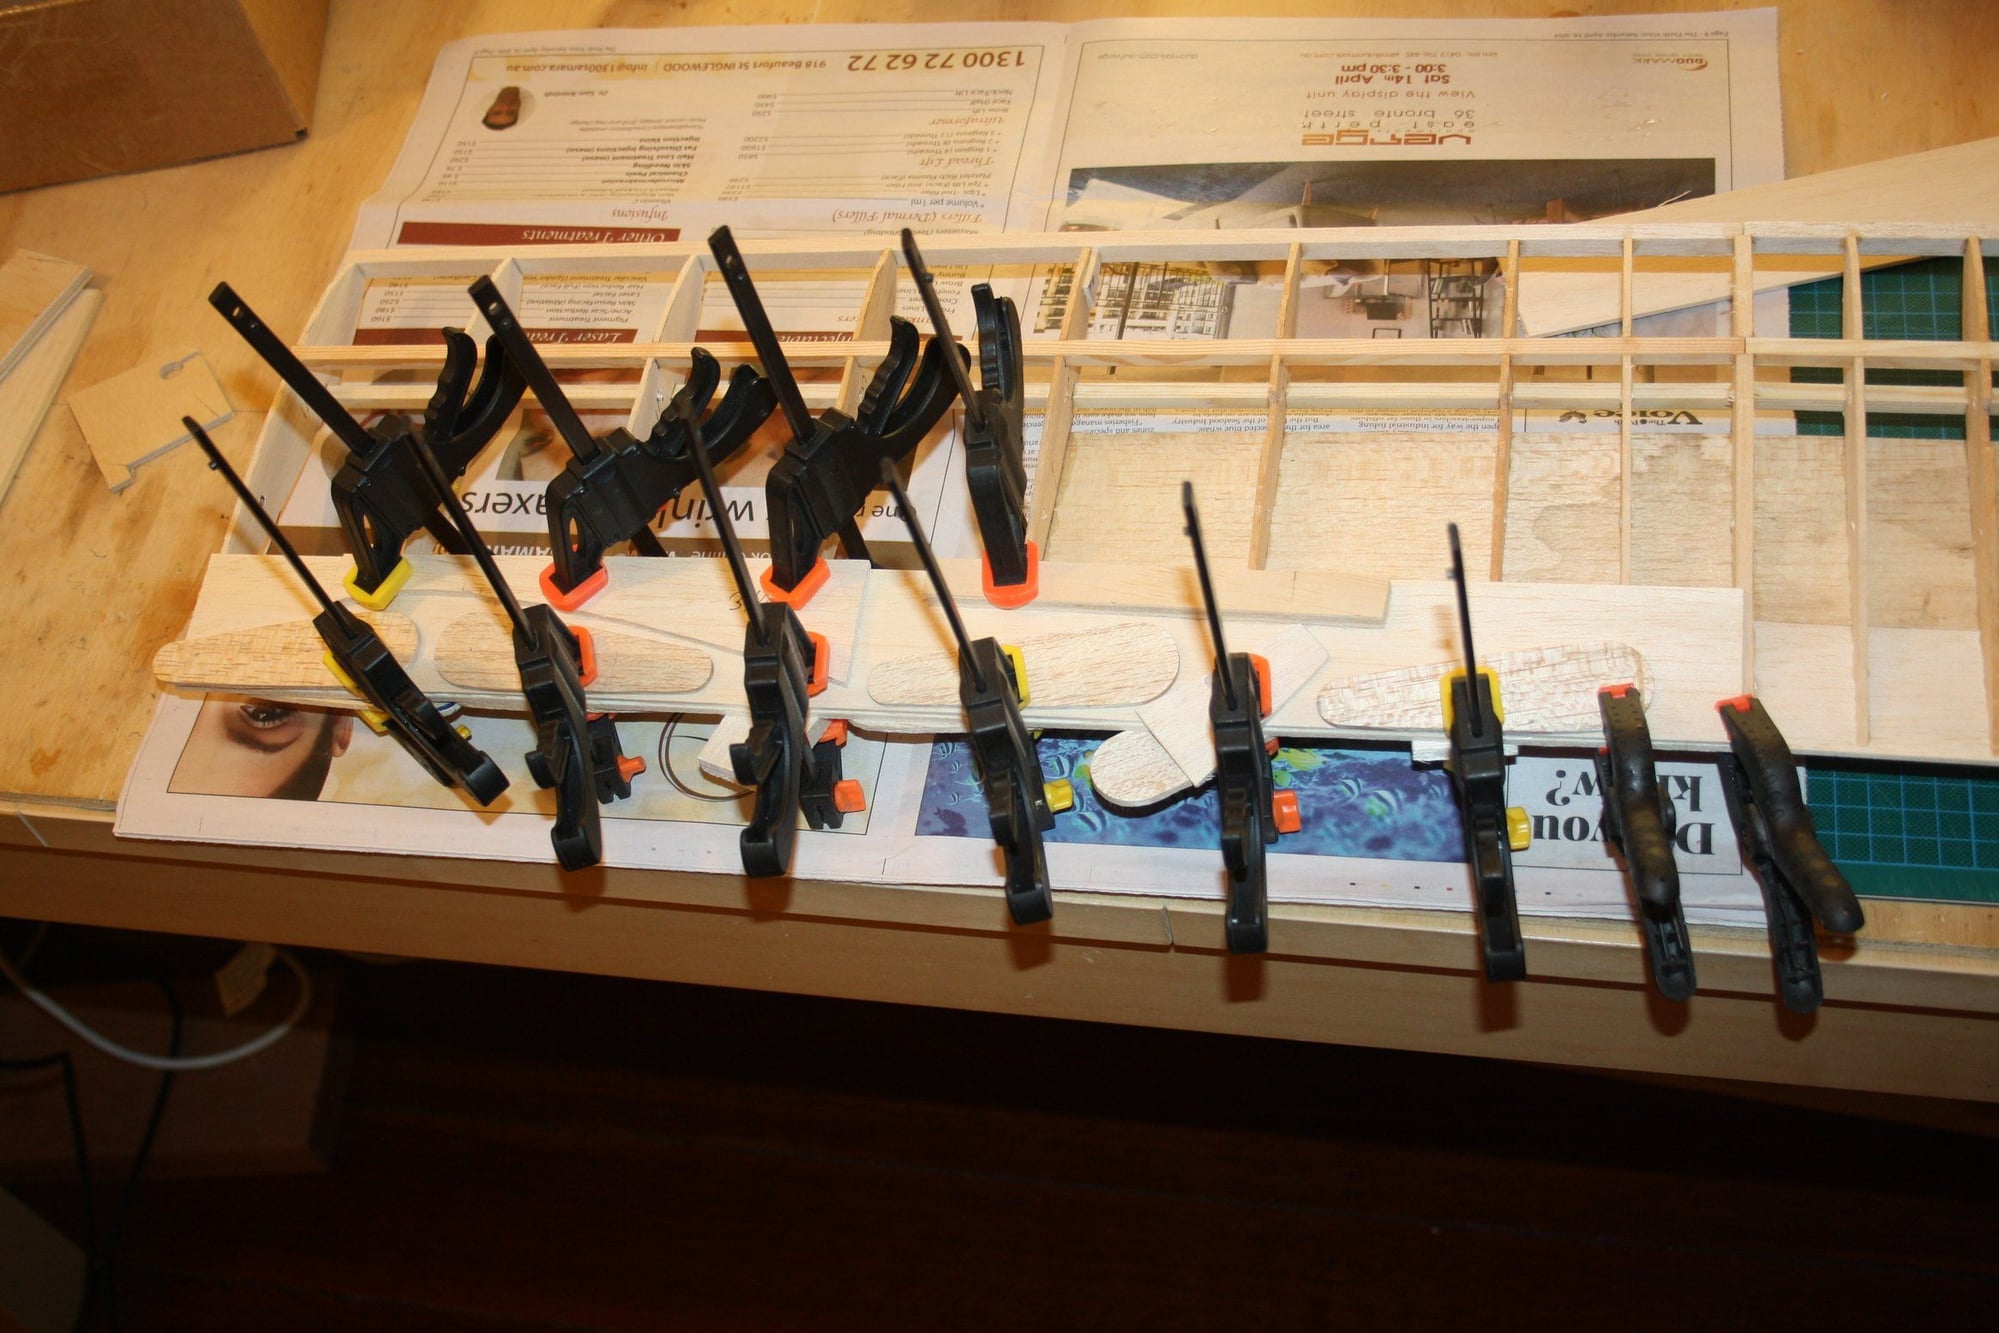
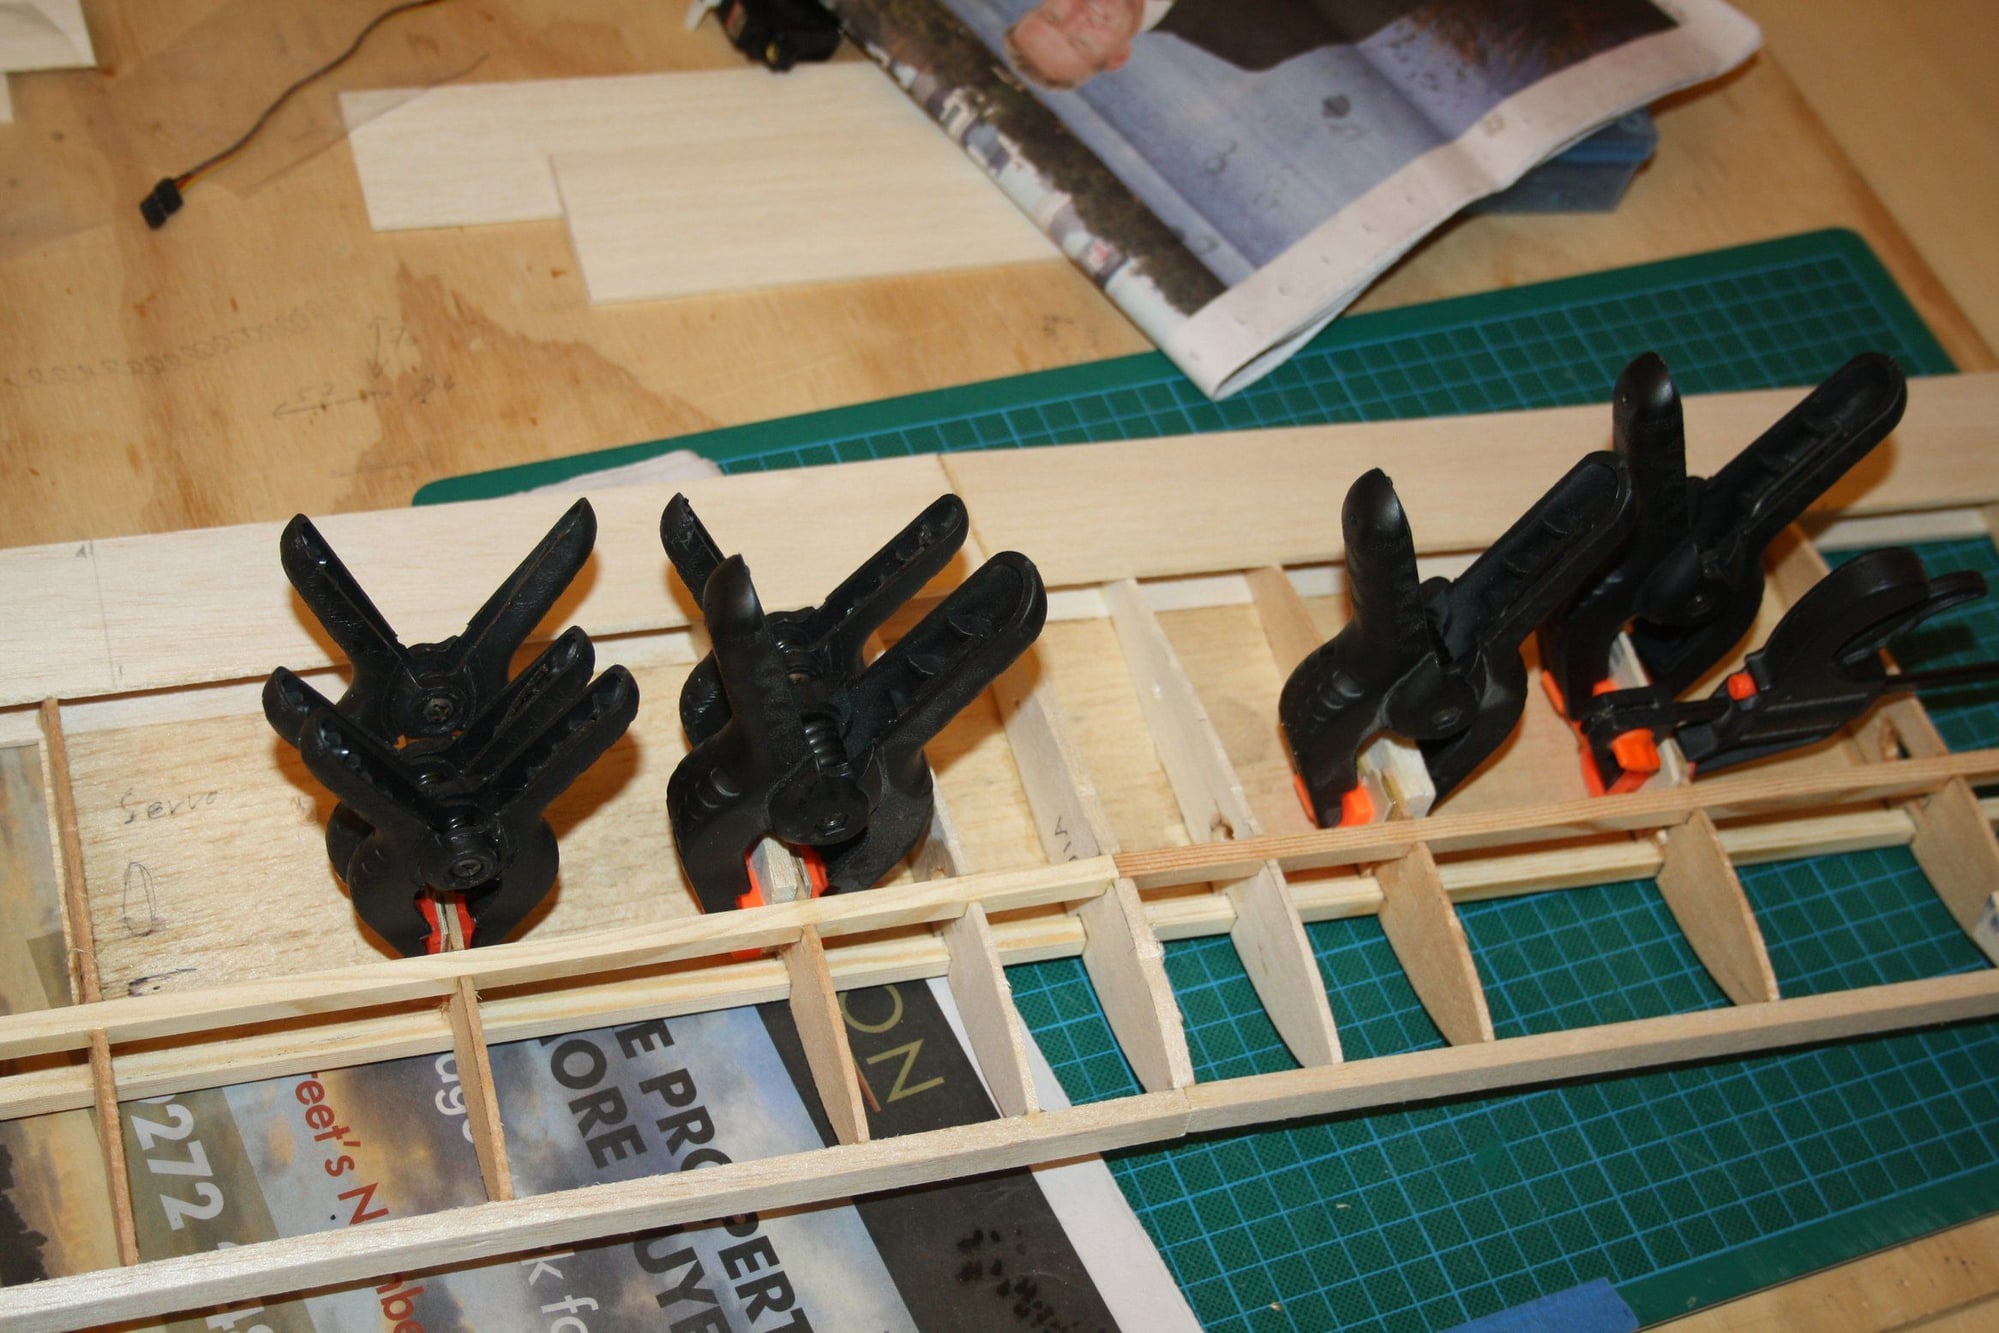
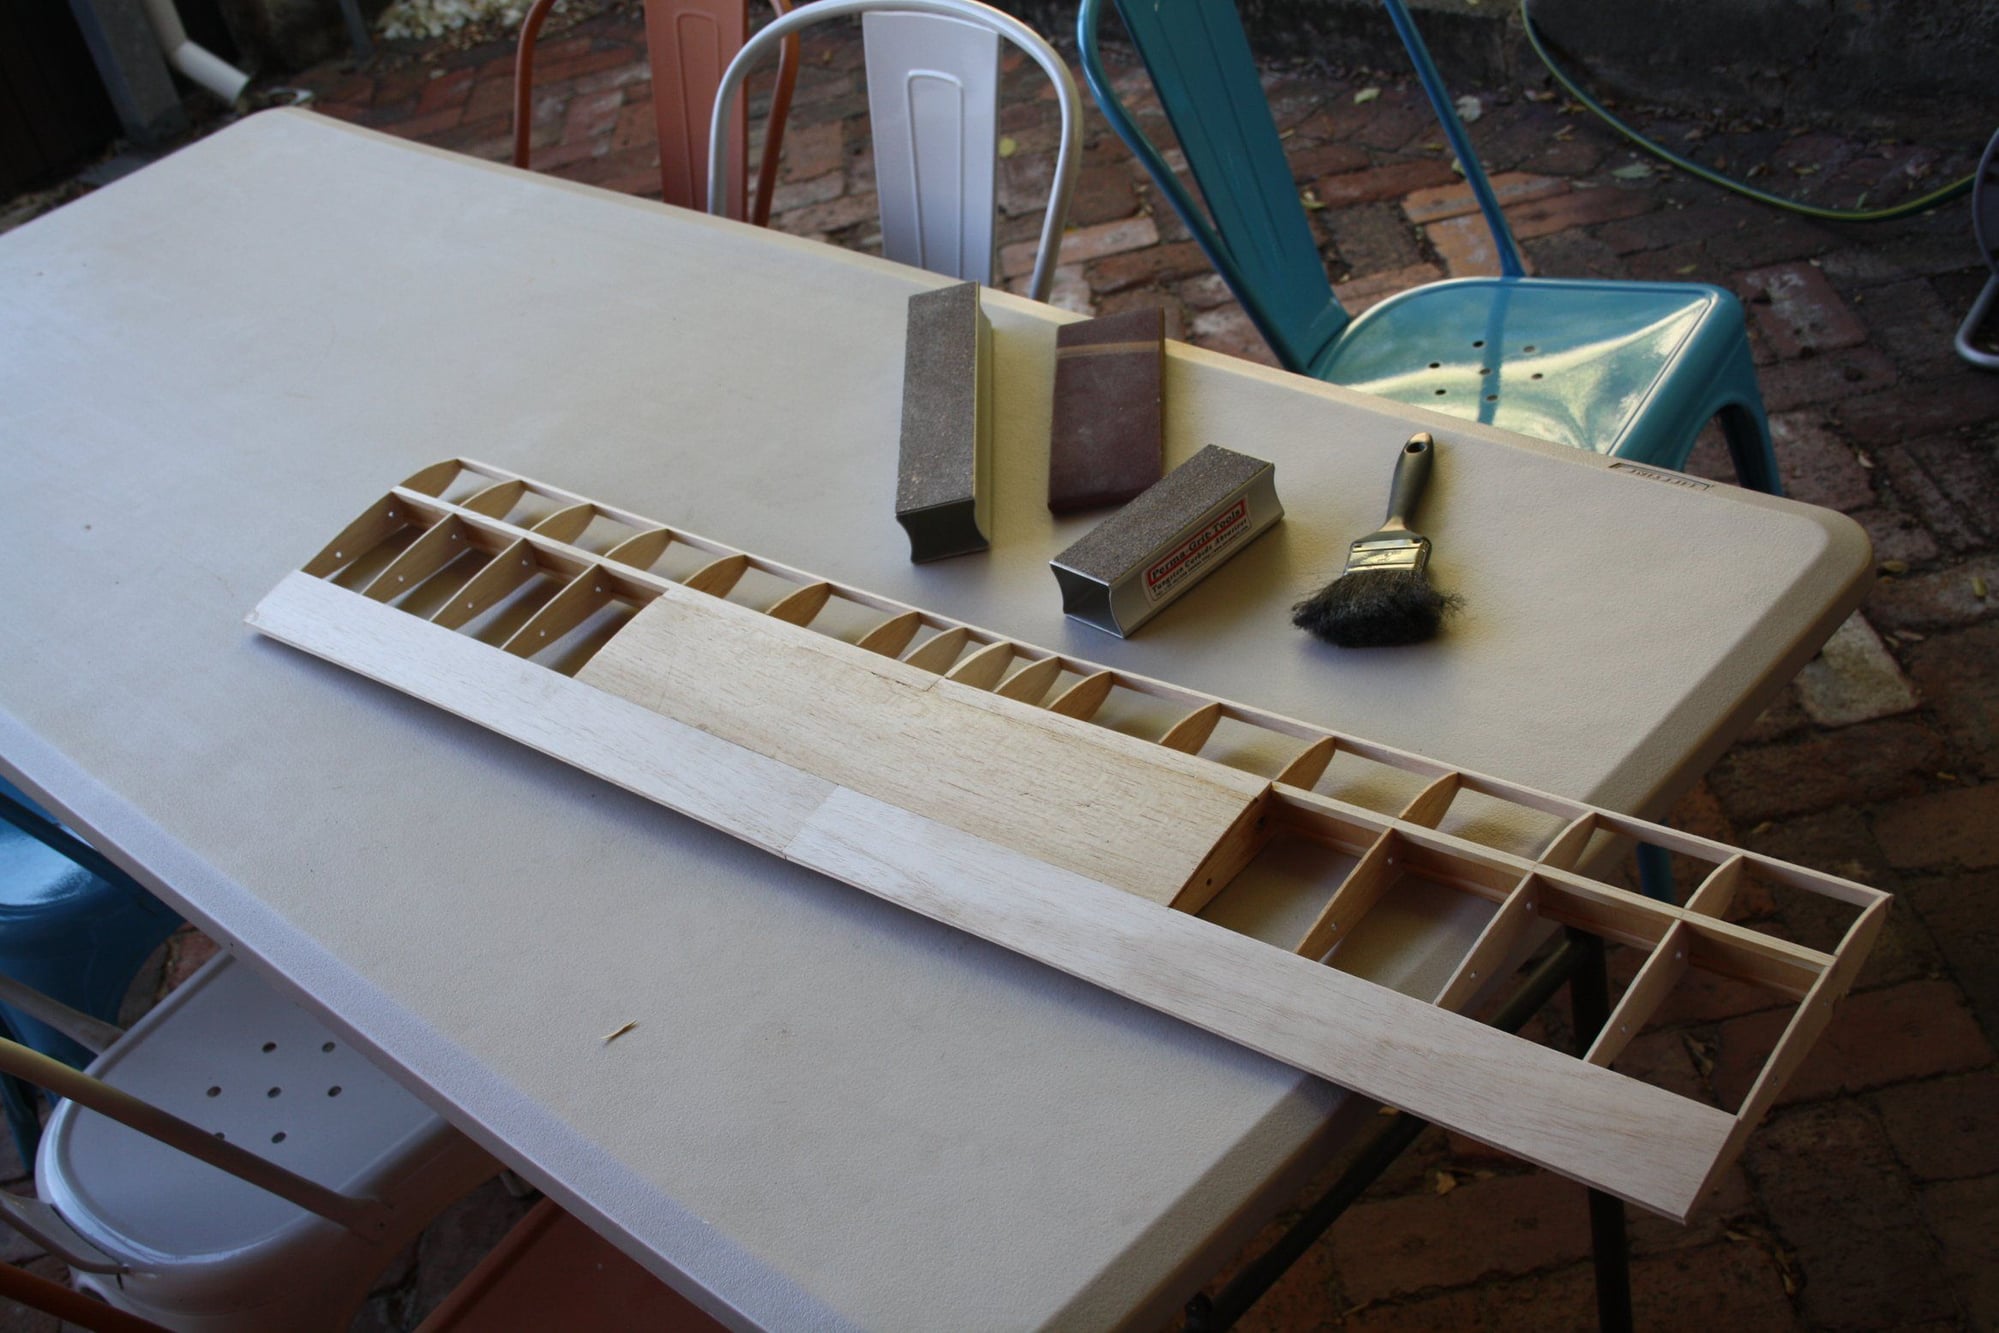
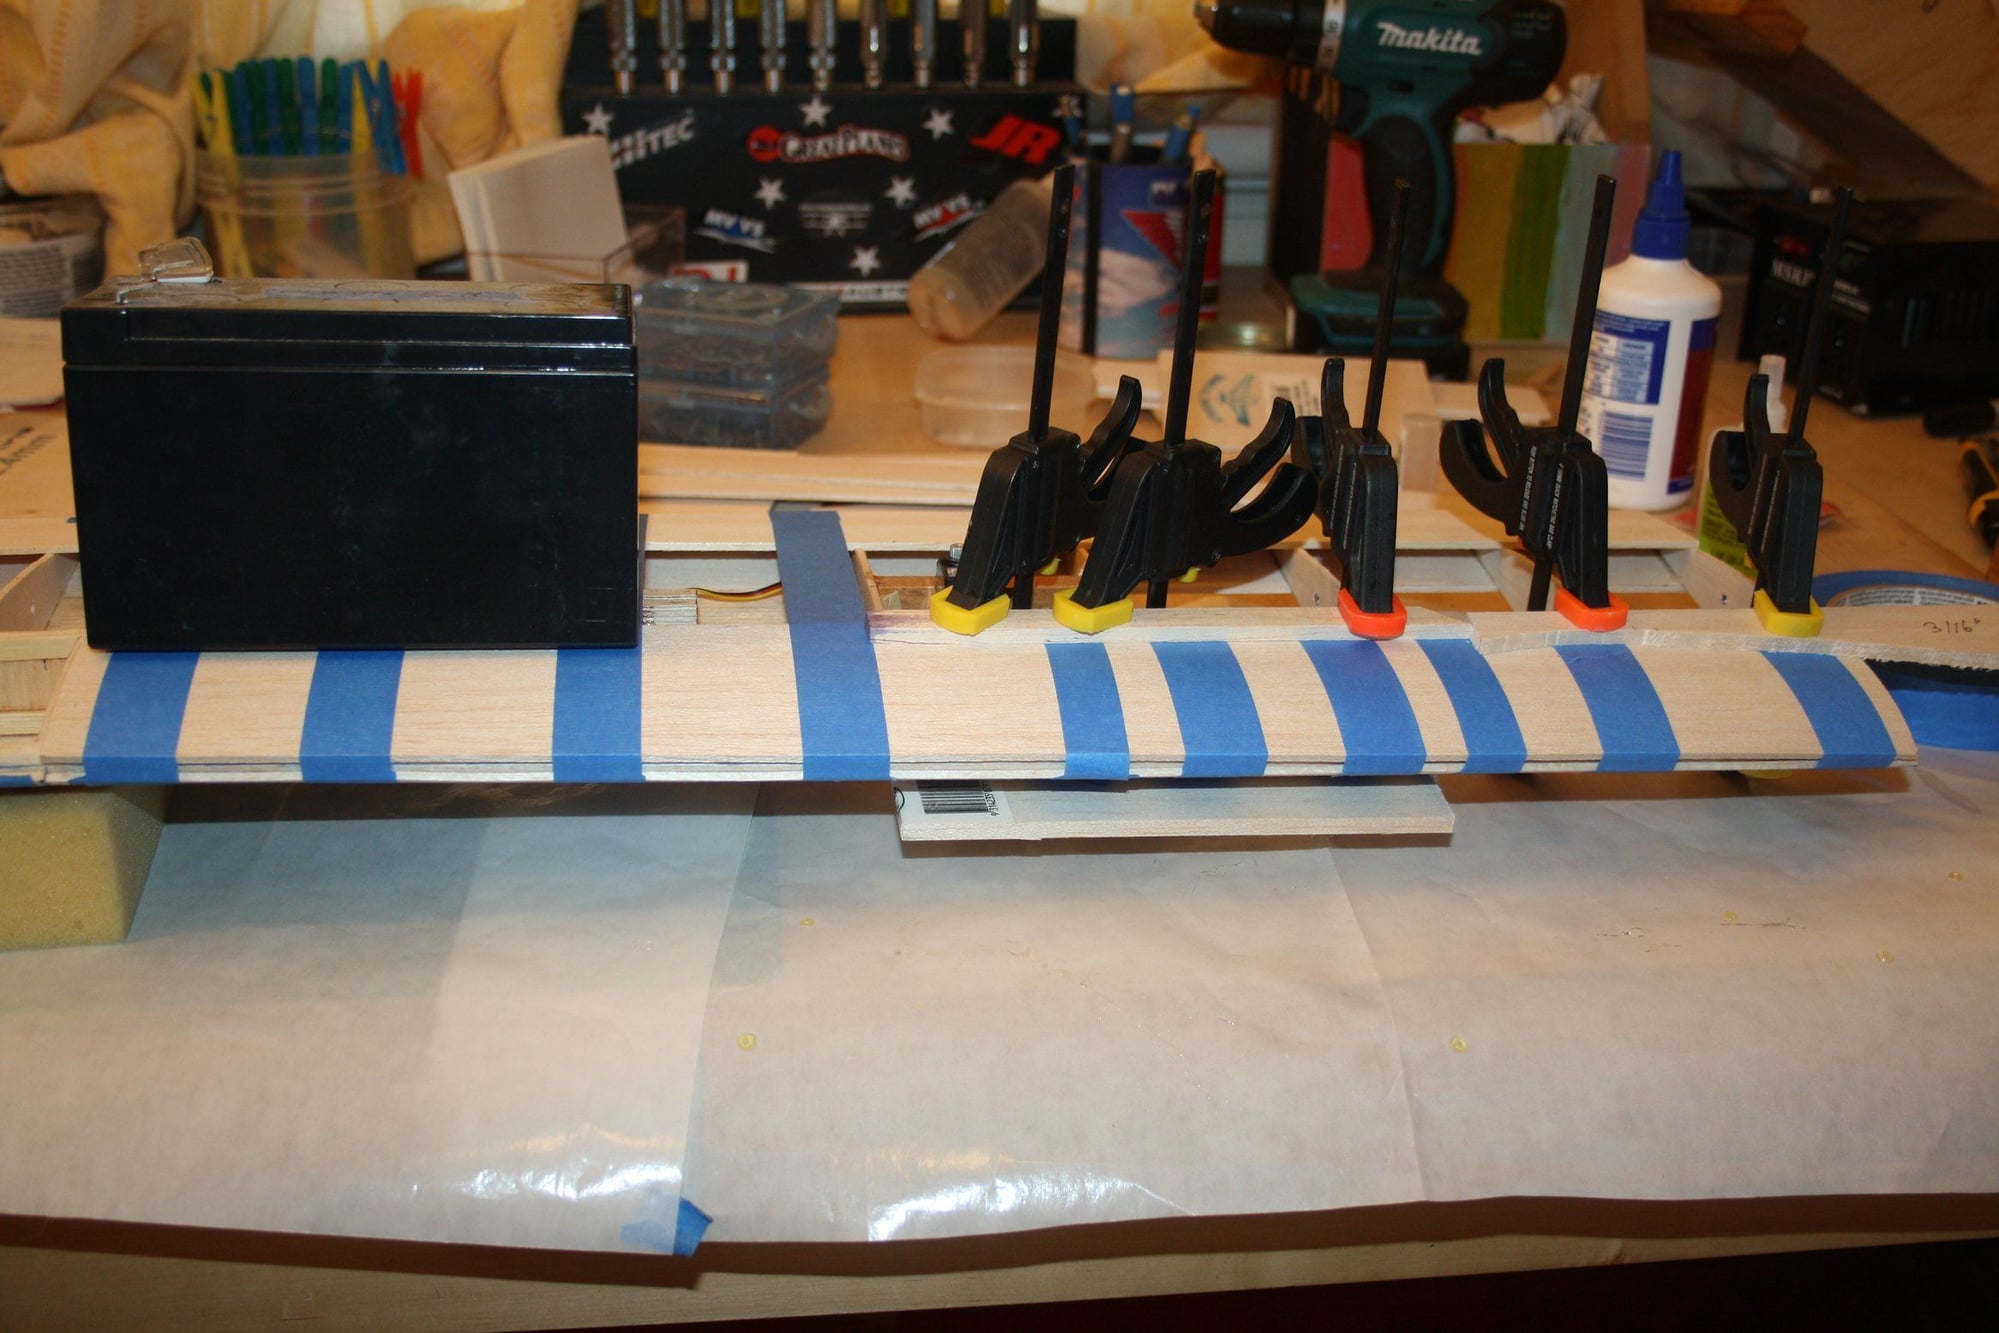
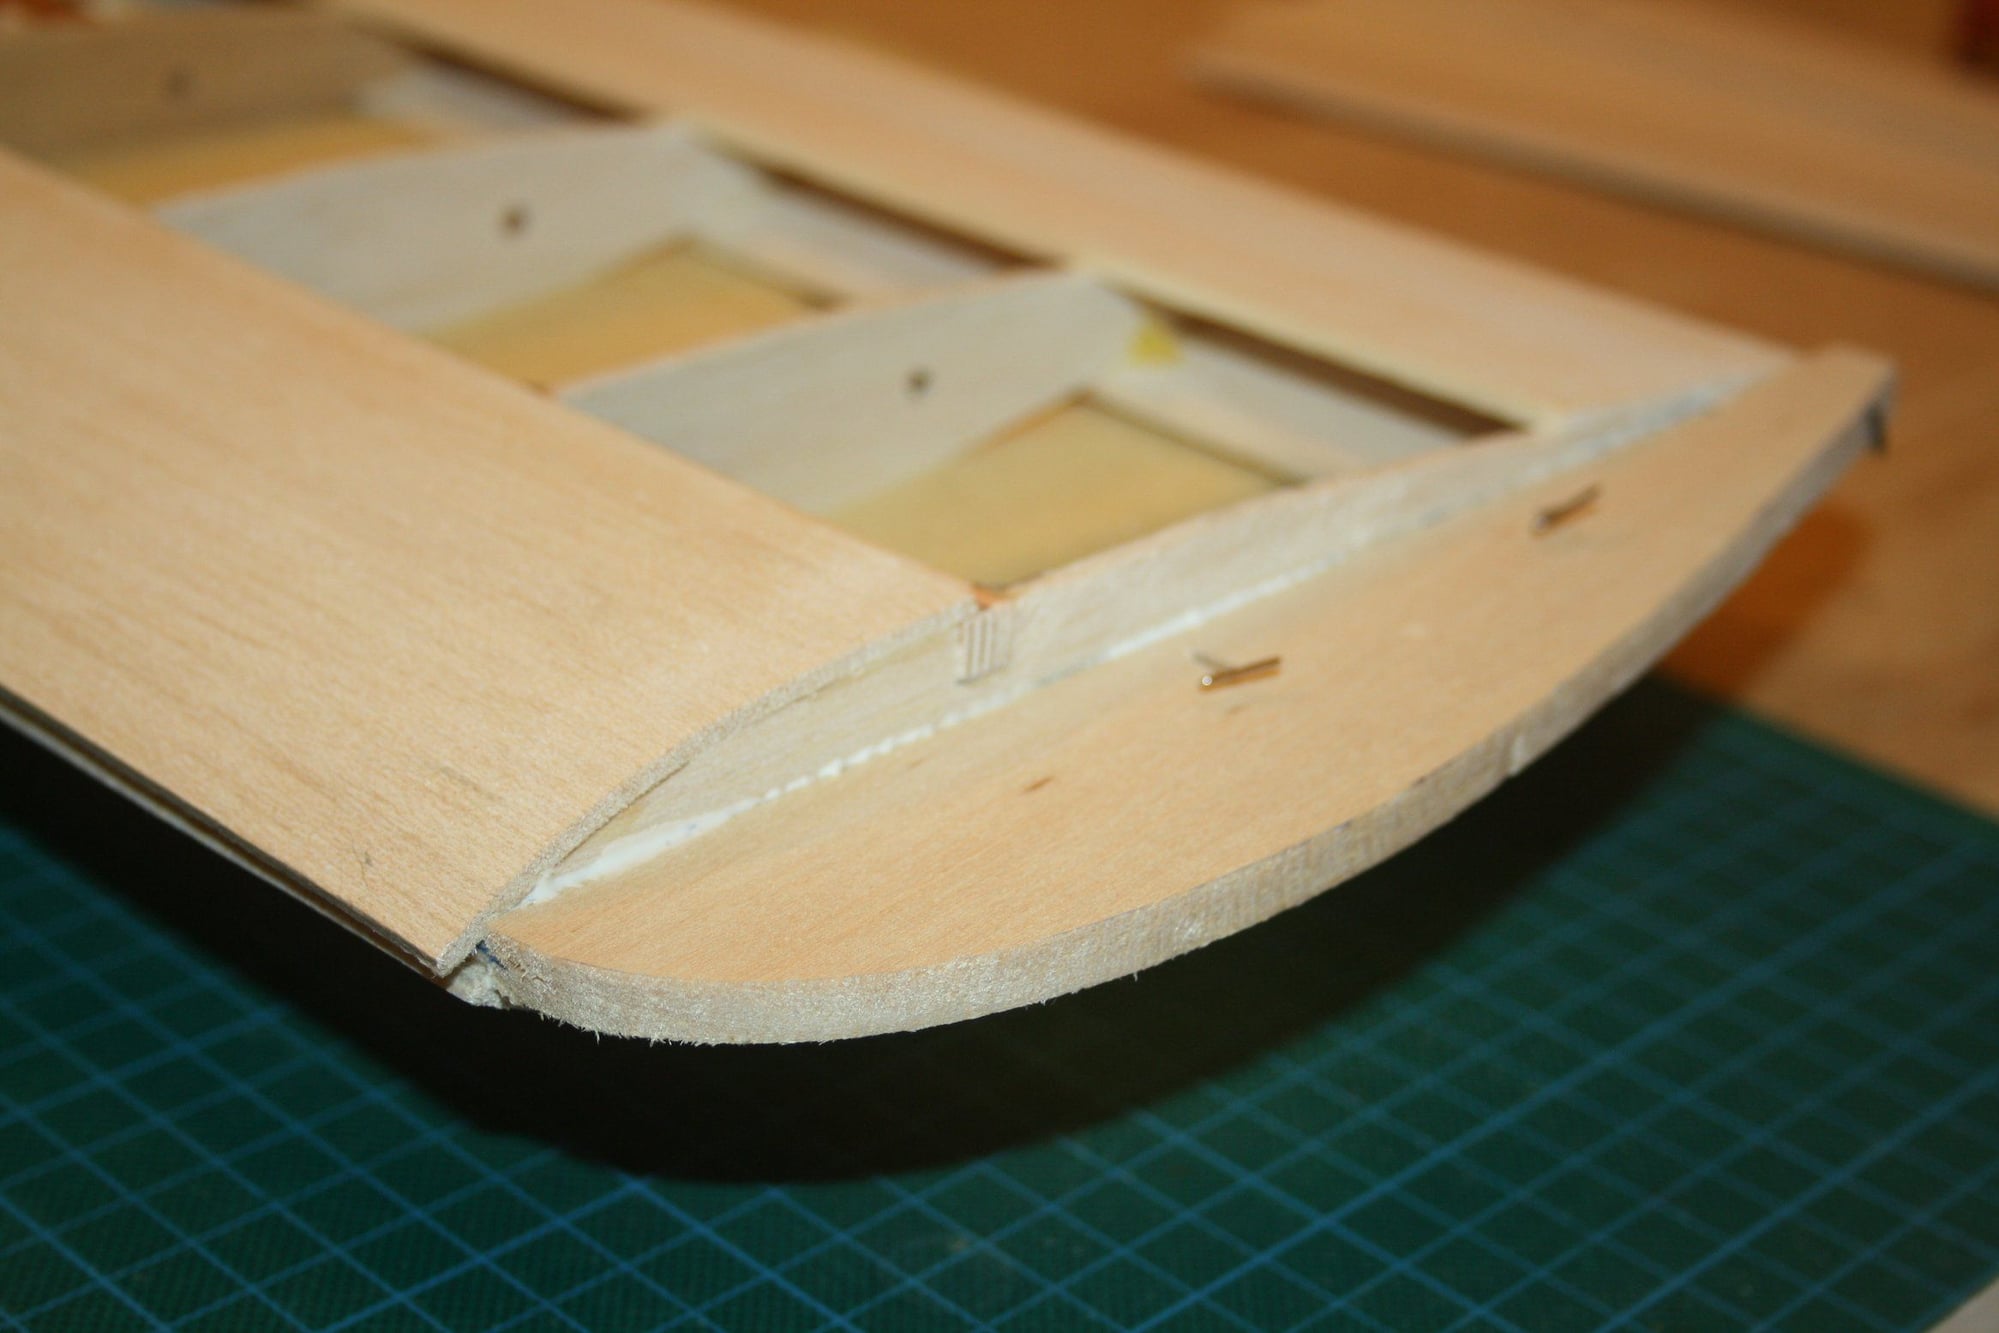
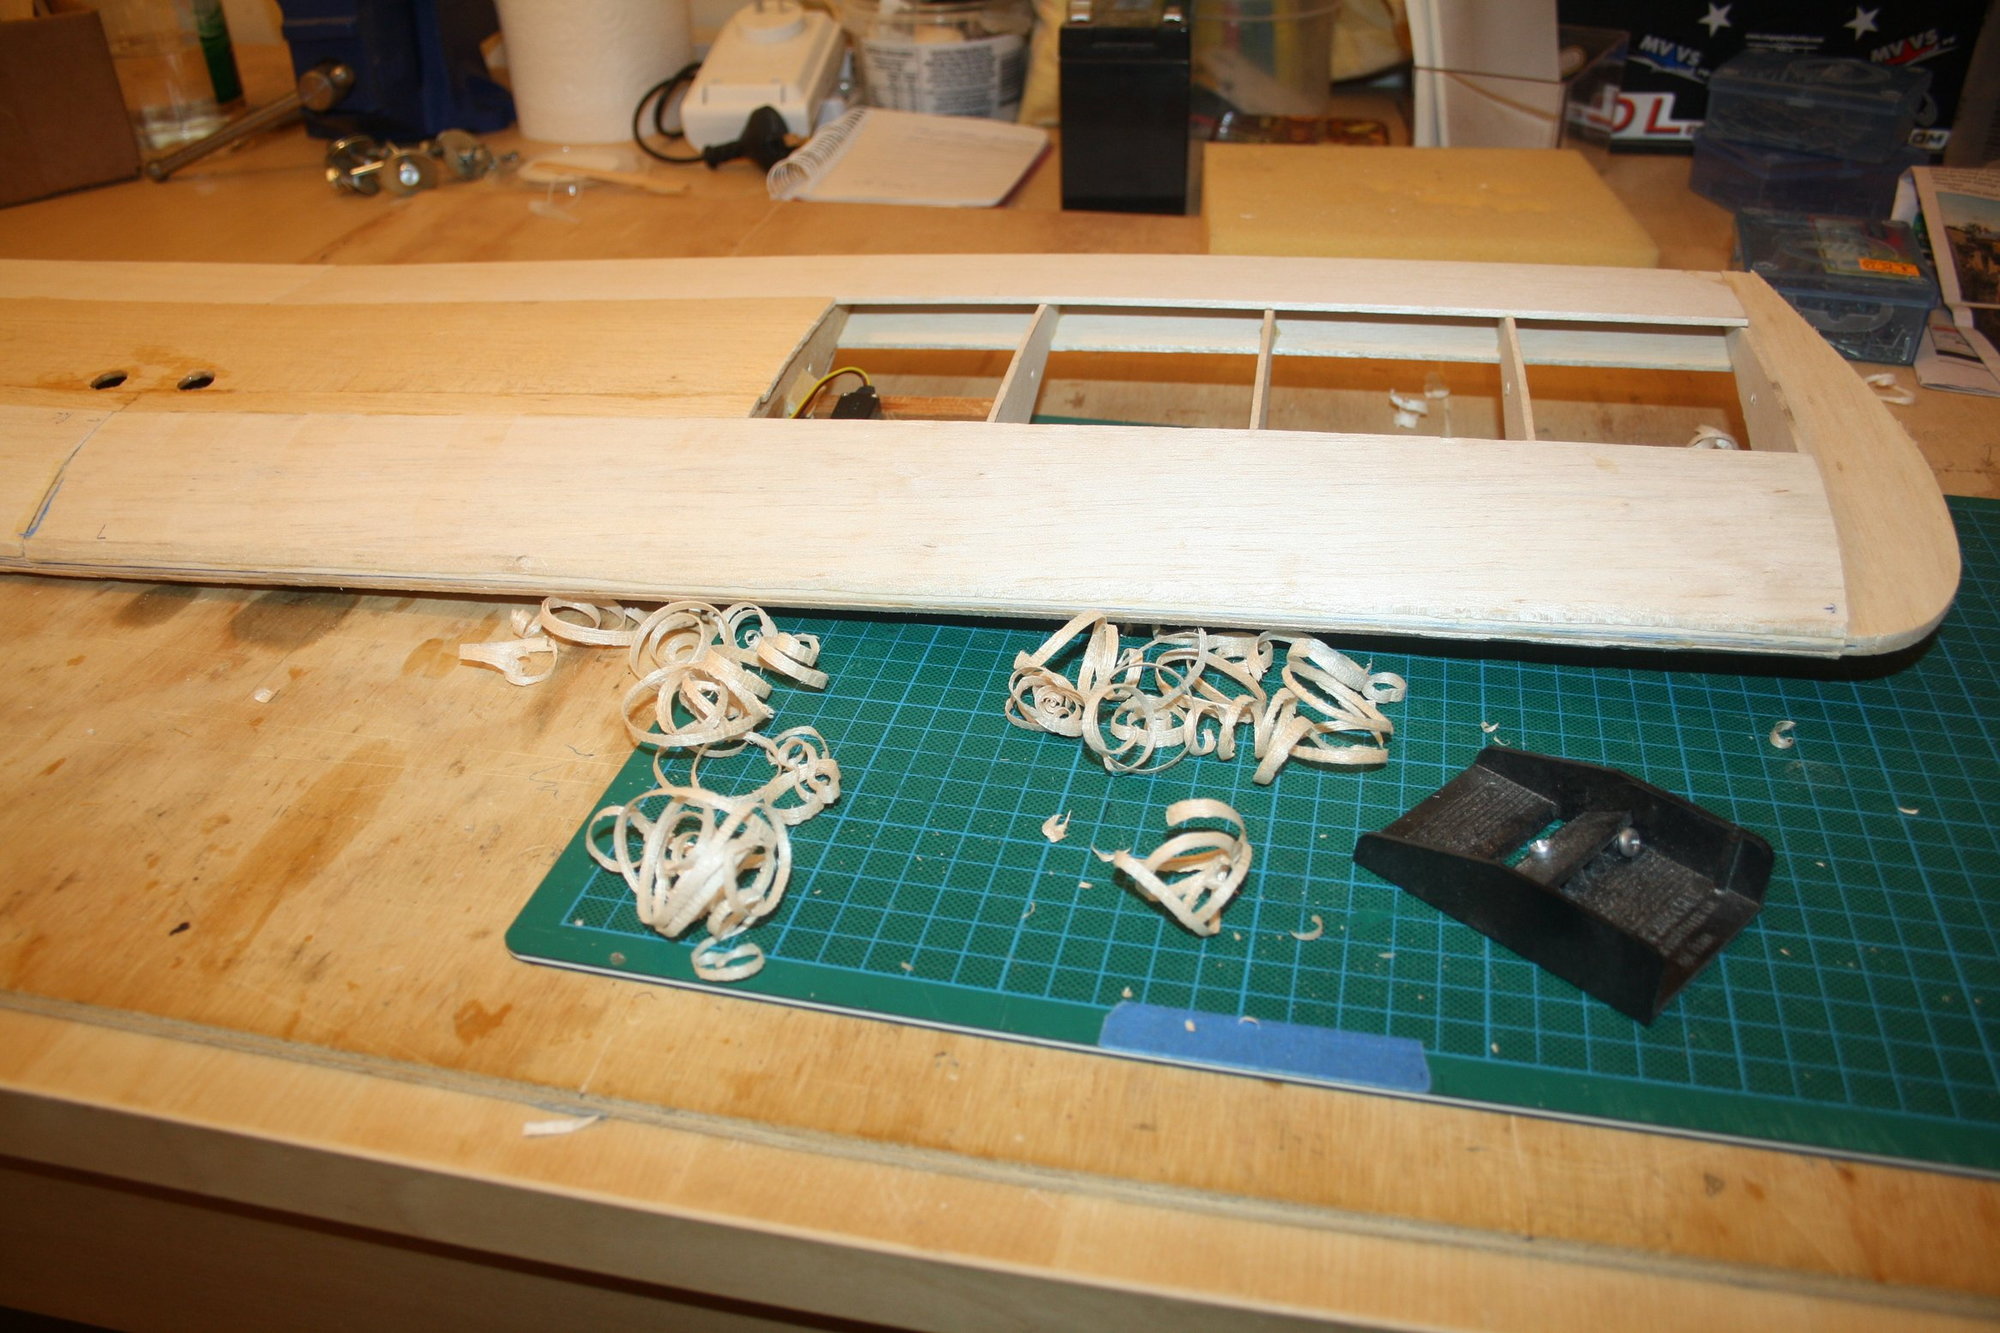
Today is expected to be the last day of fine weather for a while, so I used the opportunity to sit outside and bath in balsa dust while sanding the leading edge.
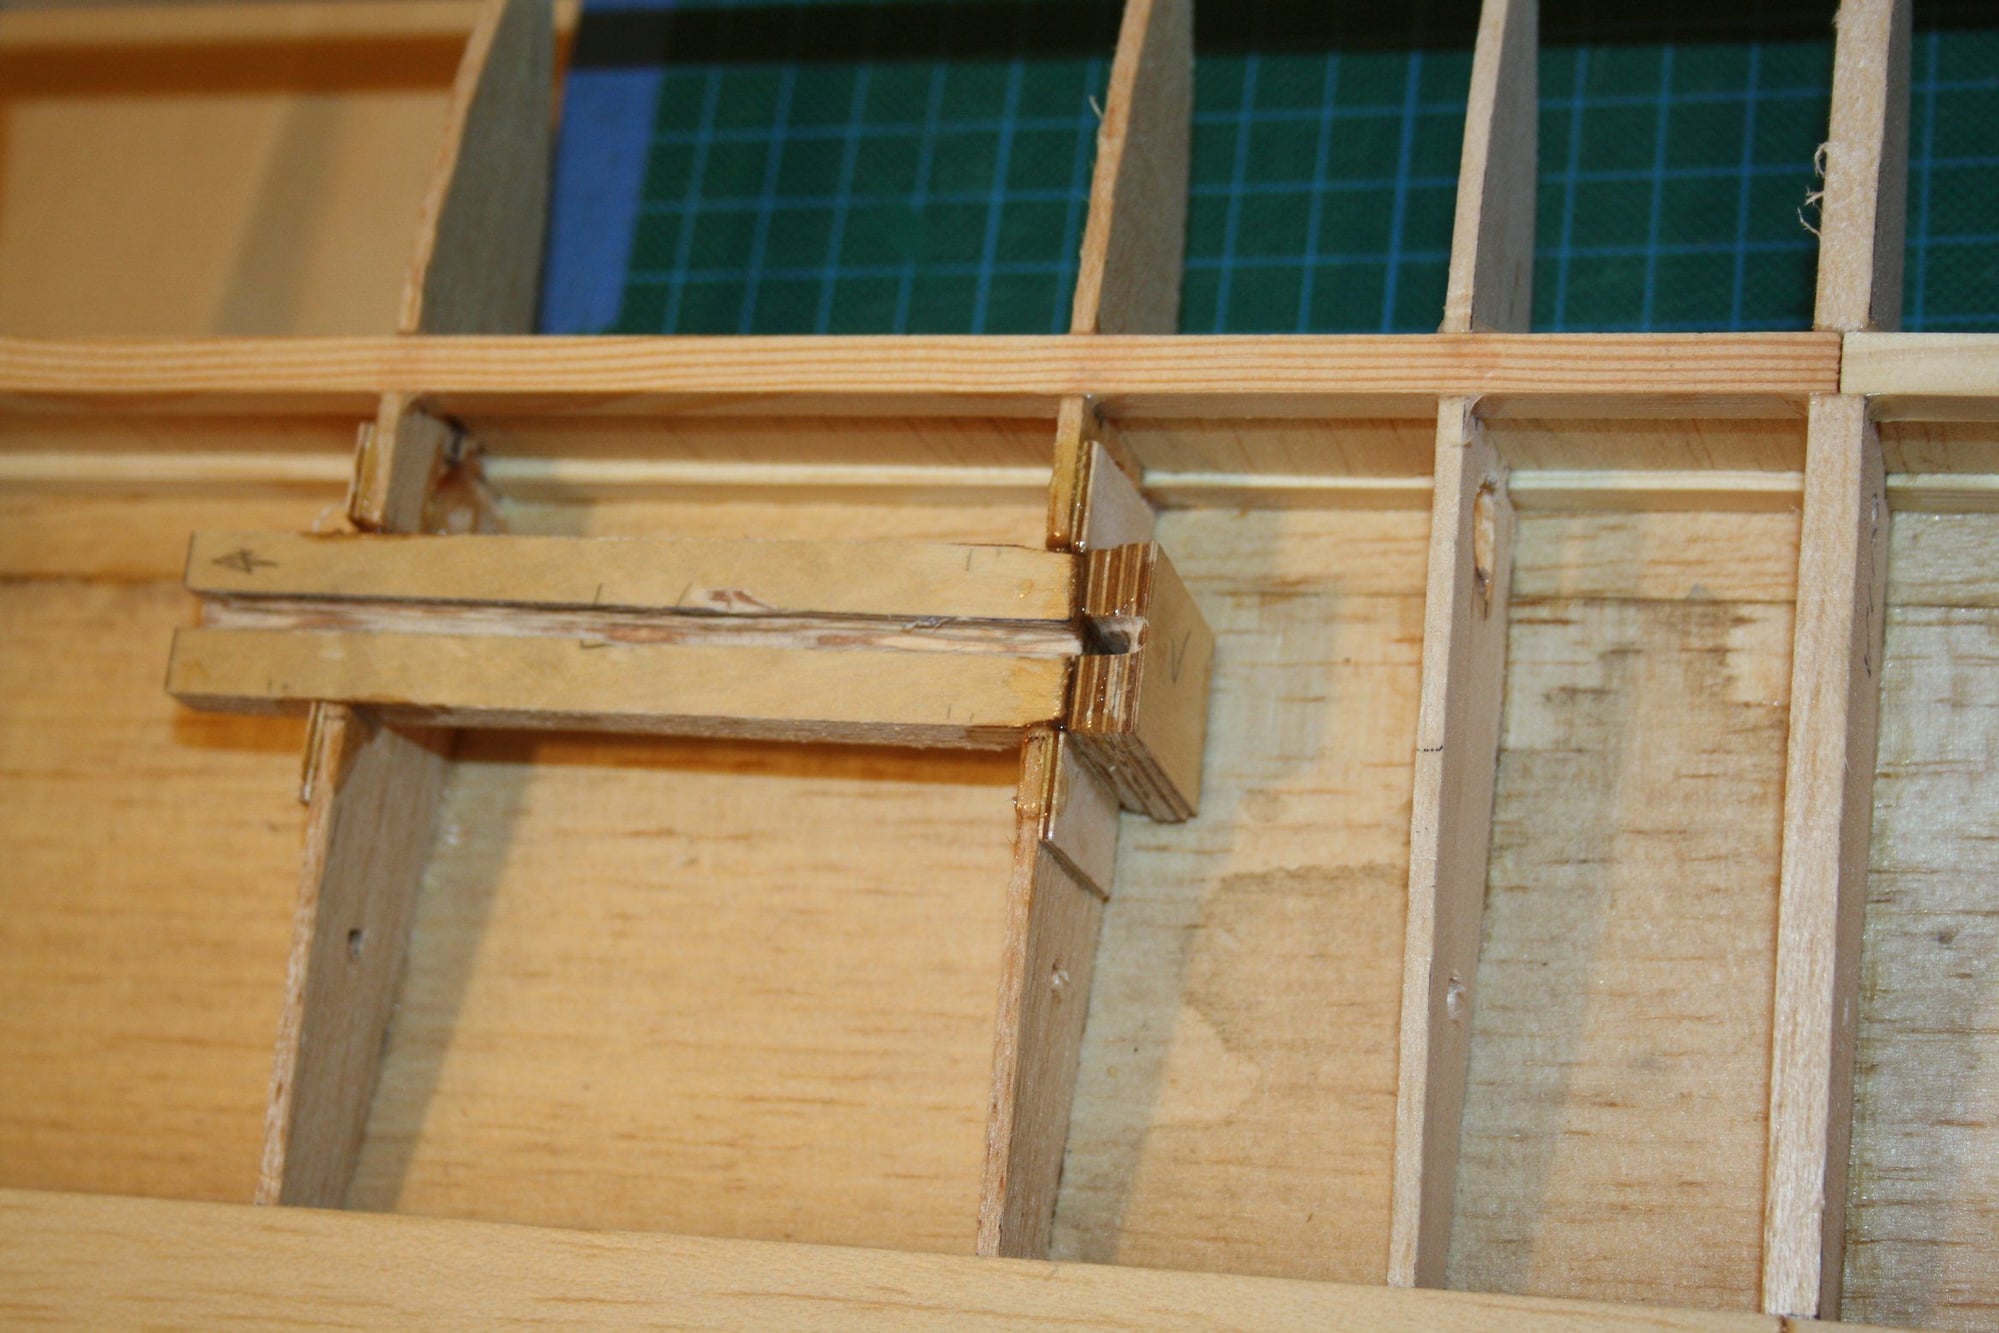
Once completed, I turned my attention to the landing gear mounts, cutting slots to size and gluing the main part to the wing.
Eran.

Once completed, I turned my attention to the landing gear mounts, cutting slots to size and gluing the main part to the wing.
Eran.
 05-25-2018, 04:03 AM
#18
Thread Starter
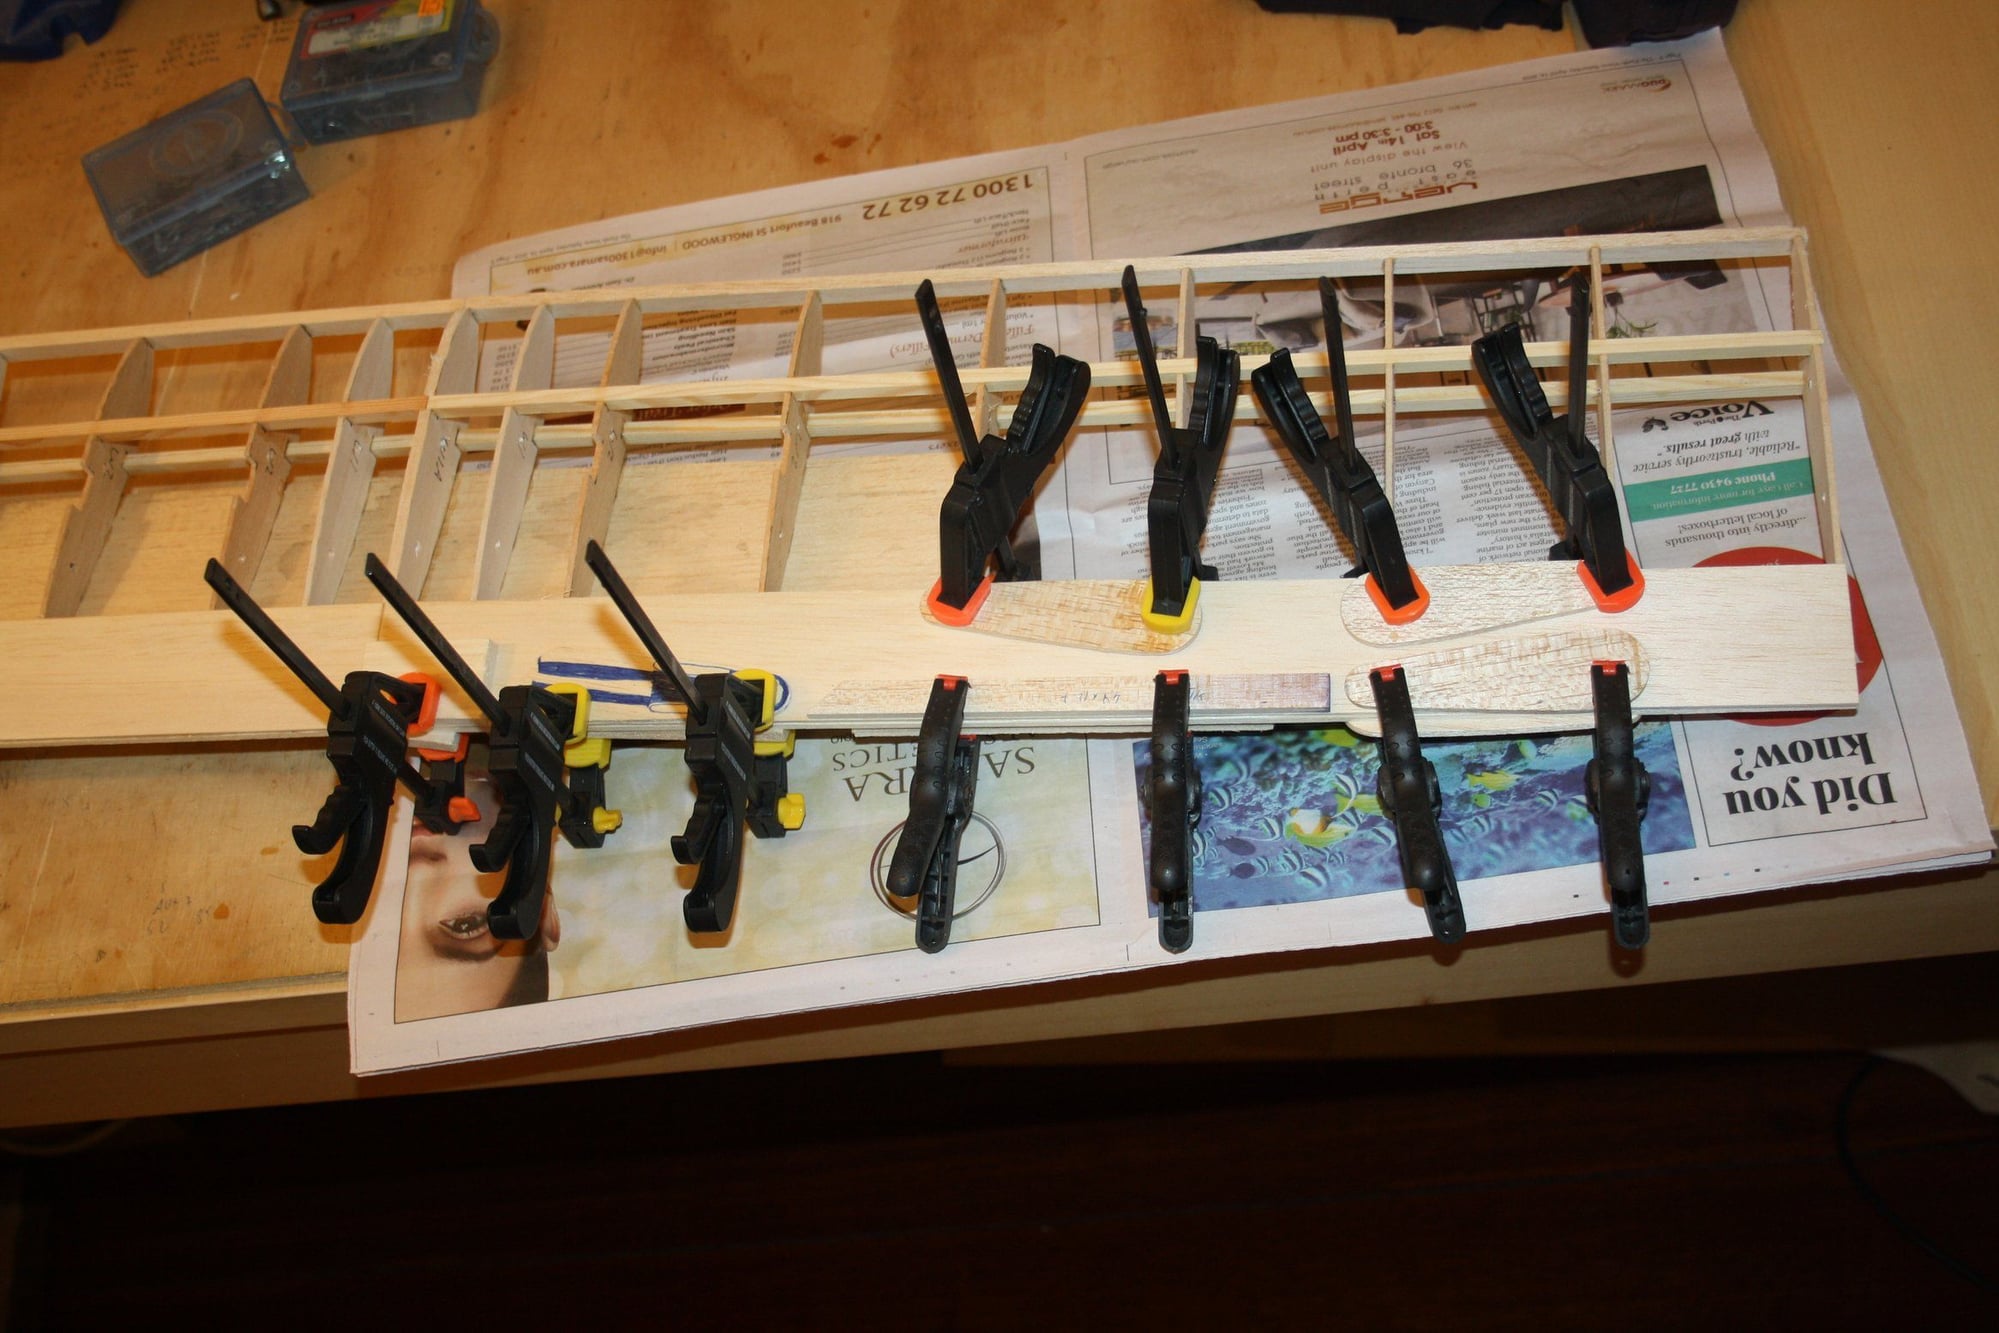
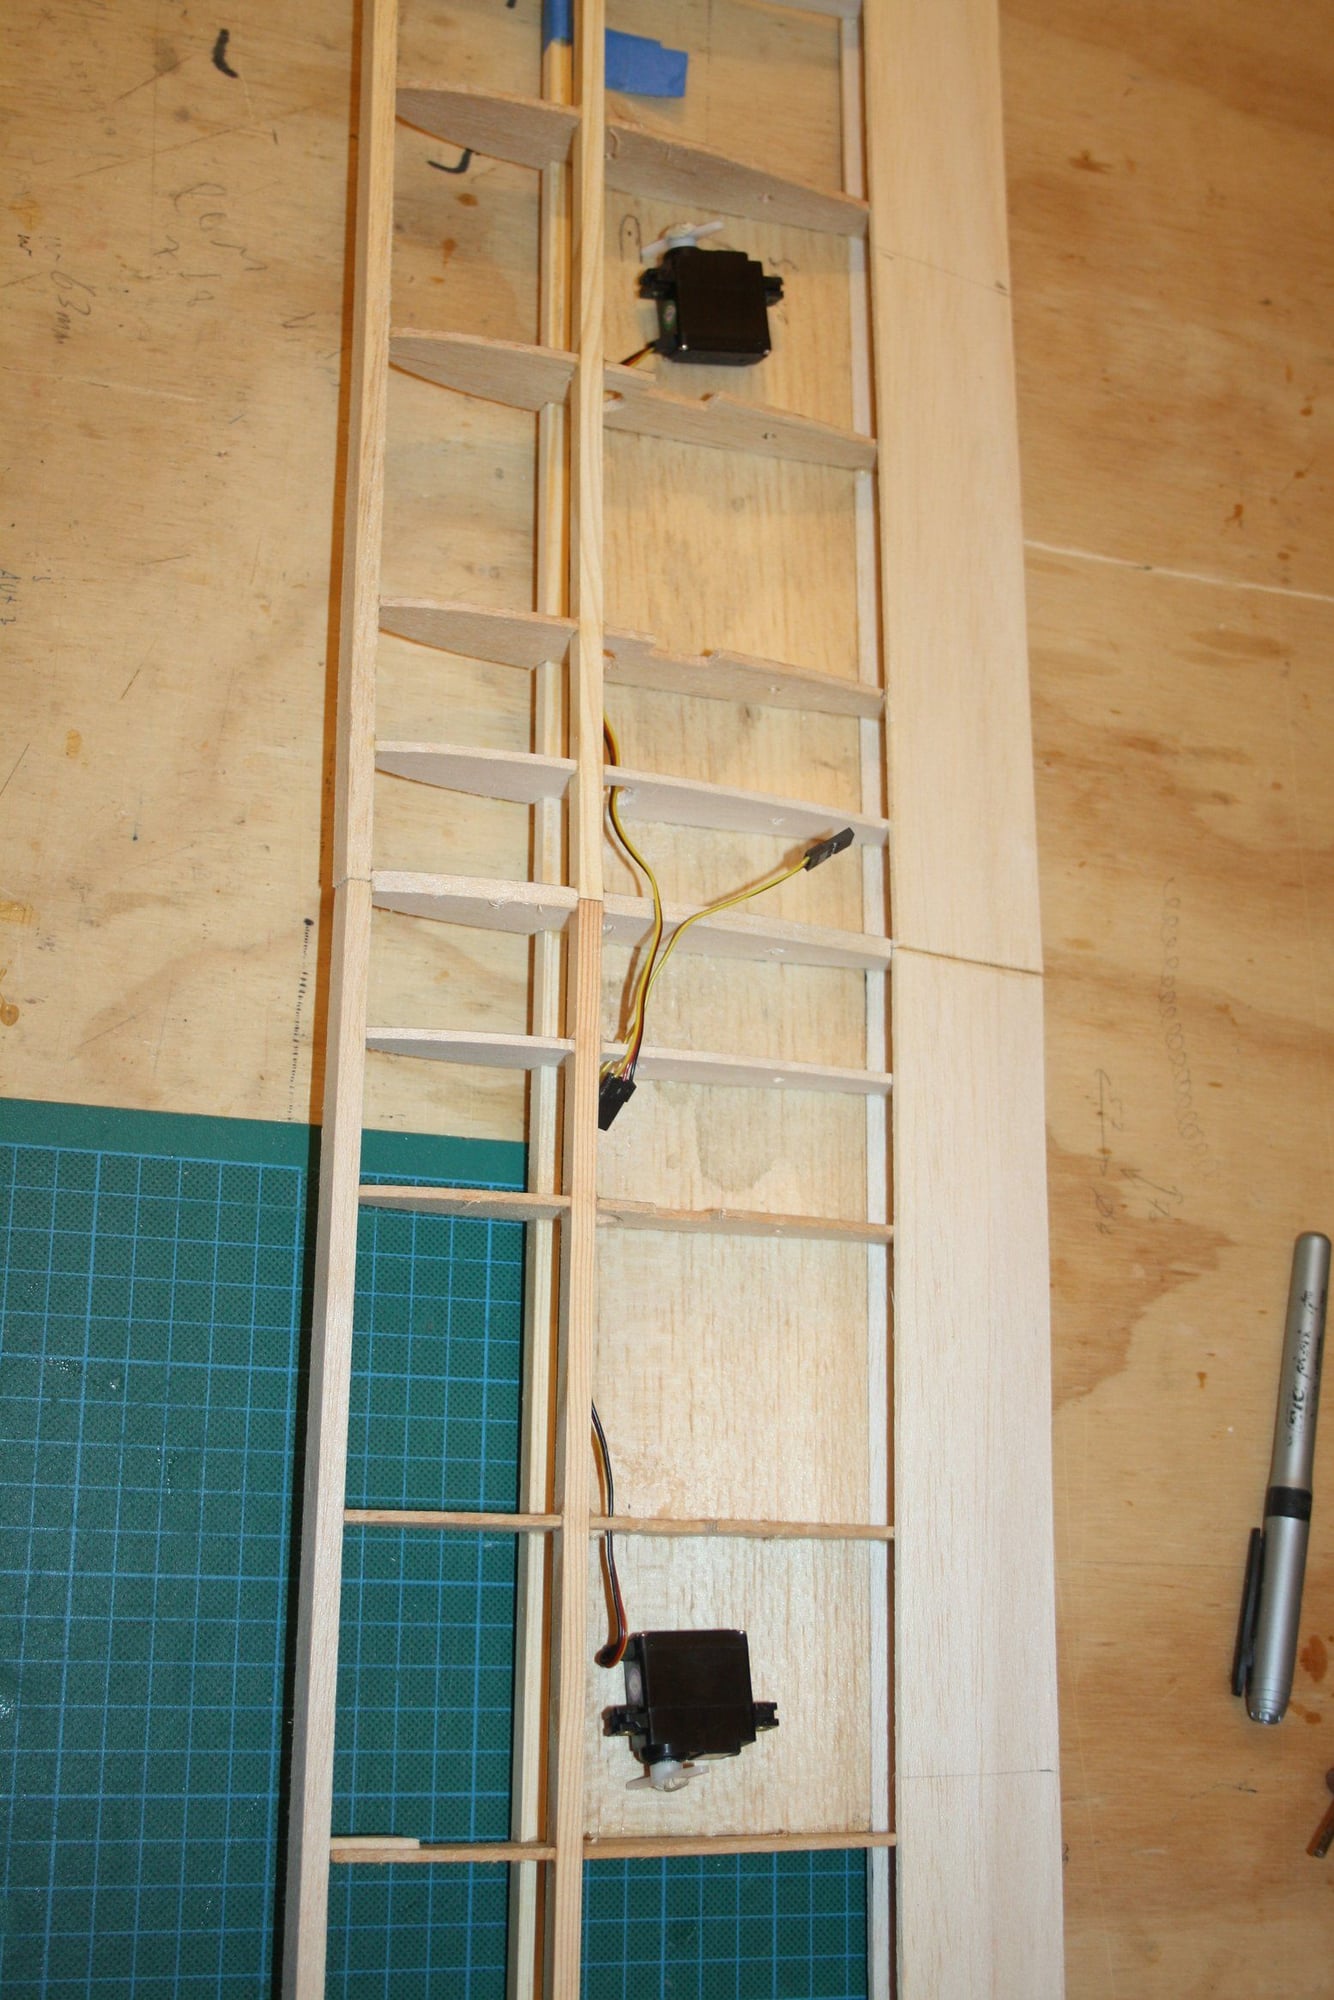
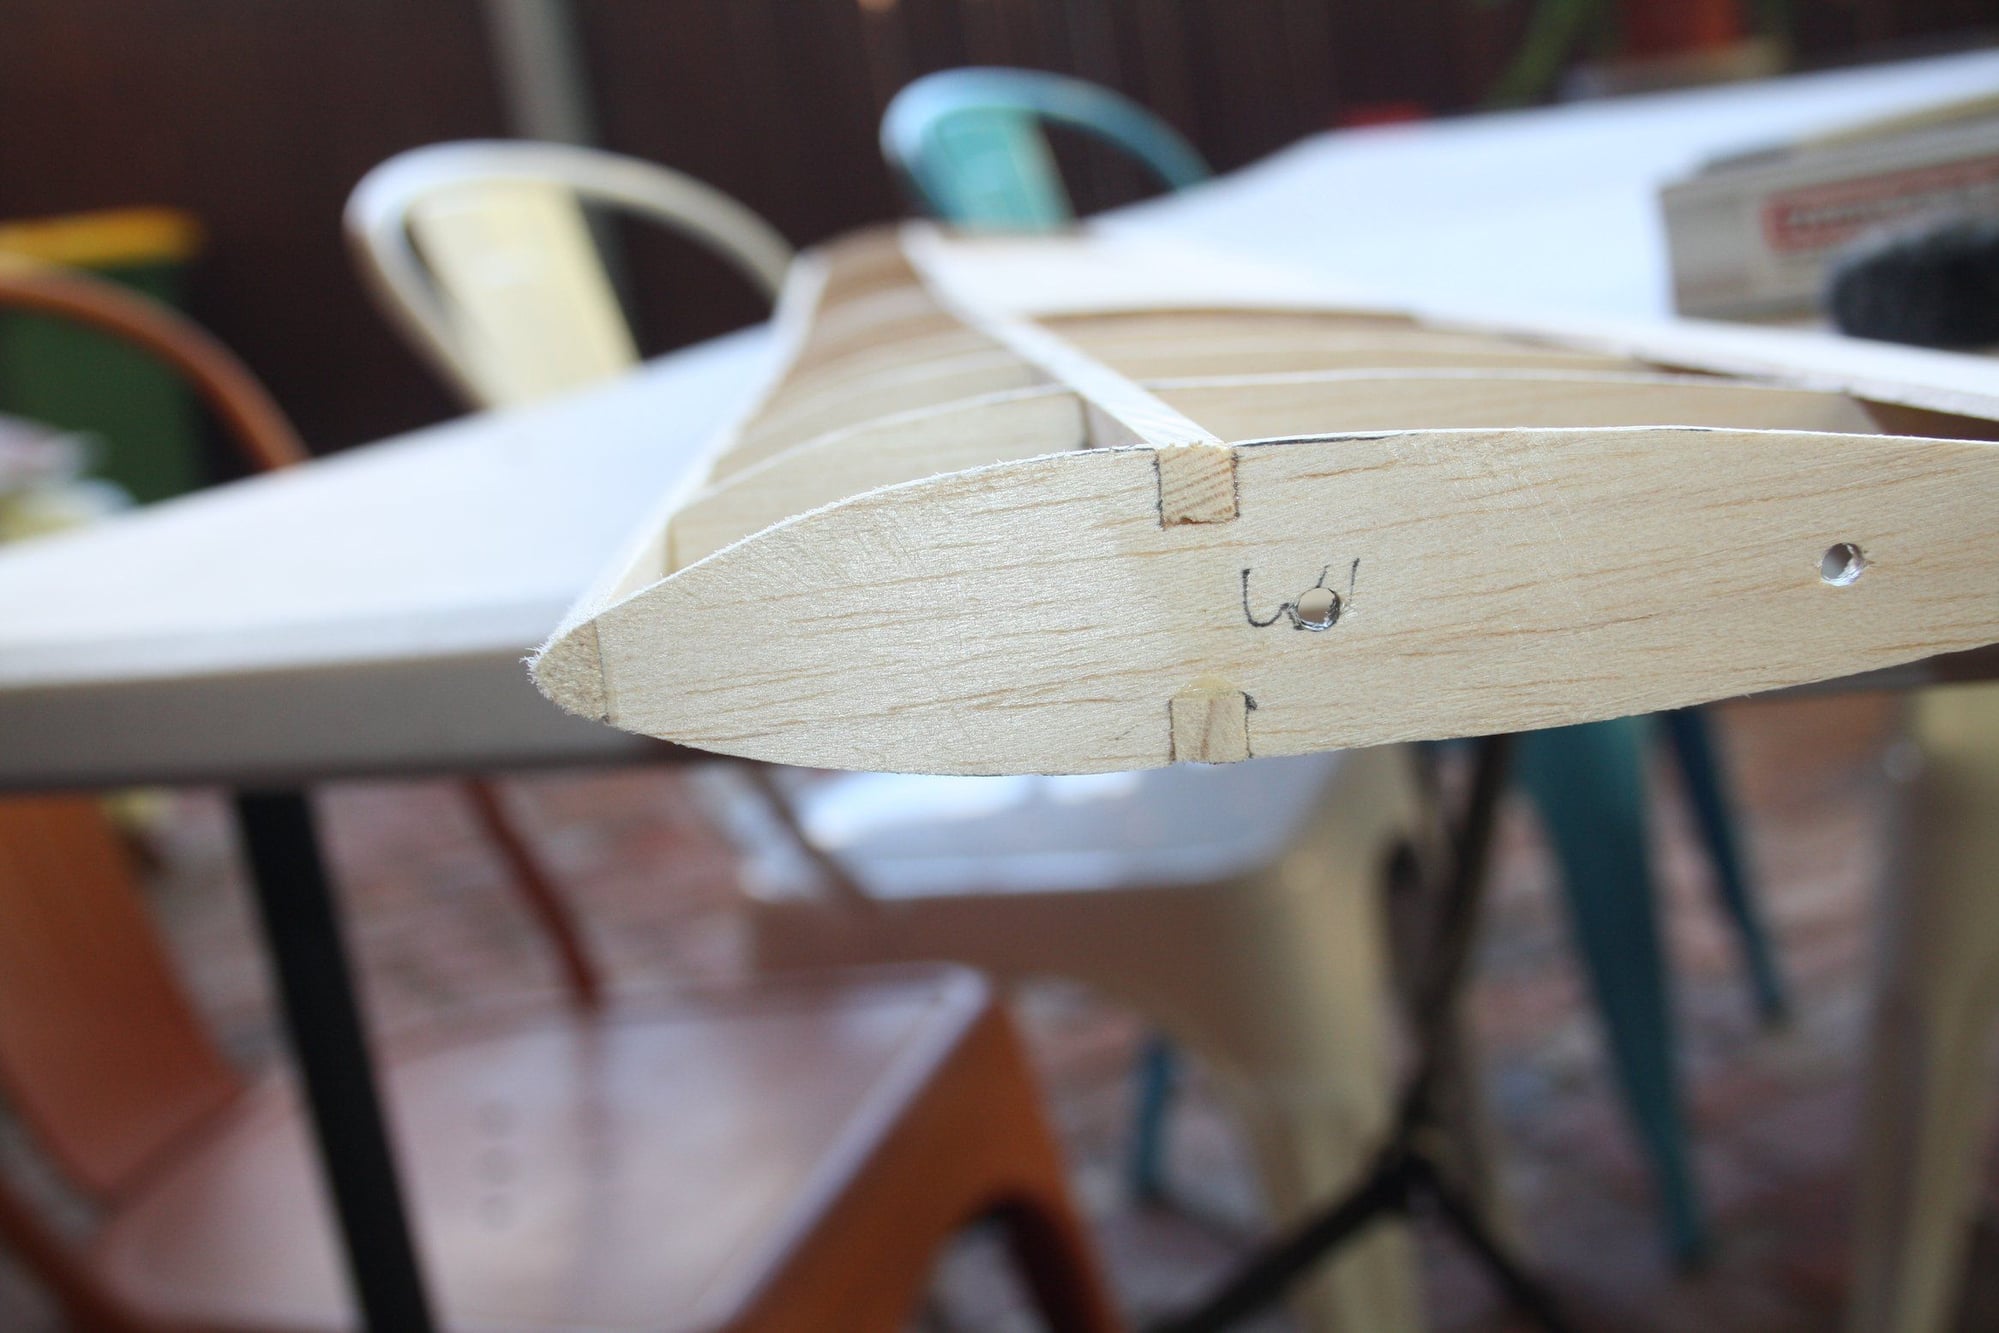
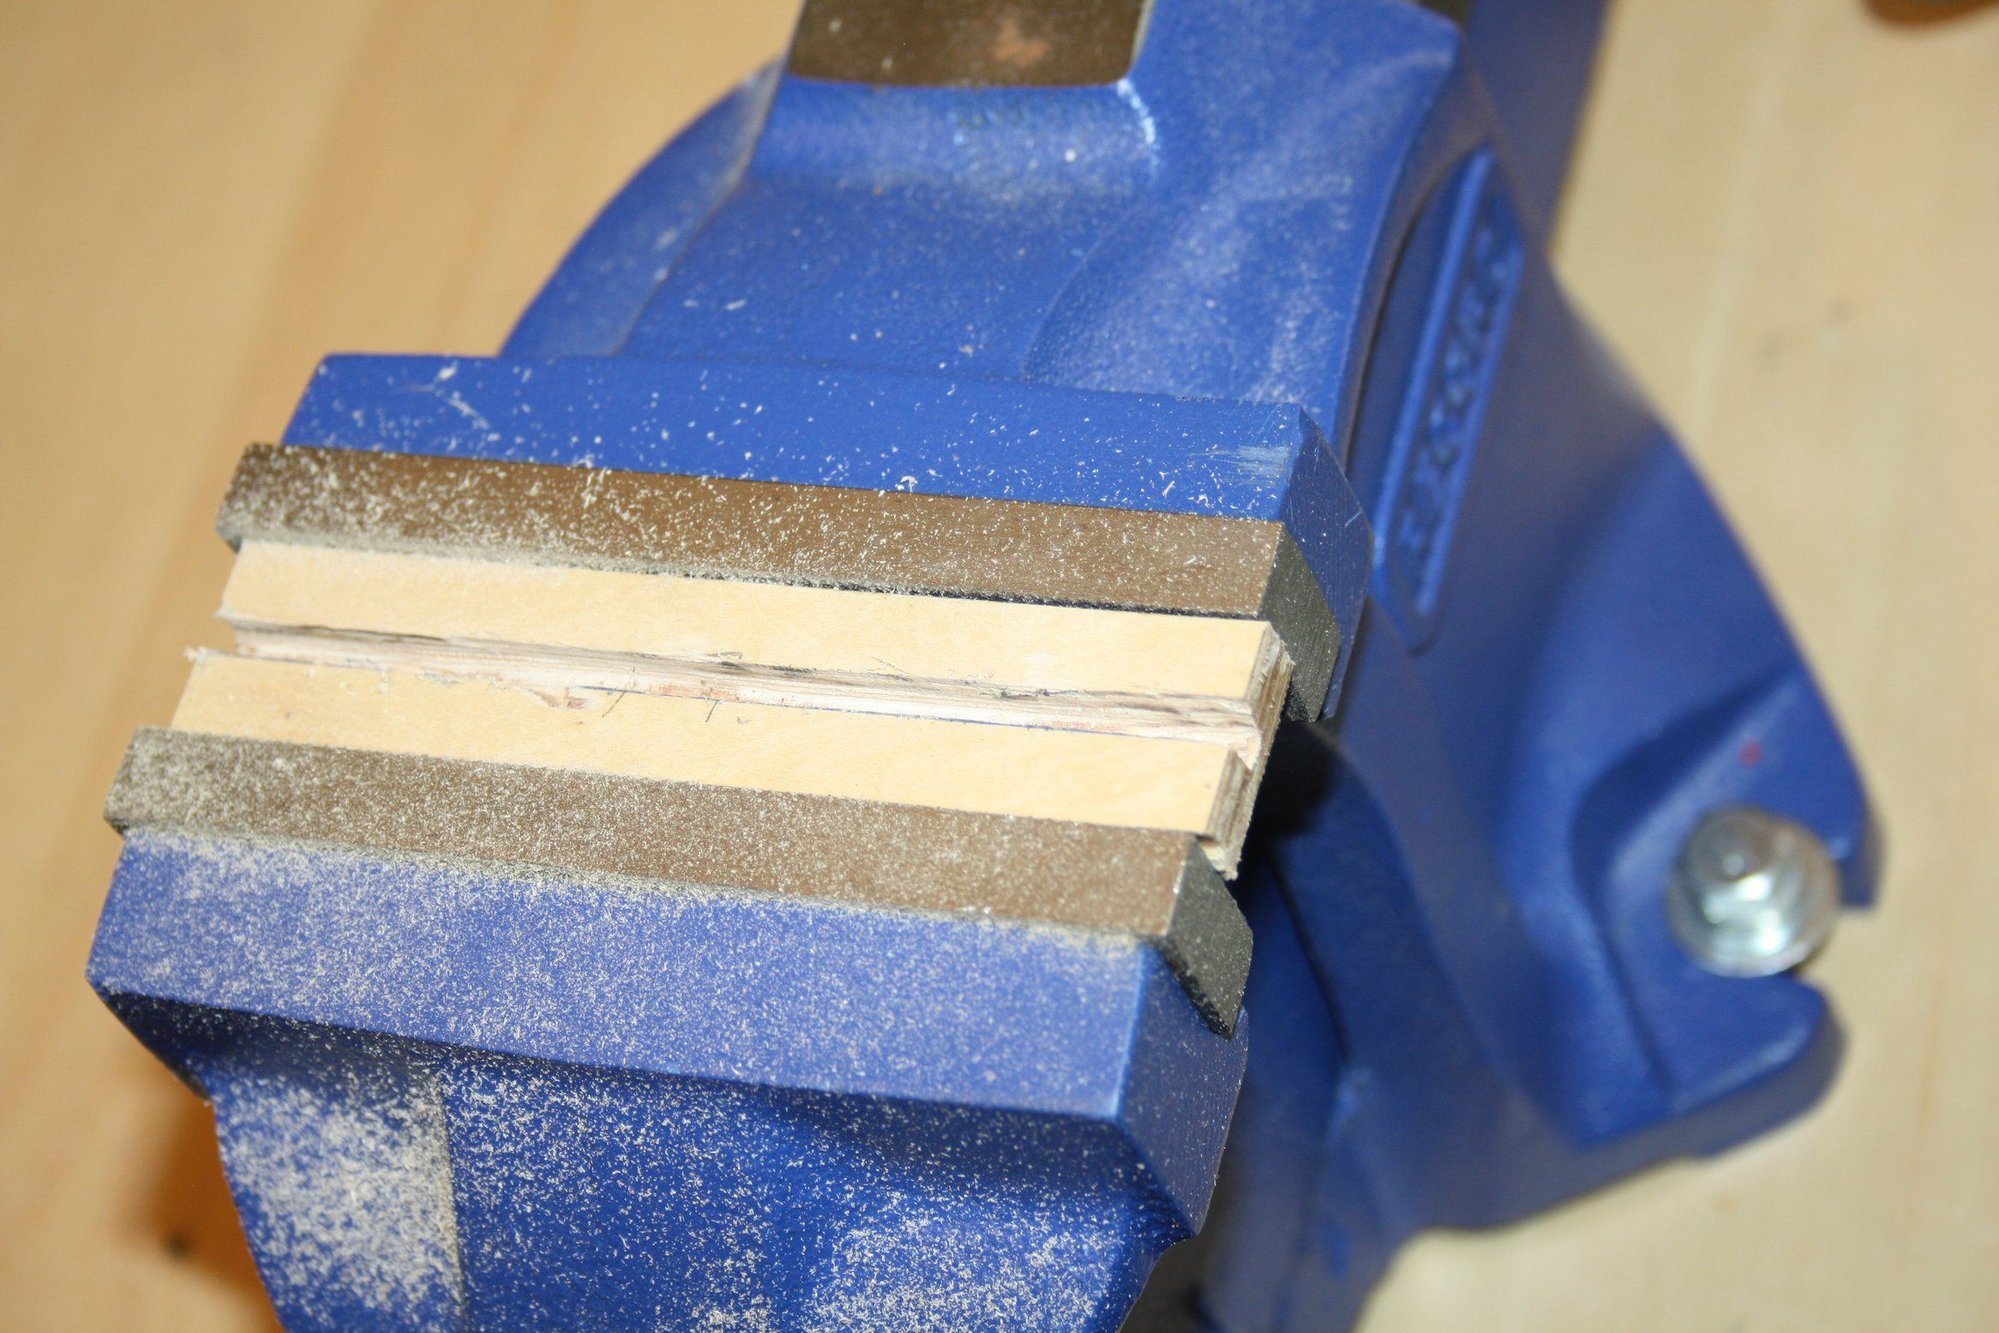
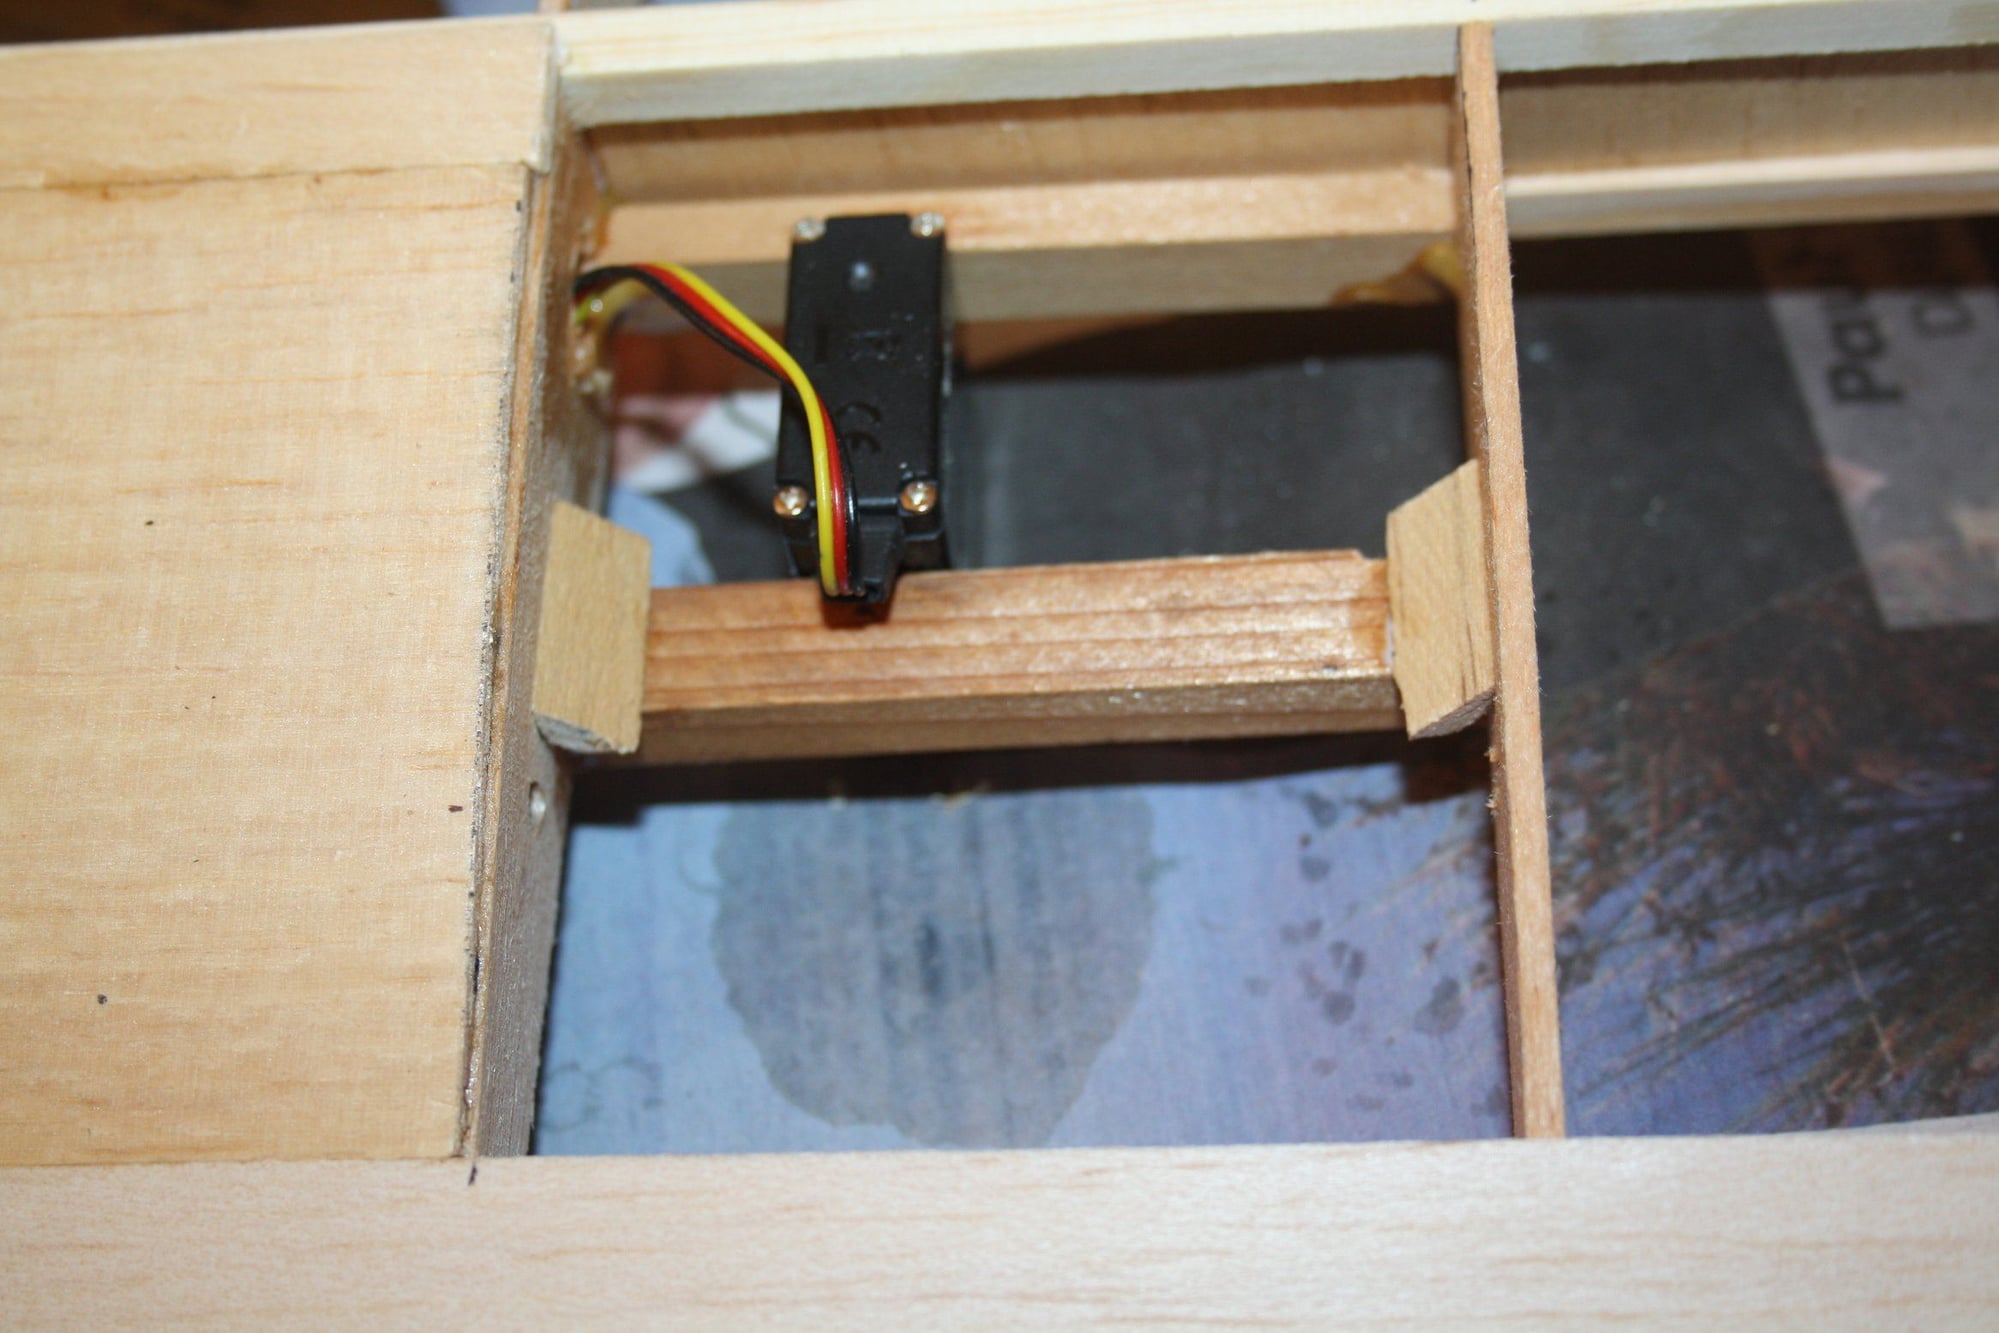
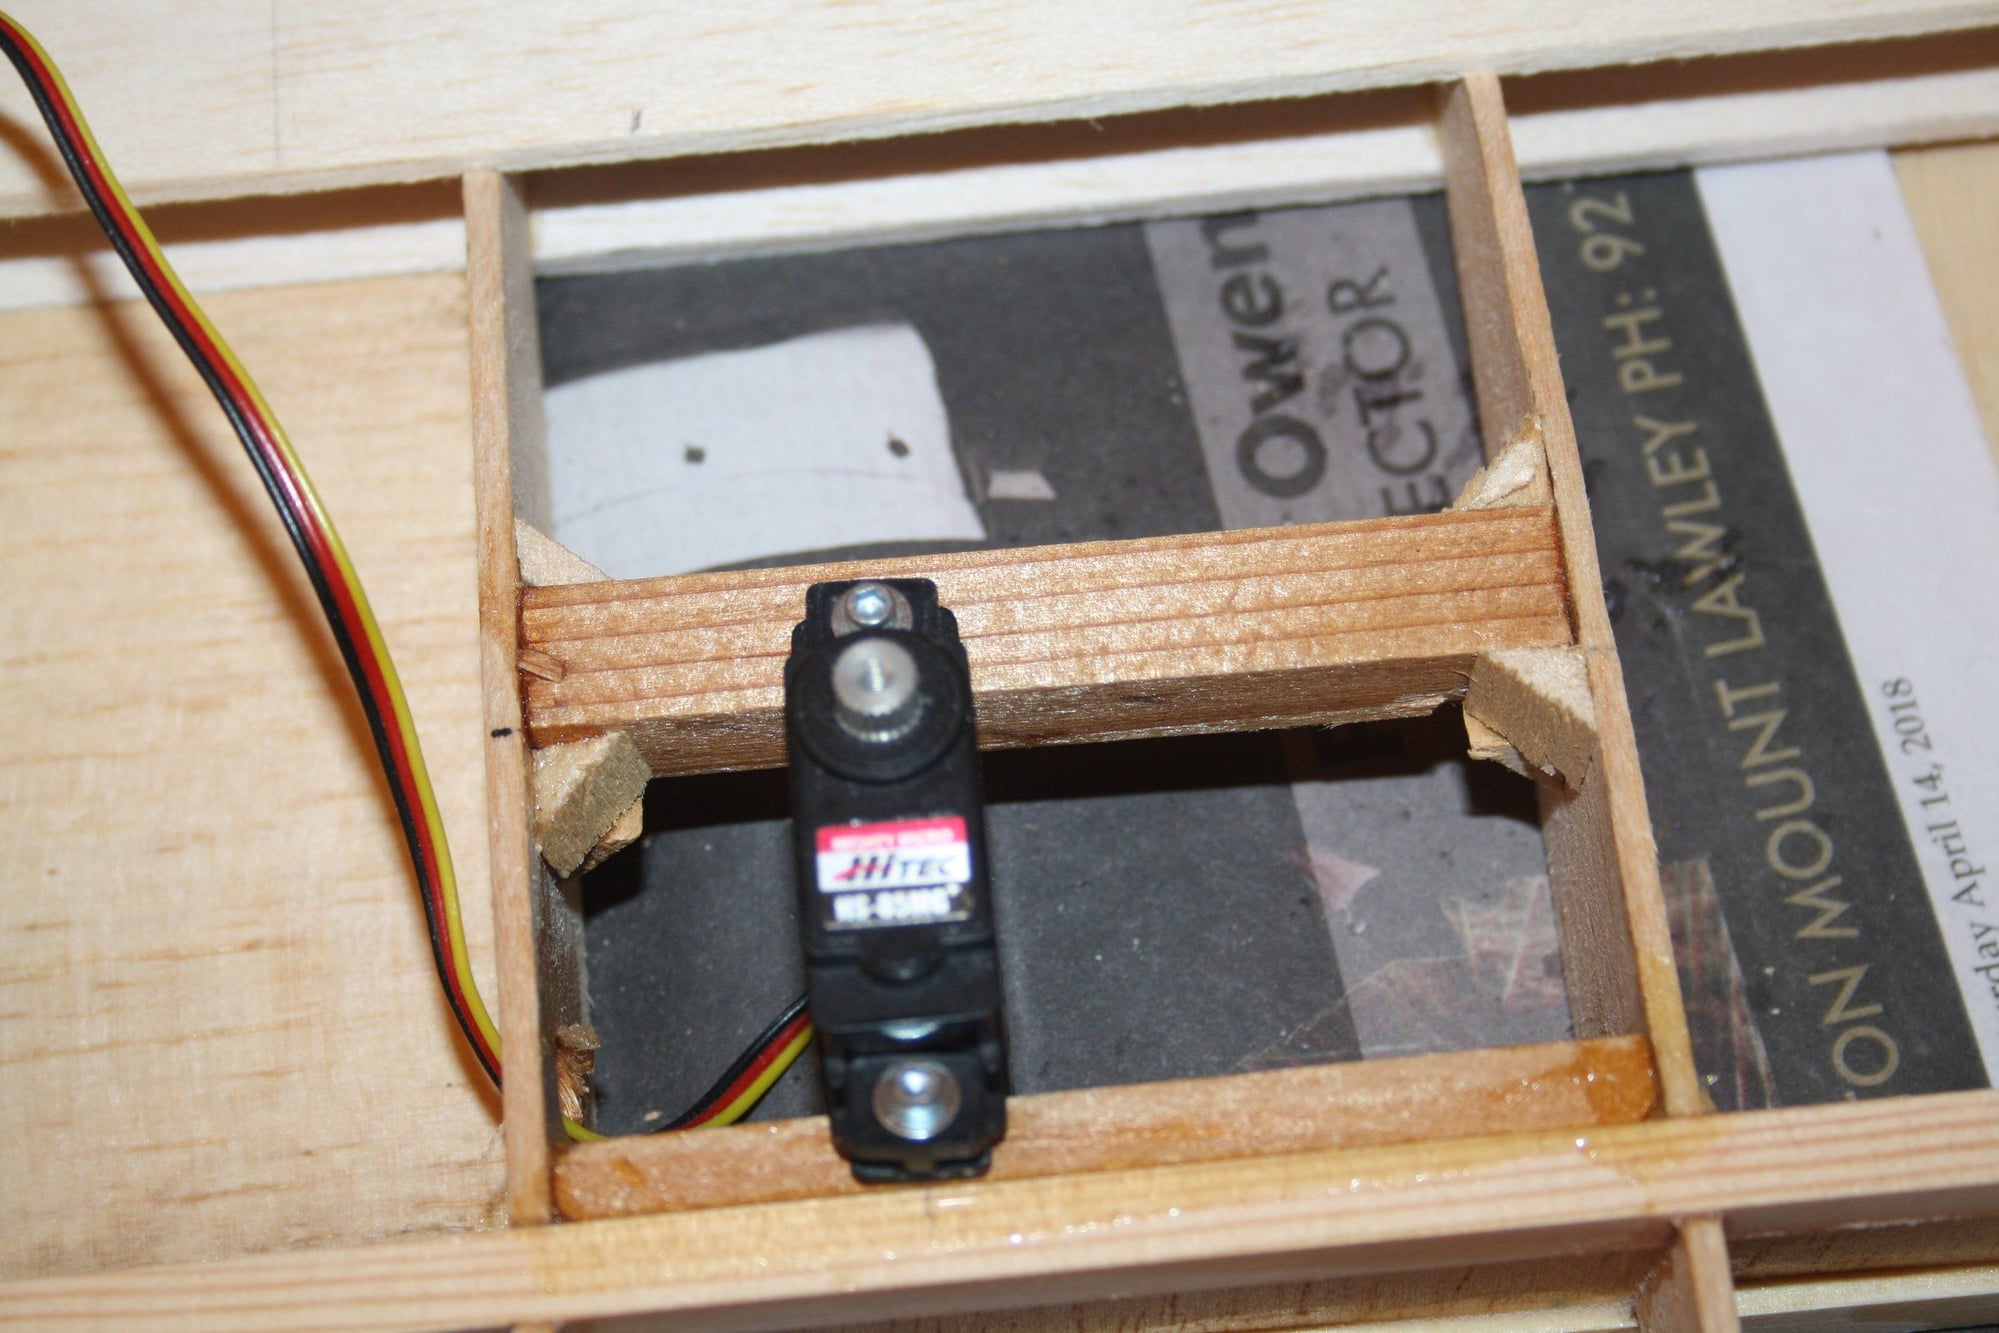
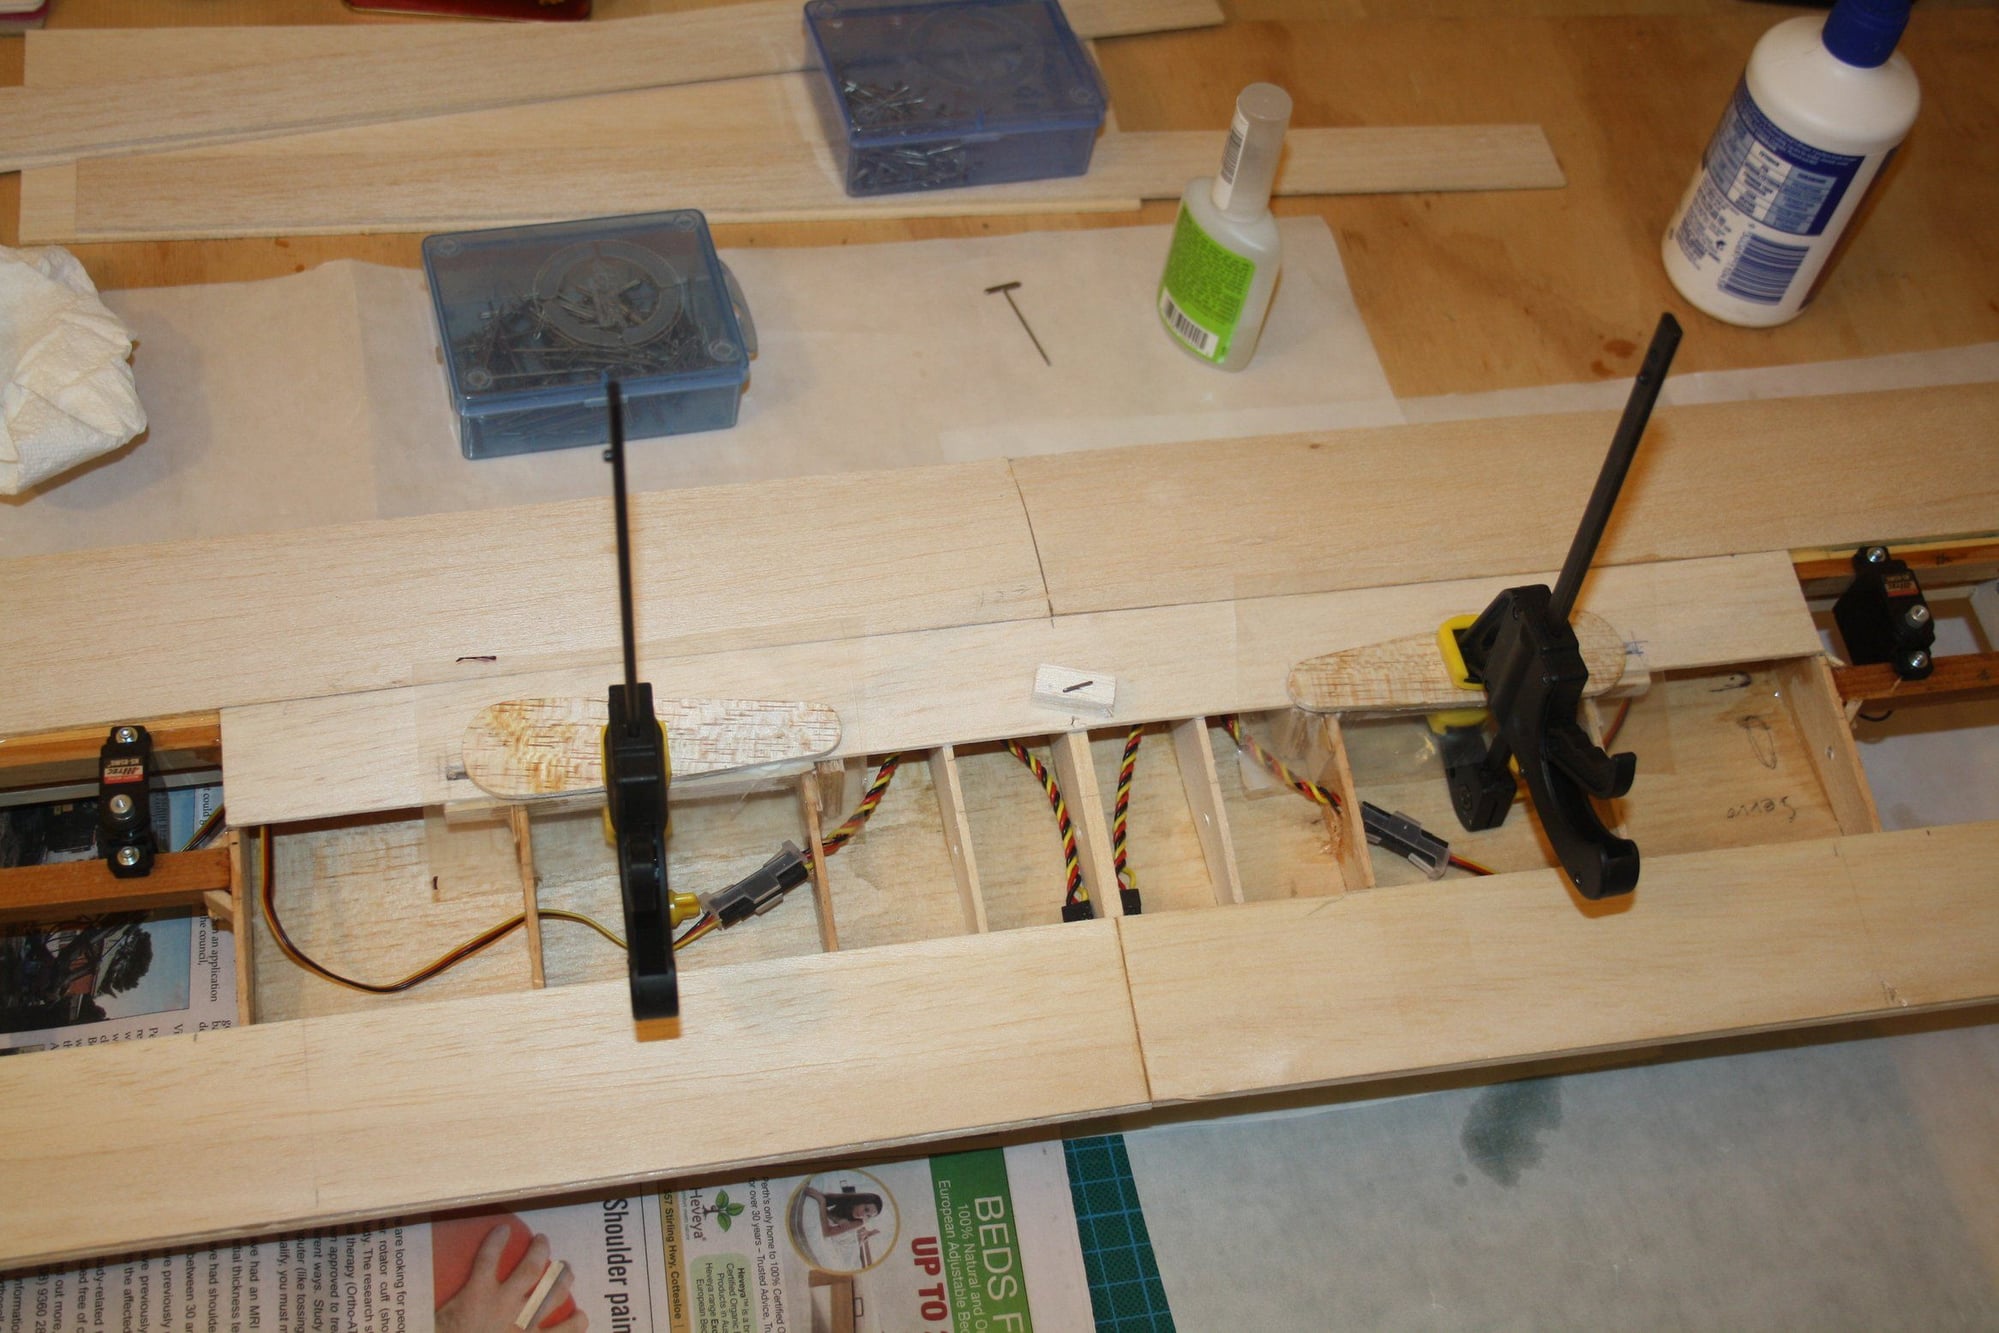
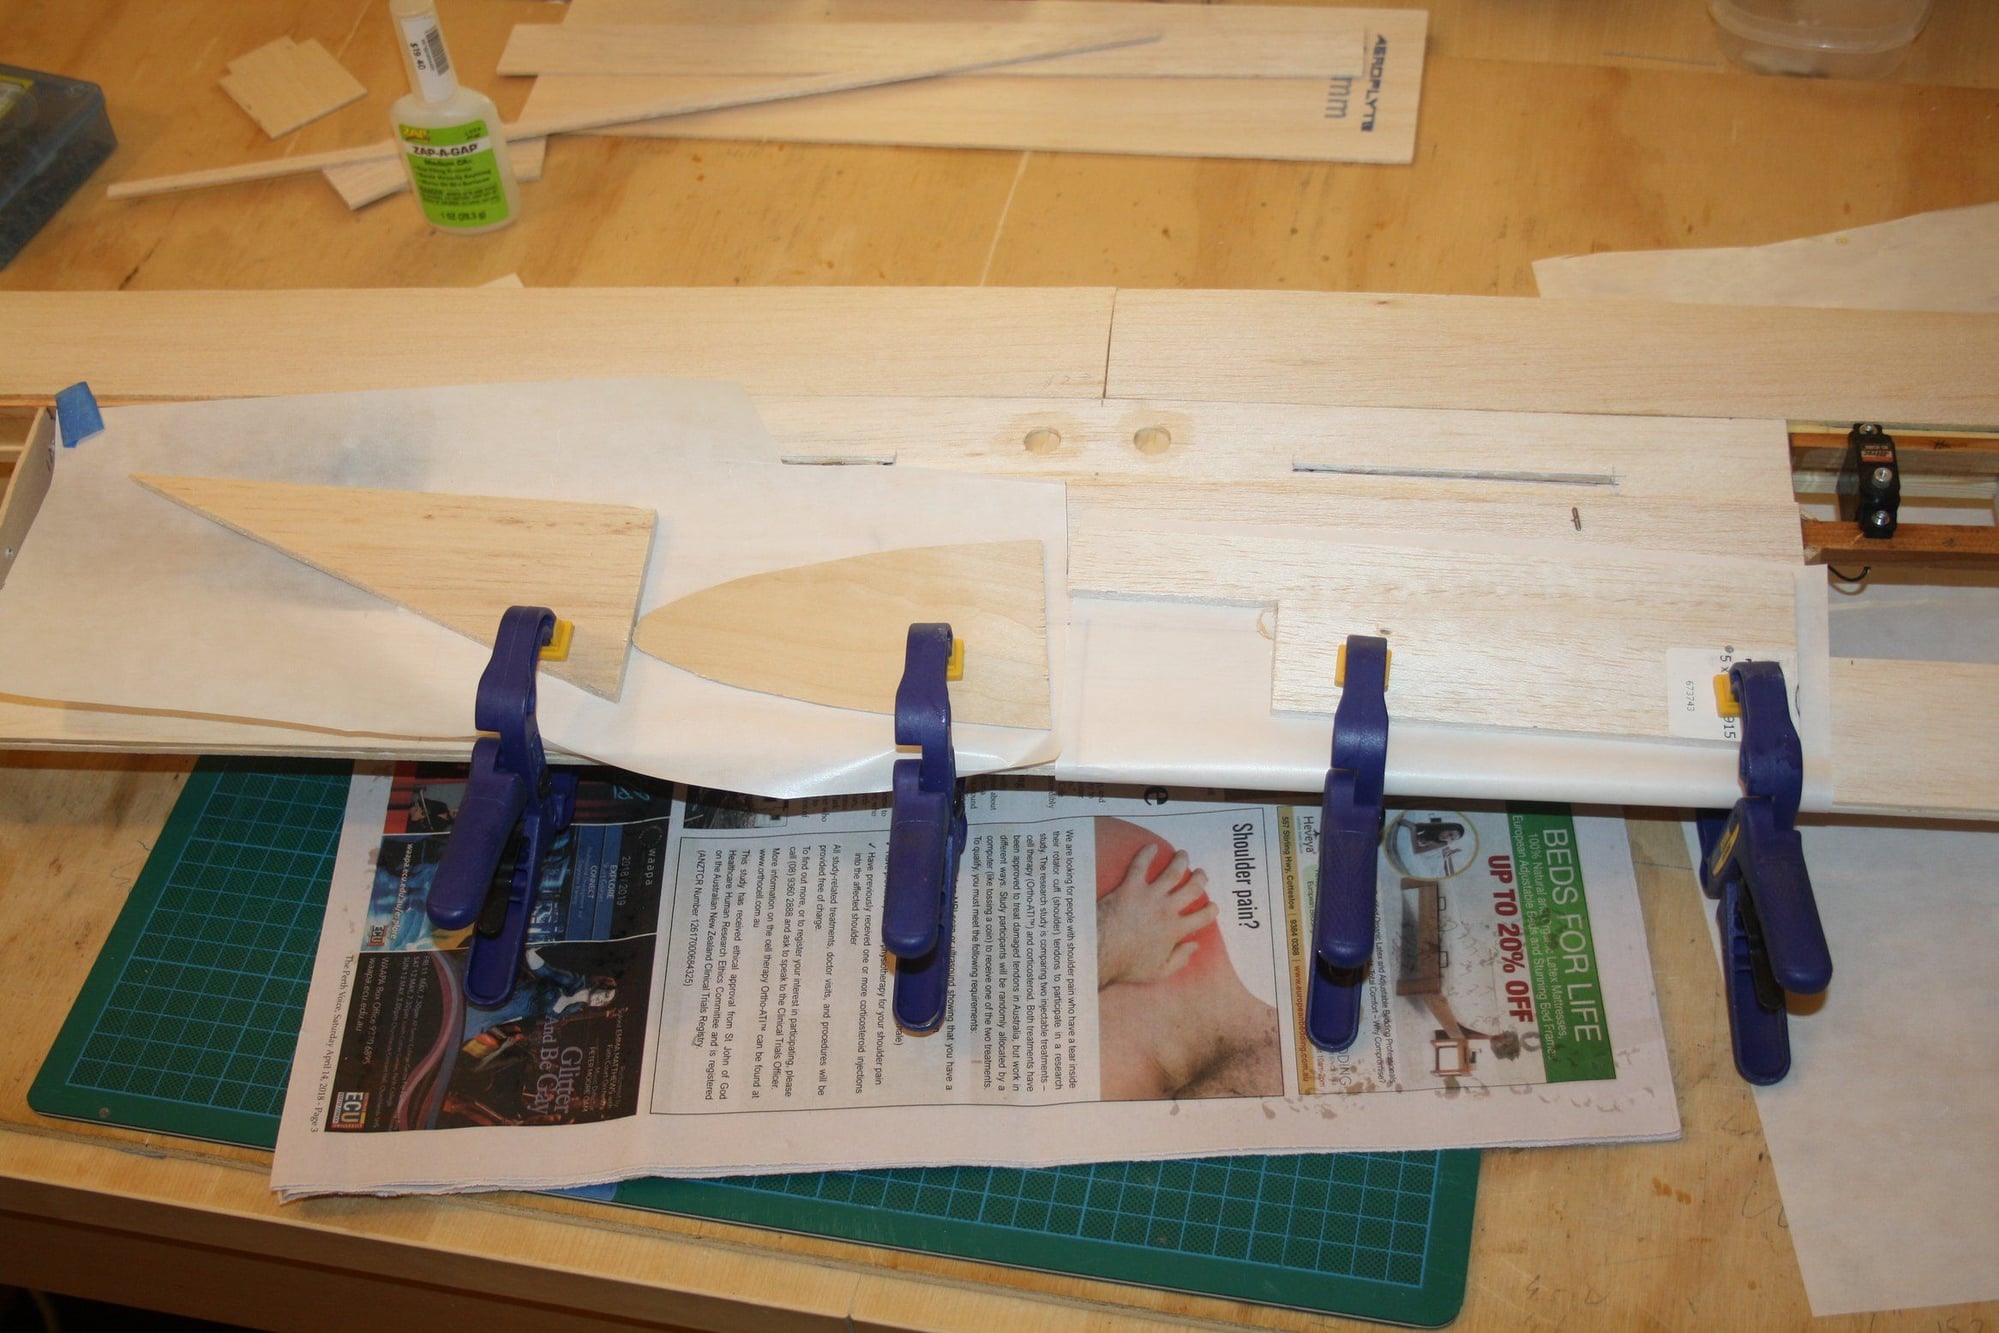
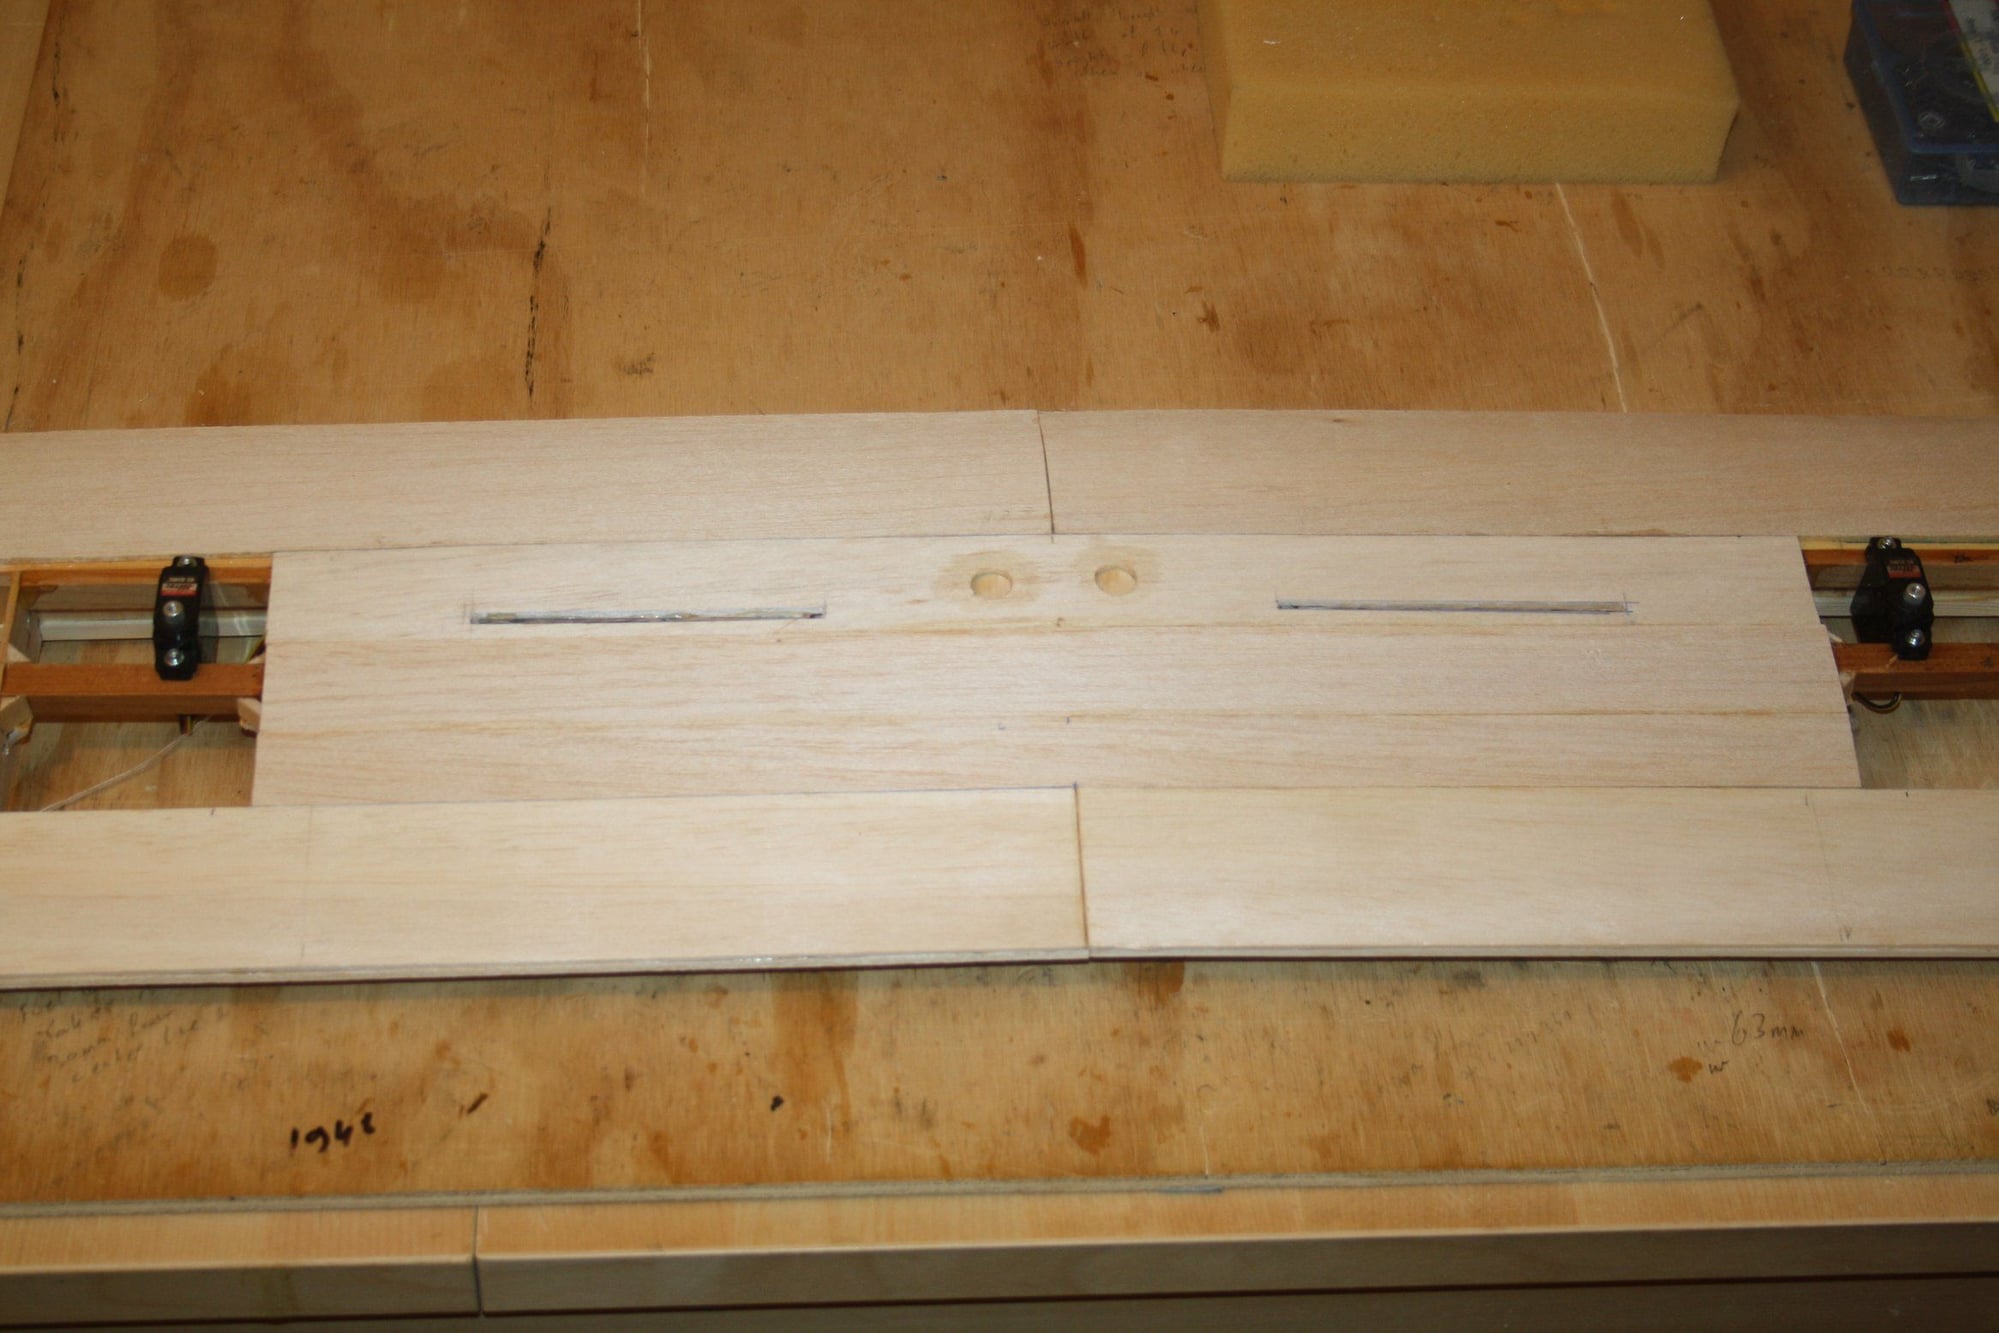
After much coffee and thinking, I think I have an idea how I want to mount the servos in the wing.
The servo will be mounted to couple of spruce rails with the top portion of the servo protruding under the wing from small section of extra sheeting.
Eran
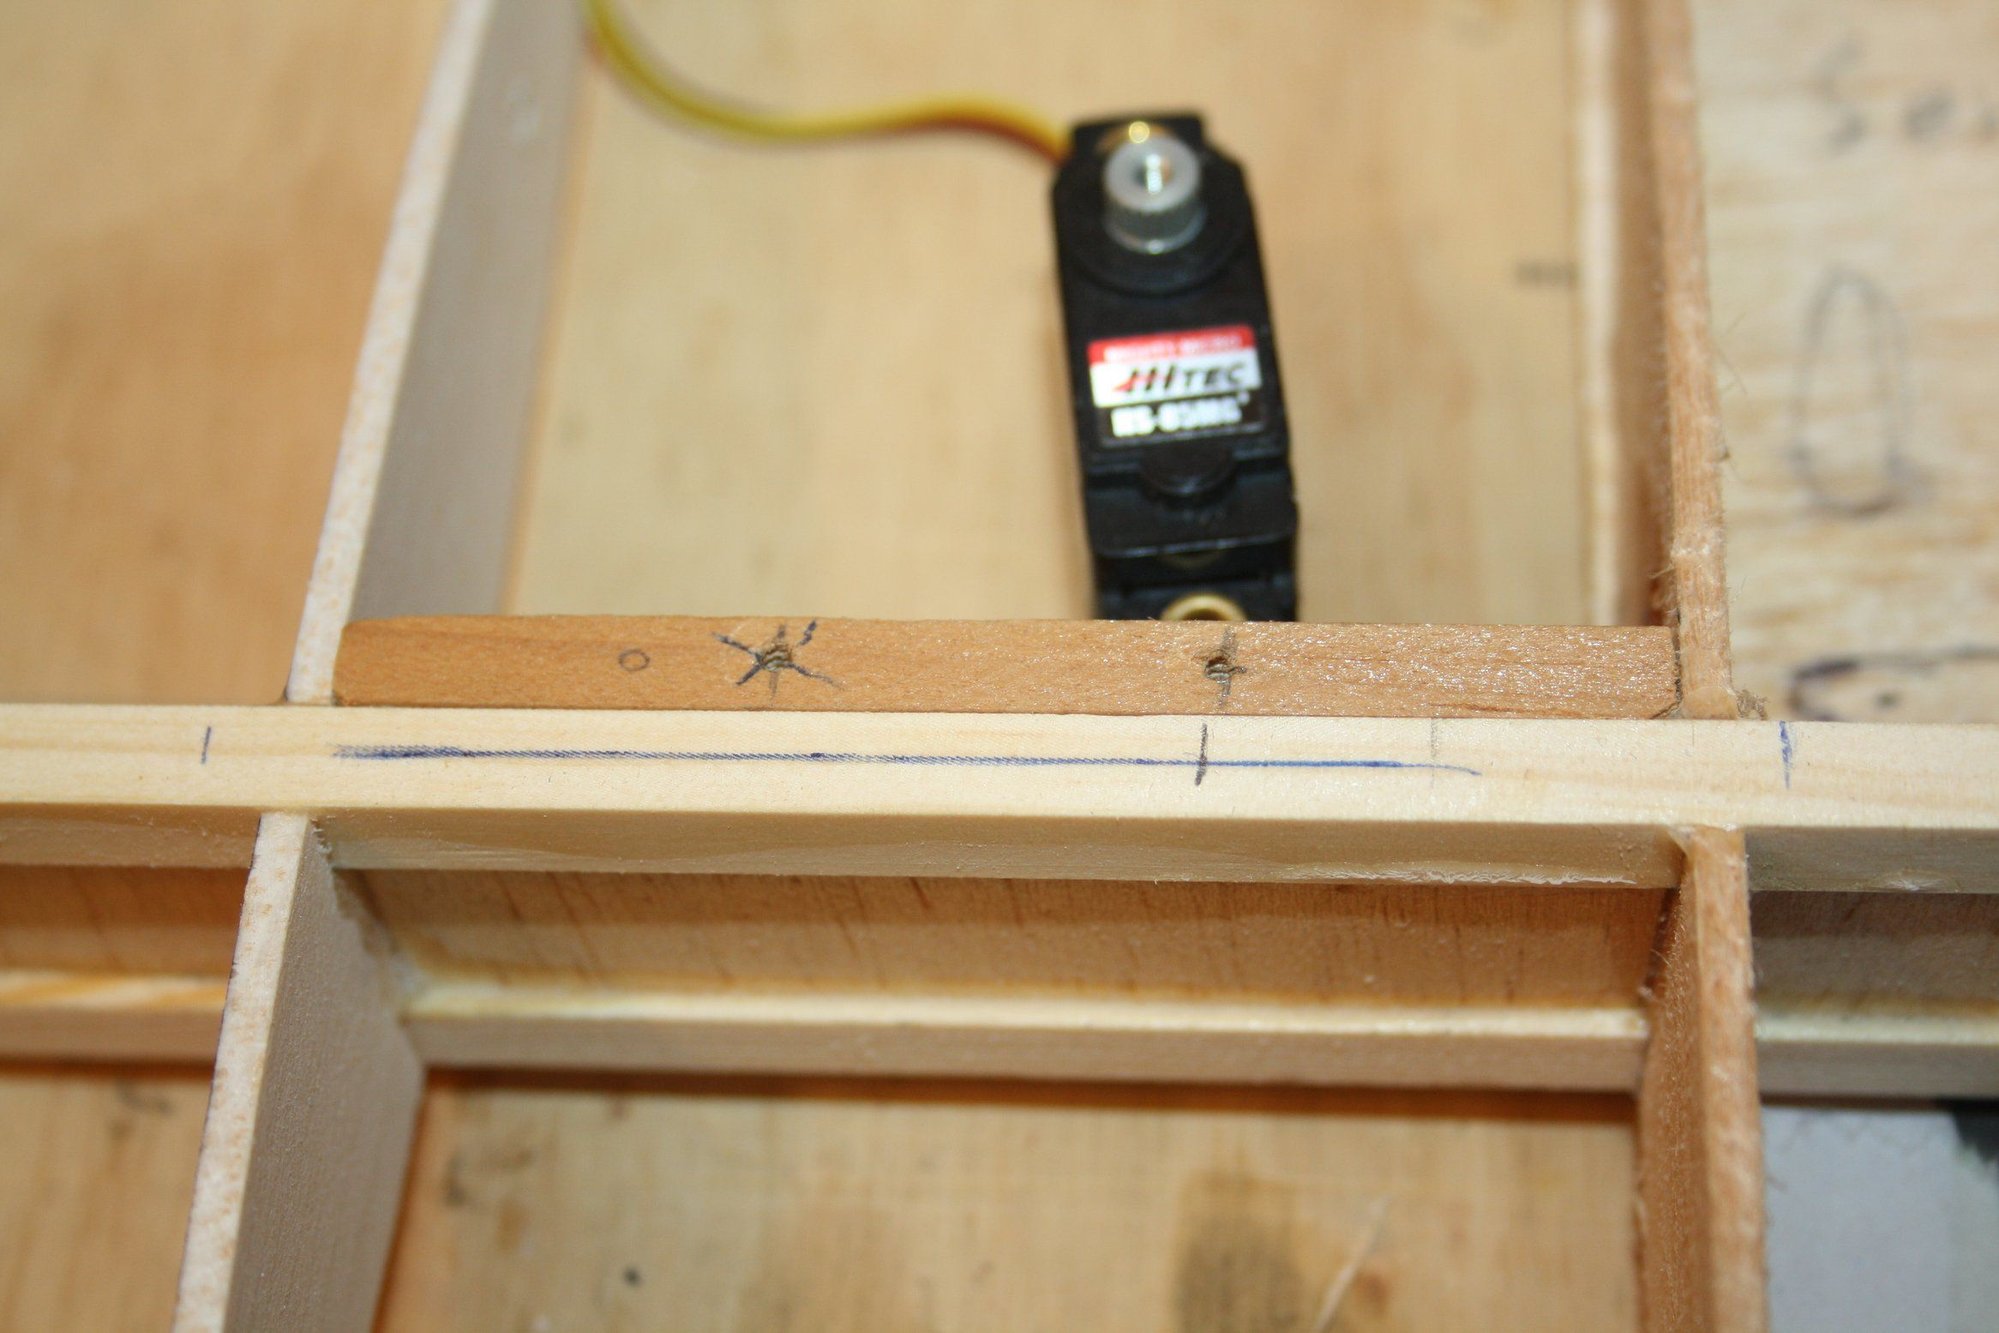
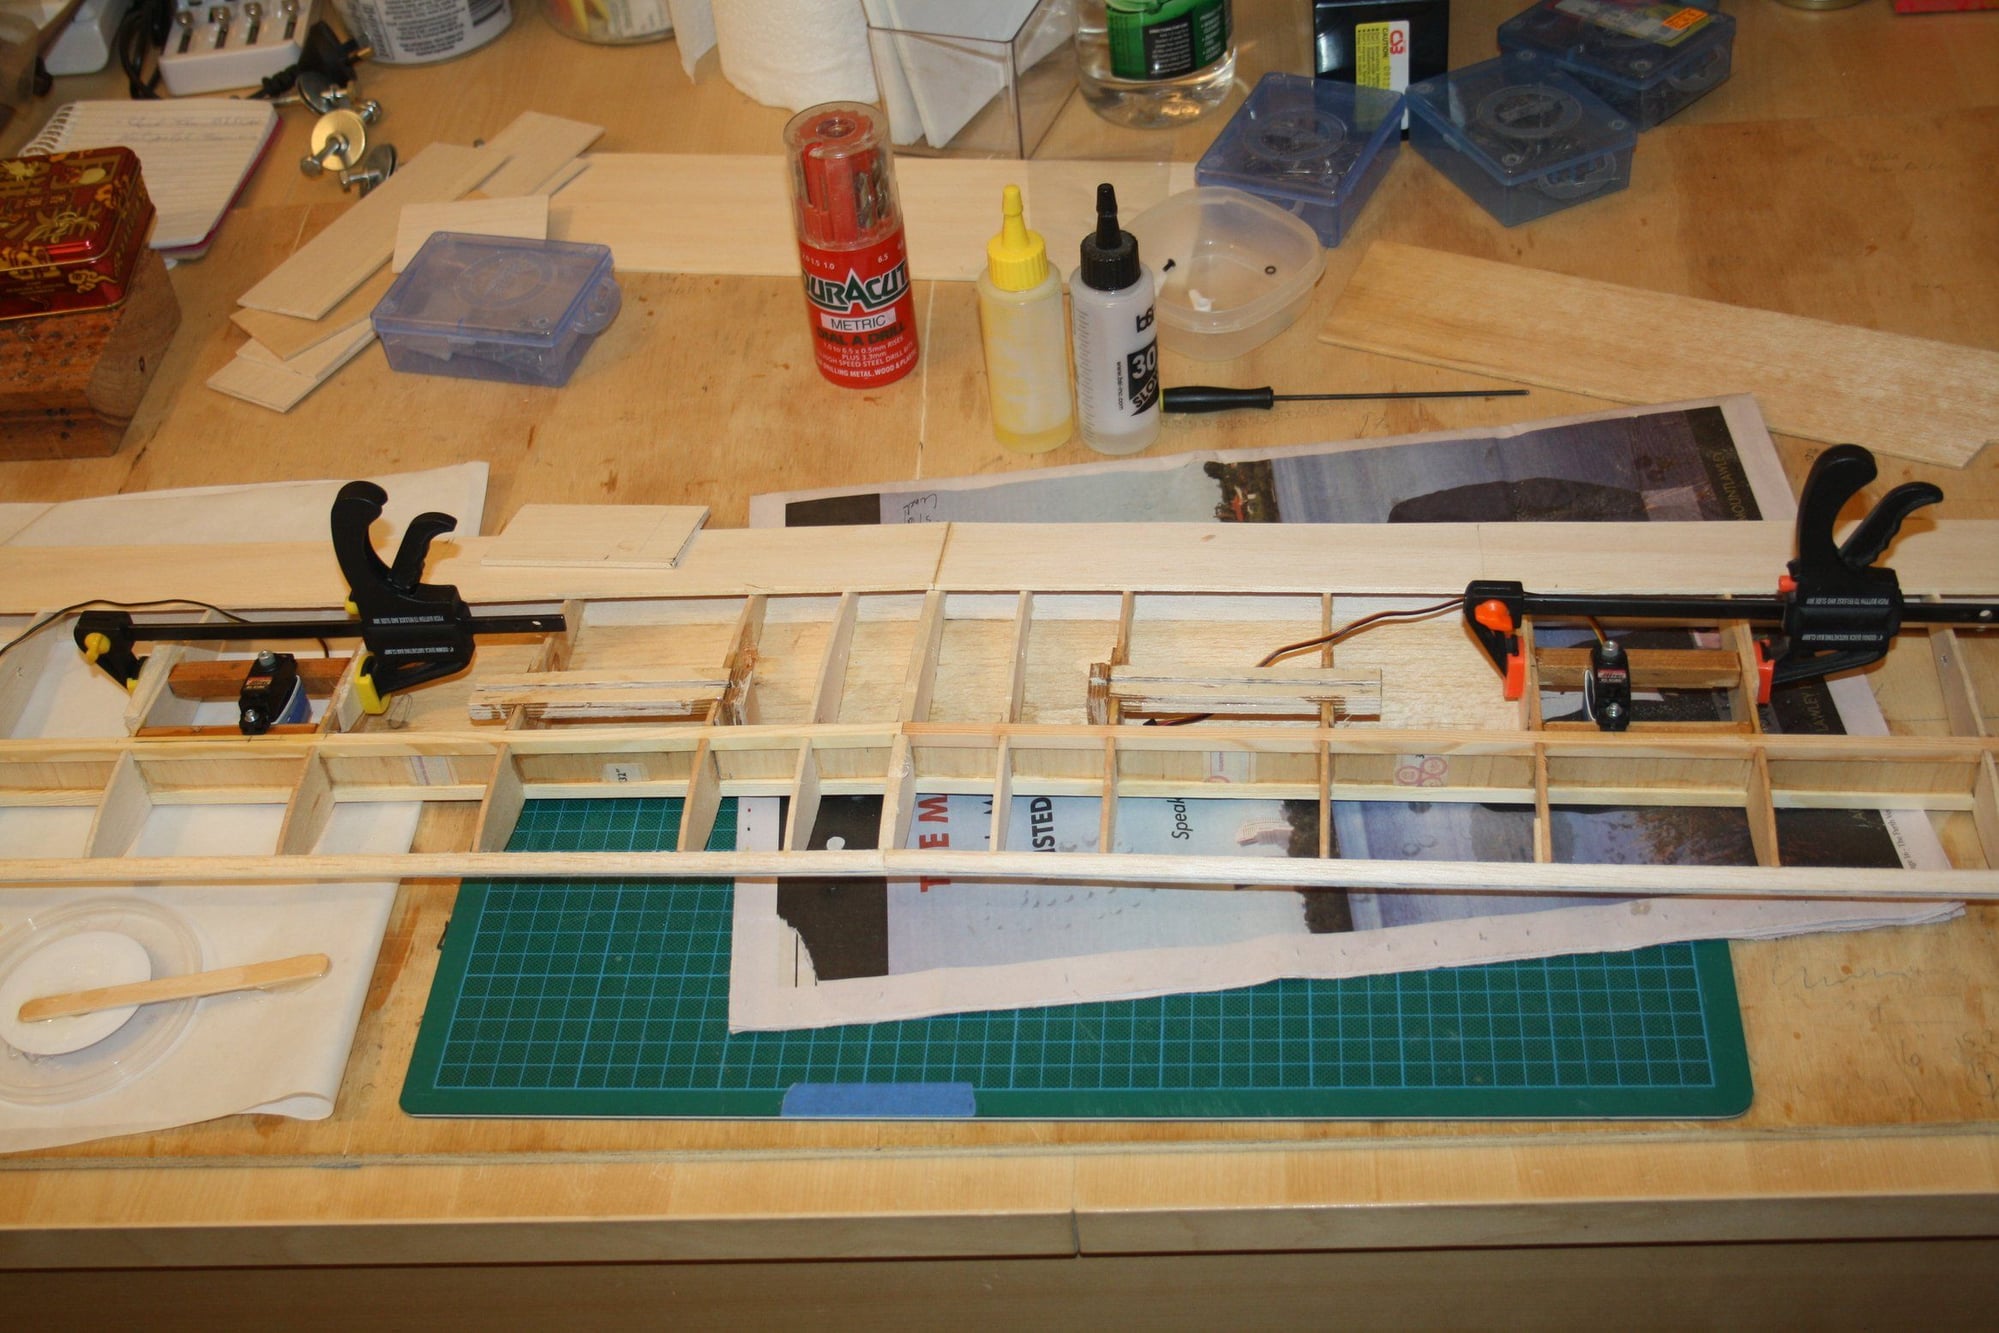
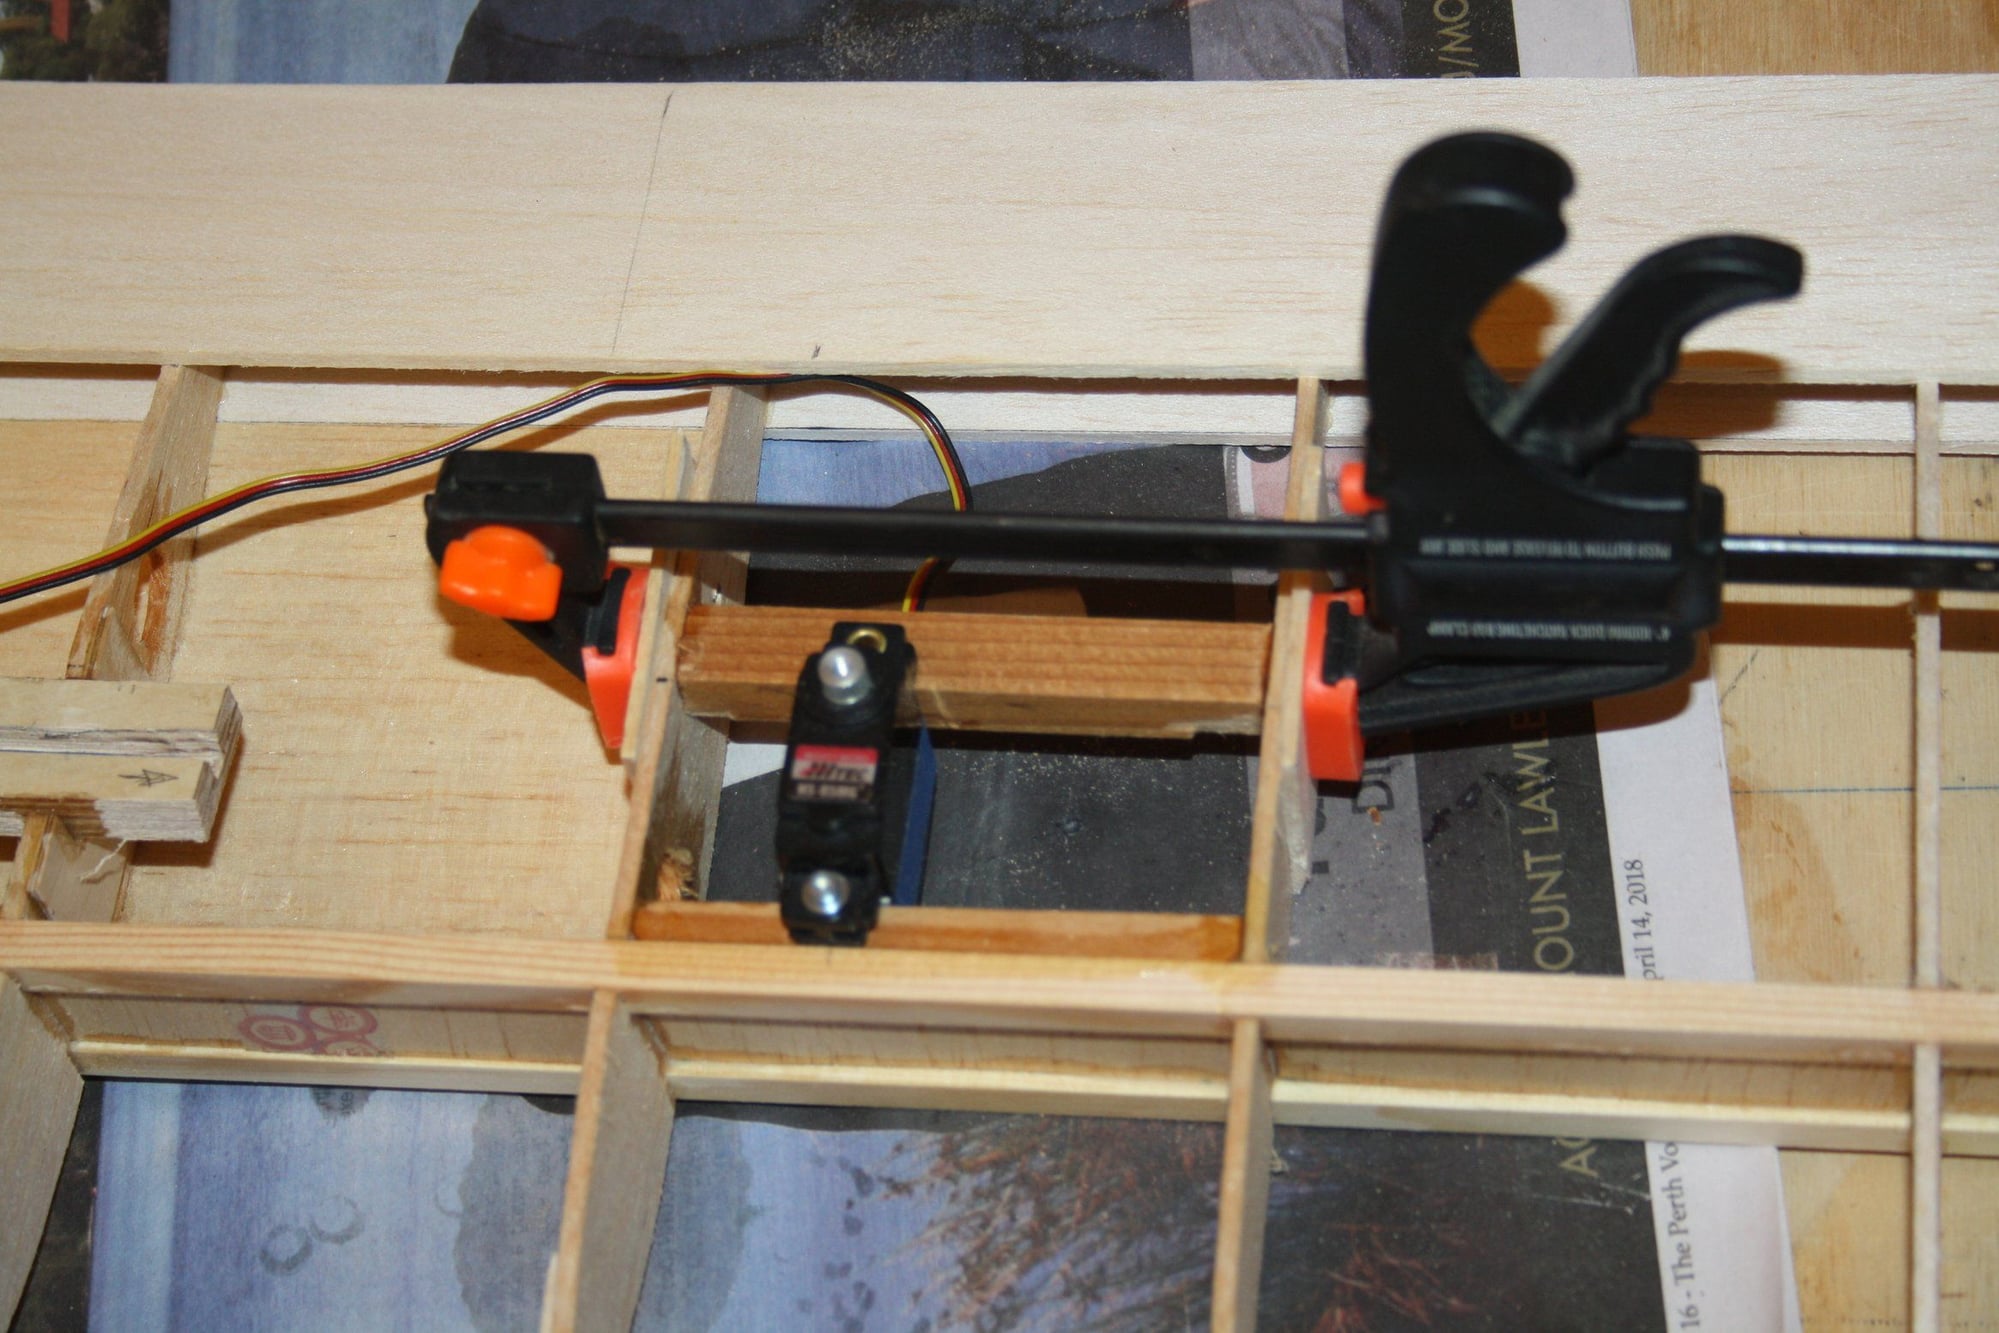
The servo will be mounted to couple of spruce rails with the top portion of the servo protruding under the wing from small section of extra sheeting.
Eran
 06-05-2018, 09:49 PM
#22
Thread Starter
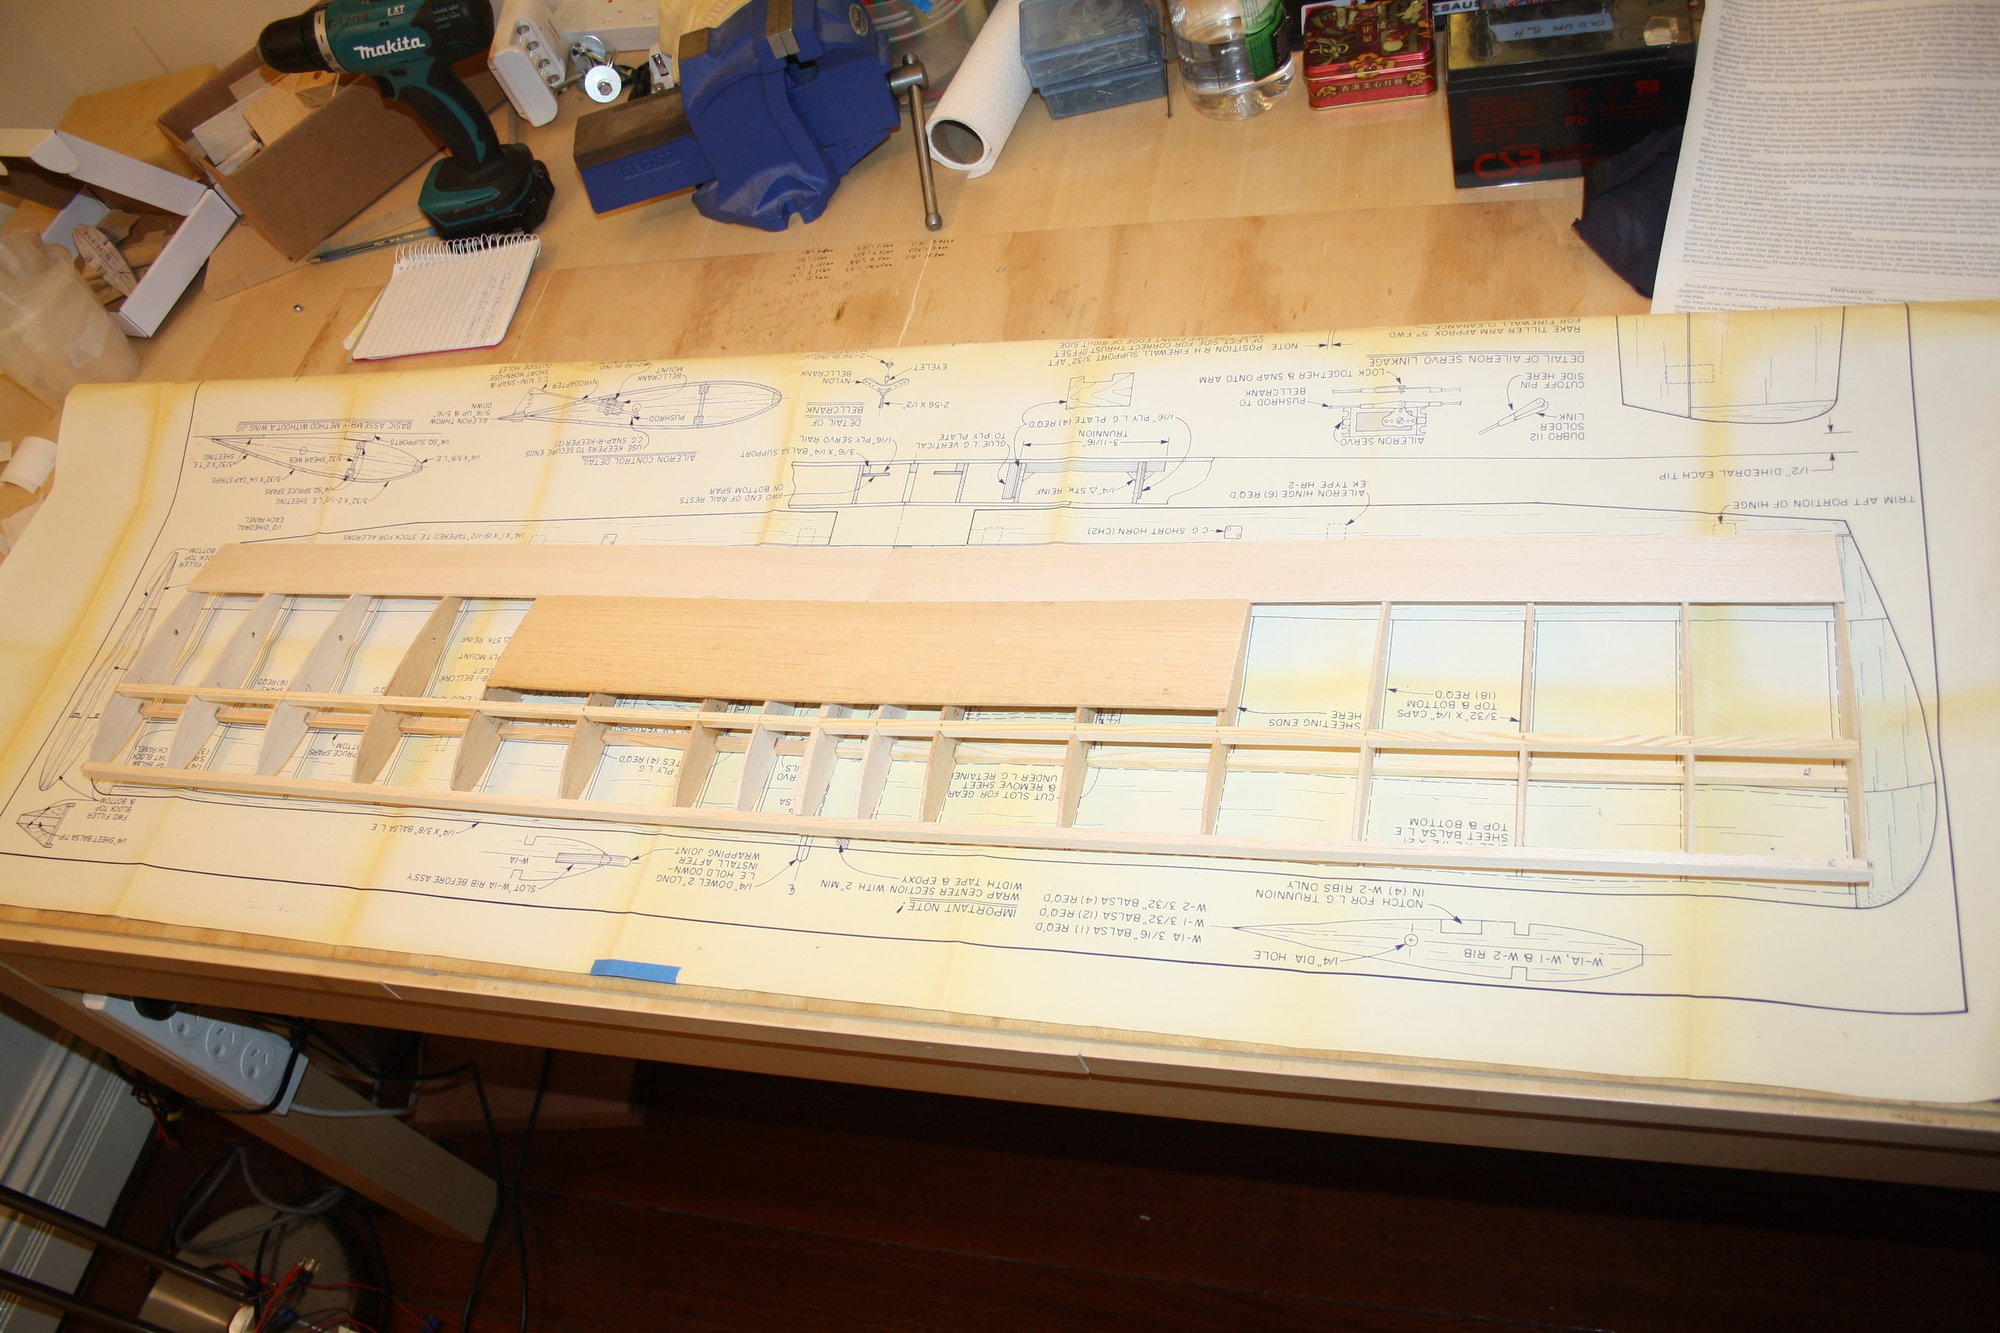
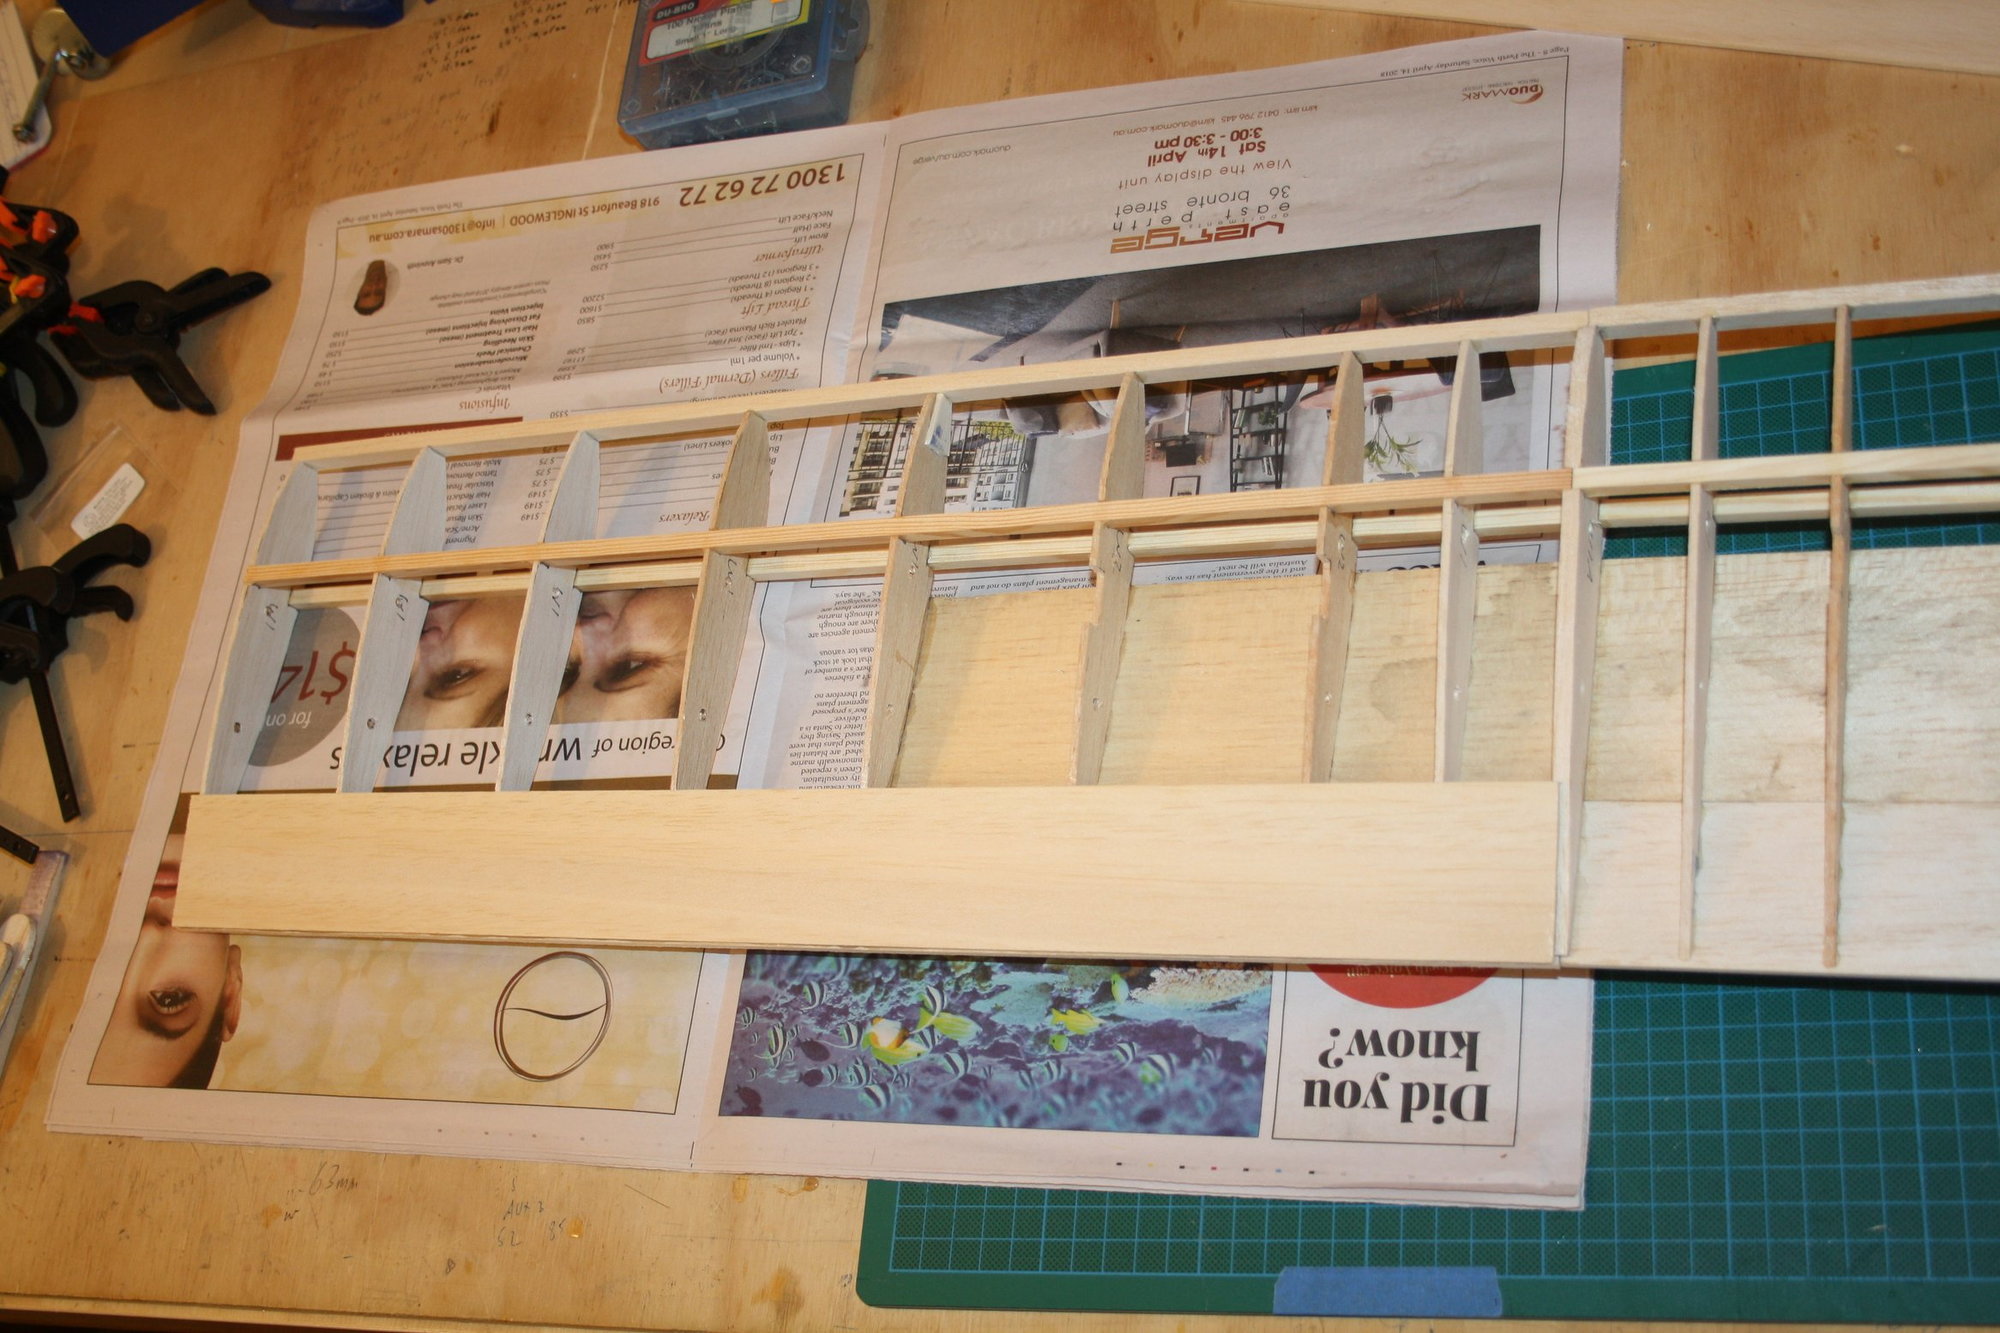
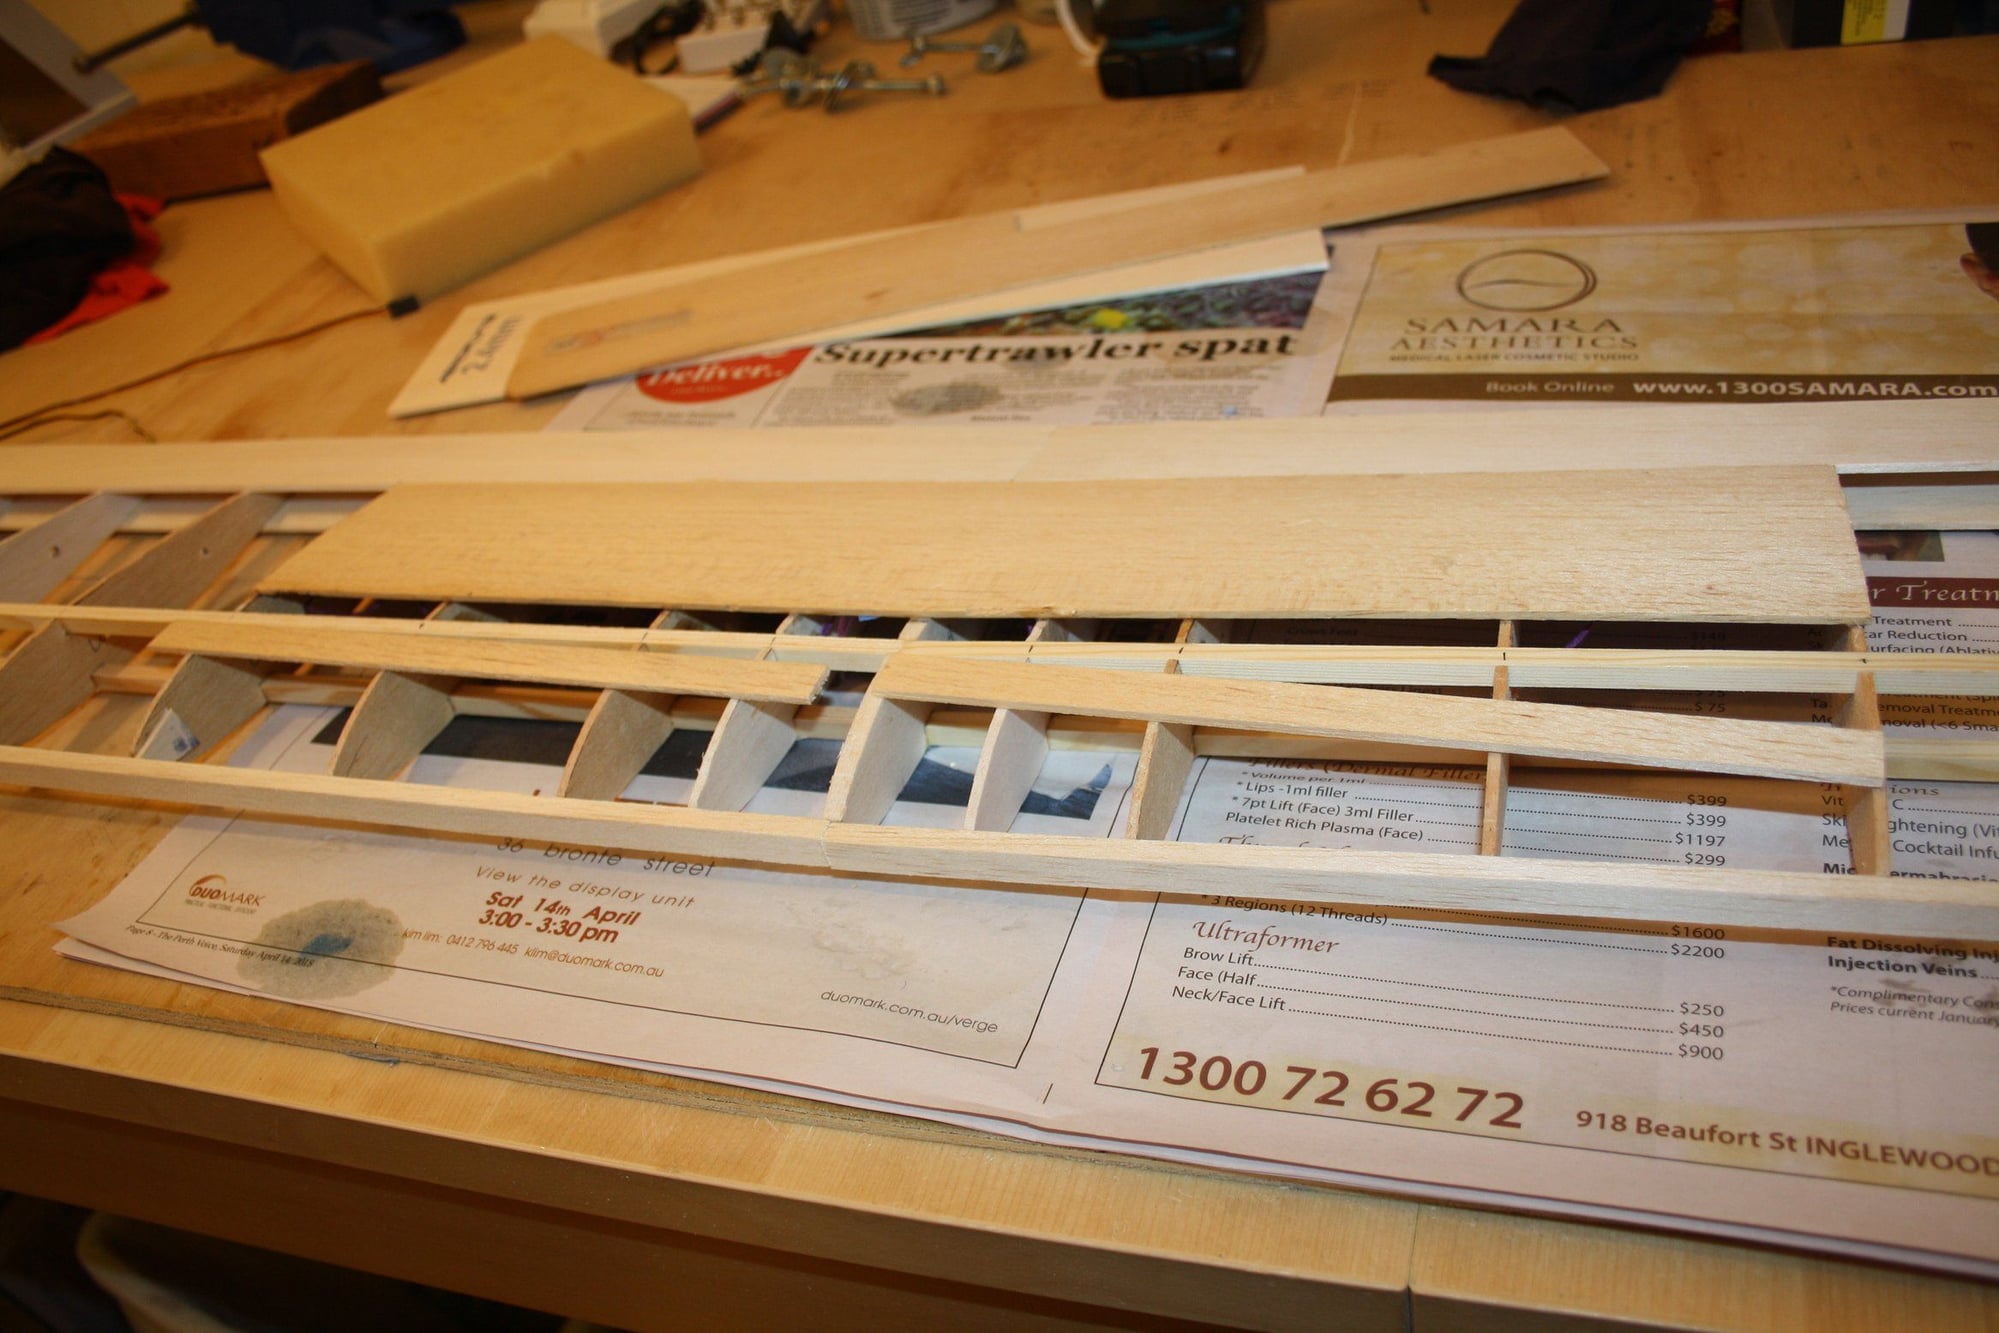
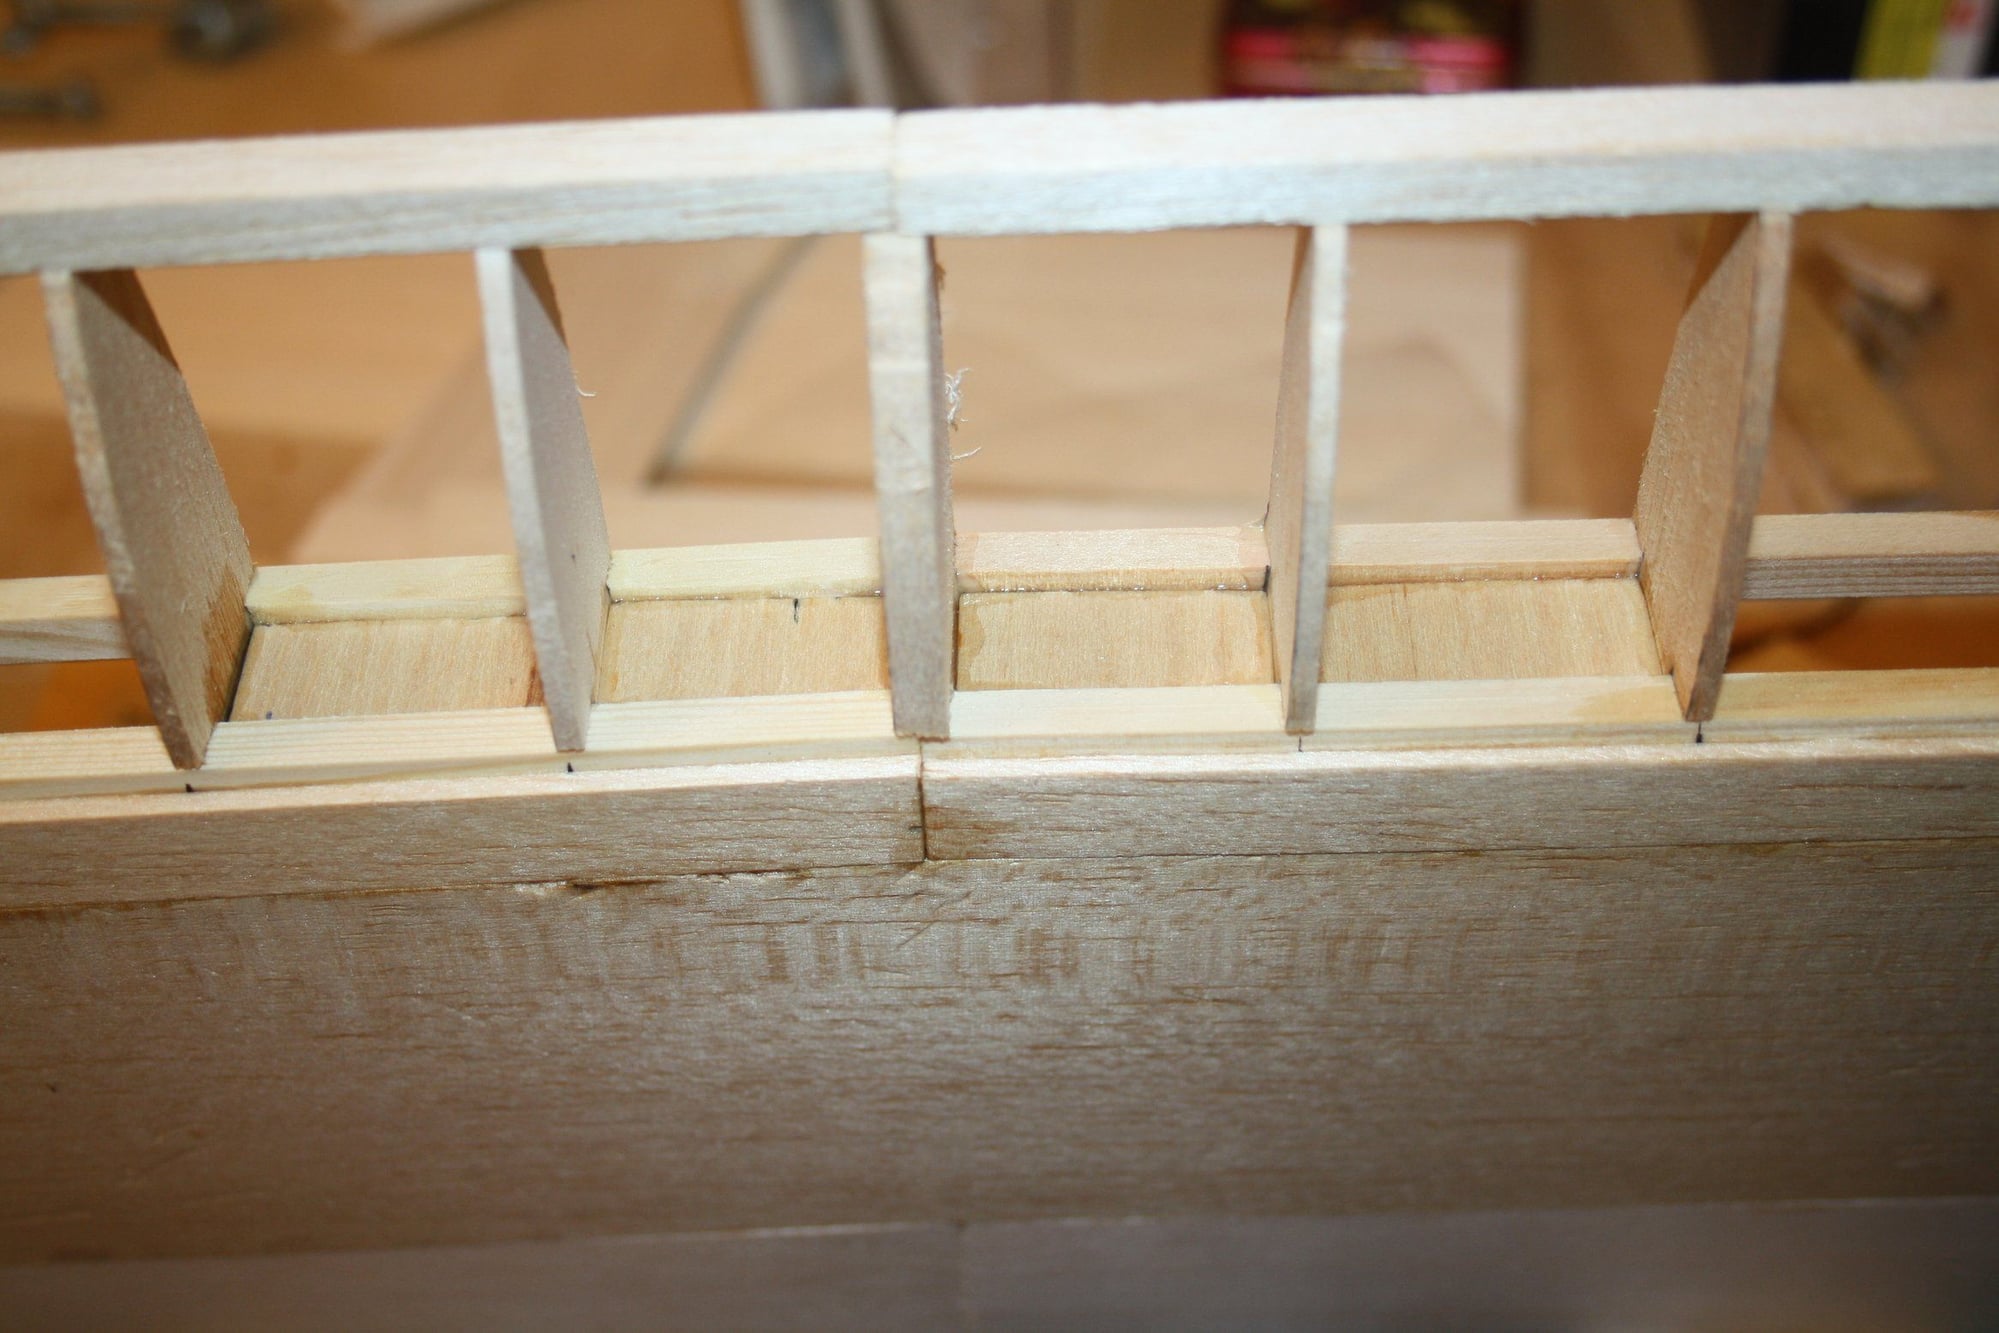
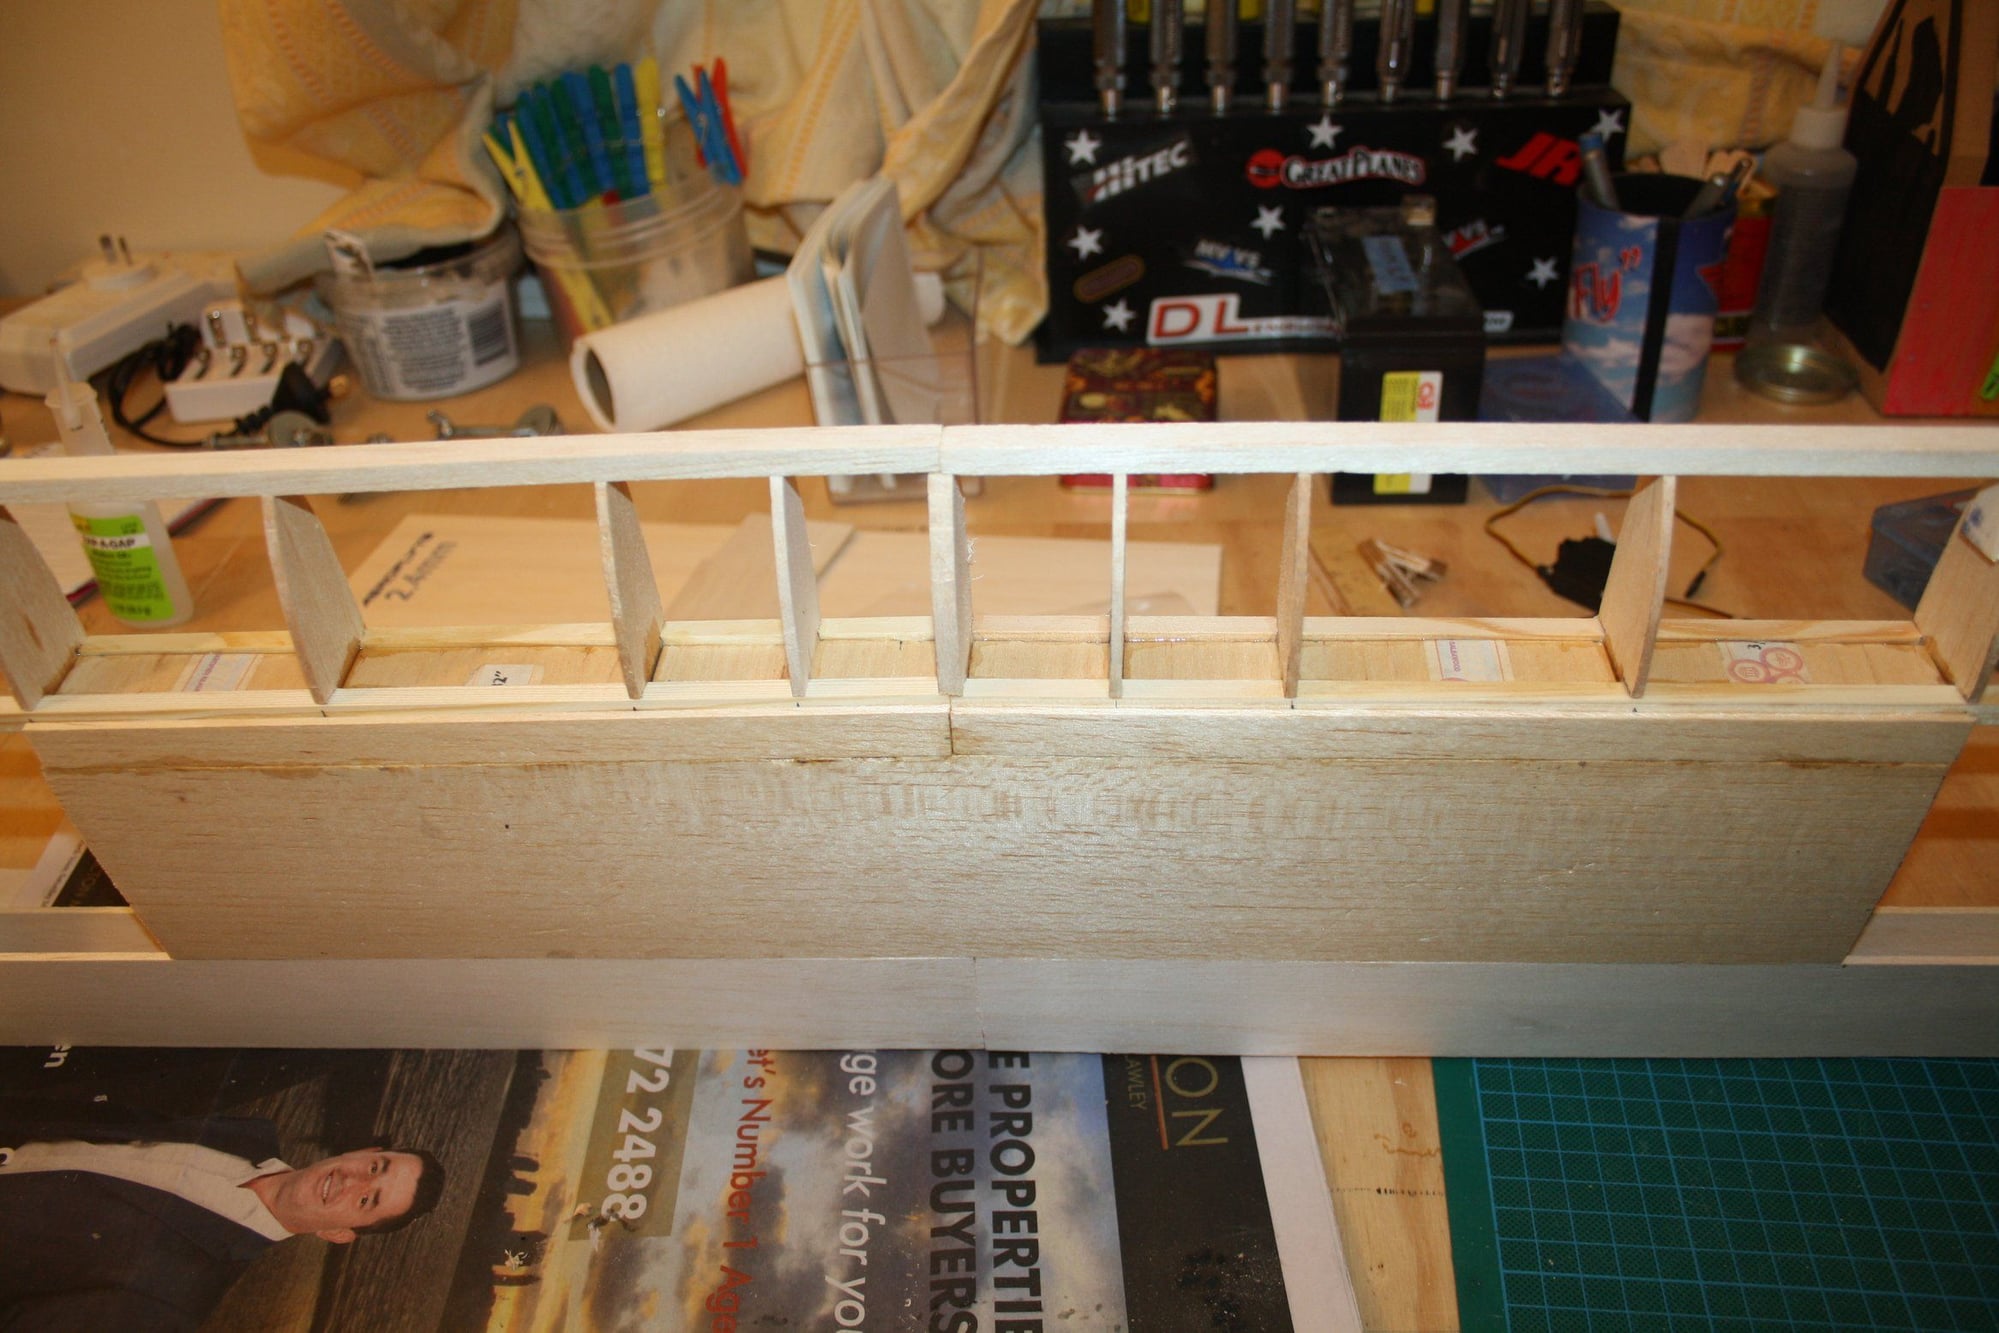
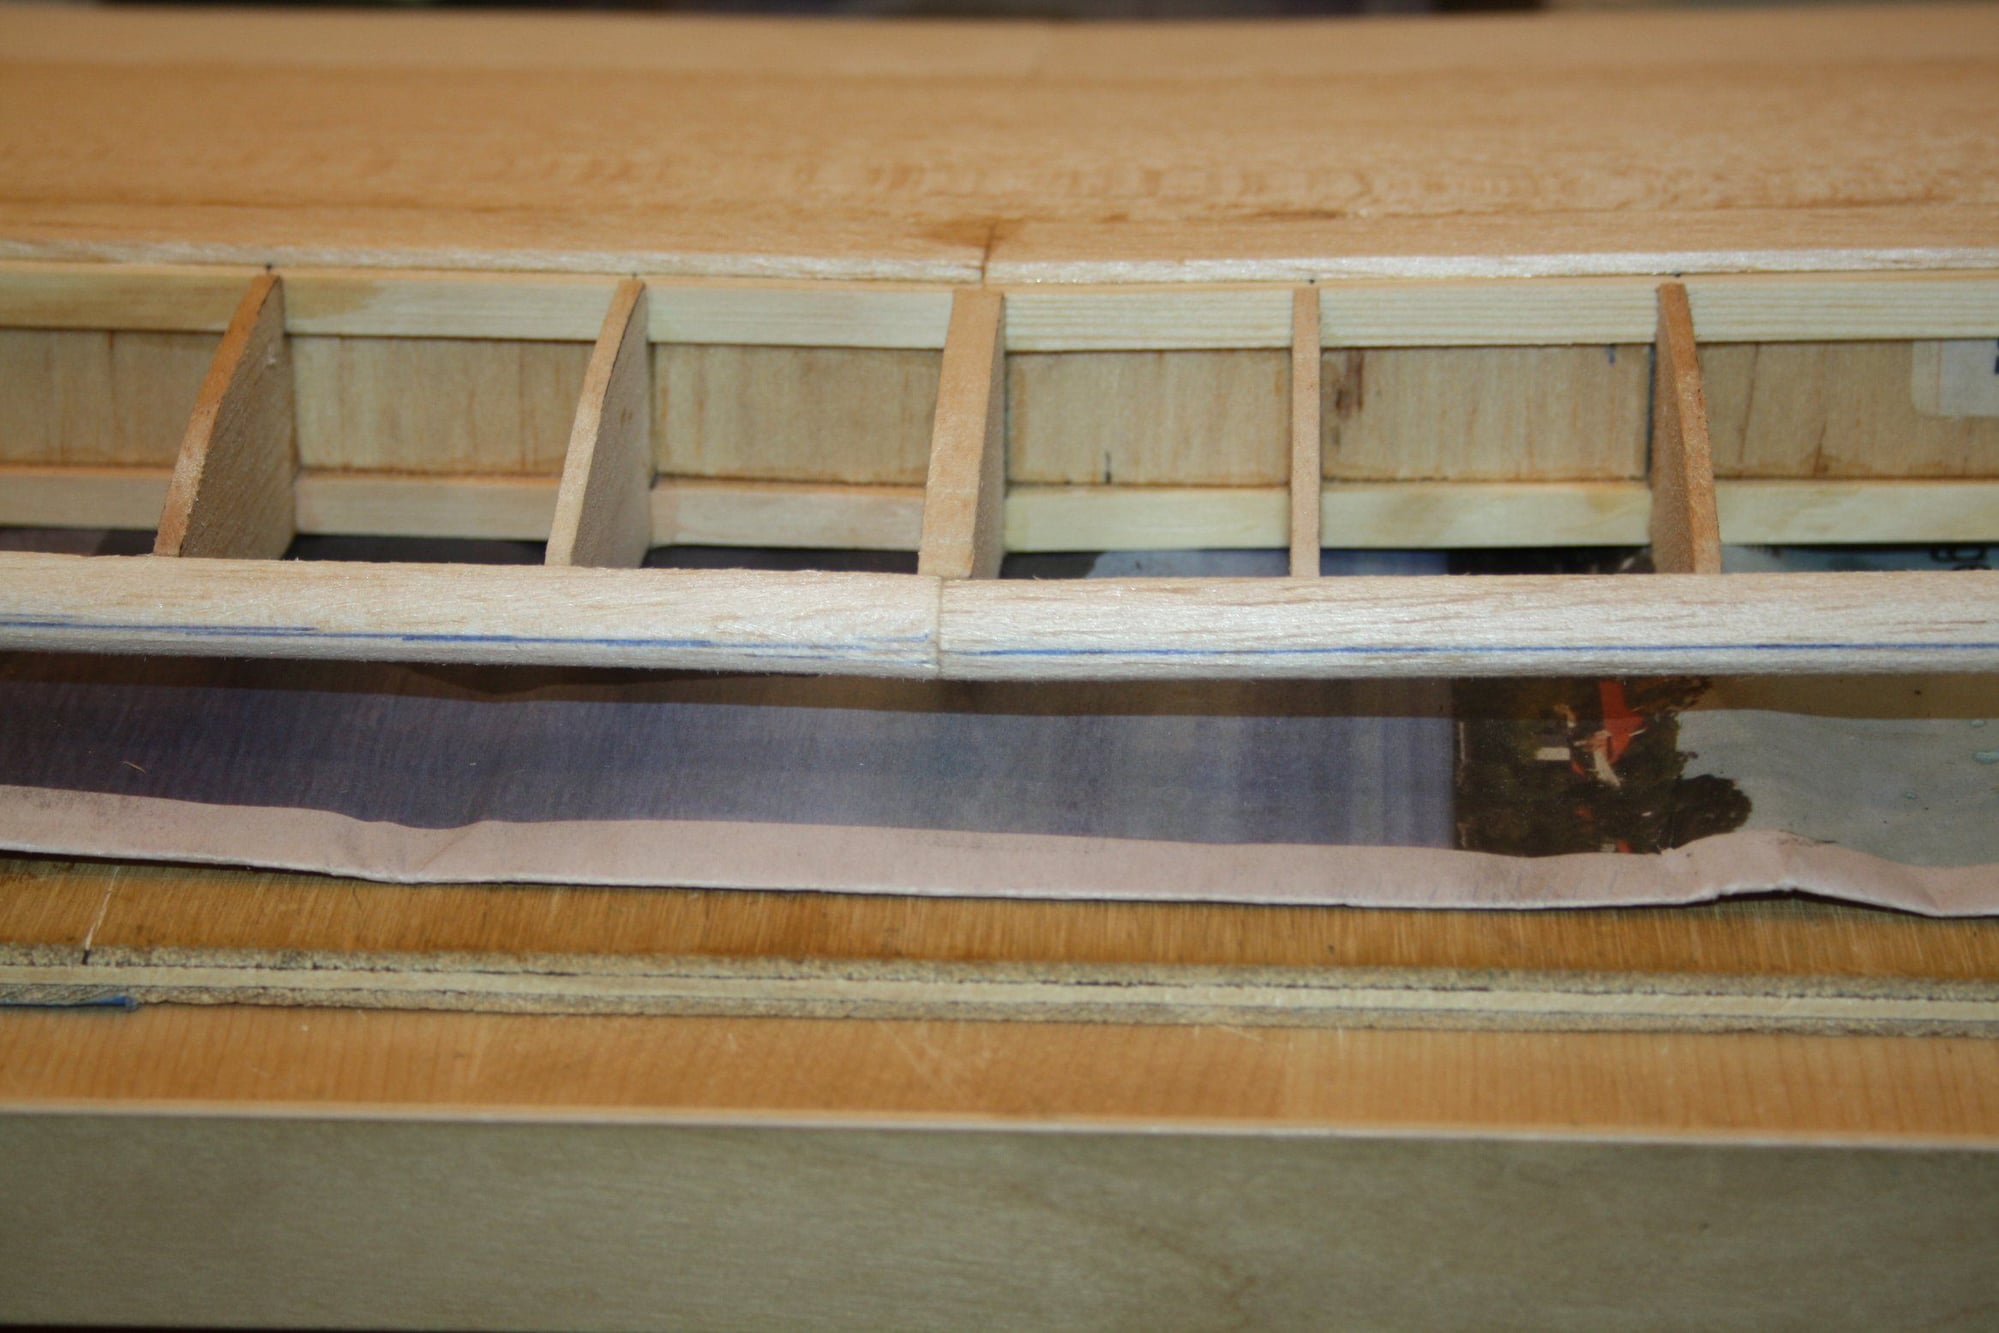
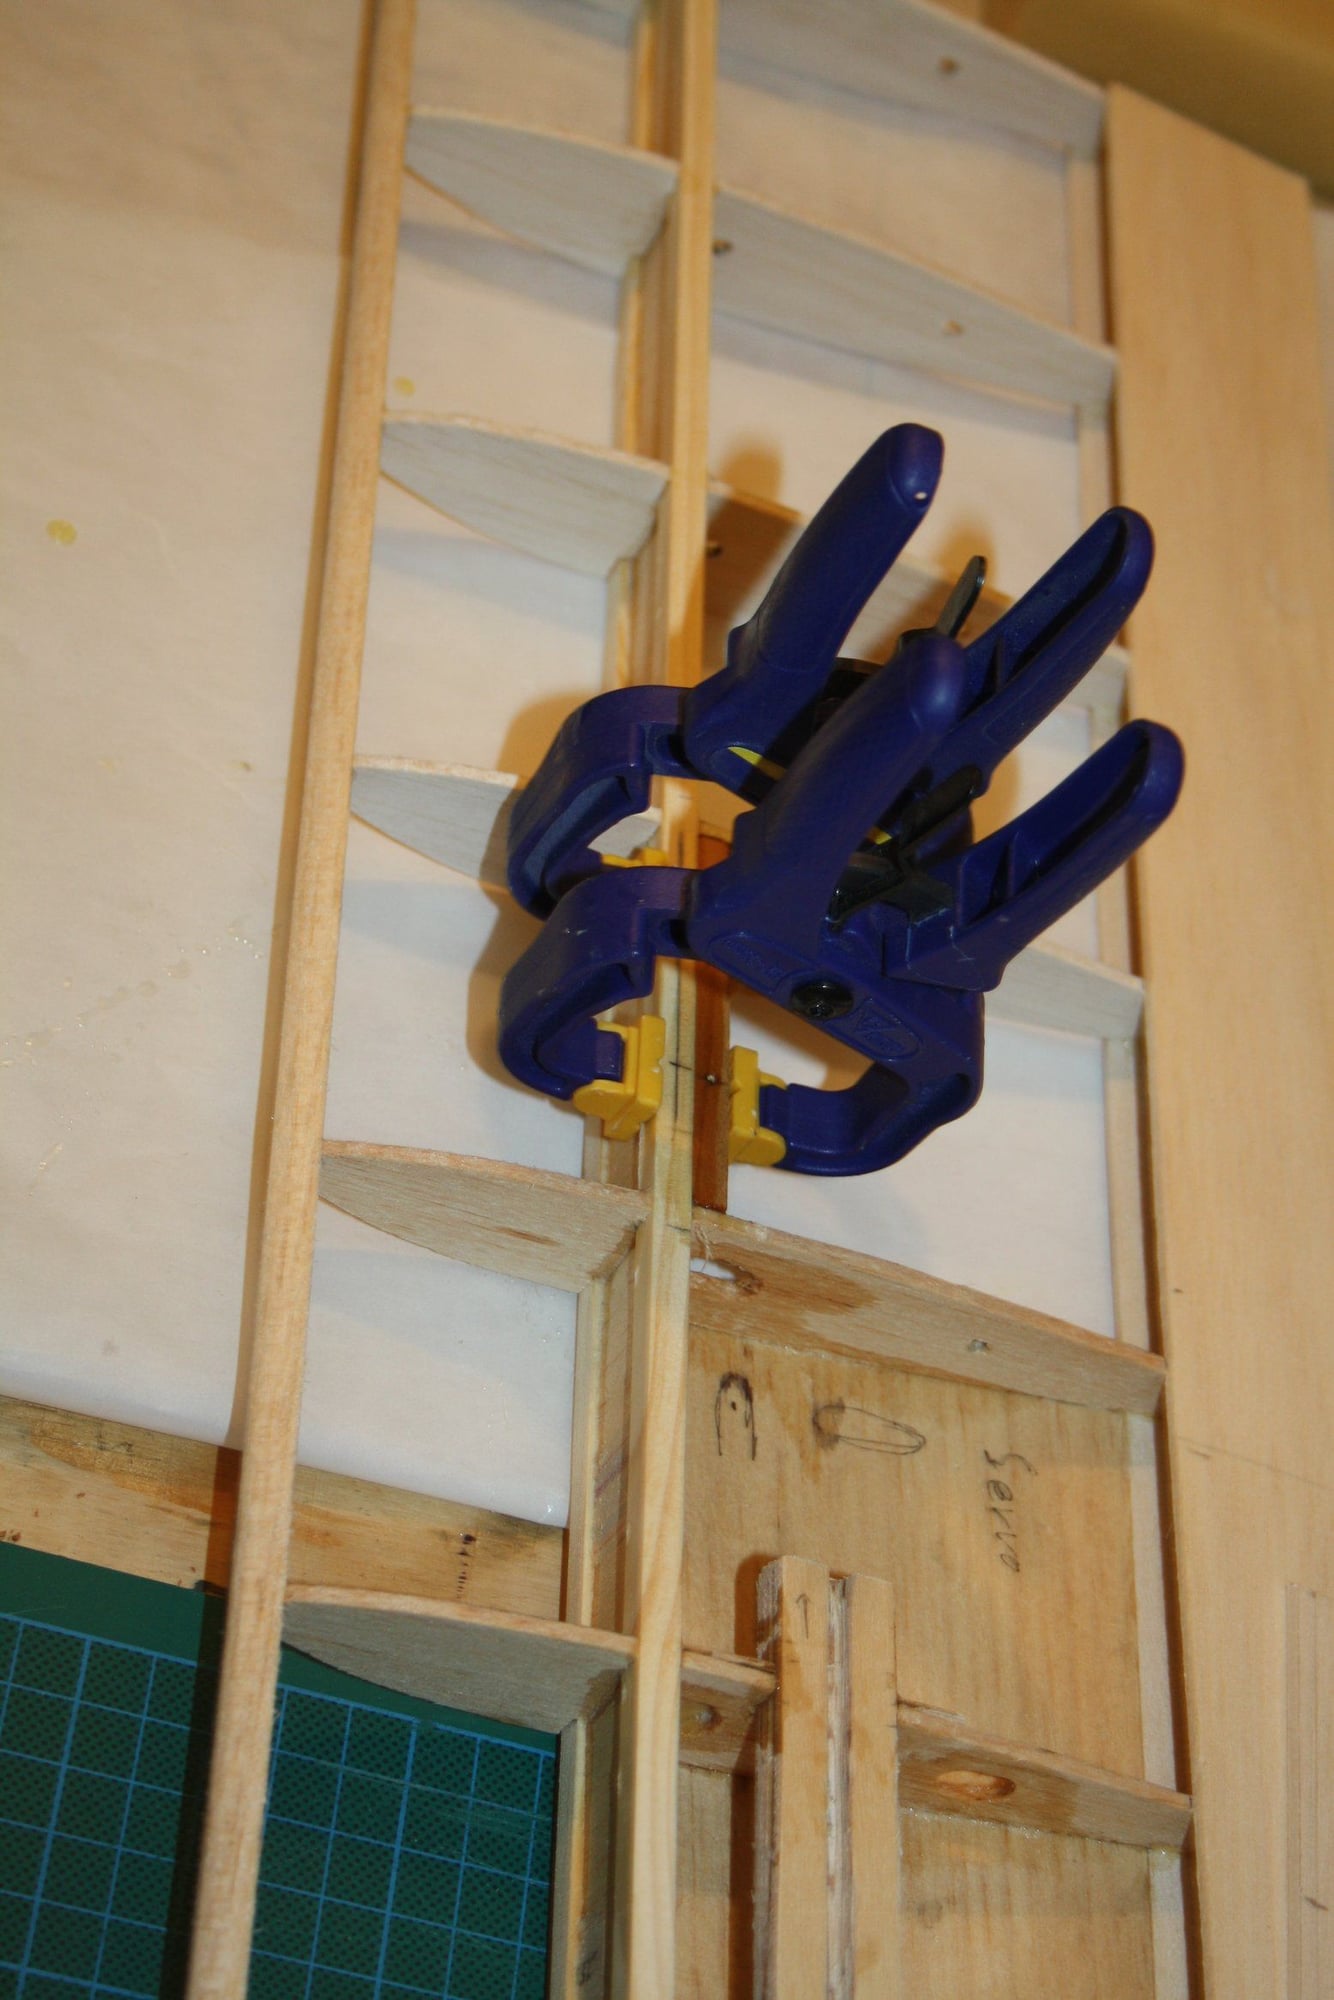
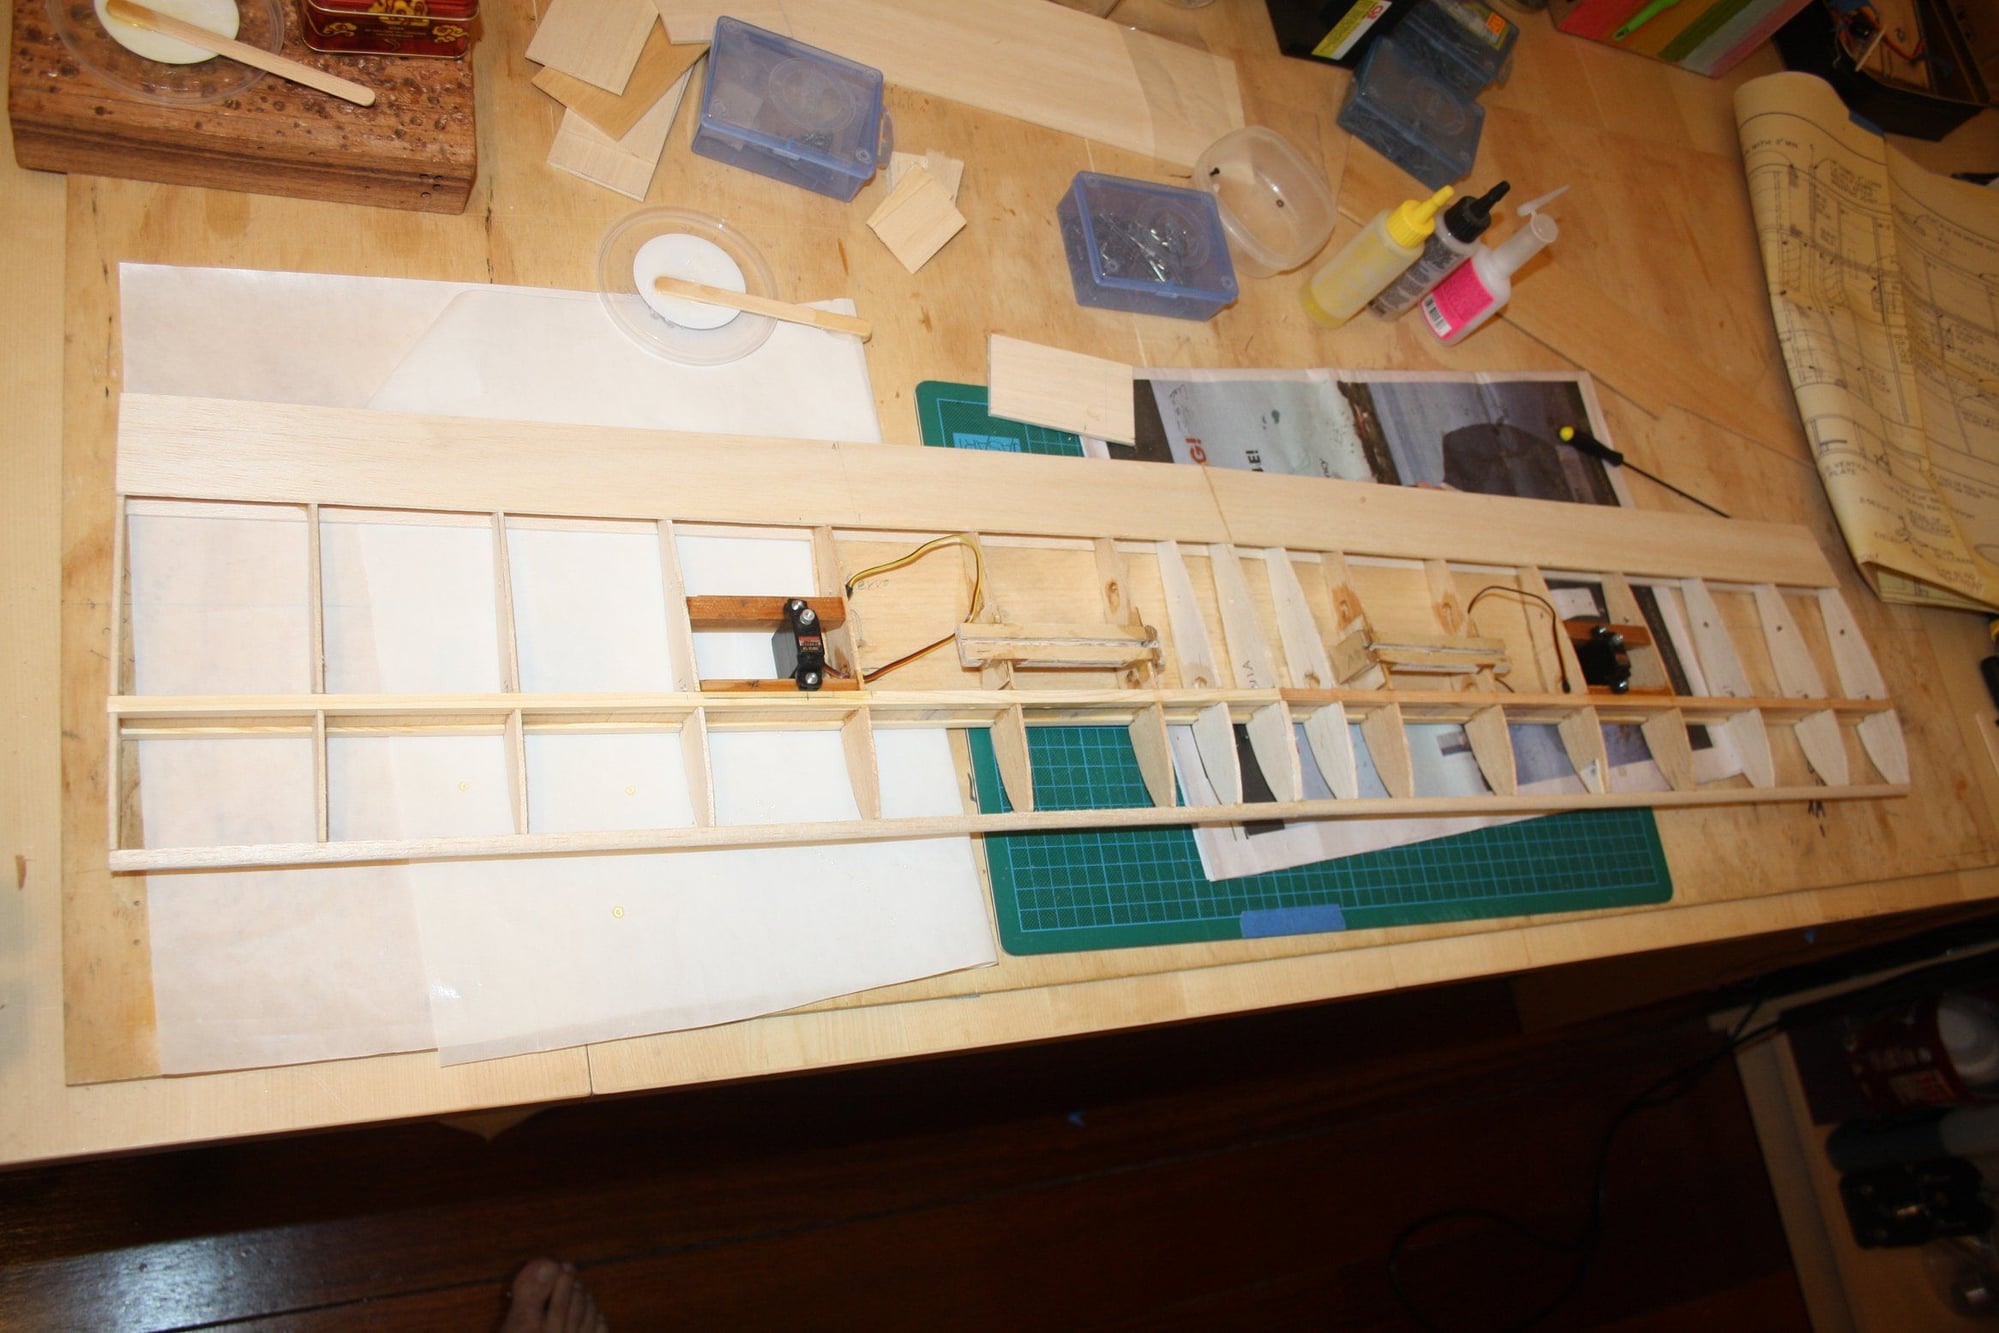
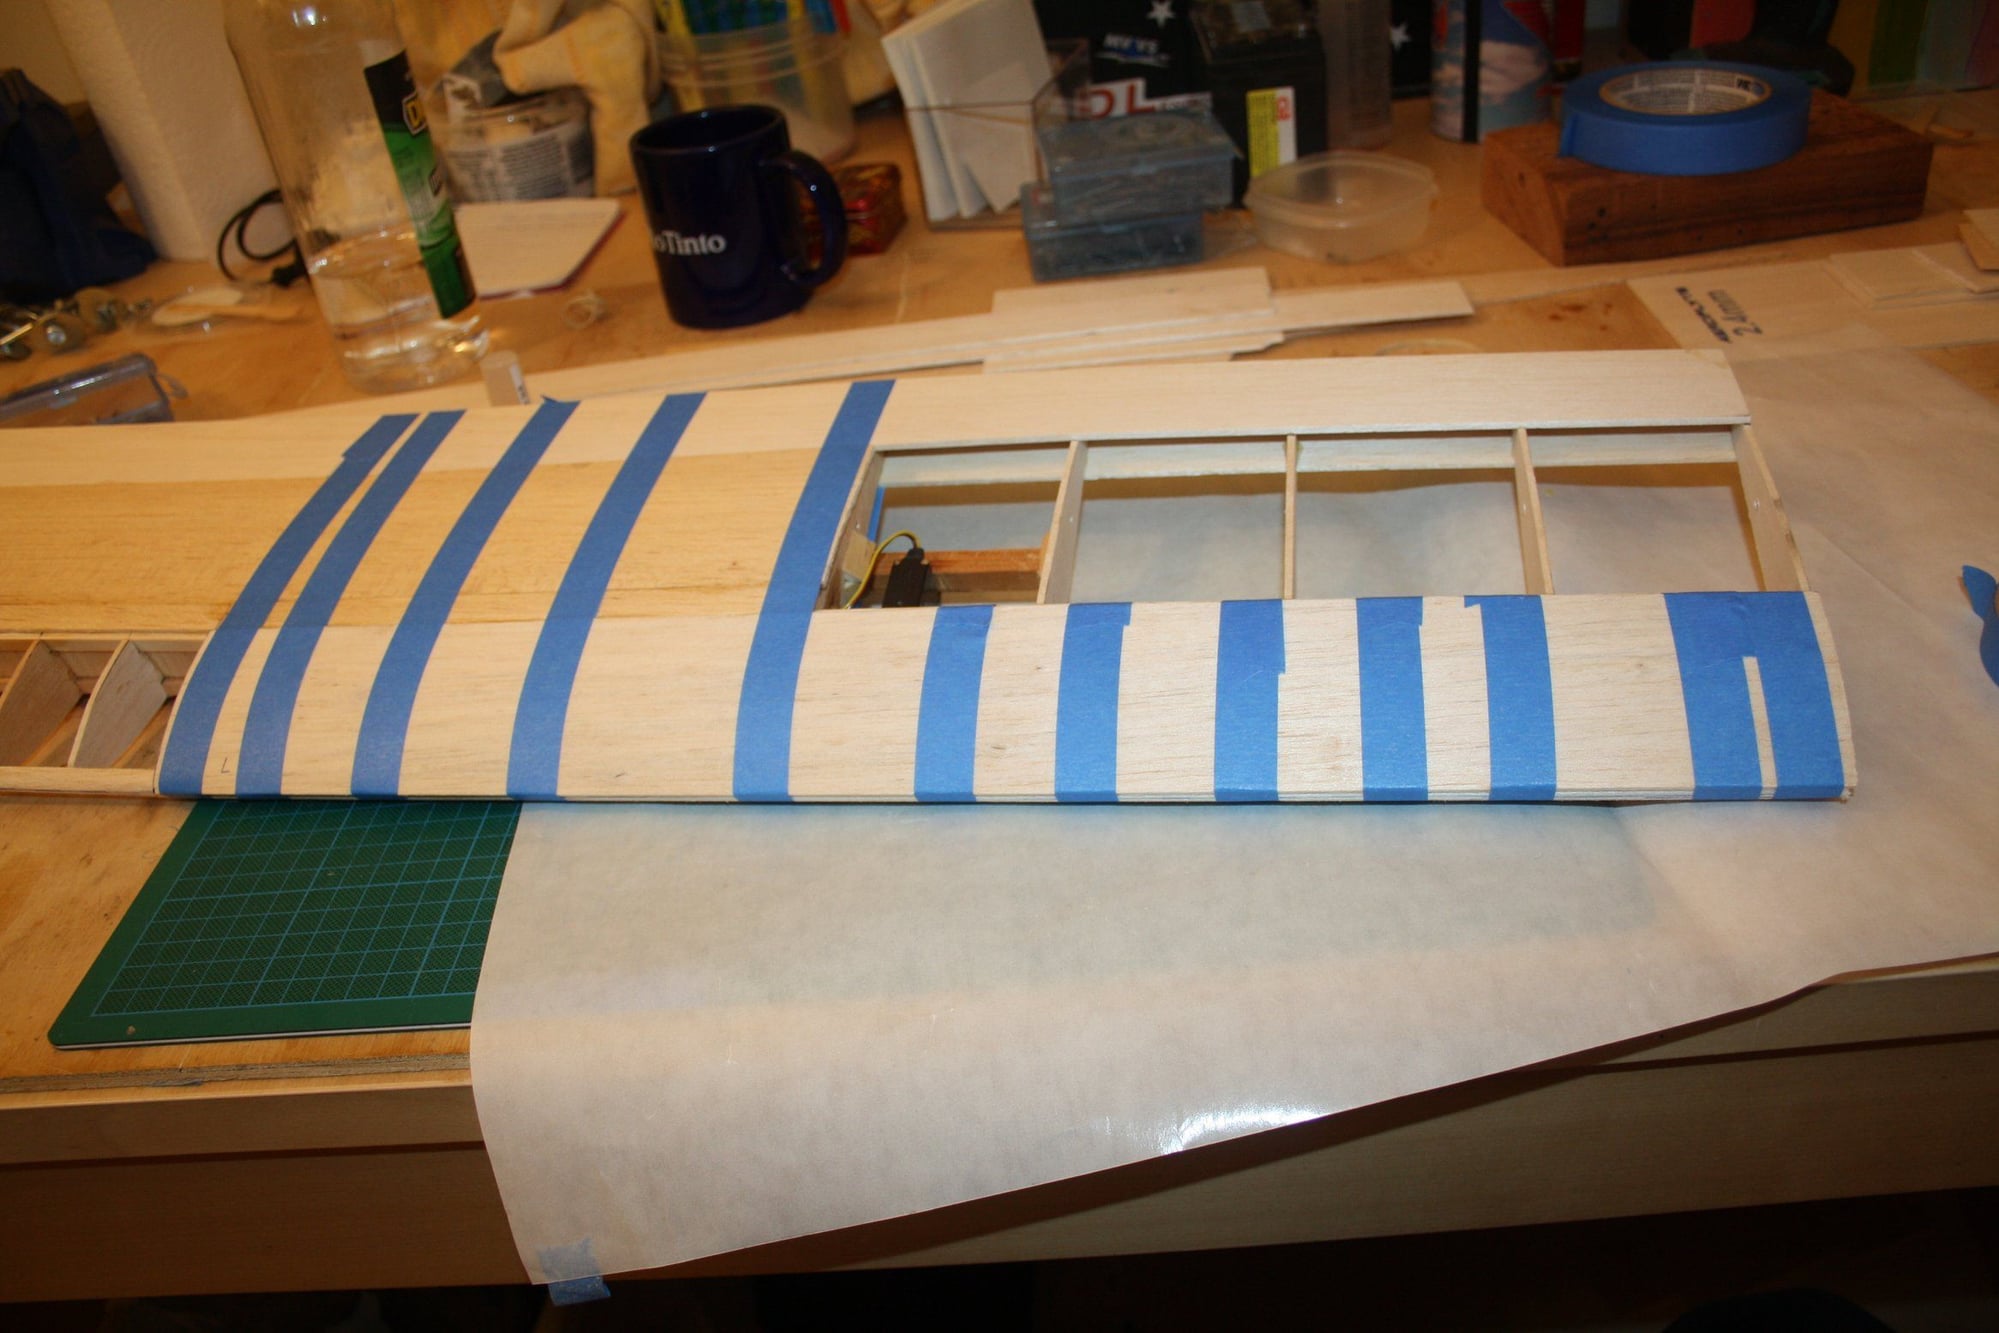
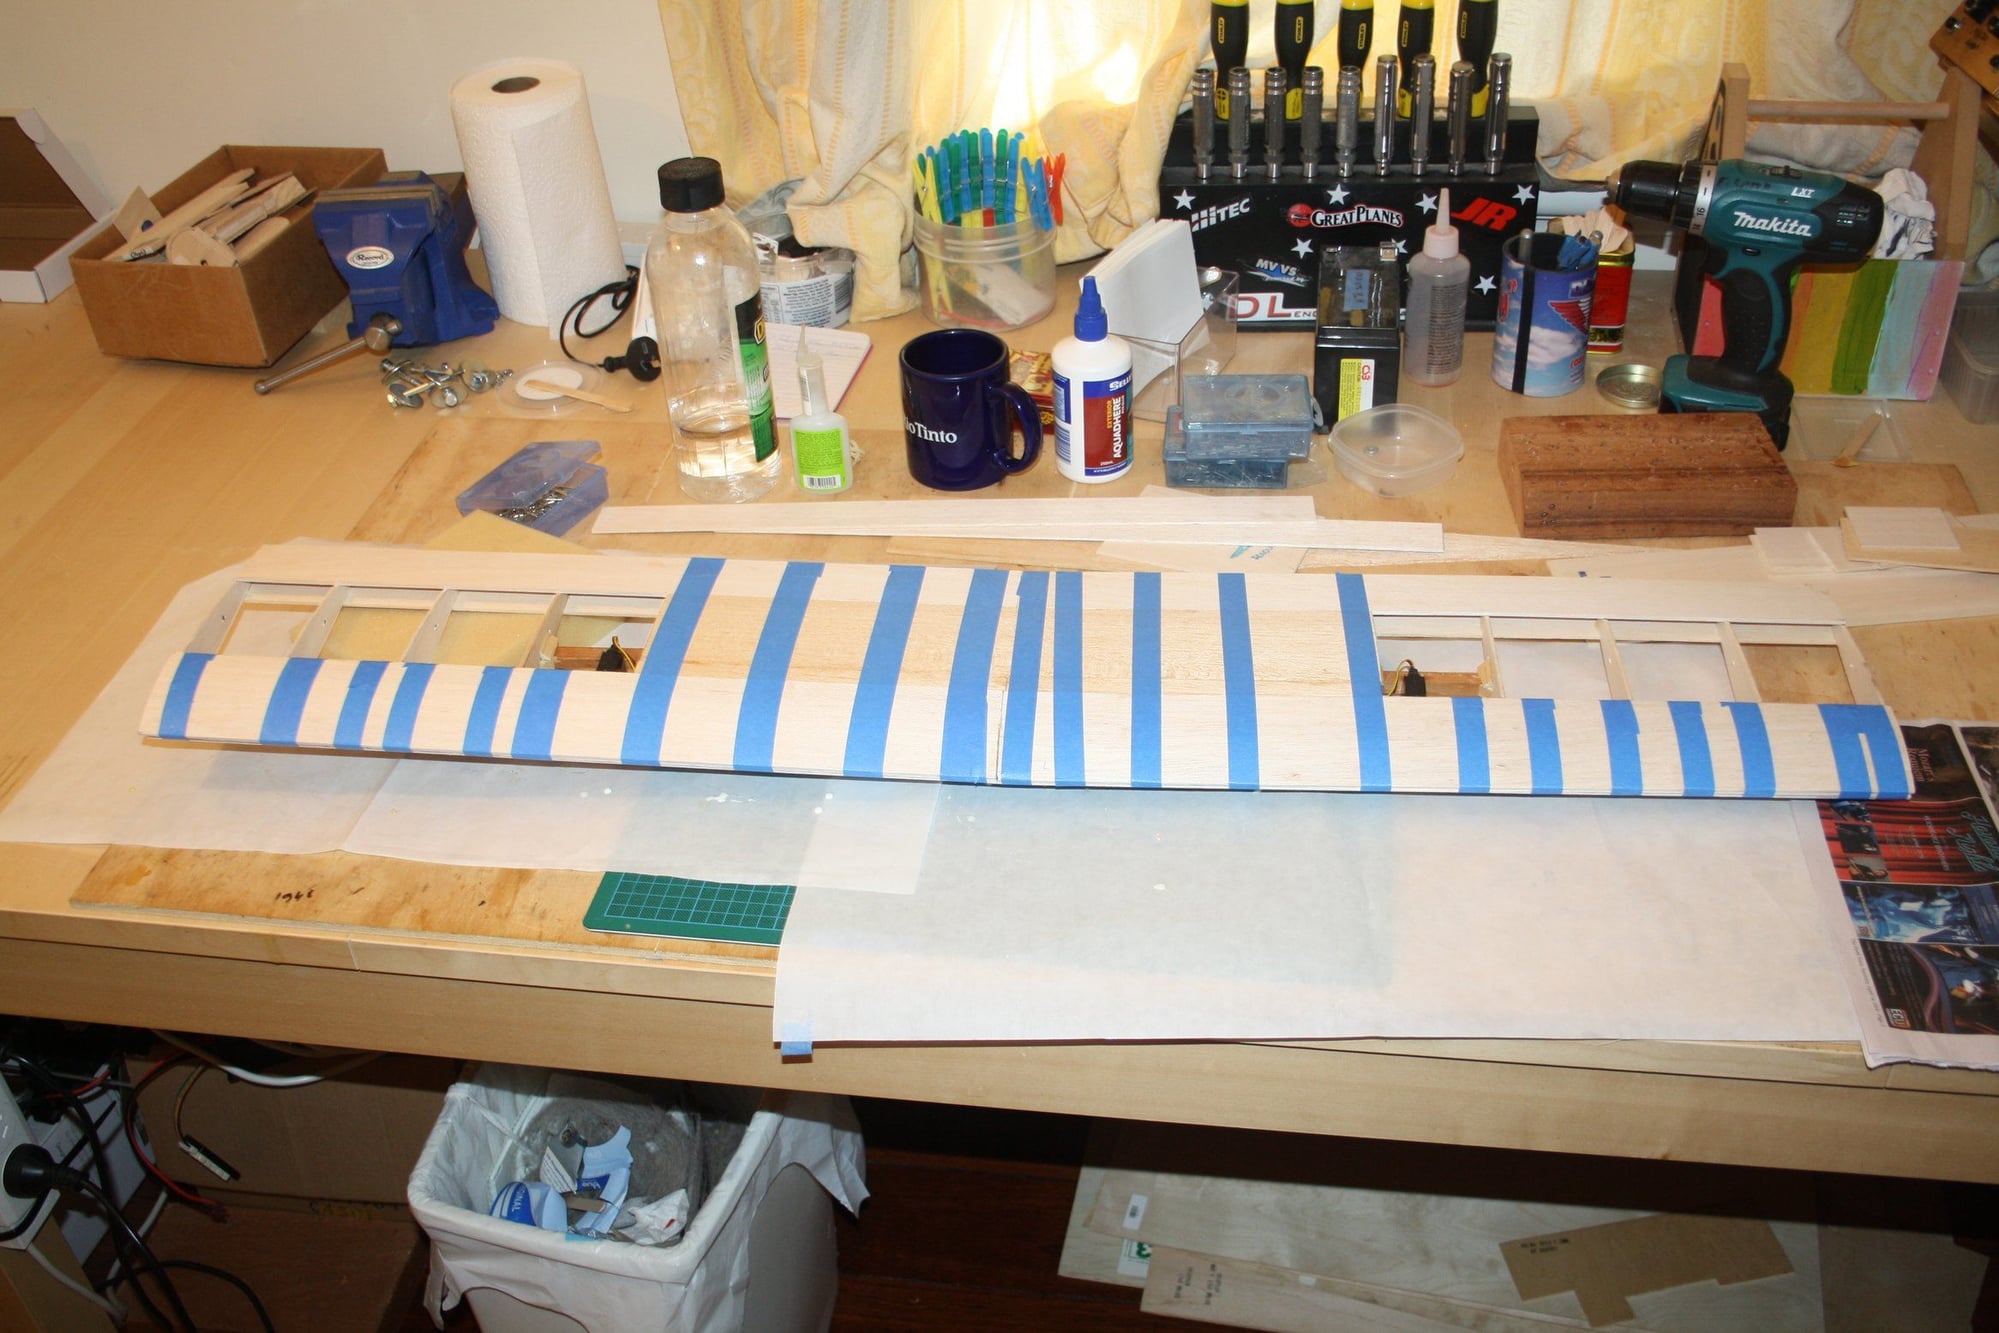
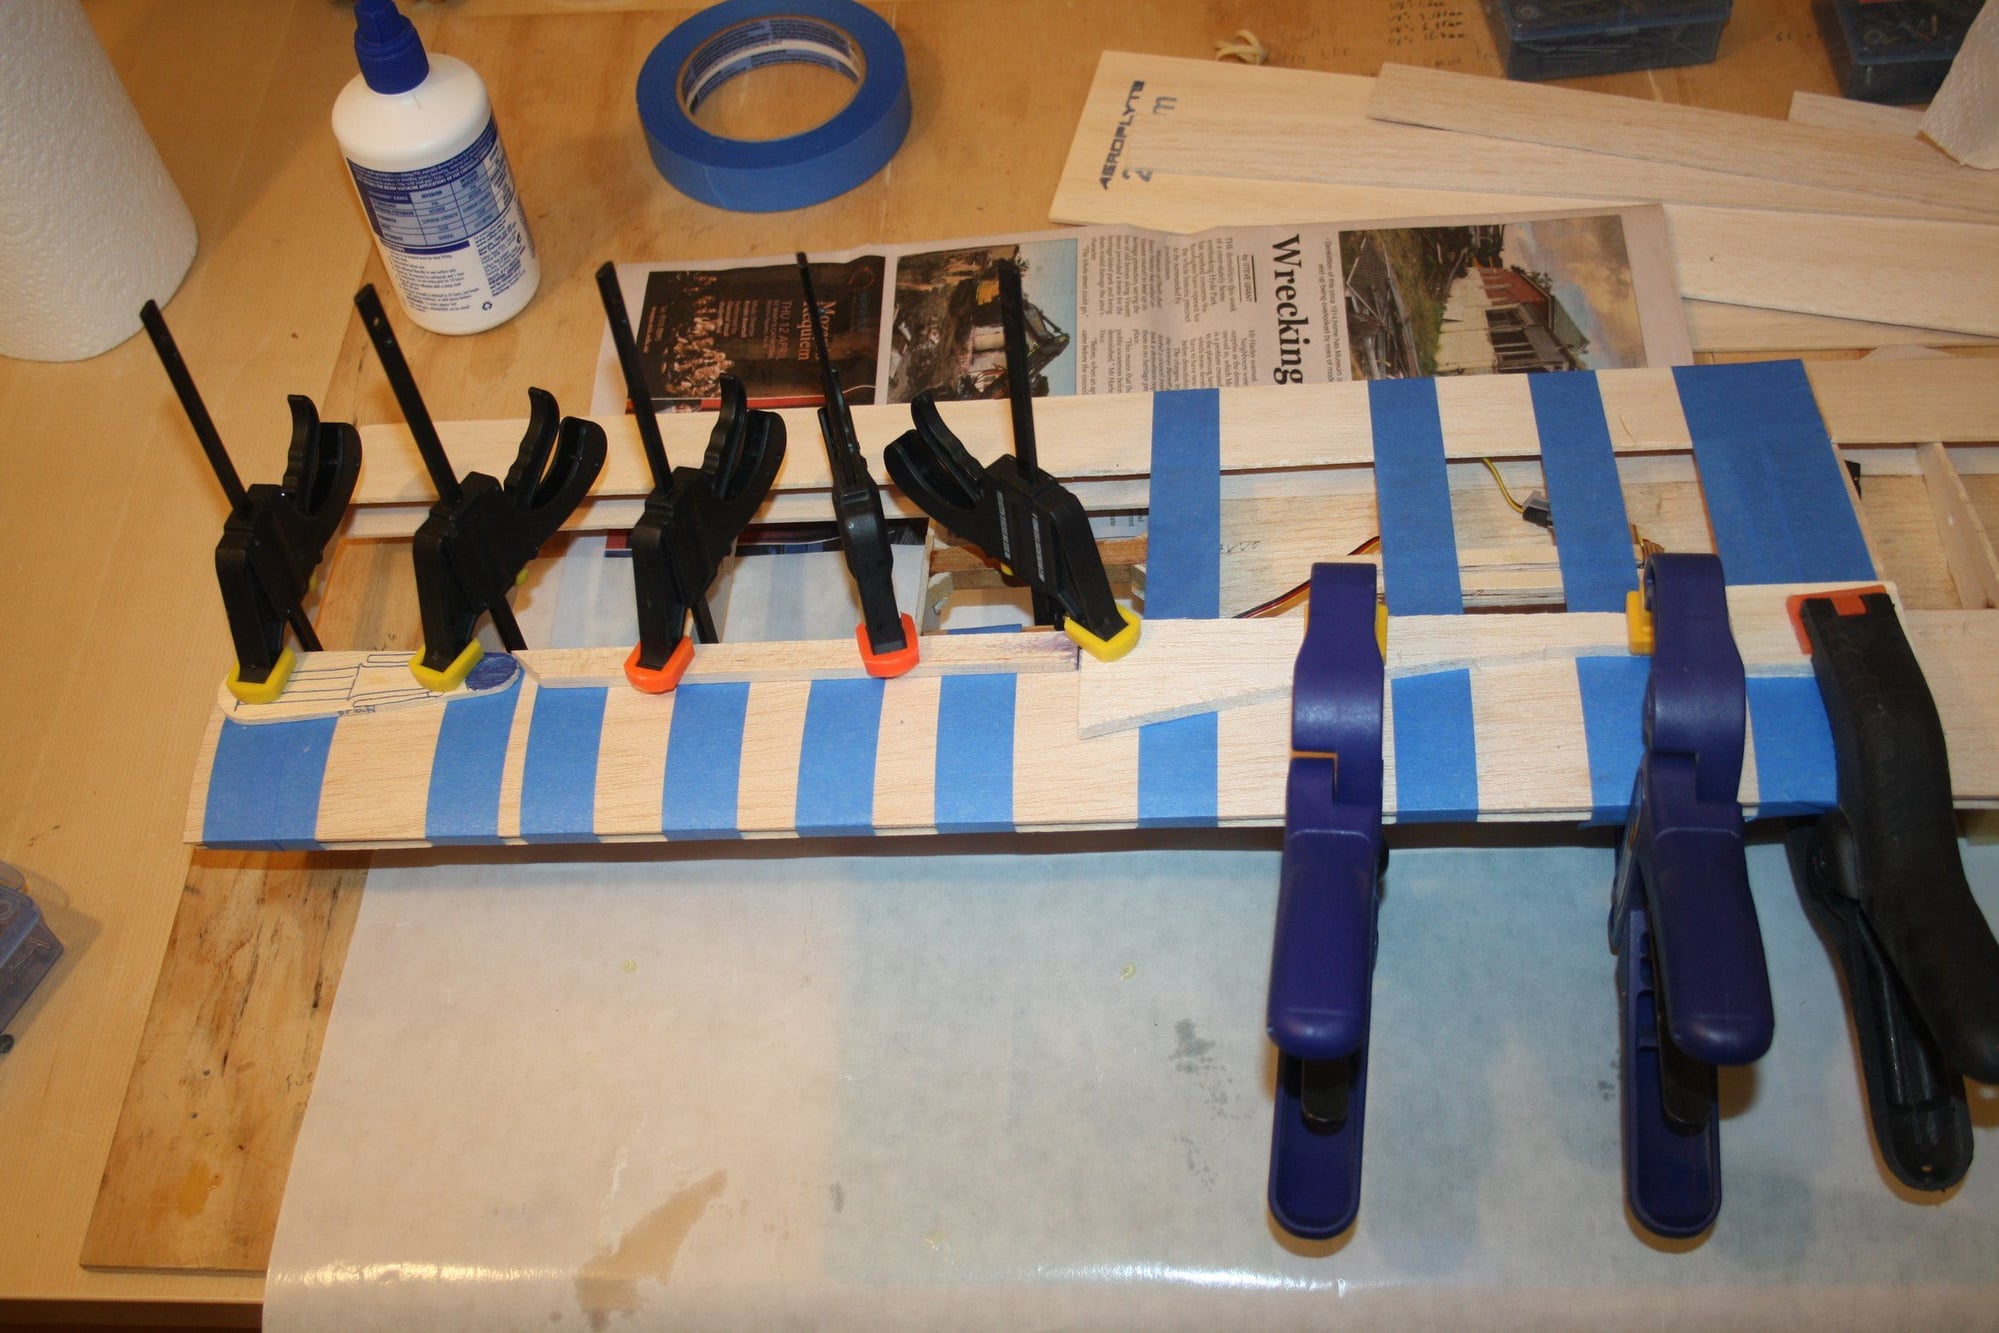
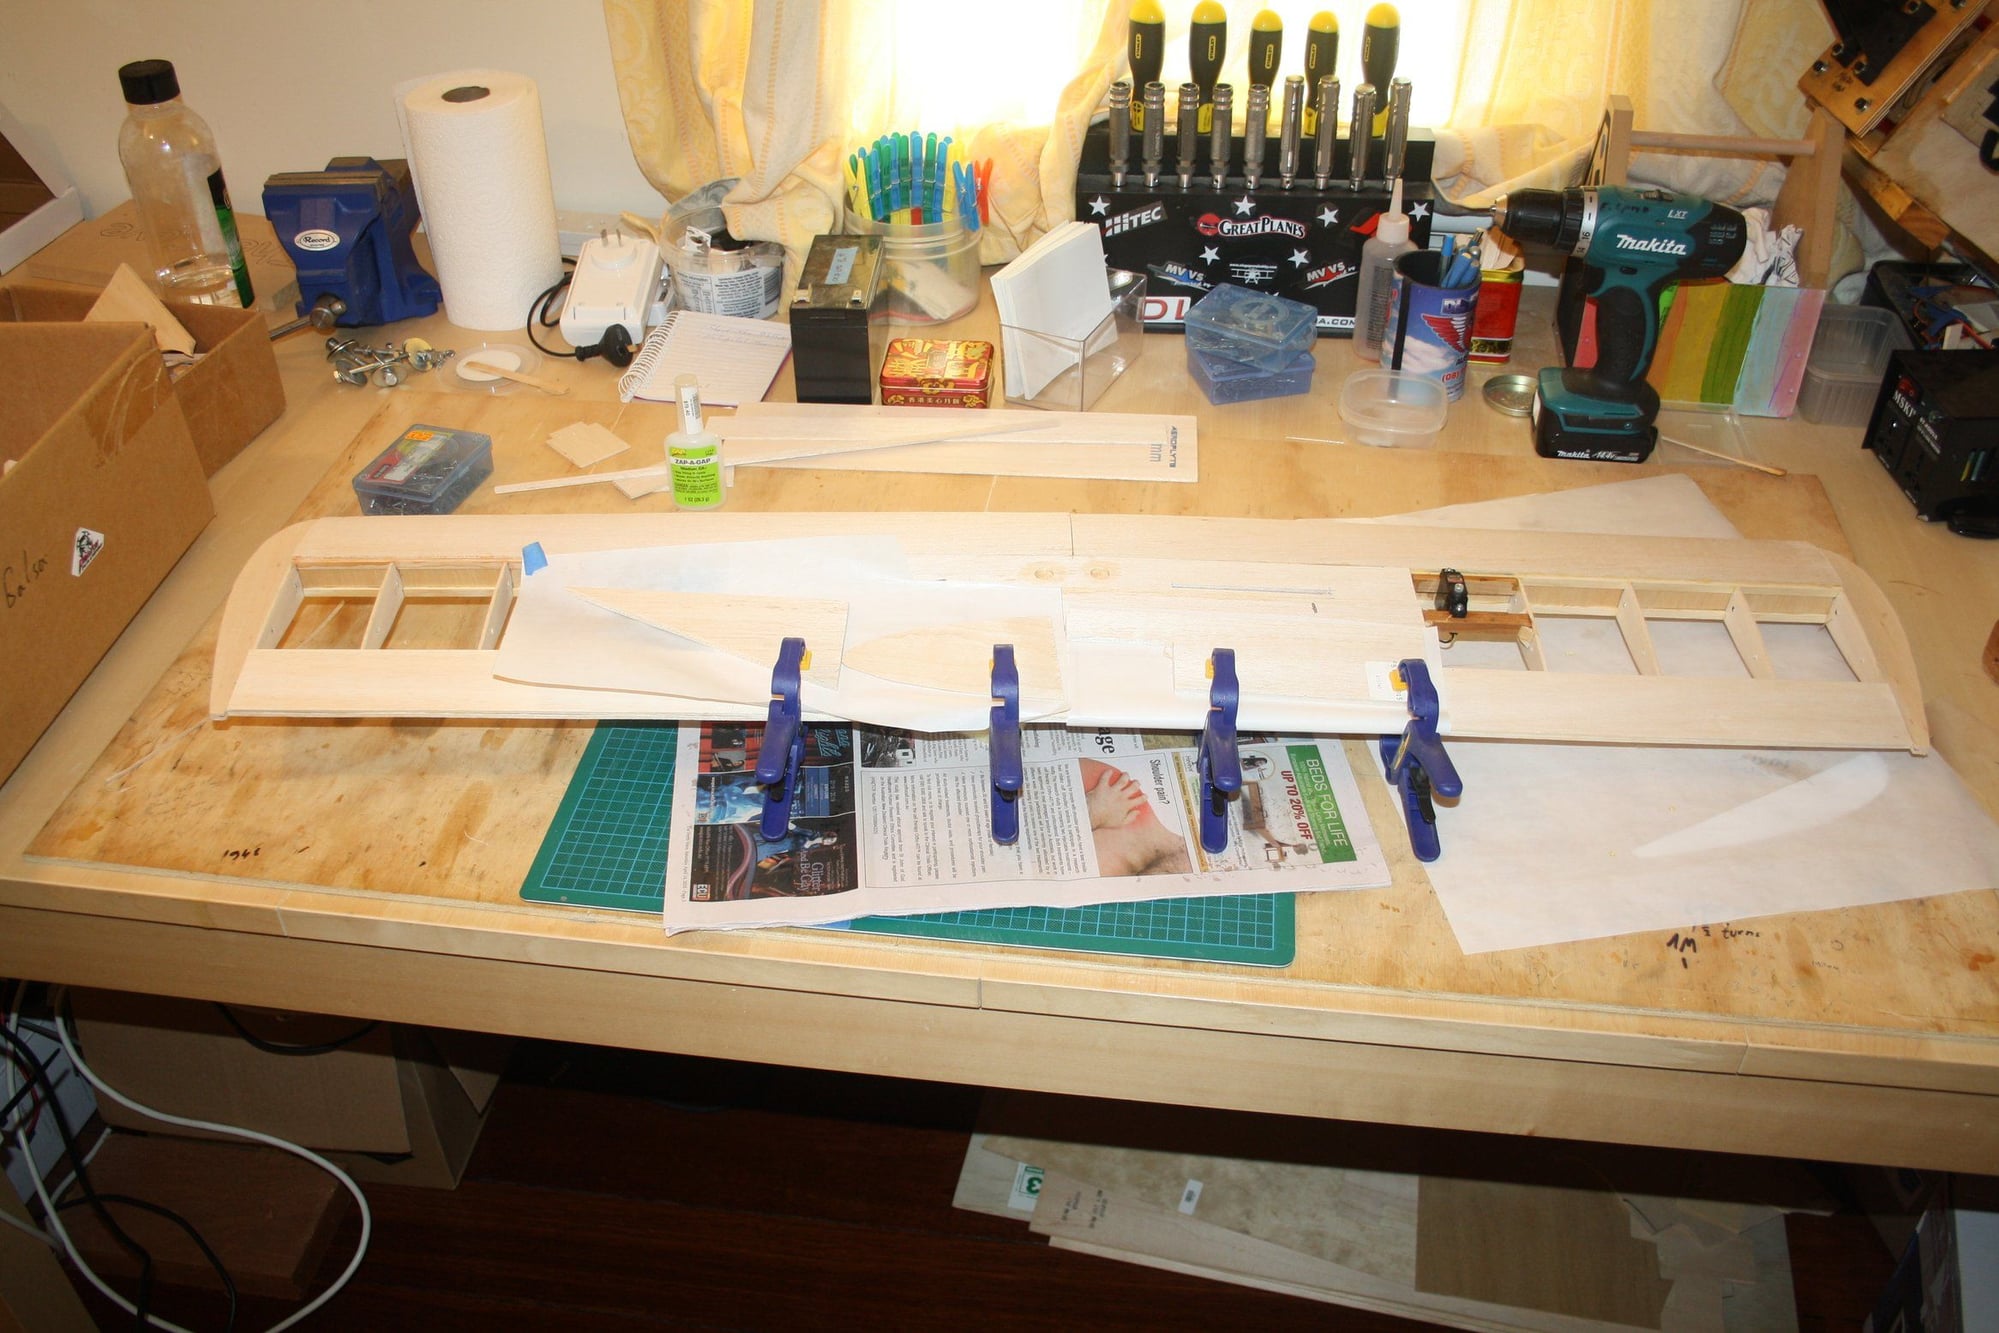
Slow progress on the wing.
The D-box sheeting is completed;
The centre section sheeting is done (including drilling hols for the servo leads on the wrong side and fixing it...);
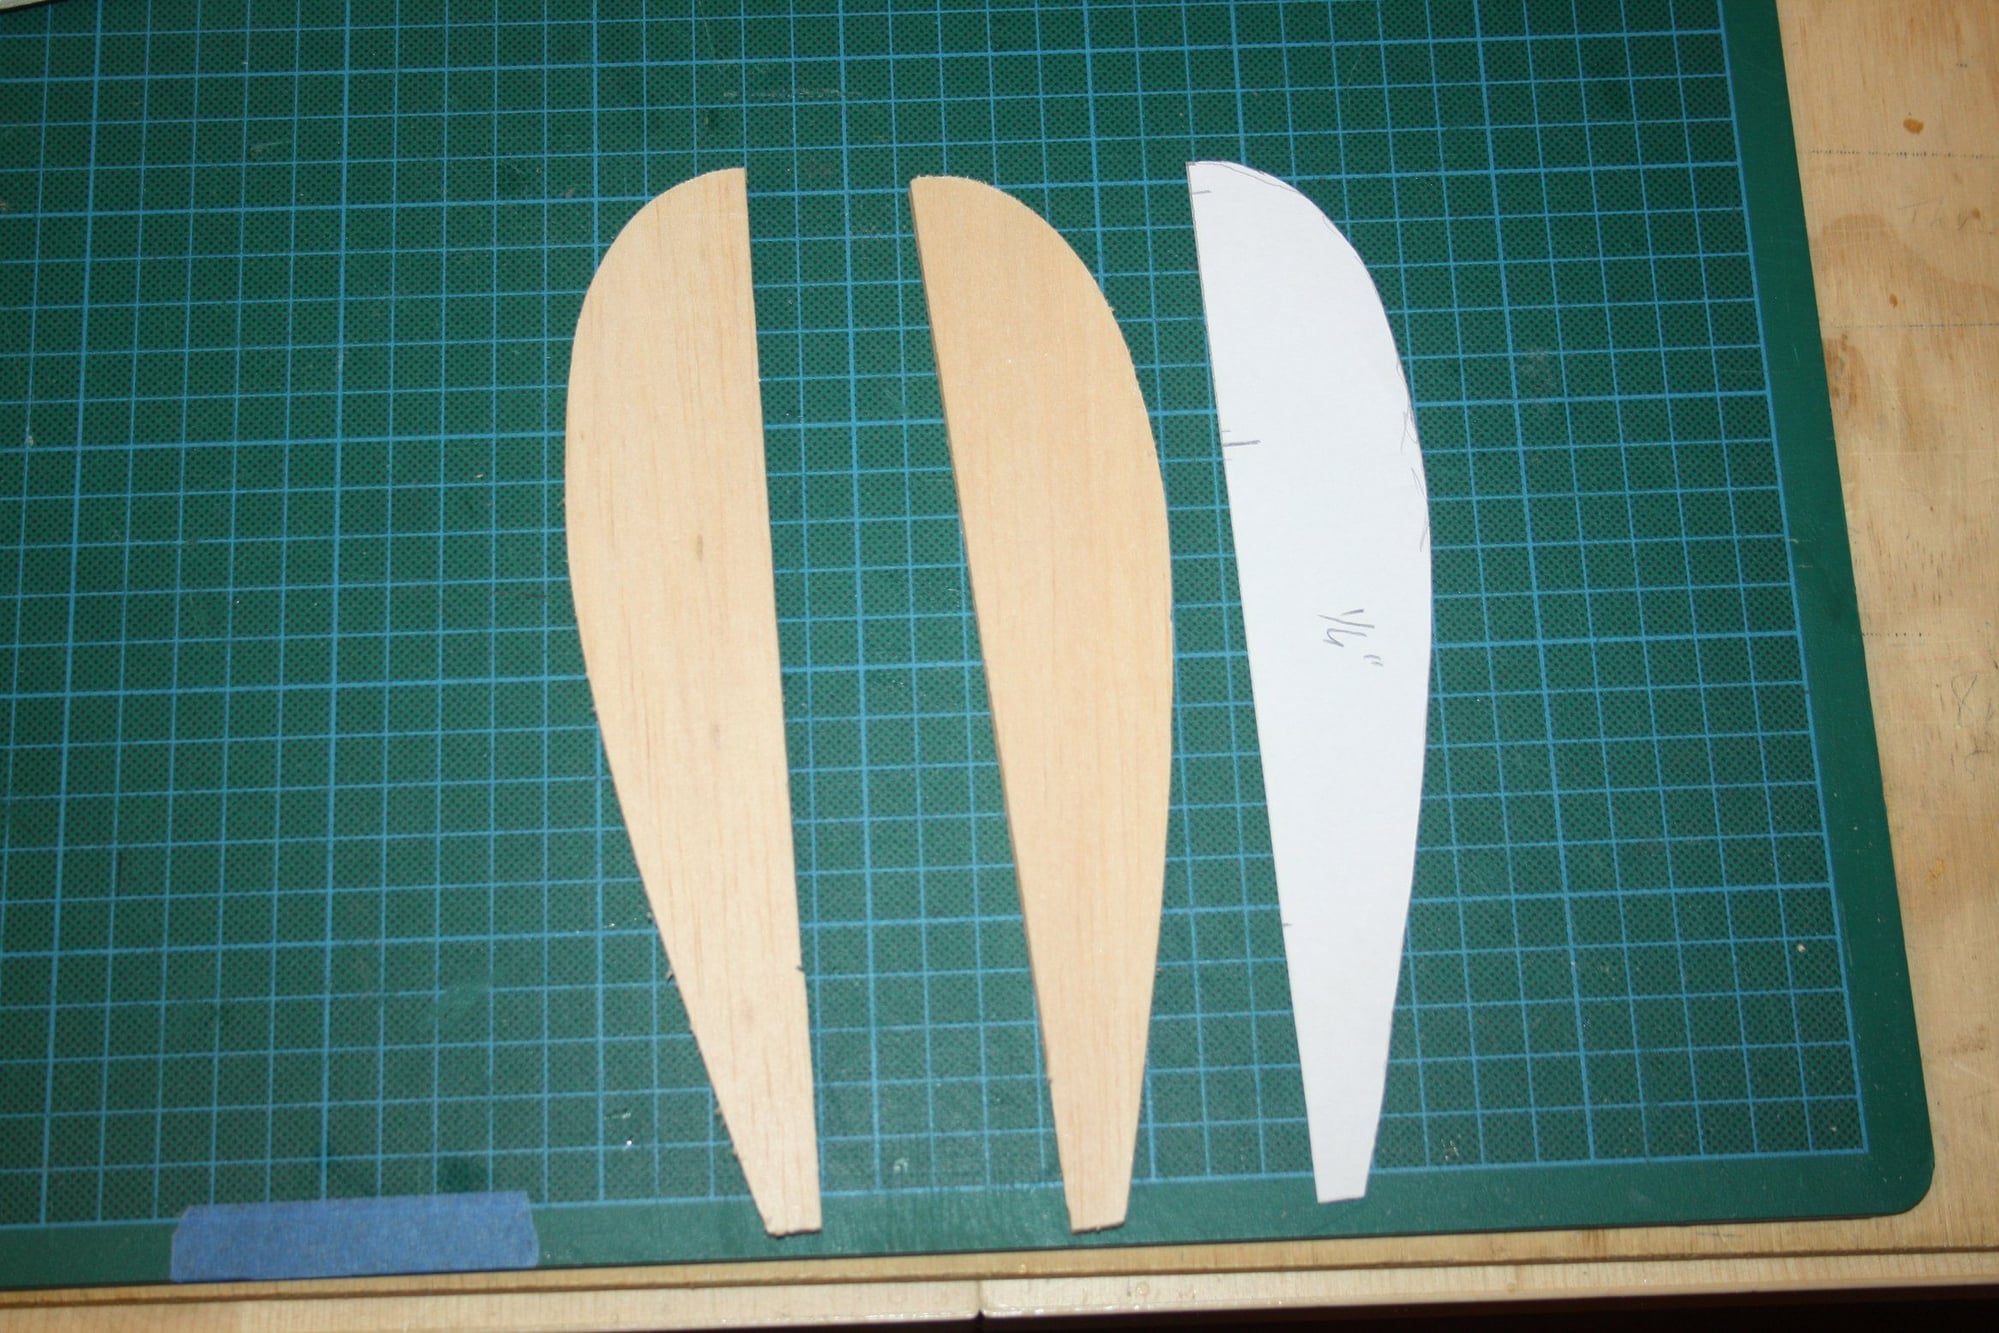
Wing tips profile glued into place.
Cheers,
Eran

The D-box sheeting is completed;
The centre section sheeting is done (including drilling hols for the servo leads on the wrong side and fixing it...);
Wing tips profile glued into place.
Cheers,
Eran
06-06-2018, 03:35 PM
#24
Thread Starter
buzzard bait - I used the A-Just-O-Jig one before on my Kwik Fli III build and was so impressed with the resulting wing that I had to borrow it again for this project. It is such a shame that no one makes a modern version of it, but with 3D printing becoming very affordable, making such jig should no be too difficult. It is on my "one day" projects to do.
As to power, I actually do not have an engine for it yet. It will highly likely be an O.S. 25FX. For many years I was exclusively flying petrol powered aeroplanes, and I didn't own glow engines. It was only the fact that I had to move back to glow engines with the kwik Fli III (with the realisation of how awful the O.S. GGT10 petrol engine was) that I even considered this project. I re-discovered the fun in small aeroplanes.
Cheers,
Eran
06-07-2018, 12:16 AM
#25
Thread Starter
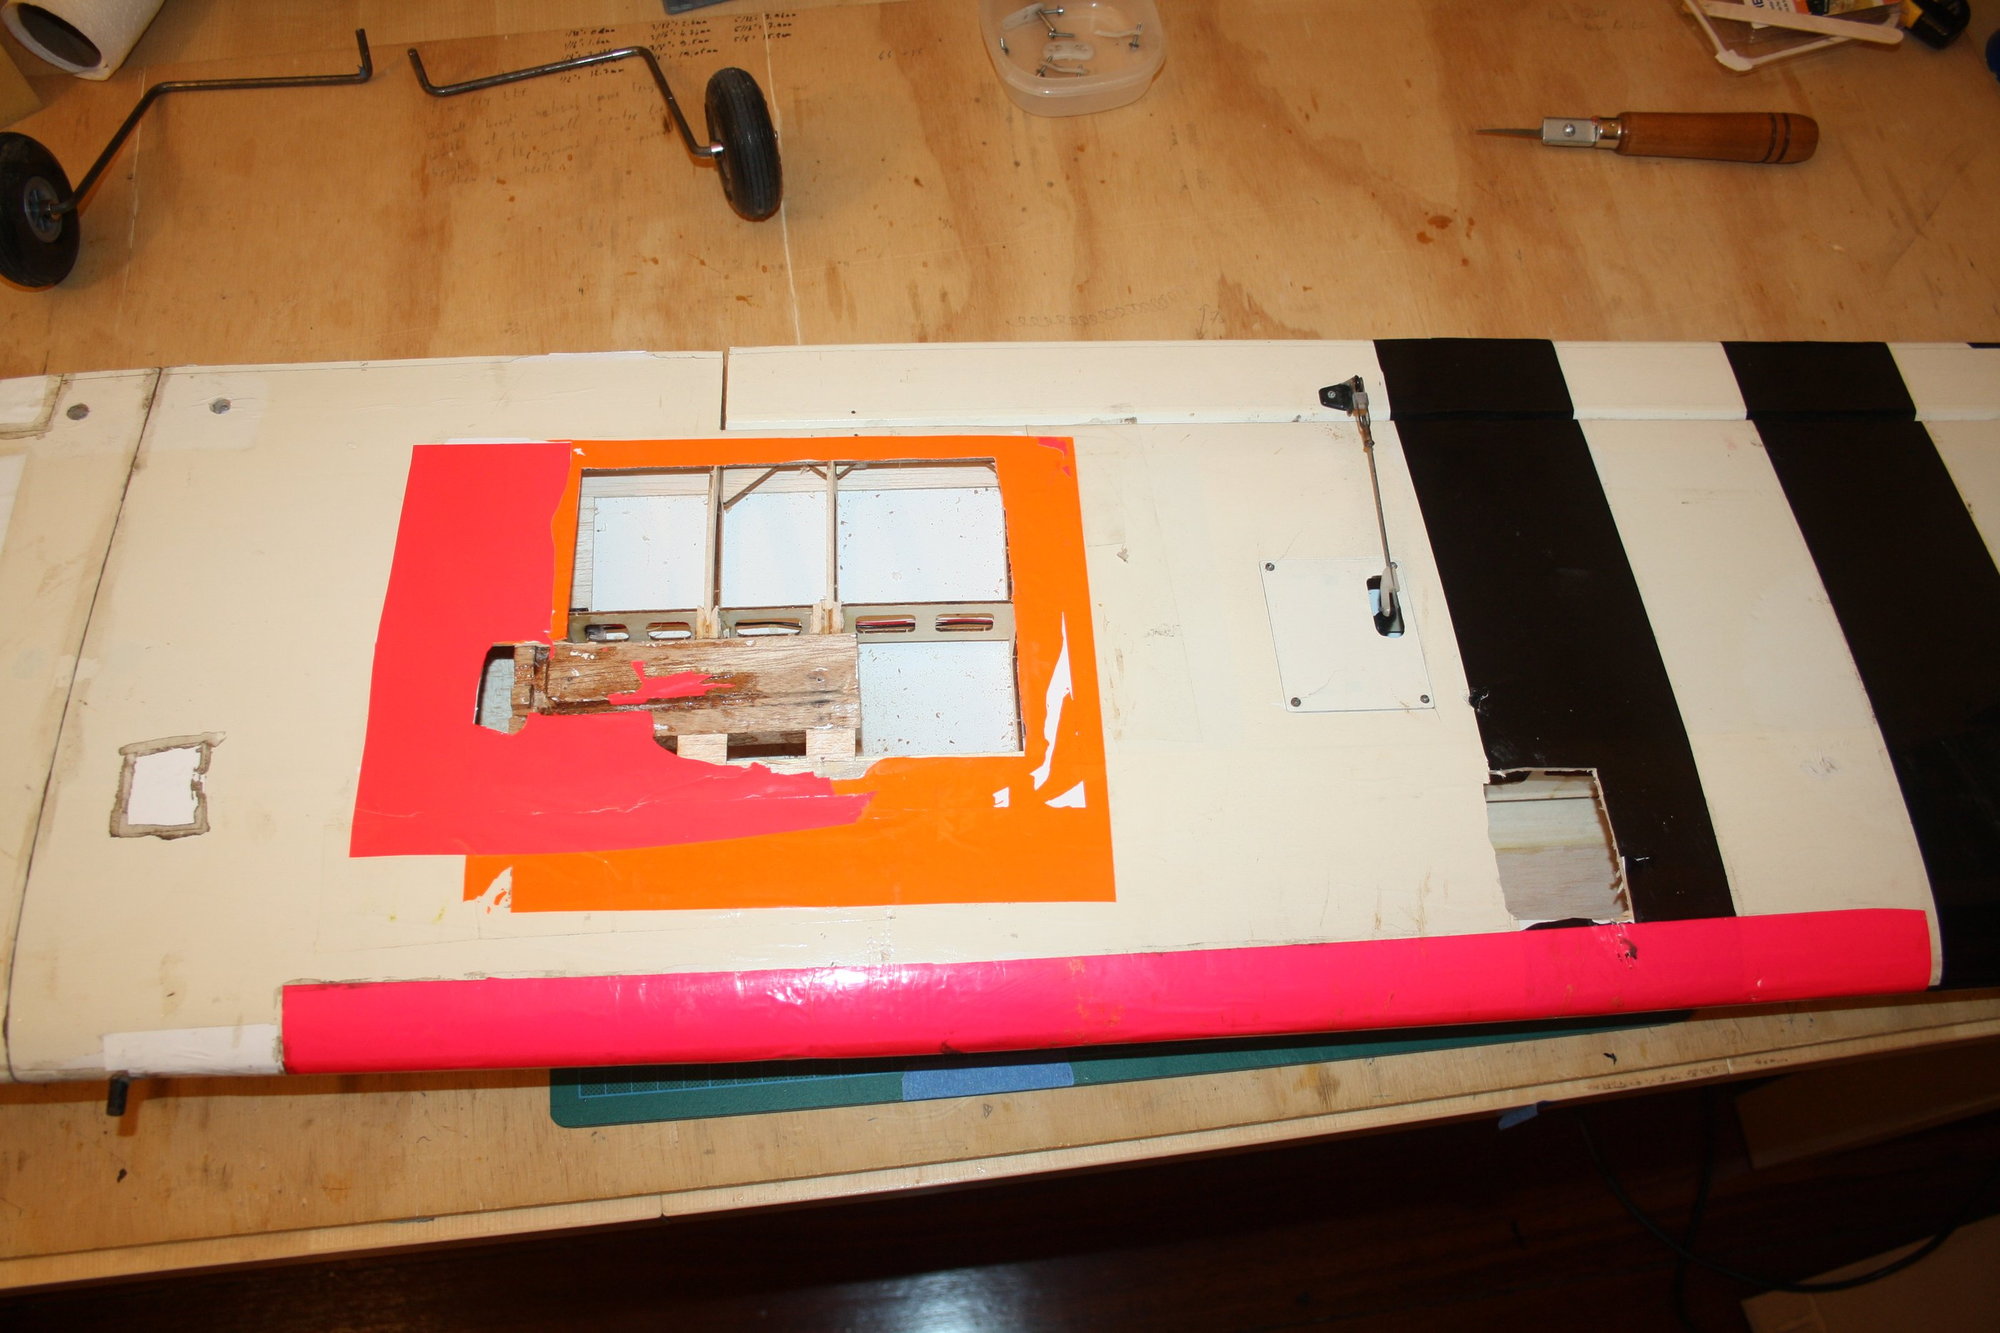
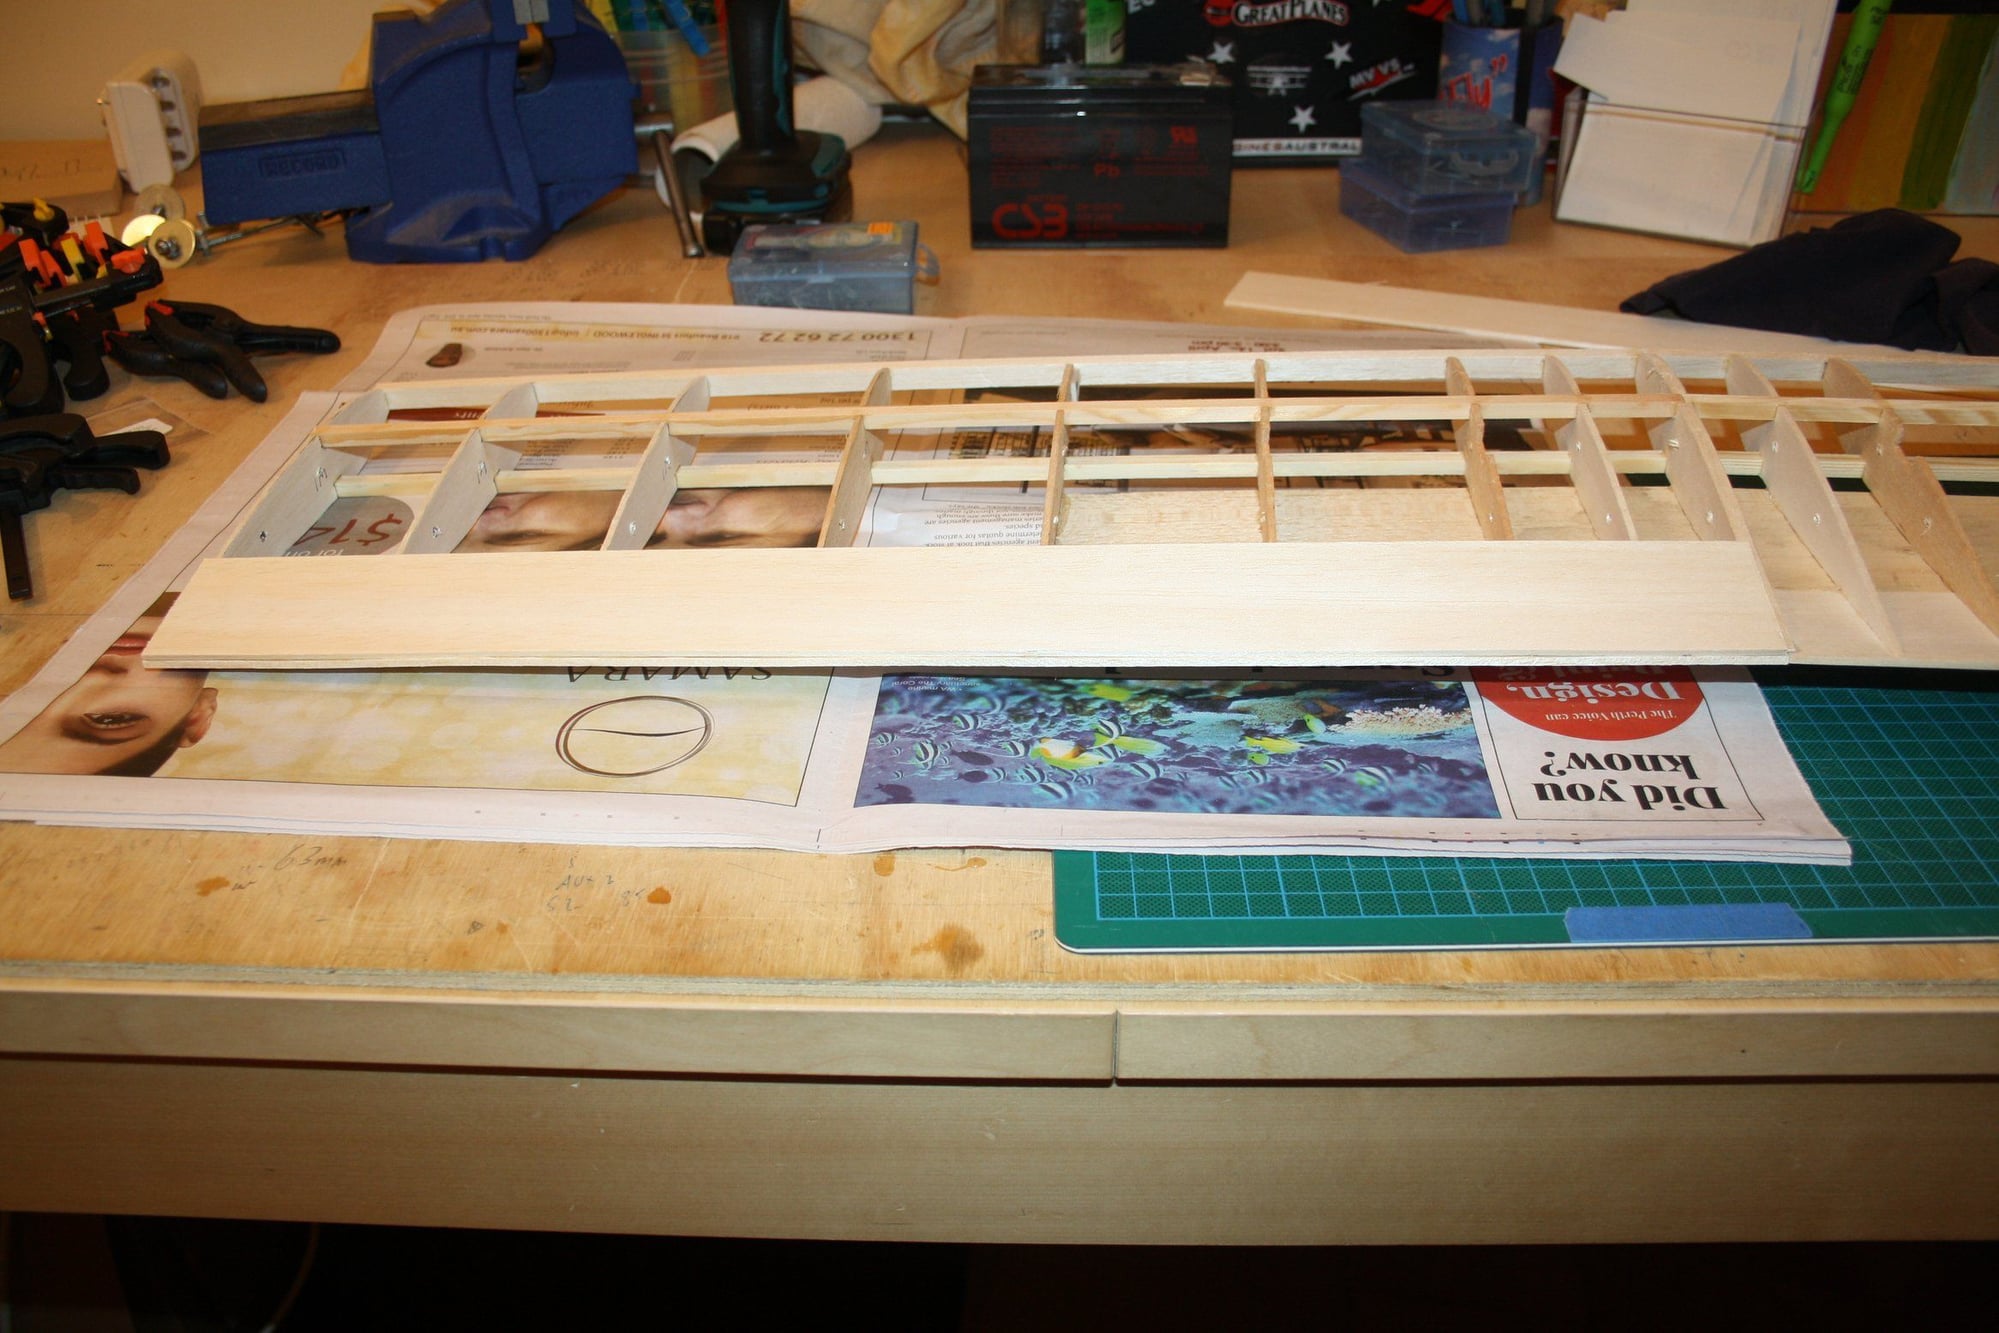
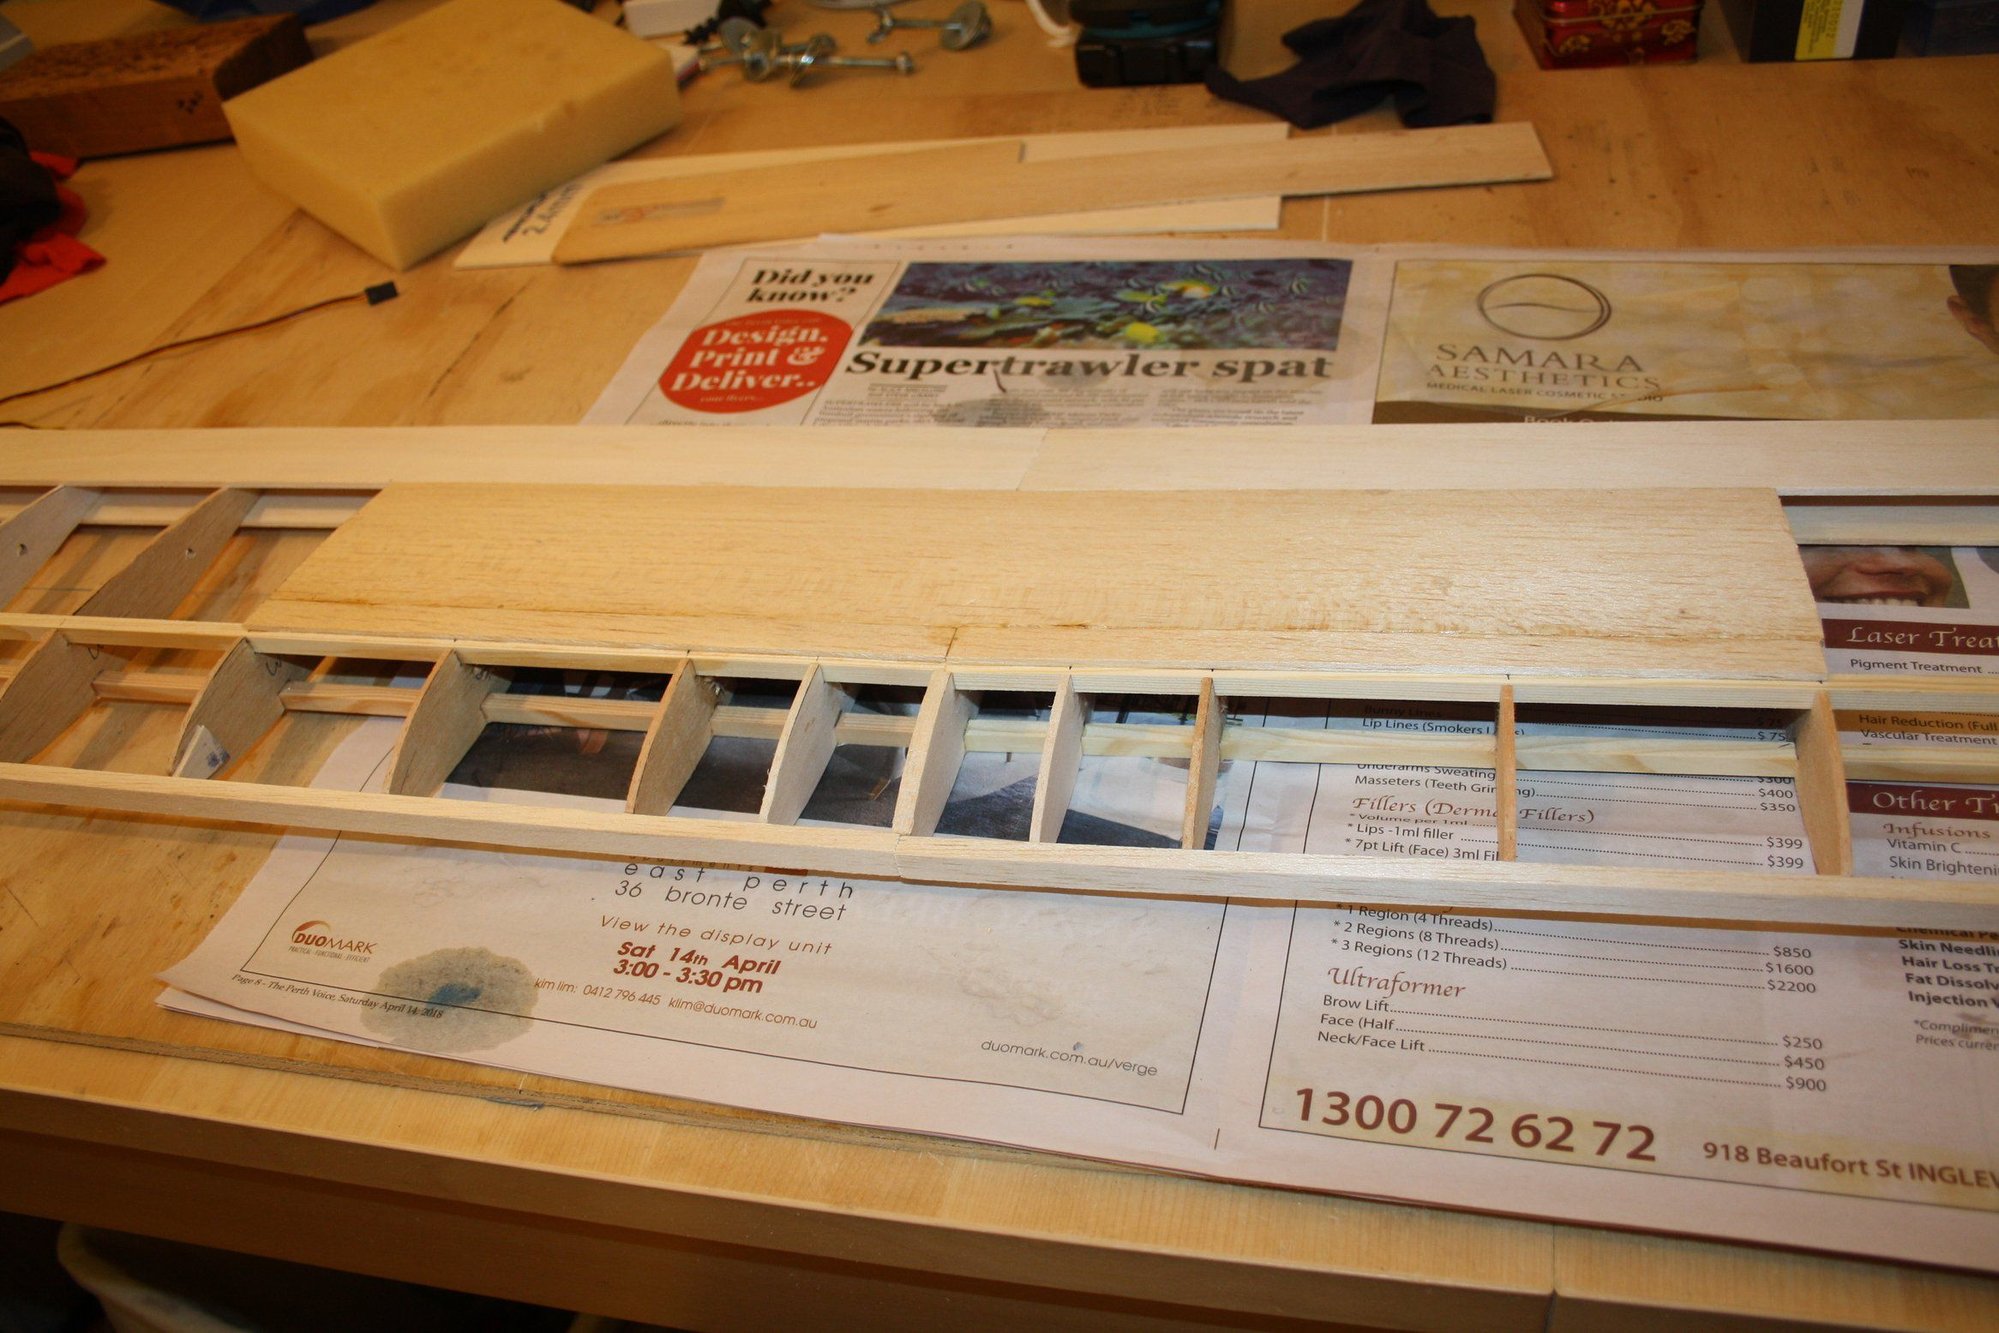
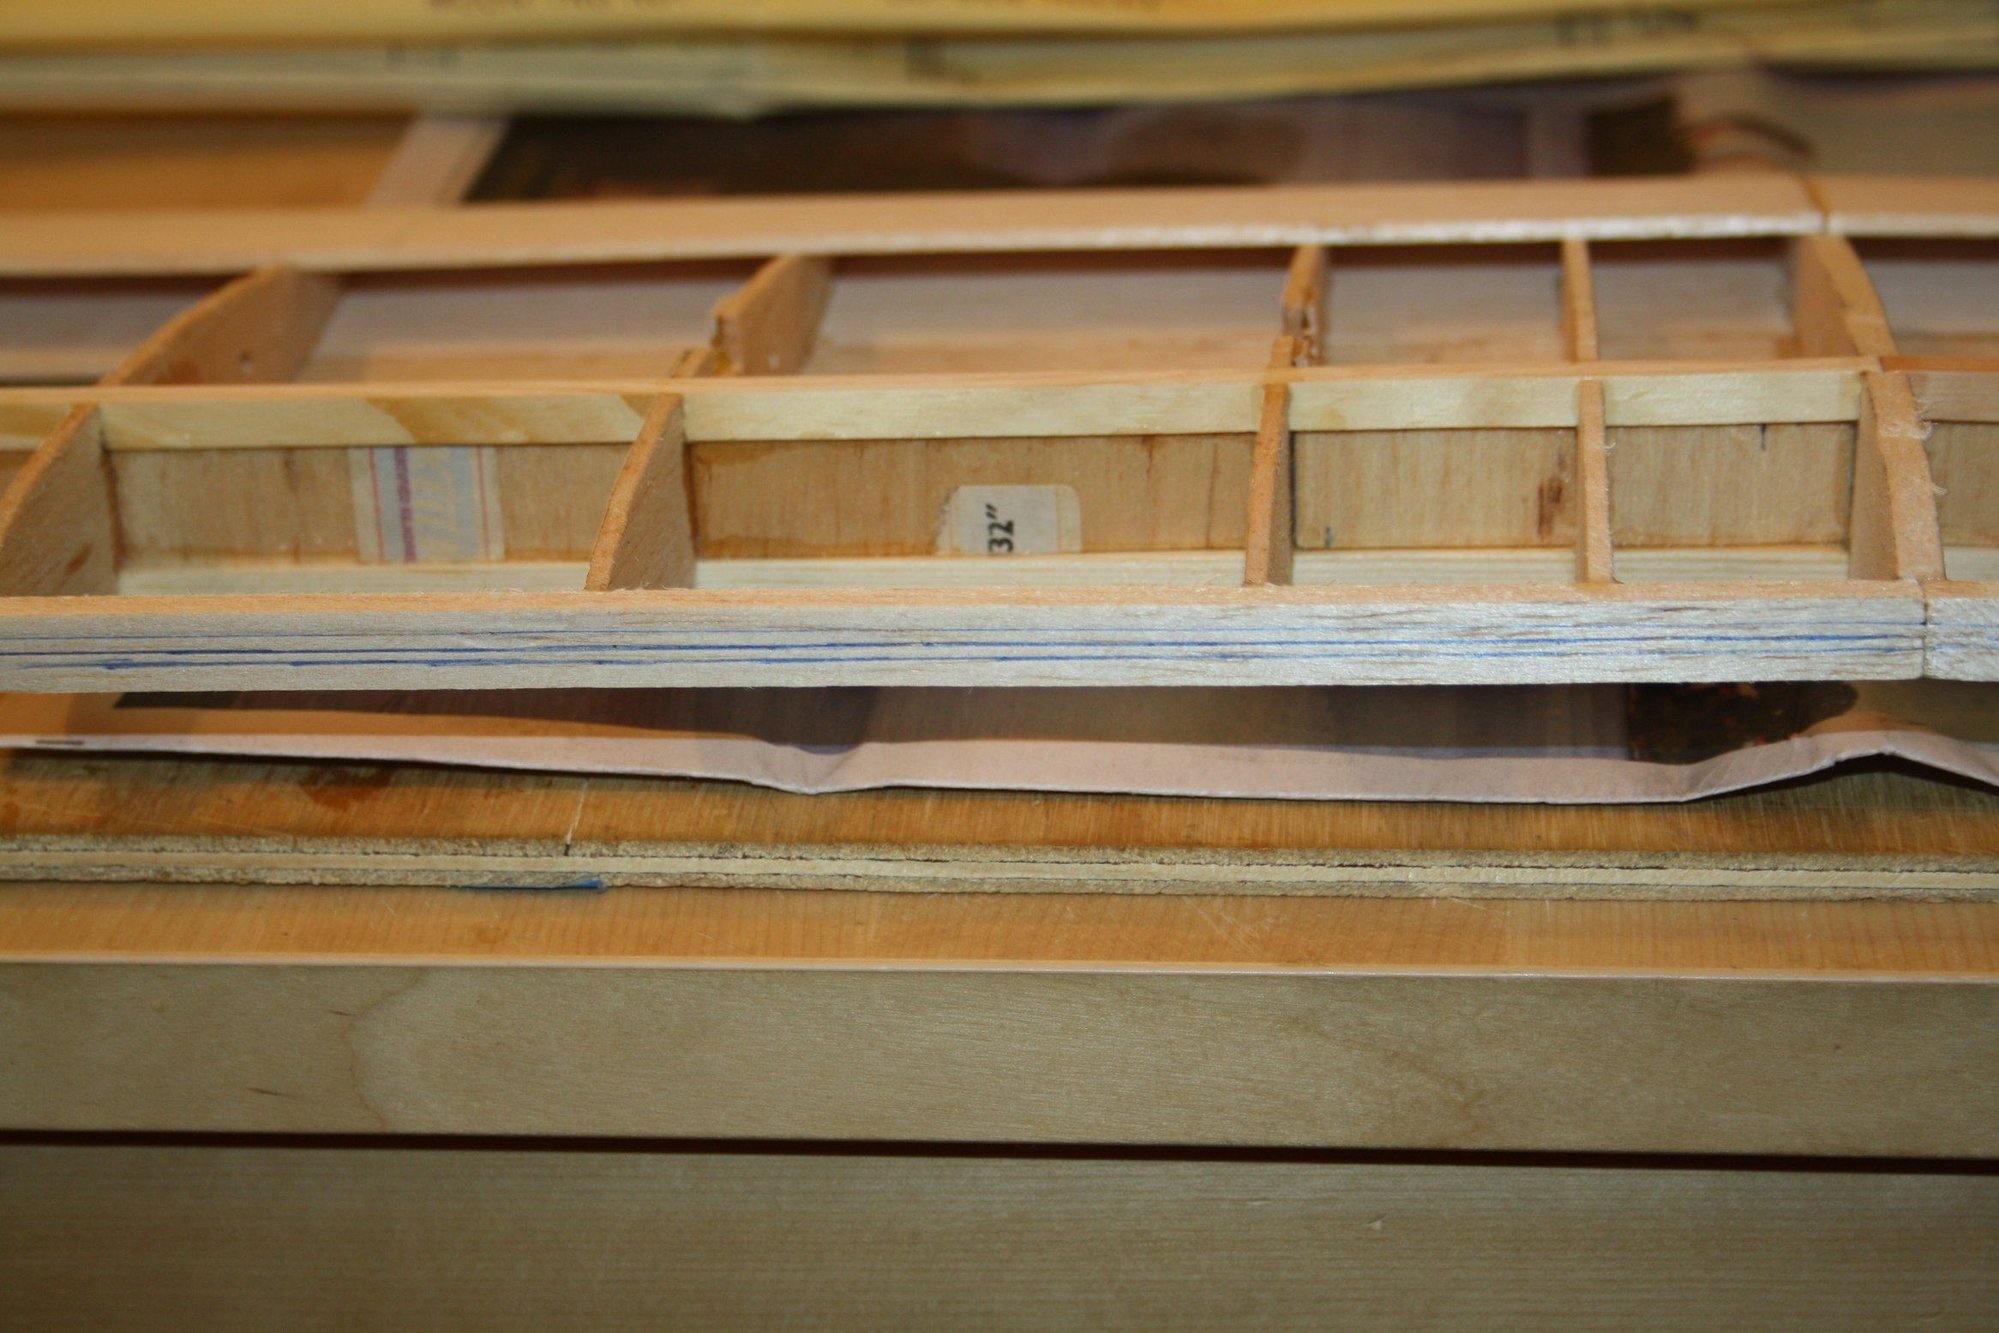
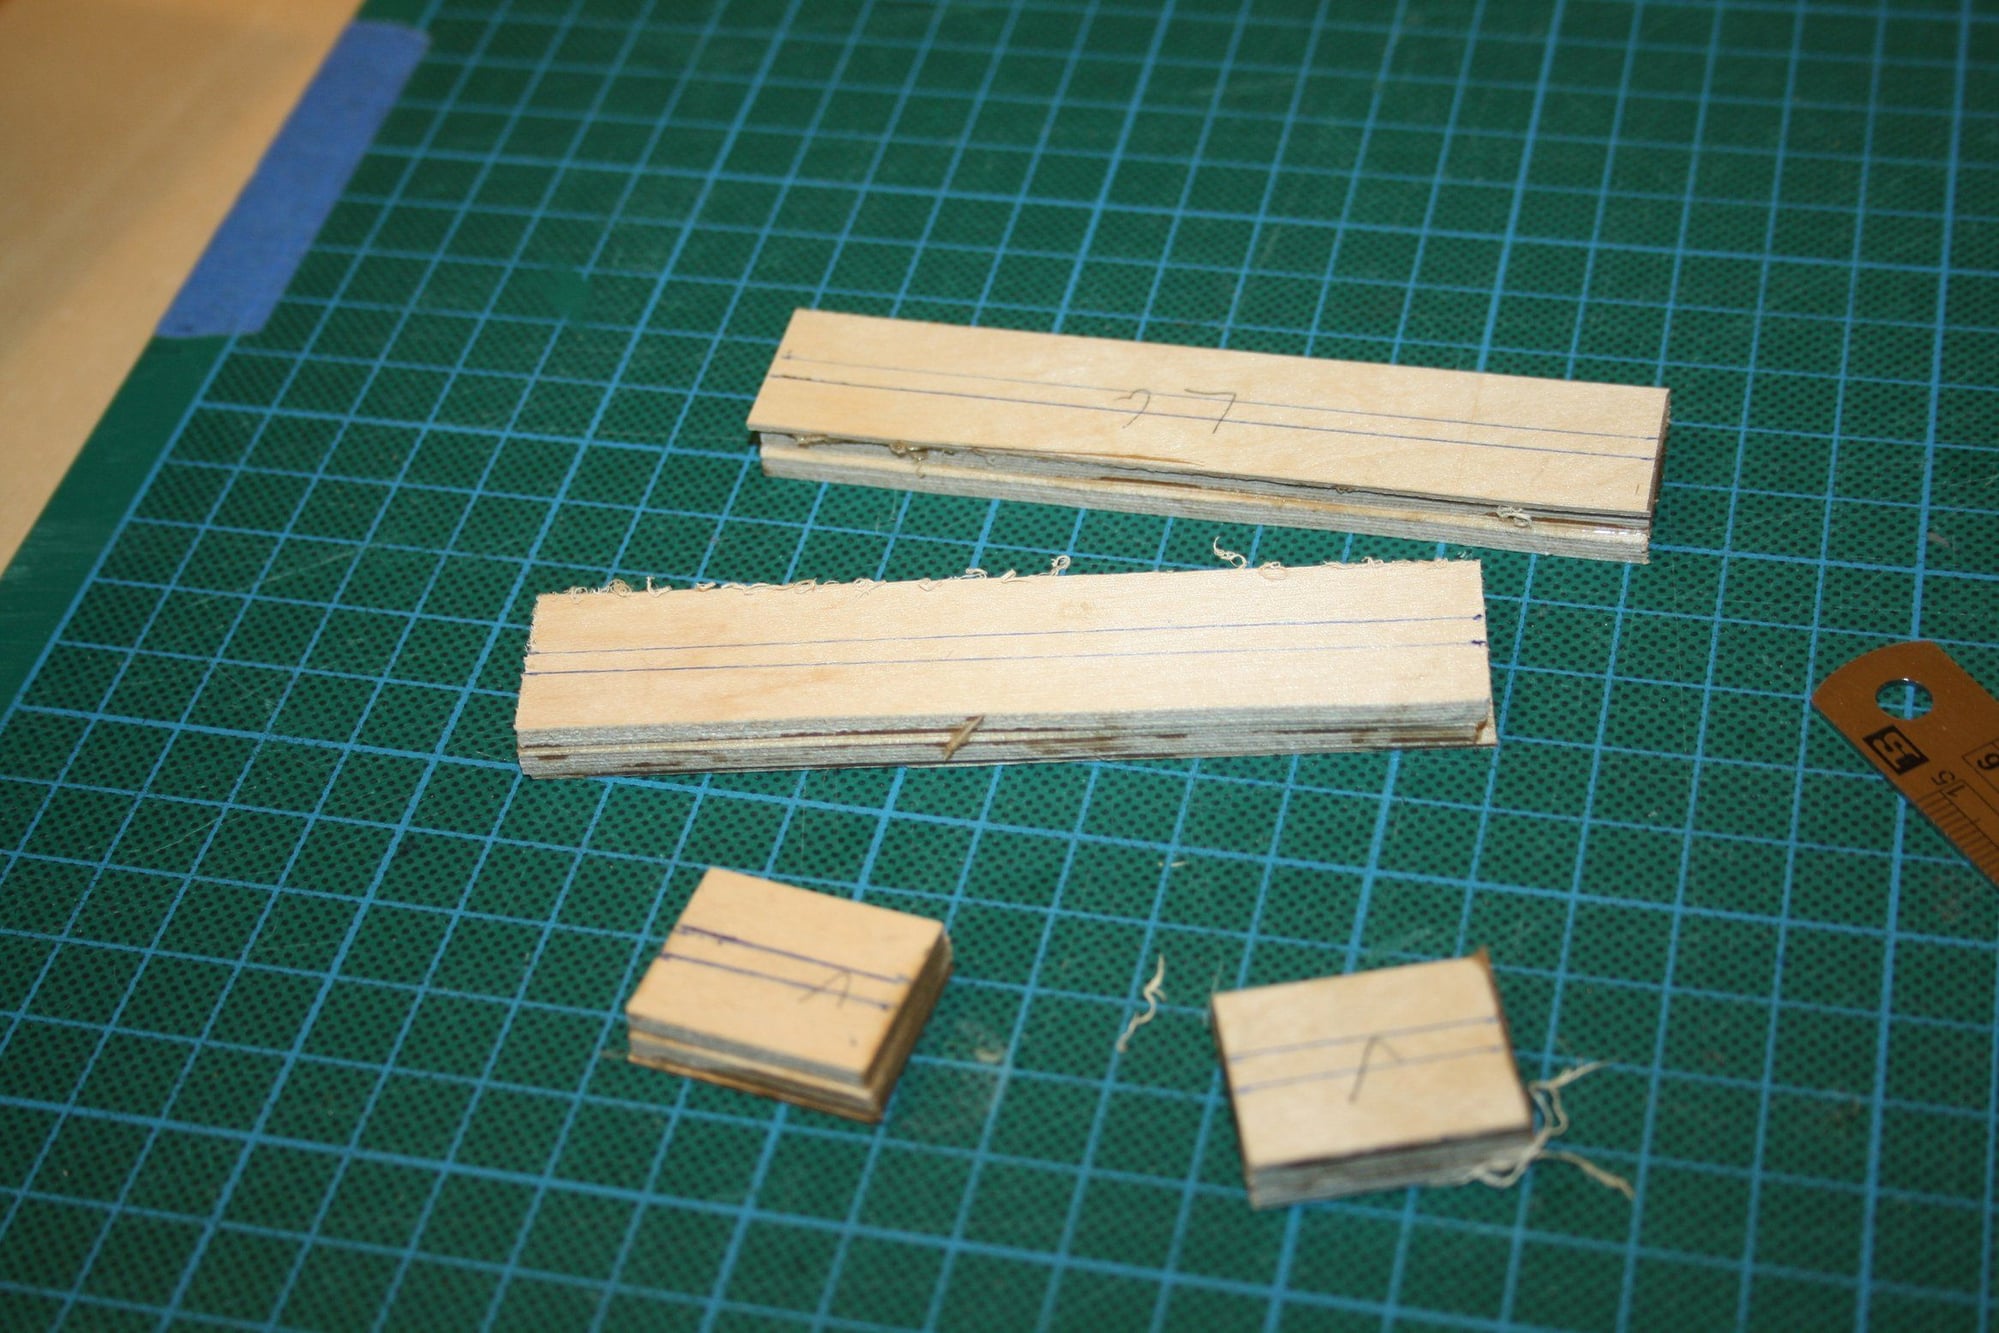
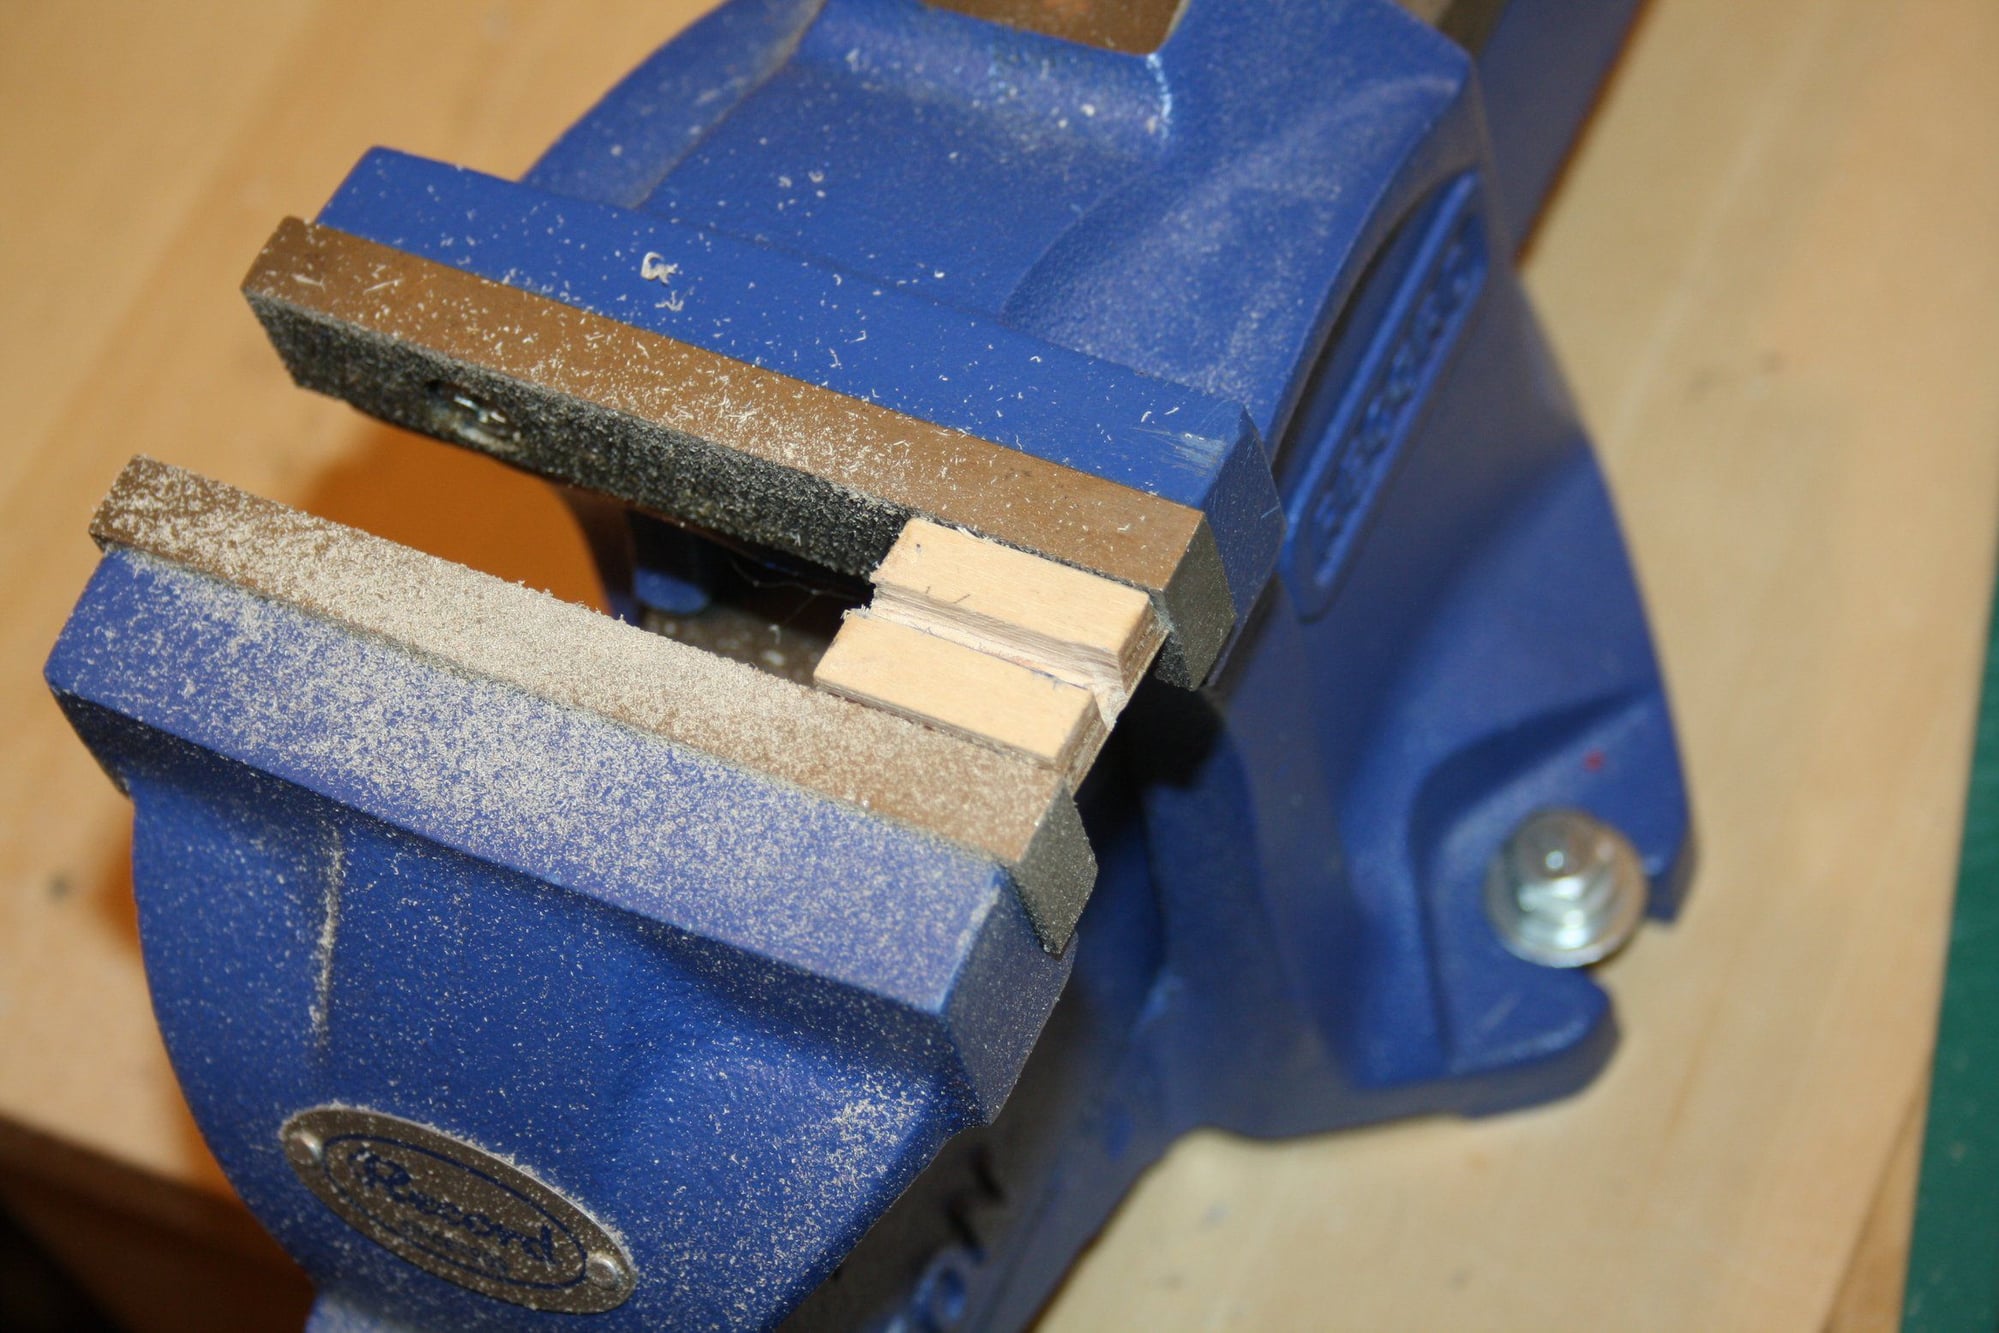
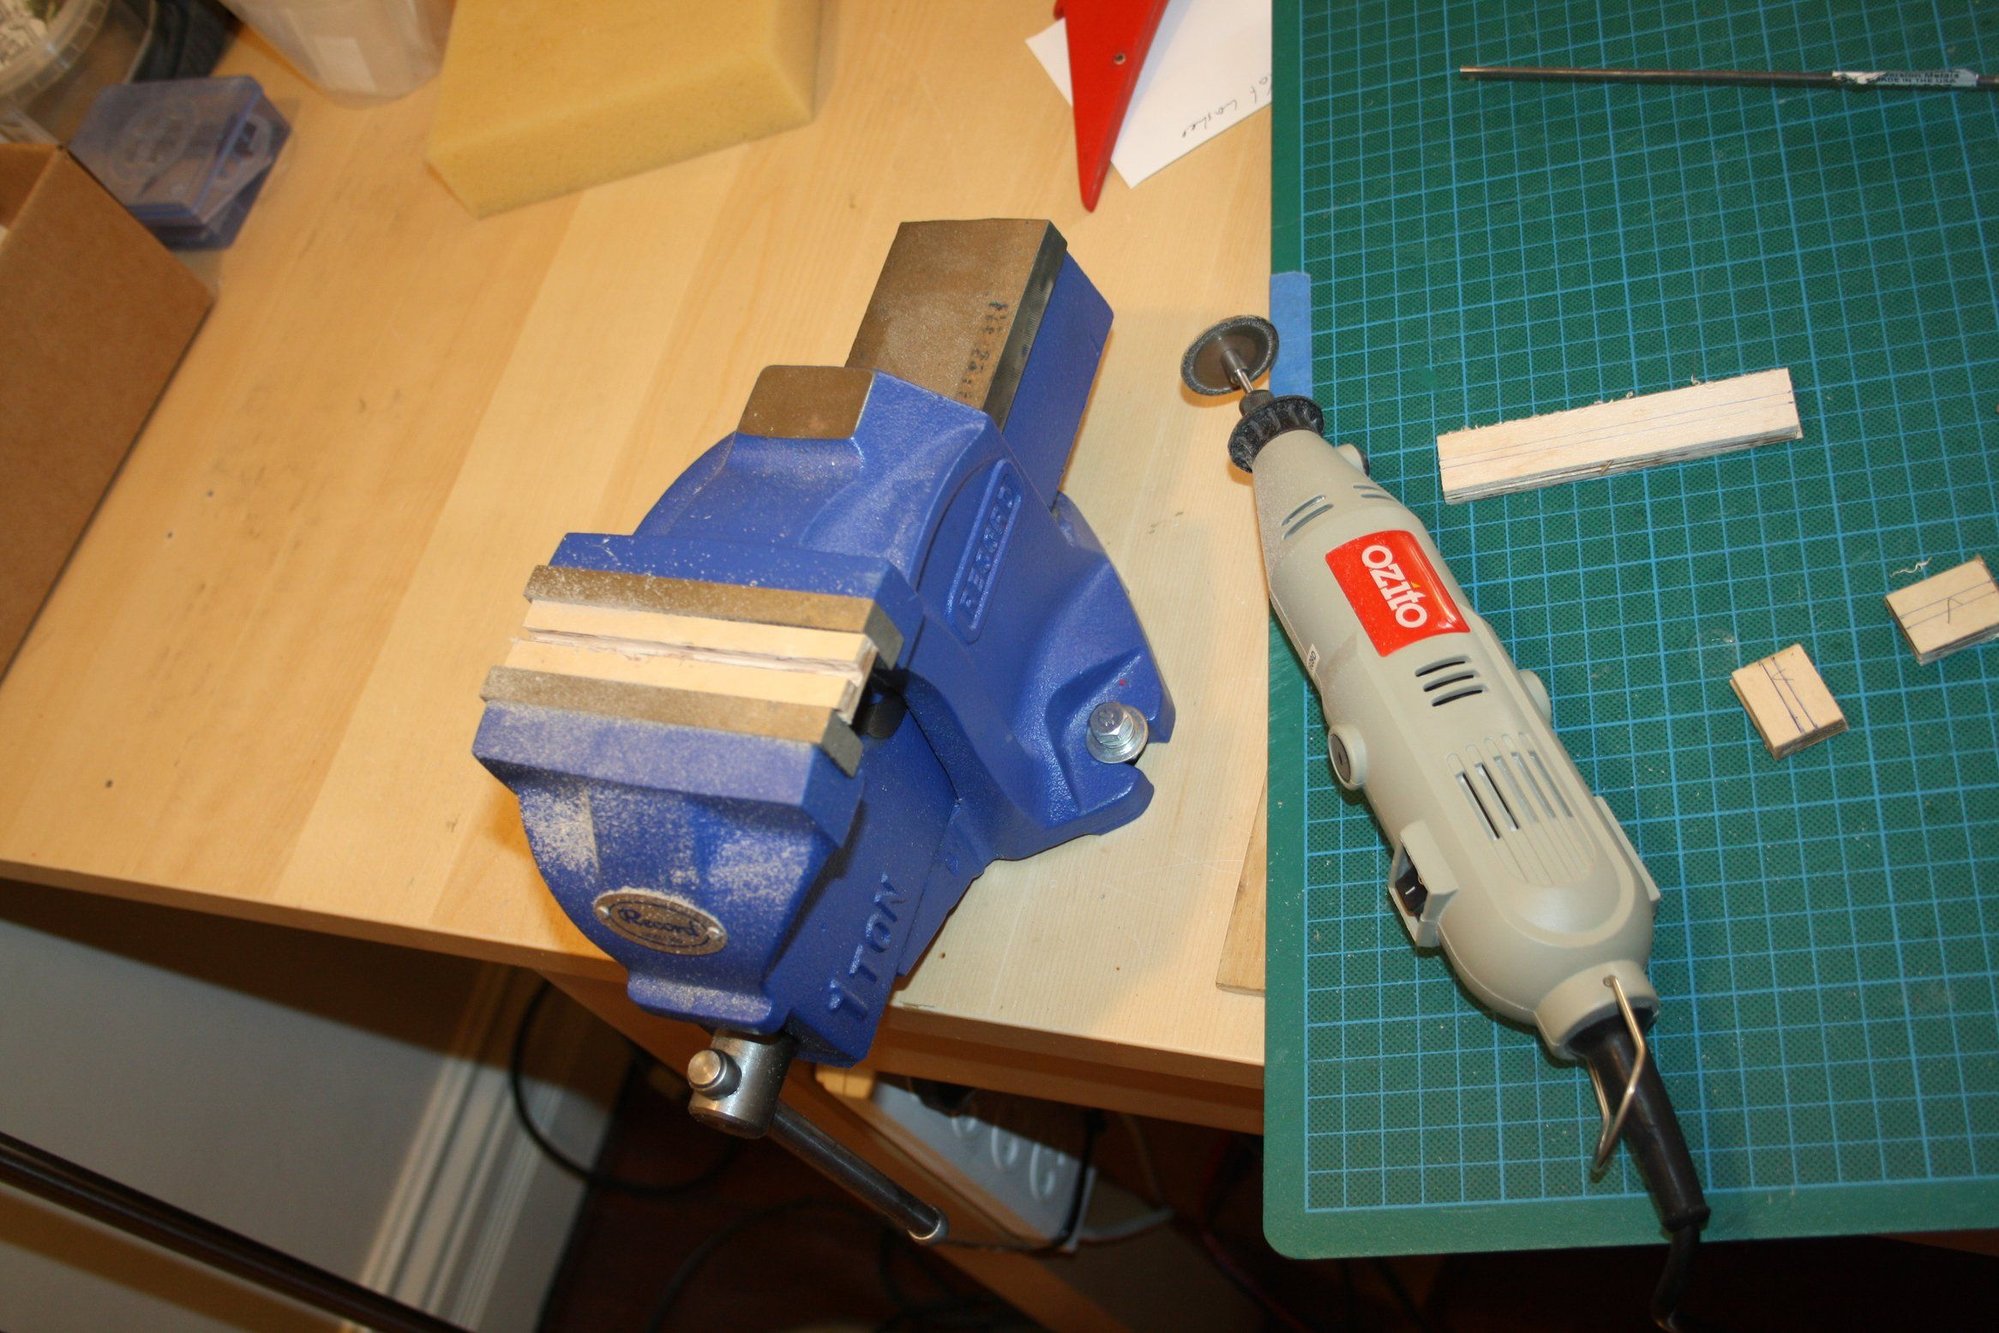
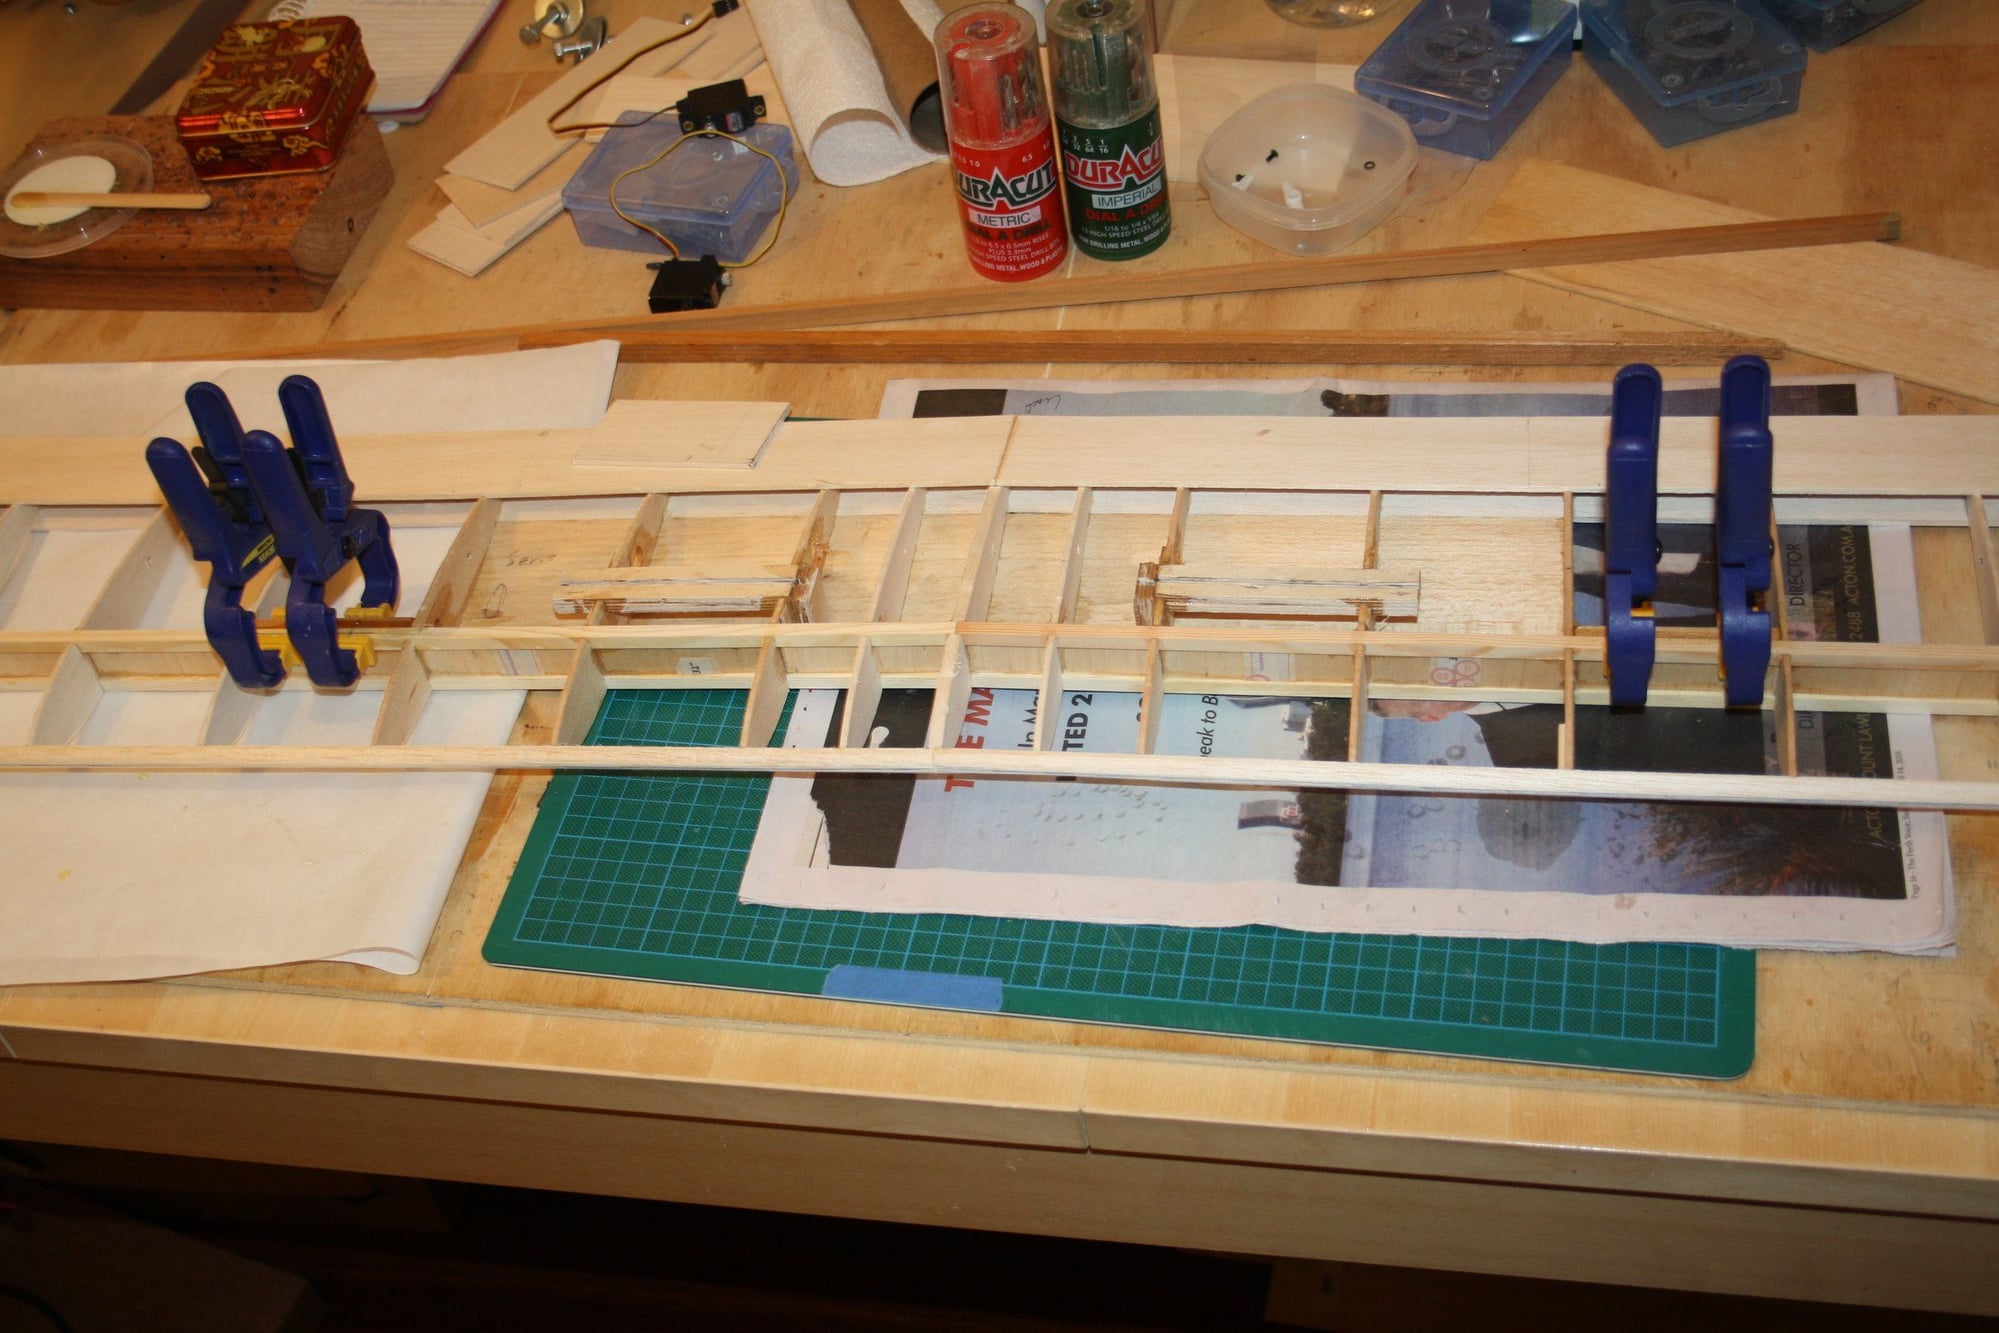
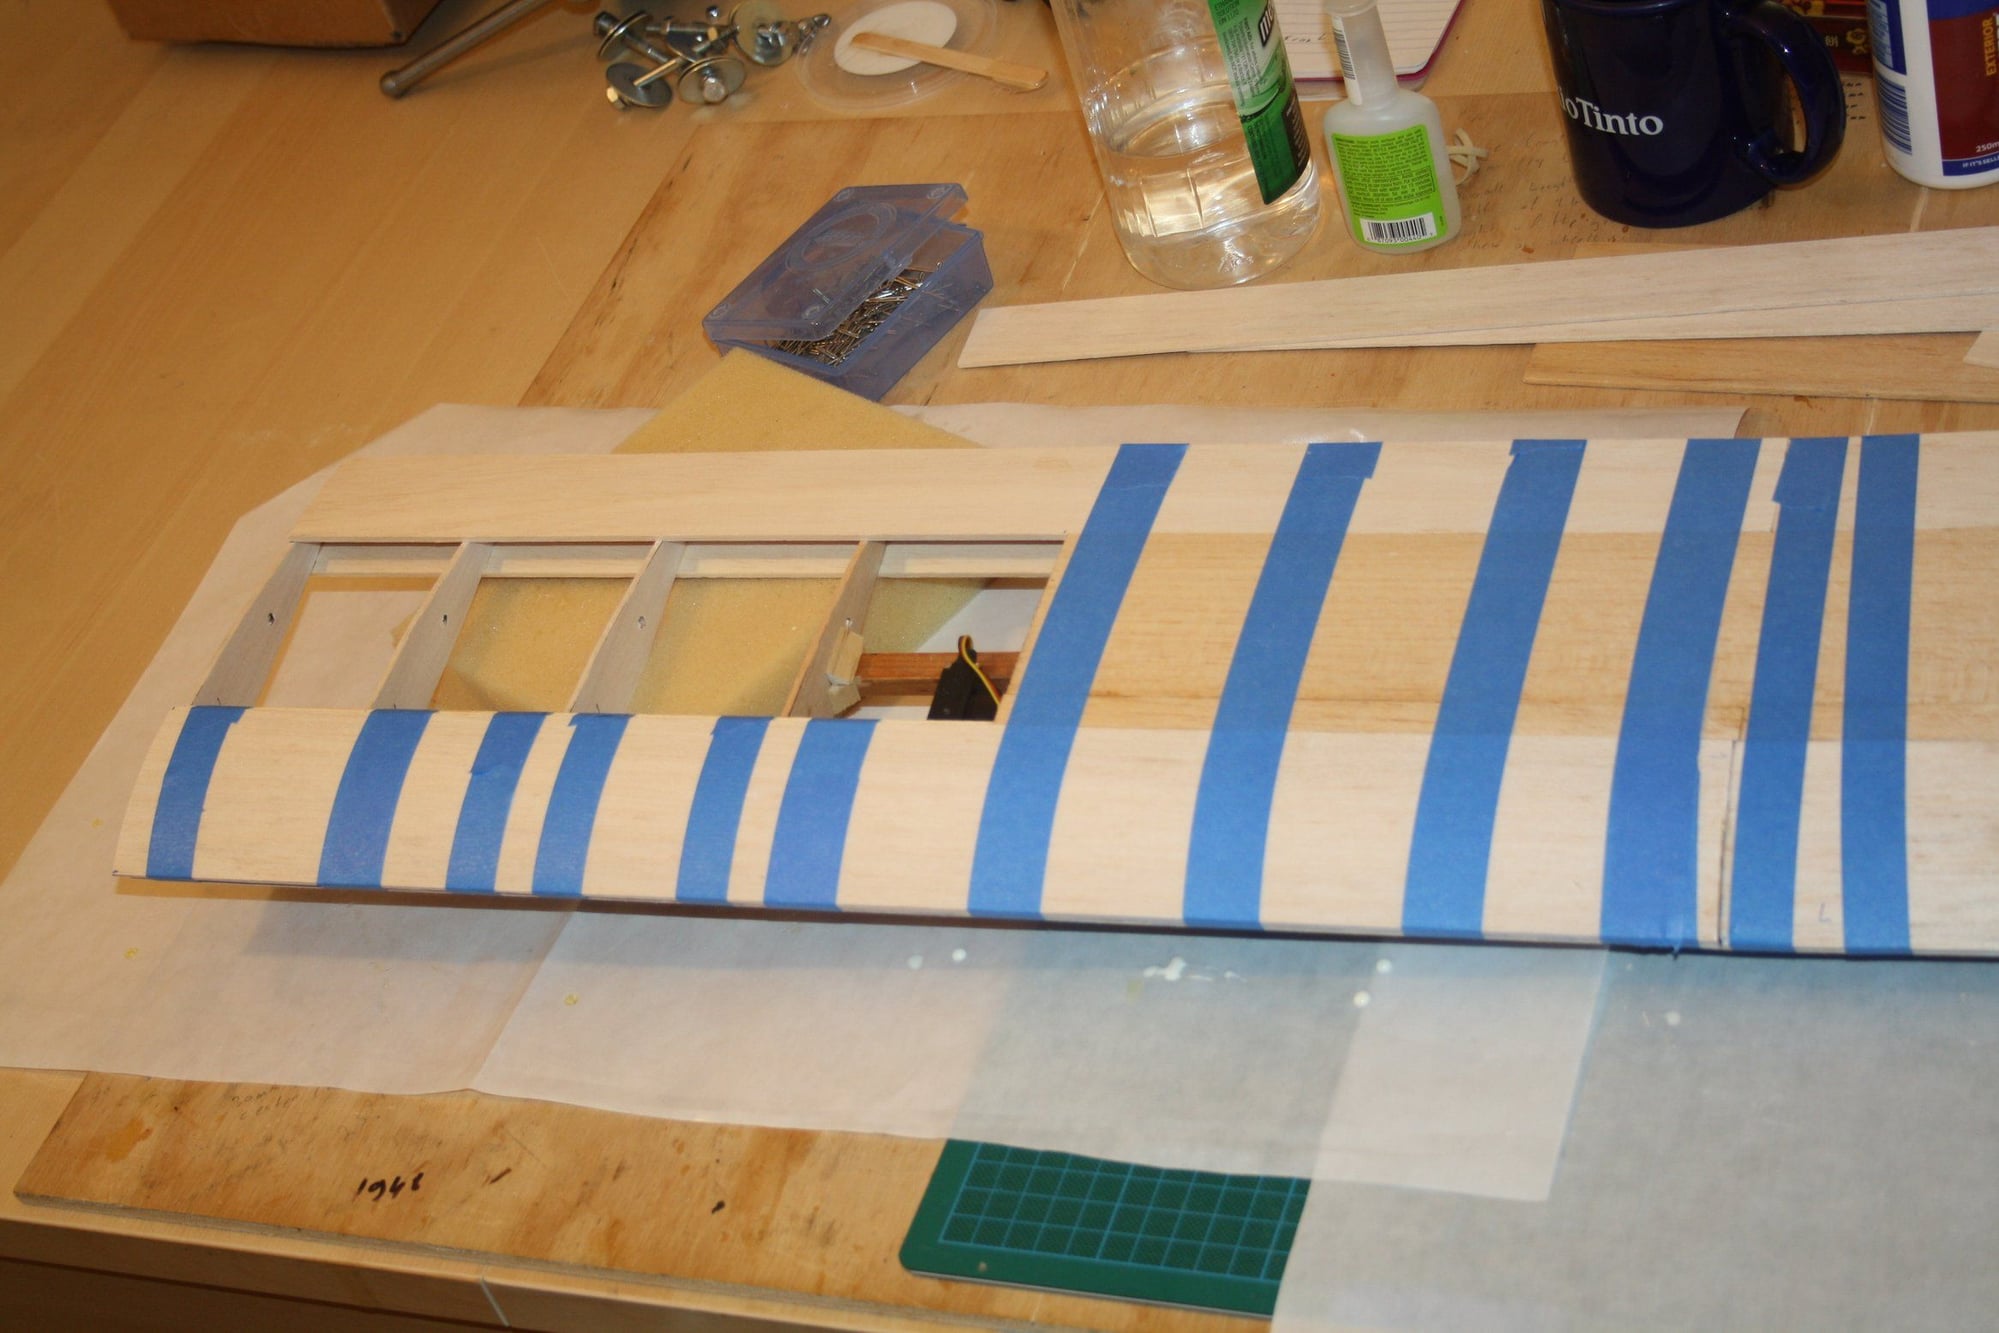
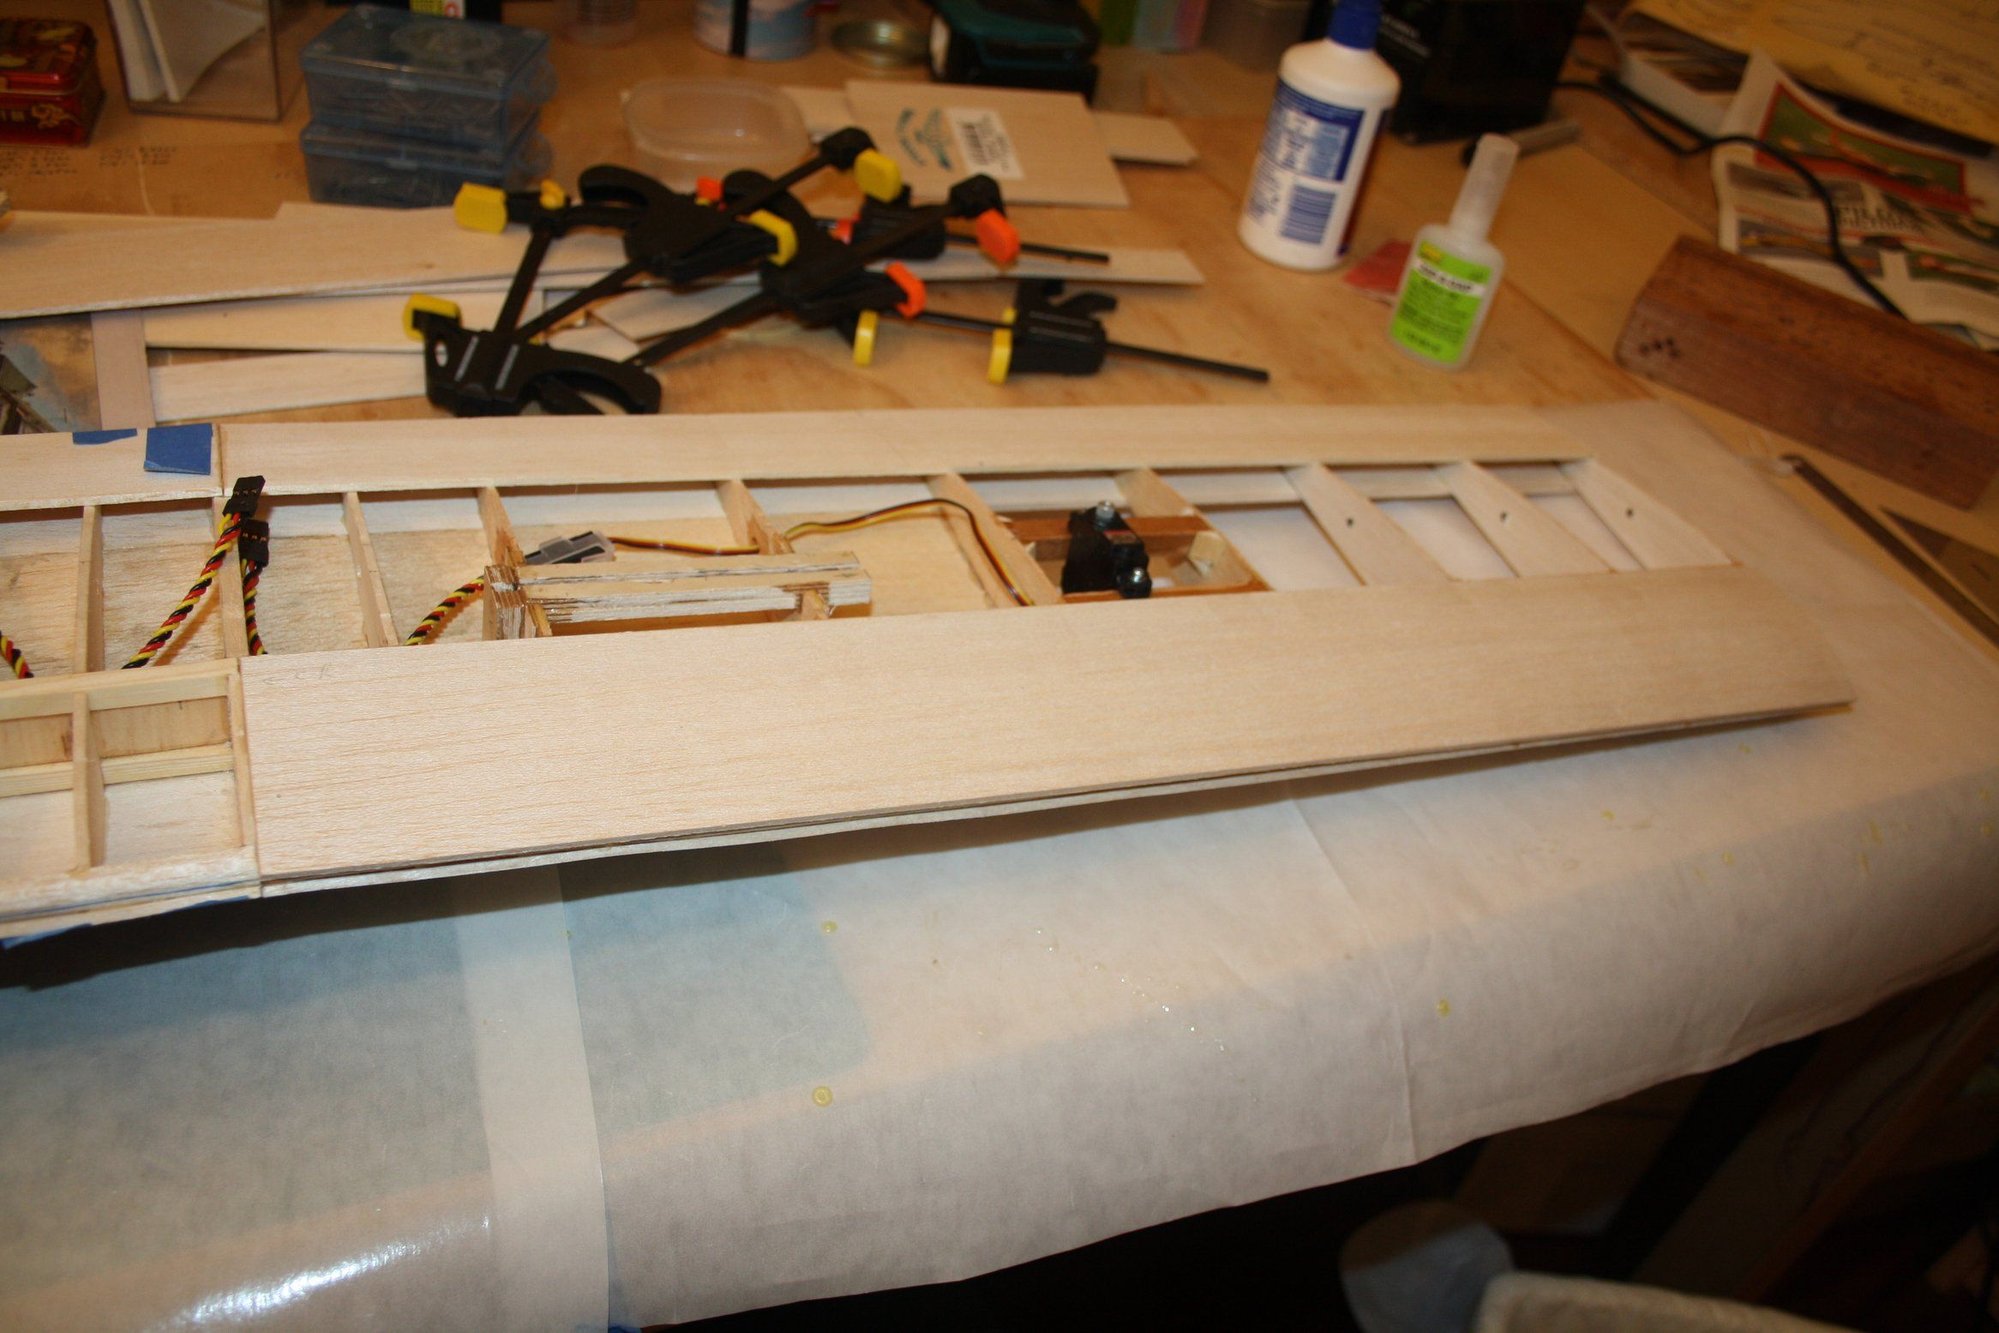
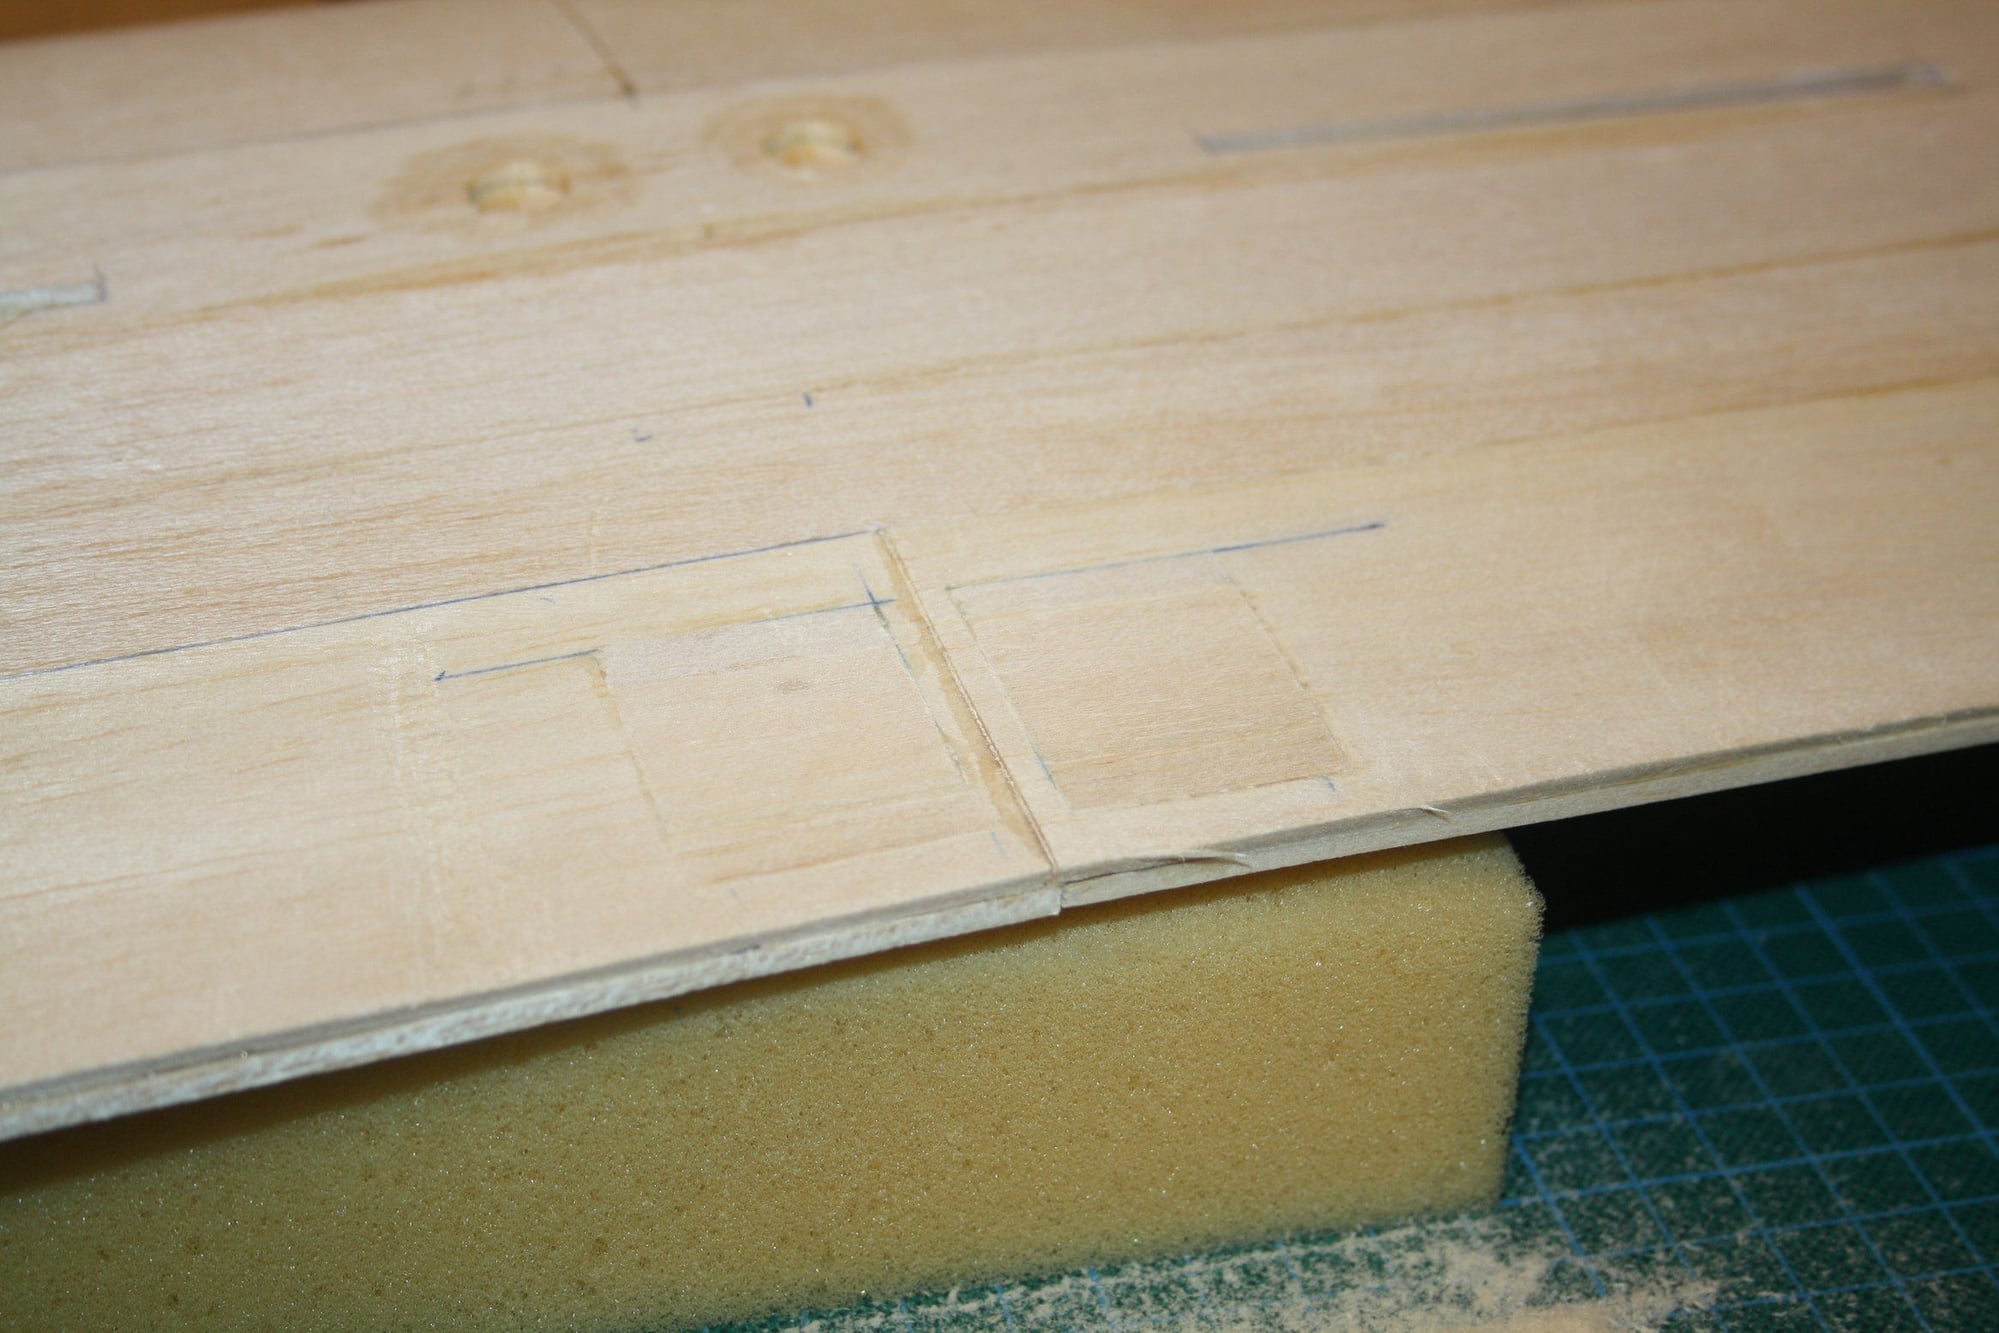
More progress and some setback.
I added here a photo of the complete centre section sheeting.
Today I sanded the D-Box sheeting at the leading edge. Then I opened the plans again to look at what else need to be done.
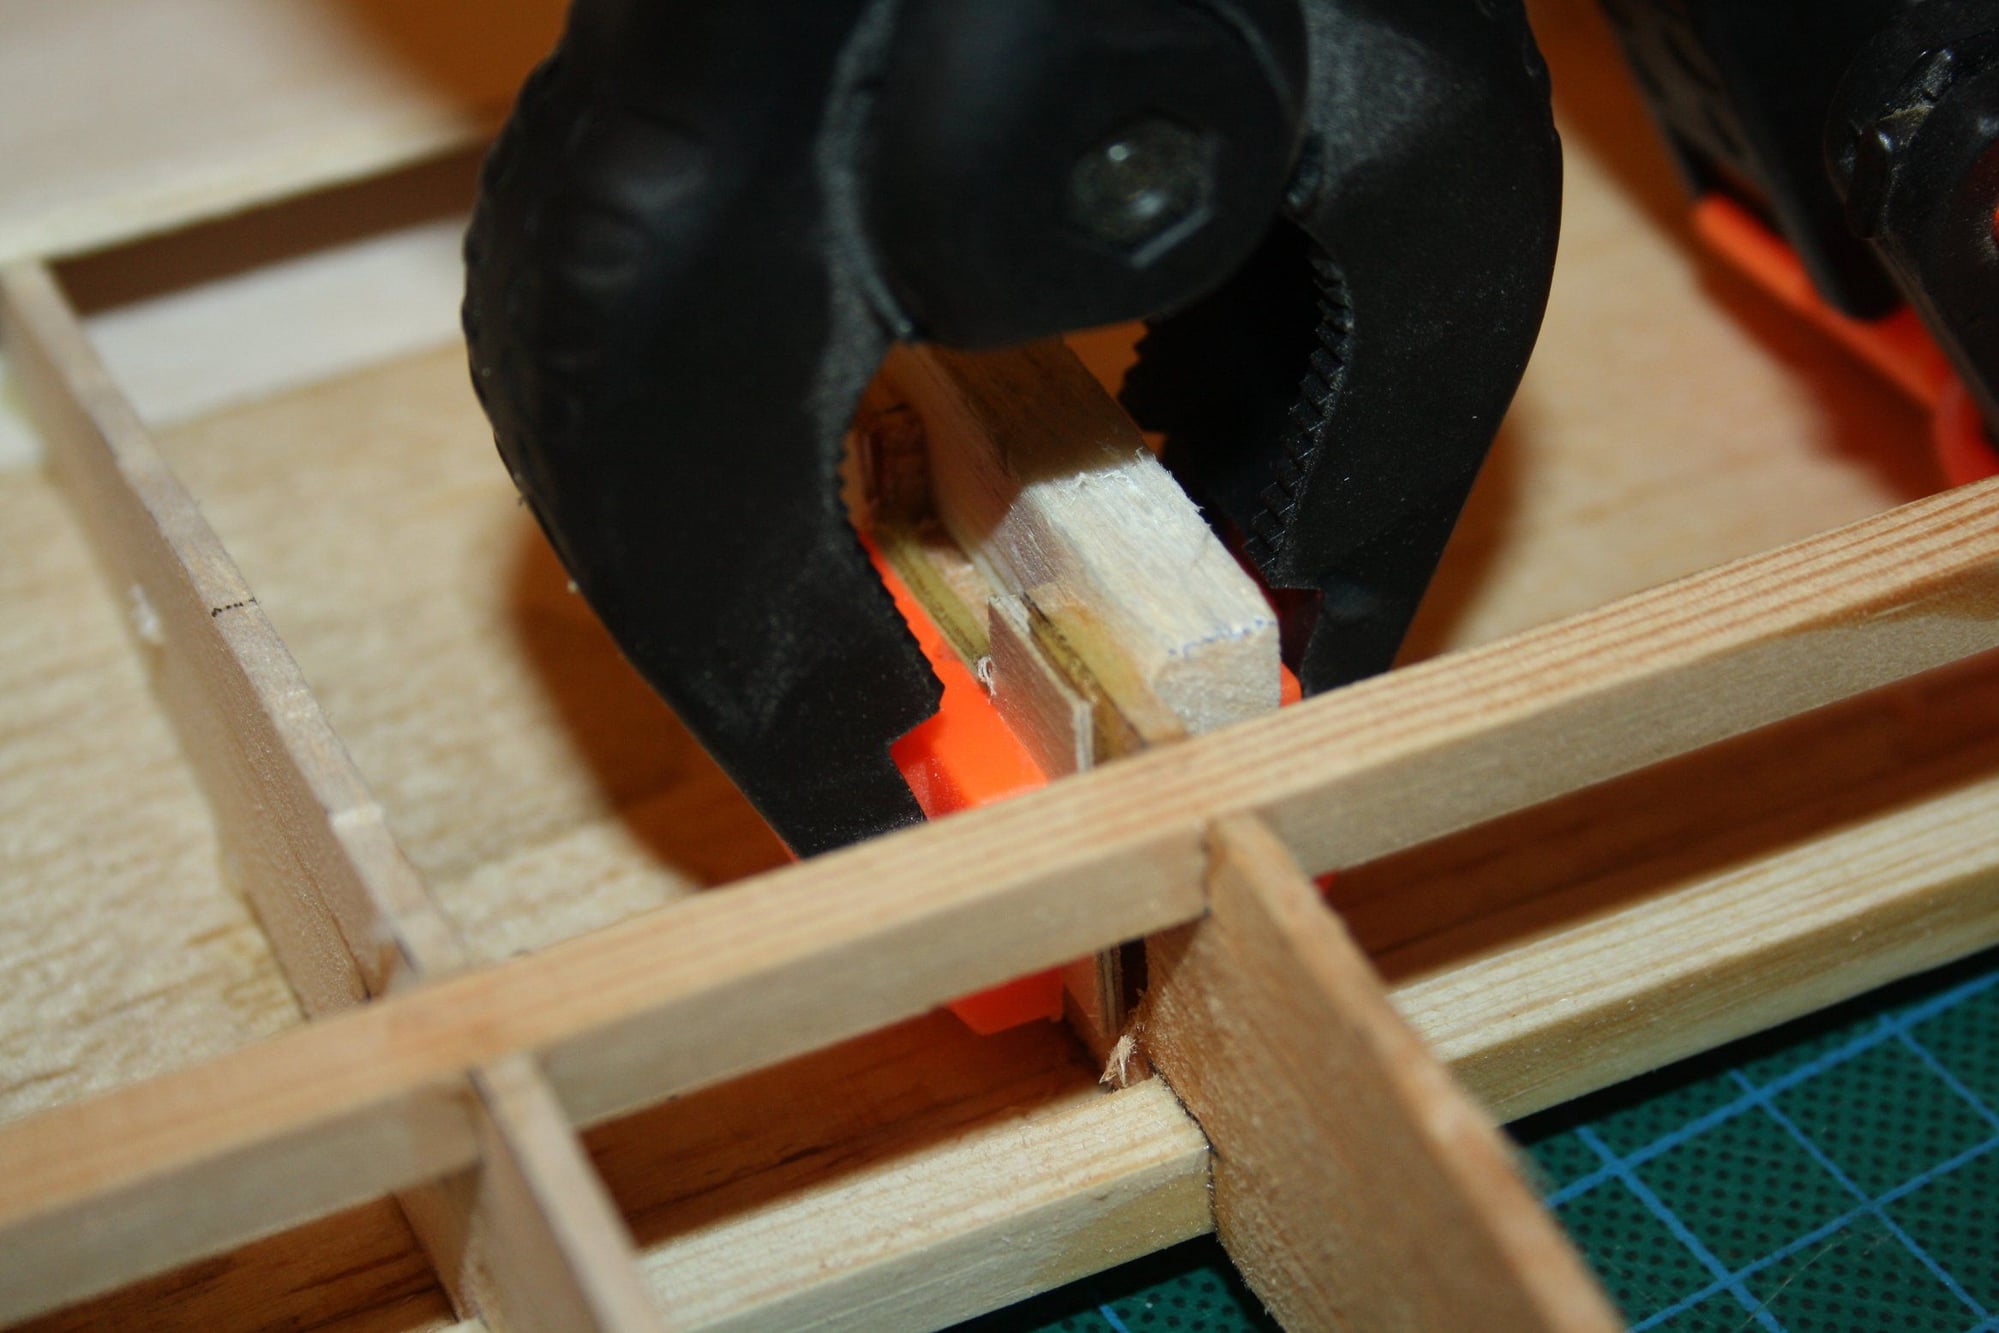
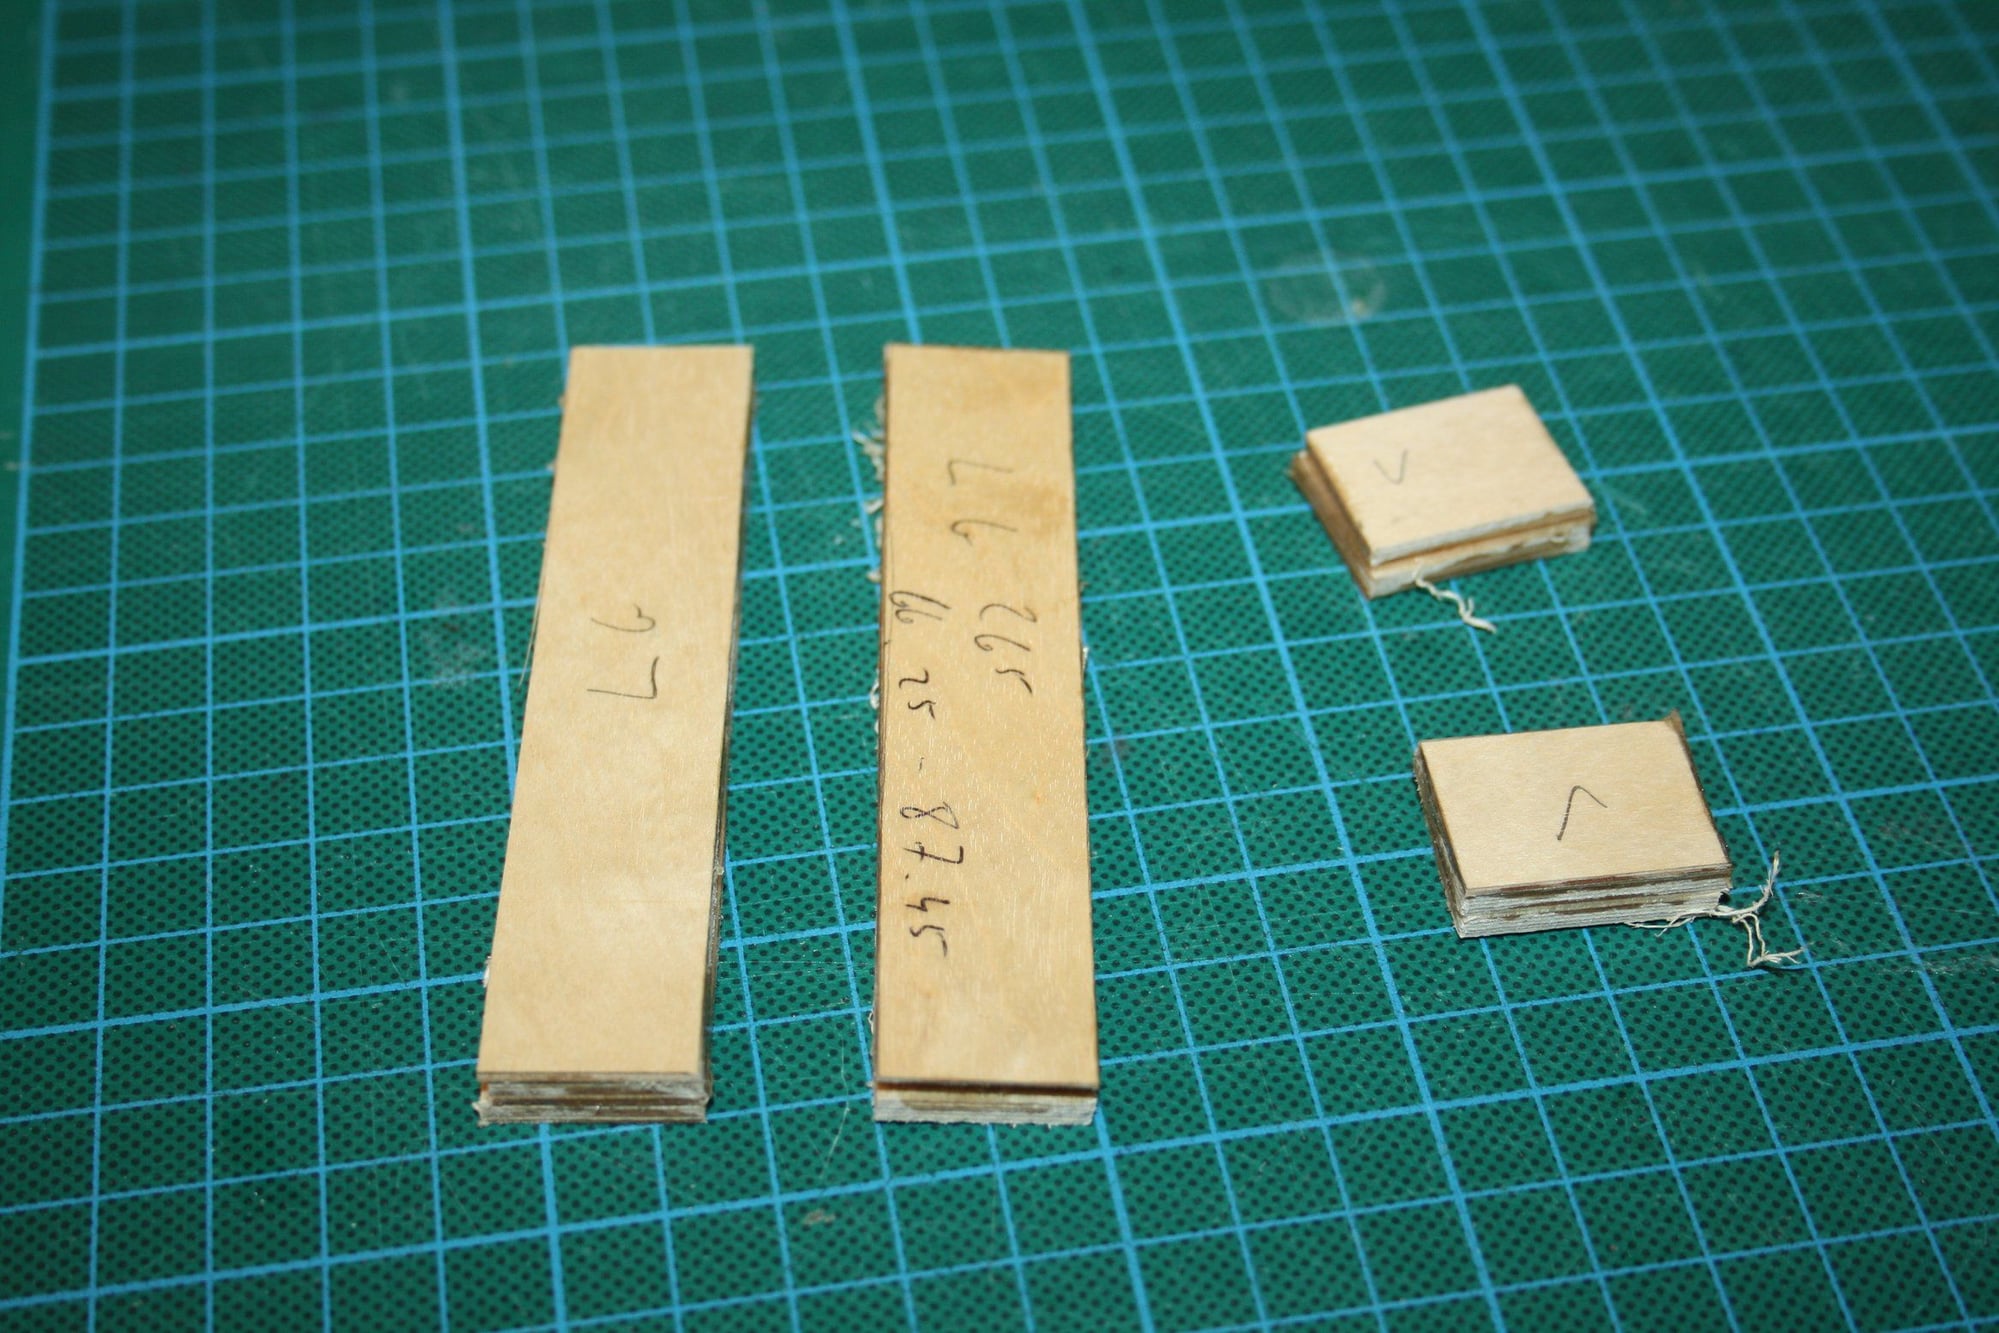
I suddenly realised that I didn't place the 1/4" sheet in the area where the wing bolts go through. I fixed this by cutting a square in the top sheeting and packing balsa sheets. I then sanded back to shape.
Eran


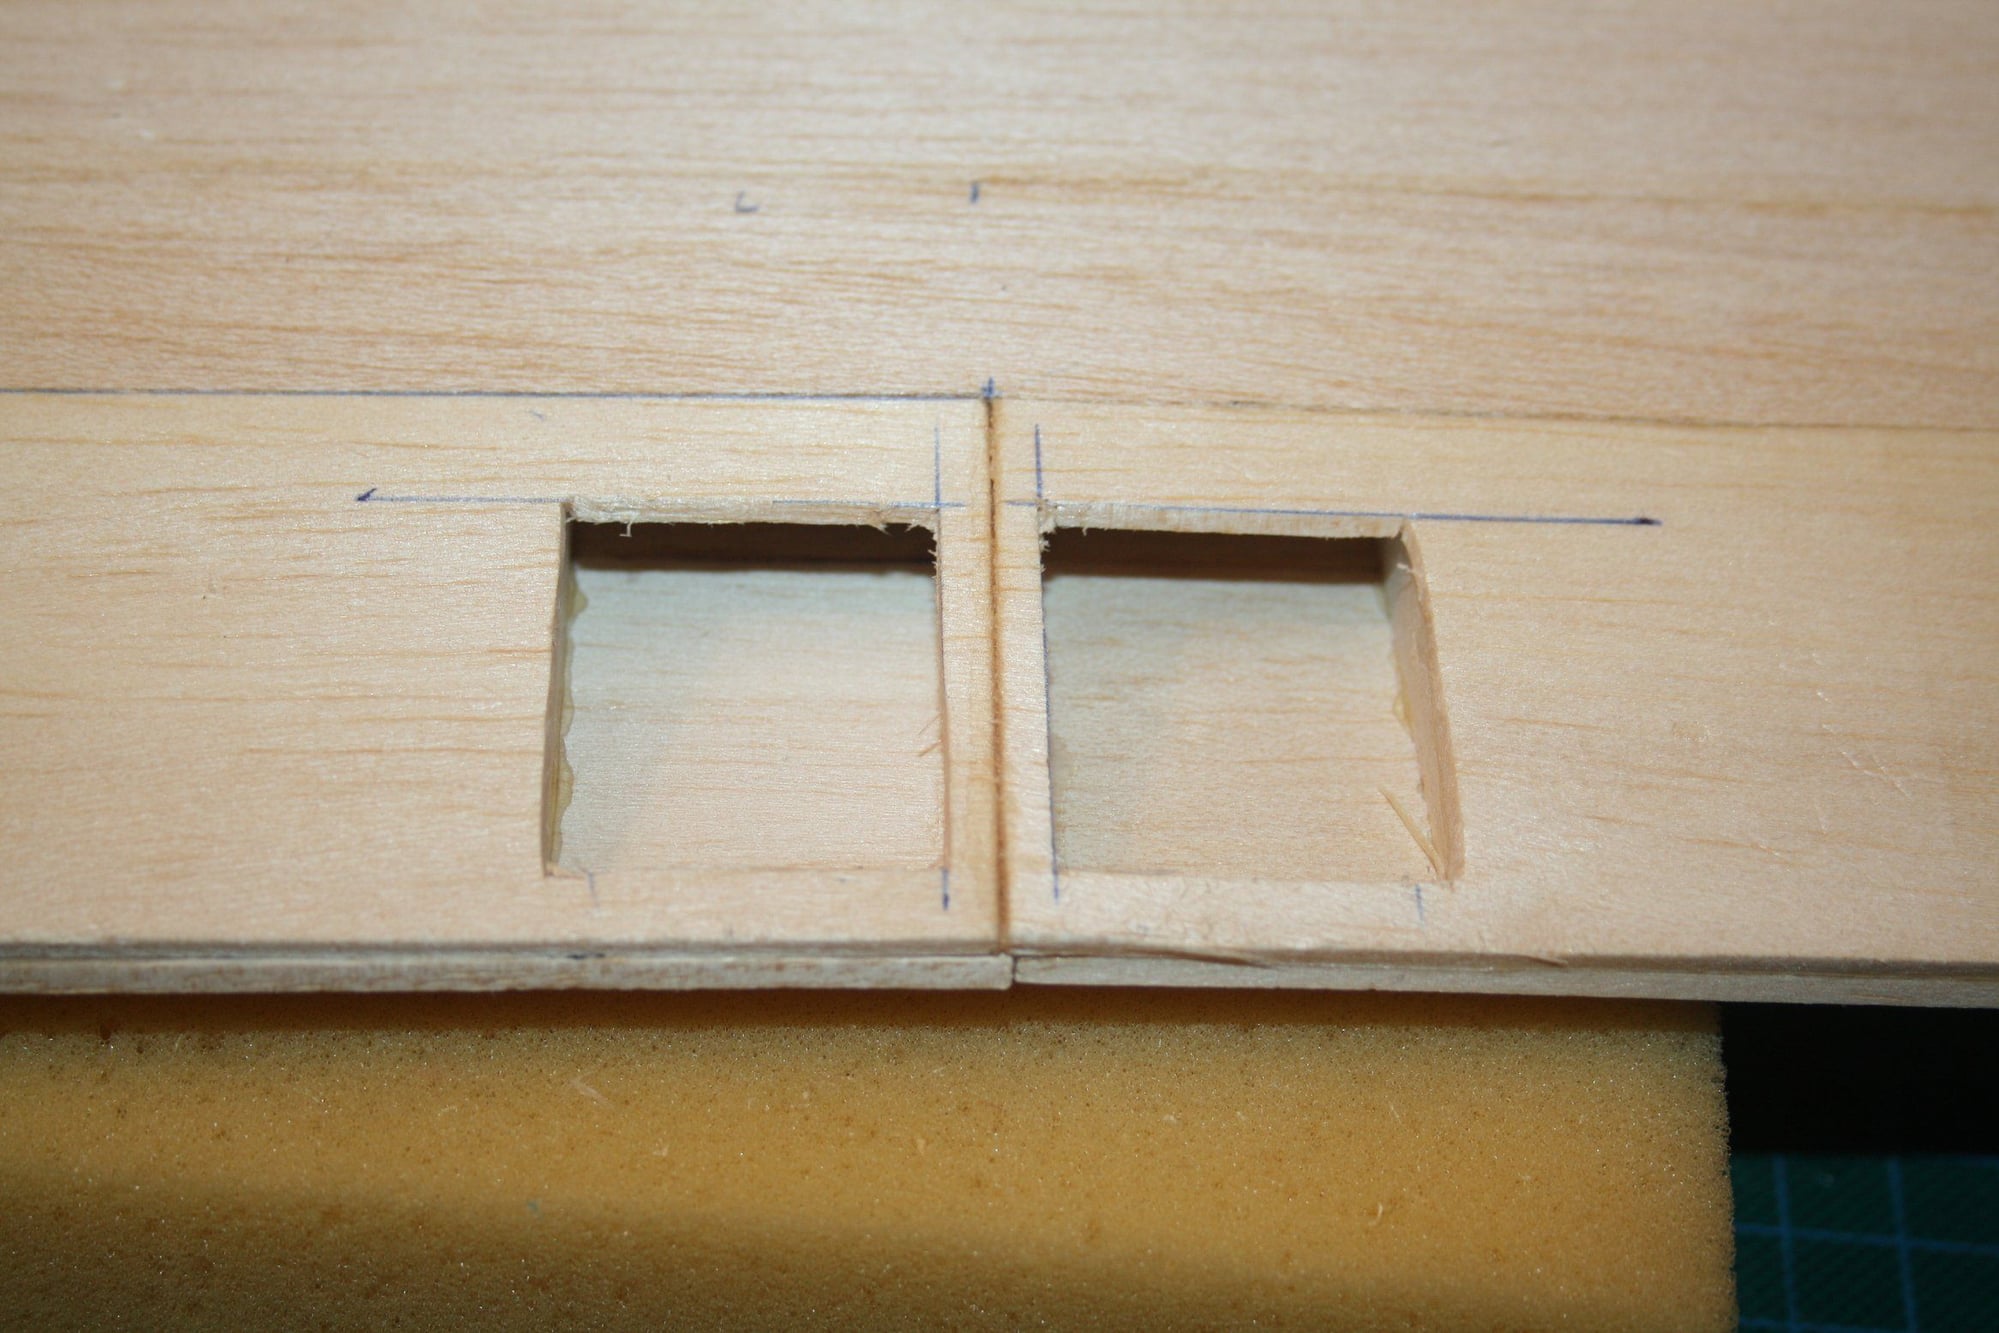
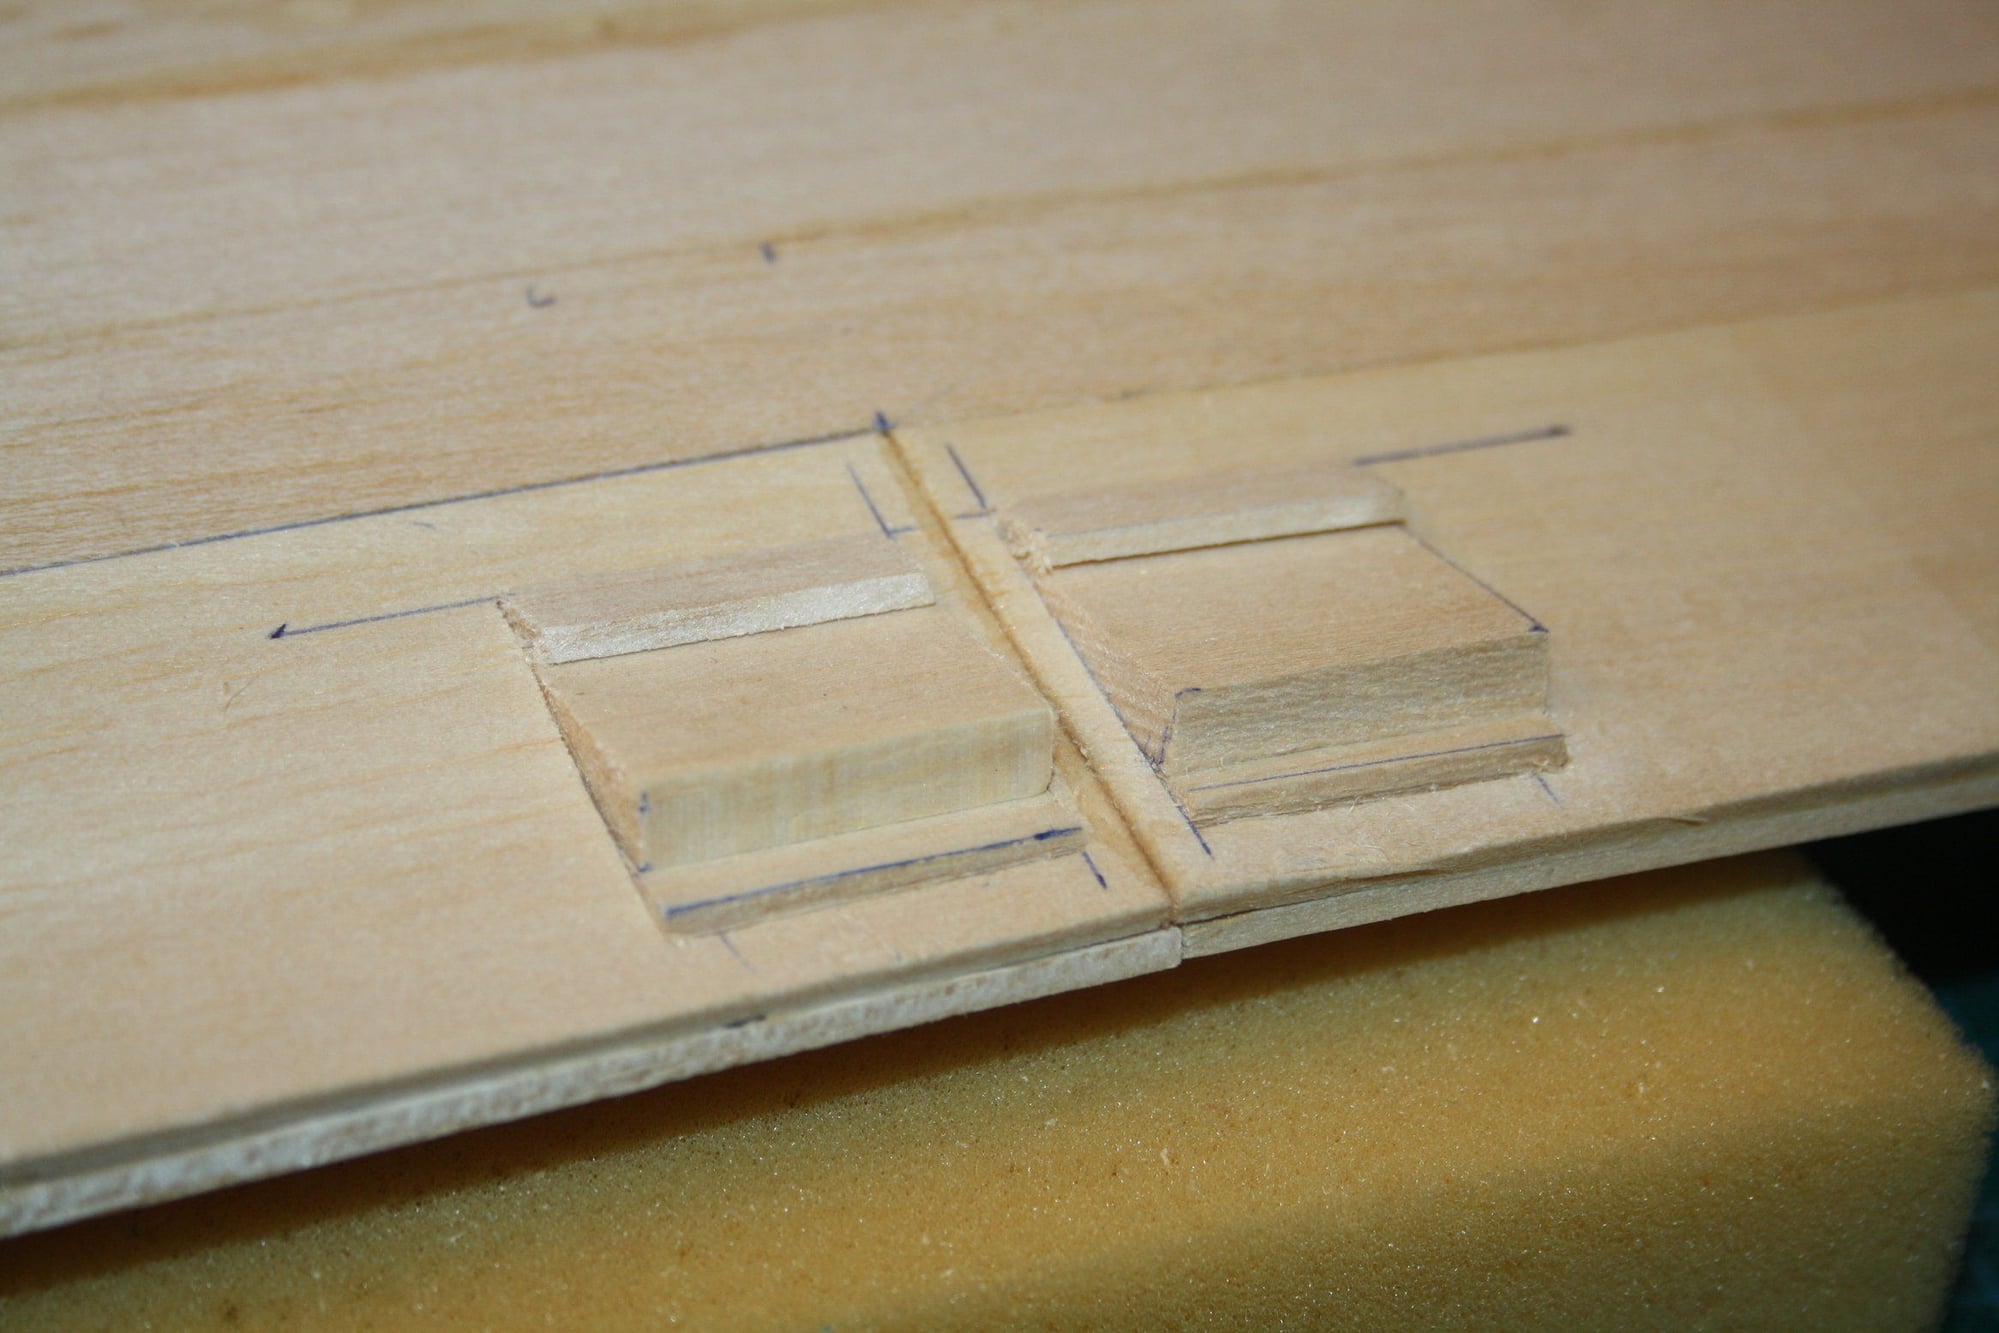

I added here a photo of the complete centre section sheeting.
Today I sanded the D-Box sheeting at the leading edge. Then I opened the plans again to look at what else need to be done.
I suddenly realised that I didn't place the 1/4" sheet in the area where the wing bolts go through. I fixed this by cutting a square in the top sheeting and packing balsa sheets. I then sanded back to shape.
Eran